In this tutorial, I will show you how to easily create a halftone image in Photoshop. Halftone effects are a creative way to transform your images into something unique, and they are great for print and digital designs. Whether you want an interesting texture for a poster or an illustration - halftone offers you many possibilities. Let's get started!
Key Takeaways
Halftone images create a modern, graphic design. A halftone effect is based on individual dots that together form an image. In this guide, you will learn how to achieve an impressive halftone effect in Photoshop using simple color corrections and filters.
Step-by-Step Guide
First, you need to open the image you want to work with in Photoshop. Make sure you have a suitable image that is well suited for the halftone effect. You can now load the image, and we will continue.
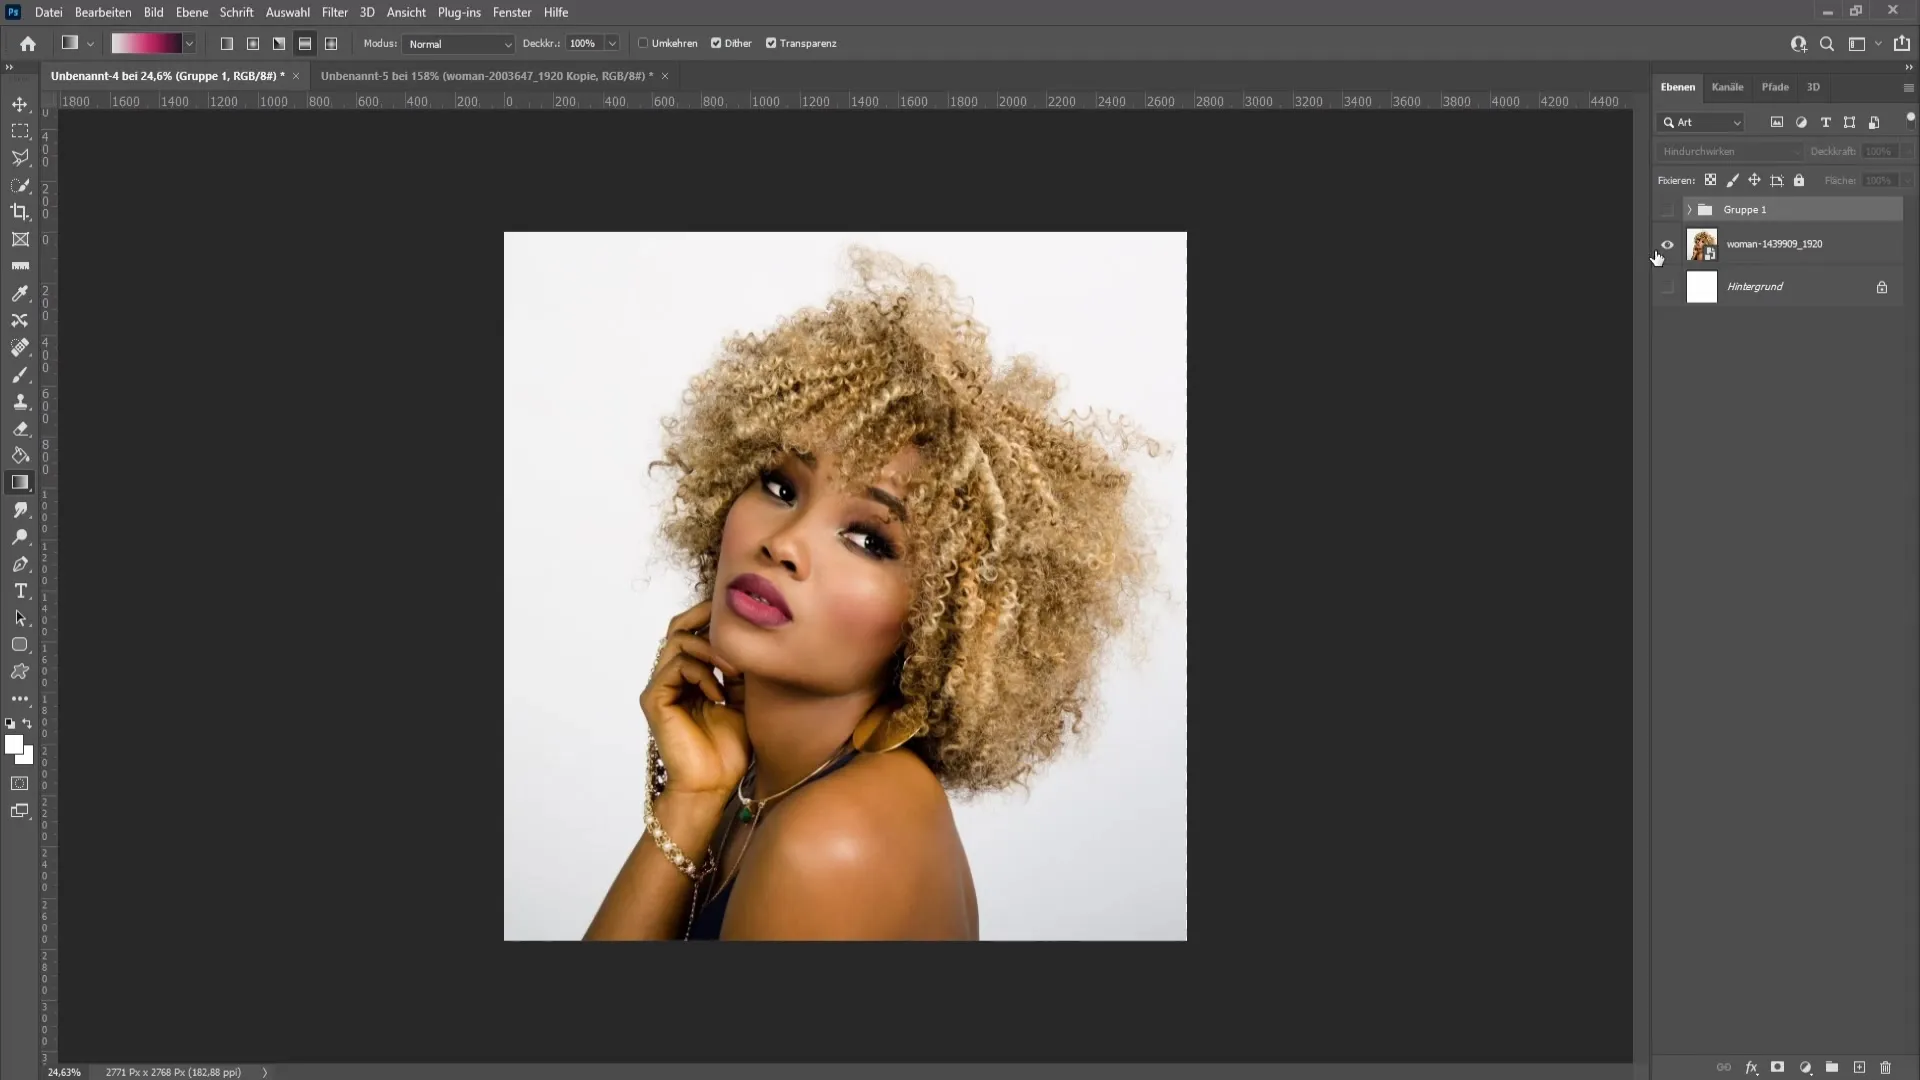
Once you have opened your image in Photoshop, we need to rasterize the image layer first. This is quite simple: Right-click on the image layer and select "Rasterize Layer" from the context menu. This is an important step to apply the edits correctly.
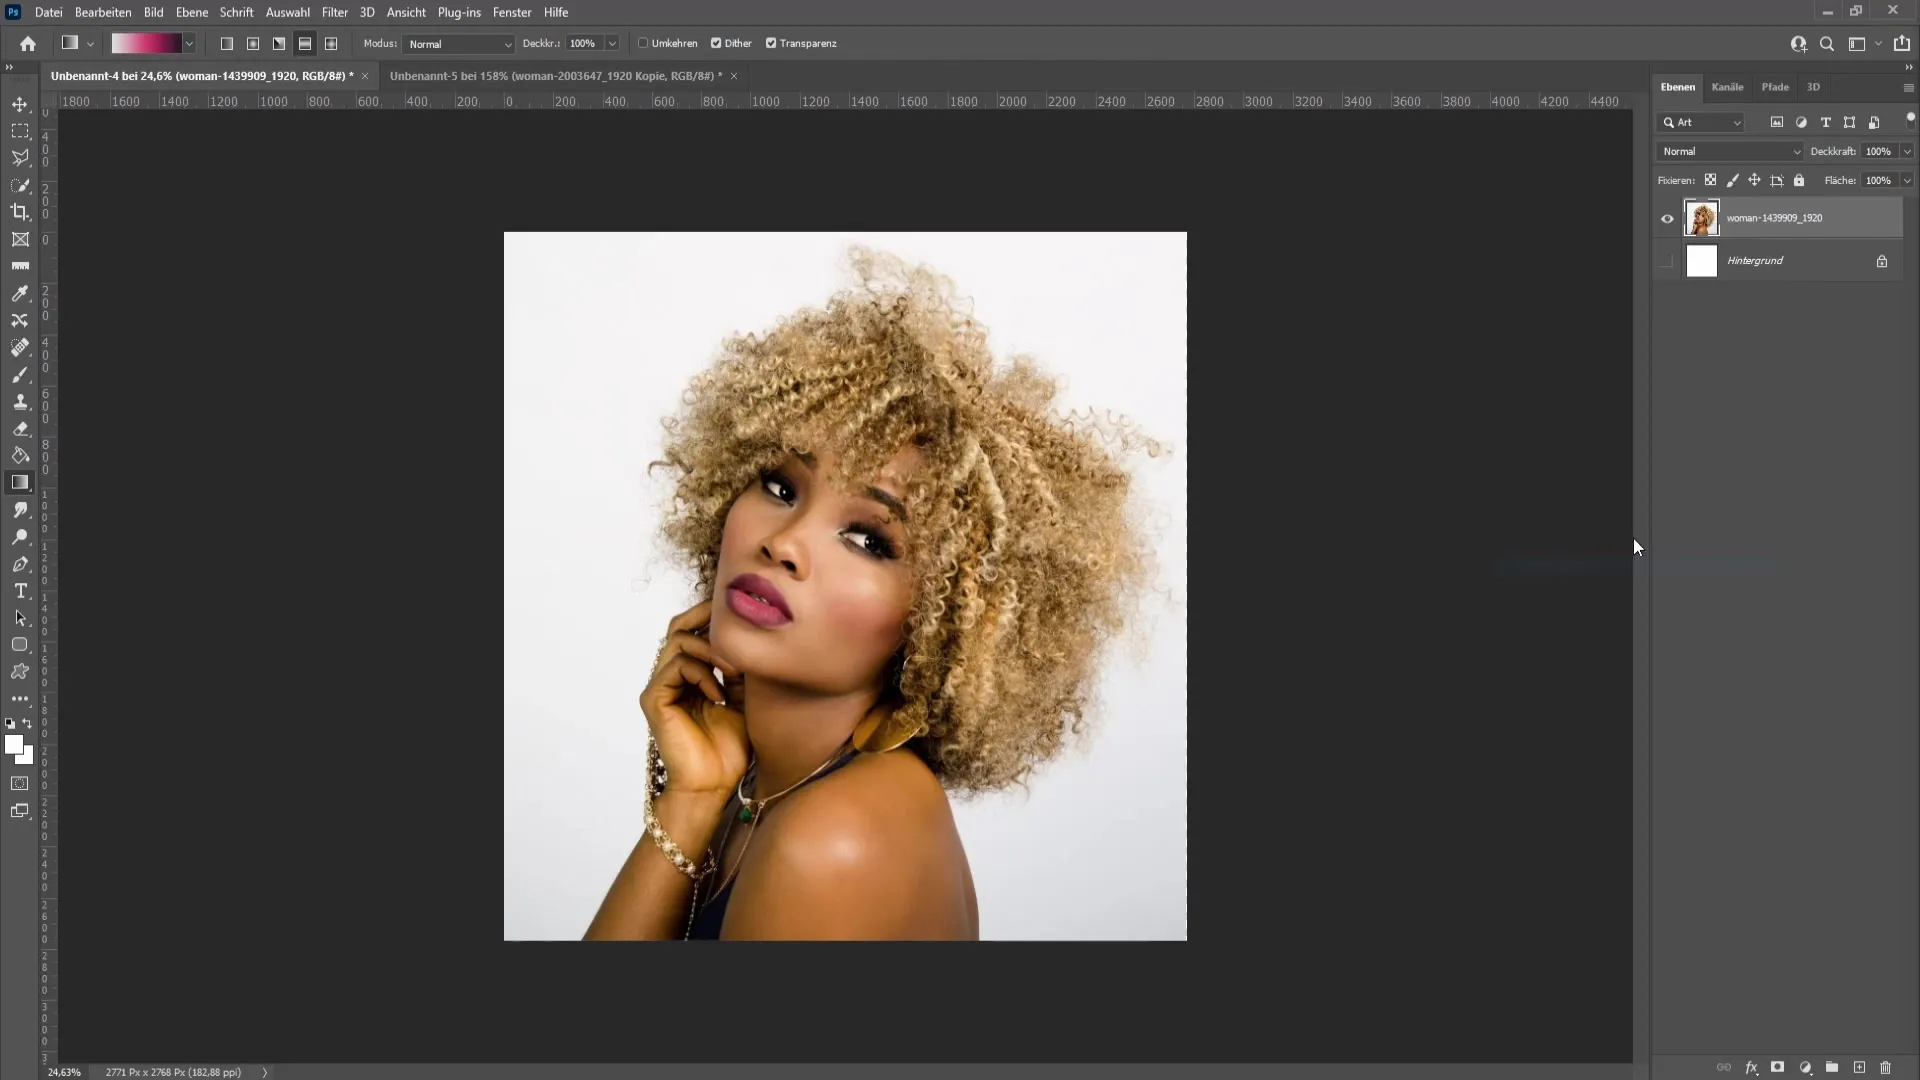
Now it's time to convert the image to black and white. You can achieve this by pressing Ctrl + Shift + U simultaneously. This will remove all colors, giving you a black and white version of your image.
To optimize the contrast and brightness of your image, open the Adjustments window. You can find this at the top menu under "Window" and then "Adjustments". Here, you can experiment with the brightness and contrast slider. Increase the contrast to intensify the black and white values and adjust the brightness to optimize the image to your liking.
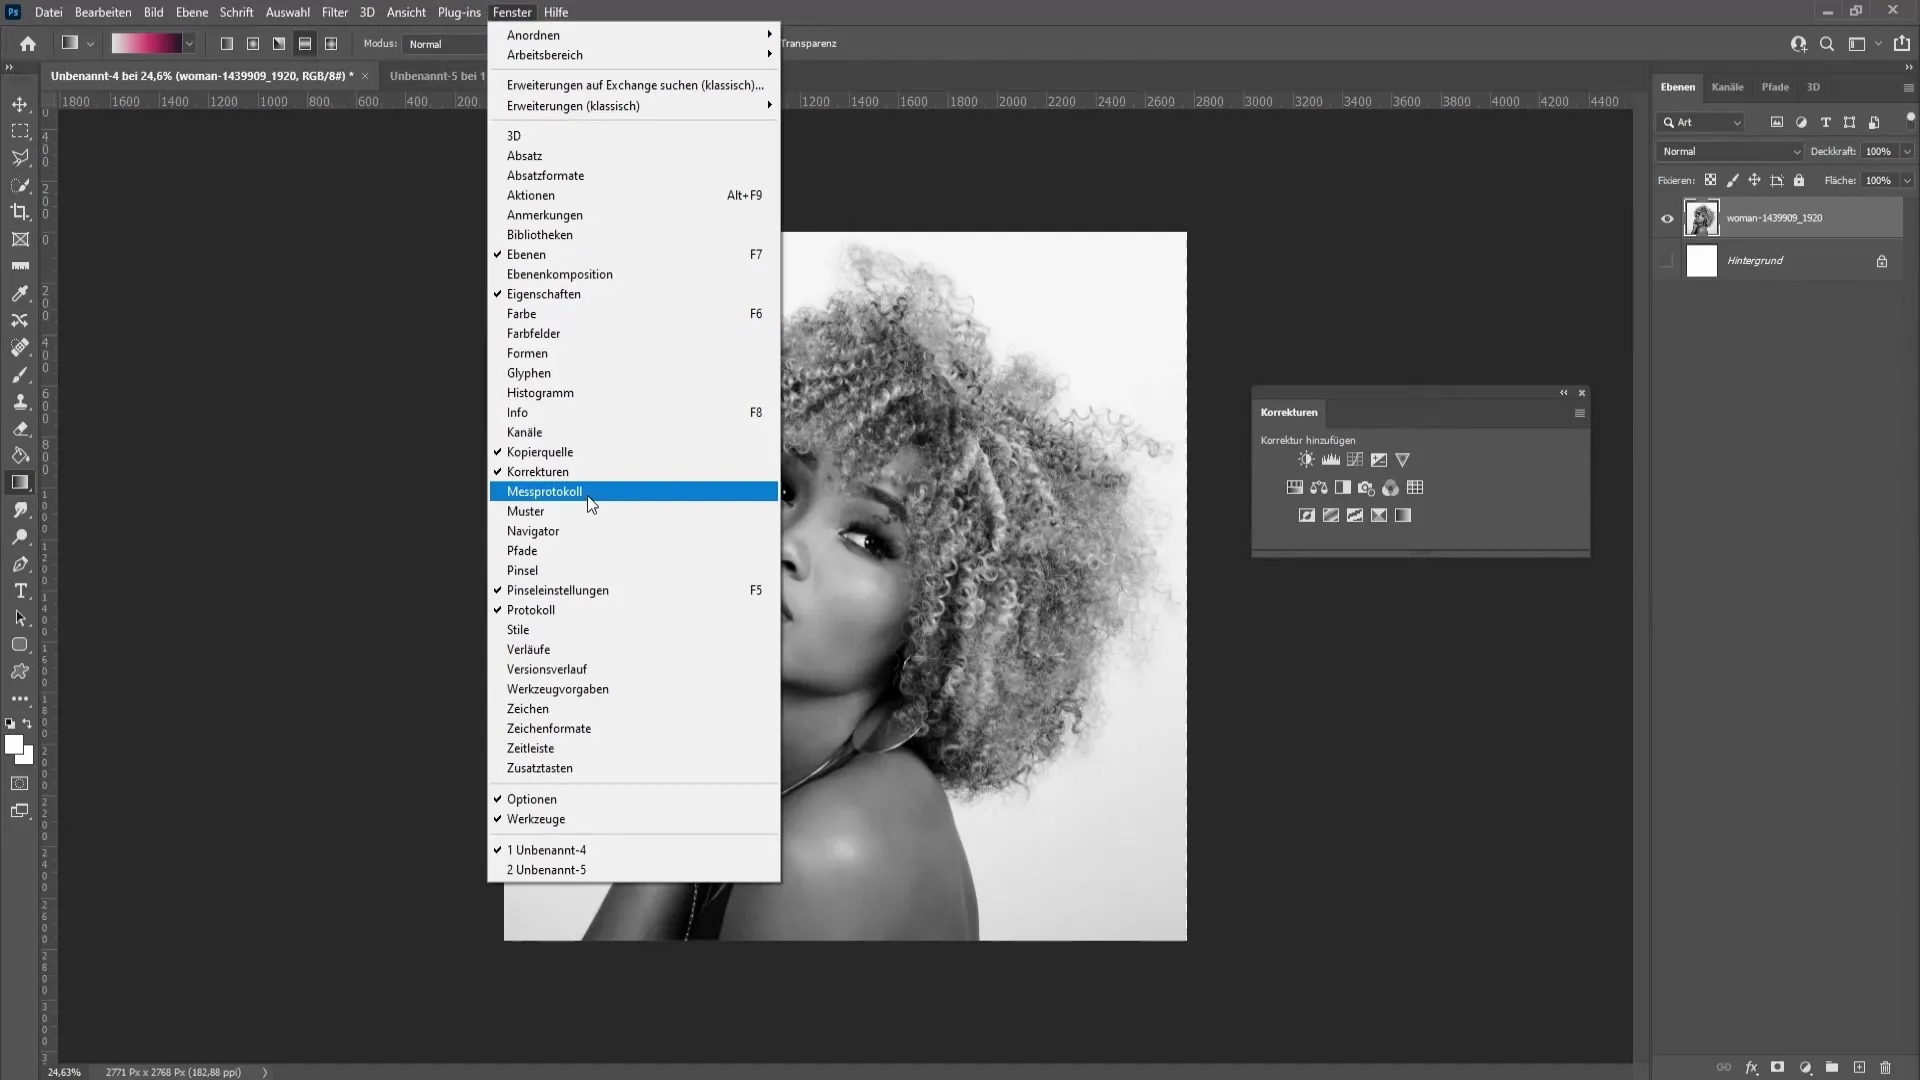
Make sure to adjust the values as needed to achieve the best result. Personally, reducing the brightness by about 15 worked well for me, but this may vary depending on the image.
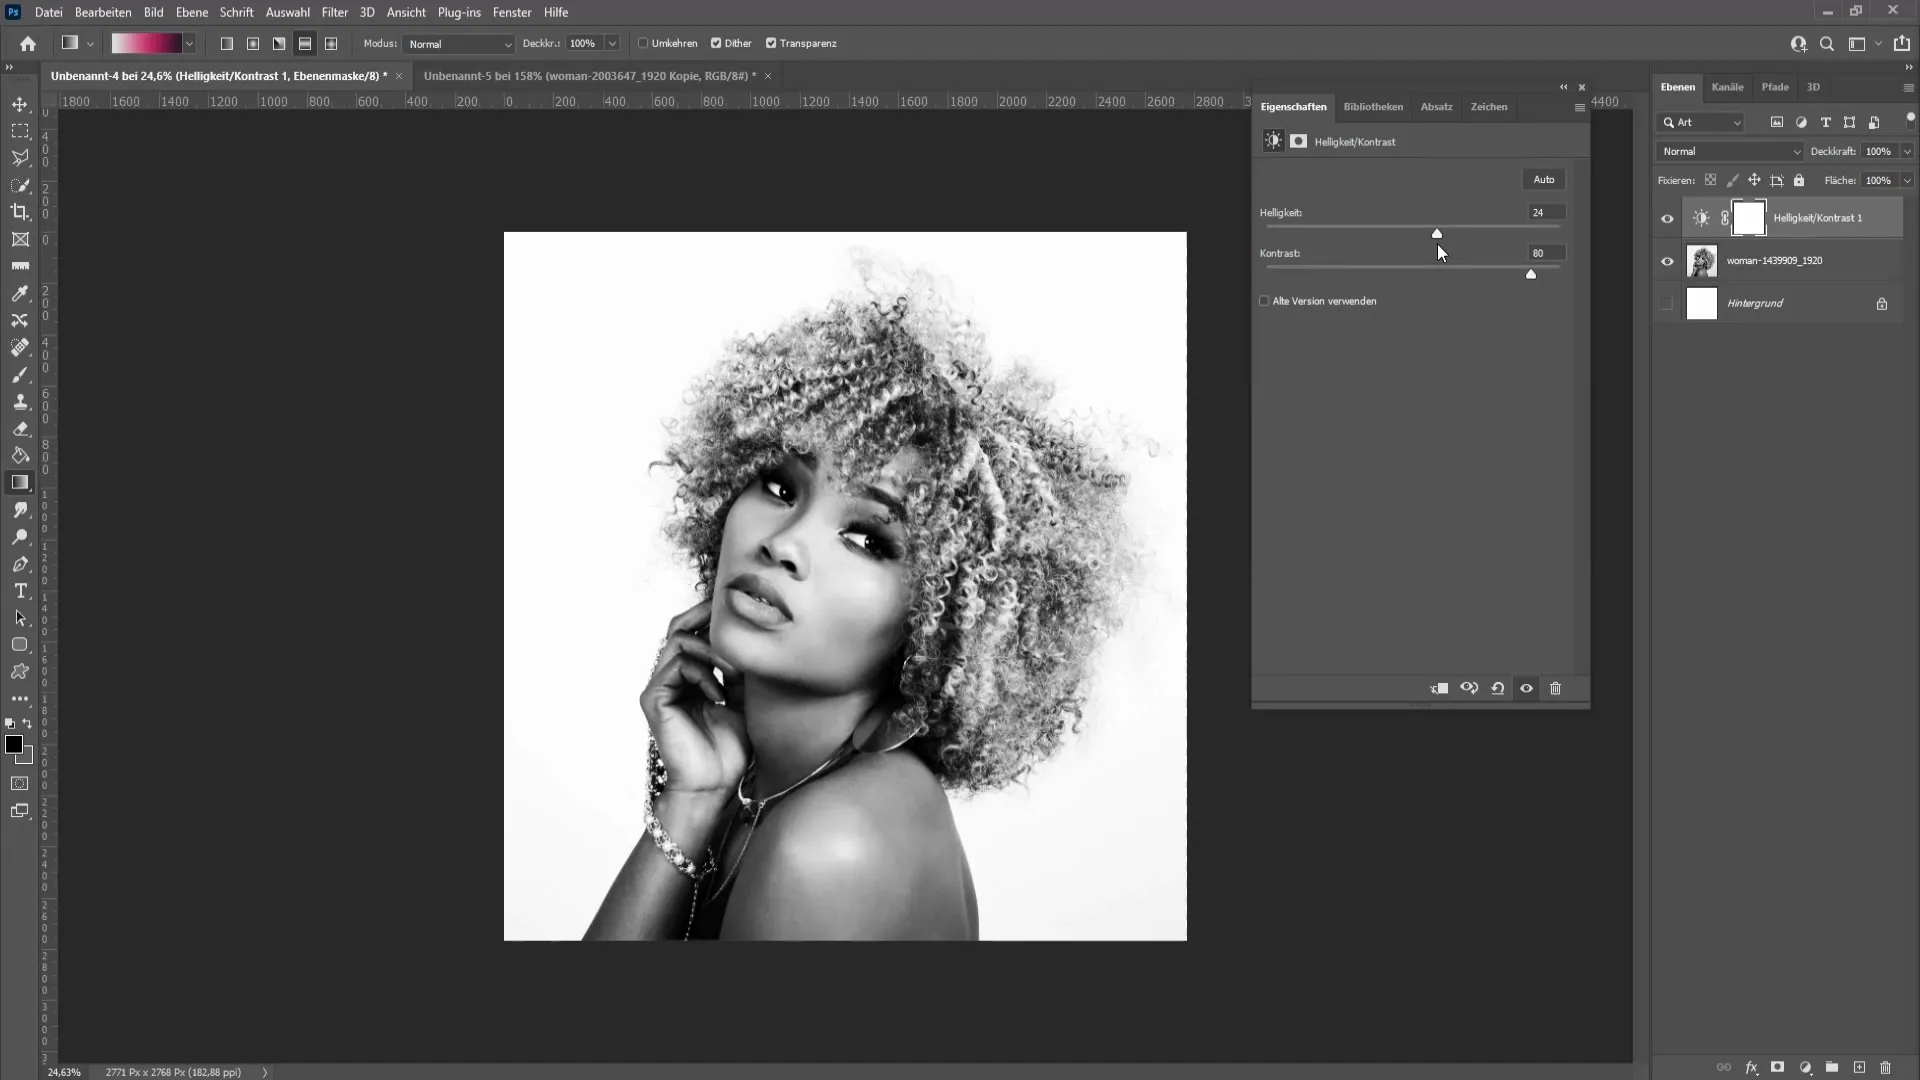
After adjusting the brightness and contrast, go to the layer below; we will now proceed with the halftone effect. Click on "Filter", then "Pixelate" and choose "Color Halftone". Alternatively, you can simply type "Color Halftone" in the search bar at the top to find the filter.
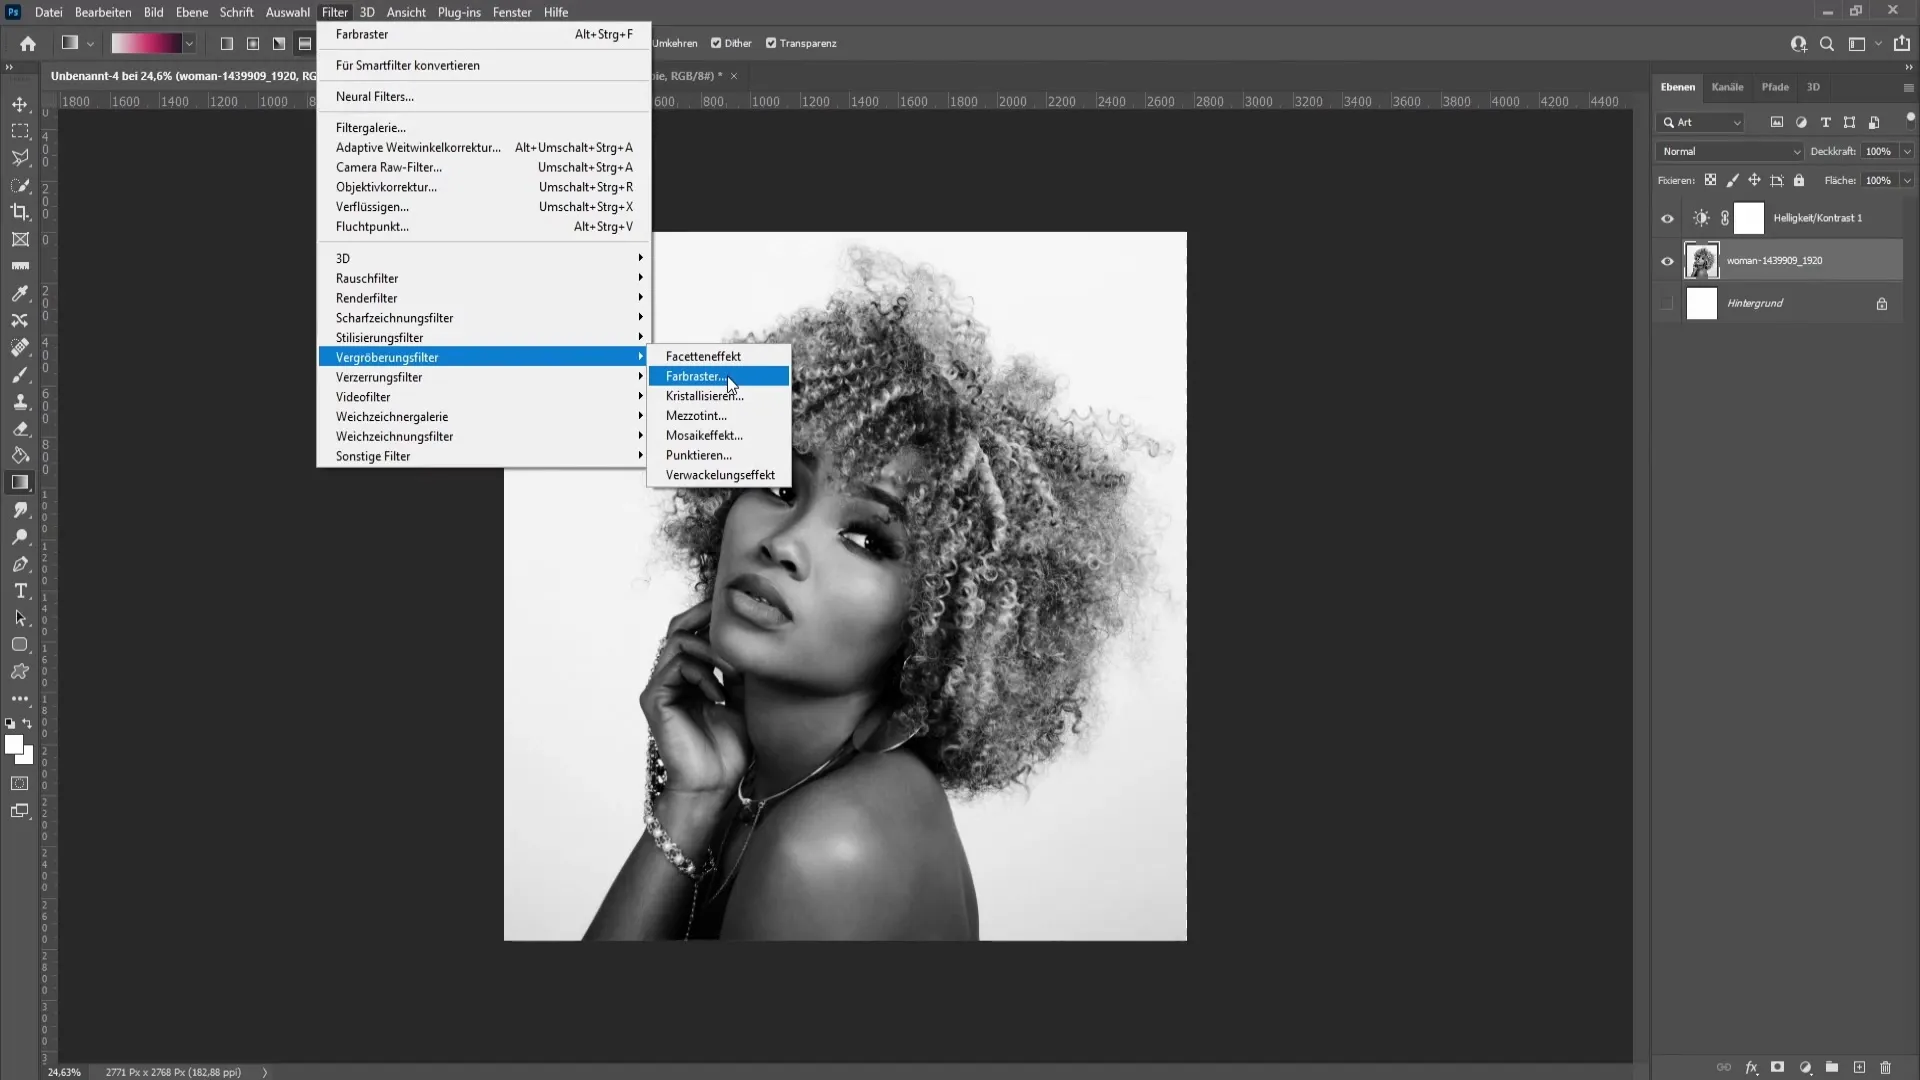
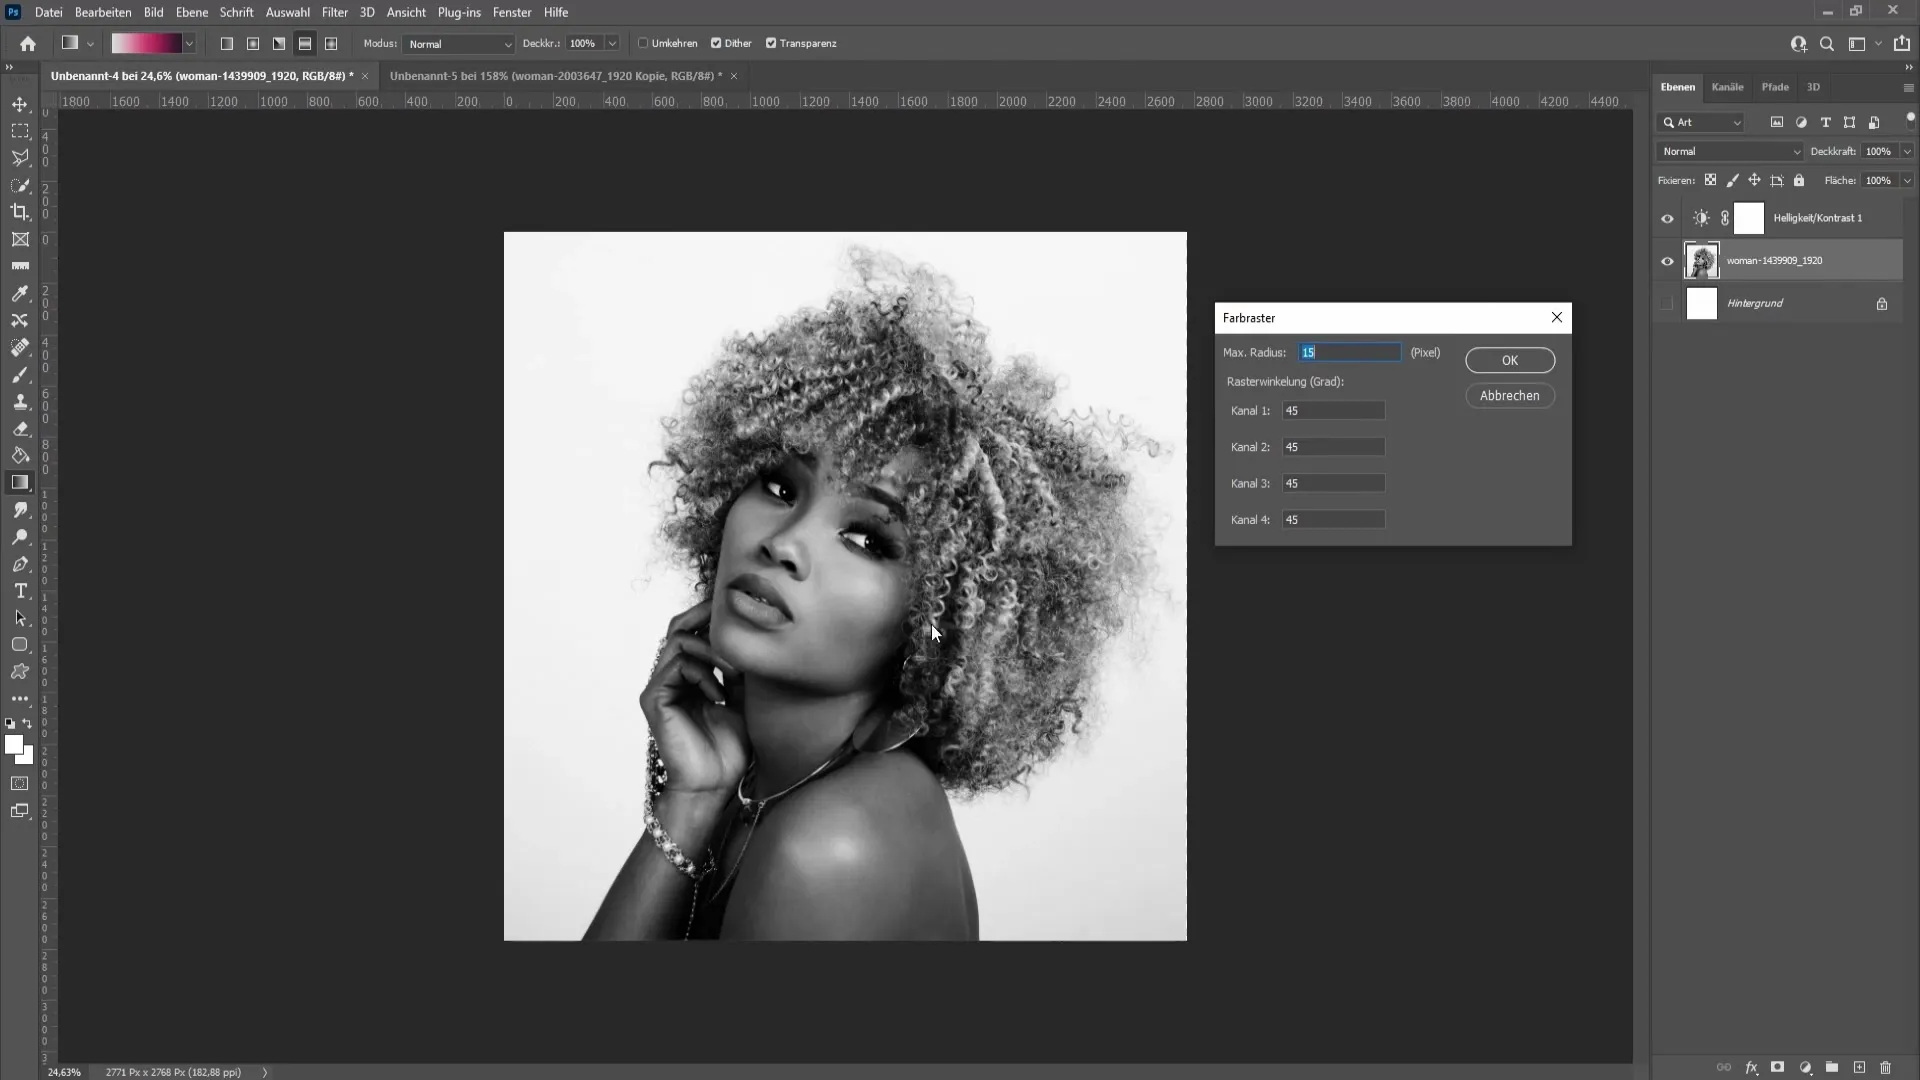
In the dialog box that follows, you can adjust the size of the dots creating the halftone effect using the Max Radius. Try different values between 5 and 20 pixels to see what looks best for your image. Raster Angle indicates how the dots are arranged, further altering the effect.
Once you are satisfied with your settings, click "OK". You will now see that your image has received a beautiful halftone effect.

Now you can add some color to your halftone image. Create a new layer by clicking on "Layer" in the menu and then "New Layer". Select the Gradient Tool to create a gradient. For example, you can use a gradient from black to red to achieve an interesting visual effect.
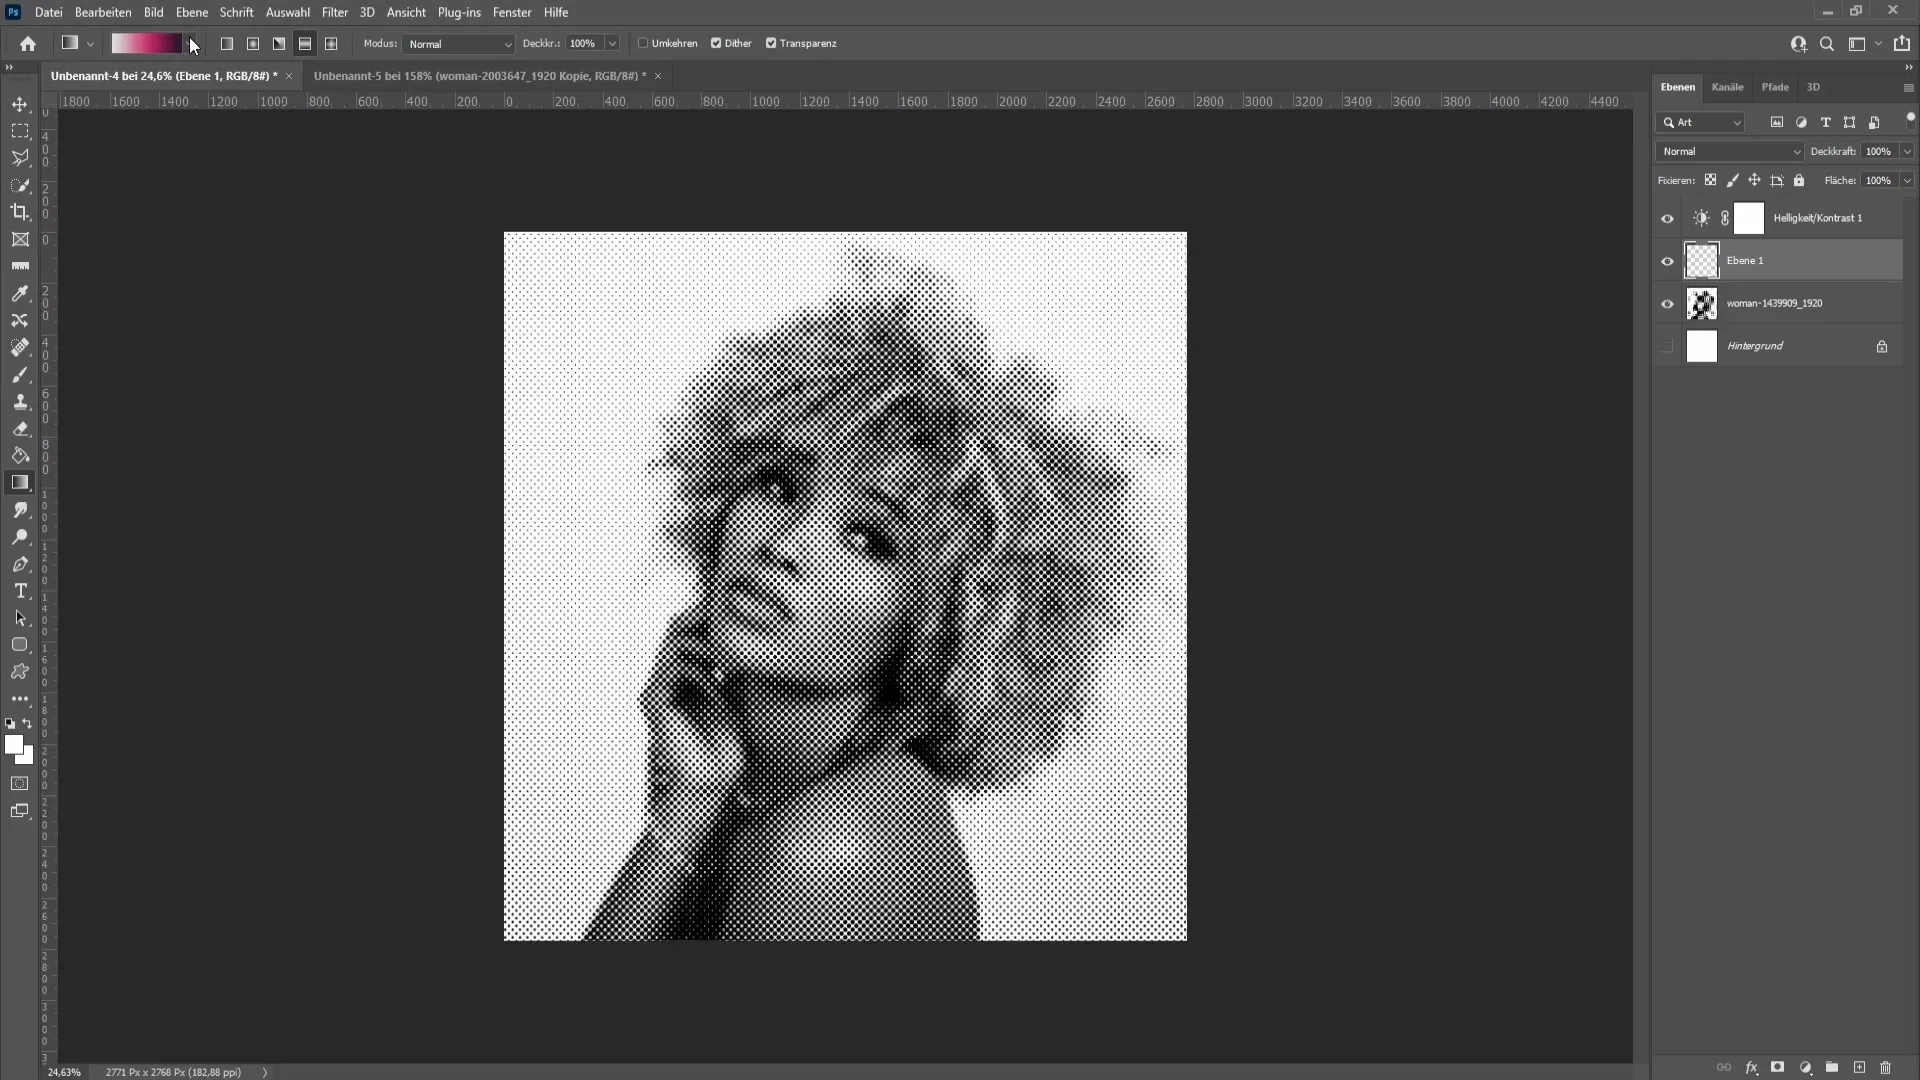
Now, drag the Gradient Tool over your image, and the gradient will be applied to your halftone image. To make the gradient visible, you need to set the layer option to "Multiply". This will make your gradient transparent and allow the halftone effect to show through.
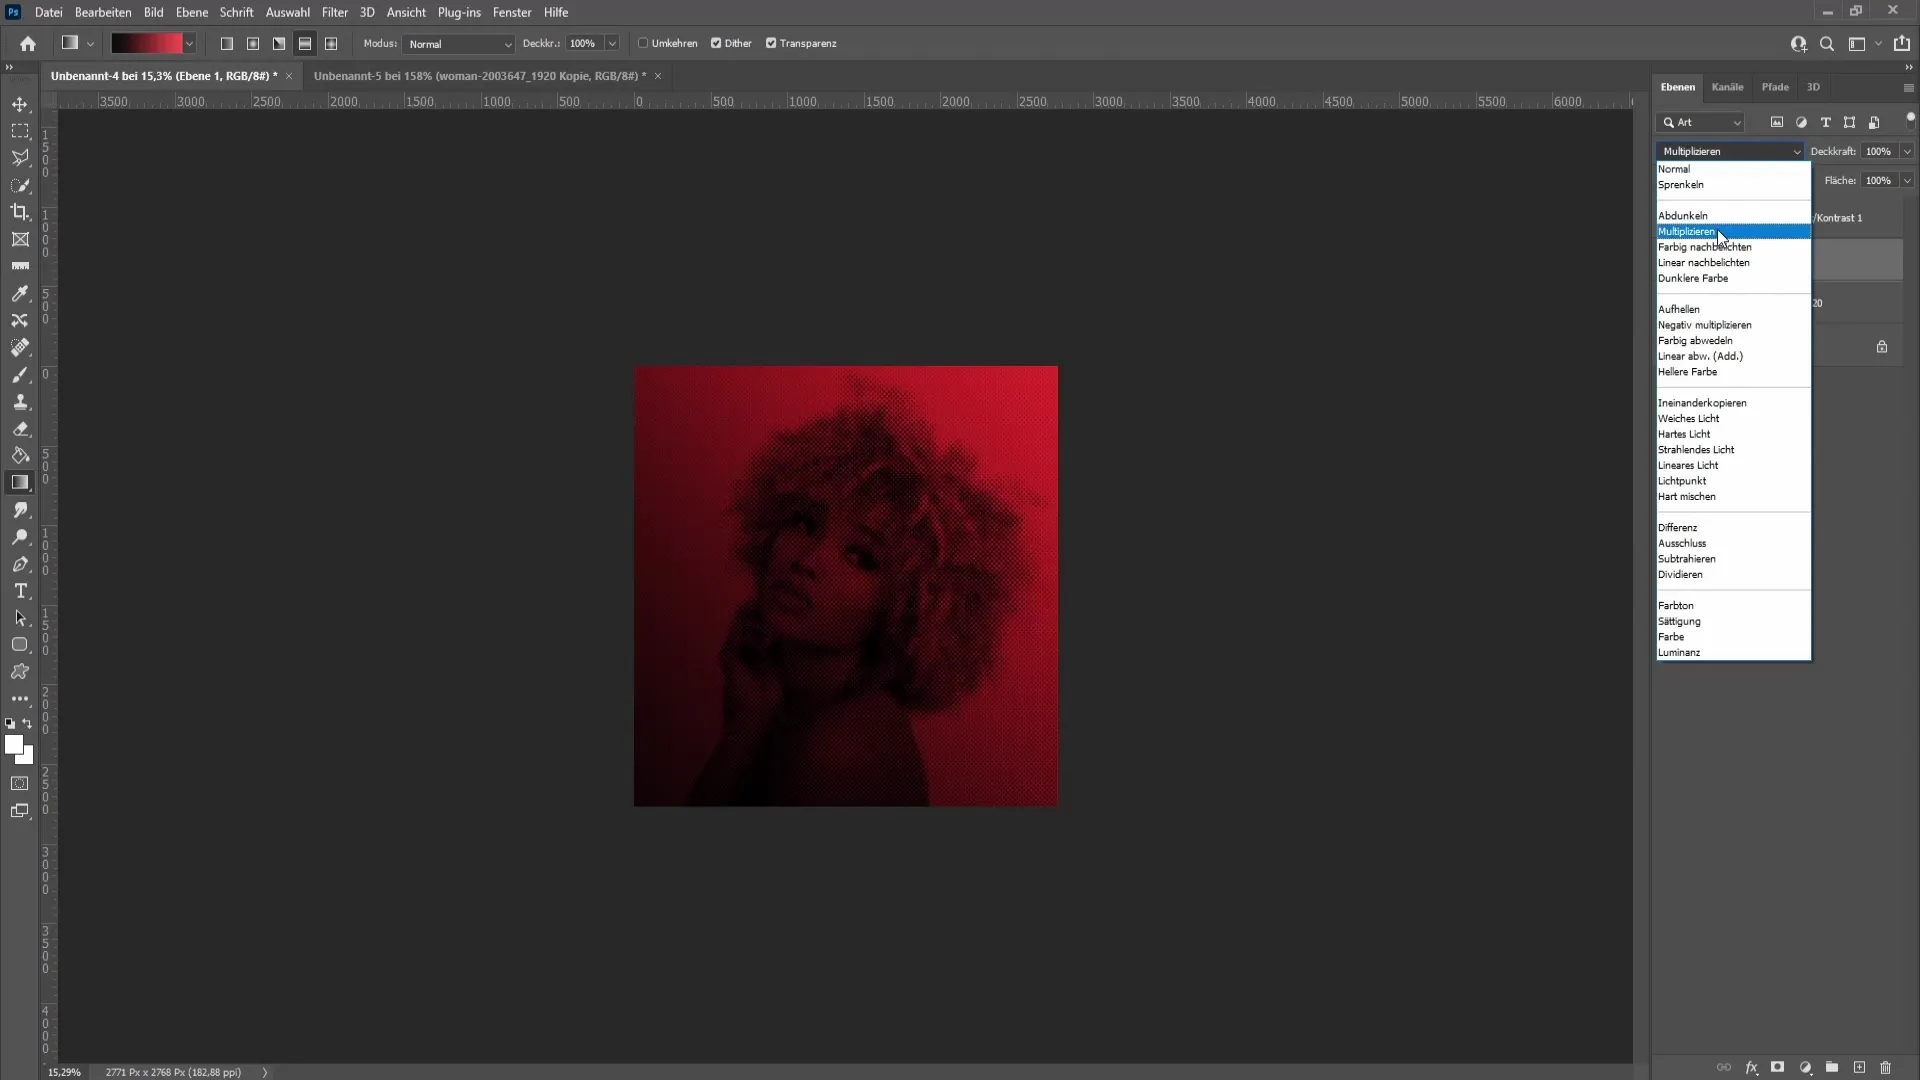
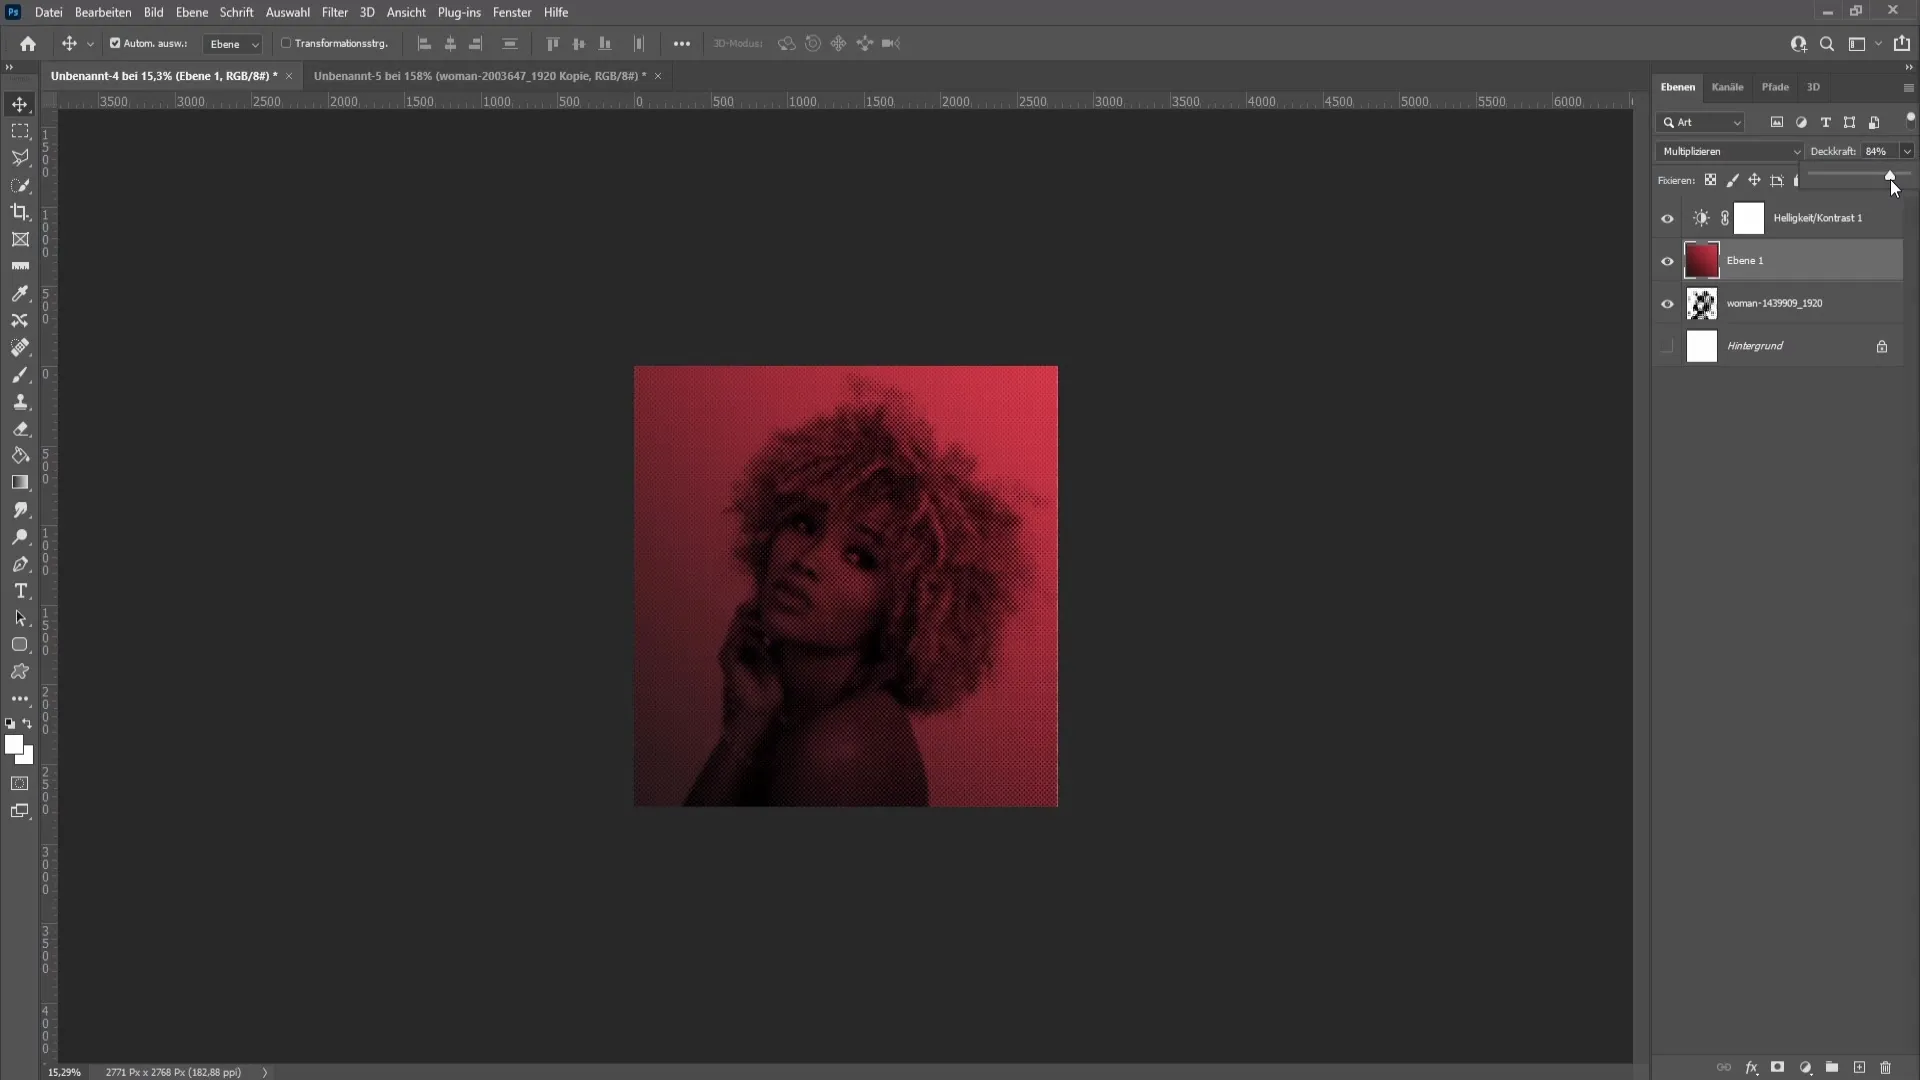
If desired, you can also experiment with the opacity of the gradient layer to achieve different looks. This can add even more depth to your composition.
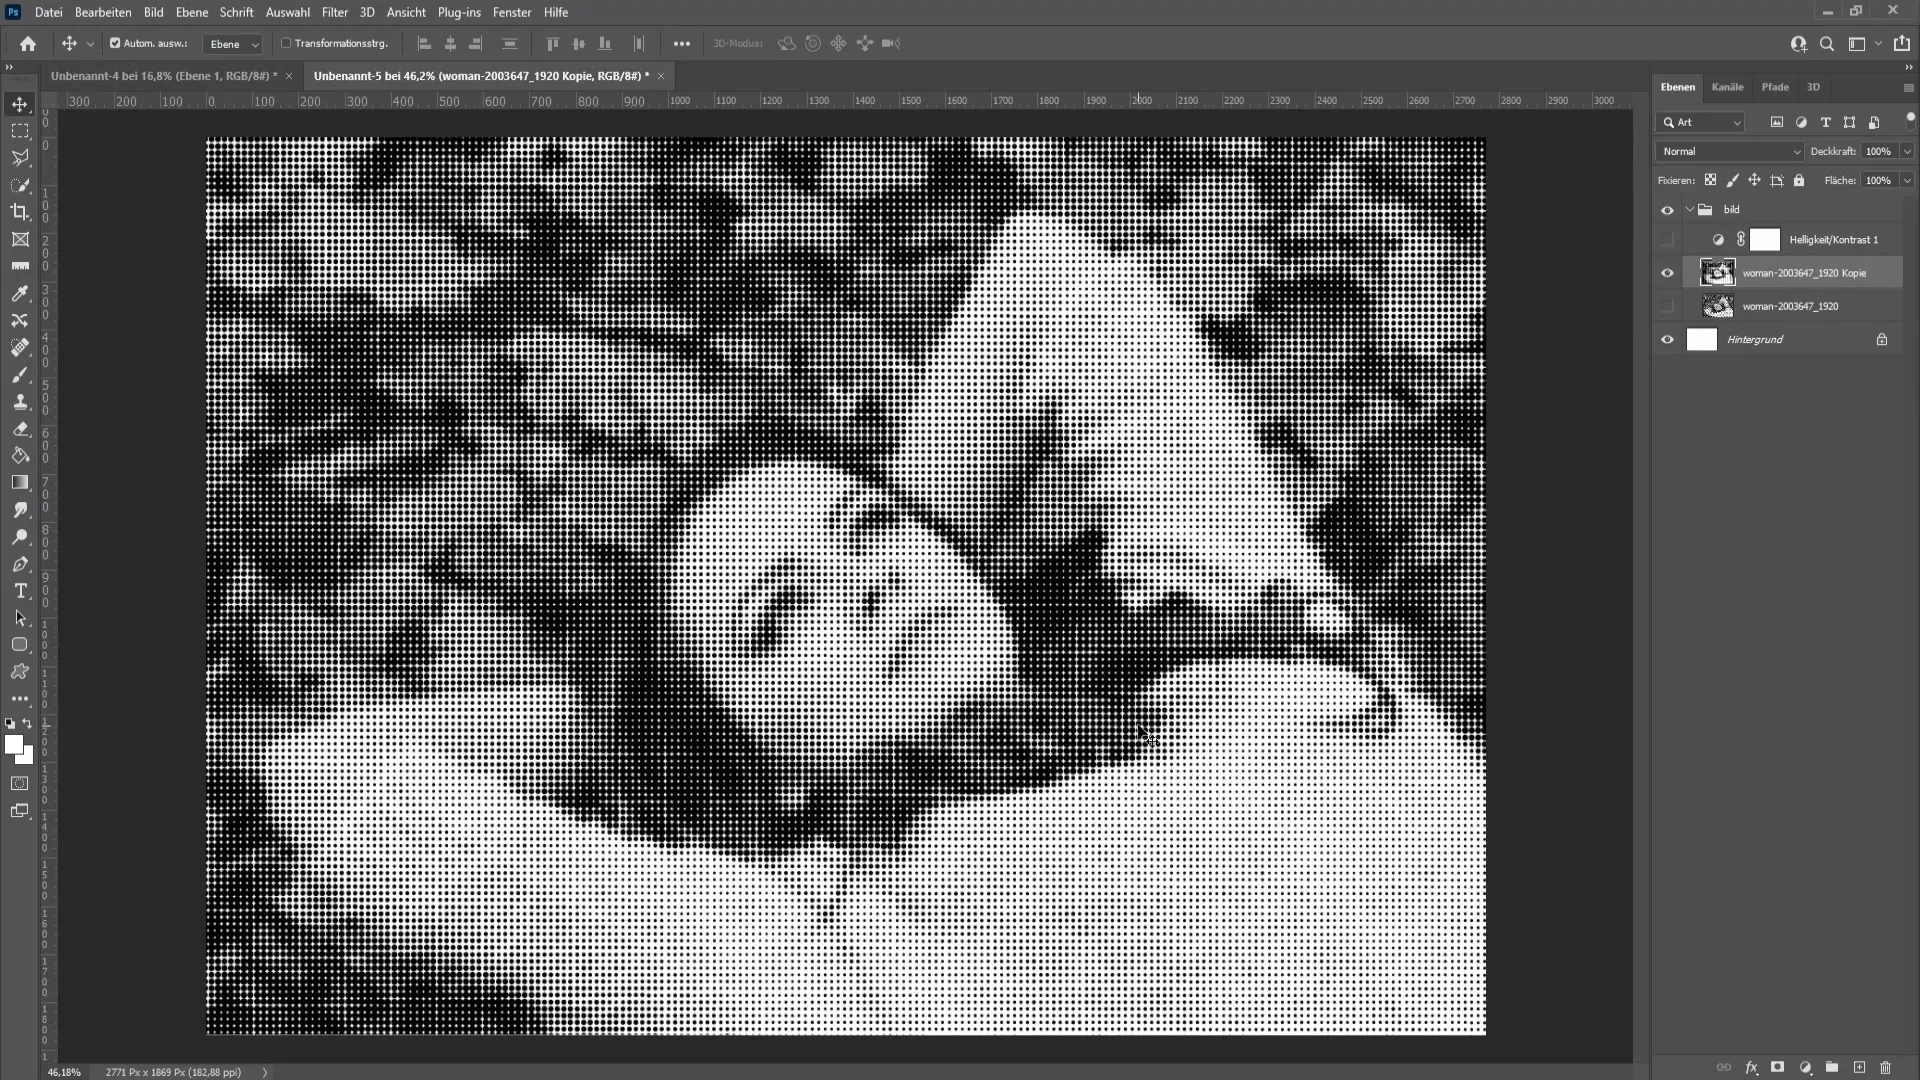
To better understand the effect of halftone screening, you can experiment by changing the halftone screening for your image. When you use a halftone screening of 0°, the dots run vertically, while at 45° the dots are arranged diagonally. You can experiment with different angles to find out which effect you like best.
That's it! You have successfully created a halftone image in Photoshop.
Summary
In this tutorial, you have learned how to create a halftone image in Photoshop by making color and contrast adjustments and applying the halftone filter. You have also learned how to add gradients to give the image an extra flair. Experiment with the settings to achieve the perfect look for your projects.
Frequently Asked Questions
How do I rasterize a layer in Photoshop?Right-click on the layer and choose "Rasterize Layer" from the context menu.
How do I make an image black and white?Press Ctrl + Shift + U simultaneously to remove the colors.
How can I adjust the halftone effect?Use the halftone filter and adjust the Maxradius and halftone screening.
Can I add color to the halftone image?Yes, you can create a new layer and use the gradient tool.
What is the ideal halftone screening?The ideal halftone screening varies depending on the desired effect; 0° and 45° are common options.
