In this guide, I will show you how to easily create a High-Key effect with Photoshop to make your photos brighter and more appealing. You will learn to apply various corrections to improve skin tones and brighten the background. Let's get started and make the most out of your image!
Main Insights
The High-Key effect is achieved by brightening midtones and adjusting hue and saturation. By using curves and hue/saturation adjustments, you can achieve the desired brightness and color intensity.
Step-by-Step Guide
Launch Photoshop and open your original image. In the tutorial, we are using an image that we want to turn into a High-Key image. The goal is to significantly increase the brightness of the image and brighten the skin tones.
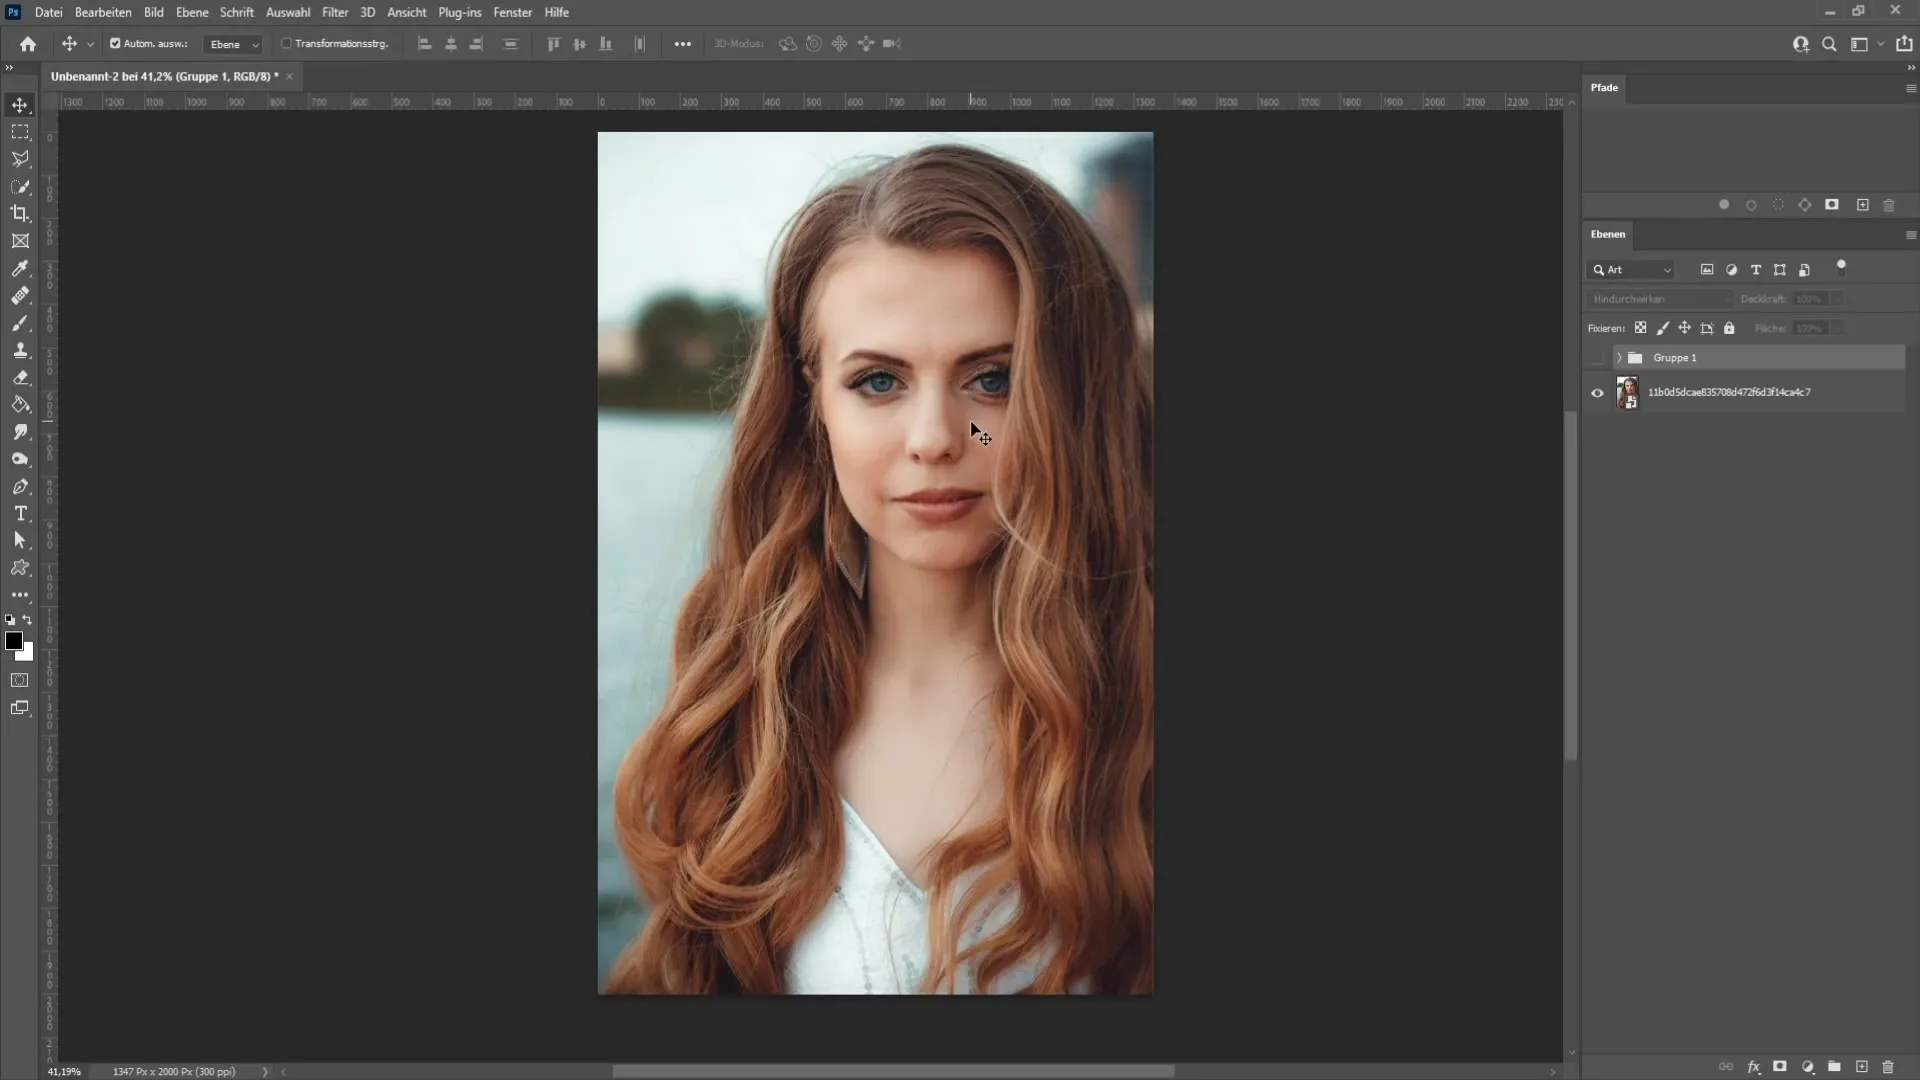
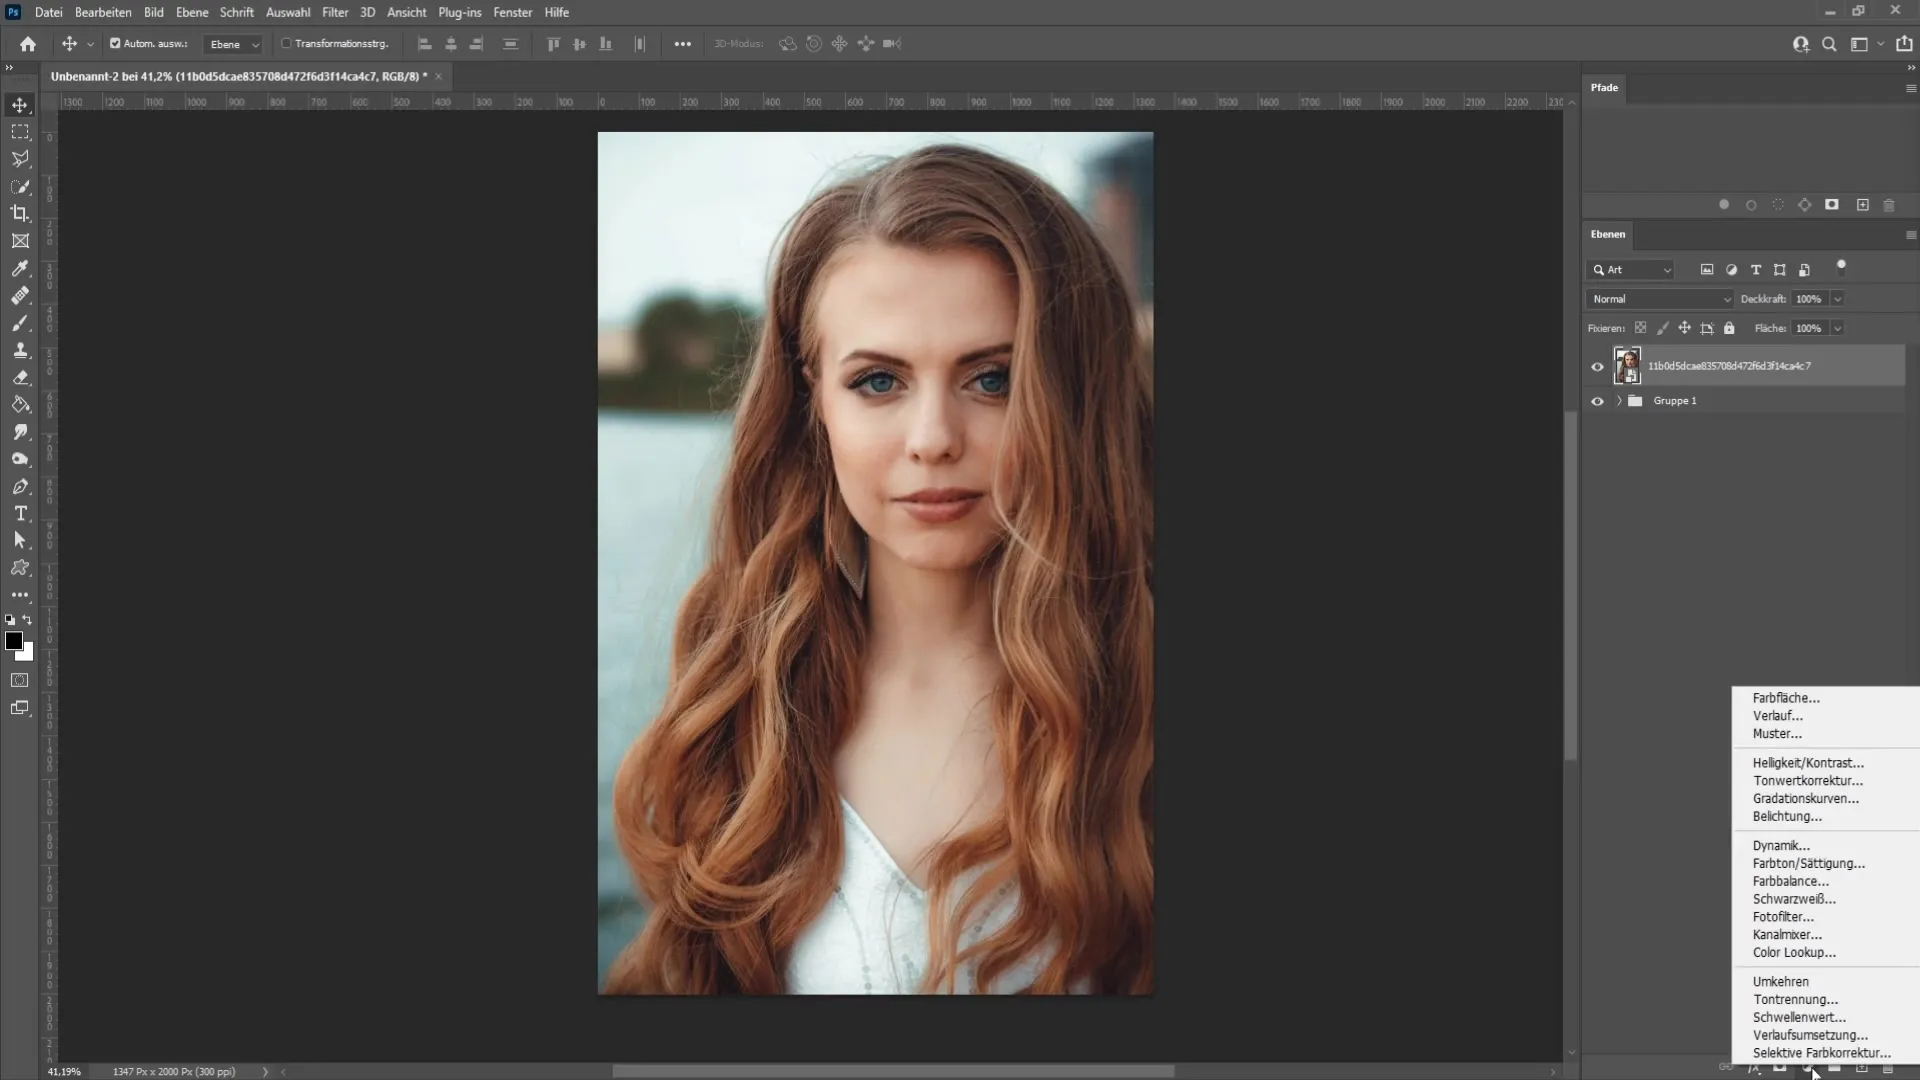
To brighten the image, we start with a curve adjustment. Go to the adjustments window, located at the bottom right. Click on the circle icon and choose curves.
After selecting curves, a new window appears. Simply place a point in the middle of the curve and slightly drag this point upwards. This will not only preserve the midtones of the image but also brighten them.
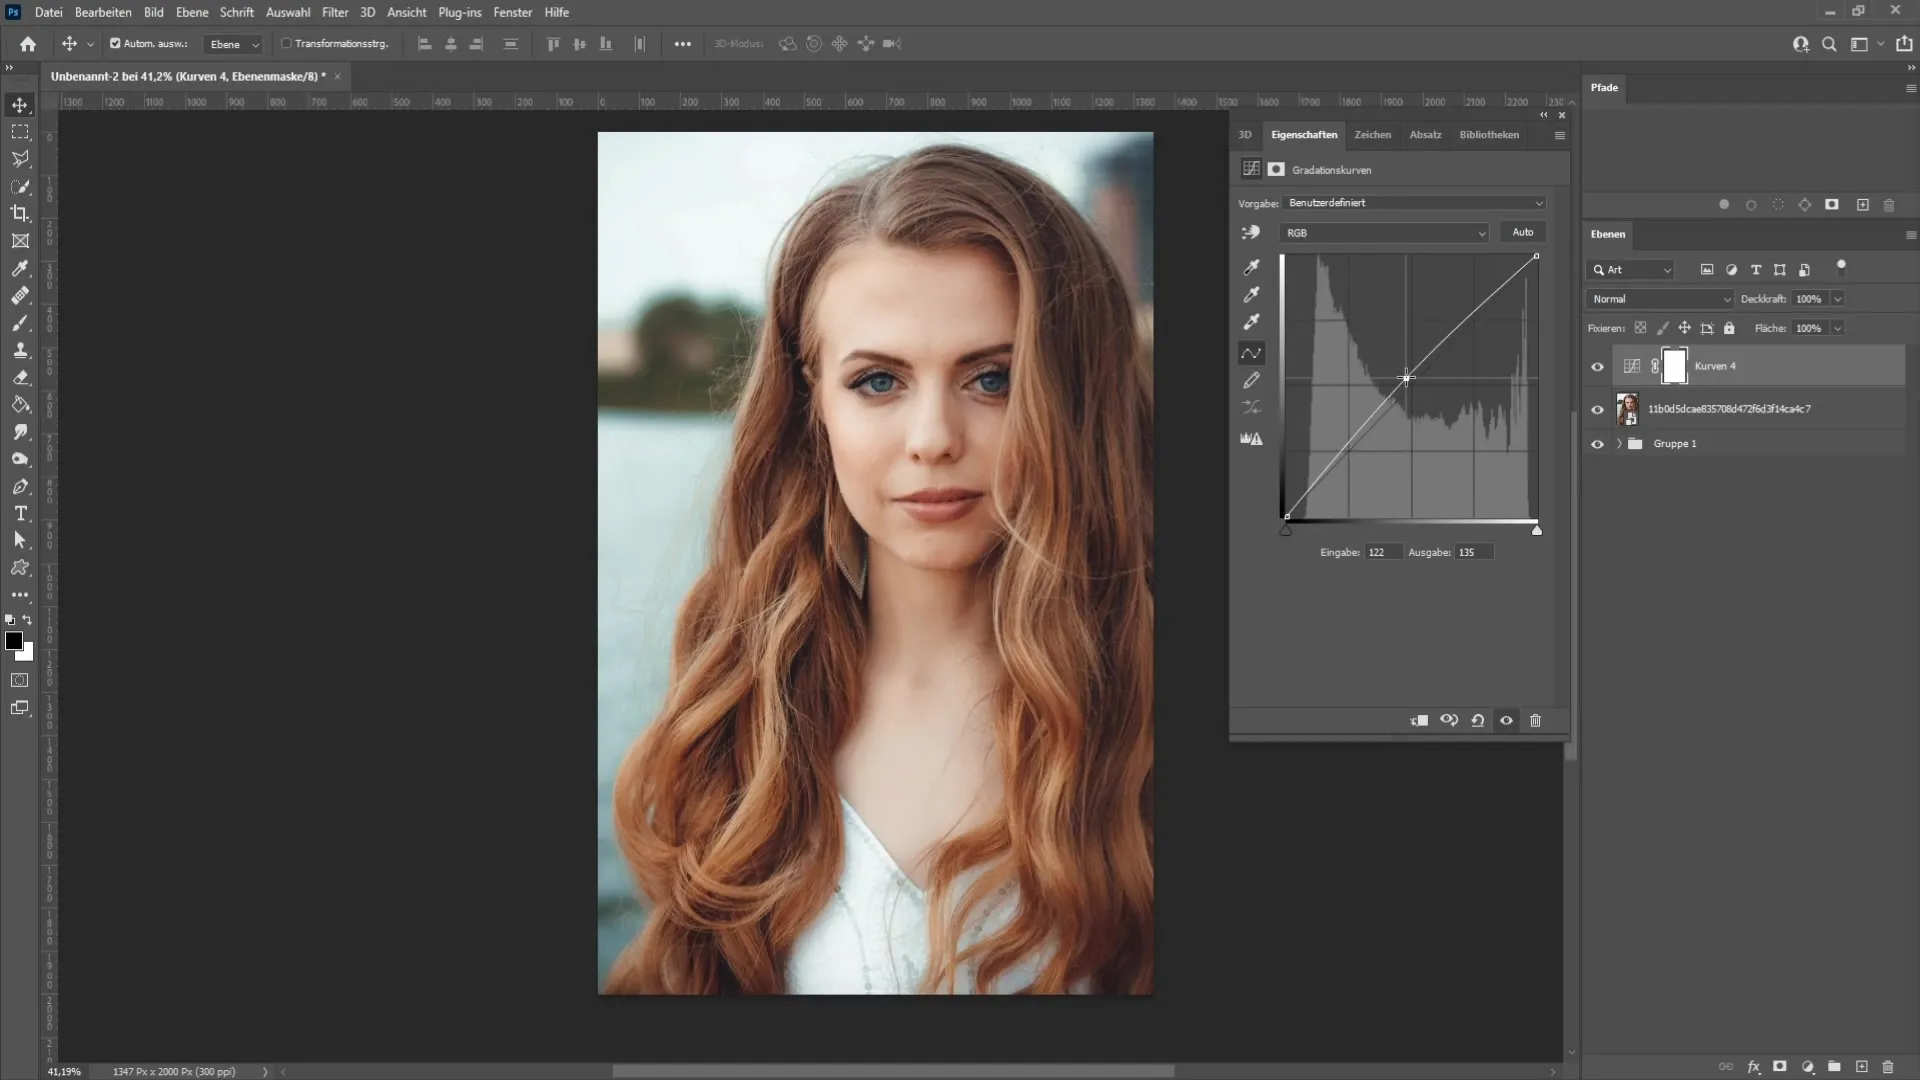
Note that setting the curve too high may cause details in skin tones to be lost. To avoid this, you can slightly lower the top point of the curve to find a harmonic balance.
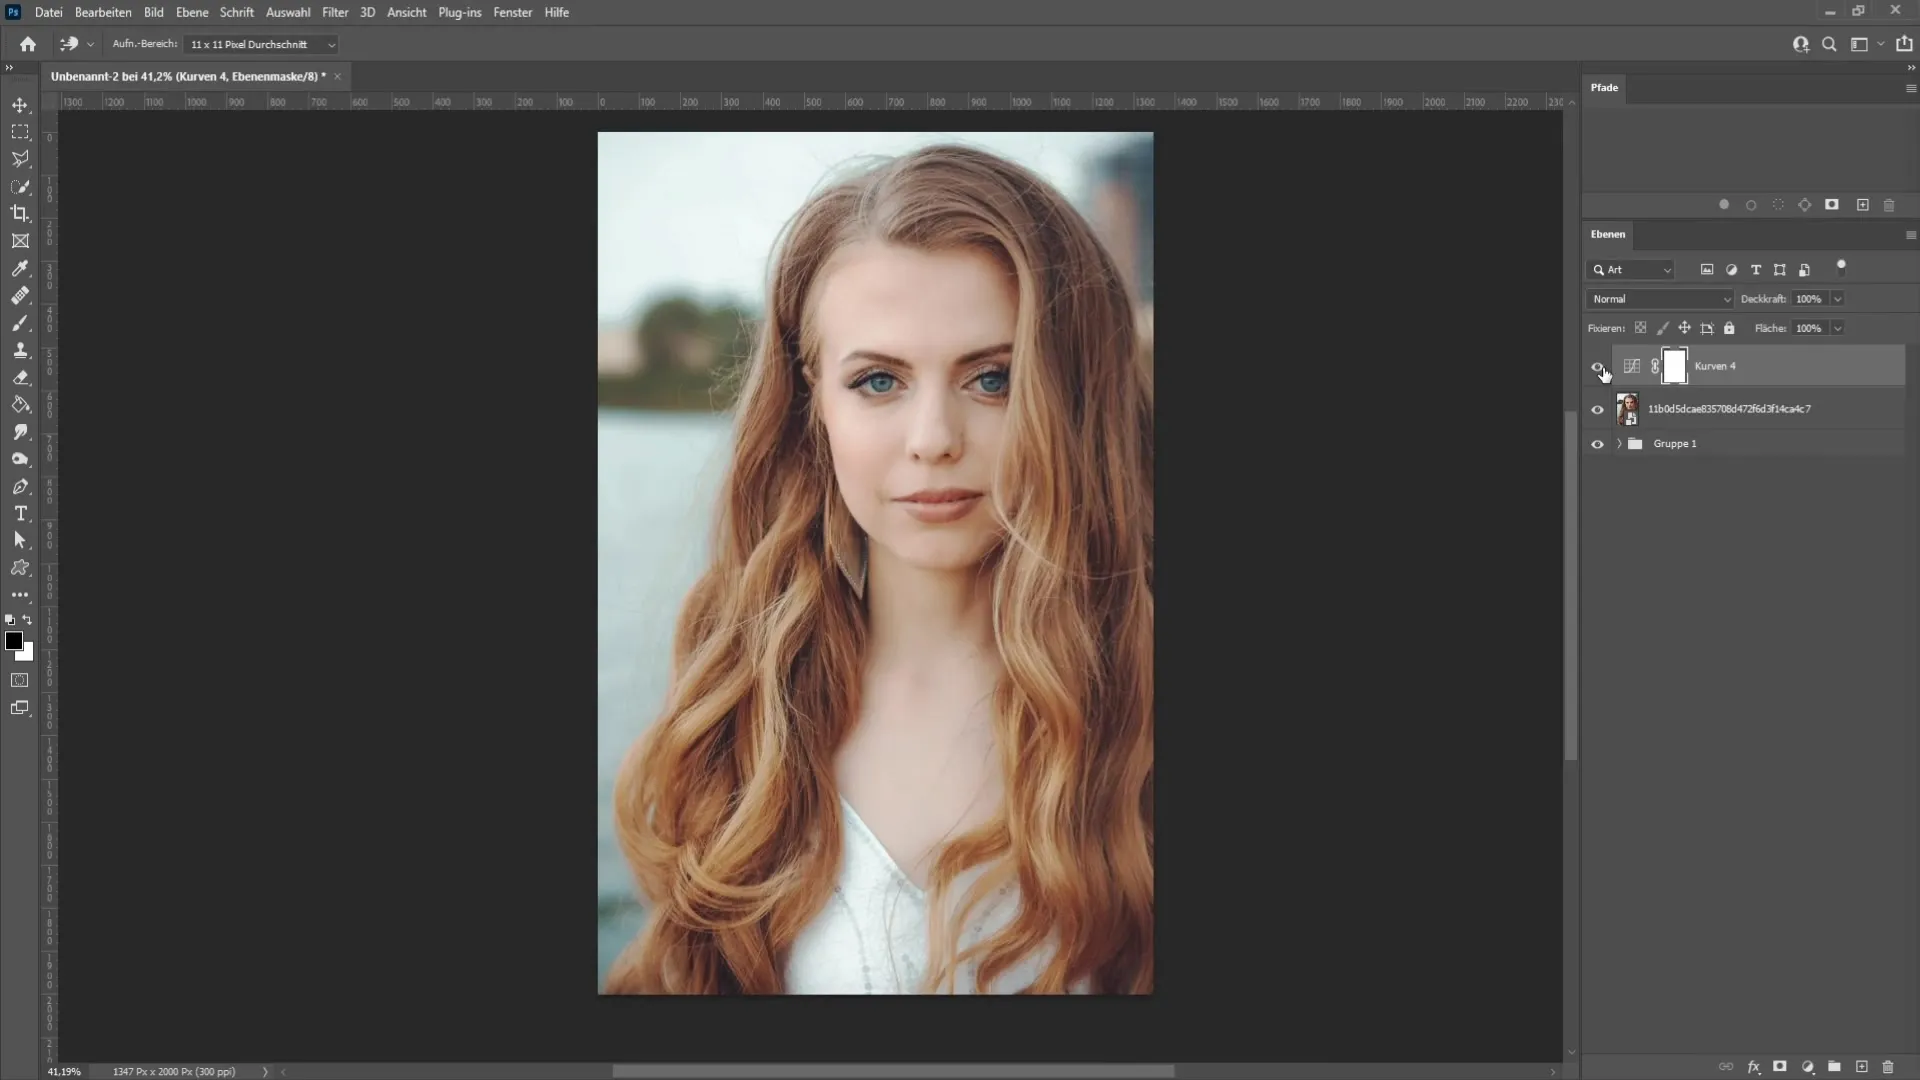
Now you can make an initial before-after comparison. You'll notice that the image already looks significantly brighter.
The next step is to brighten the skin tones a bit. For this, we will use a hue/saturation adjustment layer. Again, in the adjustments window, click on the hue/saturation symbol.
Now select the red color channel because red tones are crucial for skin tones. Adjust the selection to include magenta and yellow tones as well. This step will help make the skin tones appear warmer.
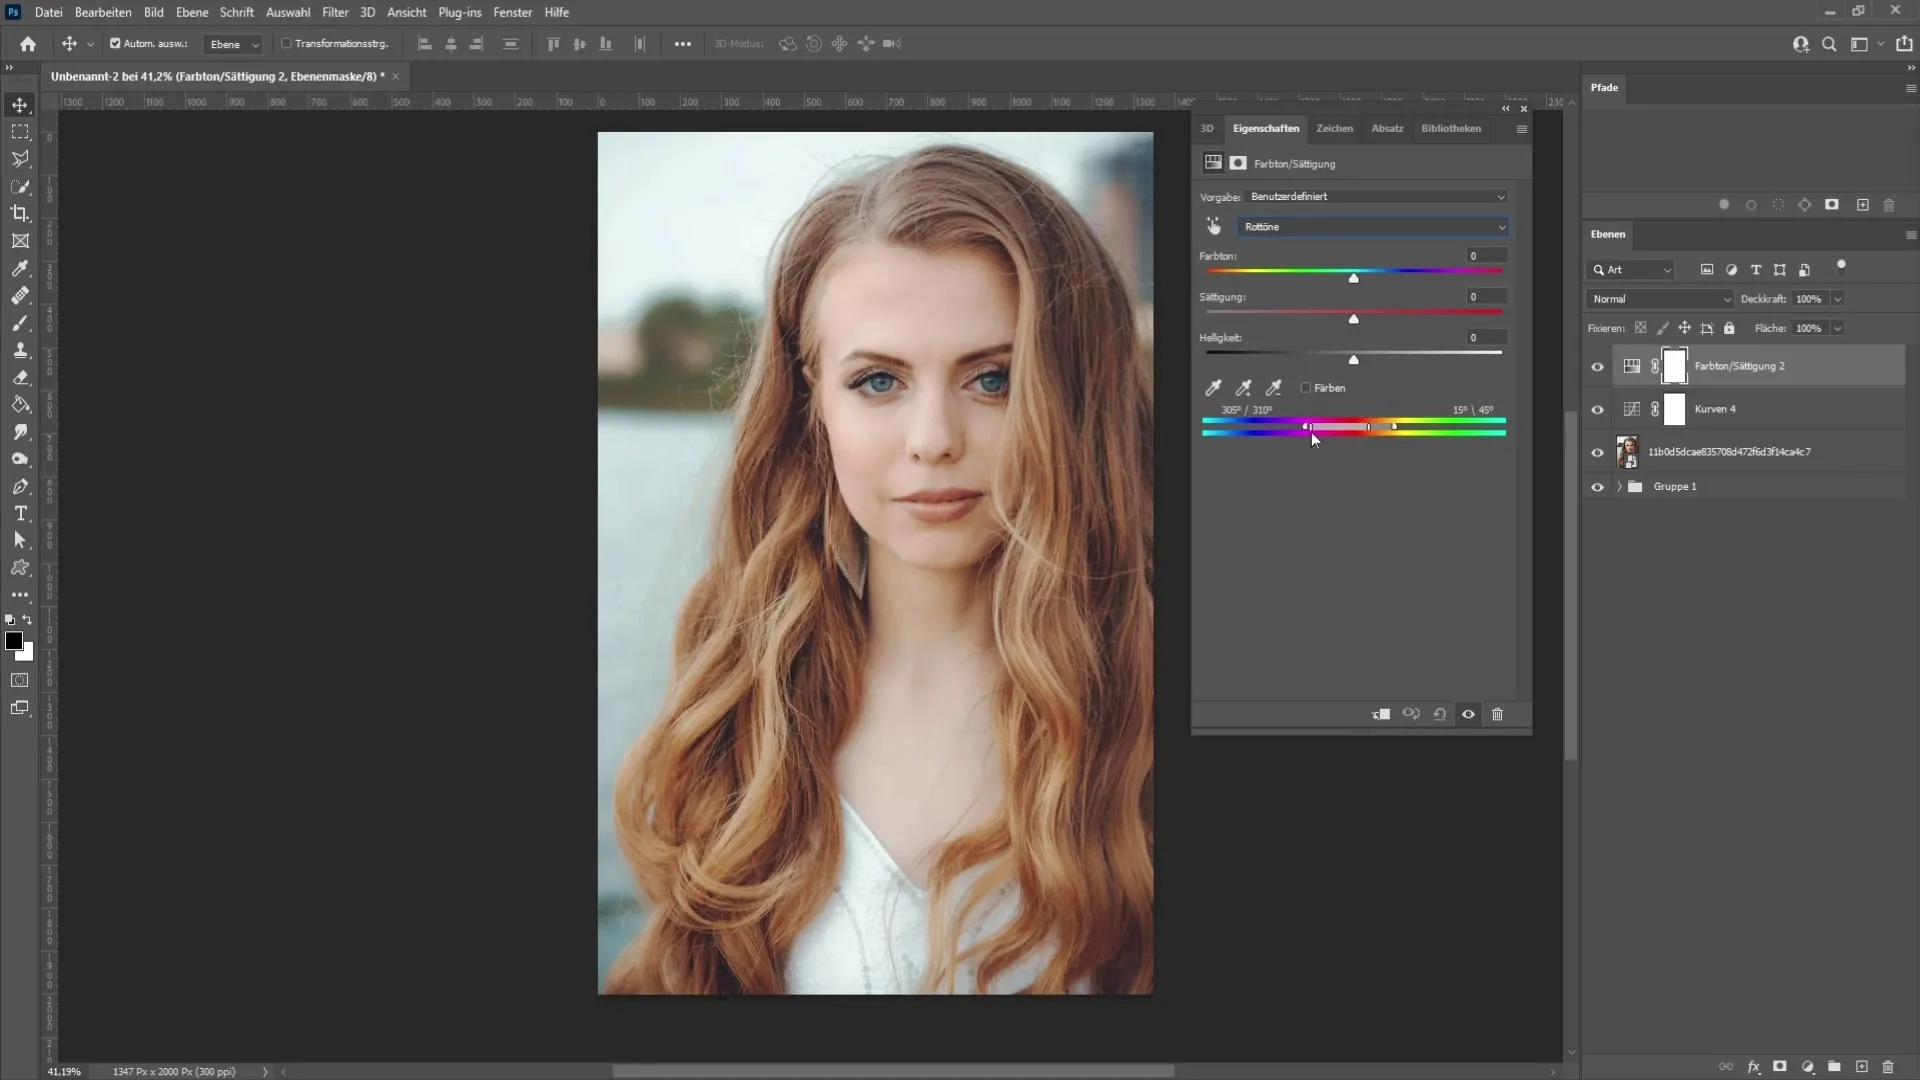
Once you have the relevant area selected for skin tones, gently move the brightness slider upwards. A slight increase of +6 should be sufficient to achieve the desired results.
Now let's merge the layers we have created so far. Press the shortcut Control + Shift + Alt + E. This will create a new empty layer that includes all of your previous changes.
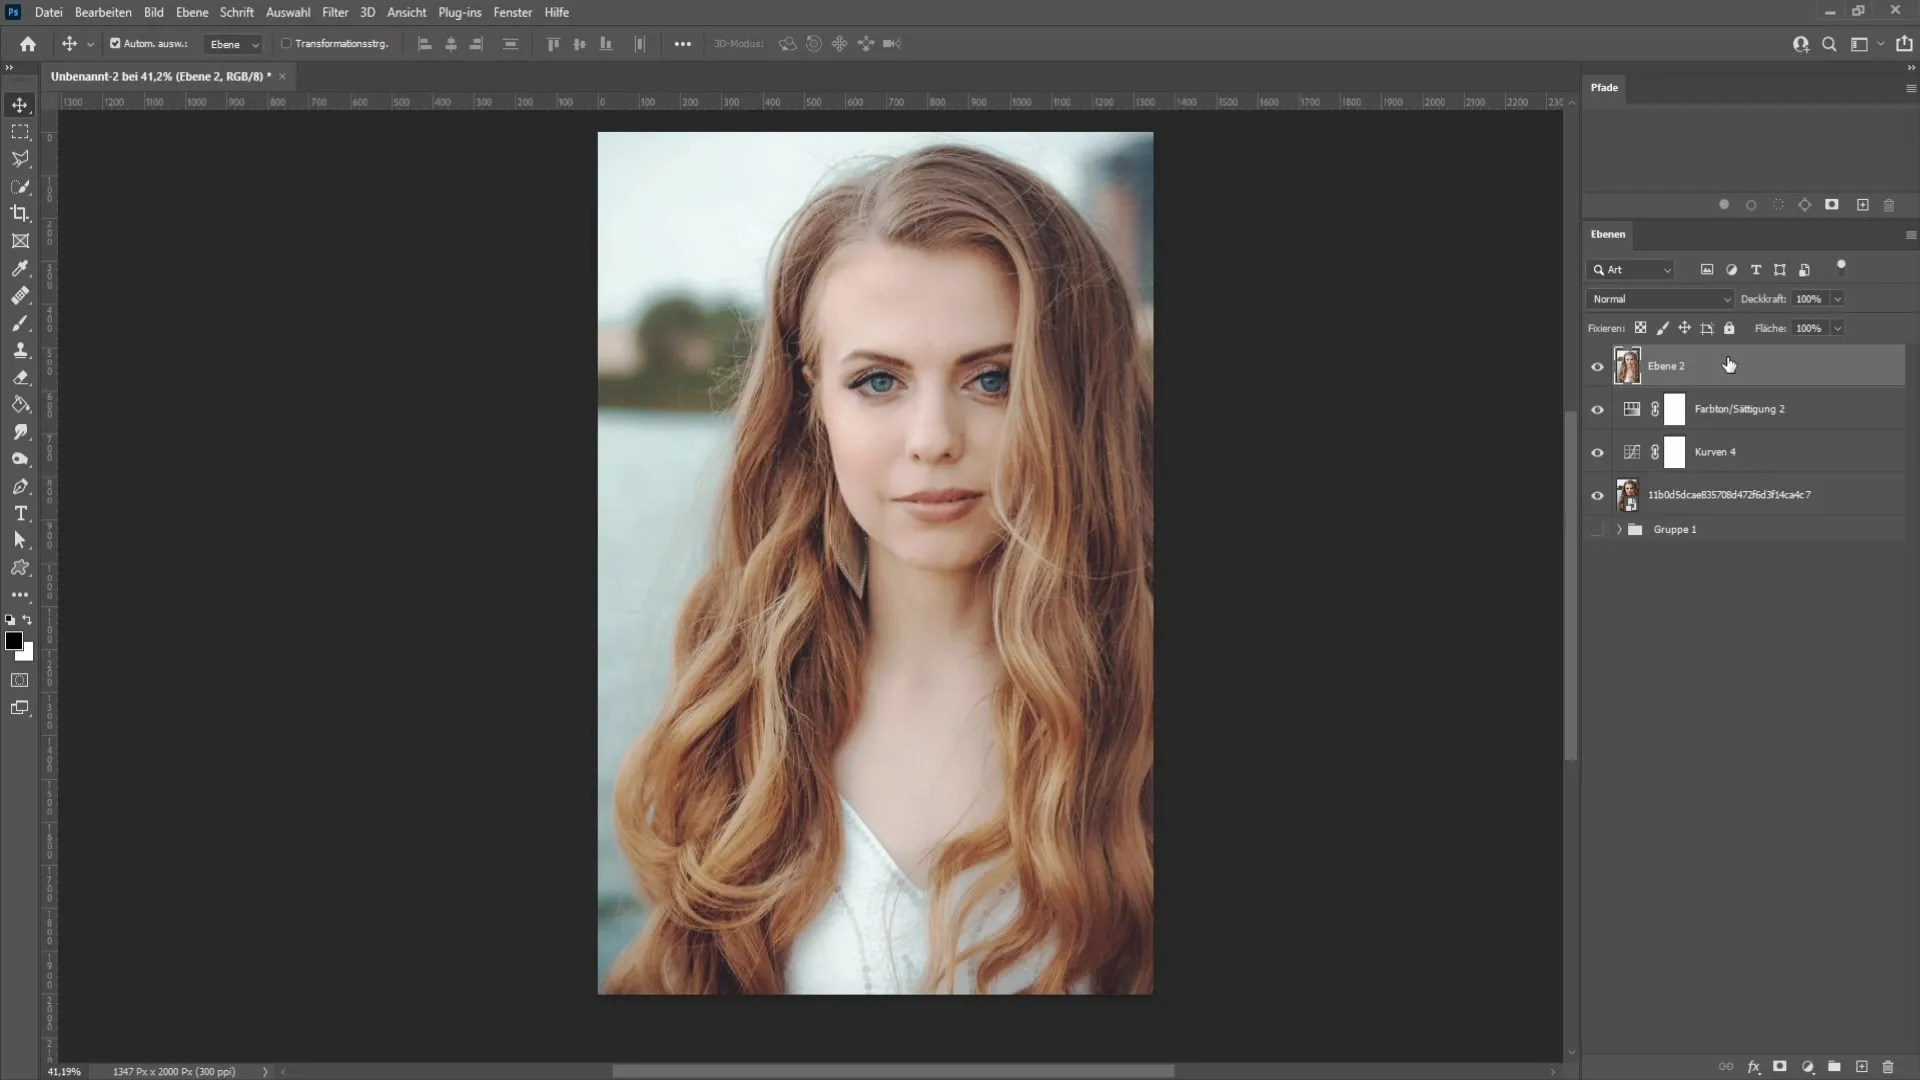
To convert this new layer into a smart object, right-click on it and select the appropriate option. This way, you can adjust the values at any time without losing functionality.
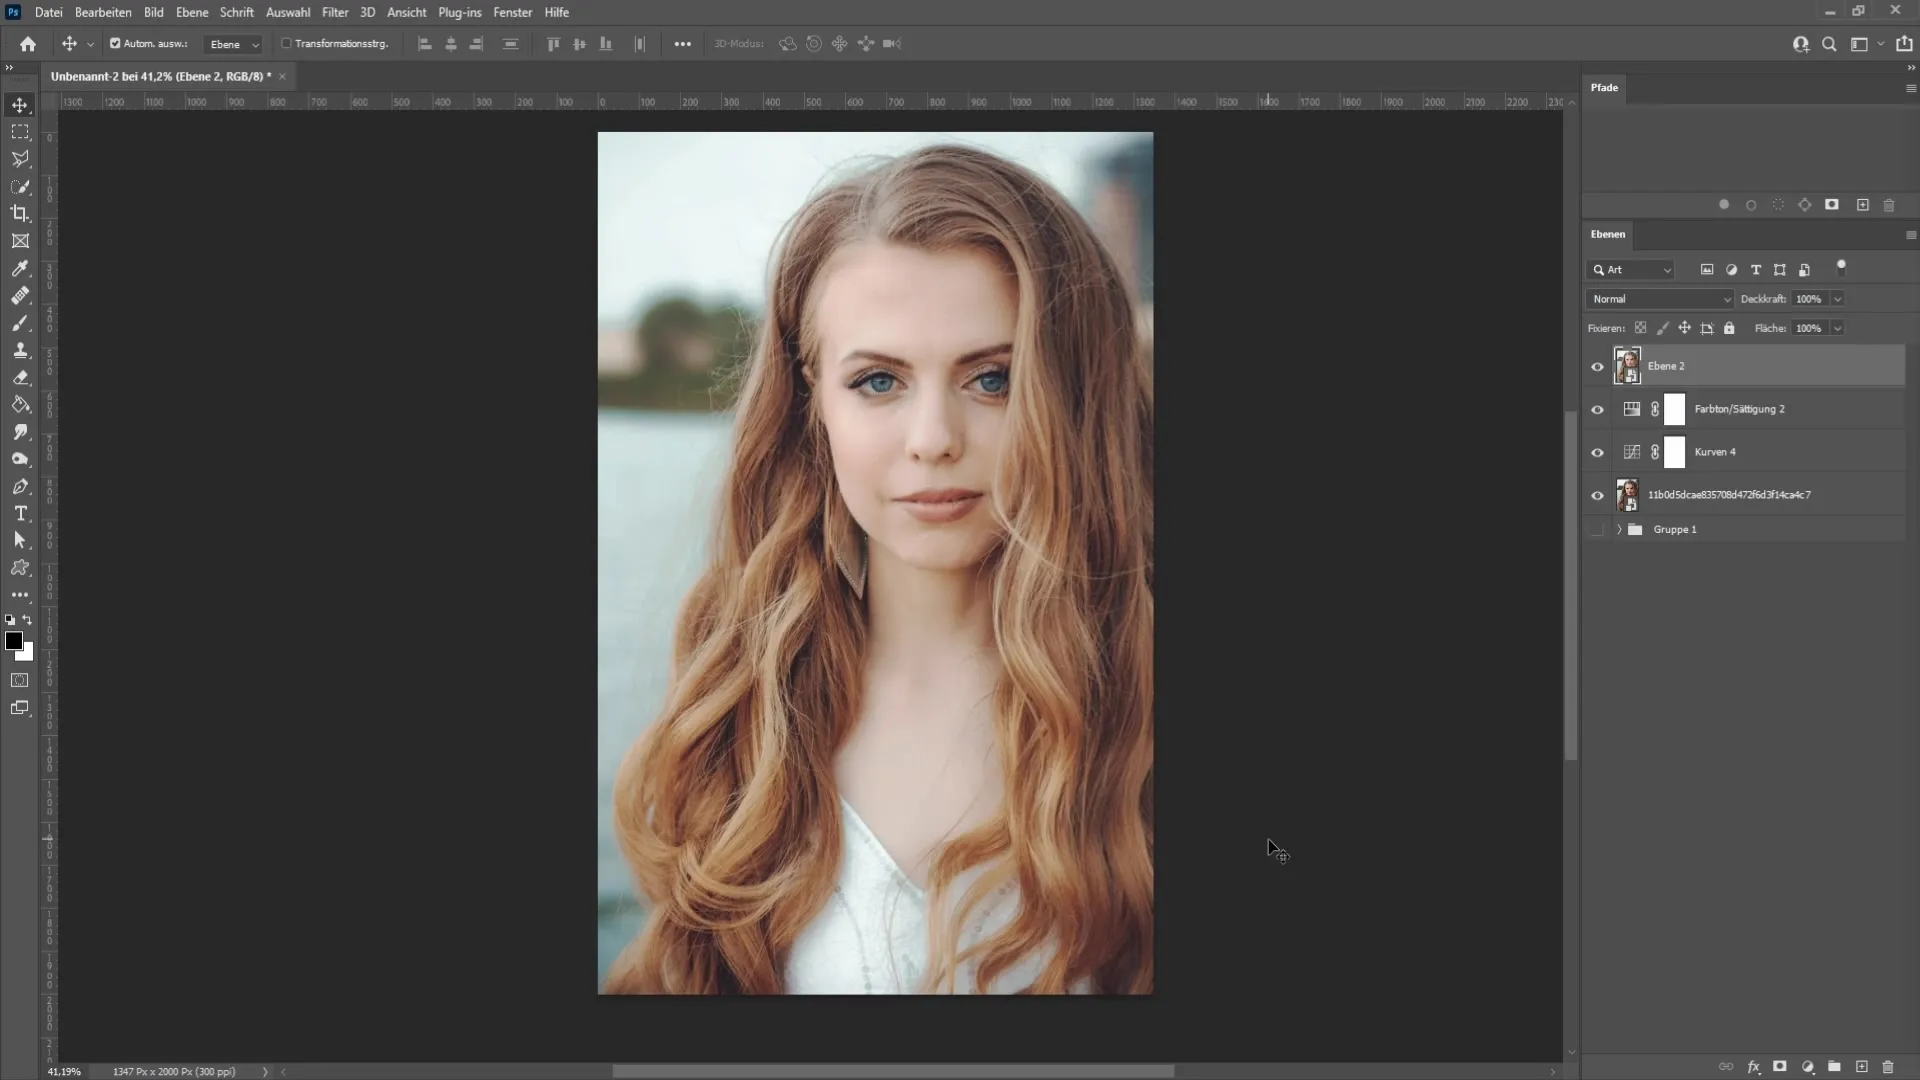
Now let's add some blue to give the image a cooler look. Go to the "Filter" menu and select the "Camera RAW Filter" option.
In the Camera RAW Filter, you can adjust the color temperature. Drag the slider to the left to make the image cooler. A value around -10 can already make a significant difference here.
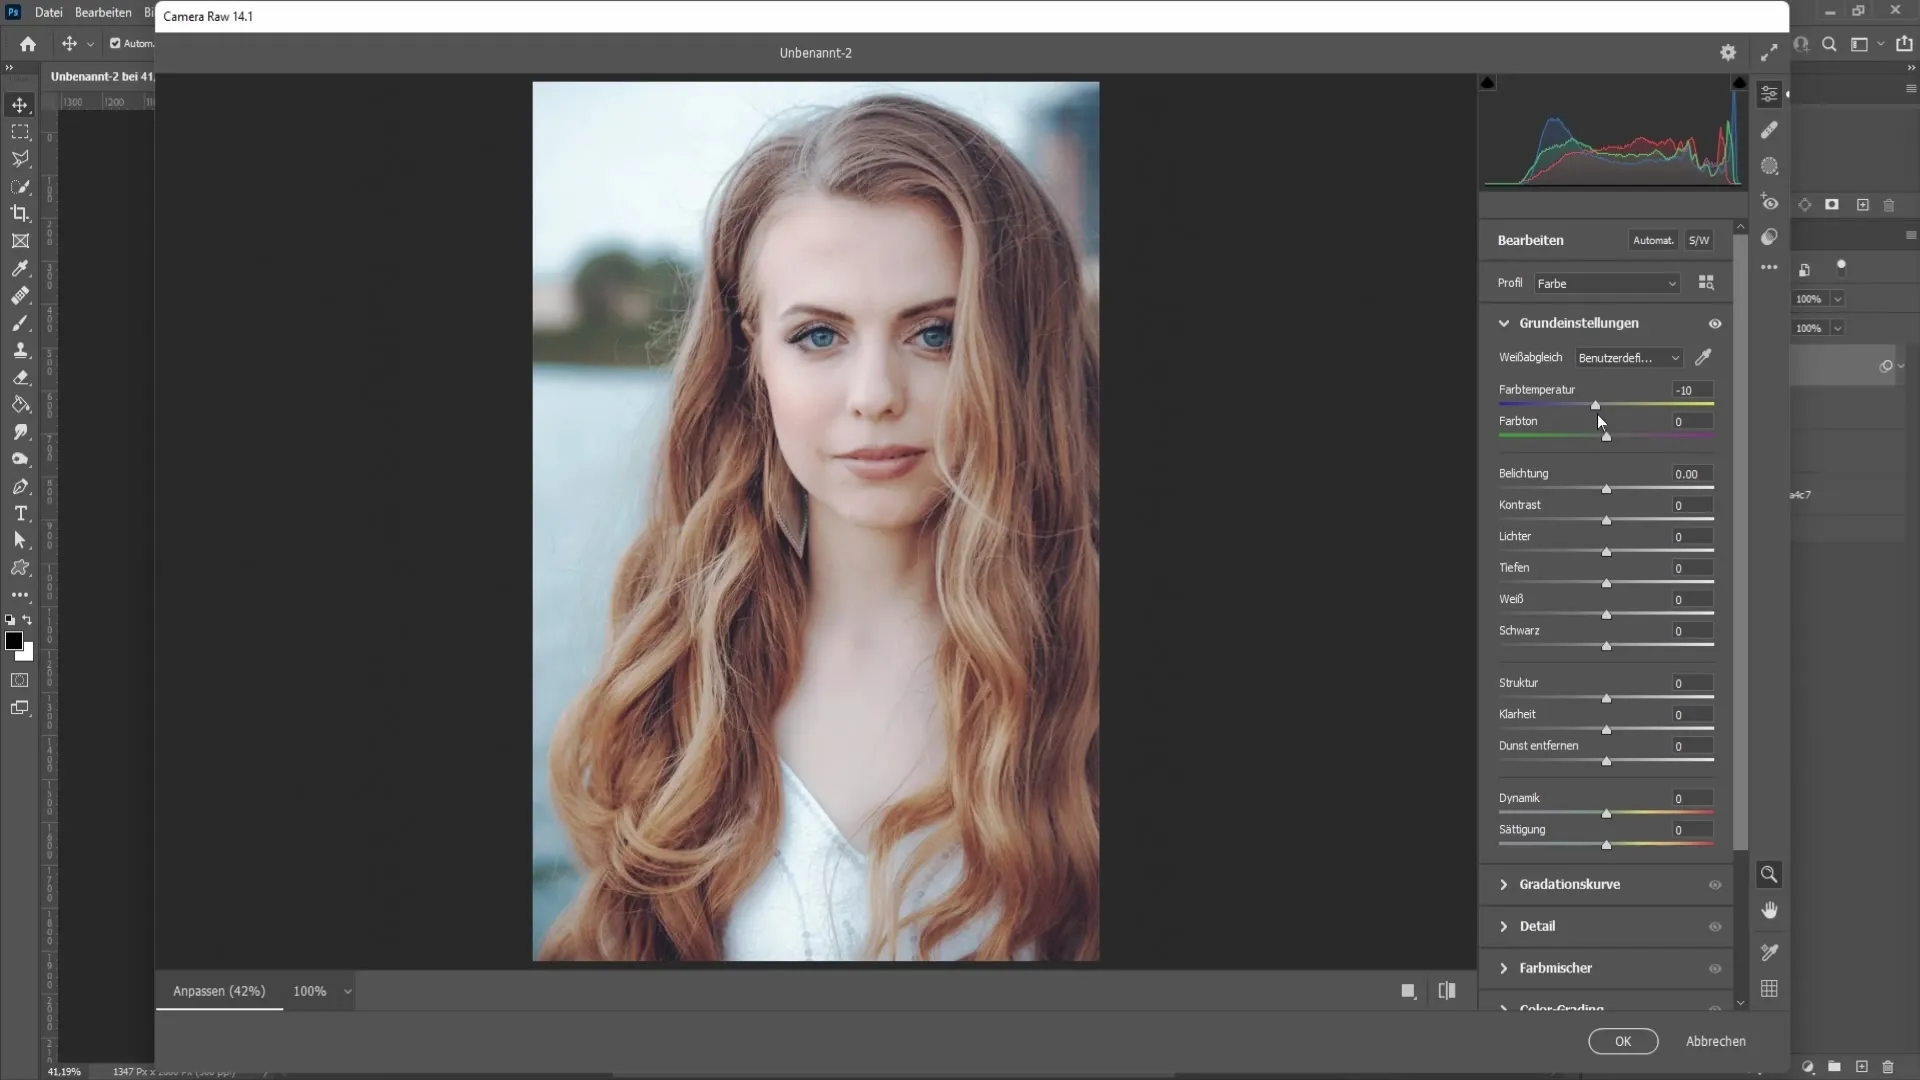
Once you are satisfied with the settings, click "OK". This will give your image a nice cool High-Key look.
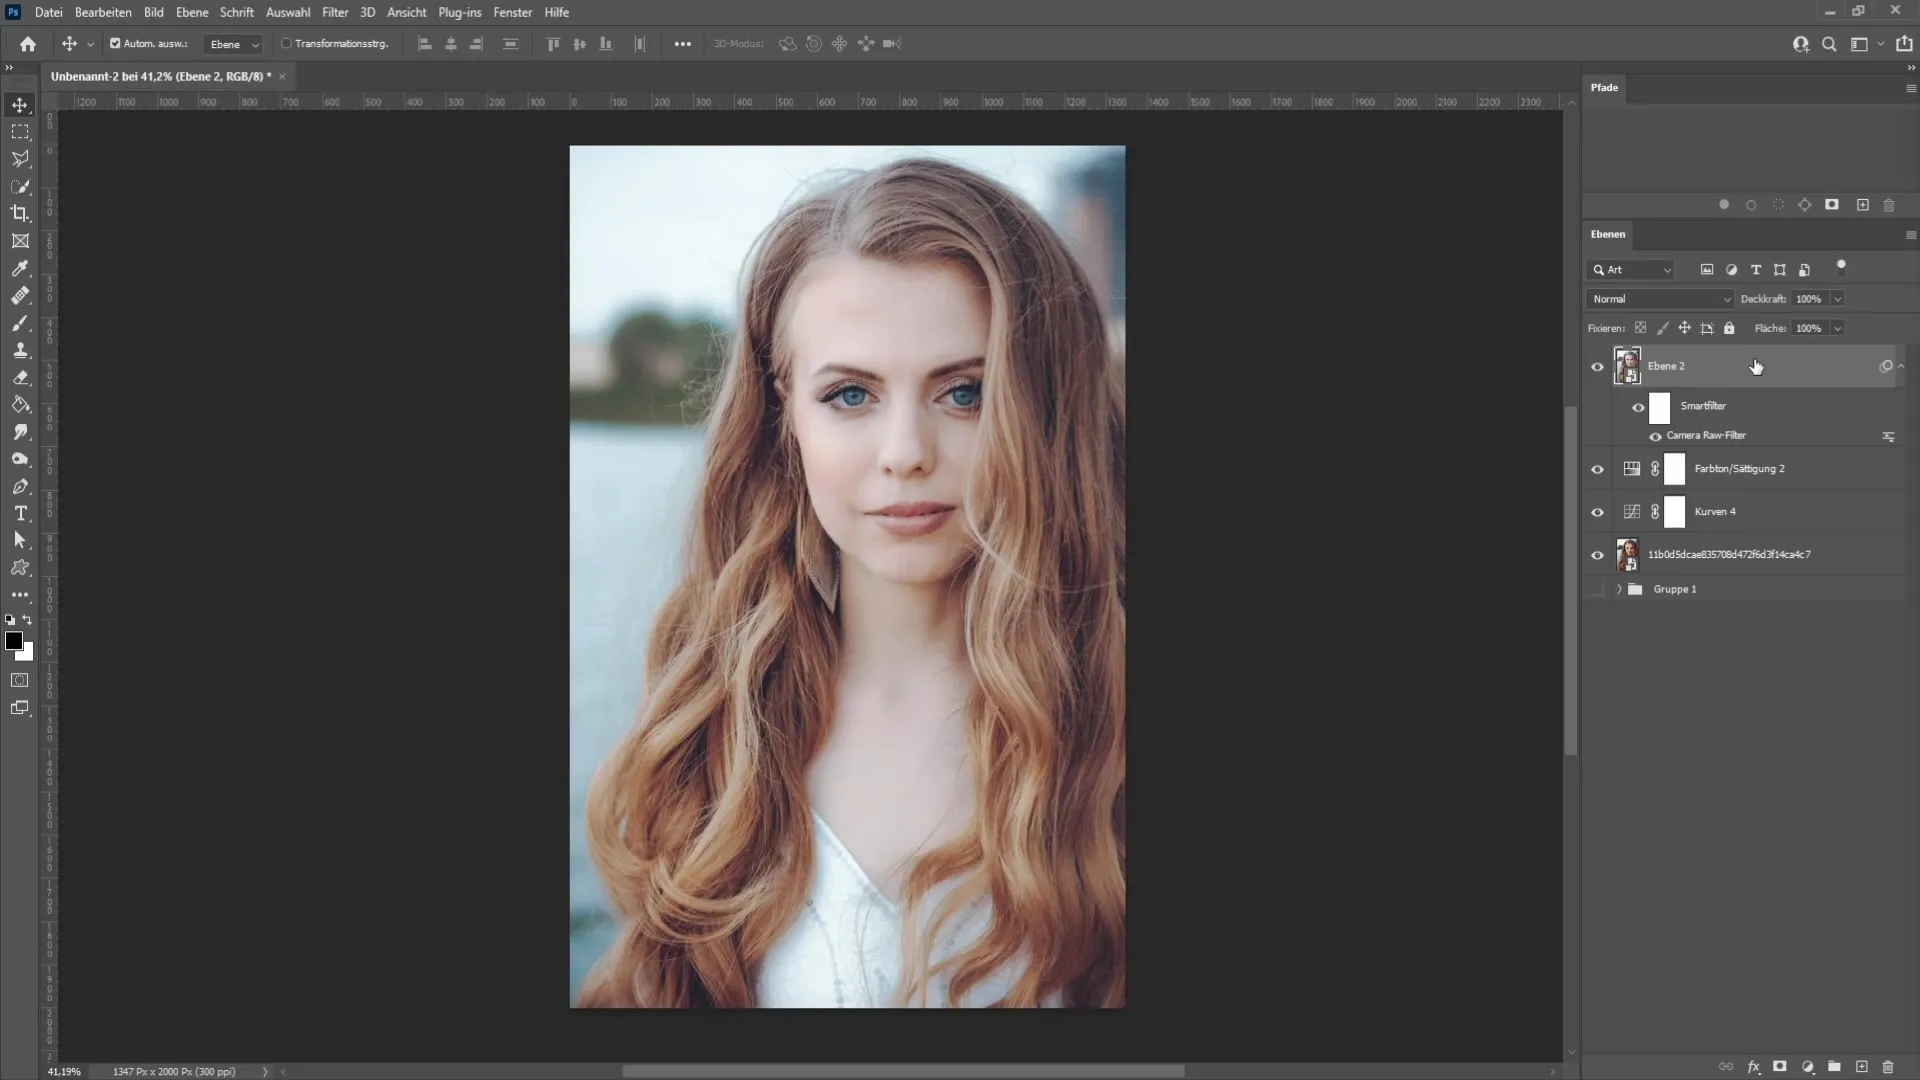
For the finishing touch, we will apply two more adjustment curves. First one to brighten the background, and the second one to highlight the dark areas of the subject.
To create a selection of your subject, in newer versions of Photoshop, go to "Select" and then "Subject." Photoshop will automatically make a selection here.
If you are using an older version of Photoshop, you can use the quick selection tool to manually create a selection.
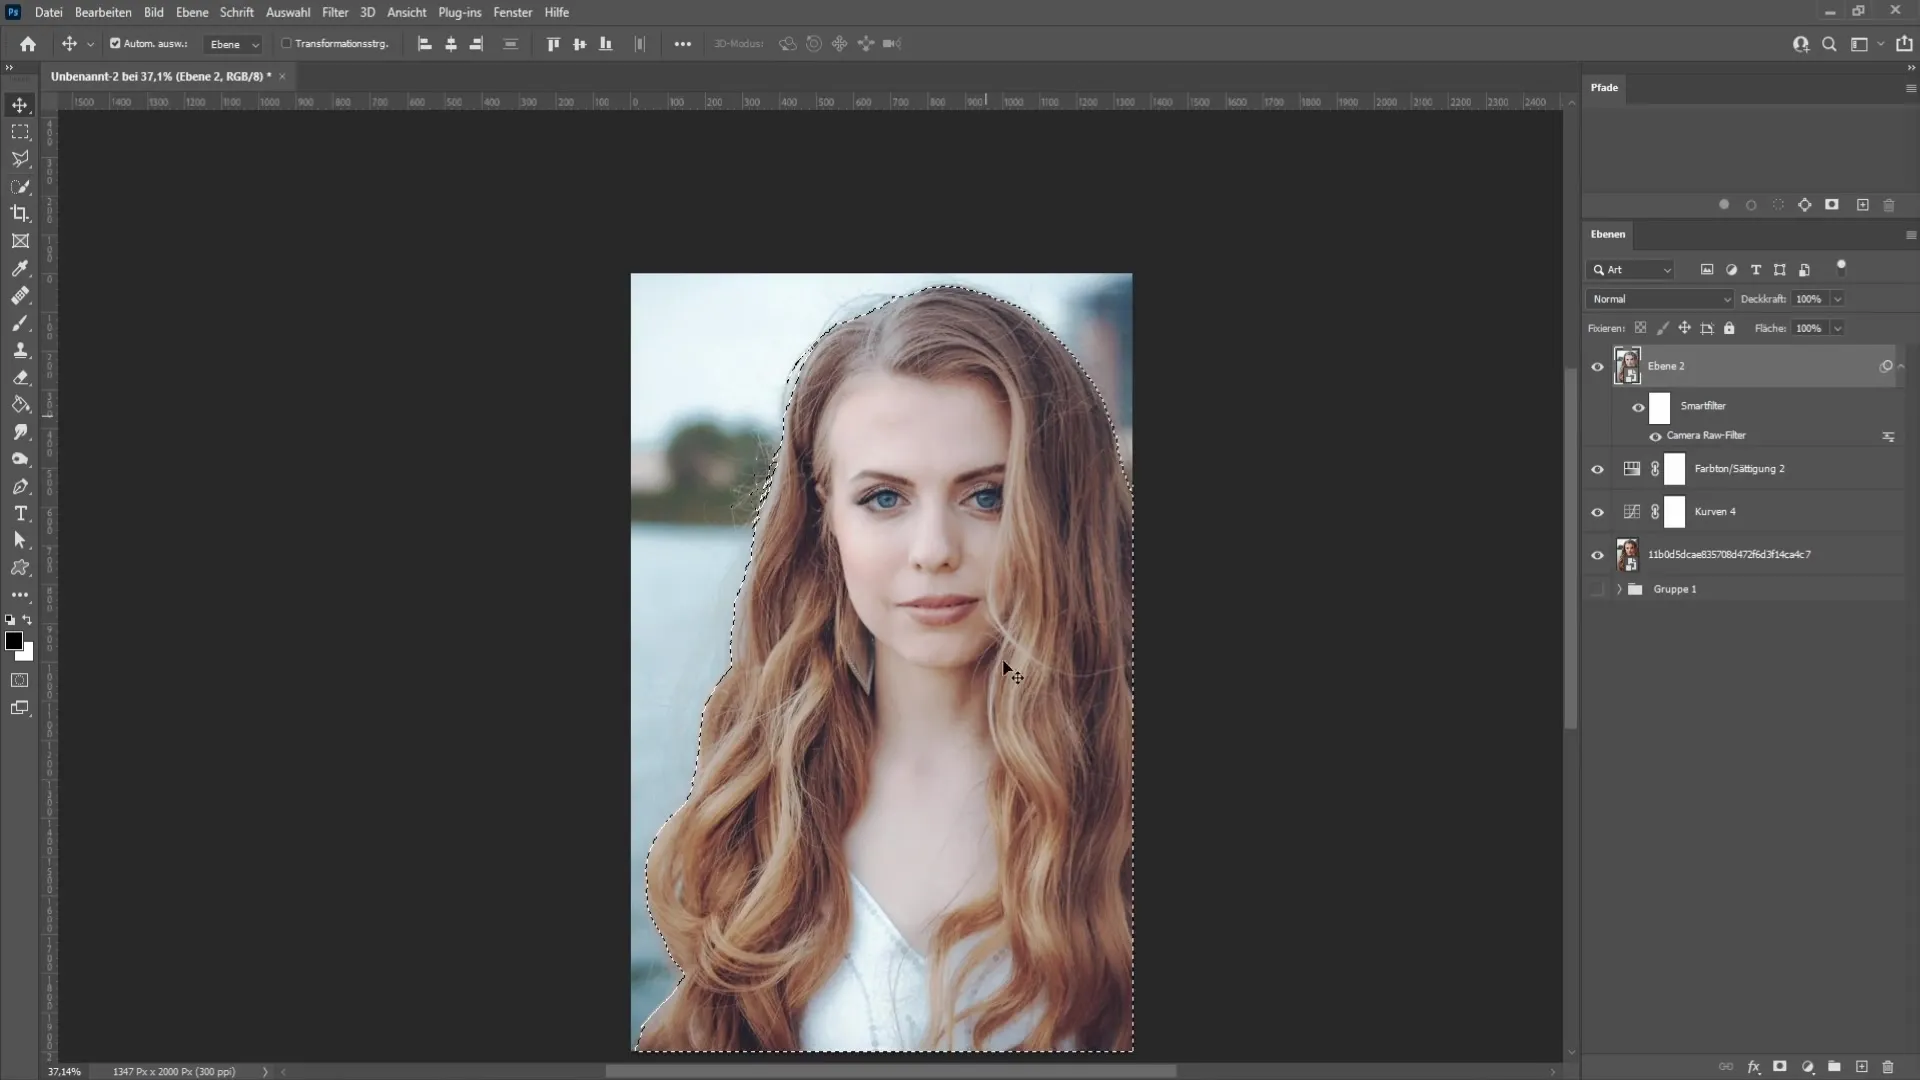
Once you have made the selection, go back to the adjustments window and choose the adjustment curves. To avoid affecting the subject, you must invert the mask by pressing Control + I.
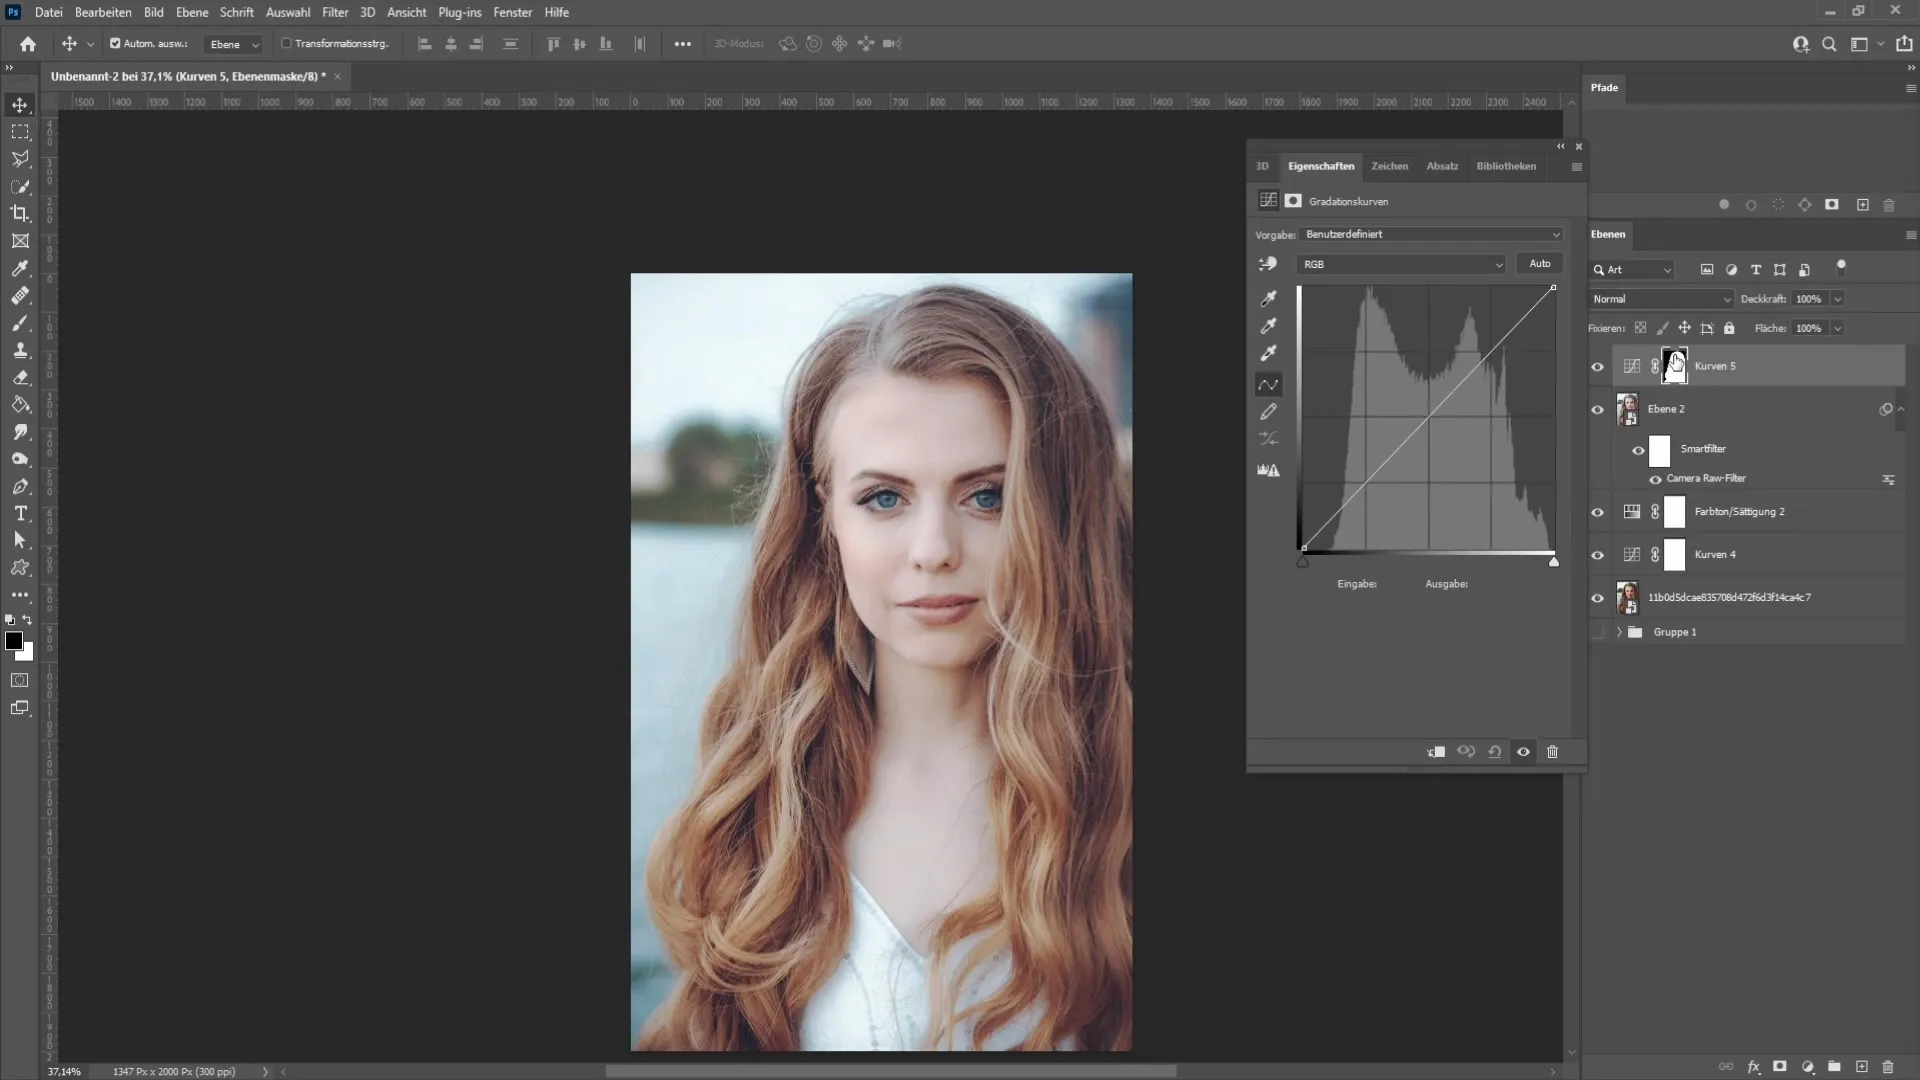
Now you can brighten the background by dragging the lower points of your adjustment curve upwards. This will make the background brighter.
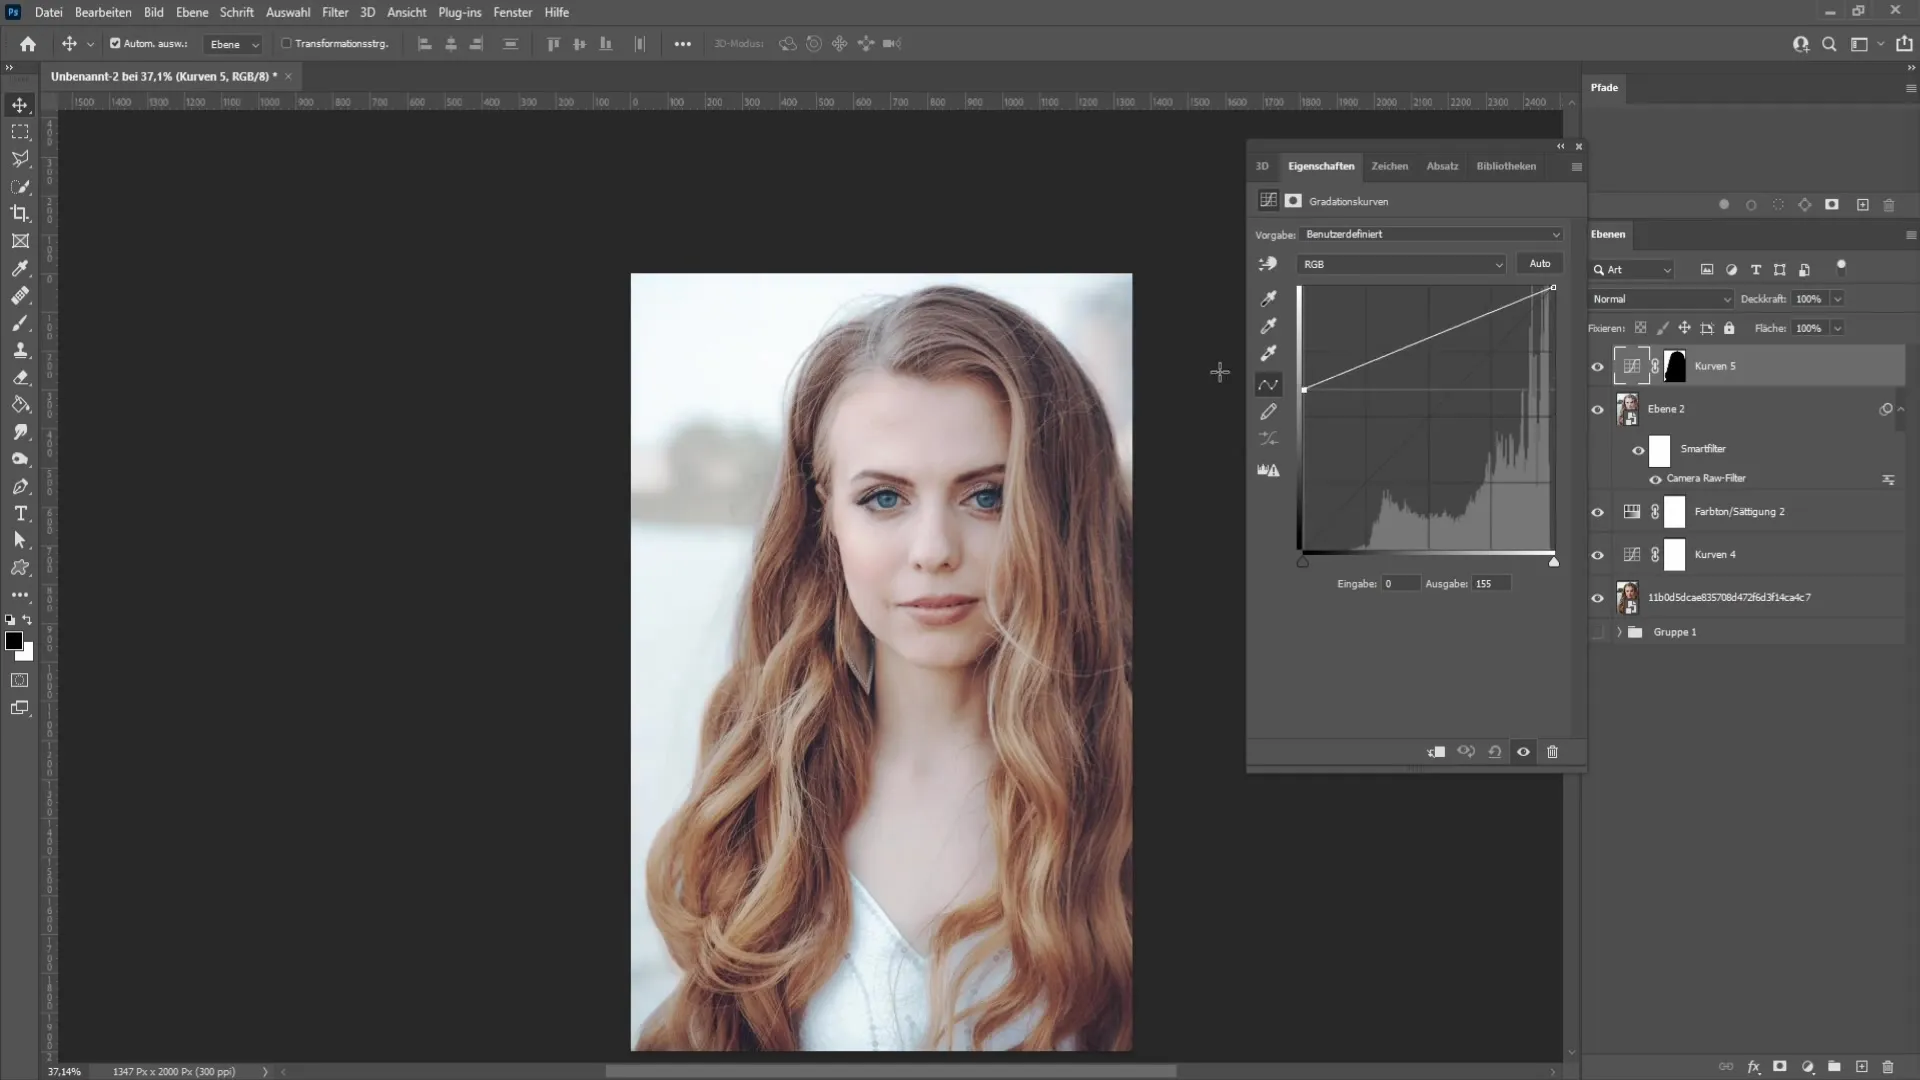
Lastly, enhance the subject by transferring the aforementioned selection. To do this, drag the layer mask of the first adjustment curve onto the second one.
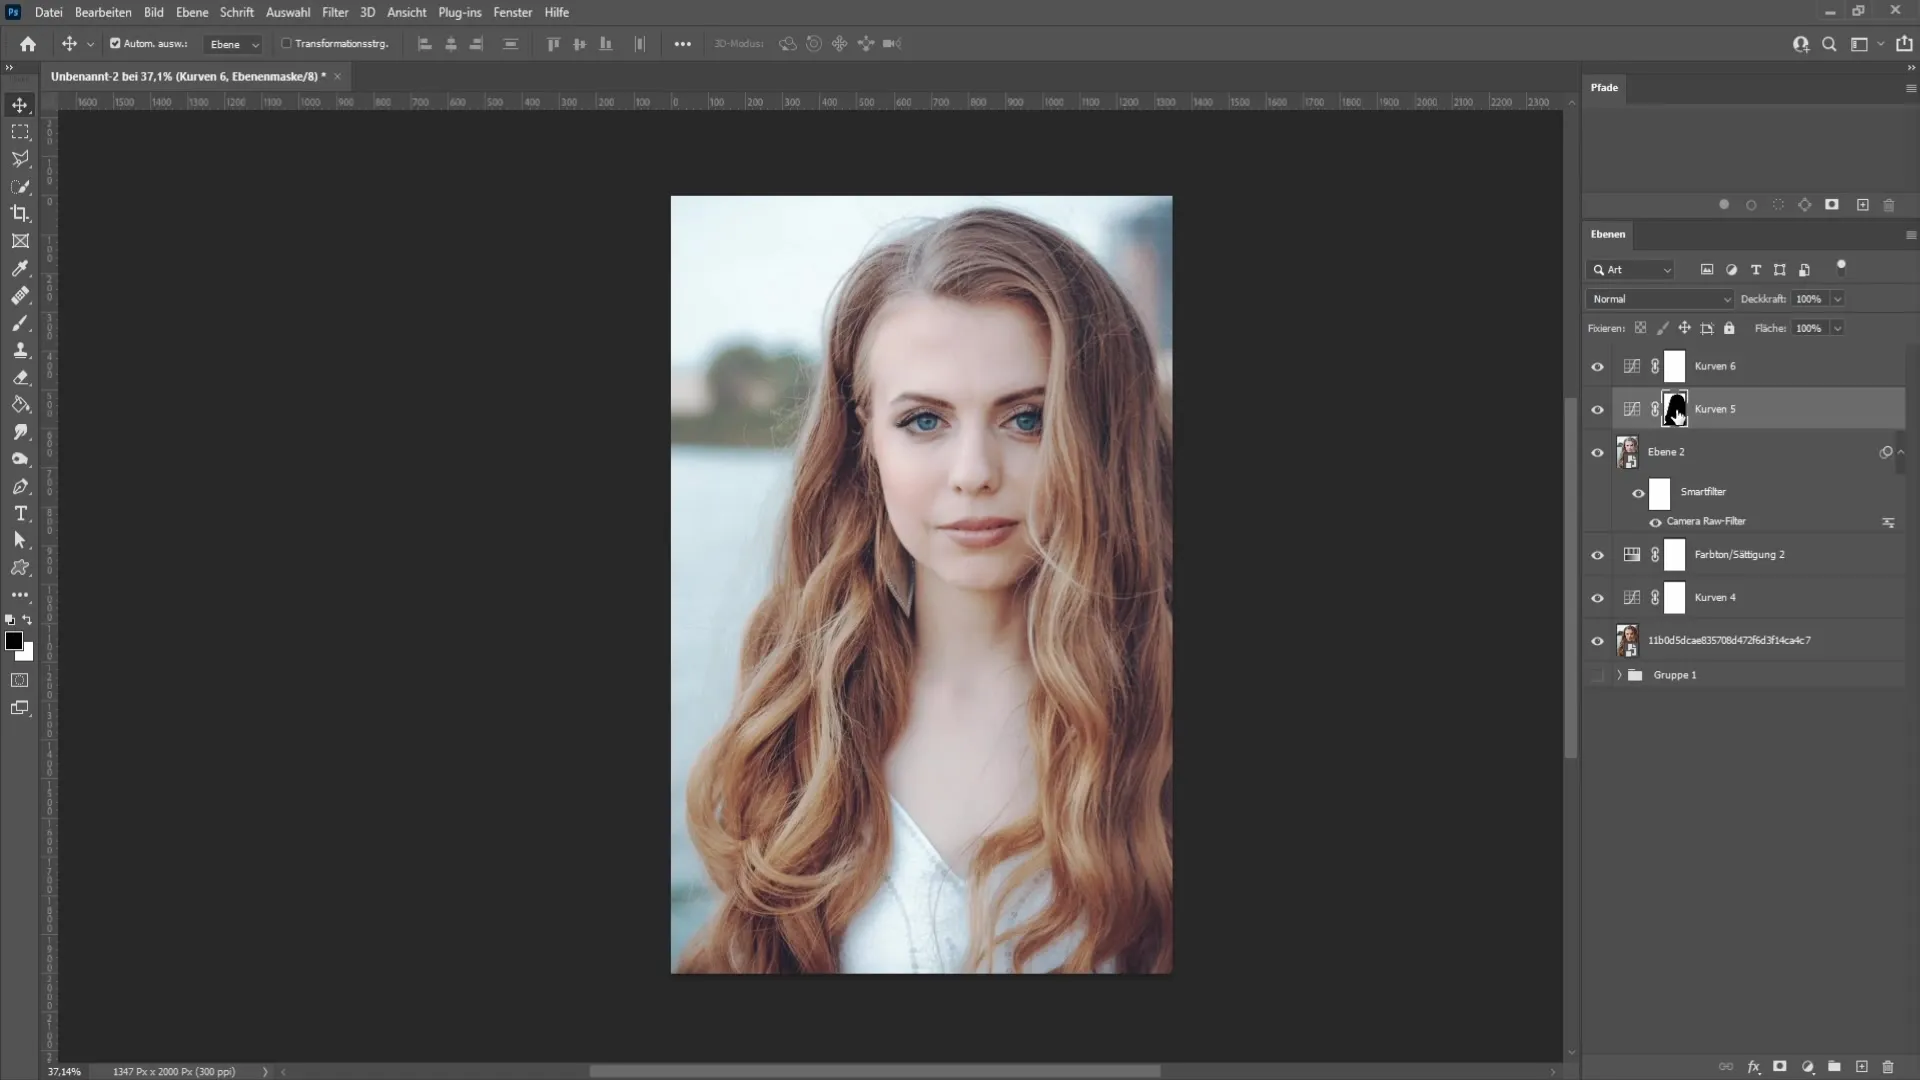
Ensure that this process is also reversed by pressing Control + I again. Now you can adjust the adjustment curve for the dark areas of your subject to give them more depth.
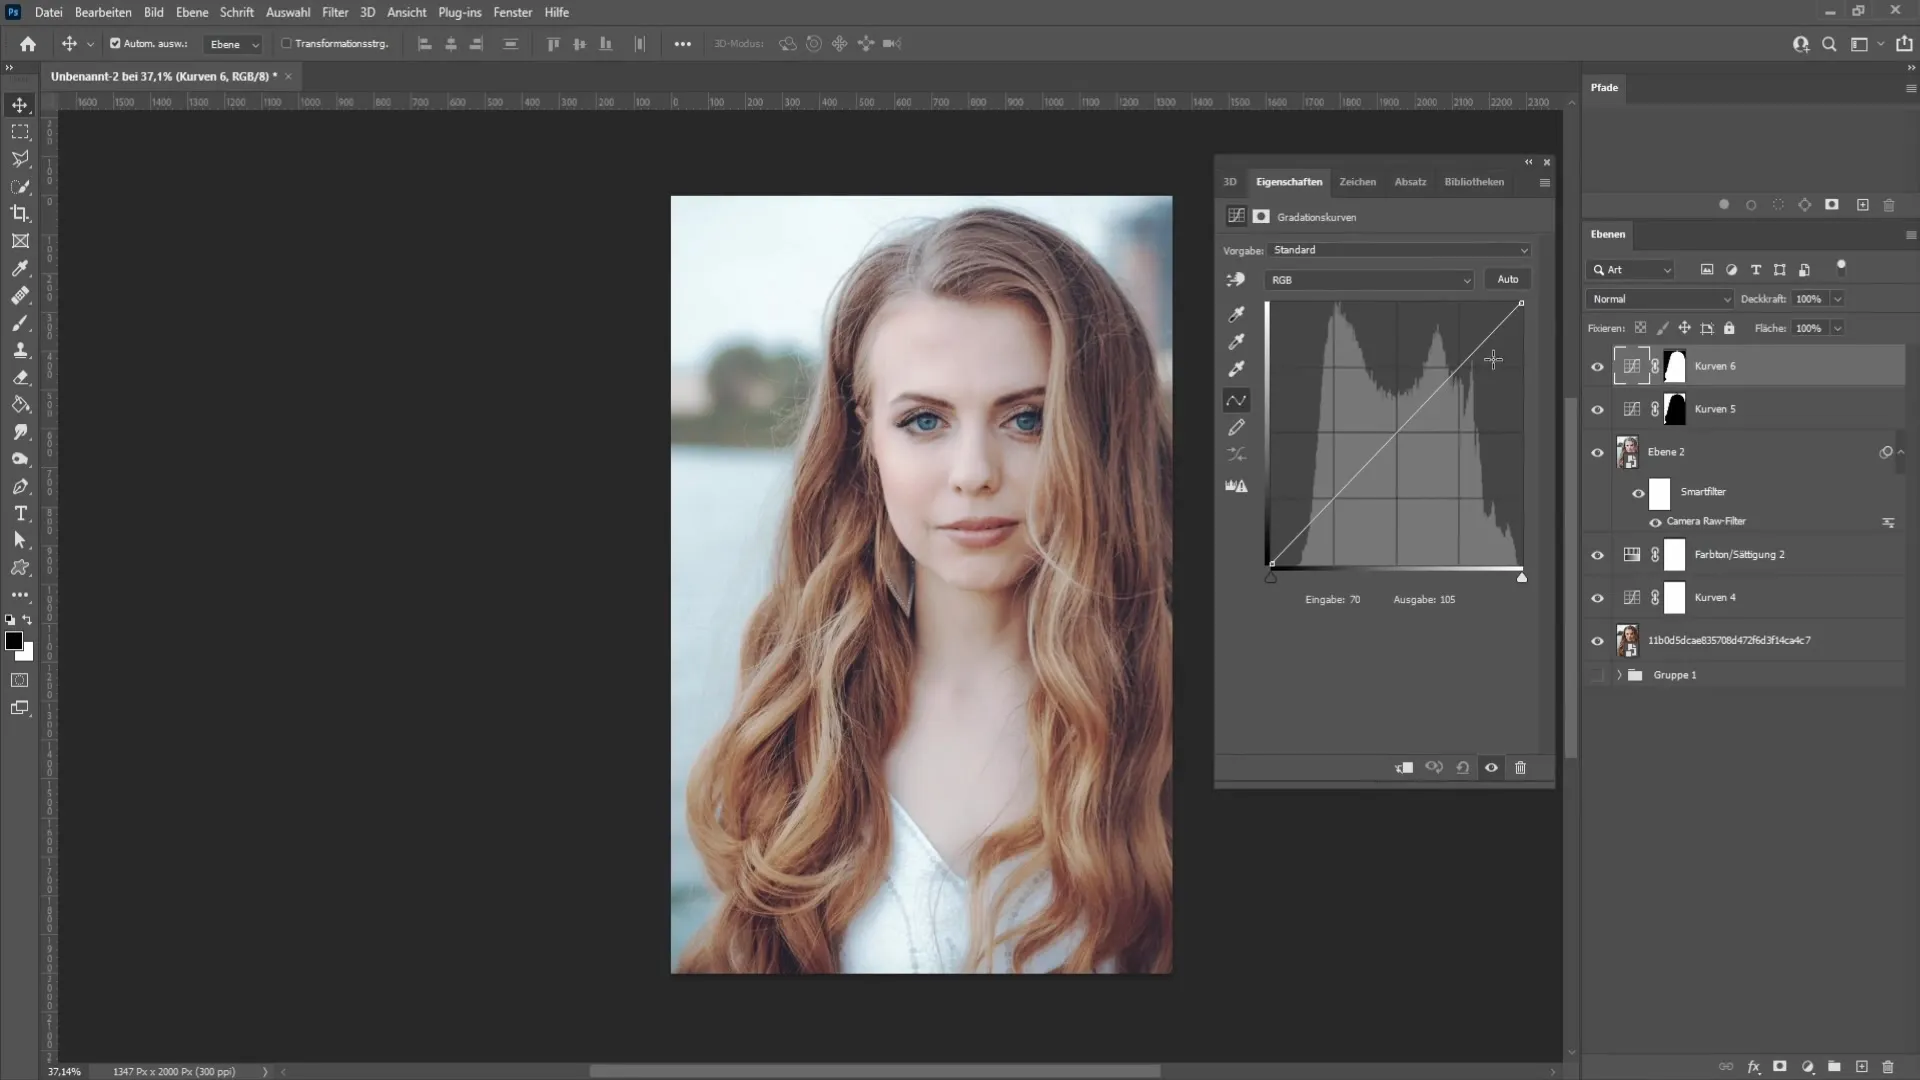
To complete the image perfectly, place a point in the middle of the adjustment curve and drag it slightly downwards to enhance the shadows of the image.
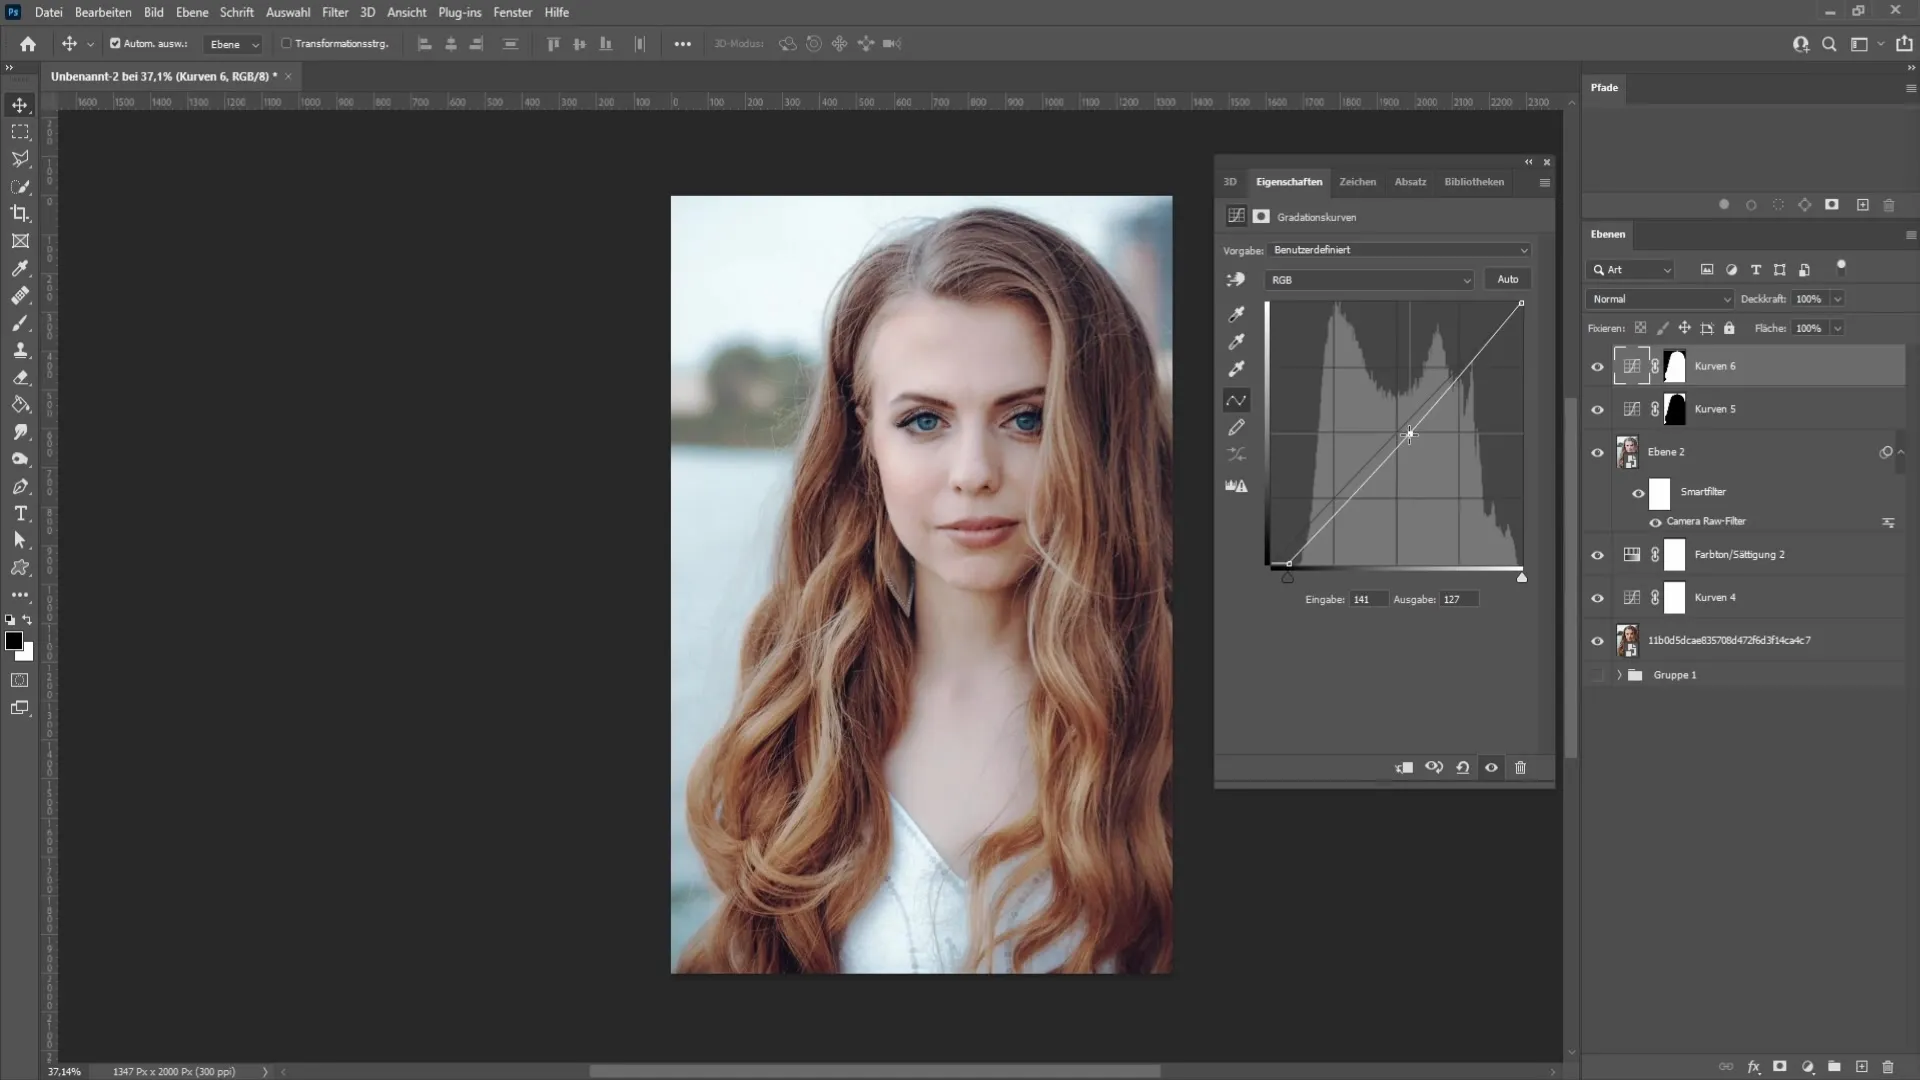
Now you should see a noticeable difference between the original image and the edited image. Compare the before and after results.
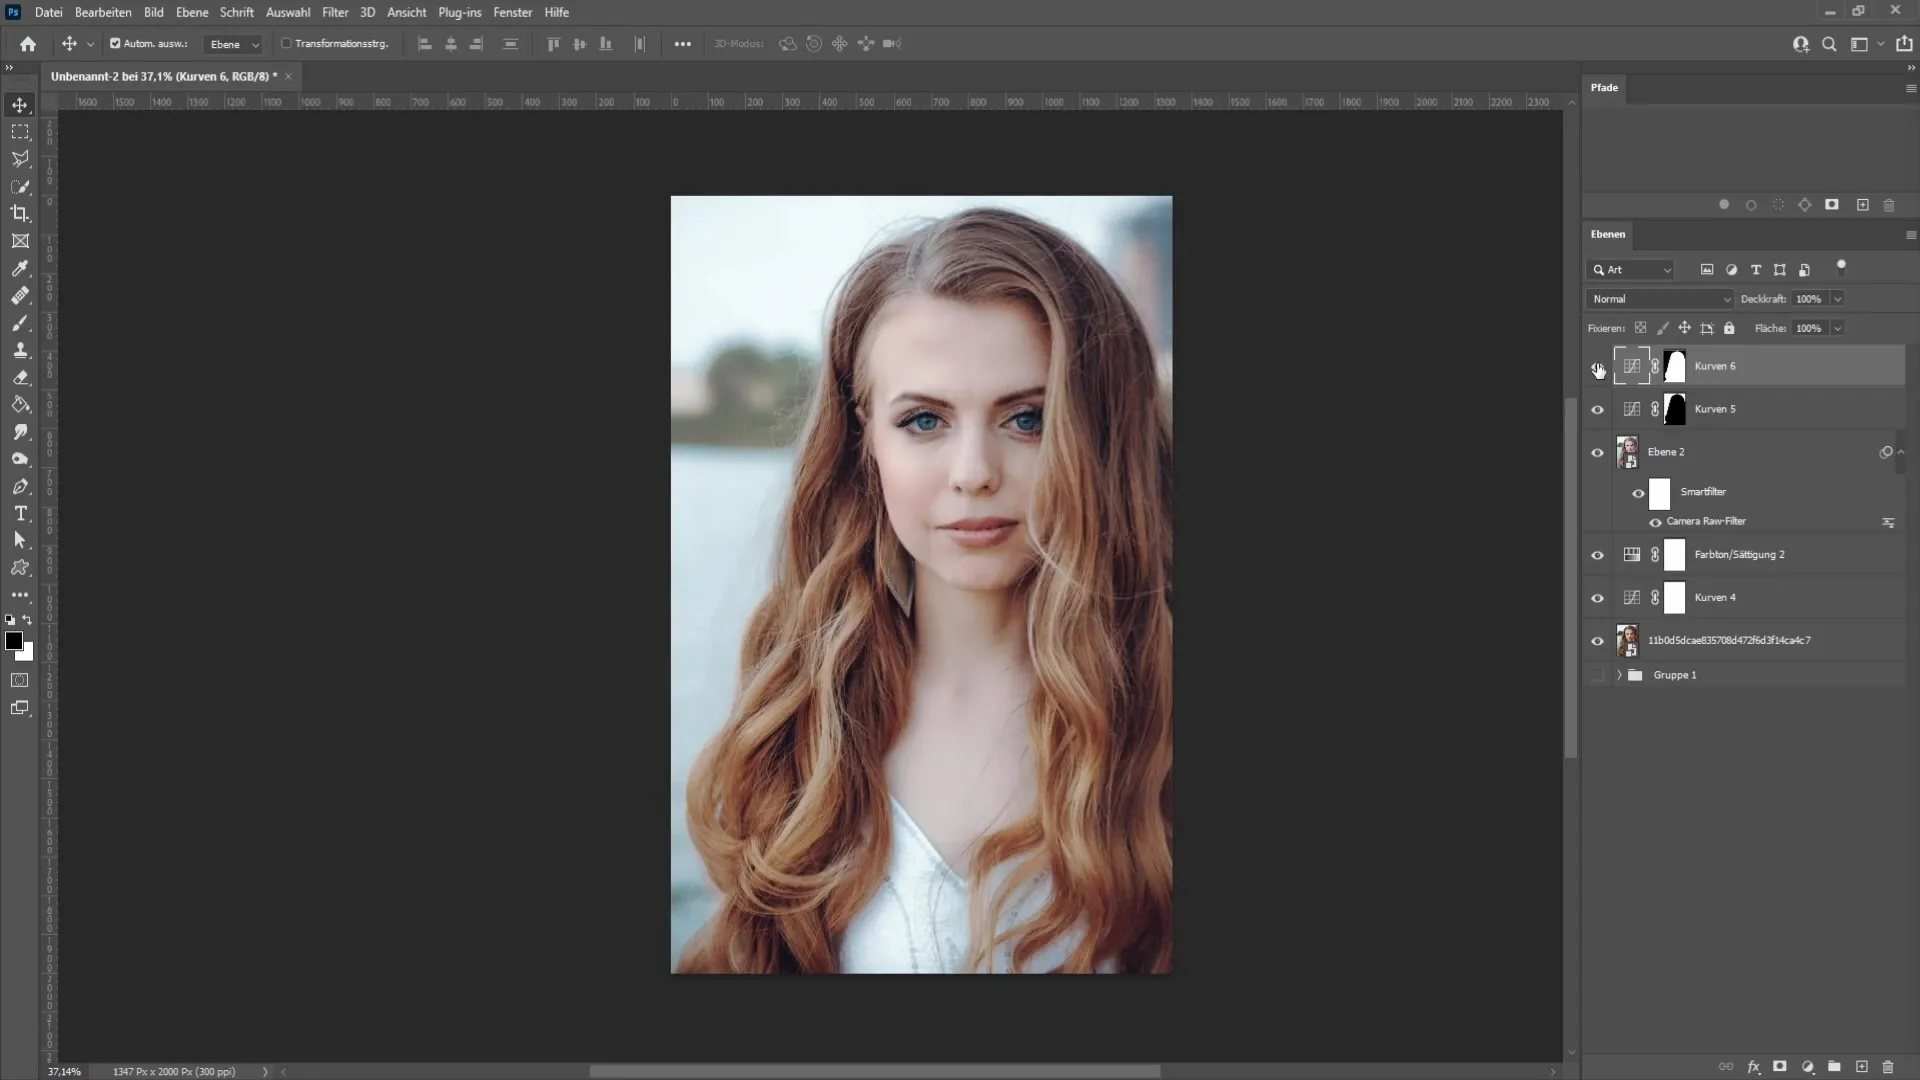
The result shows how easy it is to create a High-Key effect in Photoshop.
Summary
In this tutorial, you have learned the steps to create an appealing High-Key effect in Photoshop. From adjusting the adjustment curves to hue and saturation corrections and perfect fine-tuning, you have the tools to effectively edit your images.
Frequently Asked Questions
What is a High-Key effect?A High-Key effect is a photo editing technique that allows images to appear brighter and softly focused, often through overexposure.
How can I adjust the adjustment curves?You can use adjustment curves to adjust the brightness of the midtones, highlights, and shadows in your image as needed.
Can I use this technique with other hues?Yes, you can use similar techniques to achieve different hue and brightness adjustments for various image styles.
How often should I merge my layers?It is wise to merge layers when you are satisfied with a series of adjustments. This saves storage space and makes further editing easier.


