In this tutorial, I will show you how you can easily apply an impressive glitch effect to a photo using Adobe Photoshop. The glitch effect gives your images a unique, creative look that is great for various projects. Let's start with the step-by-step guide!
Main Insights
- The glitch effect is achieved by manipulating color channels.
- Using selection tools and layer composition are key steps.
- Finally, you can add interesting lines using the "Mosaic" filter.
Step-by-Step Guide
First, you need to prepare the image on which you want to apply the glitch effect for editing. Open Photoshop and load your image.
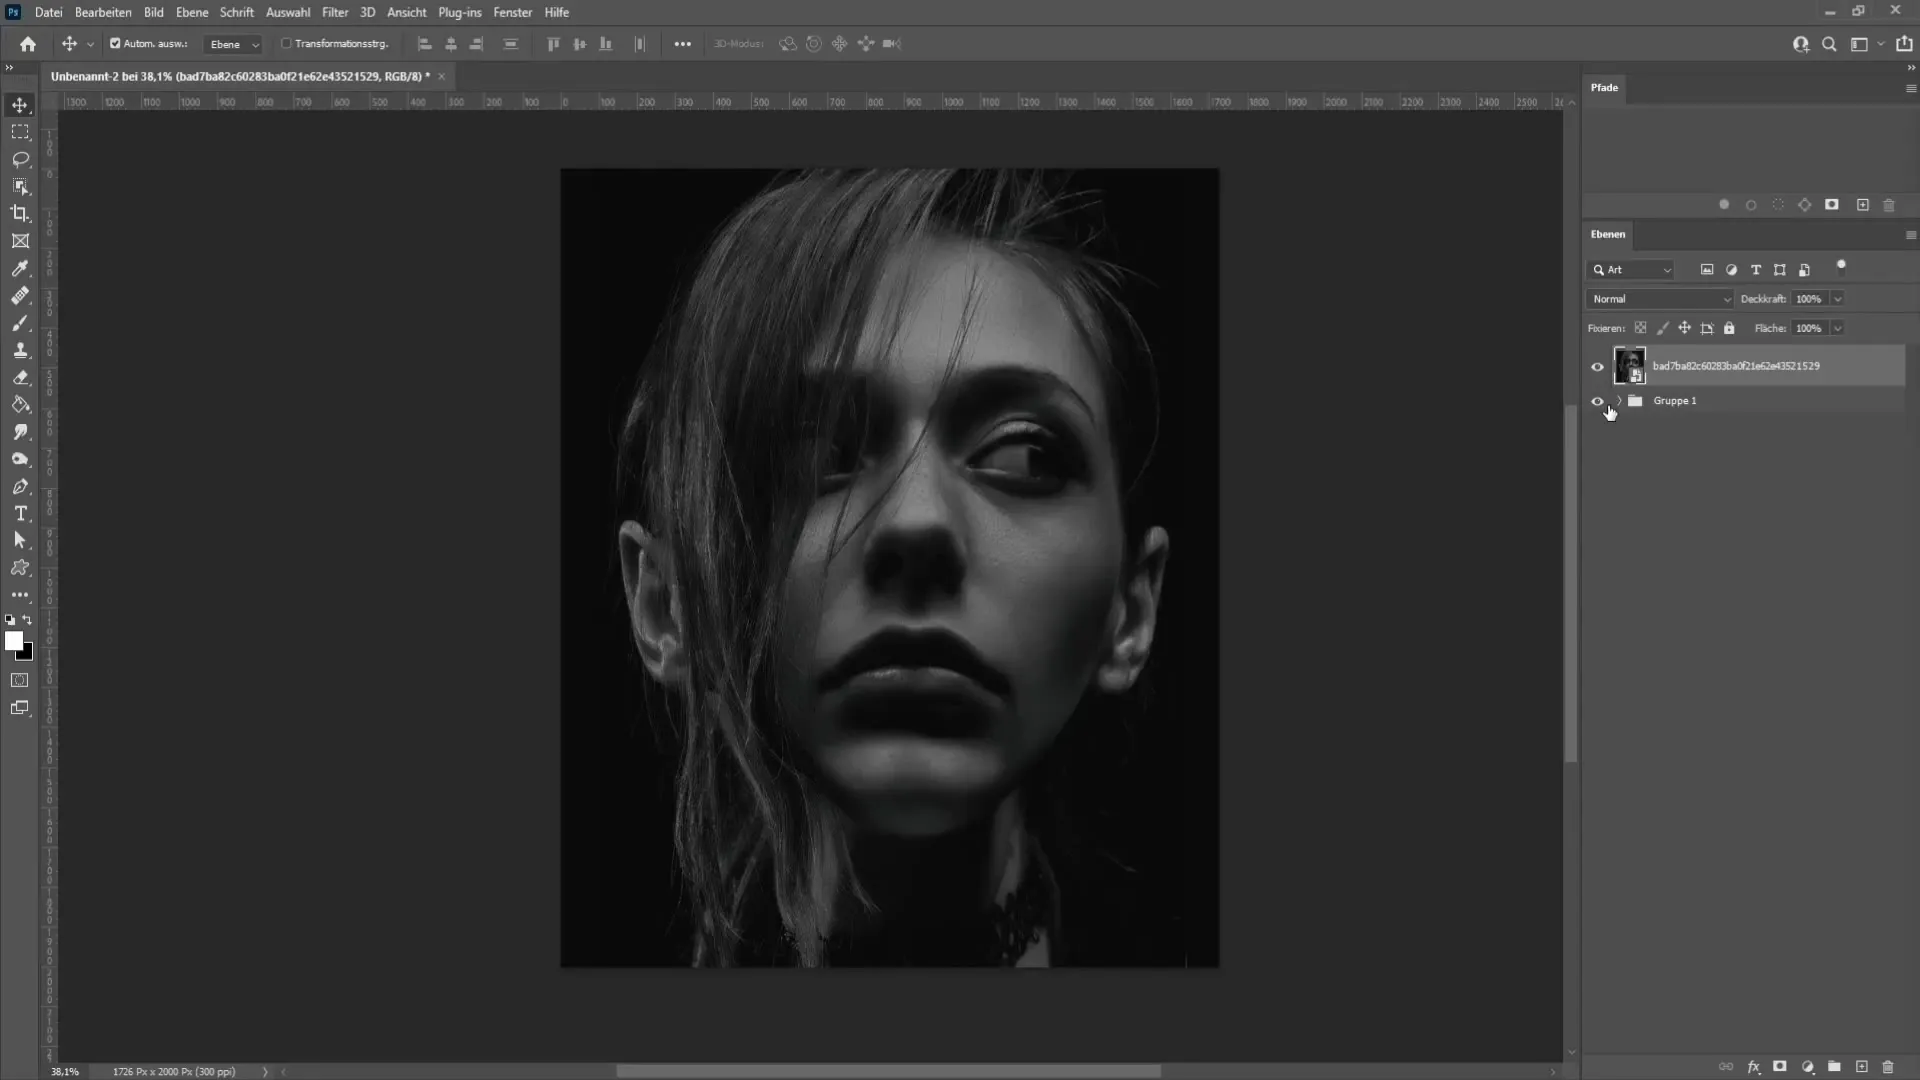
The first step is to create a copy of your image. You can do this by using the keyboard shortcut Ctrl + J (or Cmd + J on Mac).
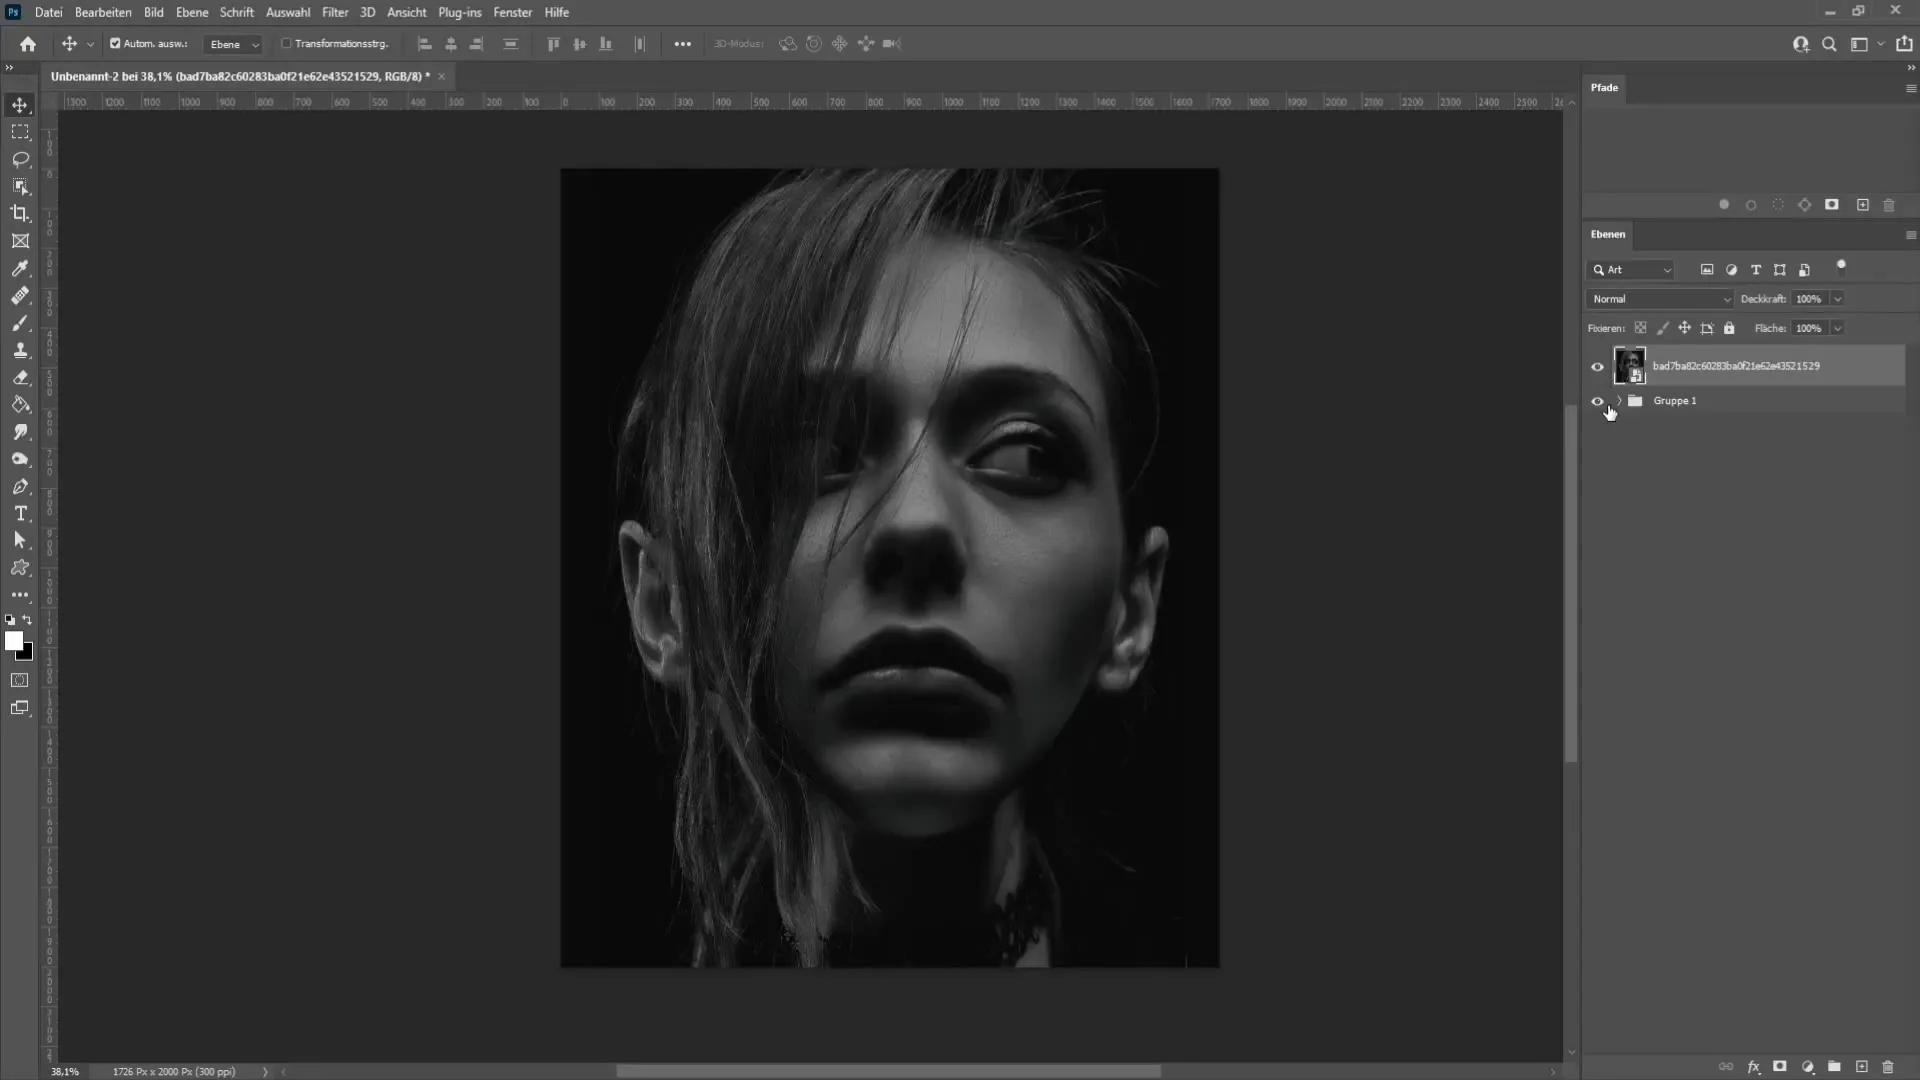
Next, double-click on the new layer or right-click and choose the blending options. A new window will open. In this window, you deactivate the red channel.
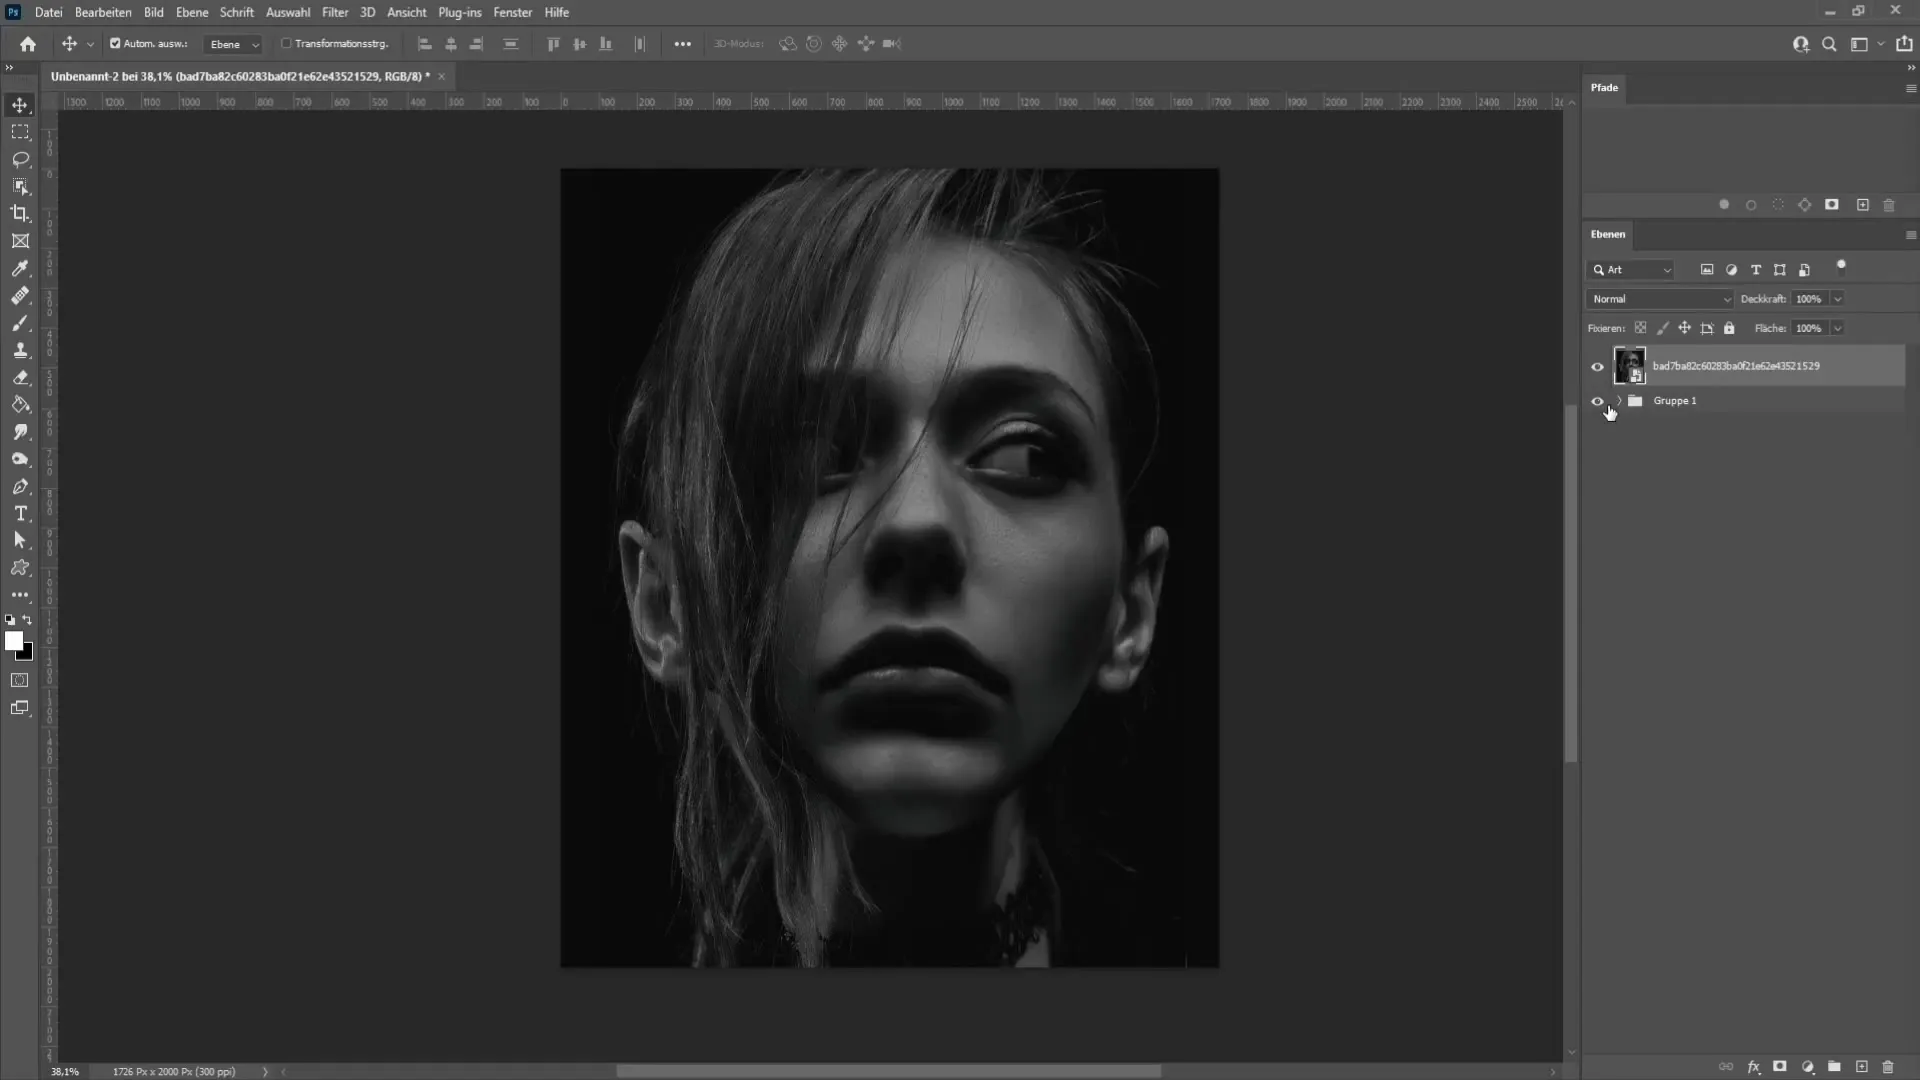
After deactivating the red channel, click "OK". Now you can select the Move tool and use the arrow keys to move the image slightly to the right or left to create the first part of the glitch effect.
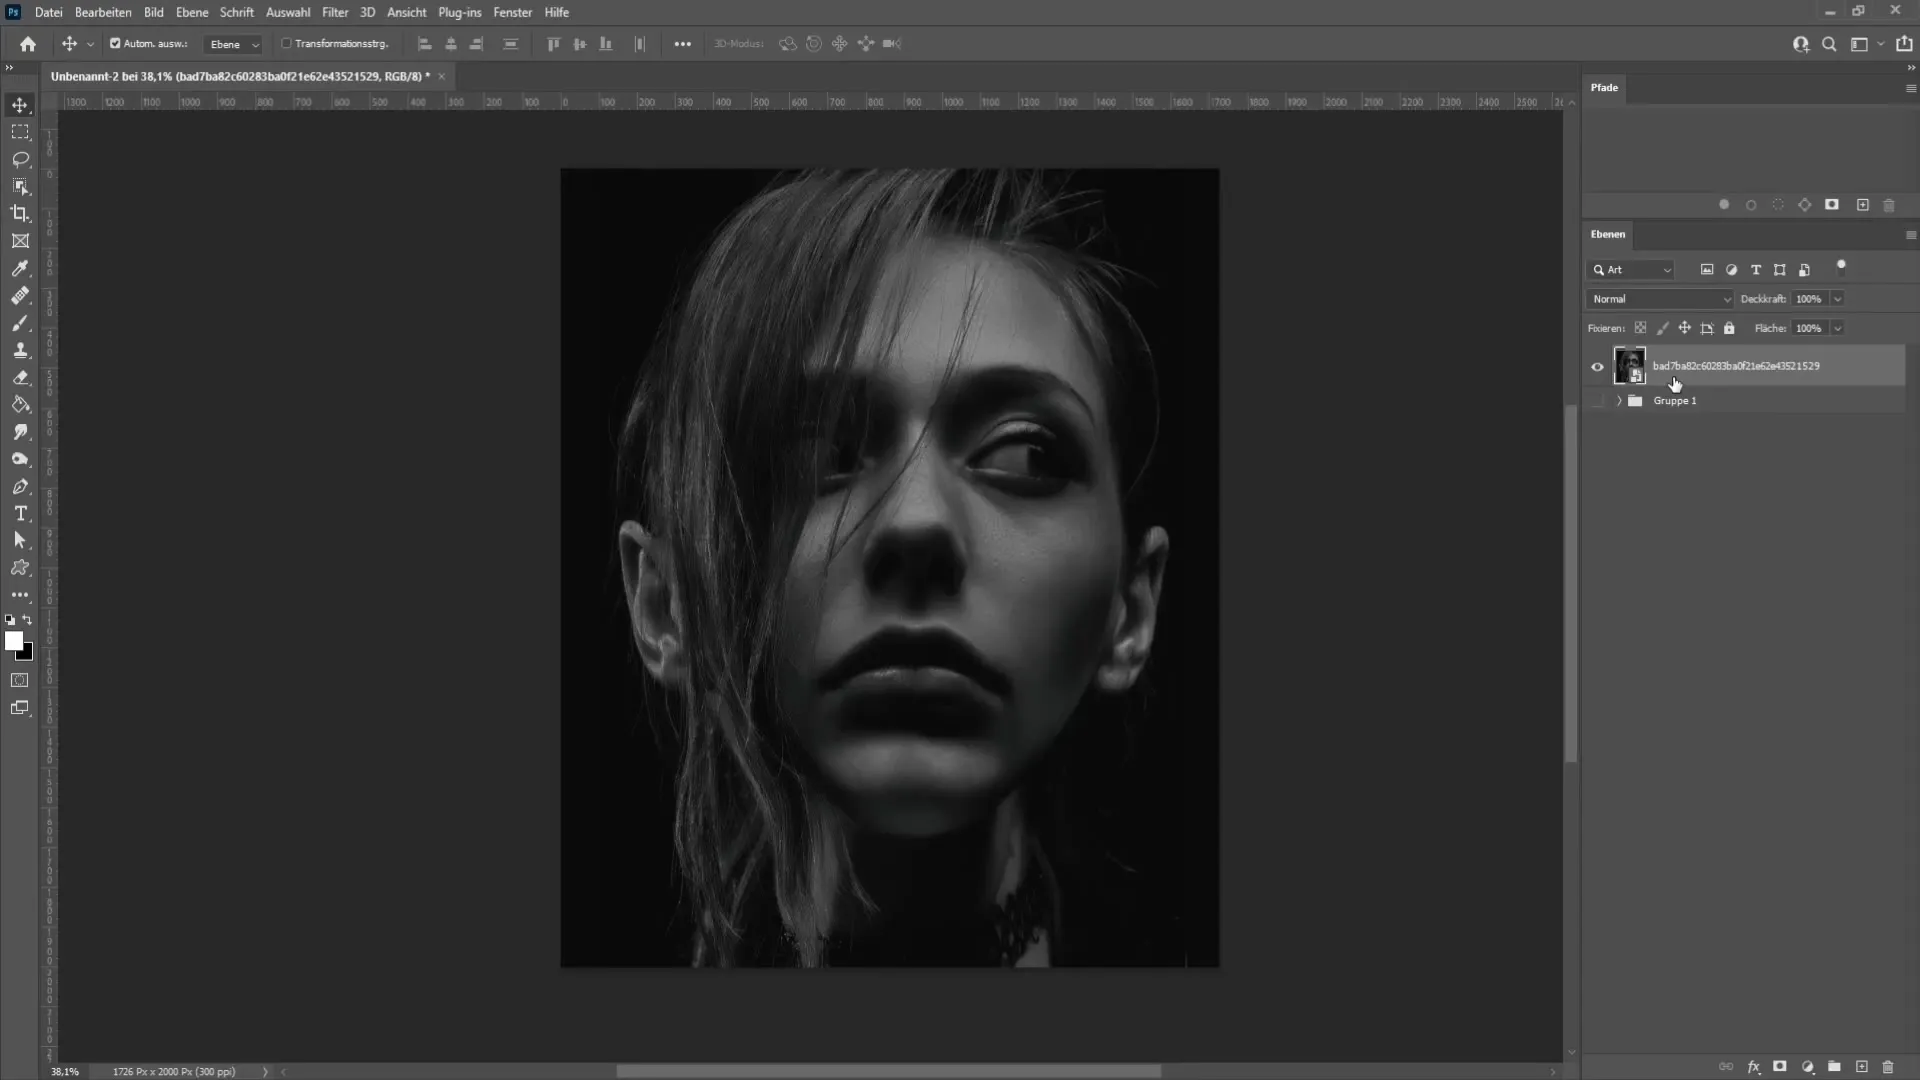
To enhance the effect, create another copy of the layer using Ctrl + J or Cmd + J. Double-click again on the layer to access the layer style window. This time, you deactivate the green channel.
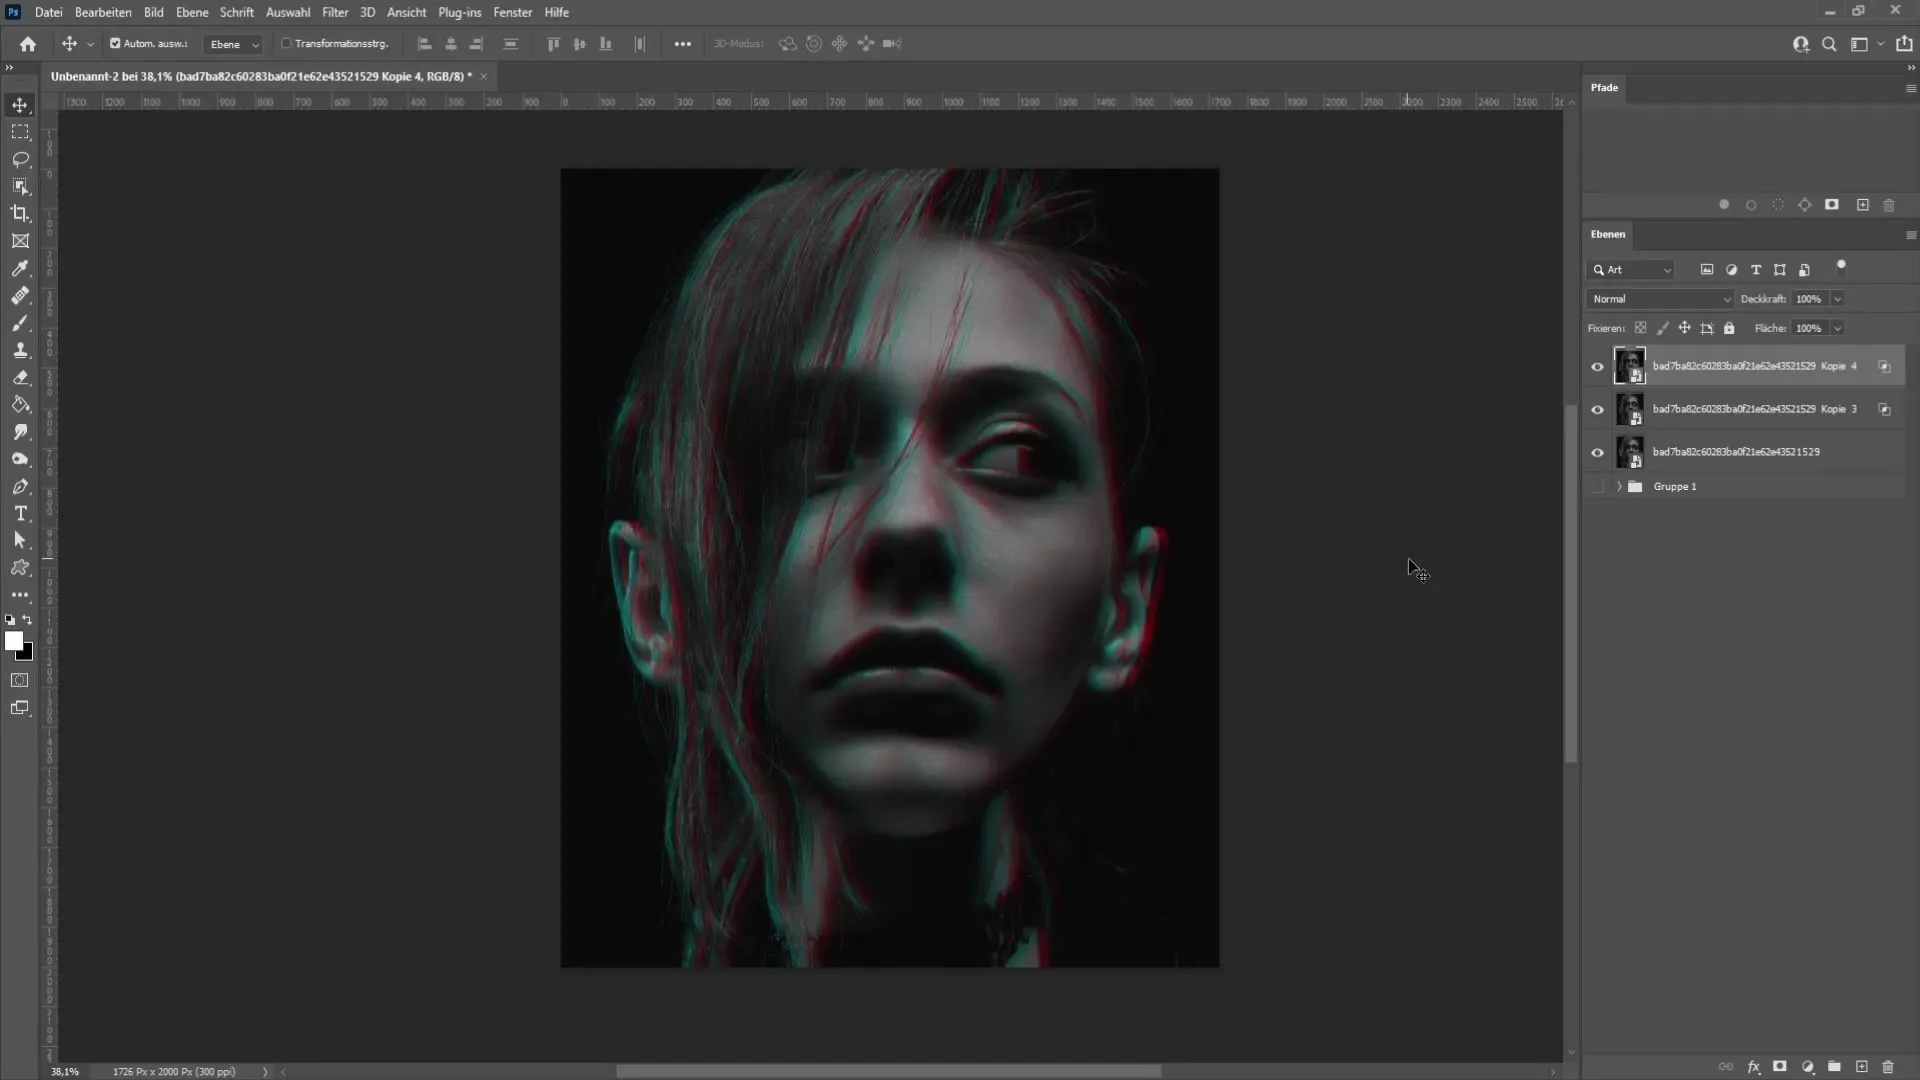
Click "OK" again. Use the Move tool and shift the layer slightly to the right or left with the arrow keys to create an additional green tint in the image.
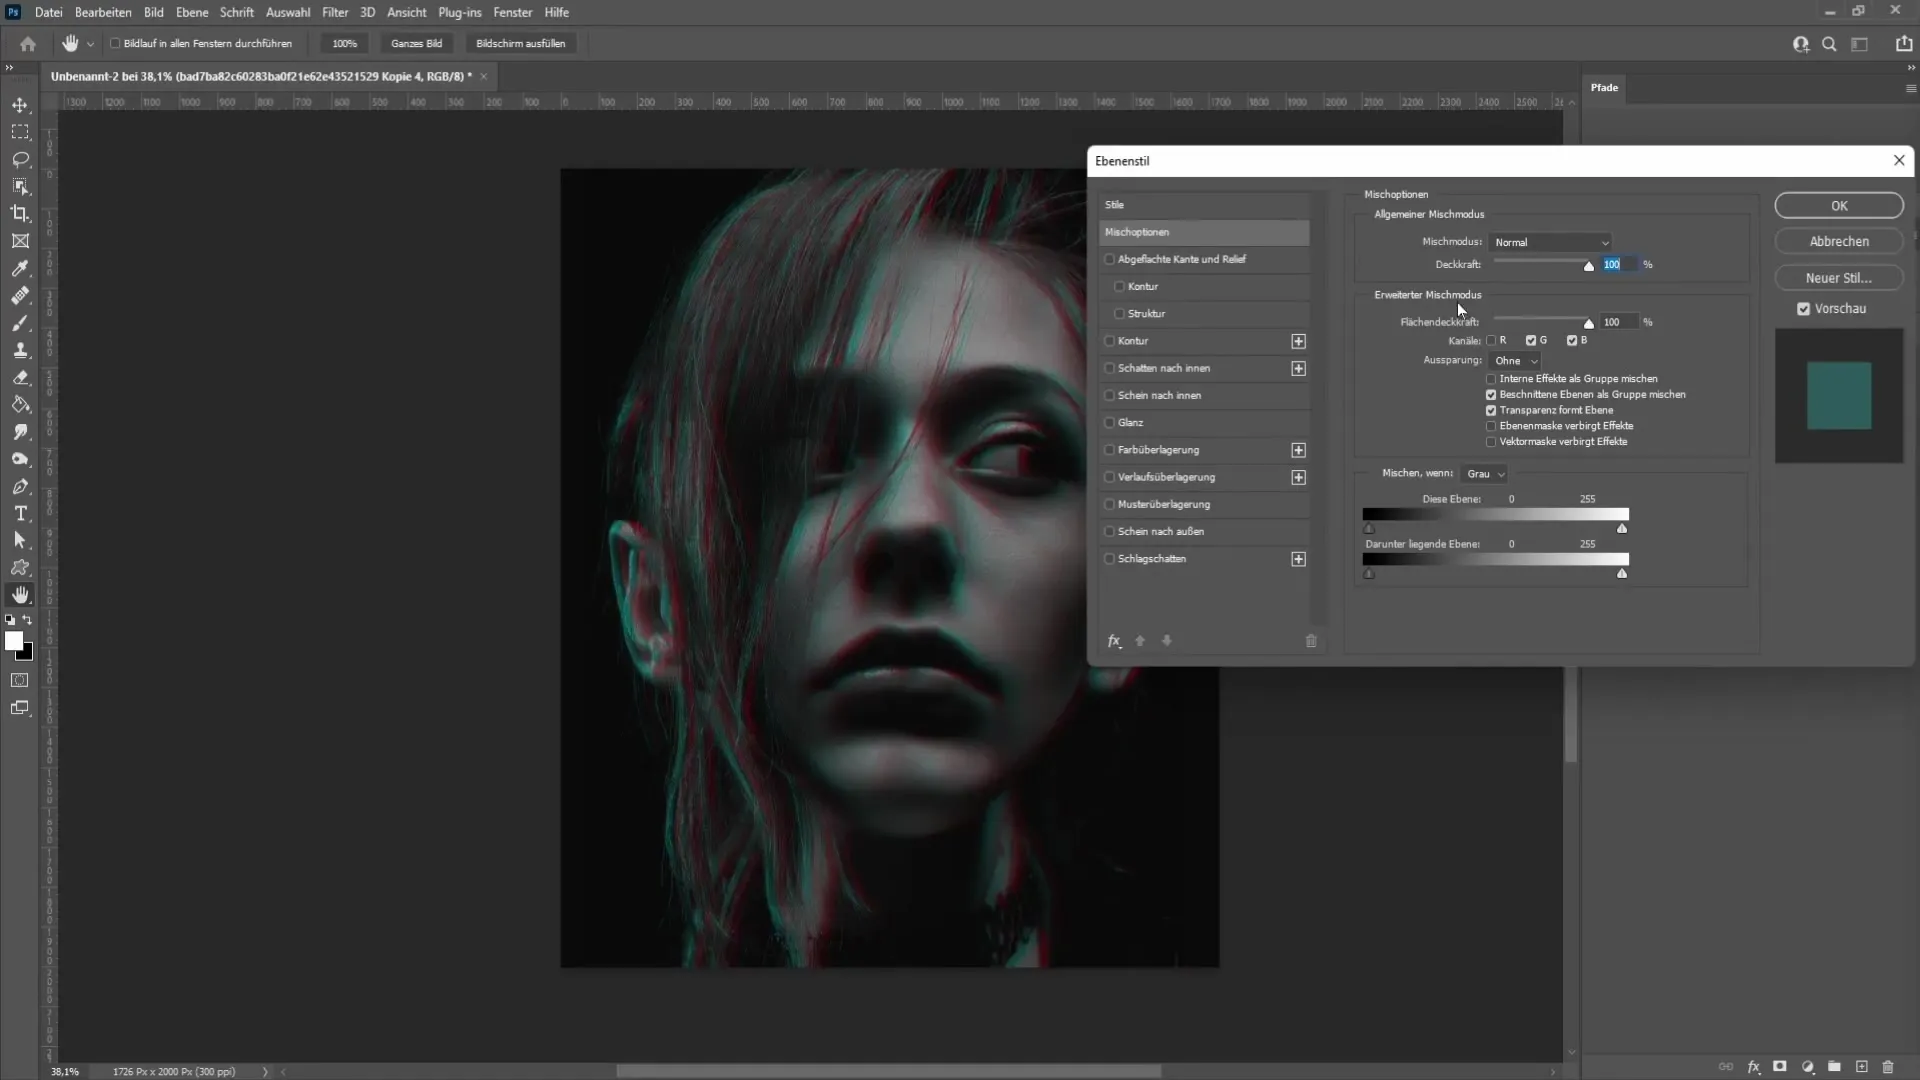
Once you are satisfied with the appearance, you can merge the layers. Press Ctrl + Shift + Alt + E to merge all layers onto a new one.
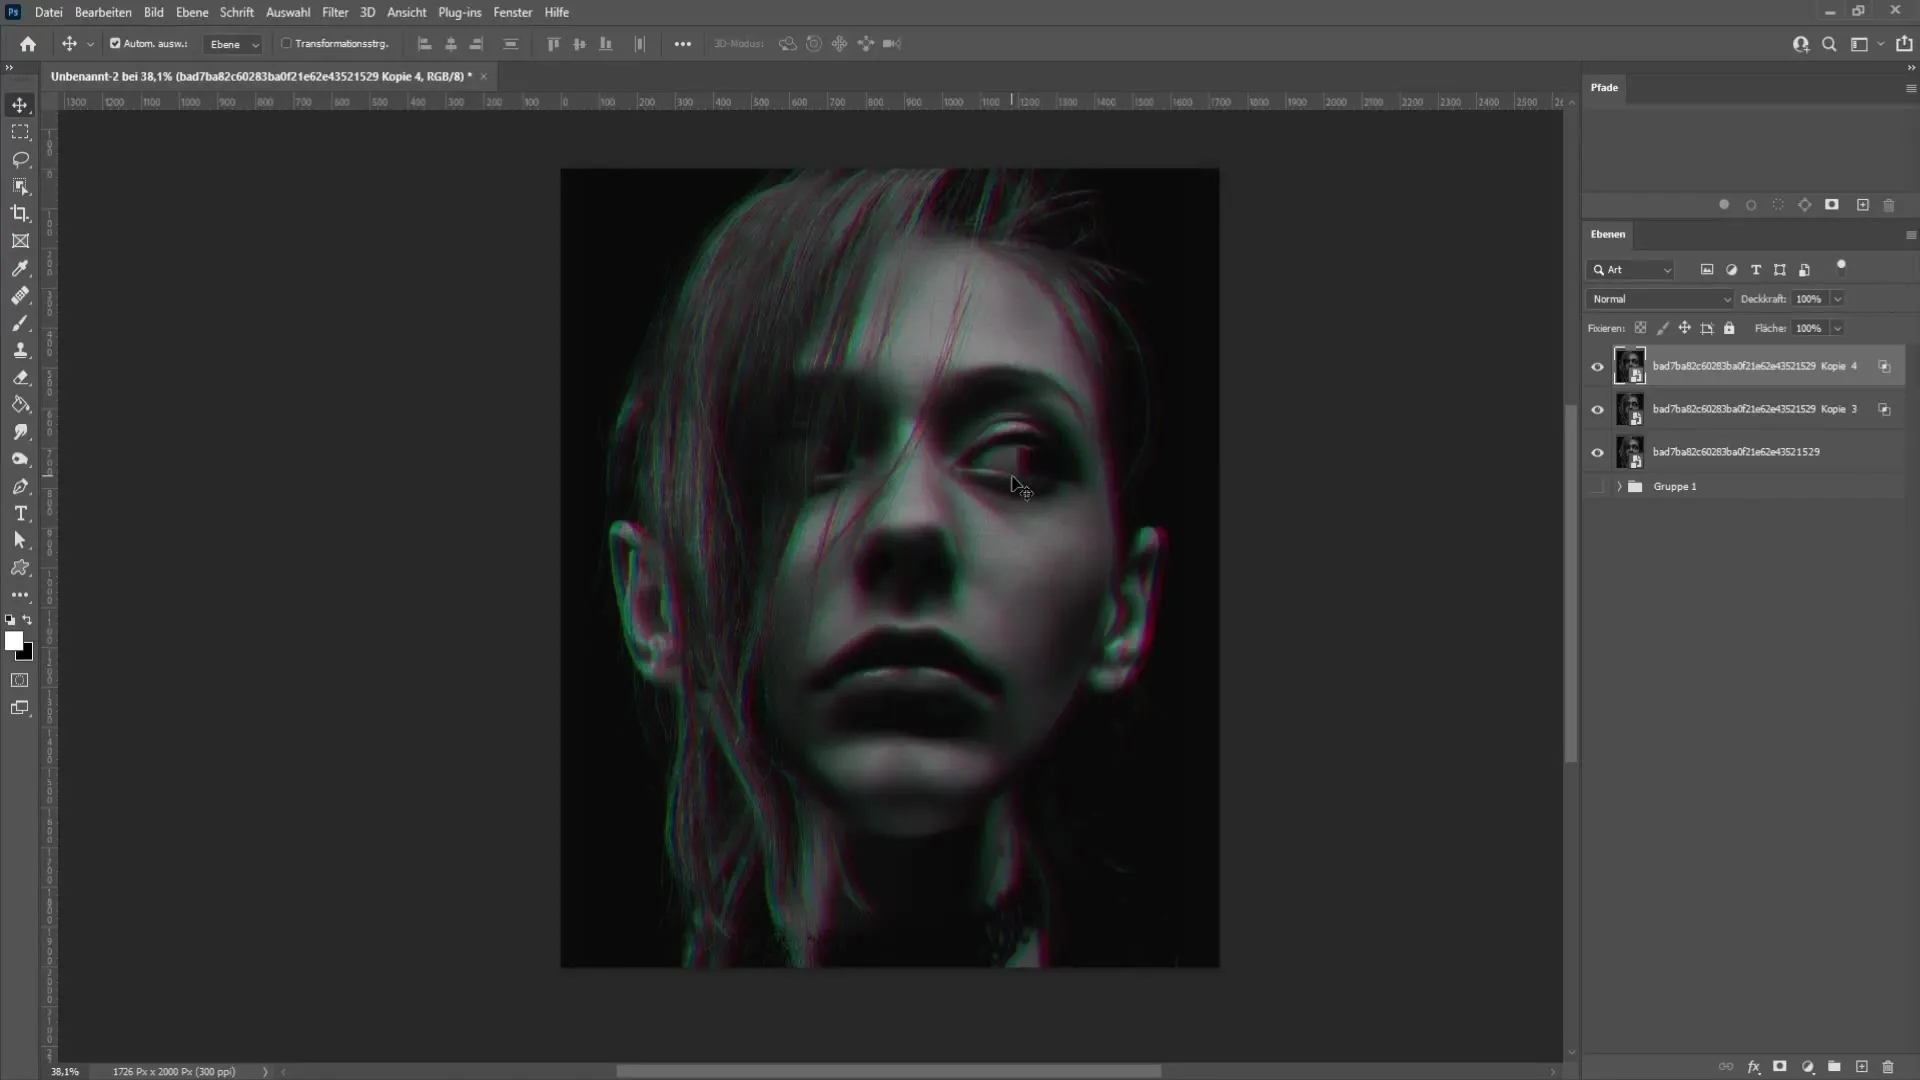
Now comes the creative part. Choose the Rectangular Marquee Tool. Make sure the feather edge is set to zero. You can now select different areas of the image to enhance the glitch effect.
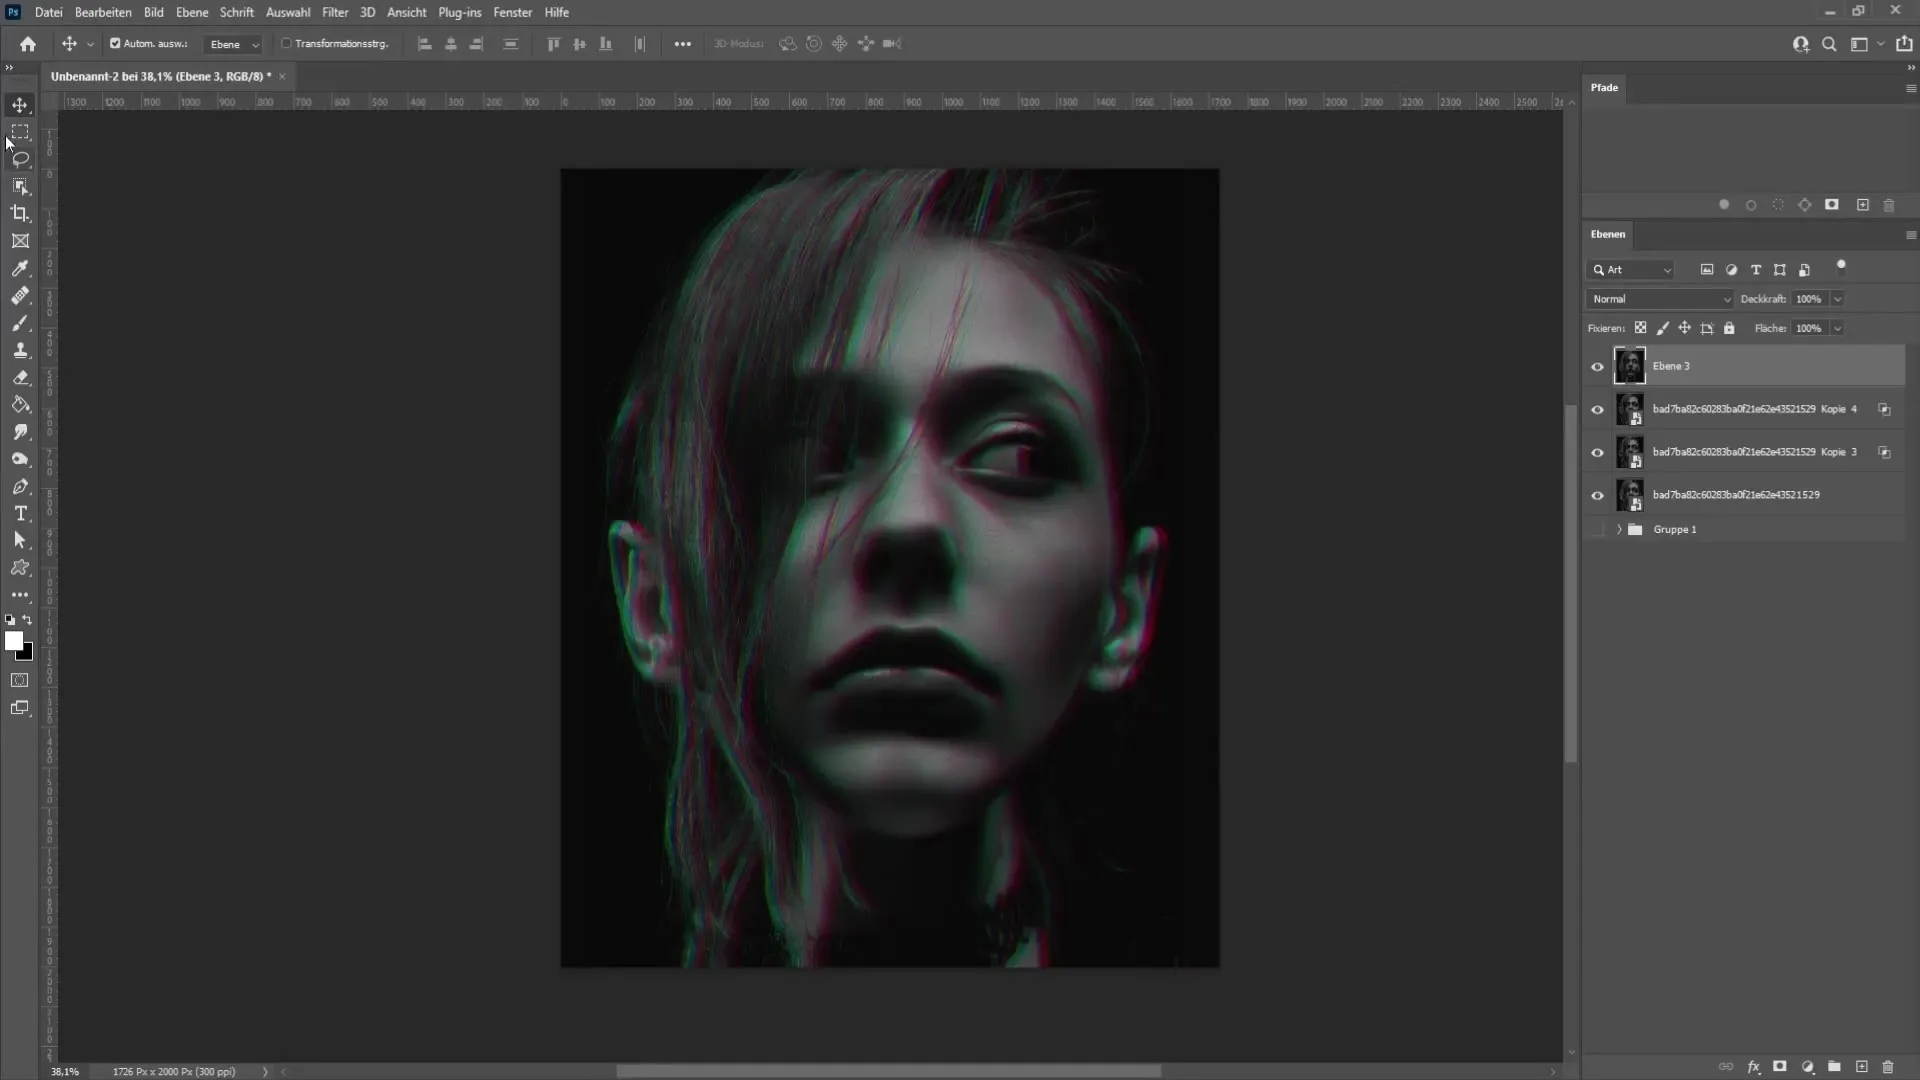
With the Ctrl key pressed (or Cmd on Mac) and the arrow keys, you can move the selected areas to create interesting distortions. You can experiment with various areas of your image this way.
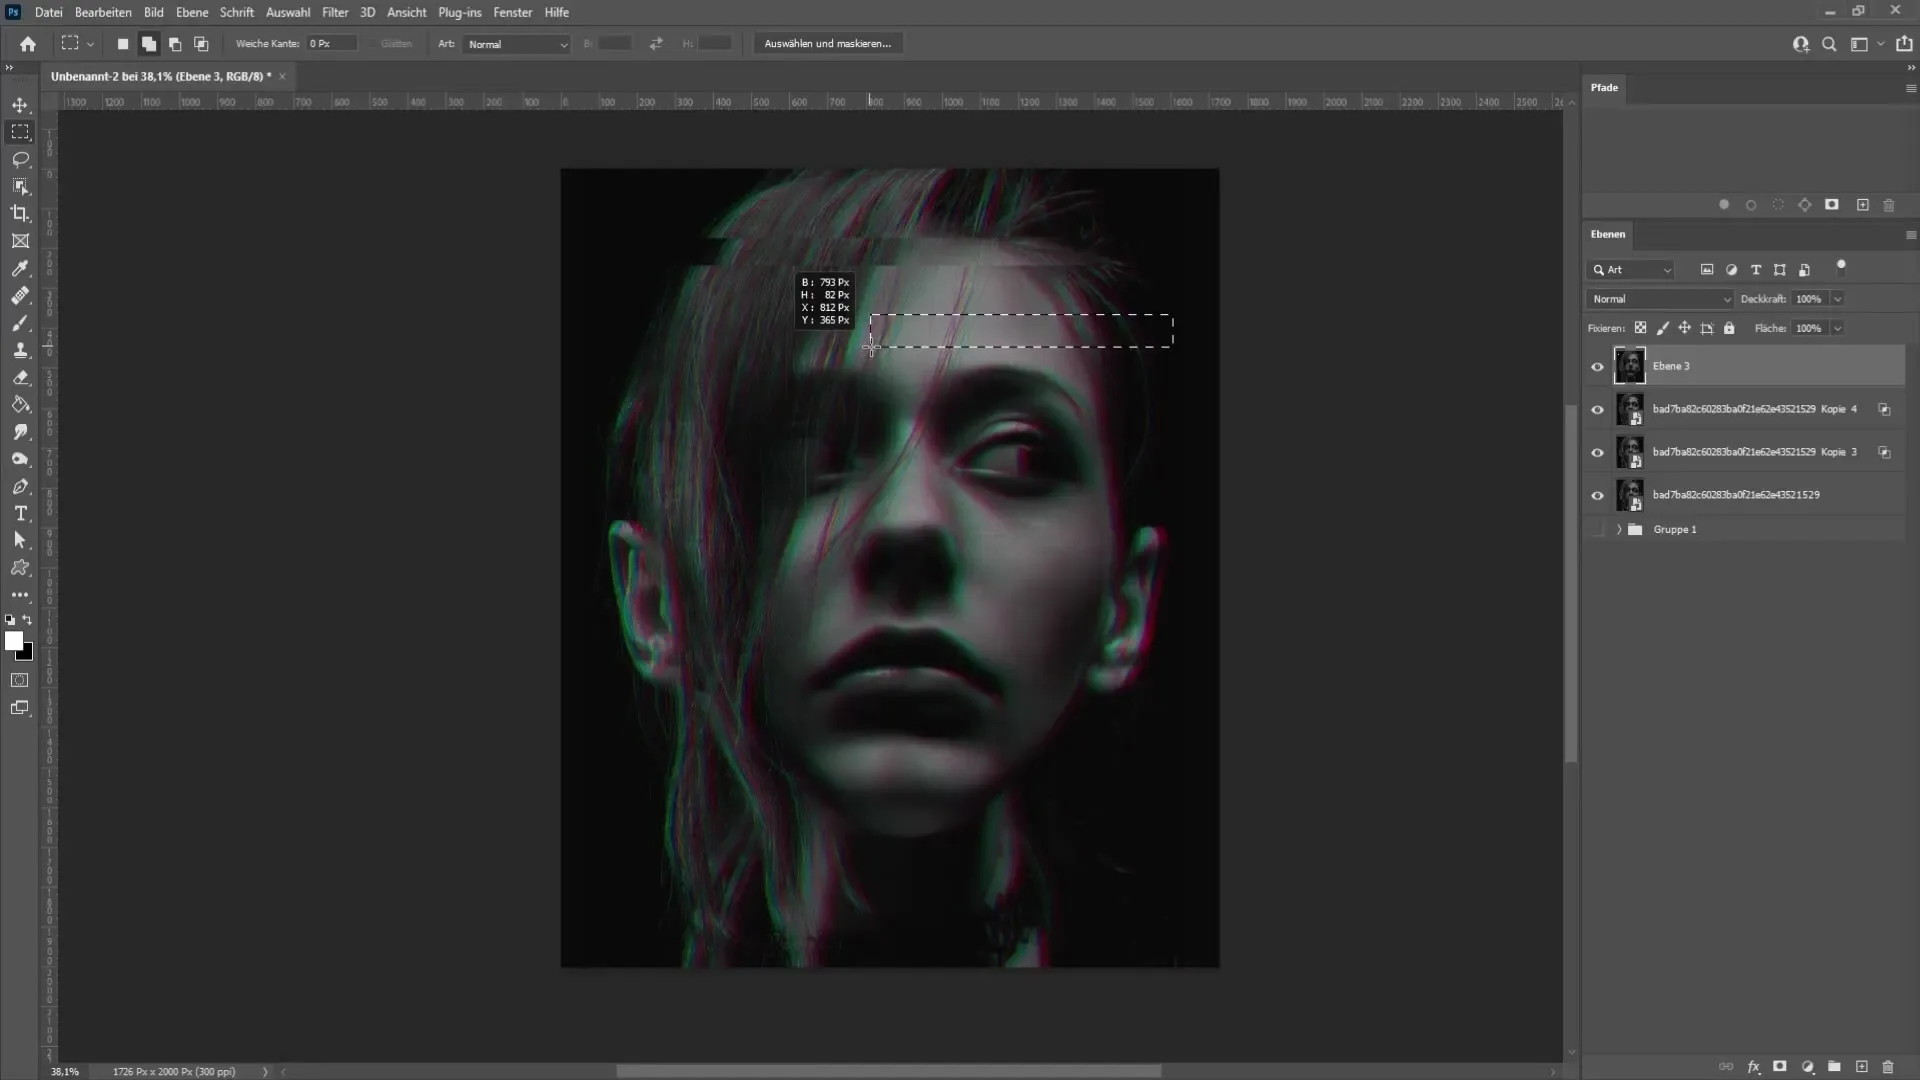
Starting from the bottom, select a larger area to incorporate more glitch elements into the image. Hold down the space bar to fine-tune the selection until you are satisfied with the appearance.
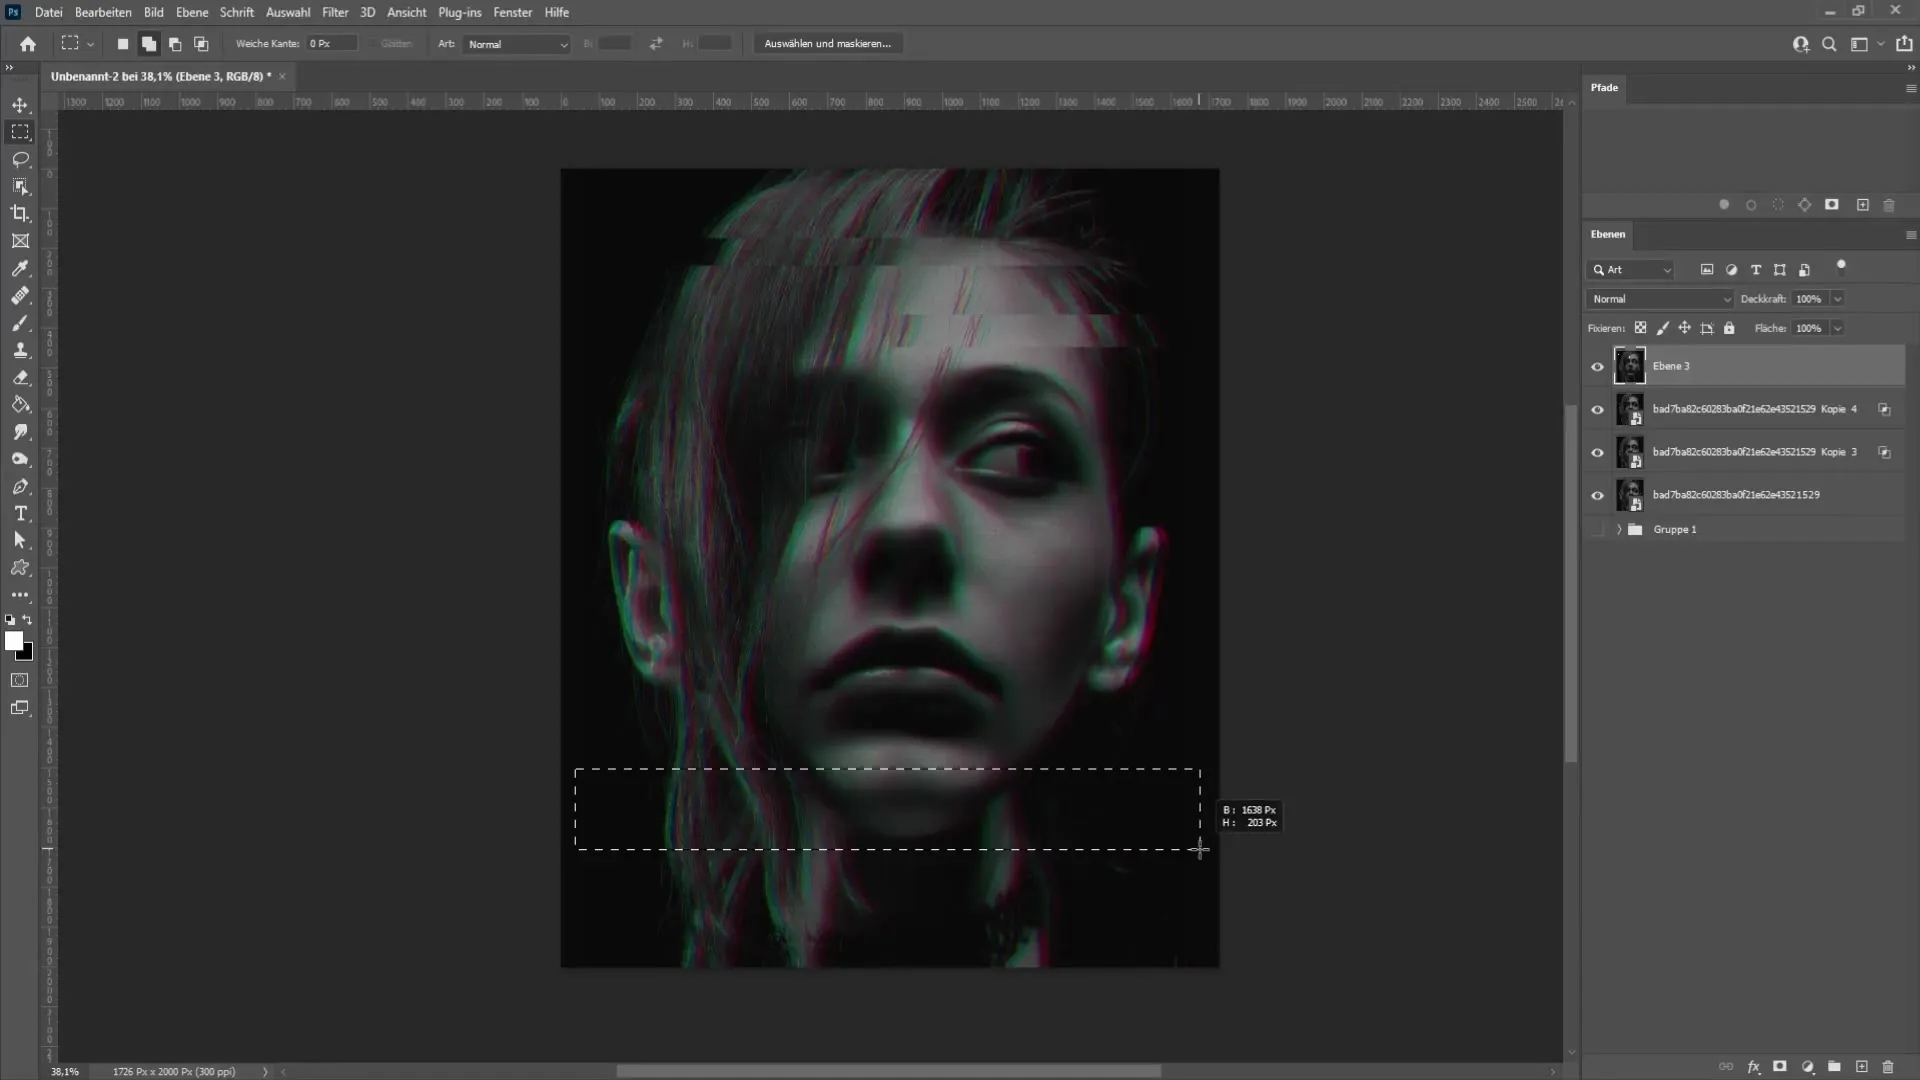
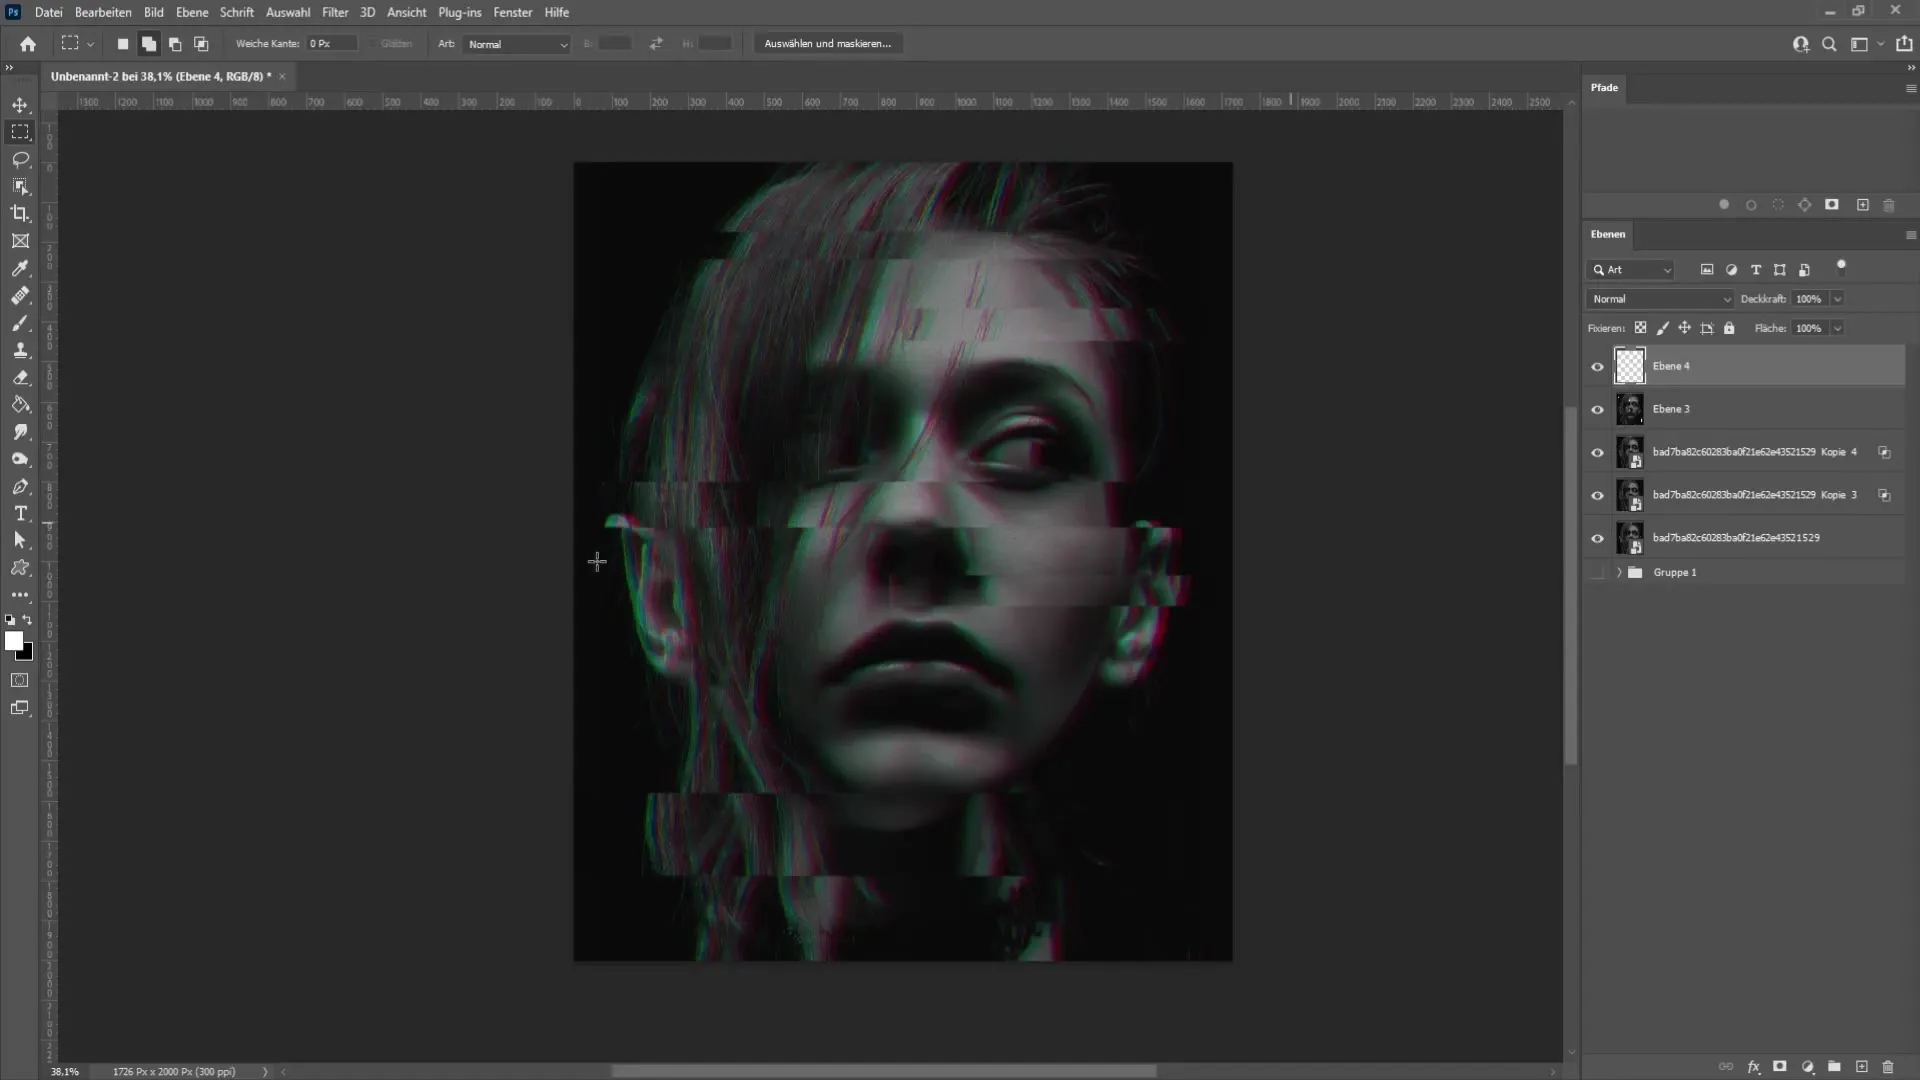
The more areas you select and shift, the more interesting your image will become. Take the time to achieve the perfect glitch effect.
Once you are done with the shifts, fill a new layer with white to add the final touches. You can do this using the F tool. Then press the D key to reset the colors to black and white and press X to set the foreground color to white.
Go to "Filter" and select "Filter Gallery". In the filter gallery, you can choose the halftone pattern effect under the filter type. Make sure to select "Line" as the pattern type.
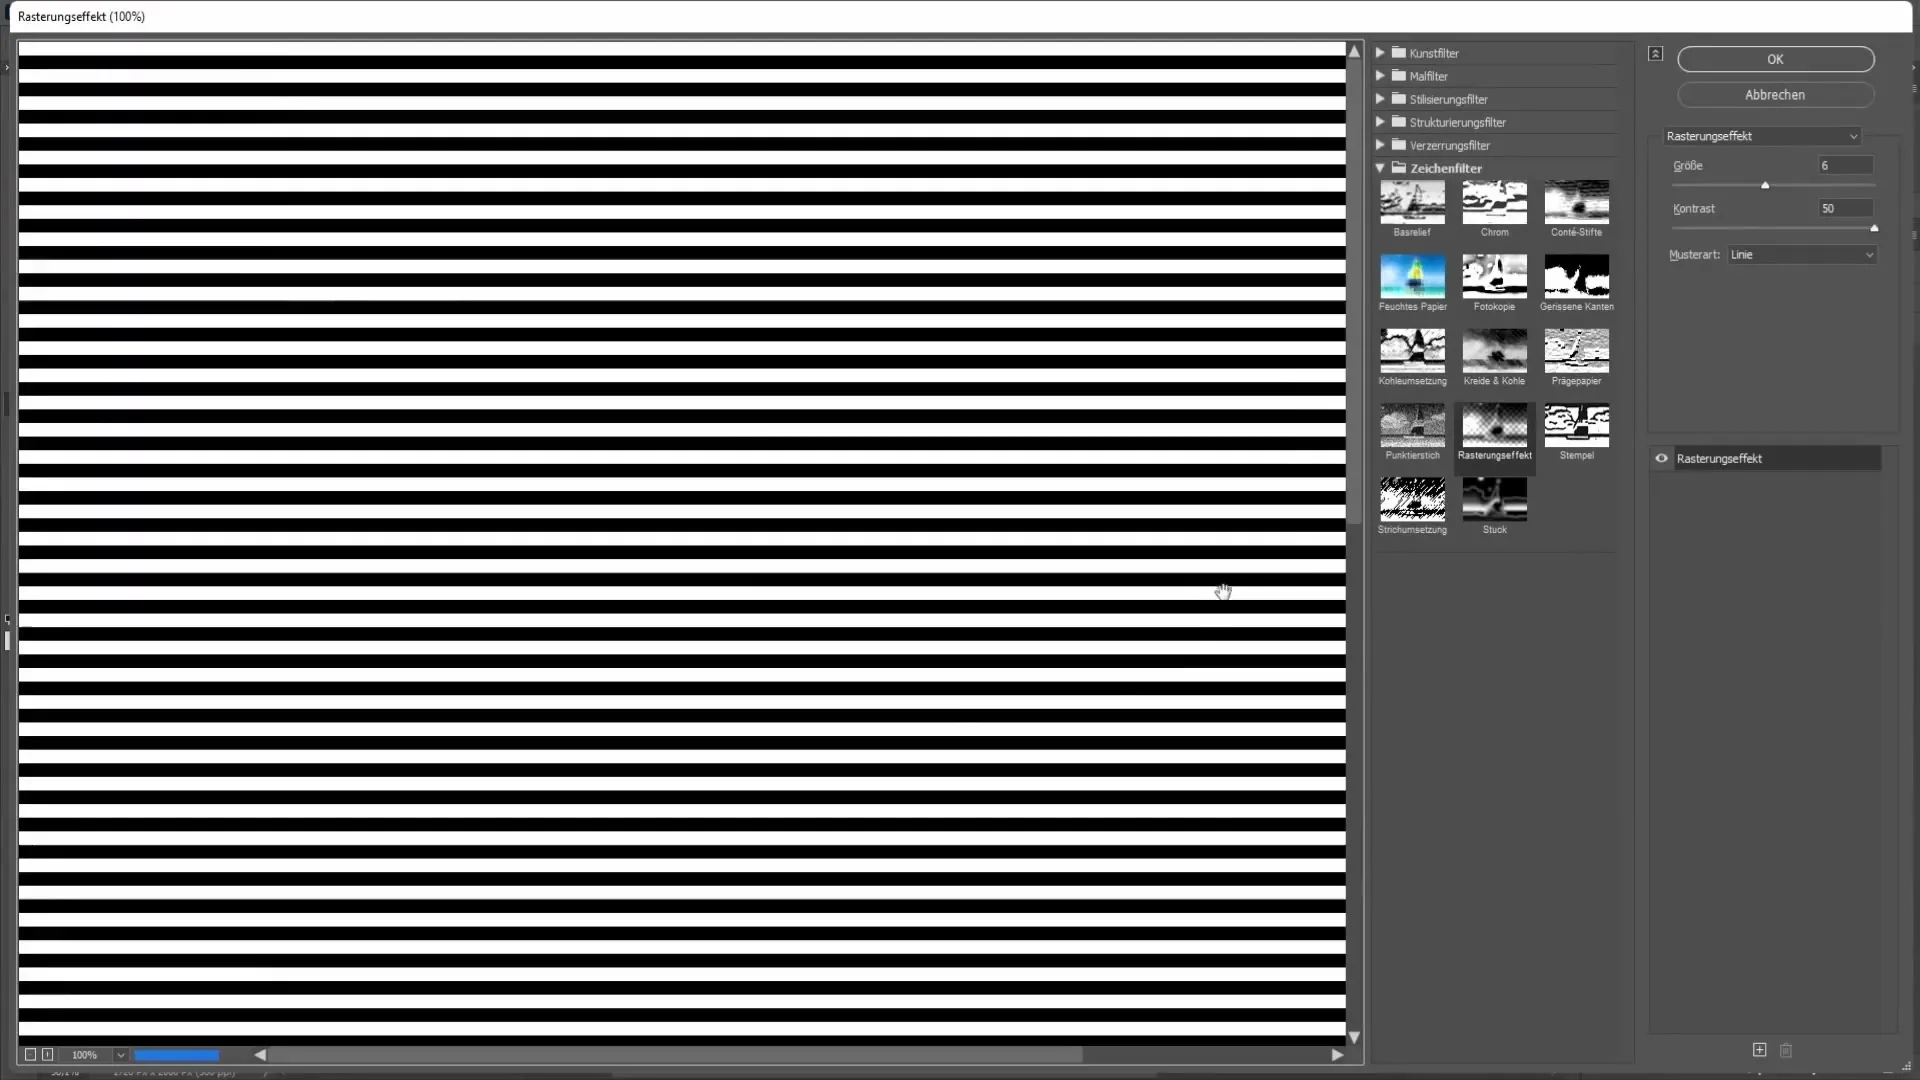
Maximize the contrast and set the size to about 6 for optimal results. Click "OK".
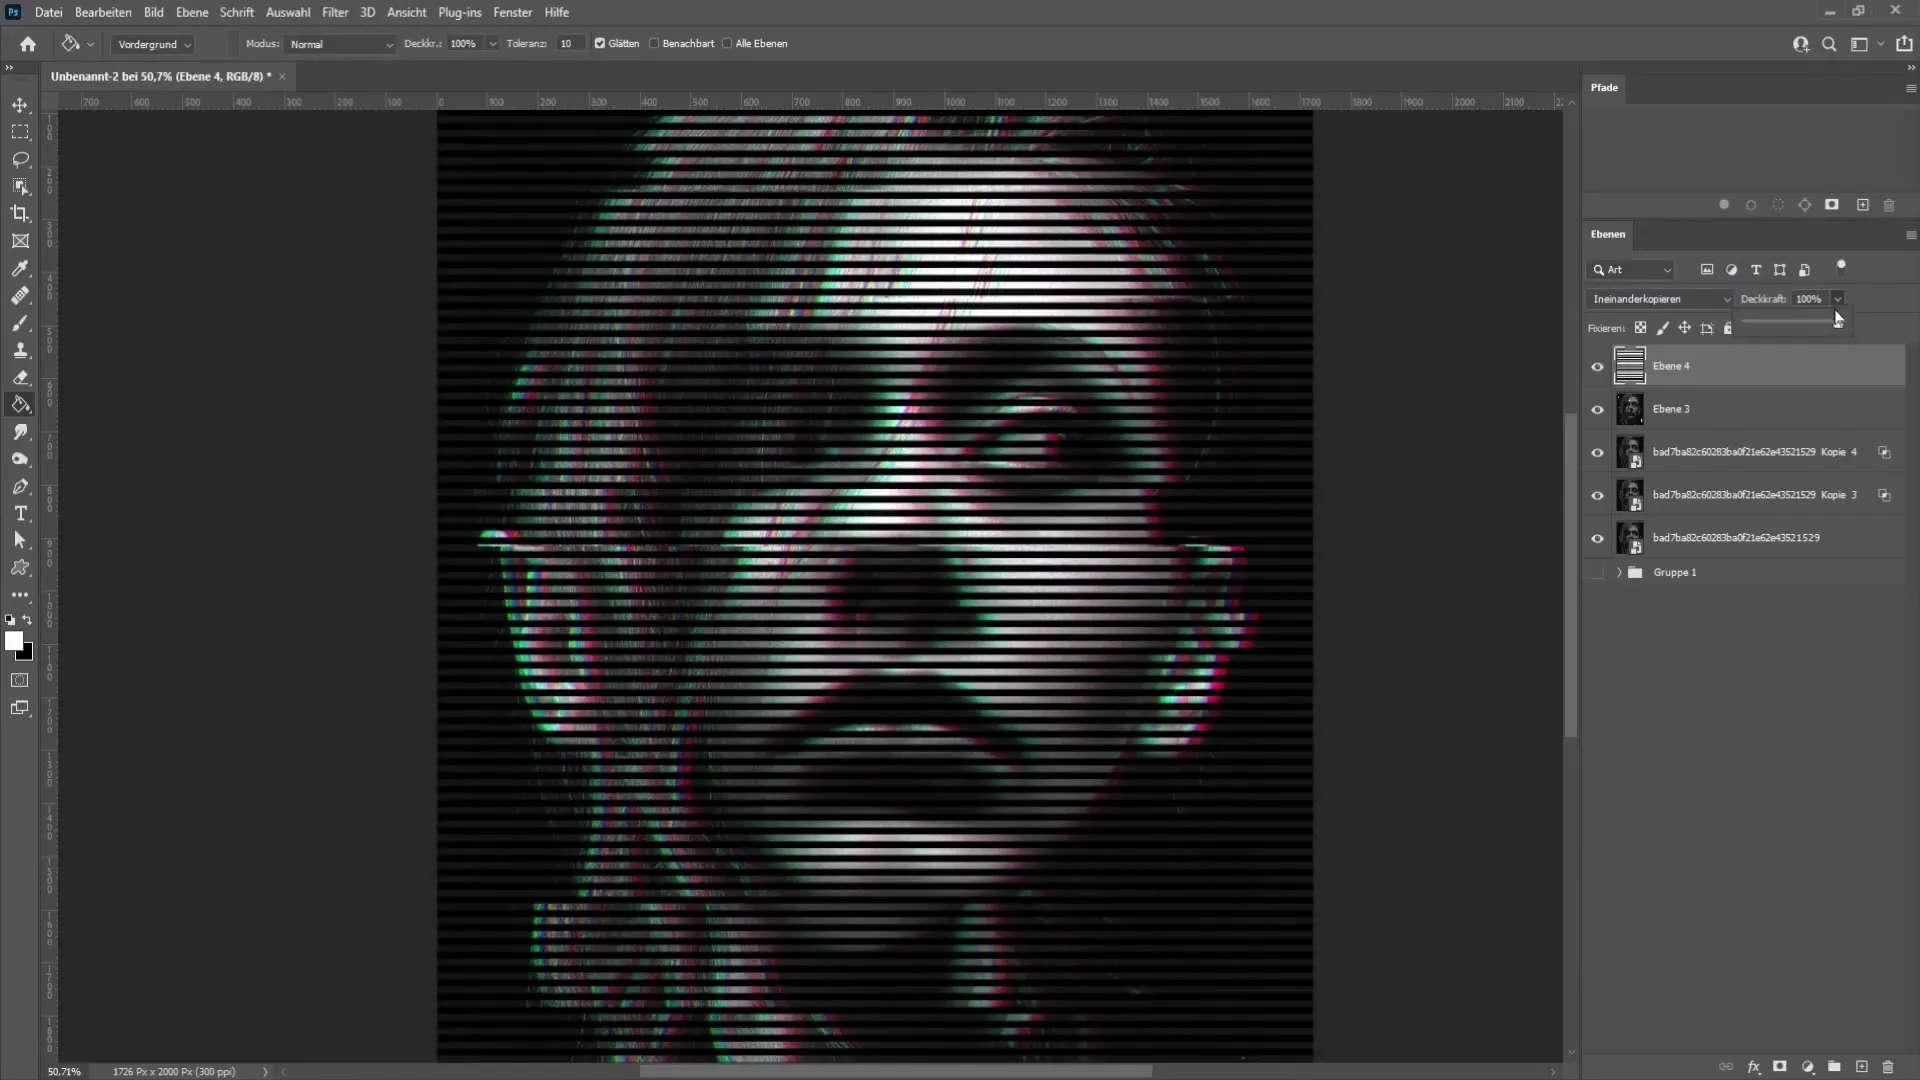
Finally, you need to adjust the blending mode of the line layer. I recommend using the "Soft Light" or "Multiply" modes. You can also reduce the opacity as needed to make the effect more subtle.
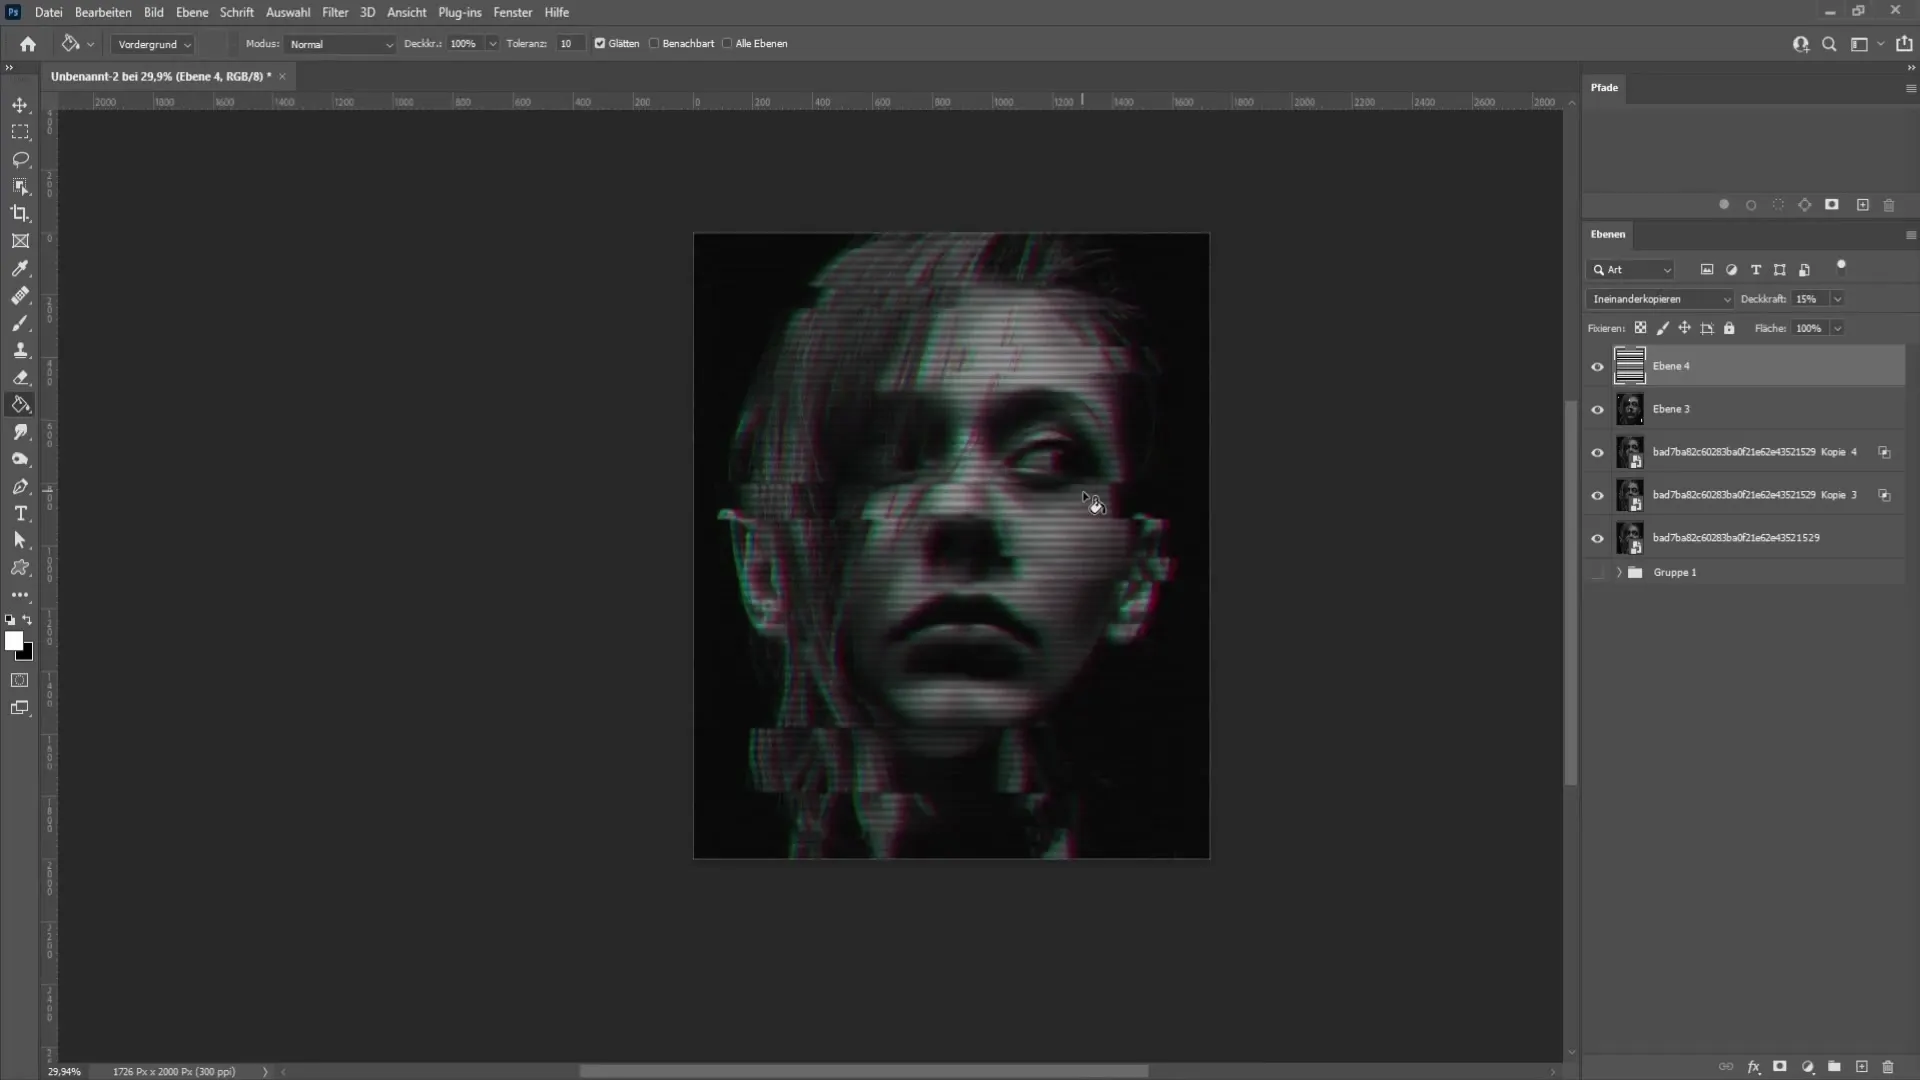
With these steps, you have now created your unique glitch effect!
Summary
In this tutorial, you have learned how to apply a fascinating glitch effect to your images in Photoshop in just a few steps. By working with layers and experimenting with colors, you can achieve impressive visual results.
Frequently Asked Questions
What is the glitch effect?The glitch effect is a digital distortion created by manipulating color channels, giving it an artistic touch.
Can I apply the glitch effect to any images?Yes, you can apply the glitch effect to almost any image to give it a unique look.
Which Photoshop version is required?The steps in this tutorial are applicable in most modern versions of Photoshop.
Can I adjust the glitch effect afterwards?Yes, you can edit the layers and adjustments anytime to achieve the best results.


