In this tutorial, I will show you how to create an impressive oil painting from a regular photo using just one filter in Photoshop. By using the Oil Paint filter, you can transform your image into a piece of art that simulates the style of a real oil painting. Whether you are a beginner or advanced, this technique is easy to implement and requires only a few steps.
Key Takeaways
With the Oil Paint filter in Photoshop, you can:
- Transform images into stylish oil paintings.
- Experiment with different settings to achieve the desired effect.
- Quickly and easily achieve impressive results.
Step-by-Step Guide
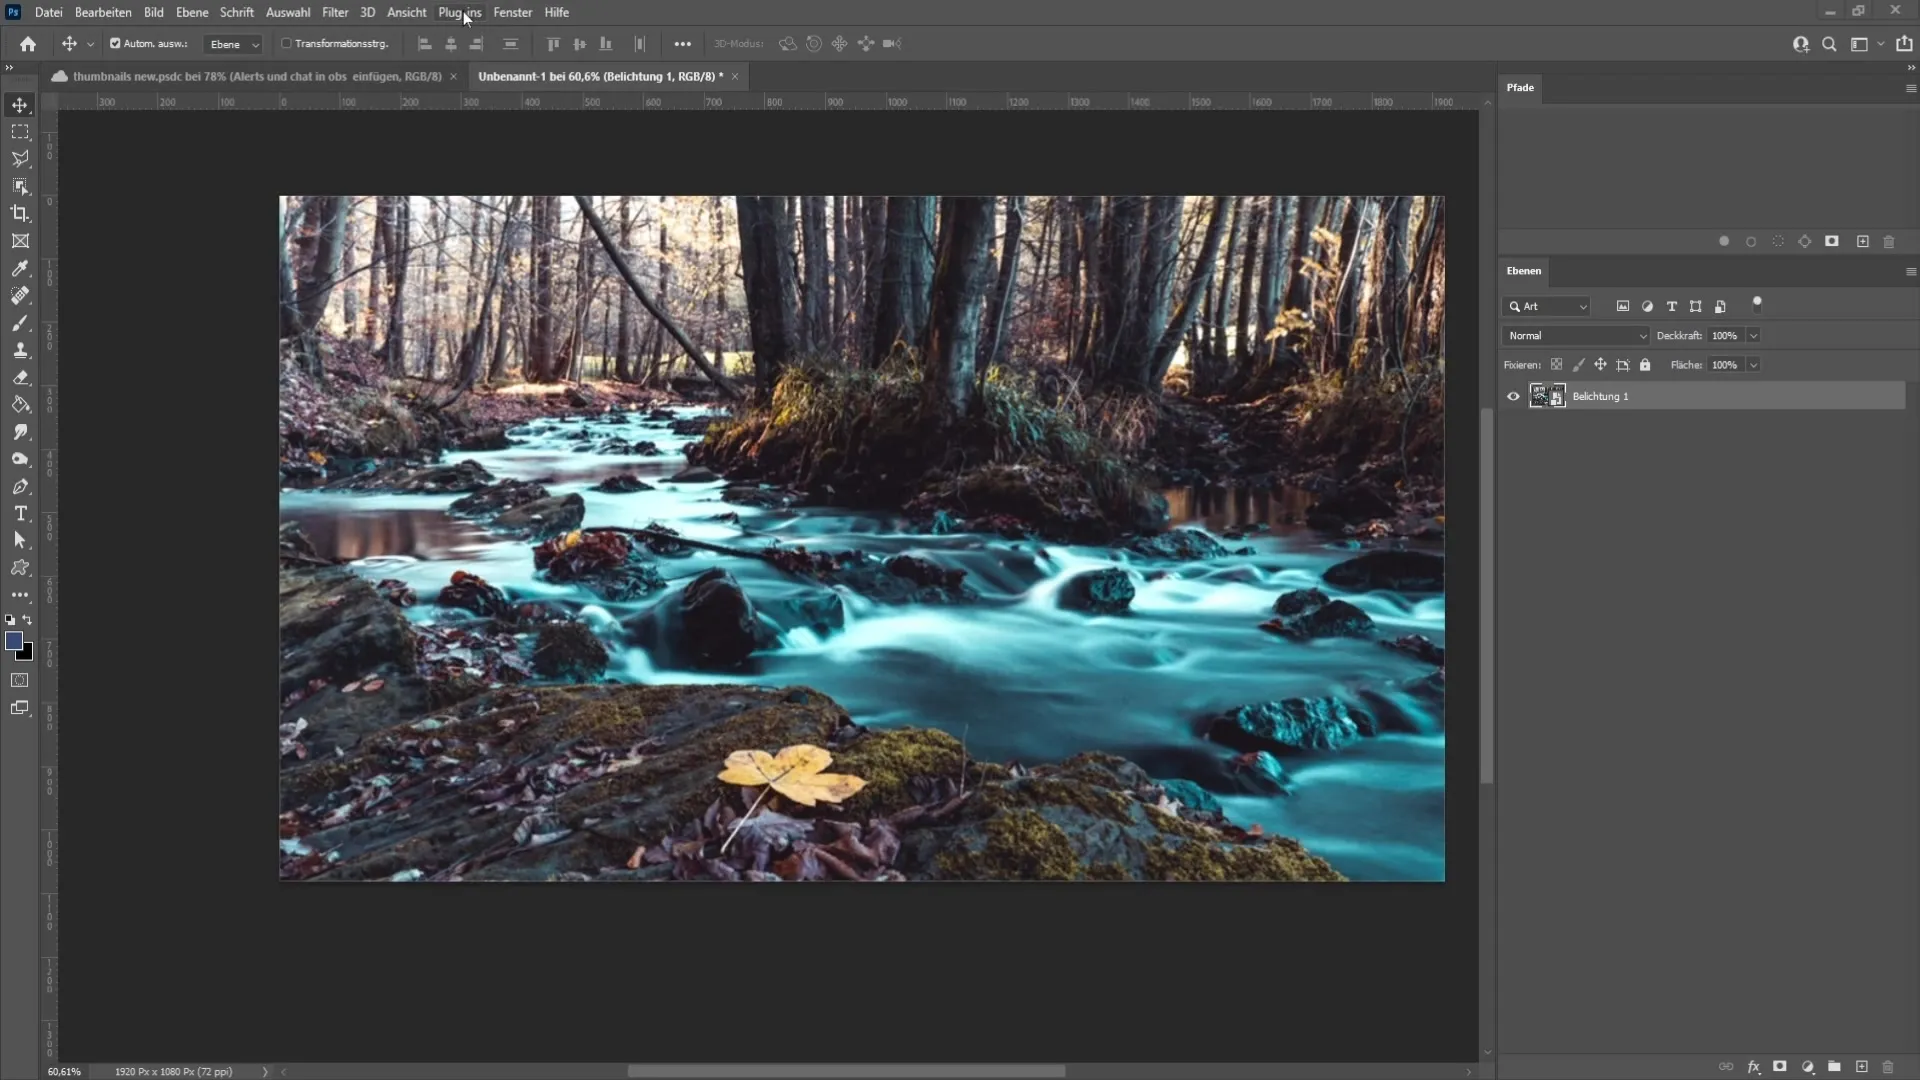
First, you should have Photoshop open and import your image that you want to turn into an oil painting. You can either select an image from your computer or download one from an online stock provider.
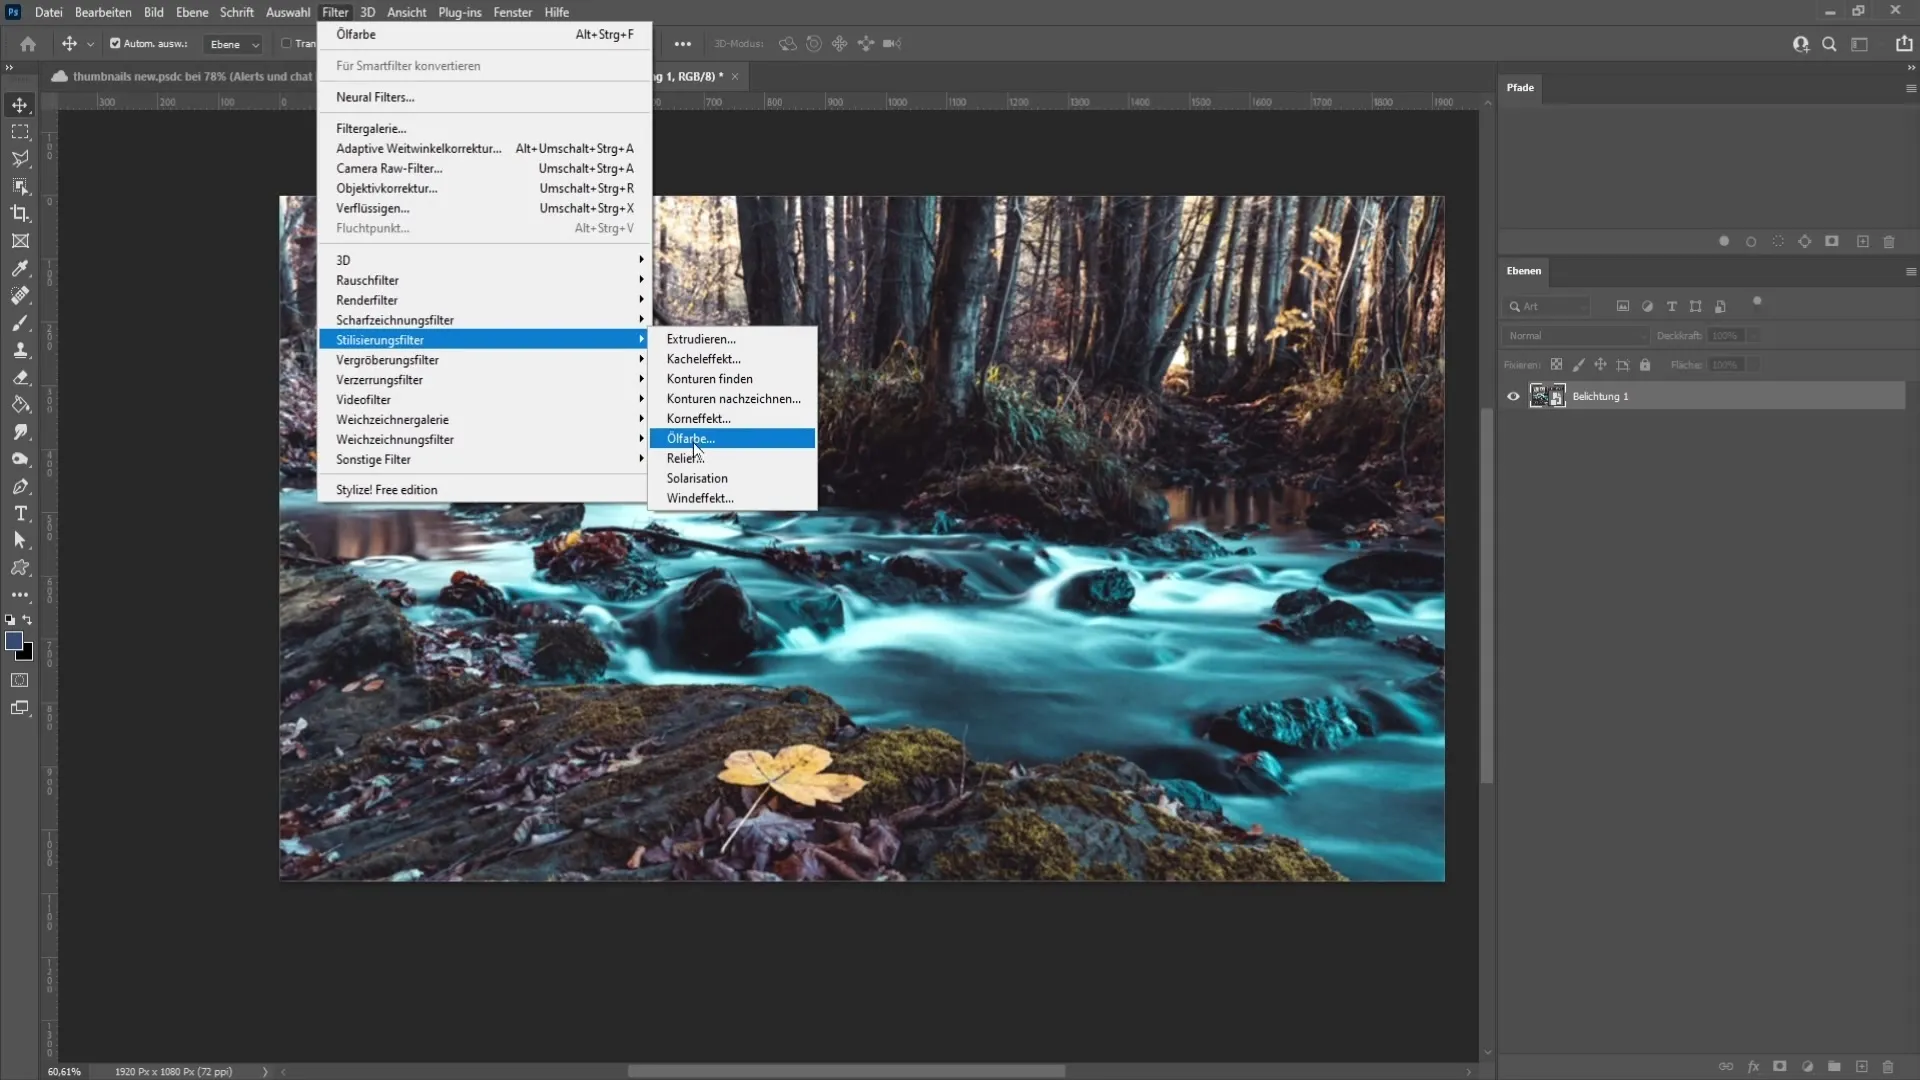
After opening your image in Photoshop, go to the menu at the top of the application. Click on "Filter," then on "Stylize Filter," and finally select the "Oil Paint Filter."
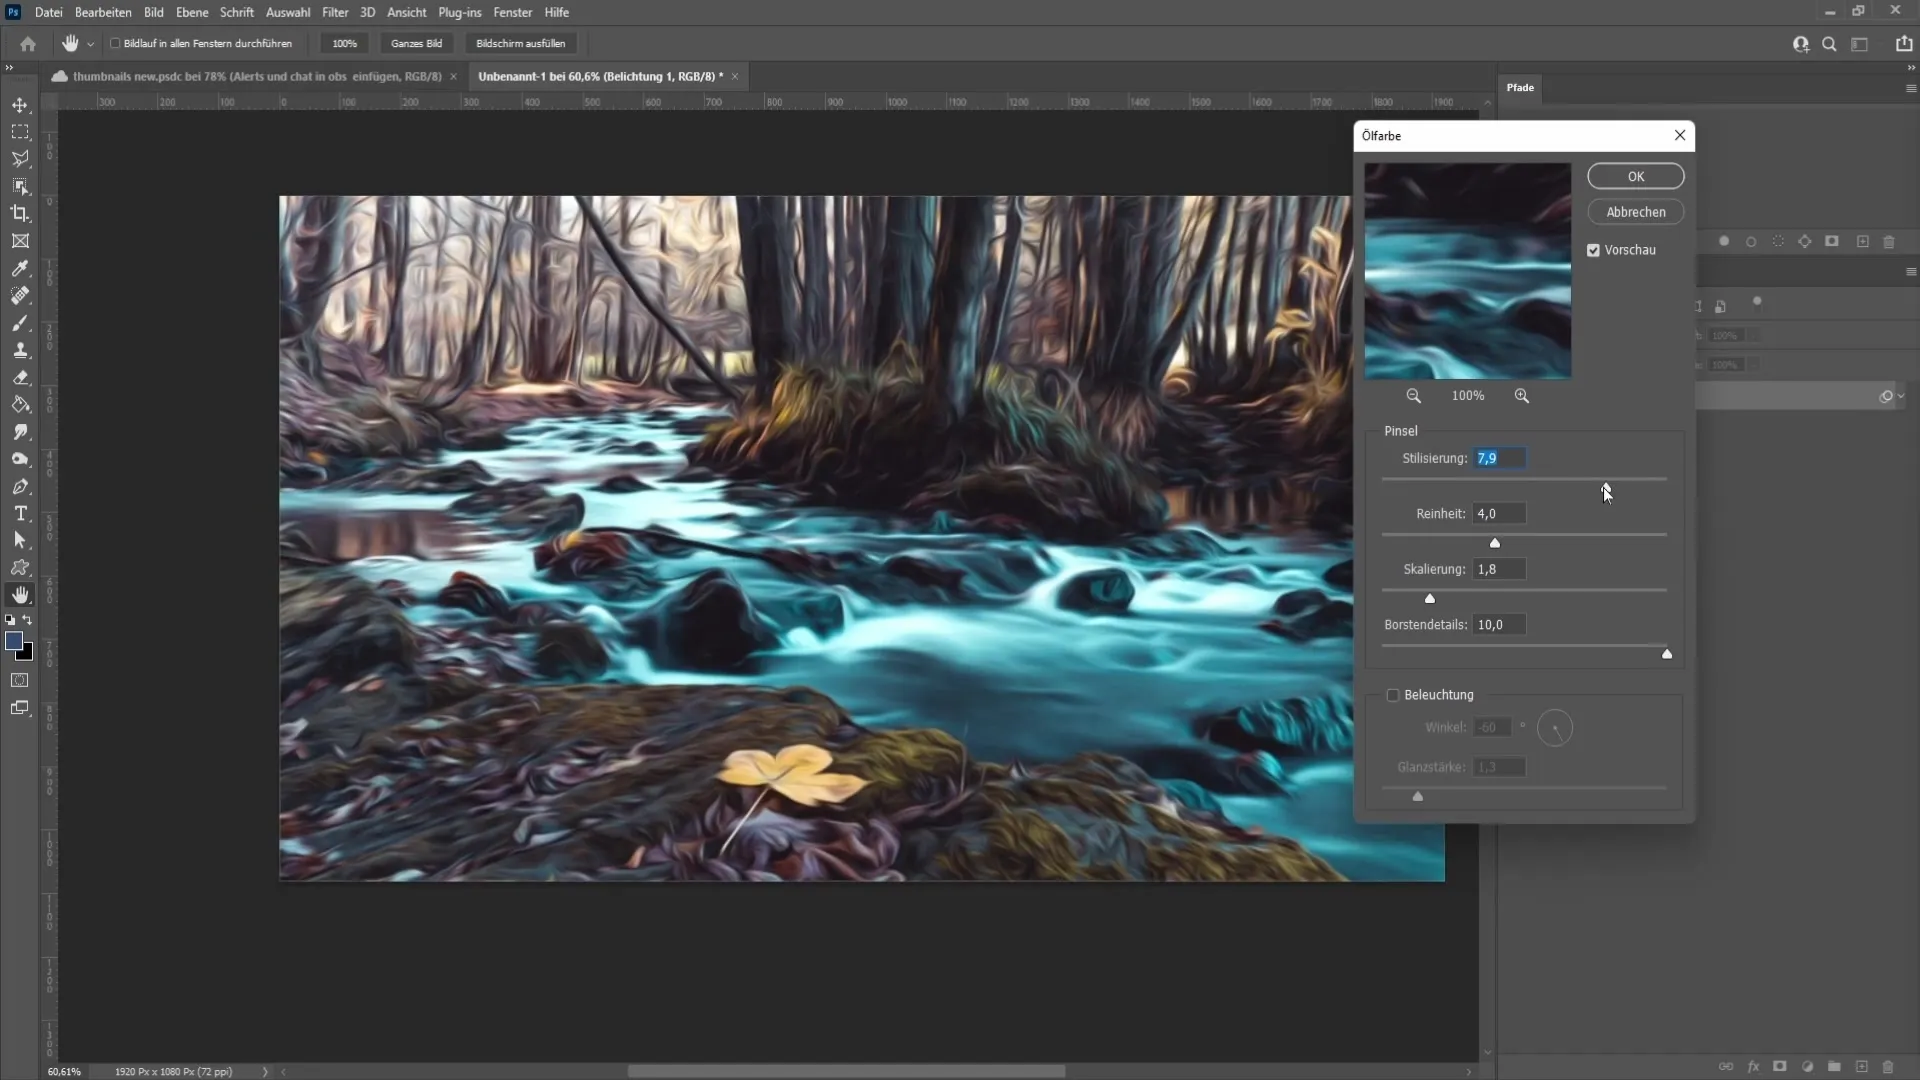
Now you will see a variety of settings that you can adjust to customize the result to your liking. The first parameter you will find is "Stylization," where you can determine how the brush strokes in your image should look.
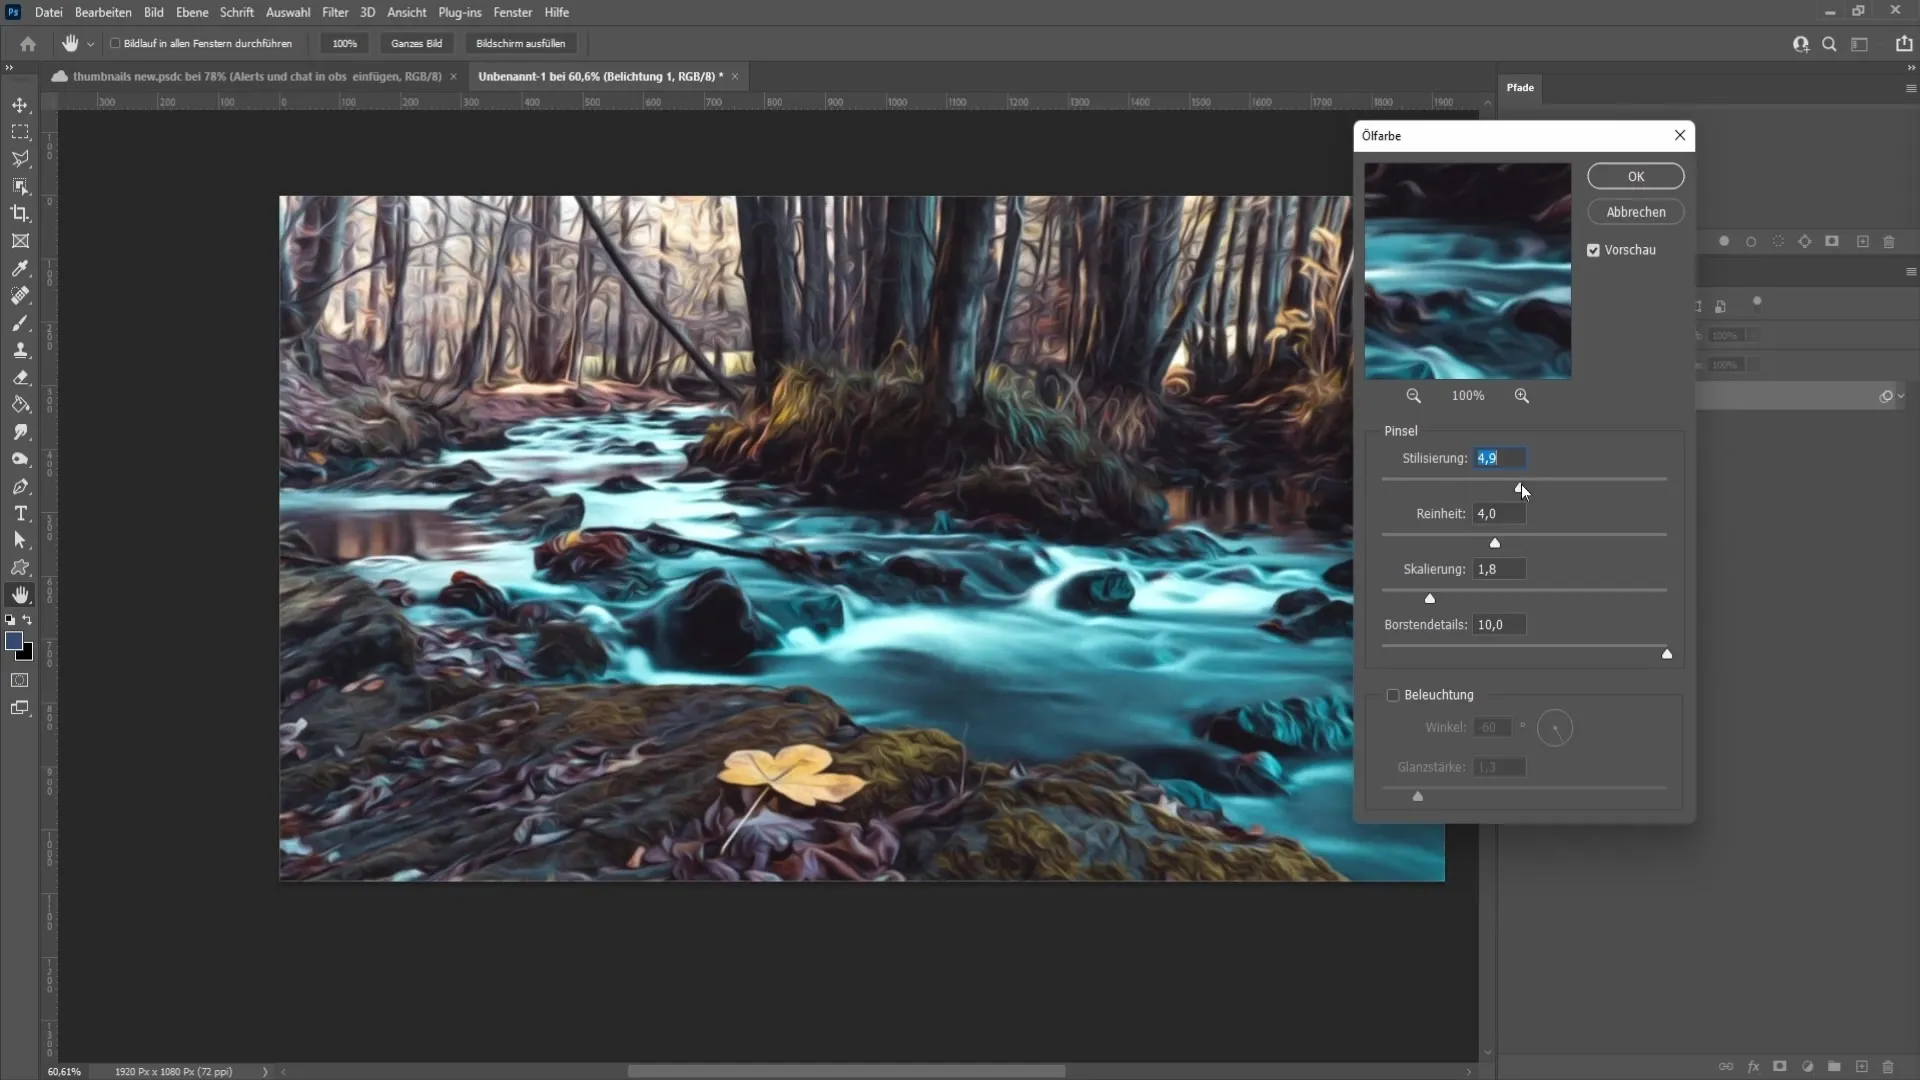
Increasing the stylization will give you smoother brush strokes, while lower values will create a stippled effect. Play around with this slider a bit to find the style that suits your image best.
The next parameter is "Cleanliness." This setting influences the length of the brush strokes. A value of 0 results in very short strokes, while higher values return longer strokes. For our example, I recommend a value of about 5.0 to achieve a well-balanced effect.
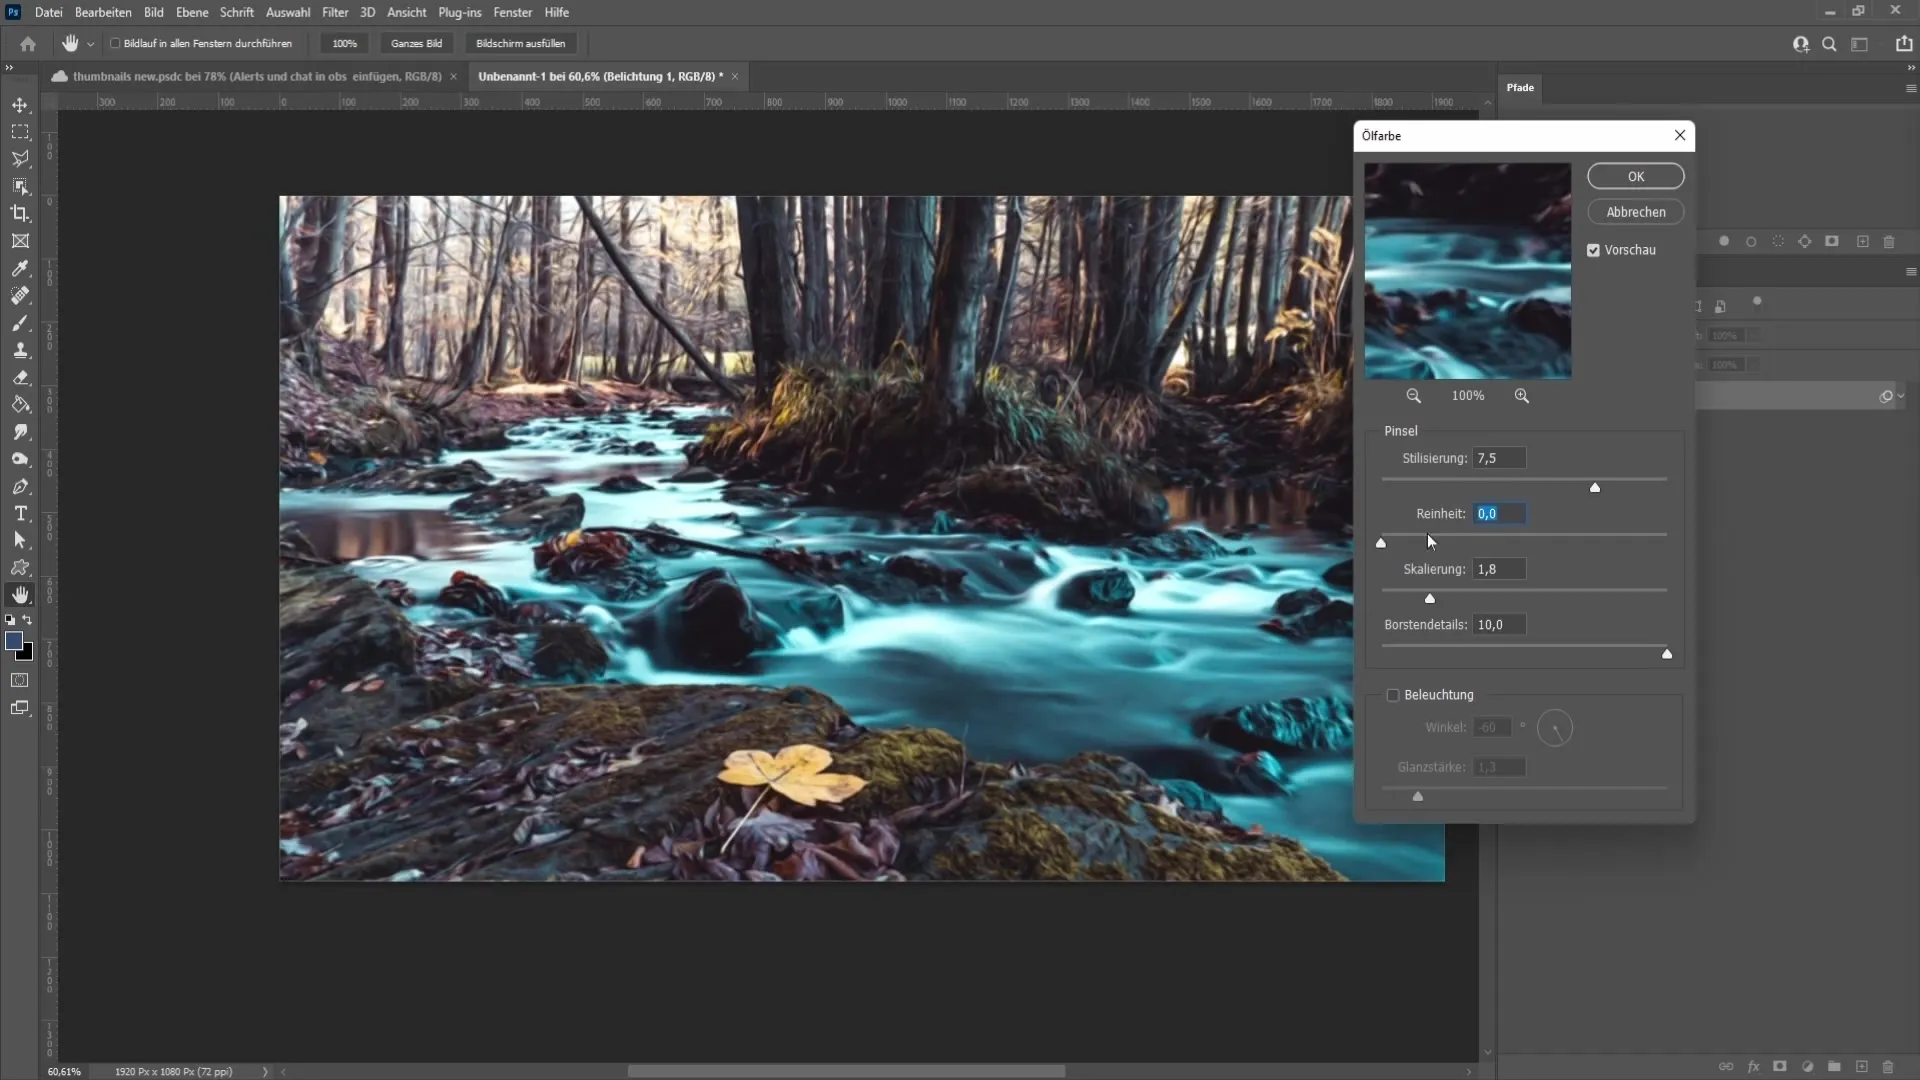
Next up is the "Scale," which controls the relief height and color intensity. You typically don't need to change this setting much. A value of around 1.3 works quite well in most cases.
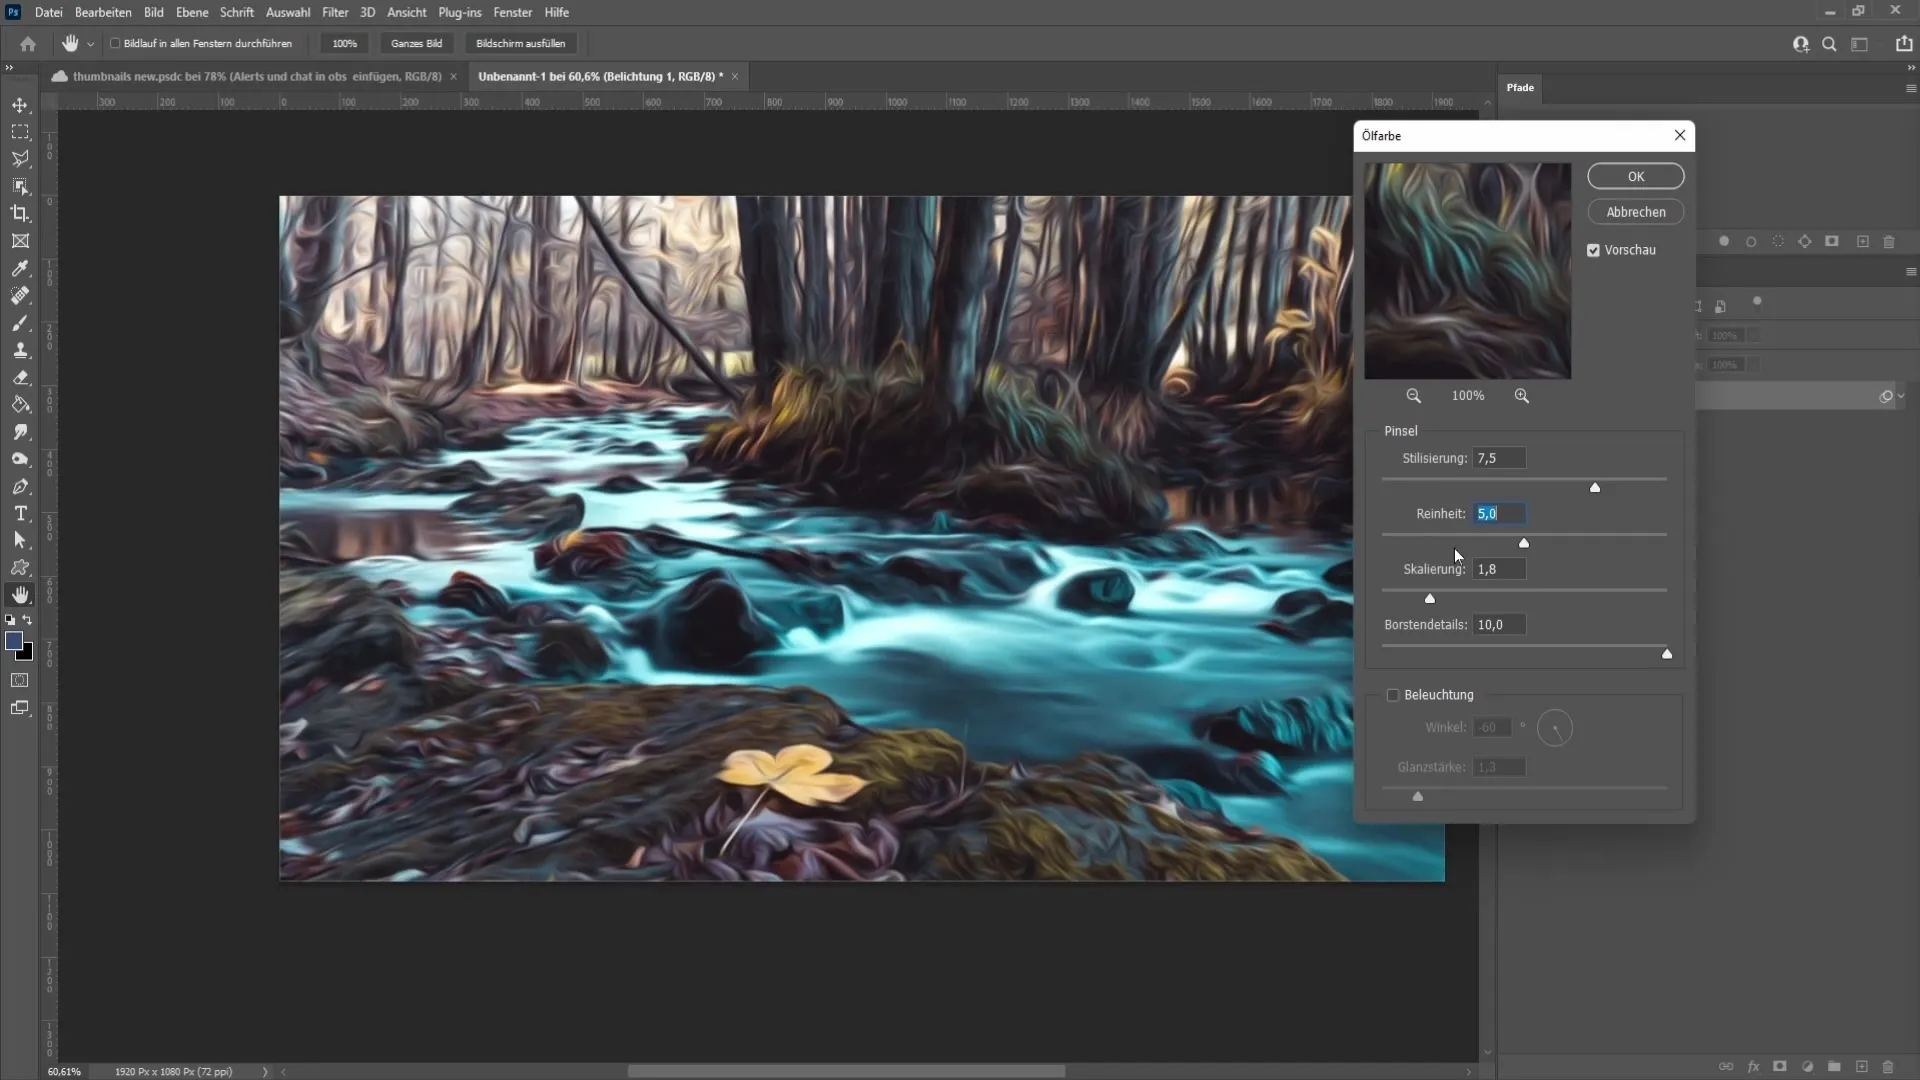
Next are the "Texture Details." This feature defines the pressure of the brush strokes. A value of zero gives you a very gentle pressure, while higher values provide more intense pressure. Again, it's best to experiment with different values to see the effect you want to achieve.
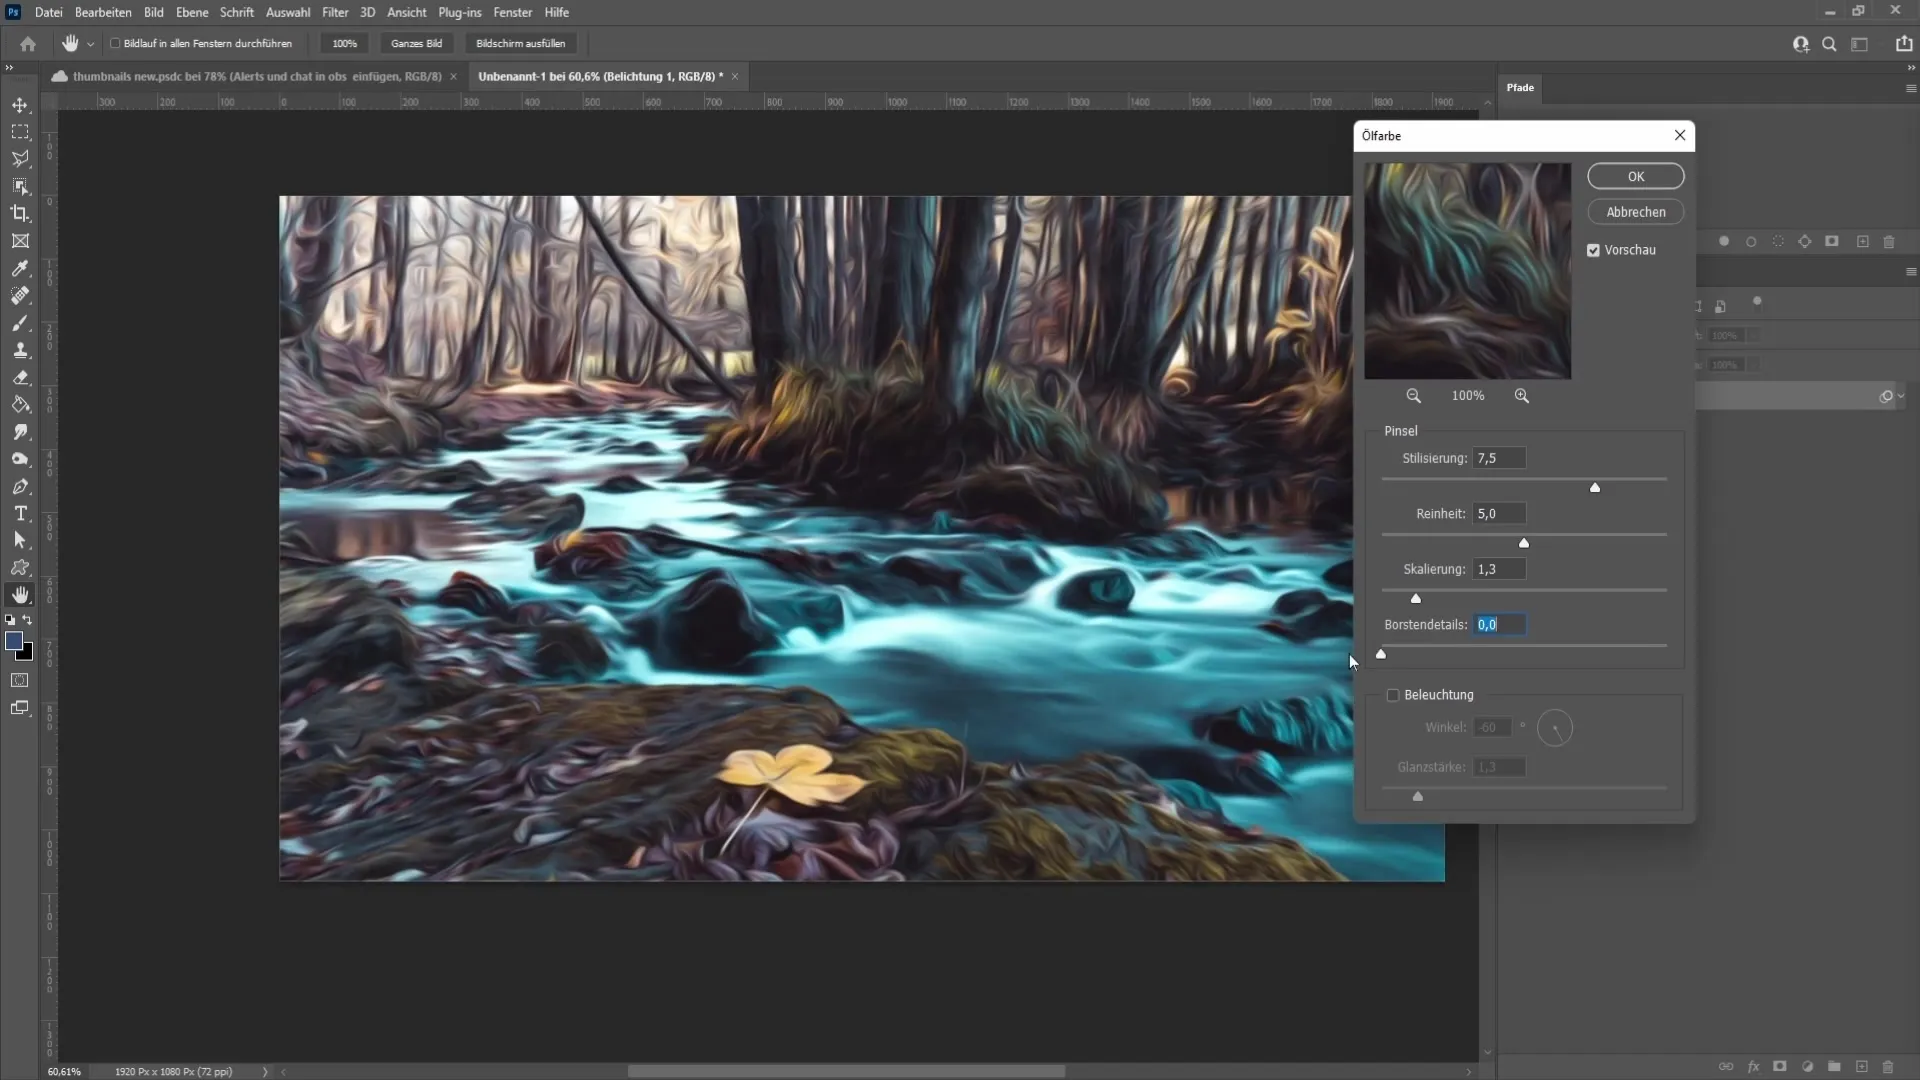
Directly below the Texture Details, you will find the "Light." When you activate this, the image changes dramatically. You can adjust the angle of the light source and the gloss intensity to achieve the desired lighting effect.
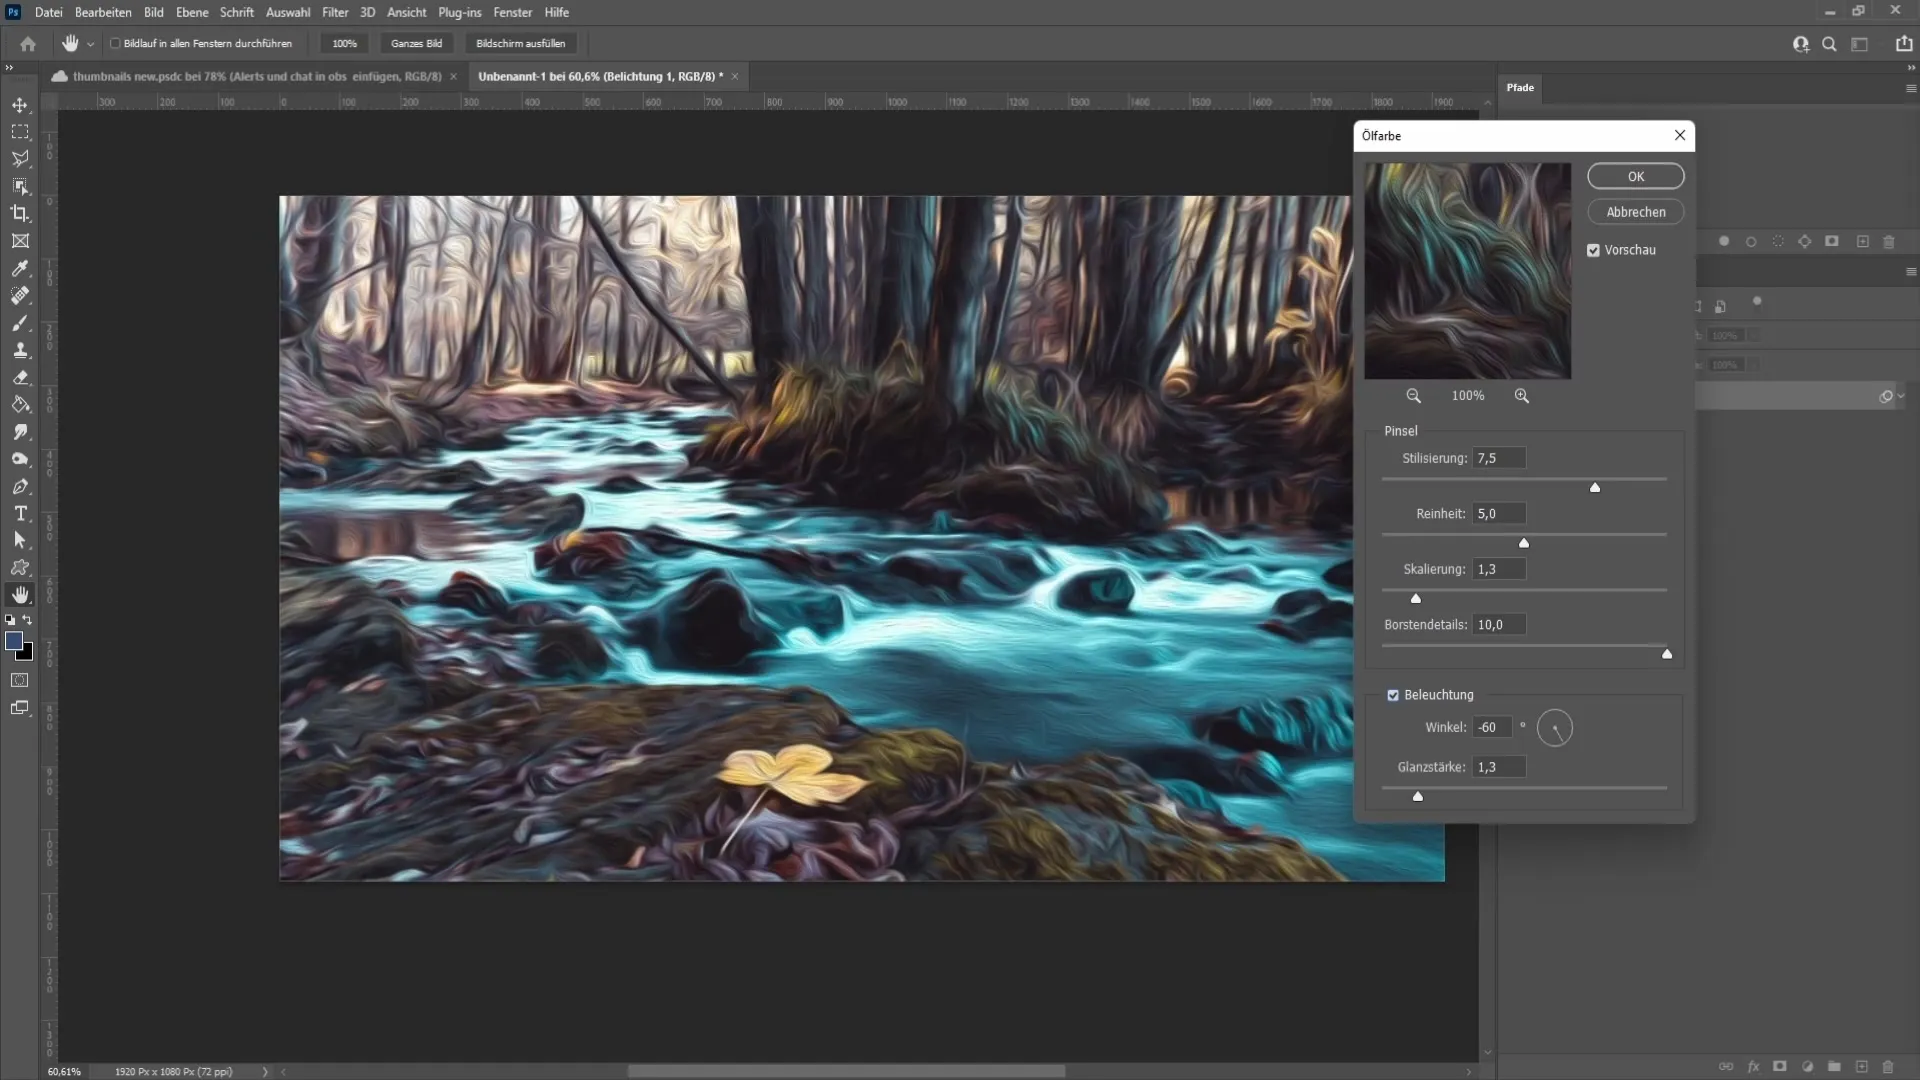
Finally, it's important to click "OK" after adjusting your settings to apply the changes. You have now created an impressive oil painting!
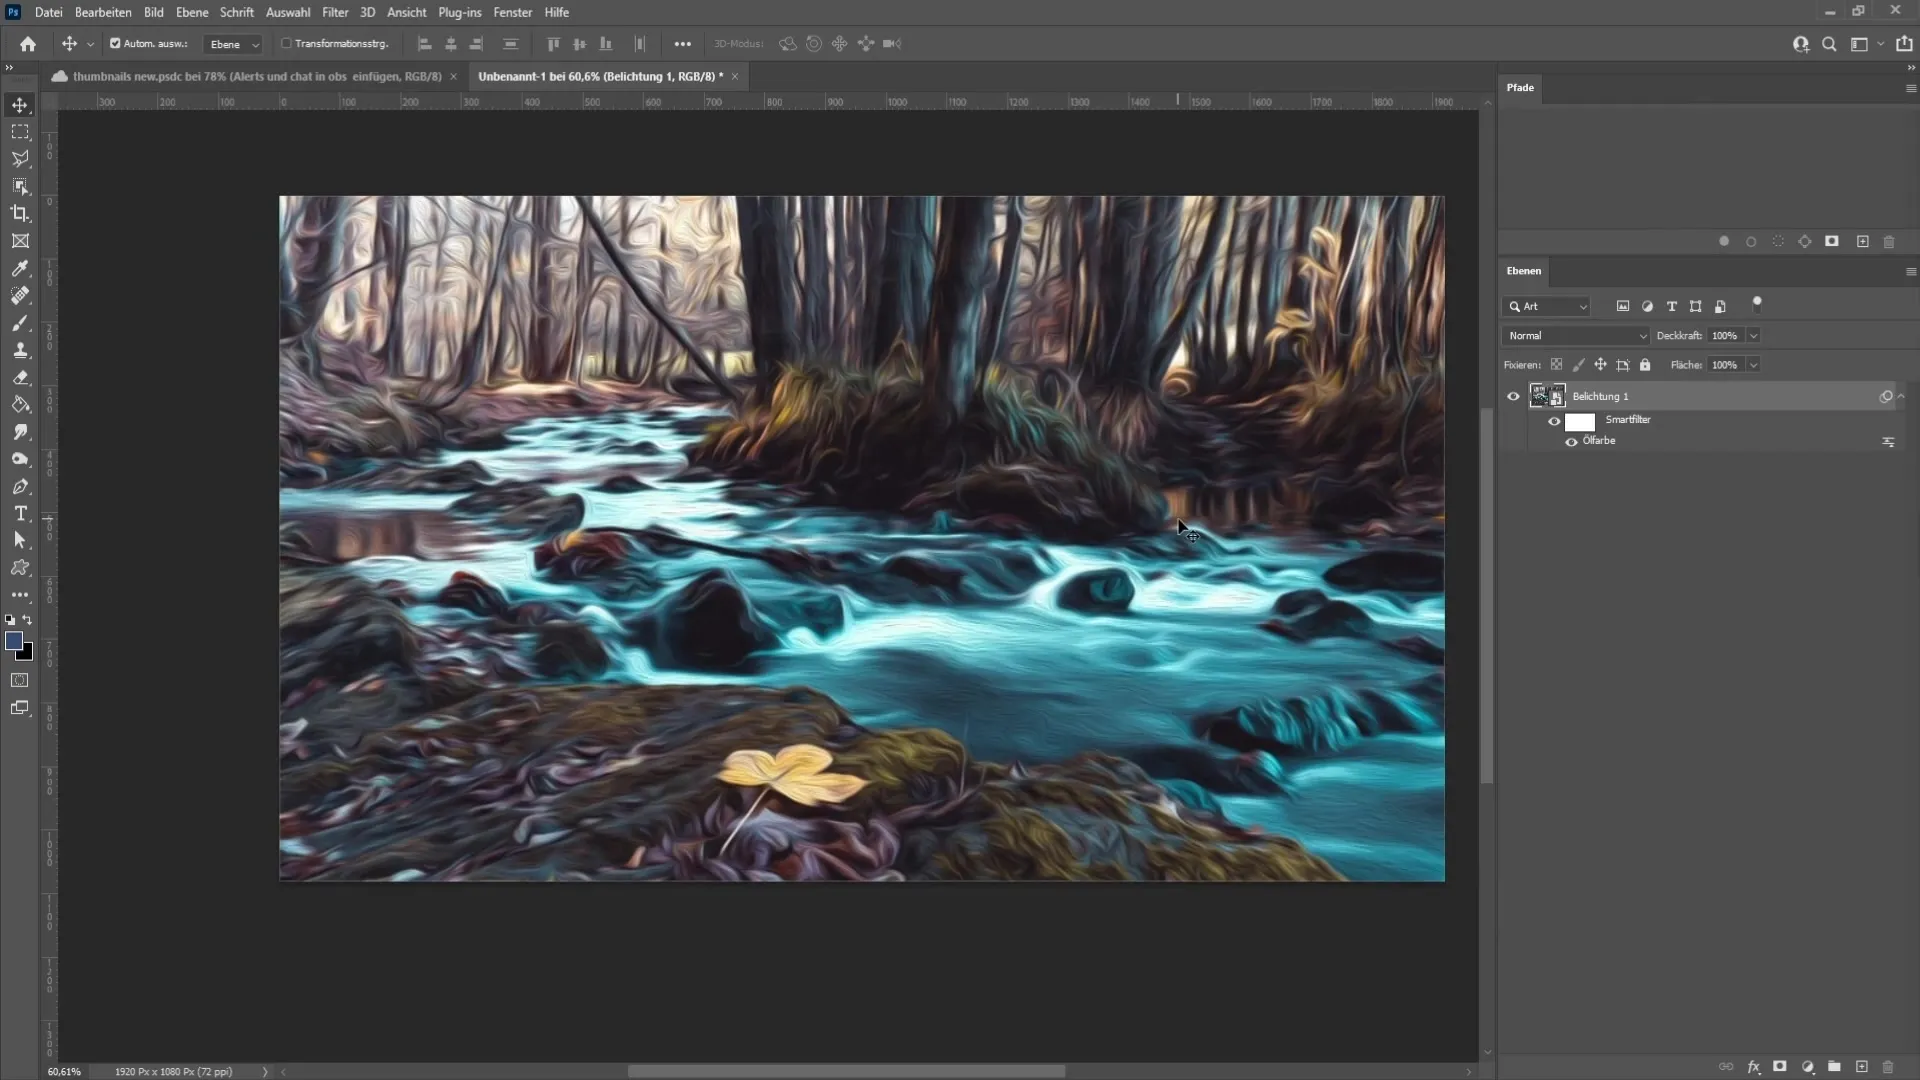
Summary
In this guide, you have learned how to create a beautifully designed oil painting from a photo using the Oil Paint filter in Photoshop. By adjusting various parameters such as stylization, cleanliness, scale, and lighting, you can customize the end result exactly to your liking.
Frequently Asked Questions
How do I find the Oil Paint filter in Photoshop?The Oil Paint filter is located in the menu under "Filter" -> "Stylize Filter".
What happens if I have an older version of Photoshop?In older versions, the Oil Paint filter may not be available.
How can I adjust the brush strokes?You can change the texture of the brush strokes via the "Stylization" parameter.
What are the best settings for a realistic oil painting?It depends on your image. Experiment with the values for stylization, cleanliness, and lighting.
What should I do if I am not satisfied with the result?You can adjust the filter settings at any time and reapply the changes.


