In this guide, I will show you how to create an impressive polygon image from many small triangles in Photoshop. You will learn what basic aspects you need to consider in order to achieve an appealing and harmonious end result. The techniques I present here are suitable for both beginners and advanced users and will help you develop a better sense of creating polygon art.
Key Insights
To create a high-quality polygon image, it is important to understand light and shadow, design the triangles evenly, and use grid aids if necessary. Avoid contrasts between light and dark areas in your image to ensure the quality of your artwork. A well-thought-out approach when creating the triangles will make your work easier and significantly improve the end result.
Step-by-Step Guide
To create a polygon image, follow these simple steps:
Step 1: Image Selection
First, choose an image that you want to convert into a polygon image. Make sure the image has balanced lighting conditions, i.e., the image should not have too many contrasts between light and dark areas. If your image includes an animation where one part is bright and another part is dark, it may be helpful to mirror a section to balance out the lighting conditions.
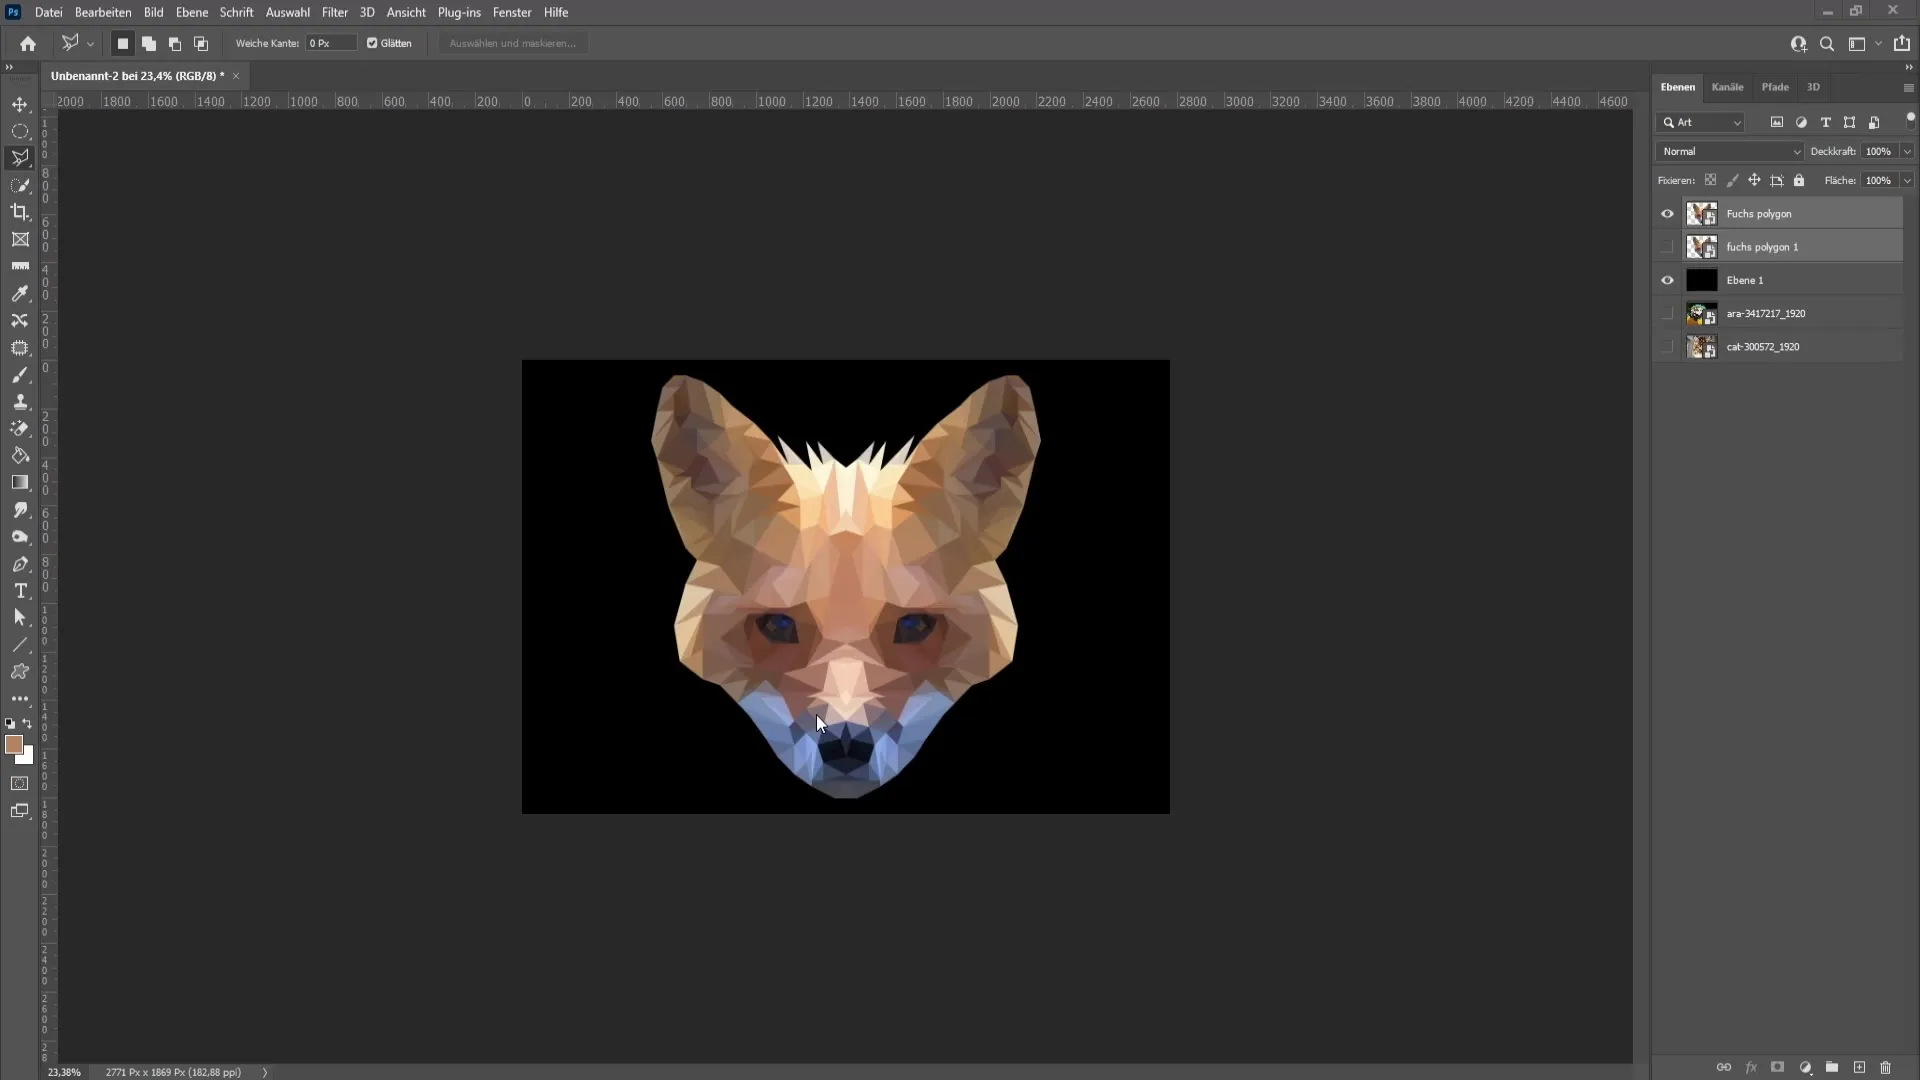
Step 2: Preliminary Considerations
Before you start drawing the triangles, be aware that equally sized triangles look best. In areas with details, such as eyes or the nose, I recommend using smaller triangles to highlight the necessary intricacies.
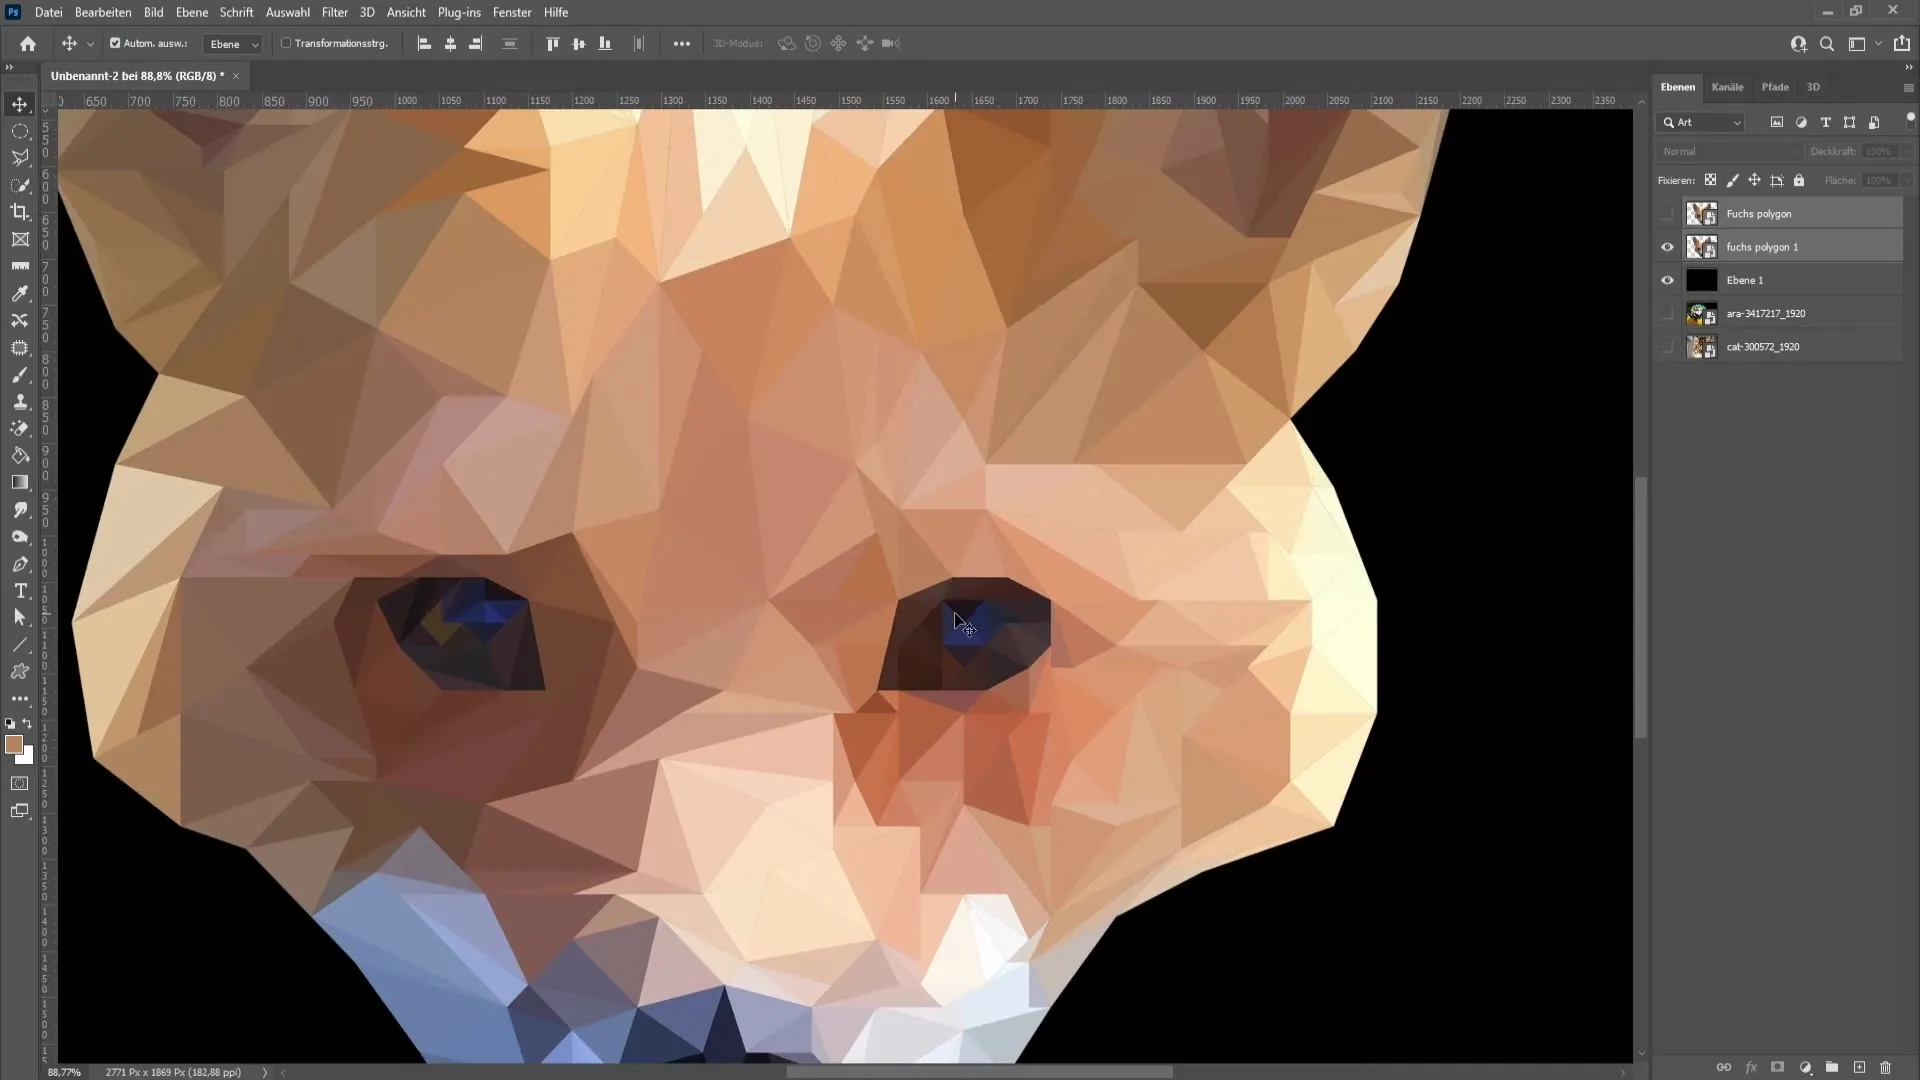
Step 3: Finding the Polygon Tool
Now open Photoshop and select the Polygon Tool. With this tool, you can trace the outlines of your image. Start by roughly sketching the basic shapes you want to convert into your polygon image.
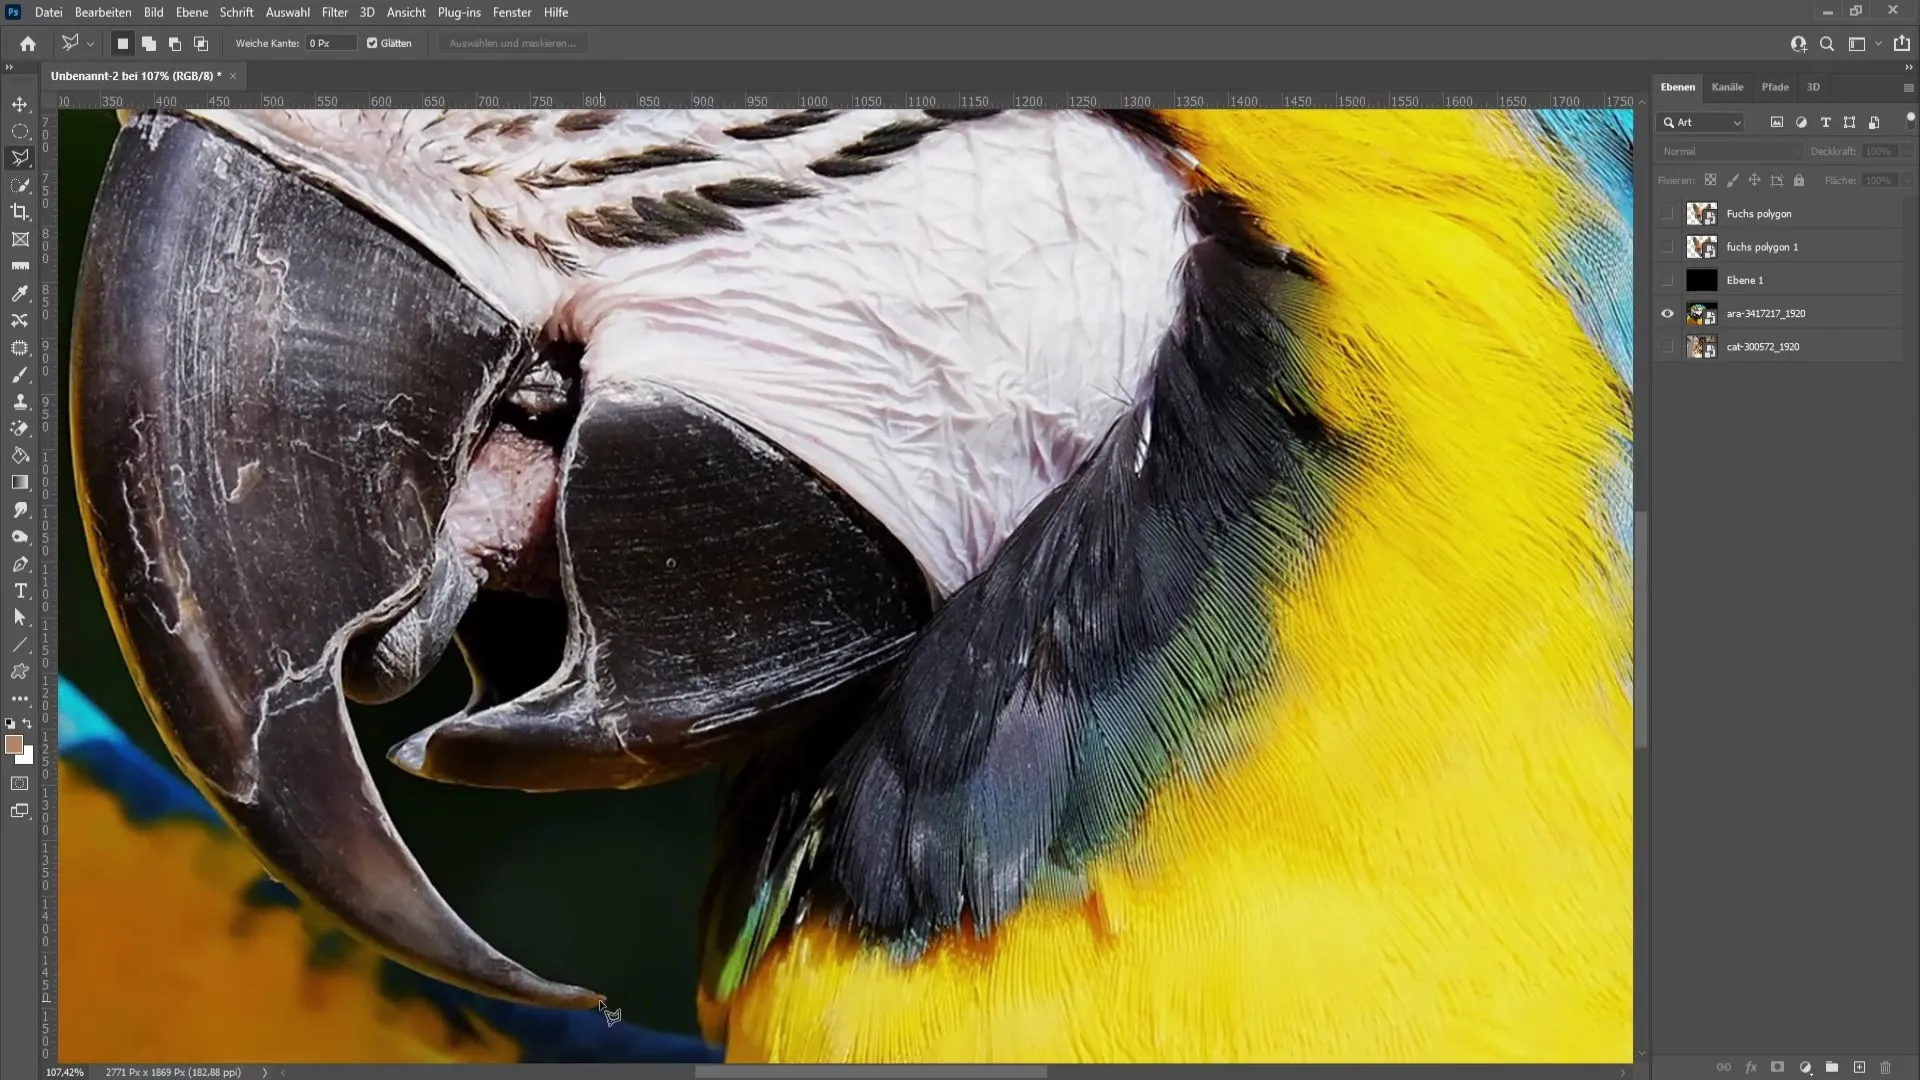
Step 4: Arranging Triangles
Place triangle by triangle and make sure they adjoin each other. Focus on making the edges touch without leaving gaps. Accuracy is crucial to achieve a harmonious overall image.
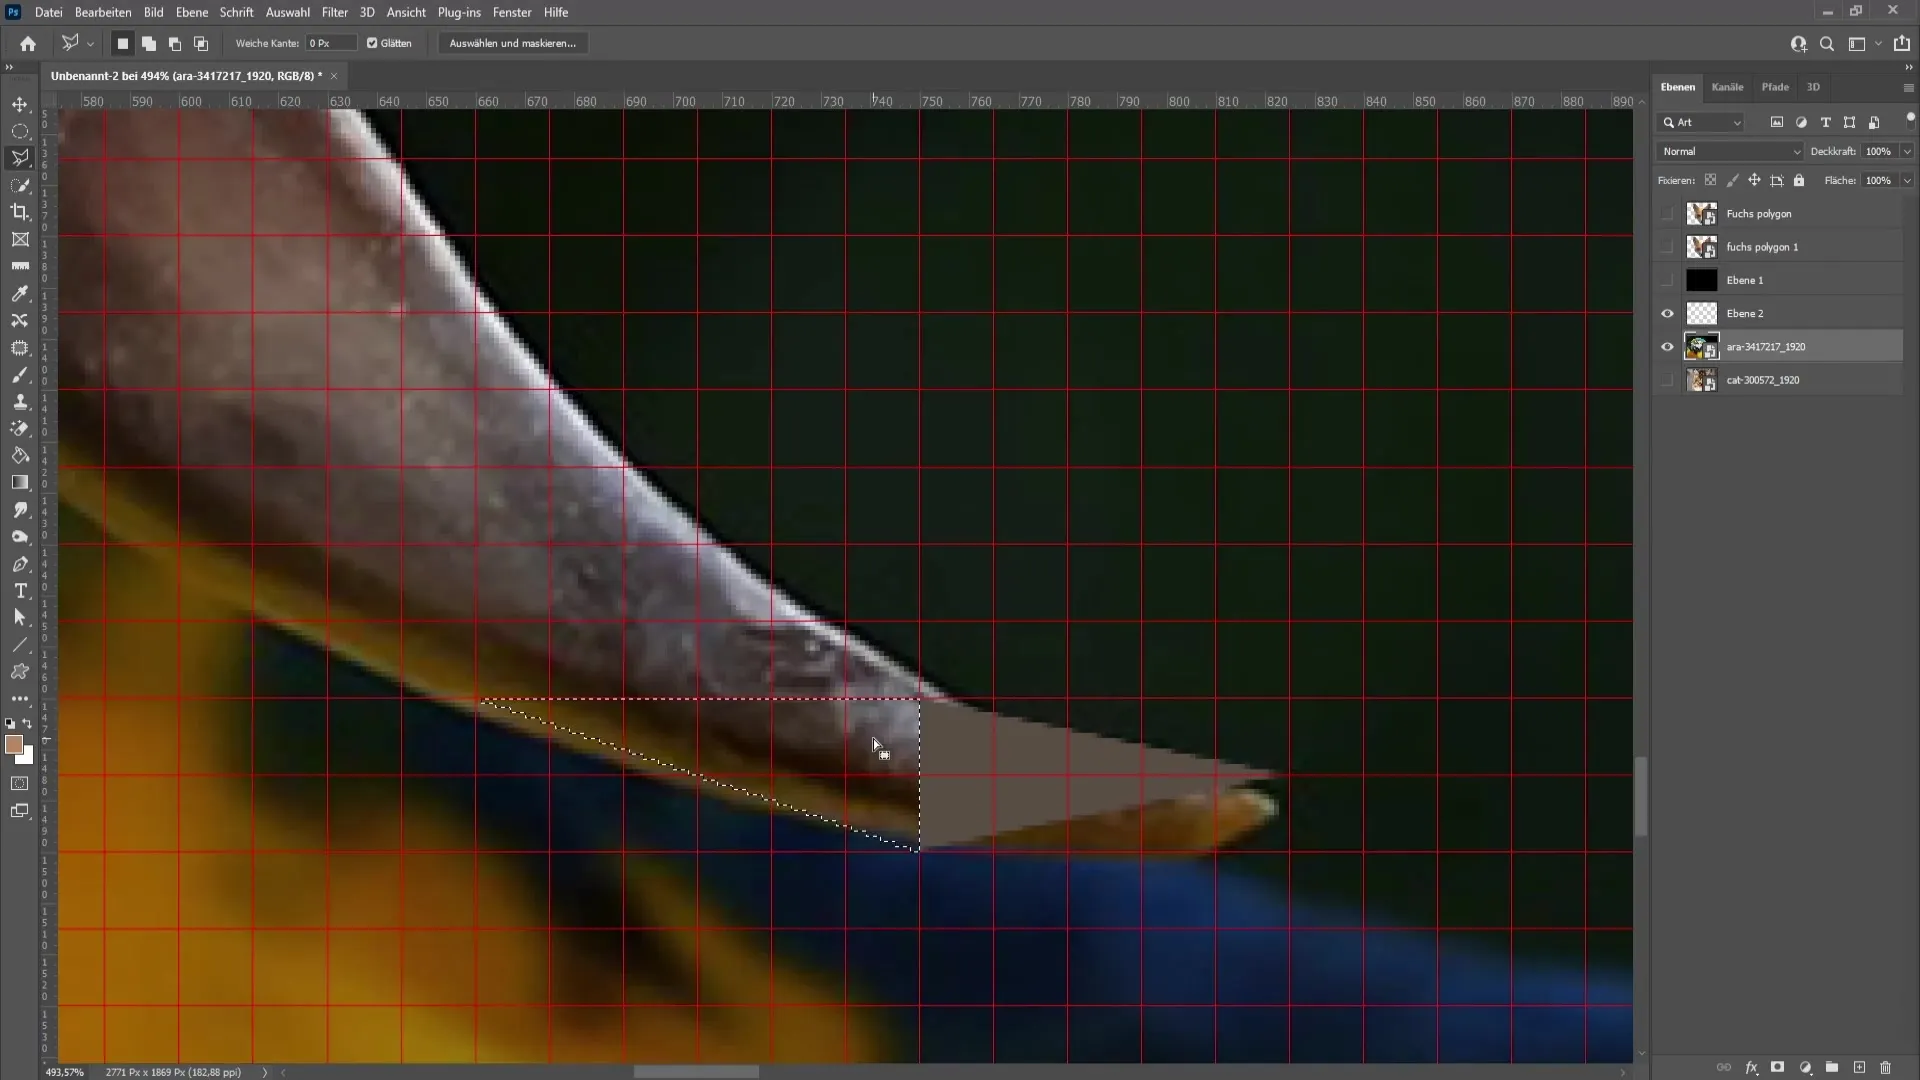
Step 5: Applying Filters
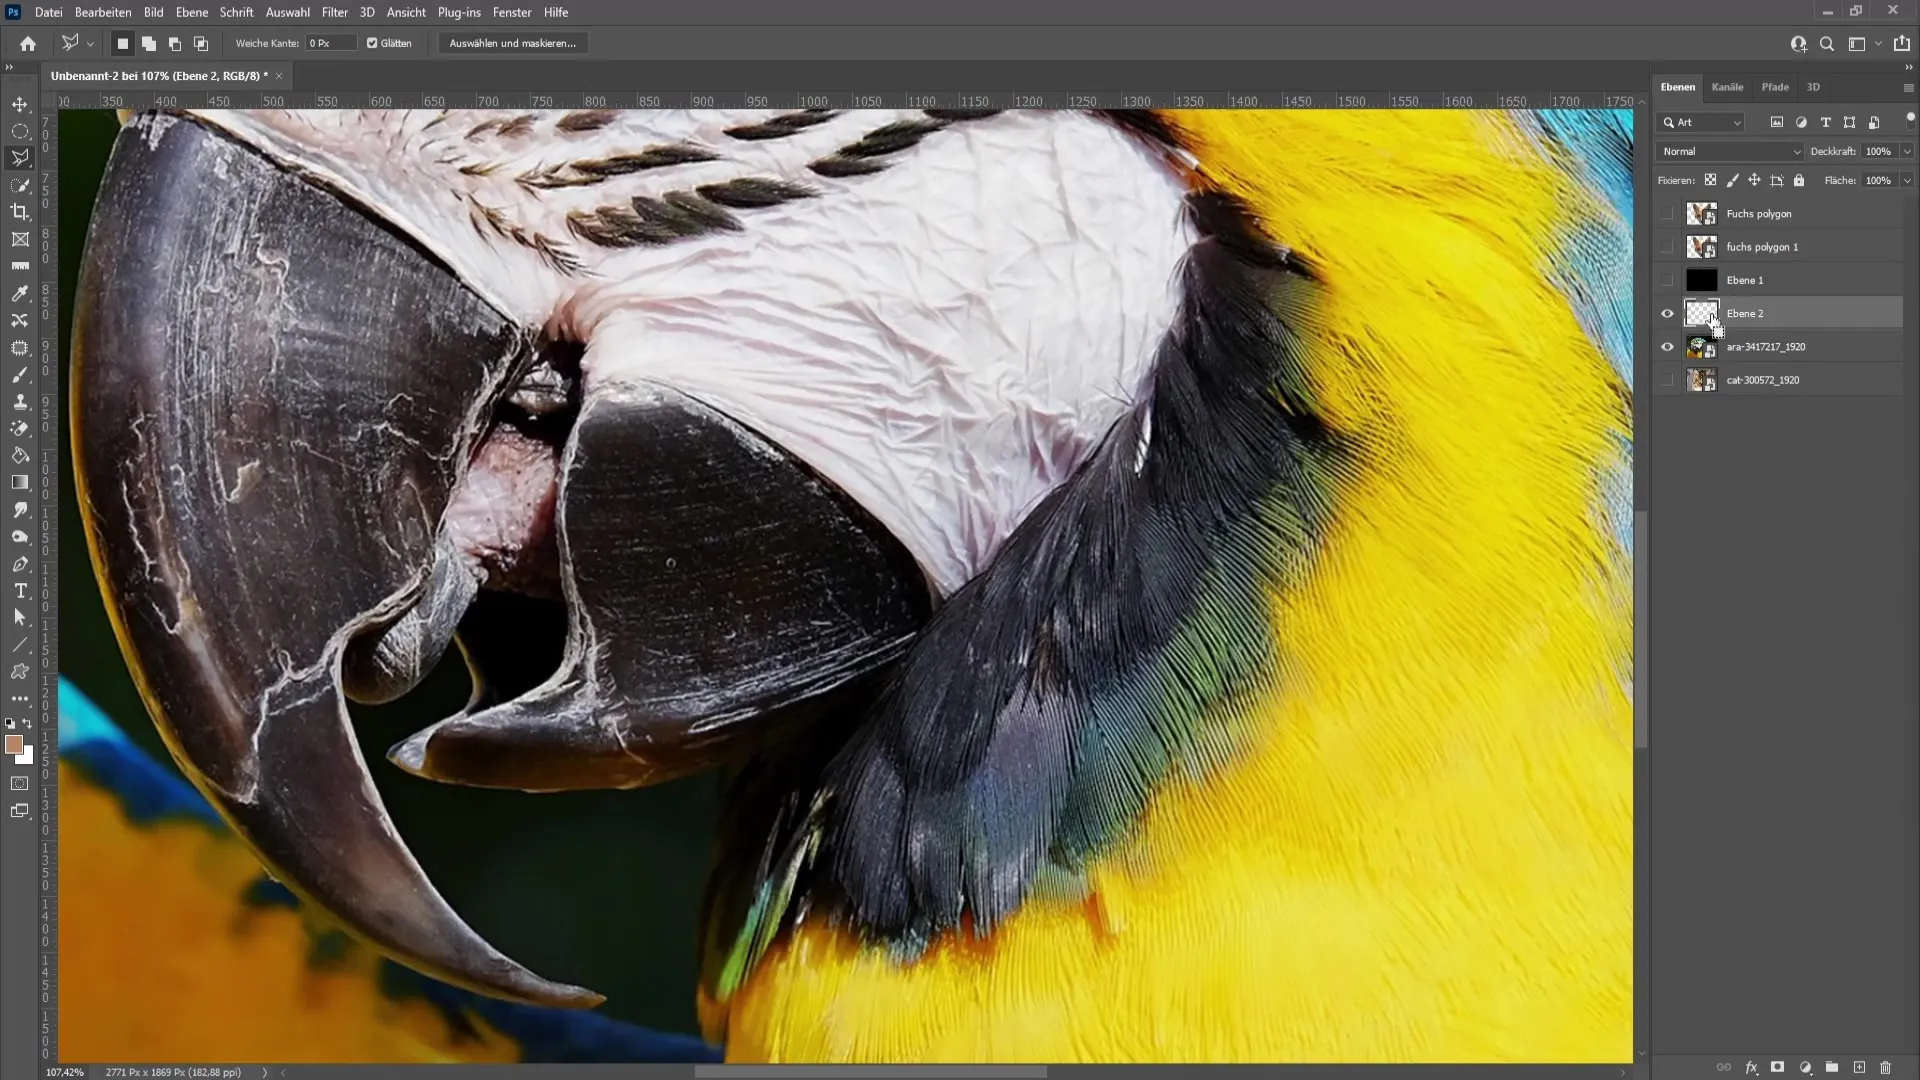
Once you have drawn a triangle, right-click on it, choose "Duplicate Layer," and then go to "Filter." Select "Blur" and then "Average." The resulting image will show the average color of each triangle, giving your polygon image shape and depth.
Step 6: Setting Up a Grid
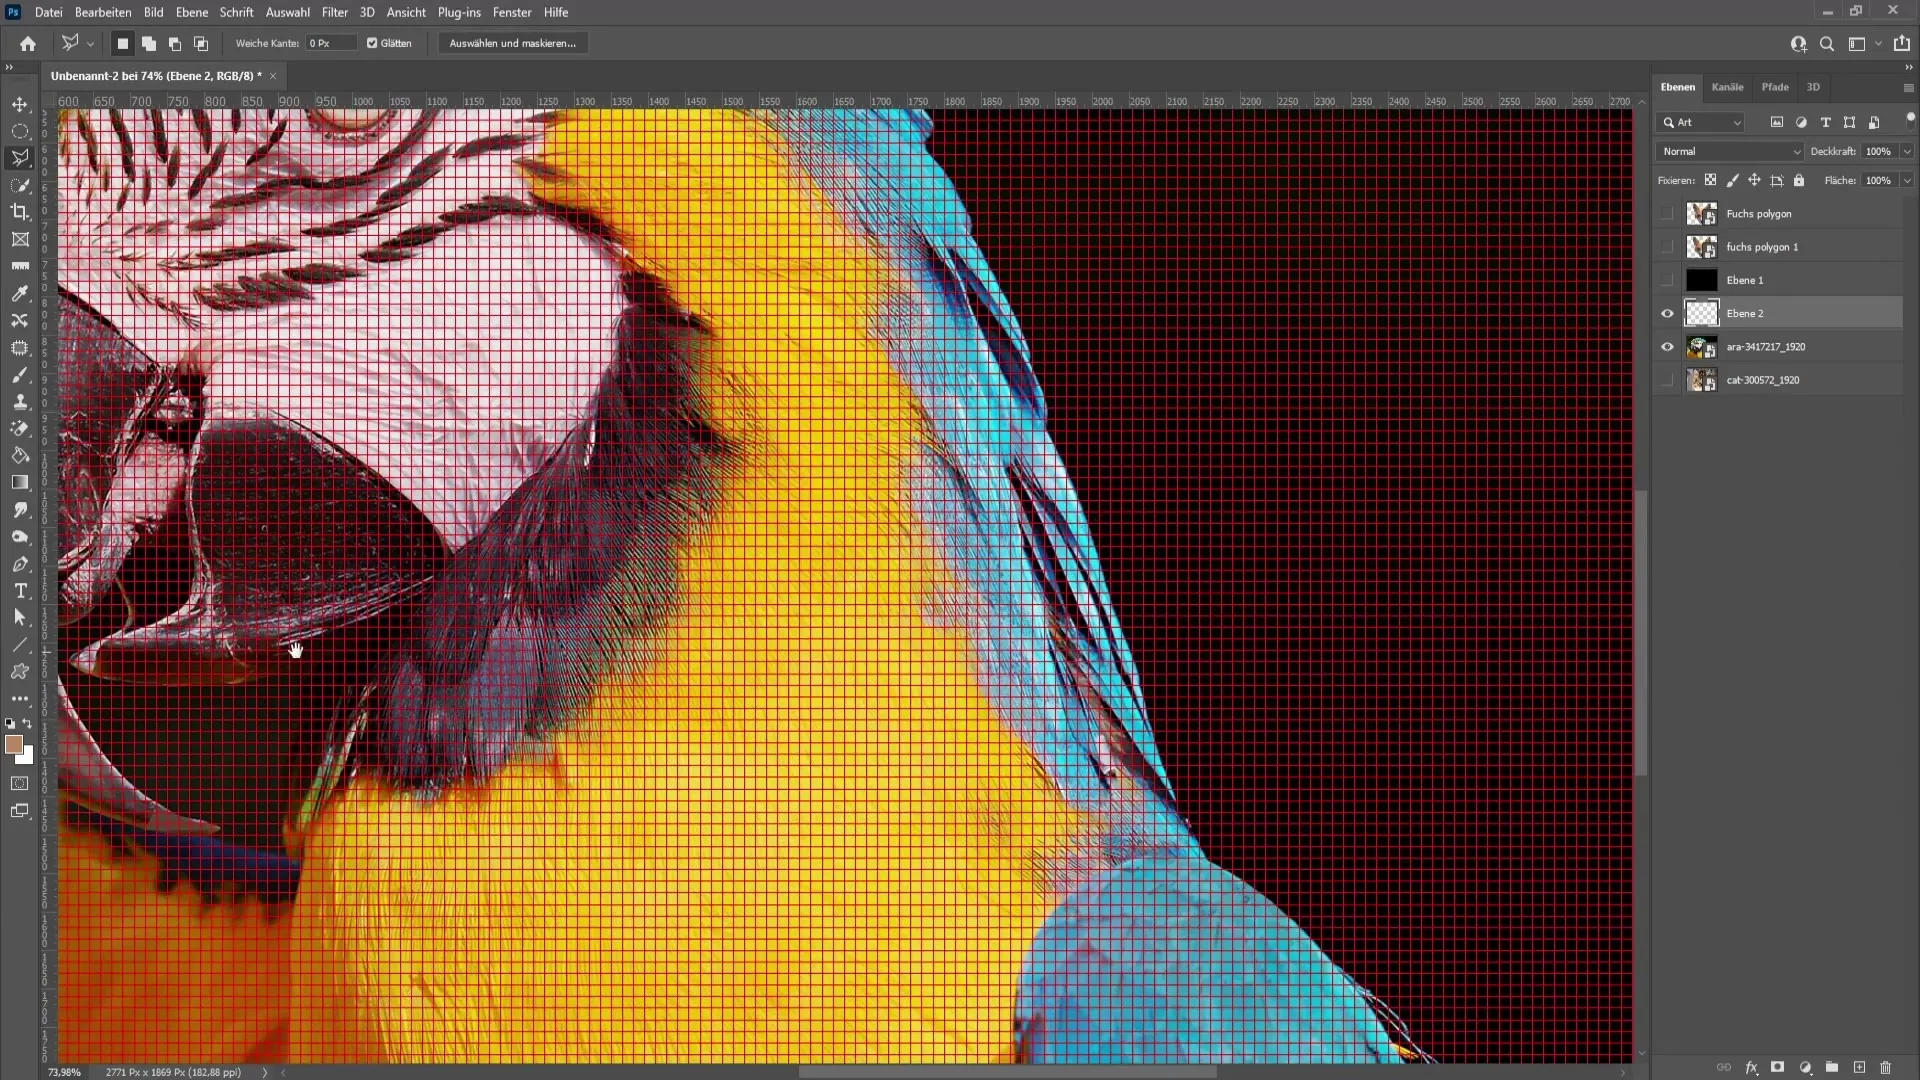
To increase the precision of your work, you can activate a grid in Photoshop. Go to "View," select "Show Grid," and adjust the grid settings for the easiest orientation. The grid lines should be set every 15 to 20 pixels to have a good overview when creating the triangles.
Step 7: Creating Actions
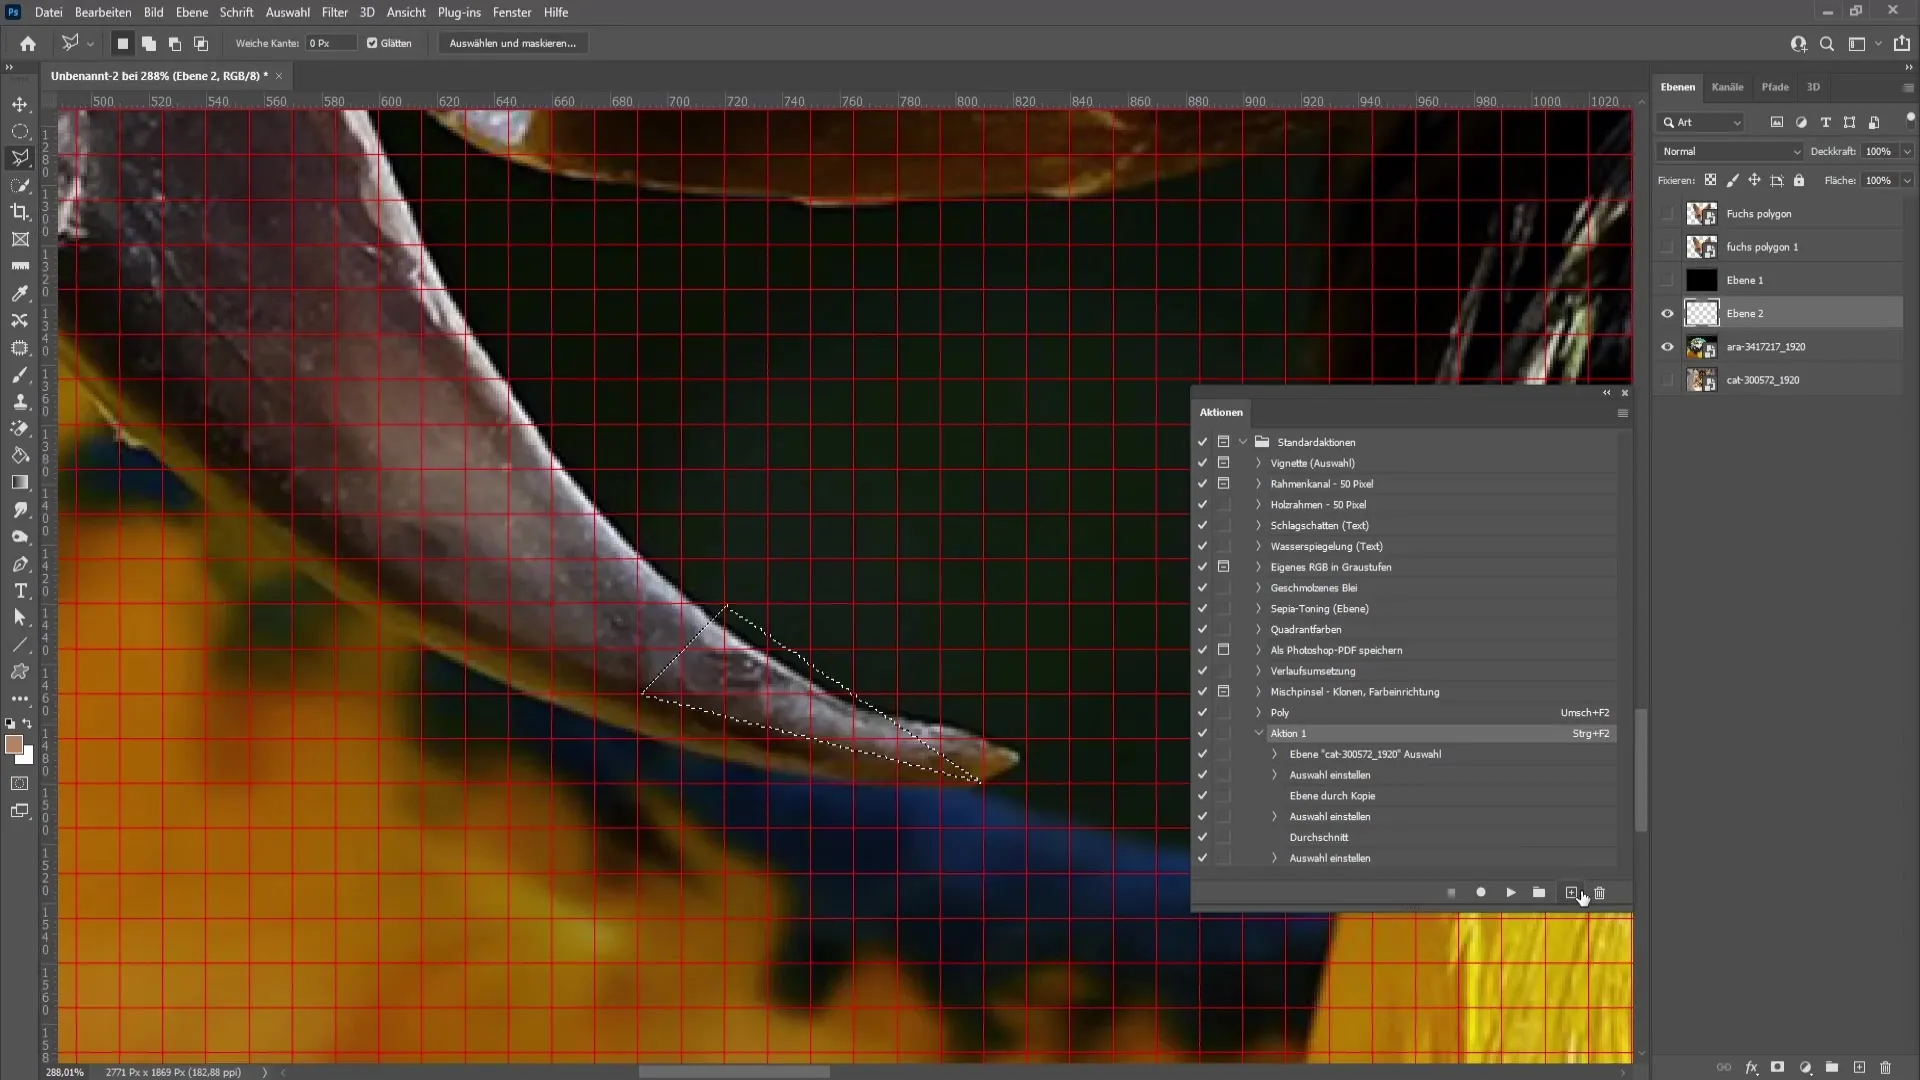
To speed up the process, you can create an action in Photoshop. Open the Actions window via "Window" > "Actions" and create a new action. Record the process of copying and filtering so you can quickly repeat it later with a keyboard shortcut.
Step 8: Placing Triangles Over the Image
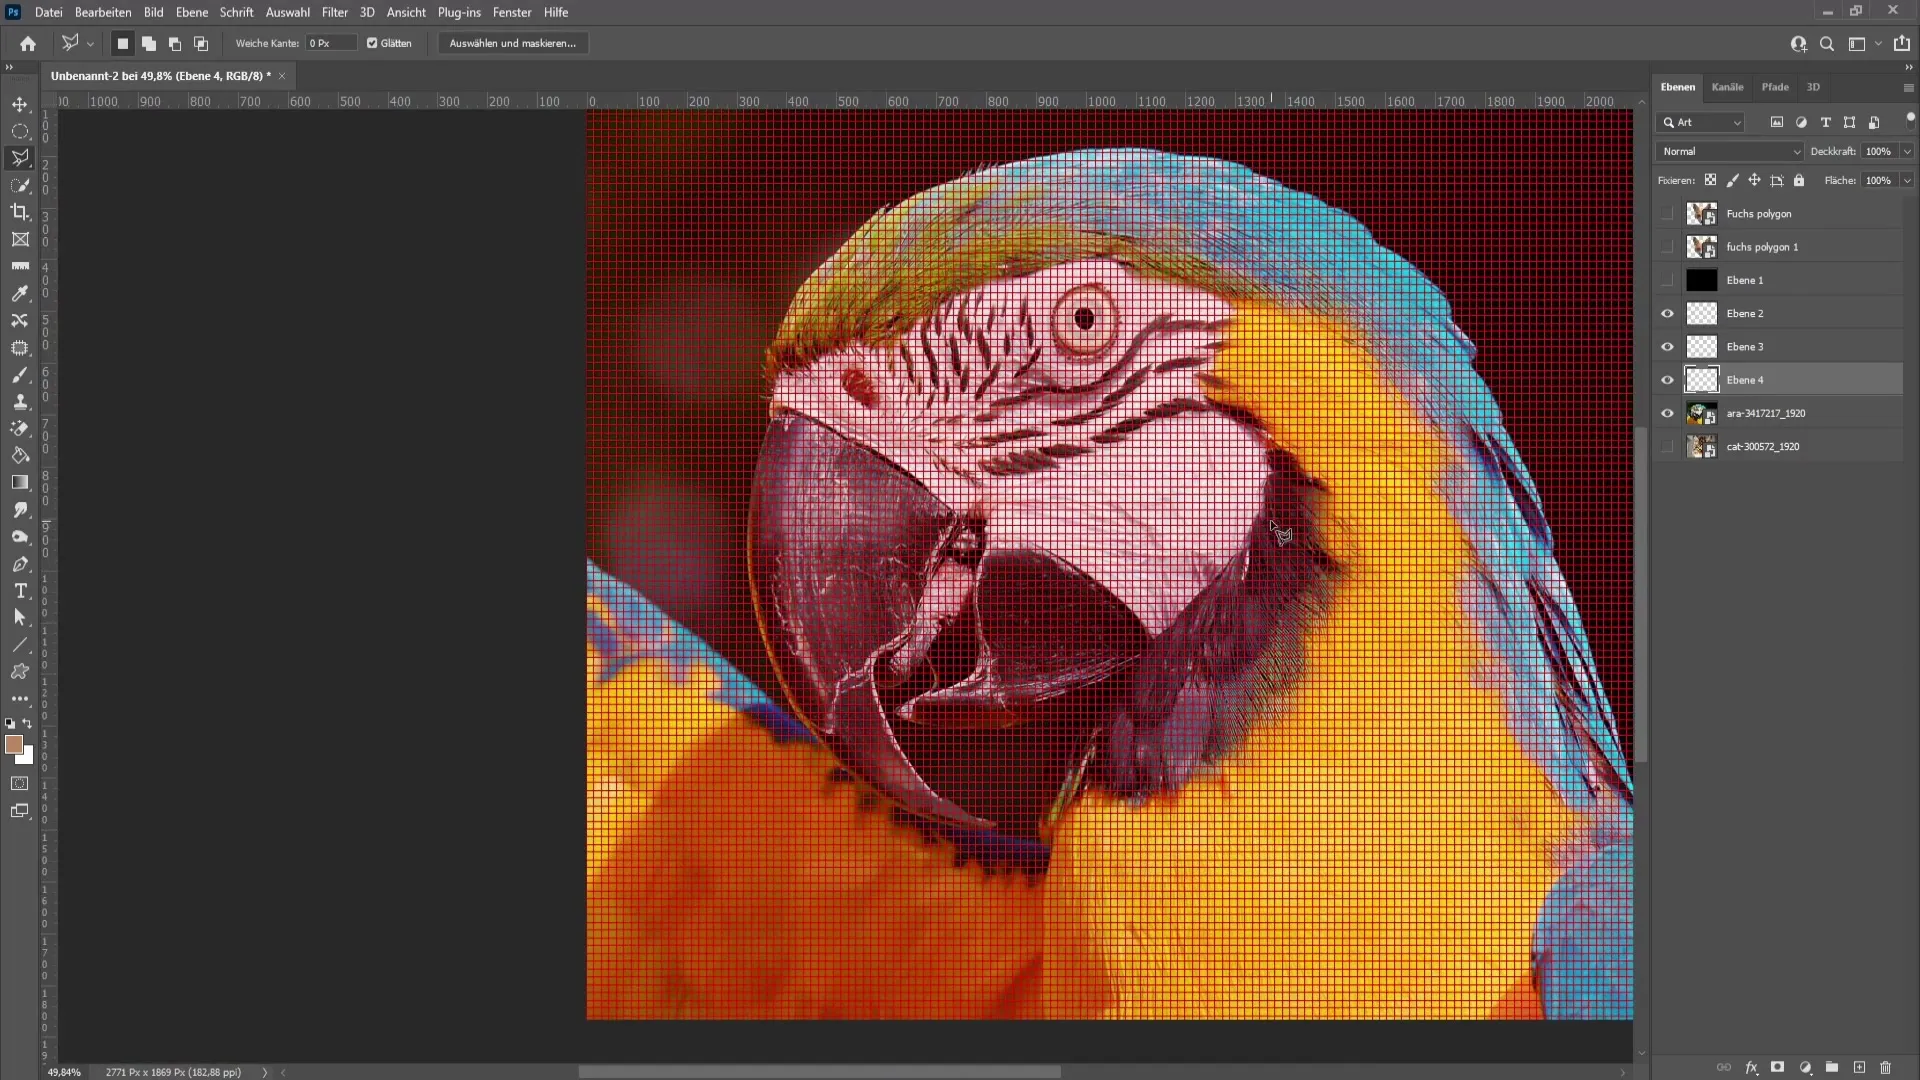
Now start placing the triangles over the entire image. Pay attention to the details of the motif and pause between steps to ensure everything looks harmonious.
Step 9: Fill in Gaps
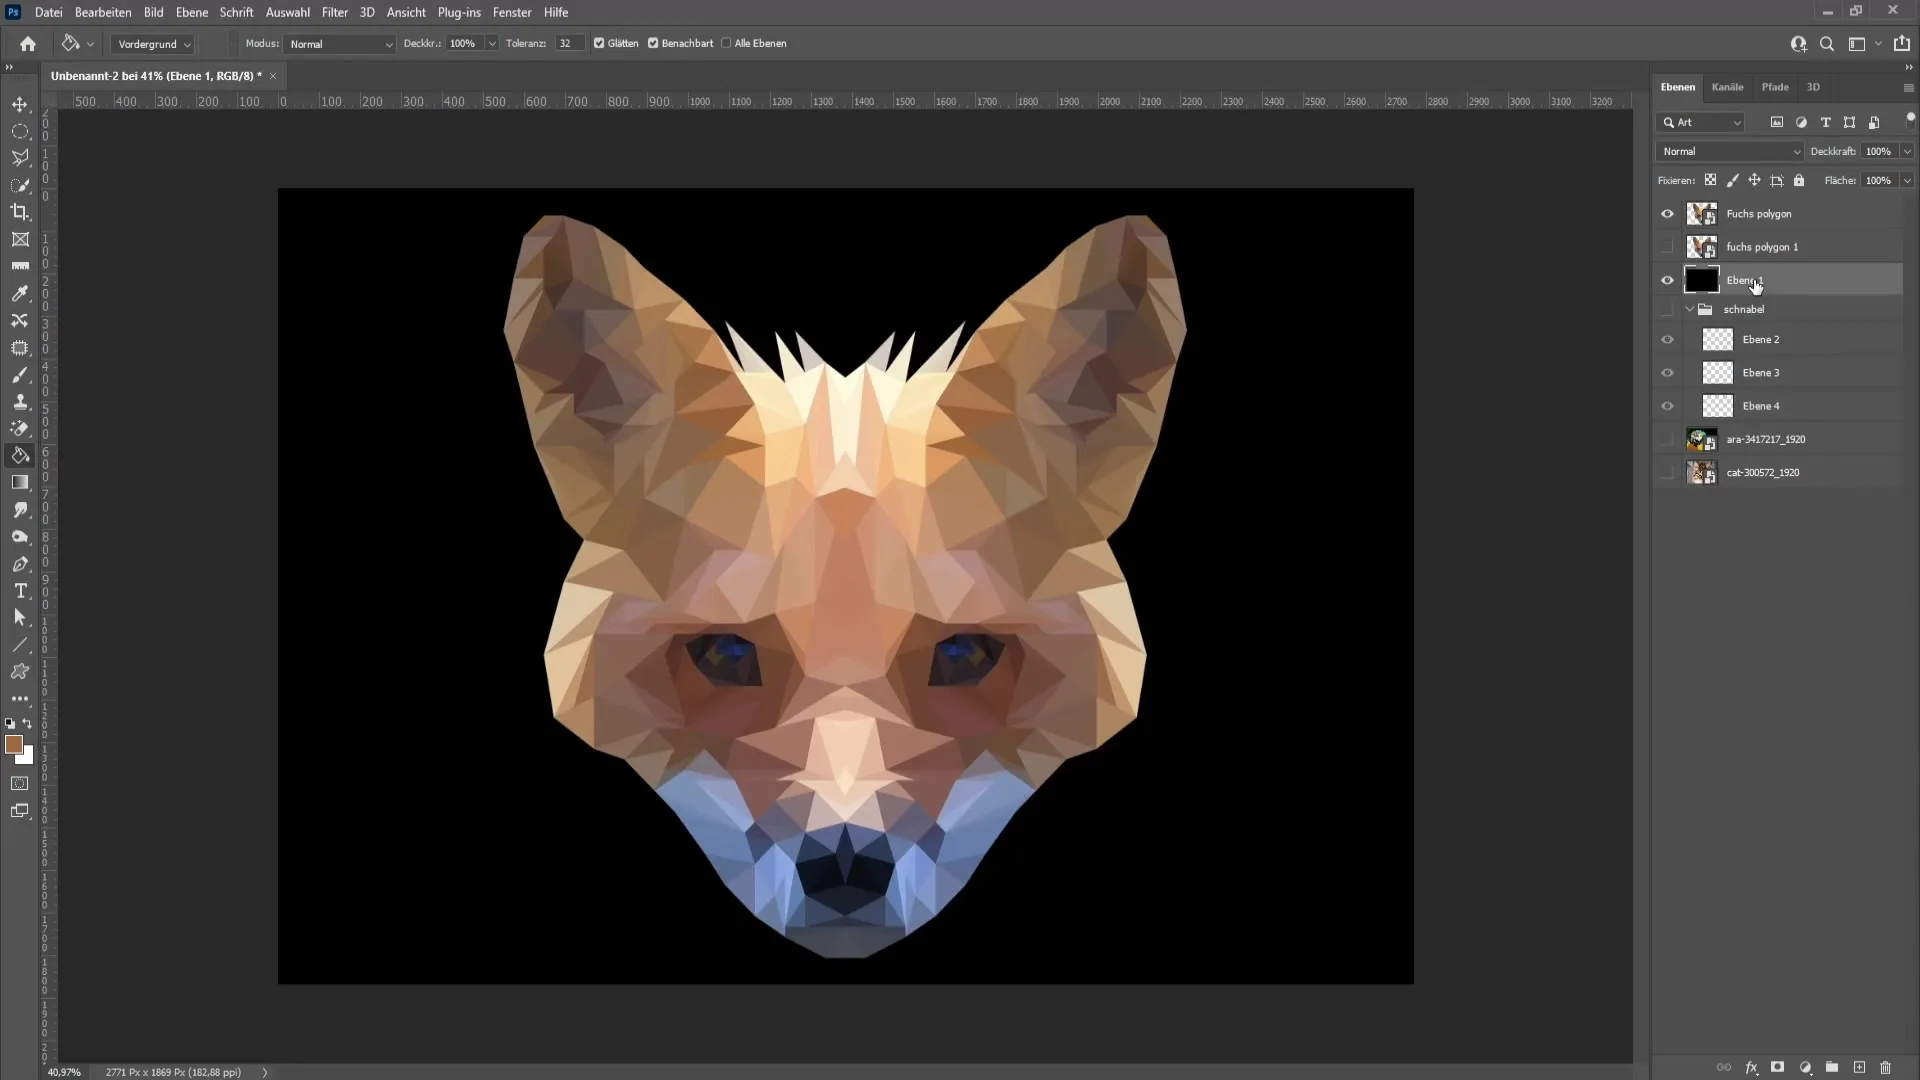
If gaps appear after placing the triangles, you can easily fill them in using the paint bucket tool and an average color of the surrounding triangles. Choose the appropriate color and use the eyedropper tool to make the color selection.
Step 10: Final Check and Post-Processing
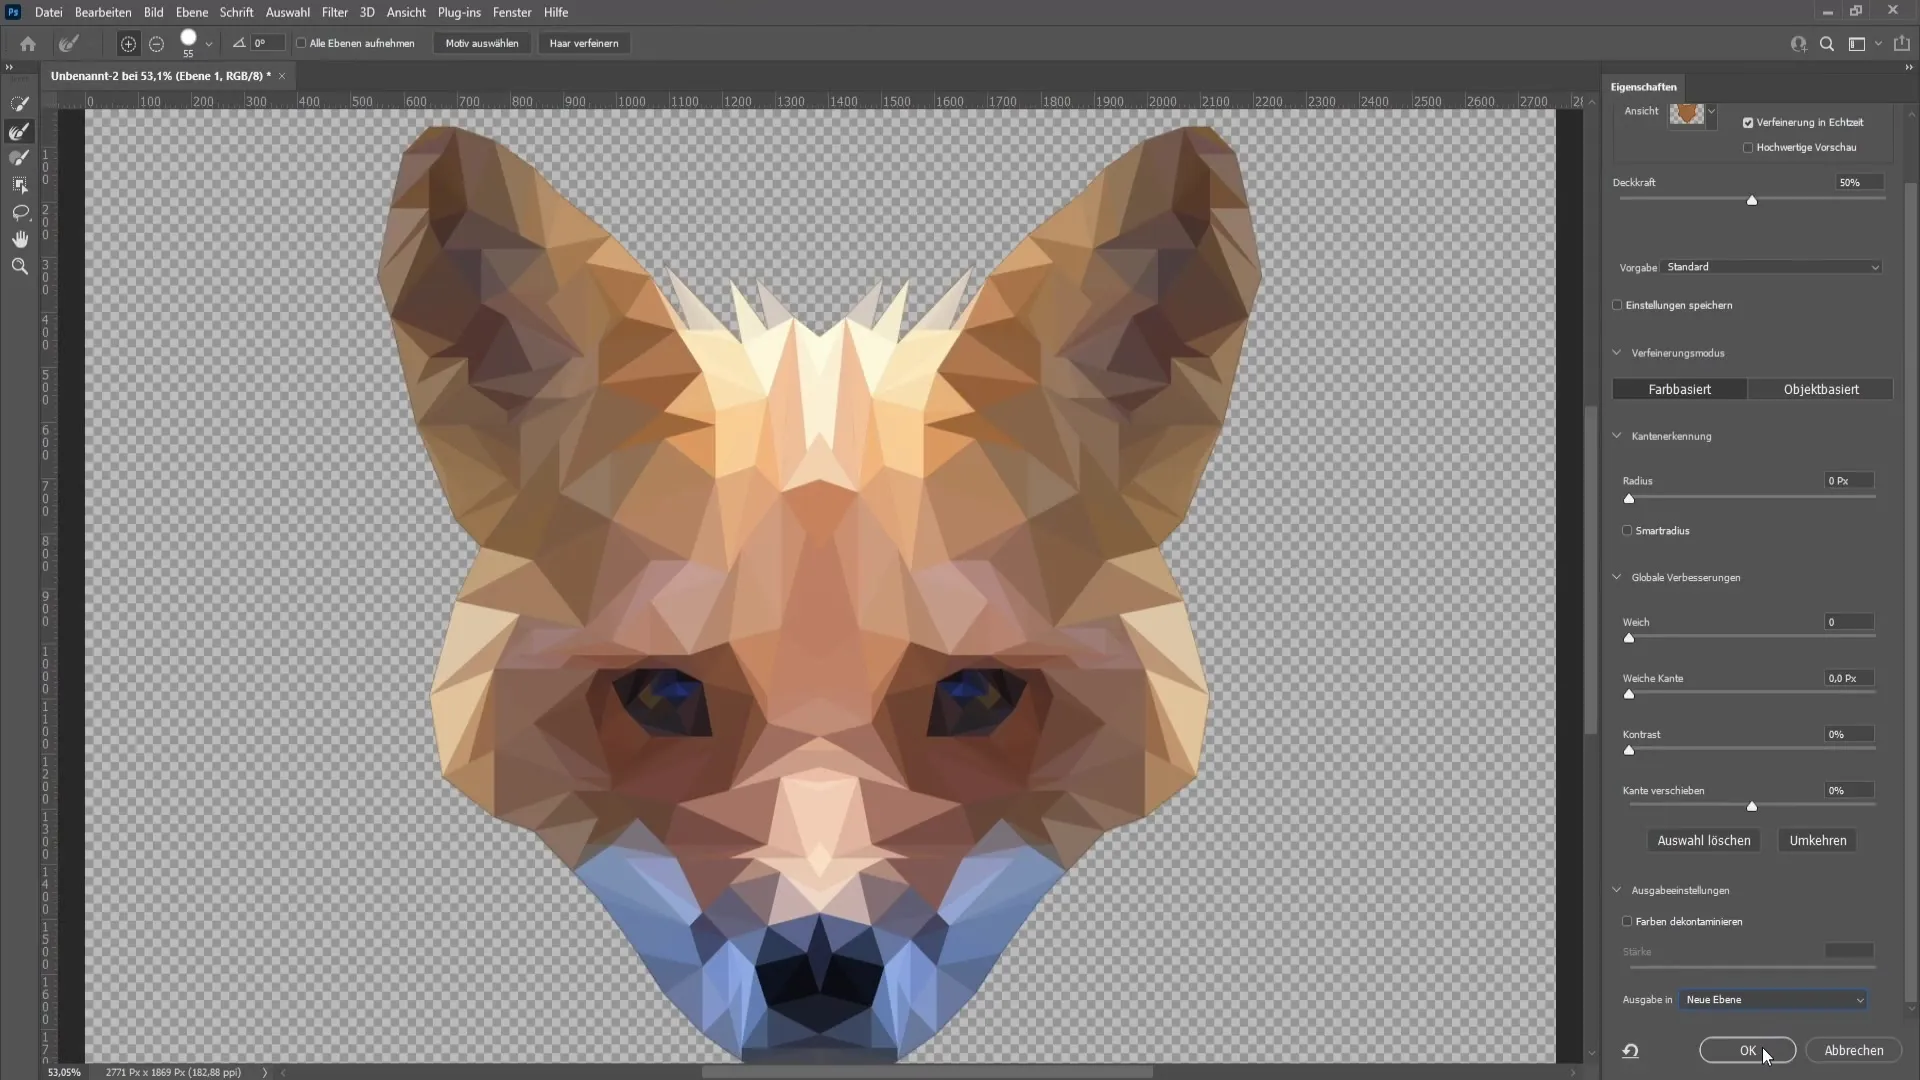
The final phase involves checking your polygon image and making any final adjustments if necessary to ensure that the gaps and edges look clean. Zoom in to ensure everything is perfect. You can also shrink the selection to achieve a softer edge and refine the image.
Summary
In this tutorial, you have learned how to create a polygon image by applying the right techniques and making creative decisions. From selecting the image to drawing the triangles and applying filters to filling gaps - each step is crucial for a successful artwork.
Frequently Asked Questions
How do I choose the right image for a polygon image?Make sure the image has balanced lighting conditions and does not exhibit extreme brightness or darkness in different areas.
Can I mirror part of my image to improve lighting conditions?Yes, mirroring a part of the image can help balance unfavorable lighting conditions.
How can I ensure my triangles look uniform?Try to keep the triangles of equal size and pay special attention to using smaller triangles in detailed areas like eyes and nose.
What can I do if gaps appear between my triangles?These gaps can be filled using the eyedropper tool and an average color.
How do I activate the grid in Photoshop?Go to "View," select "Show Grid," and adjust the grid settings as needed.


