In this tutorial, I will show you how to turn a portrait image into a small piece of art. Photoshop offers you a variety of tools and techniques to help you not only retouch your image but also transform it into a true work of art. Whether you are a beginner or have experience with Photoshop, this guide will assist you at every step. Let's get started!
Main Insights To create an artistic portrait using Photoshop, you need basic knowledge of retouching techniques, light adjustments, and special tools like the smudge tool to achieve the desired effect.
Step-by-Step Guide
Step 1: Basic Retouching
Start by retouching your skin. Focus on removing blemishes and prominent pimples. You should rasterize the layer to make the desired changes. Right-click on the layer and select "Rasterize Layer".
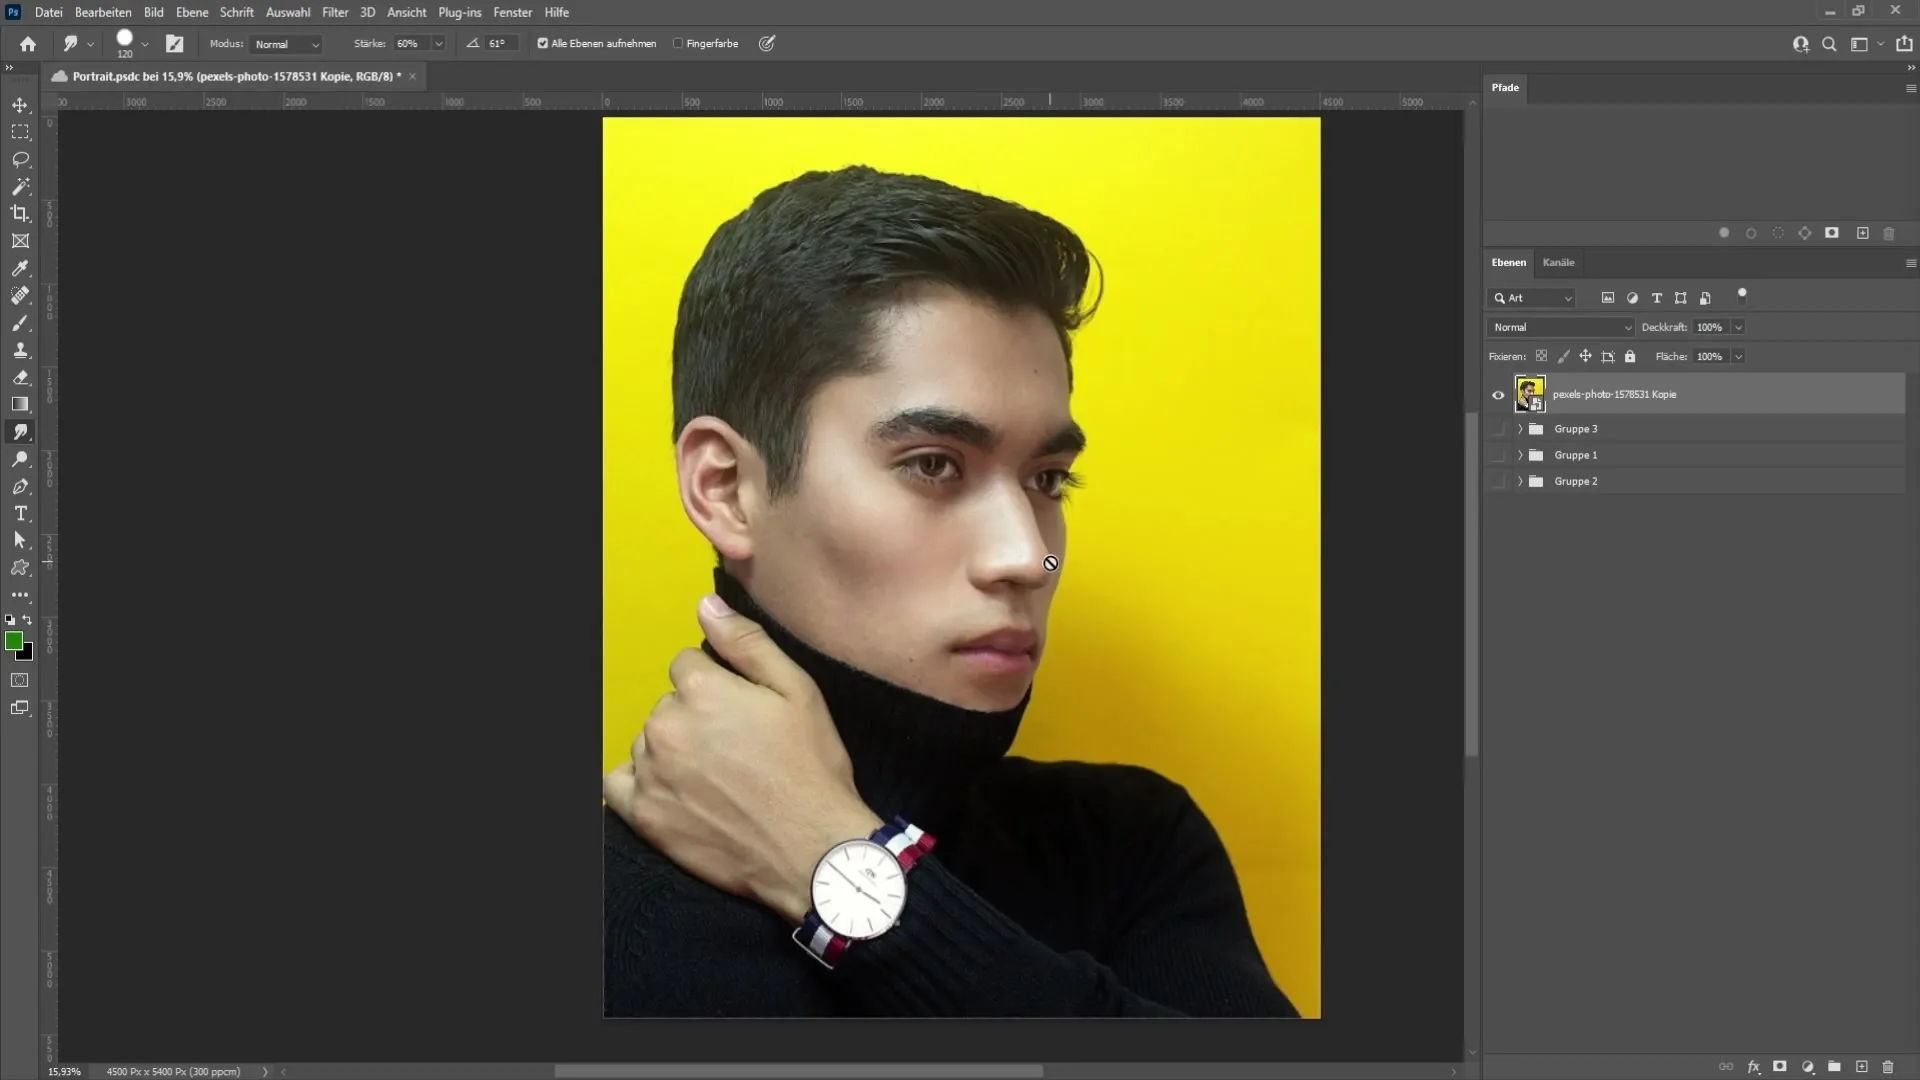
Now select the spot healing brush tool from the toolbar on the left side. Set the brush hardness to about 50% to achieve smooth transitions. Go over the blemishes to remove them. You can also leave out smaller moles unless they are very noticeable. Go over the entire image to ensure everything looks good.
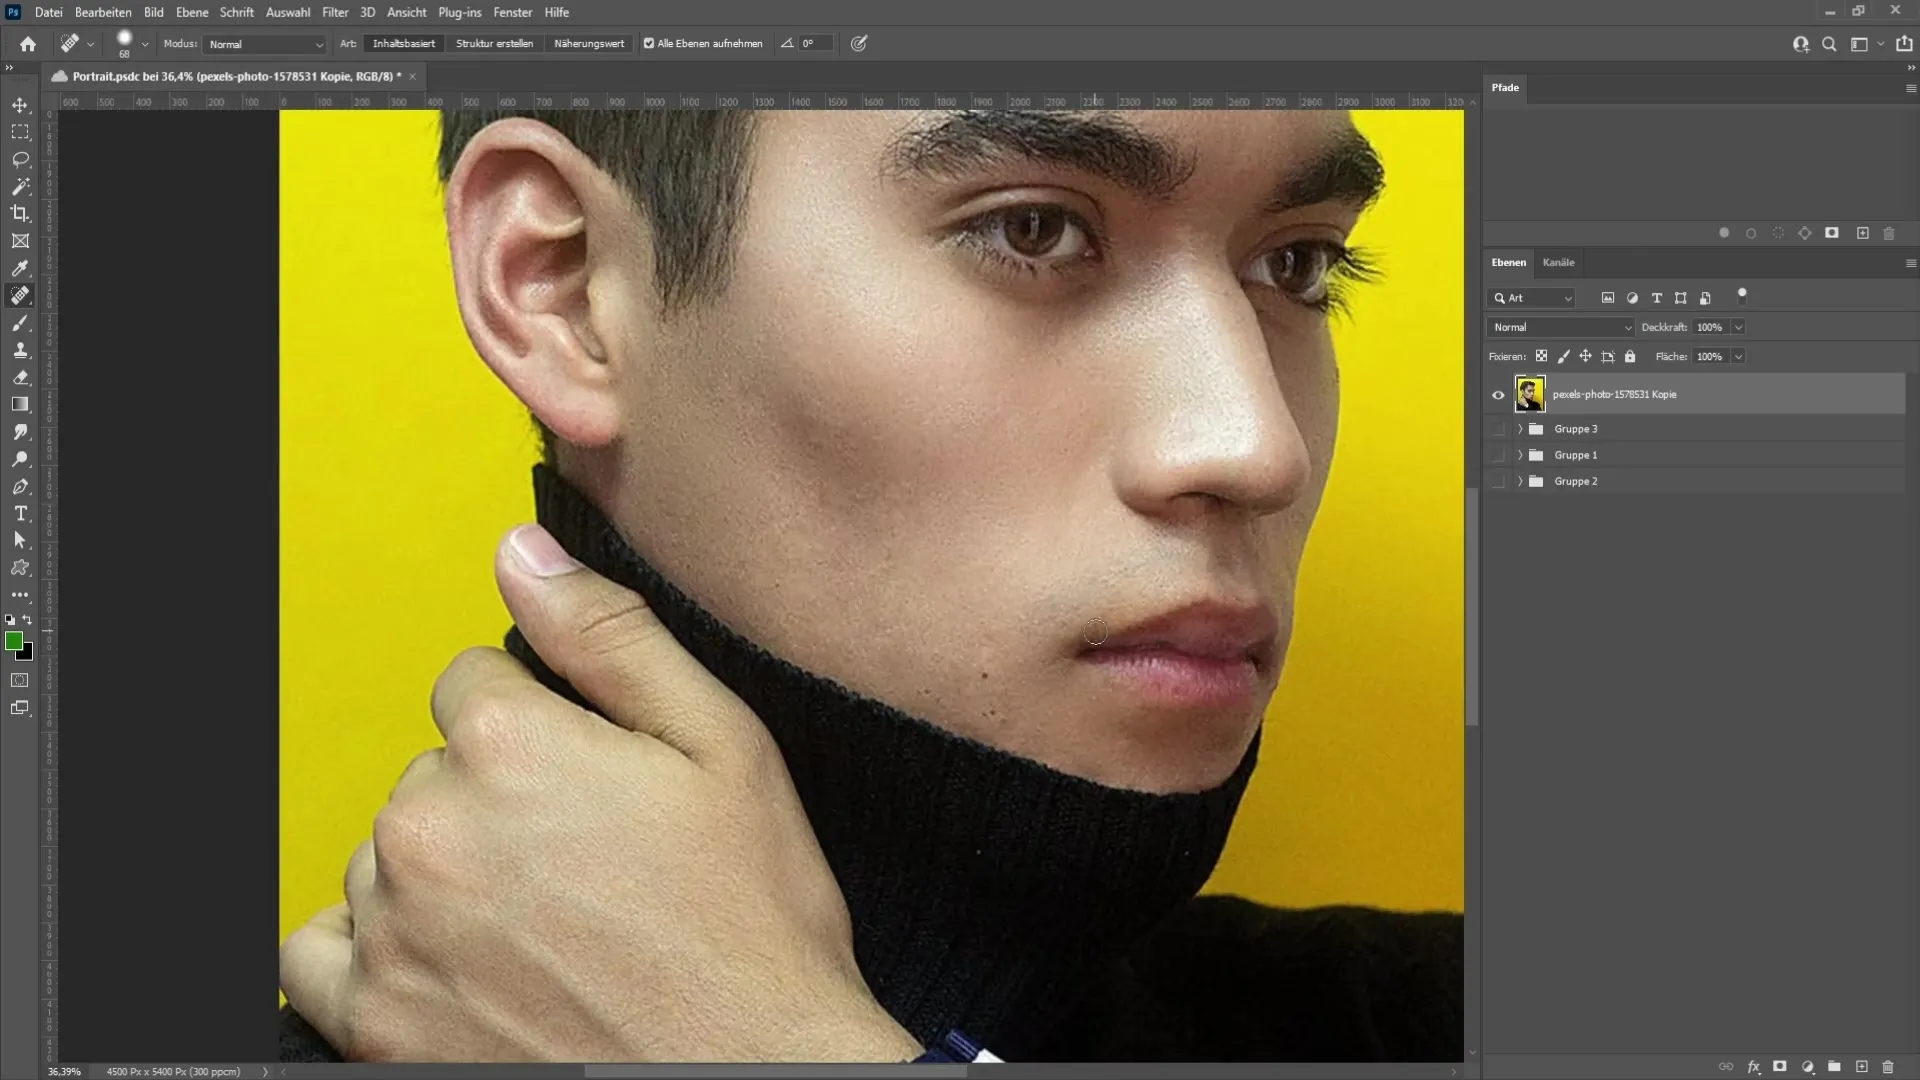
Step 2: Adjusting Light Conditions
After completing the skin retouching, check the light conditions of your image. Overexposed areas can affect the overall result. If you notice overexposure, go to the Curves in the Adjustment Tools and move the midpoint down slightly.
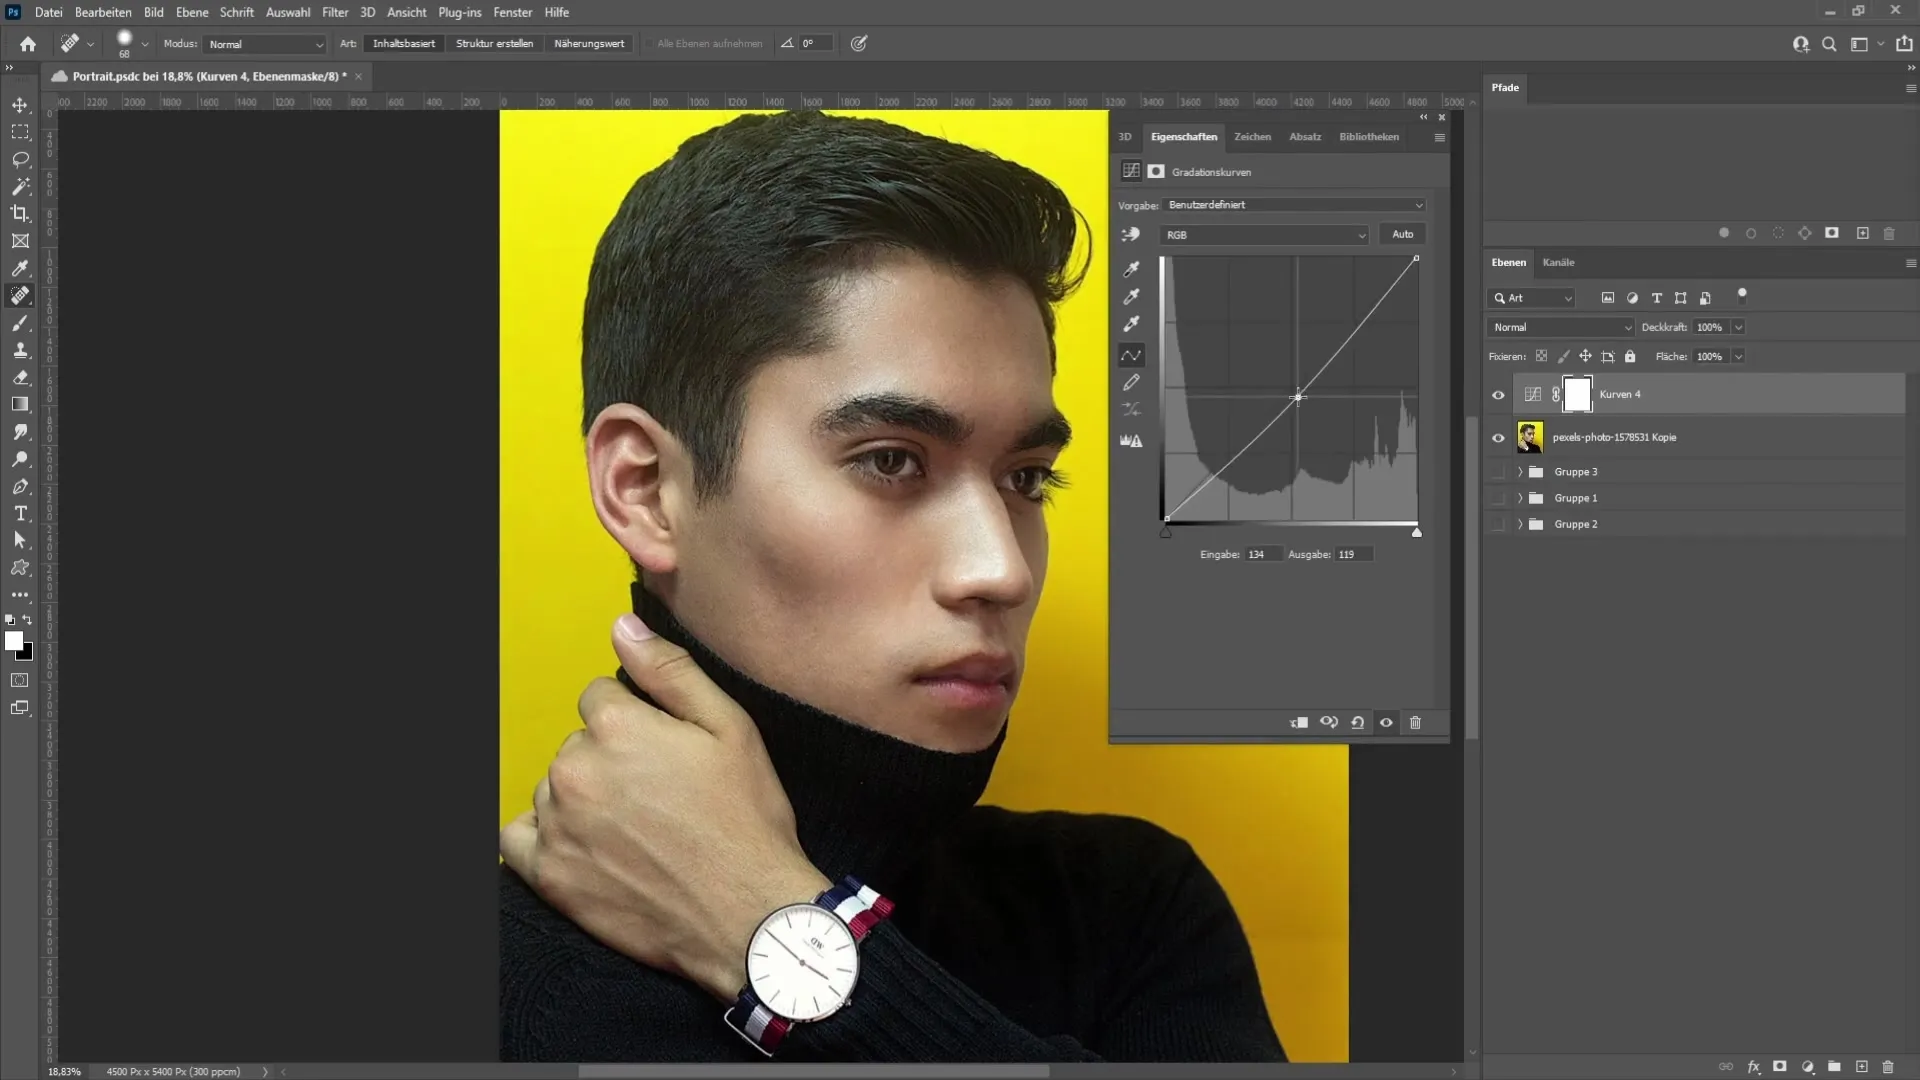
To make the adjustments, click on the layer mask, press "Ctrl + I" to invert the mask, and then use a brush with about 21% opacity to go over the bright areas. You can also highlight the eyebrows and eyes. If it's still too bright, create a new Curves adjustment layer and adjust the display accordingly.
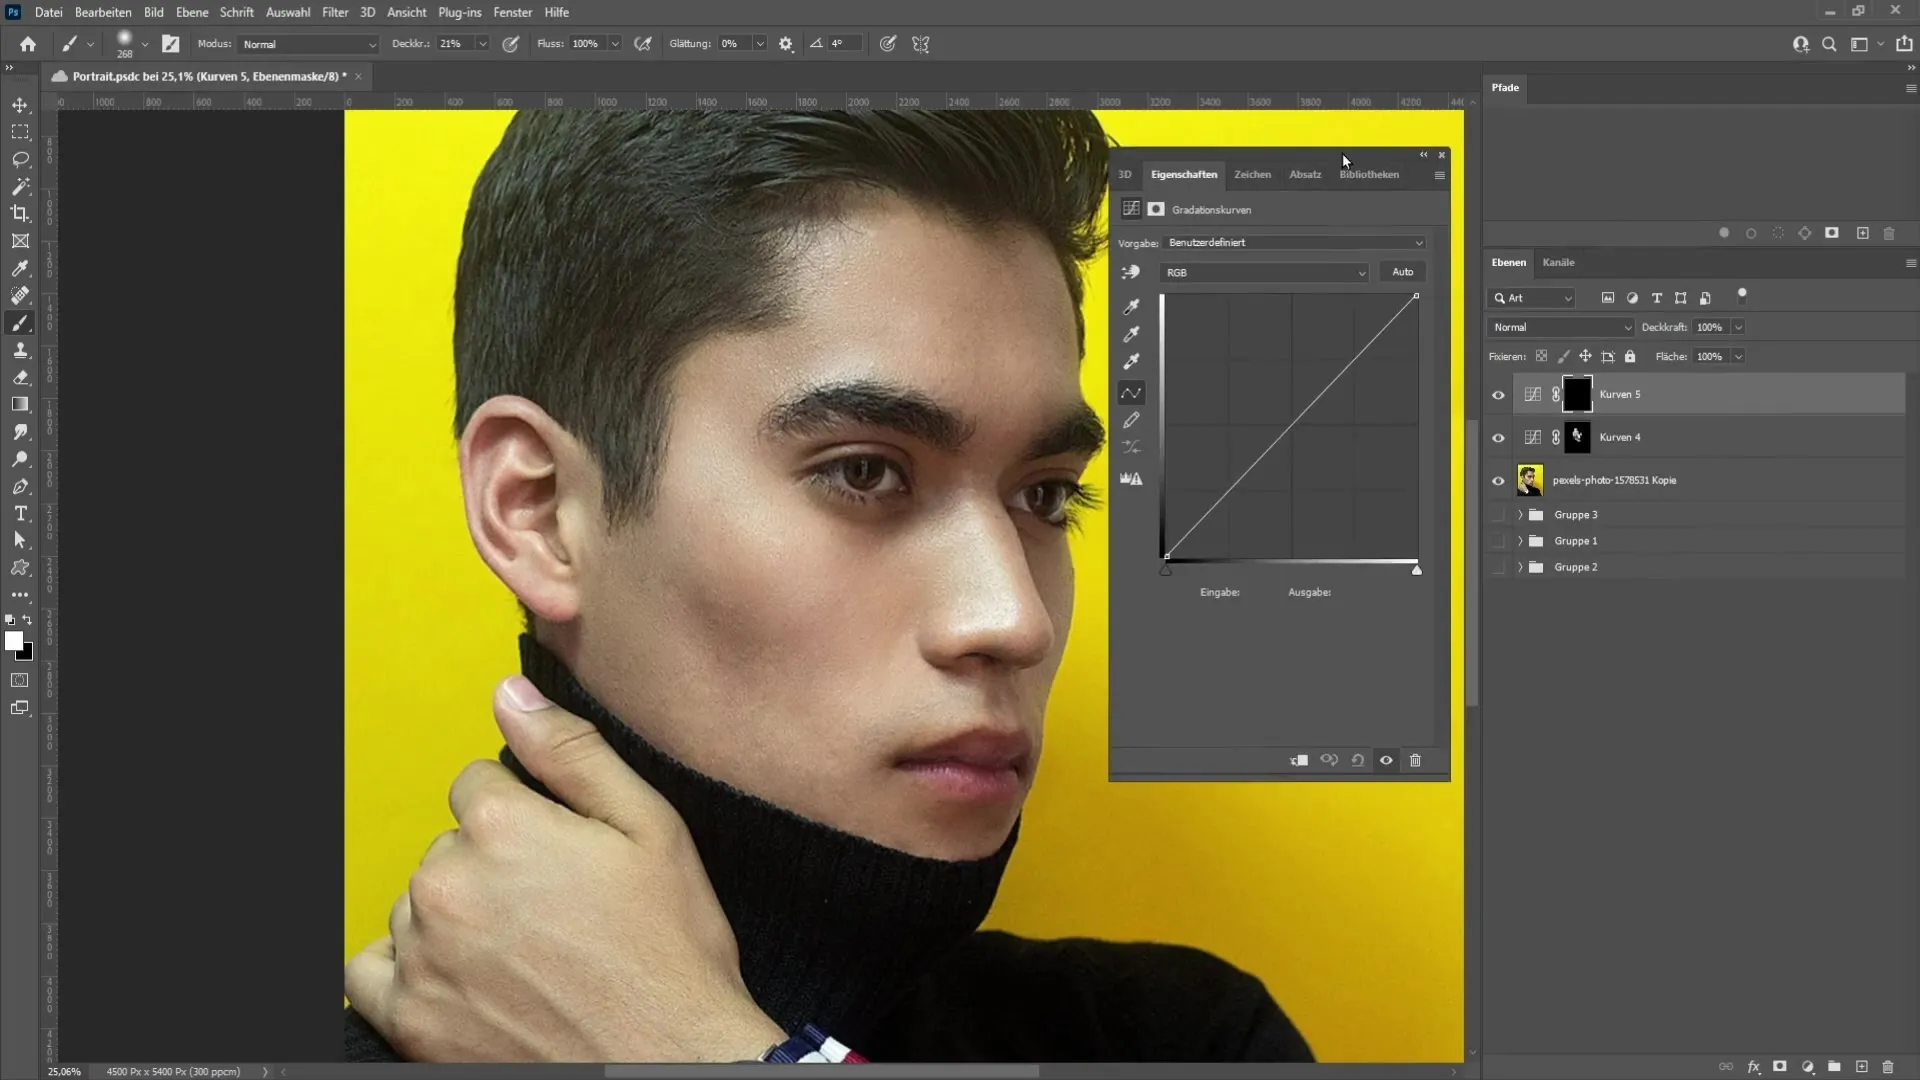
Step 3: Diminishing Remaining Highlights
If after the initial adjustment you still feel that parts of the face are too bright, you can use selective color correction. Choose the color White in the properties and move the Black slider to the right to darken the bright areas. A value of about 70% should look good in most cases.
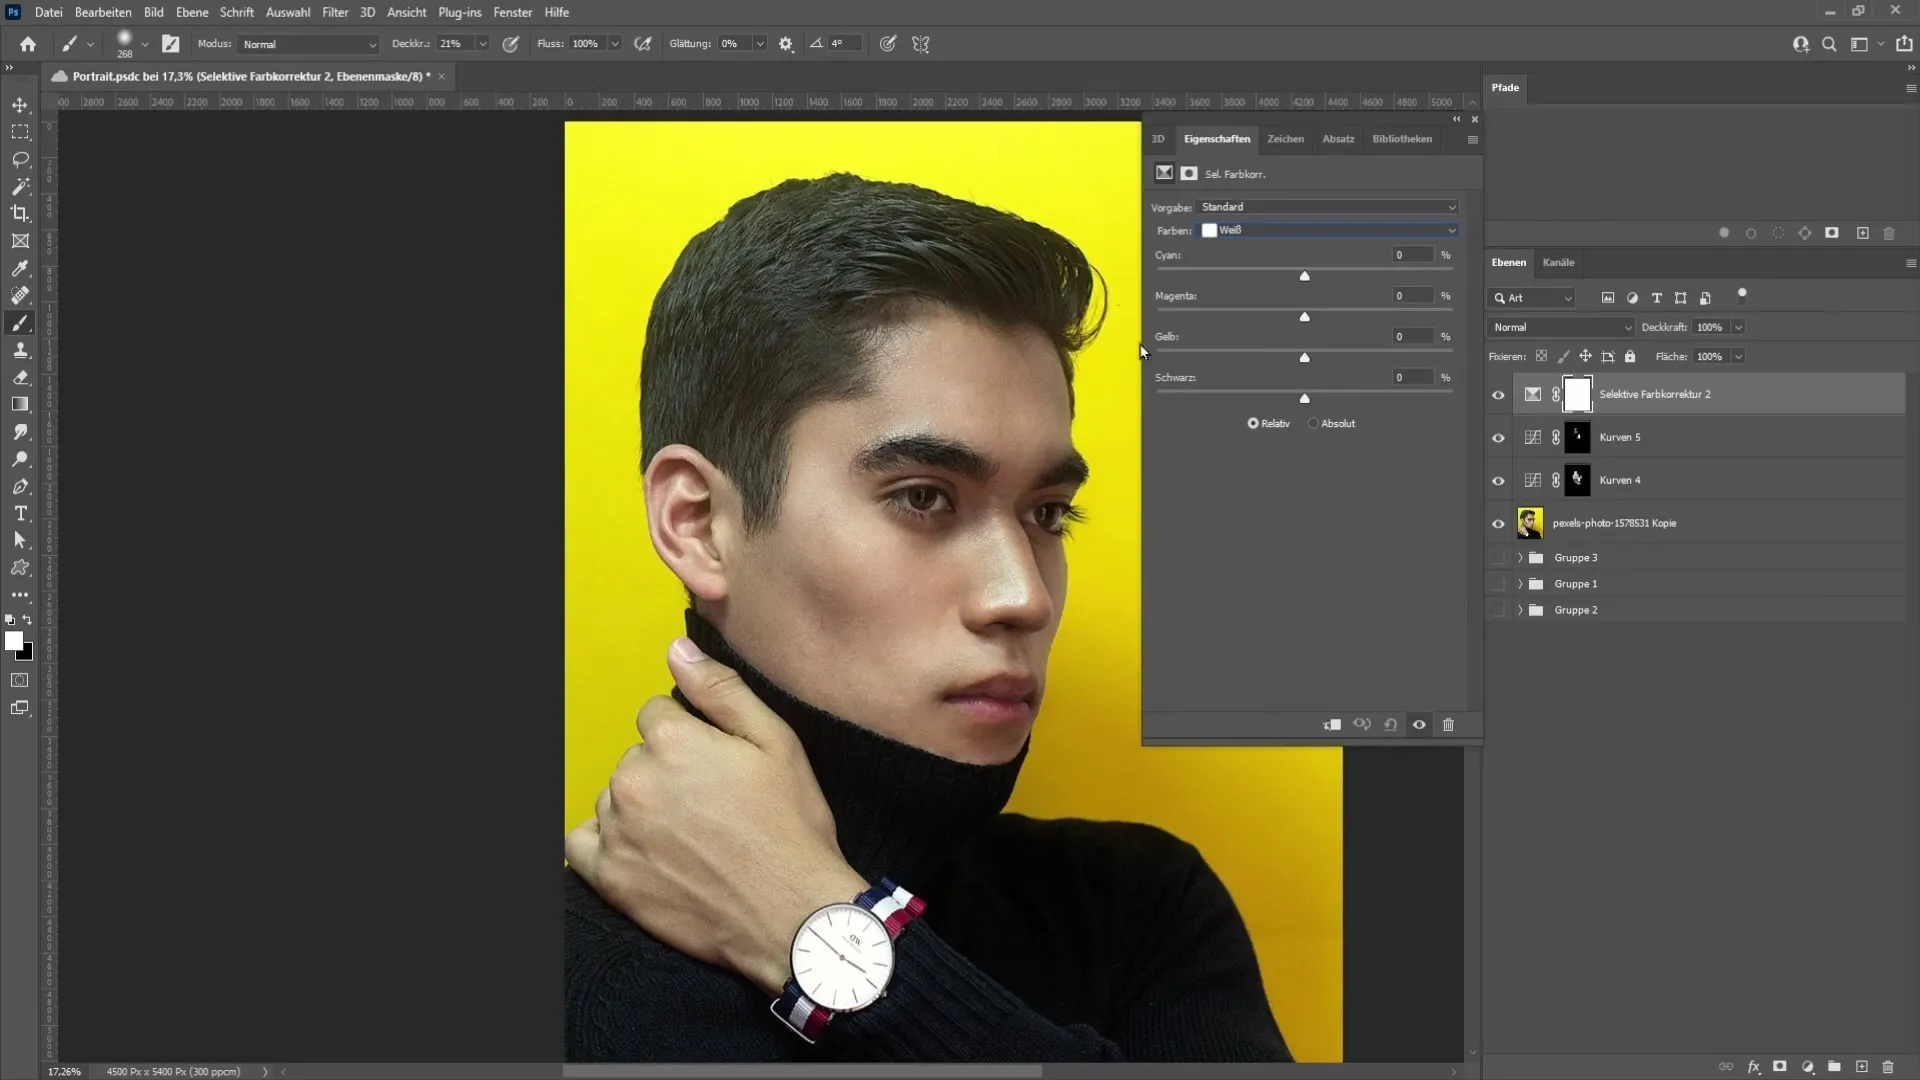
Combine all adjustments in a merged layer by pressing "Ctrl + Alt + Shift + E". You can now hide the original layers as they are no longer needed.
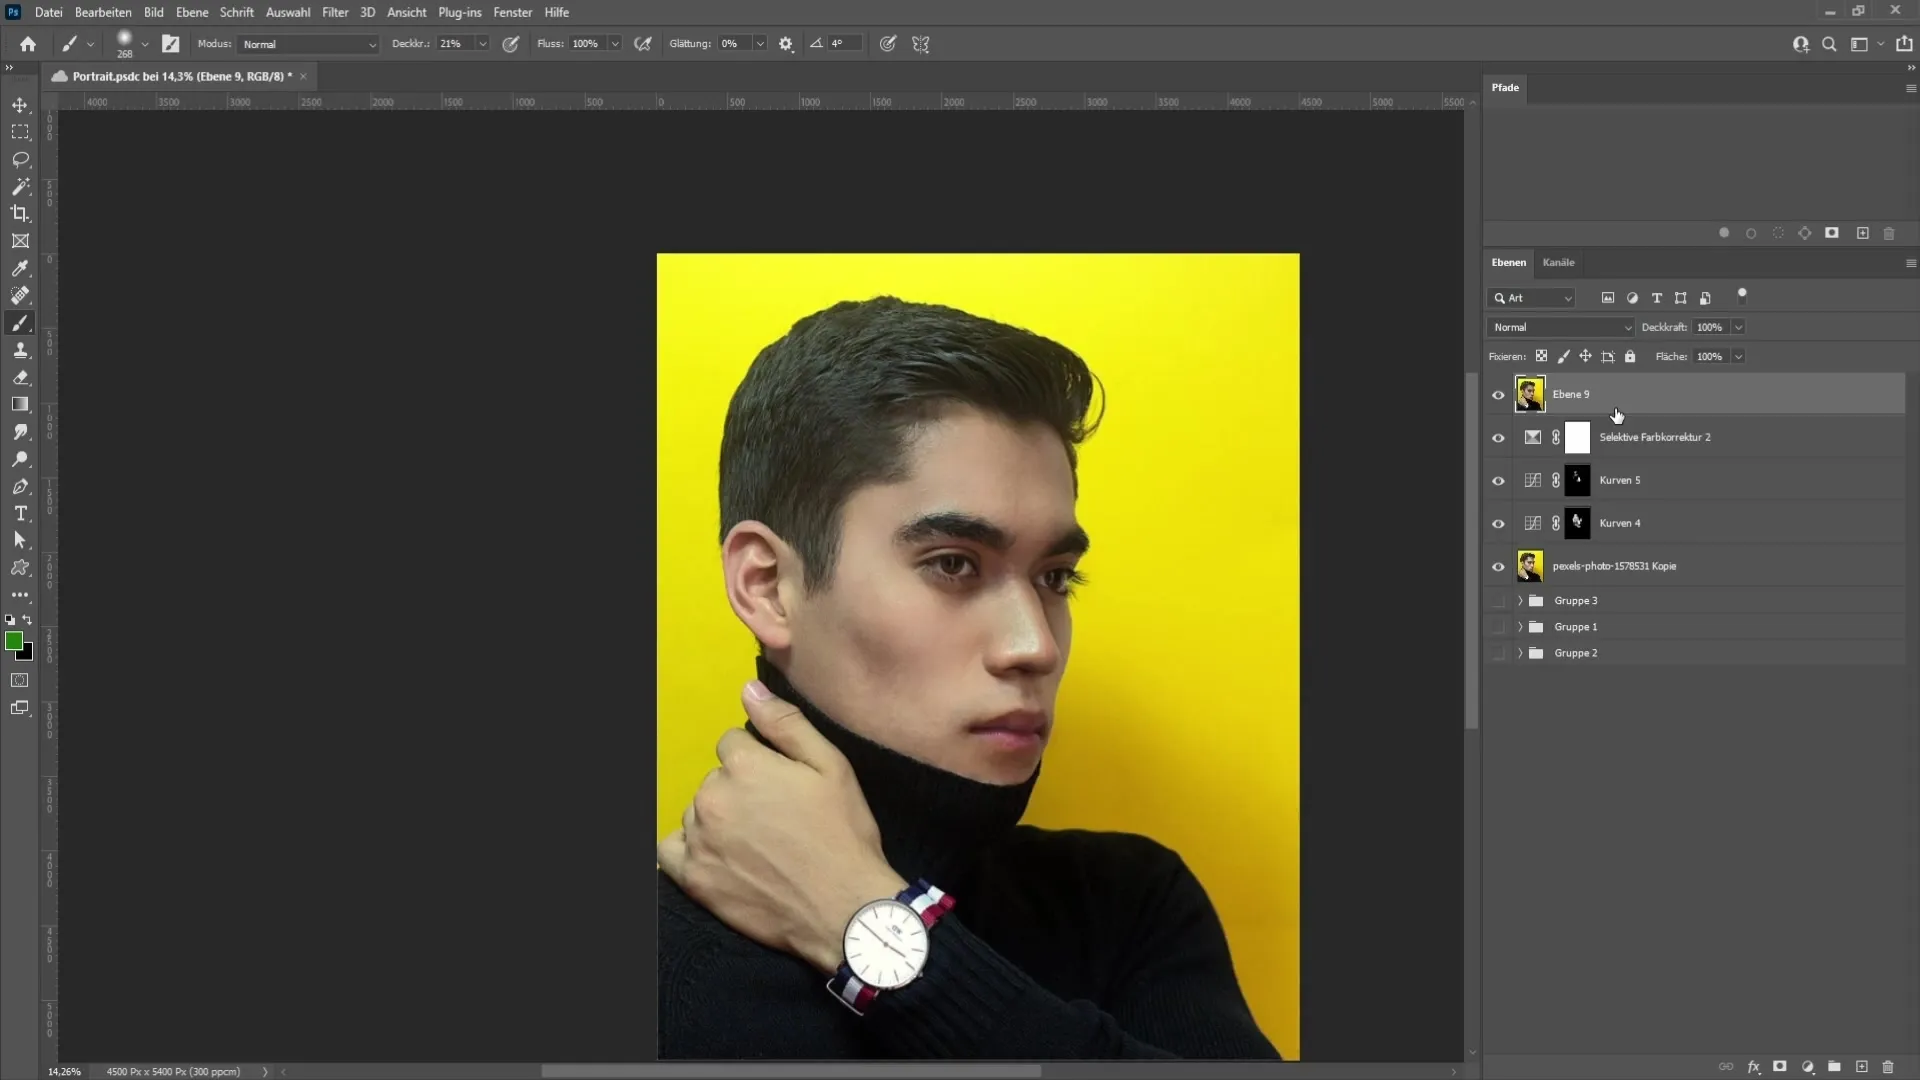
Step 4: Applying the Smudge Tool Technique
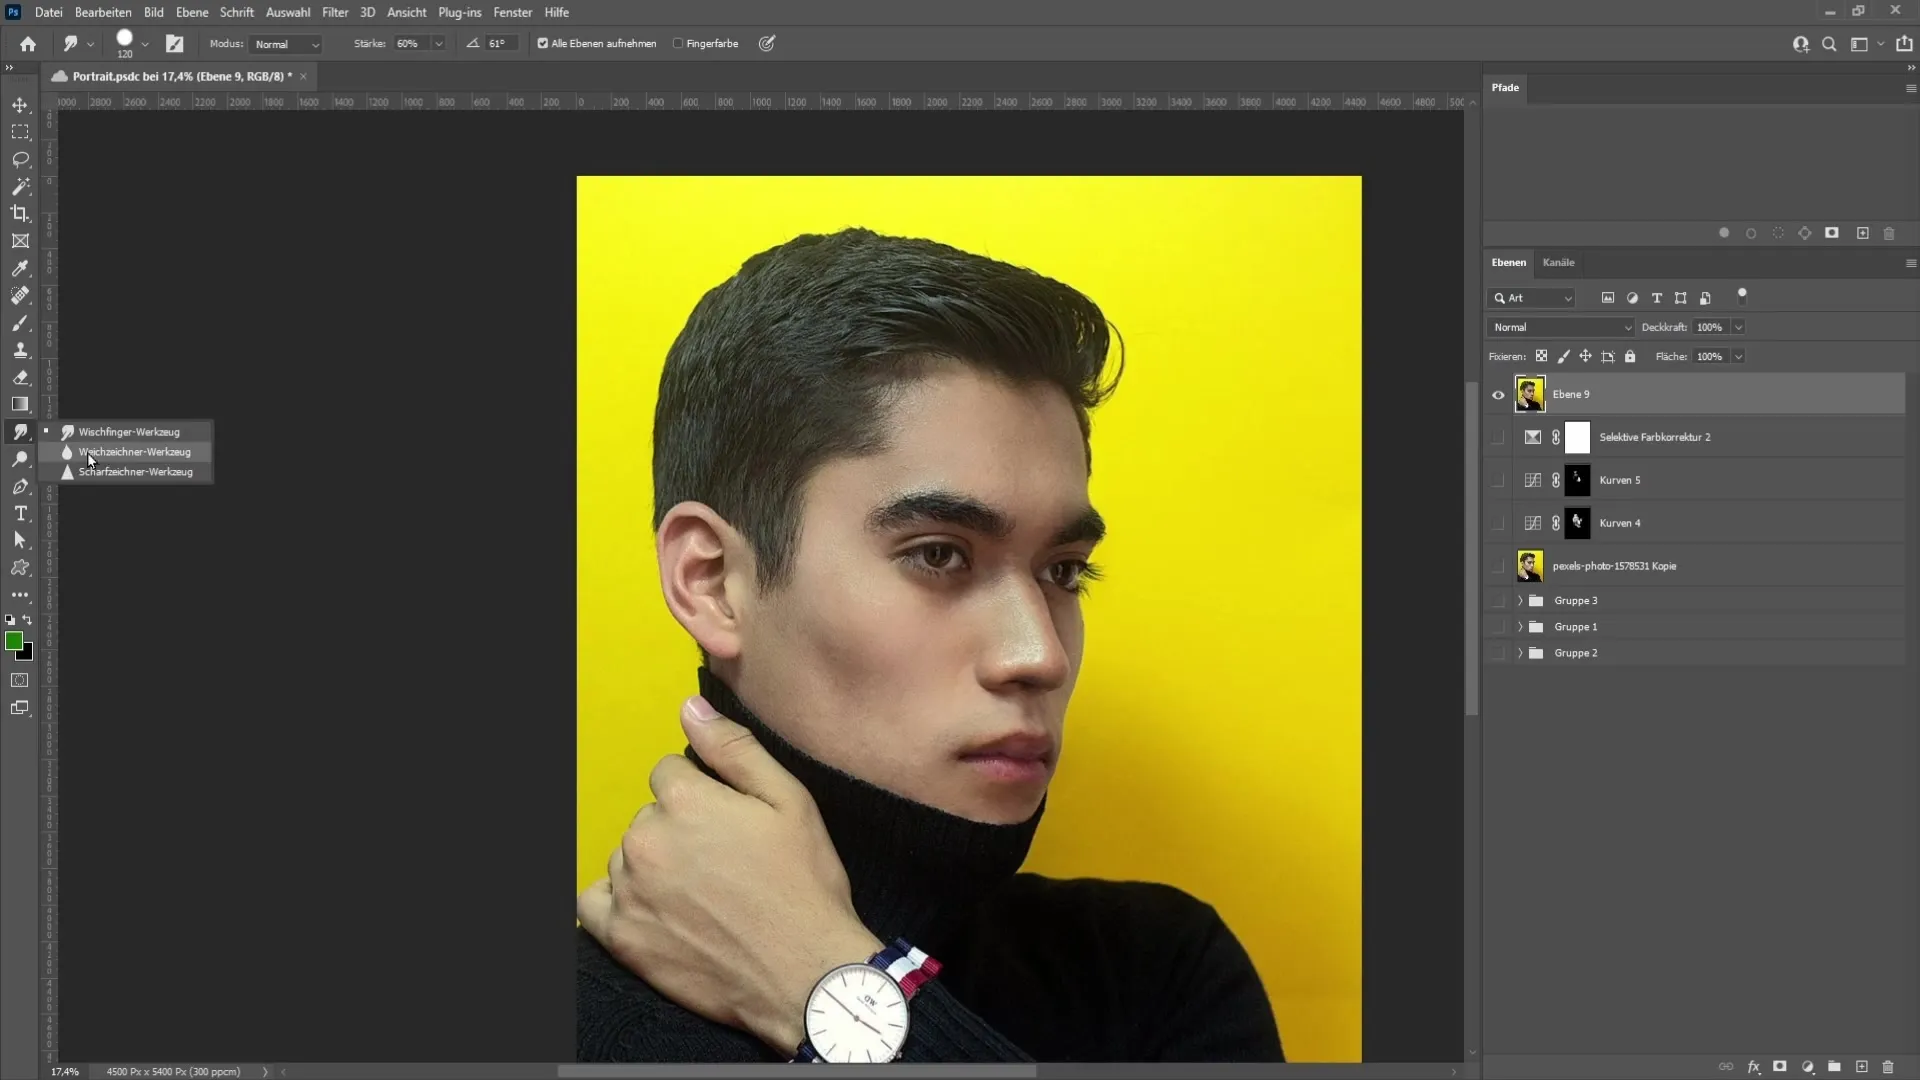
To create your artistic portrait, you will need the Smudge tool. Set the brush hardness to about 10% and the strength of the smudge tool to around 60%. Make sure the finger painting option is disabled so you don't mix the foreground color.
First, create a new blank layer below your current layers. Then zoom in closer to the skin areas and start using the Smudge tool in circular motions over the skin. Instead of dragging over an area, keep smudging back and forth at a point to achieve the desired softening effect.
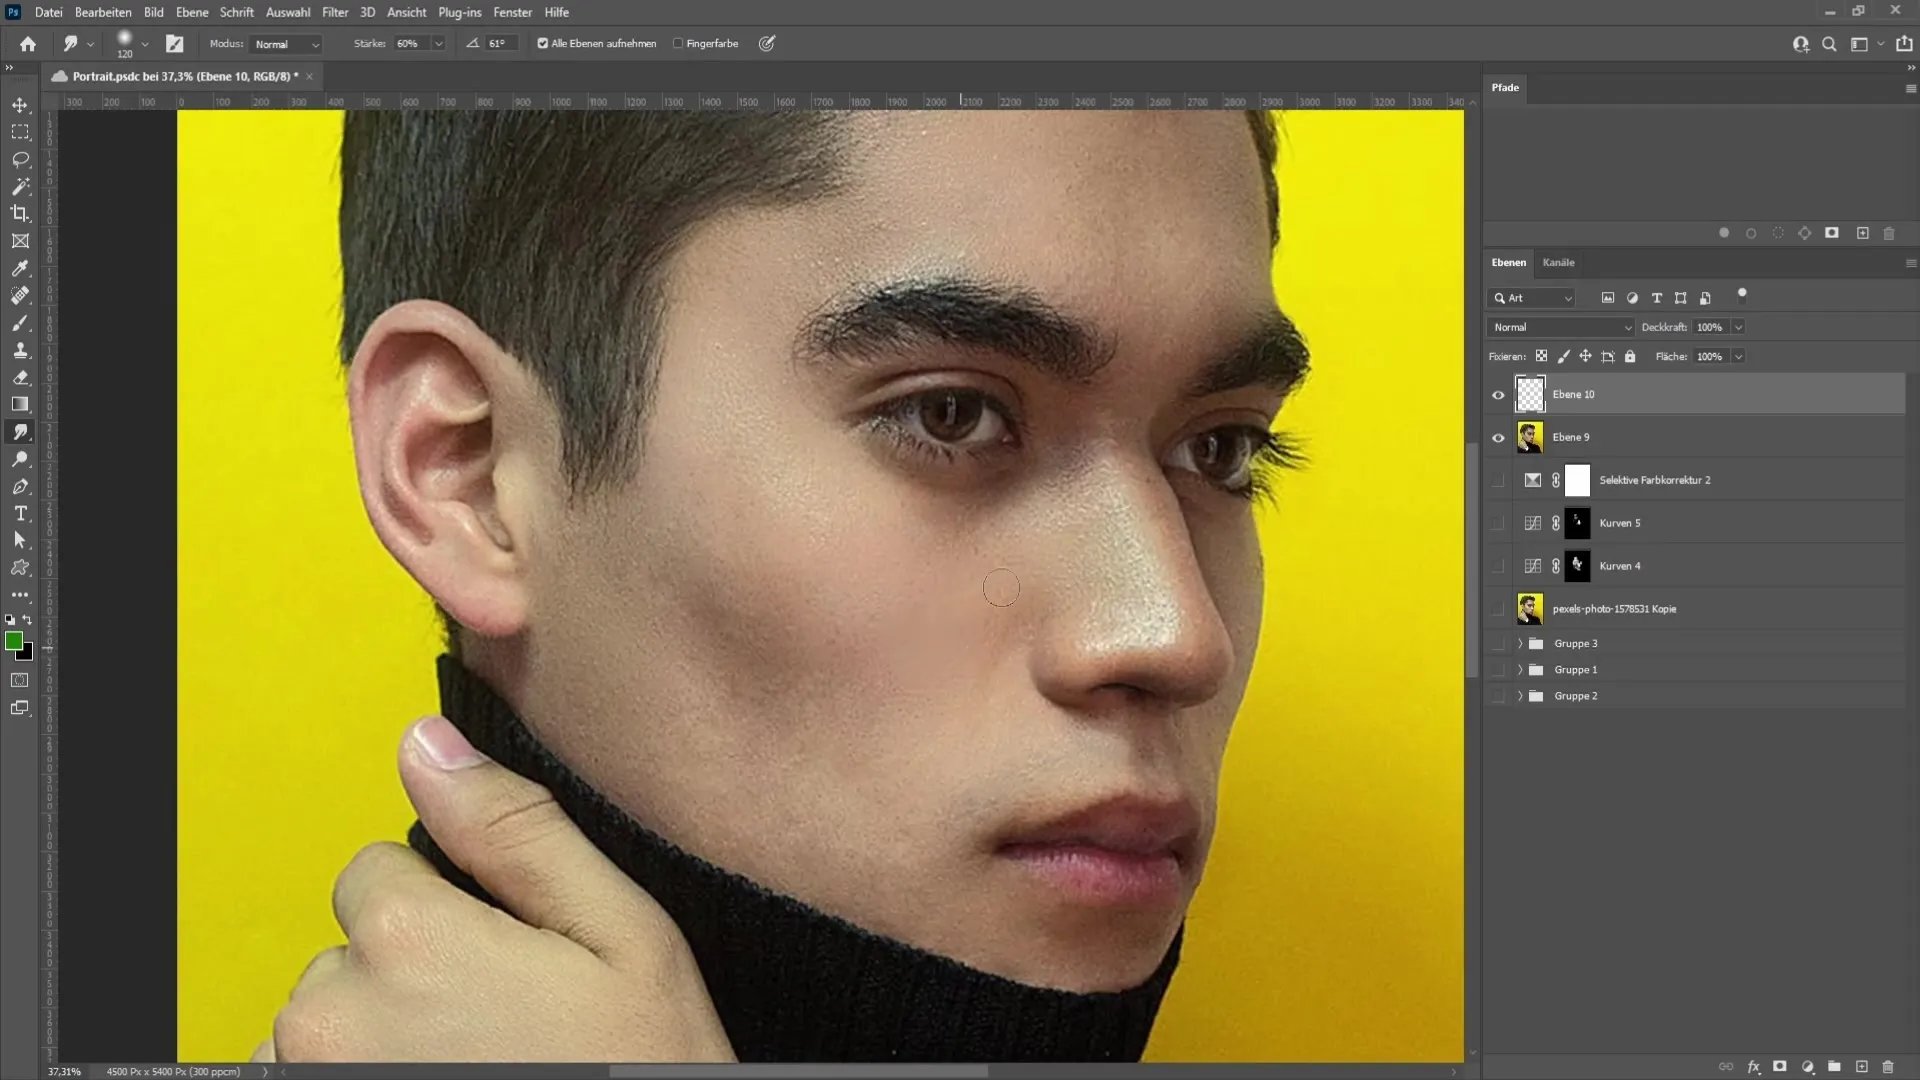
Step 5: Hair Styling
When editing the hair, you must maintain the direction of the strands. Use the Smudge tool again and gently go along the strands of hair. You will quickly realize that this method helps you achieve an appealing result.
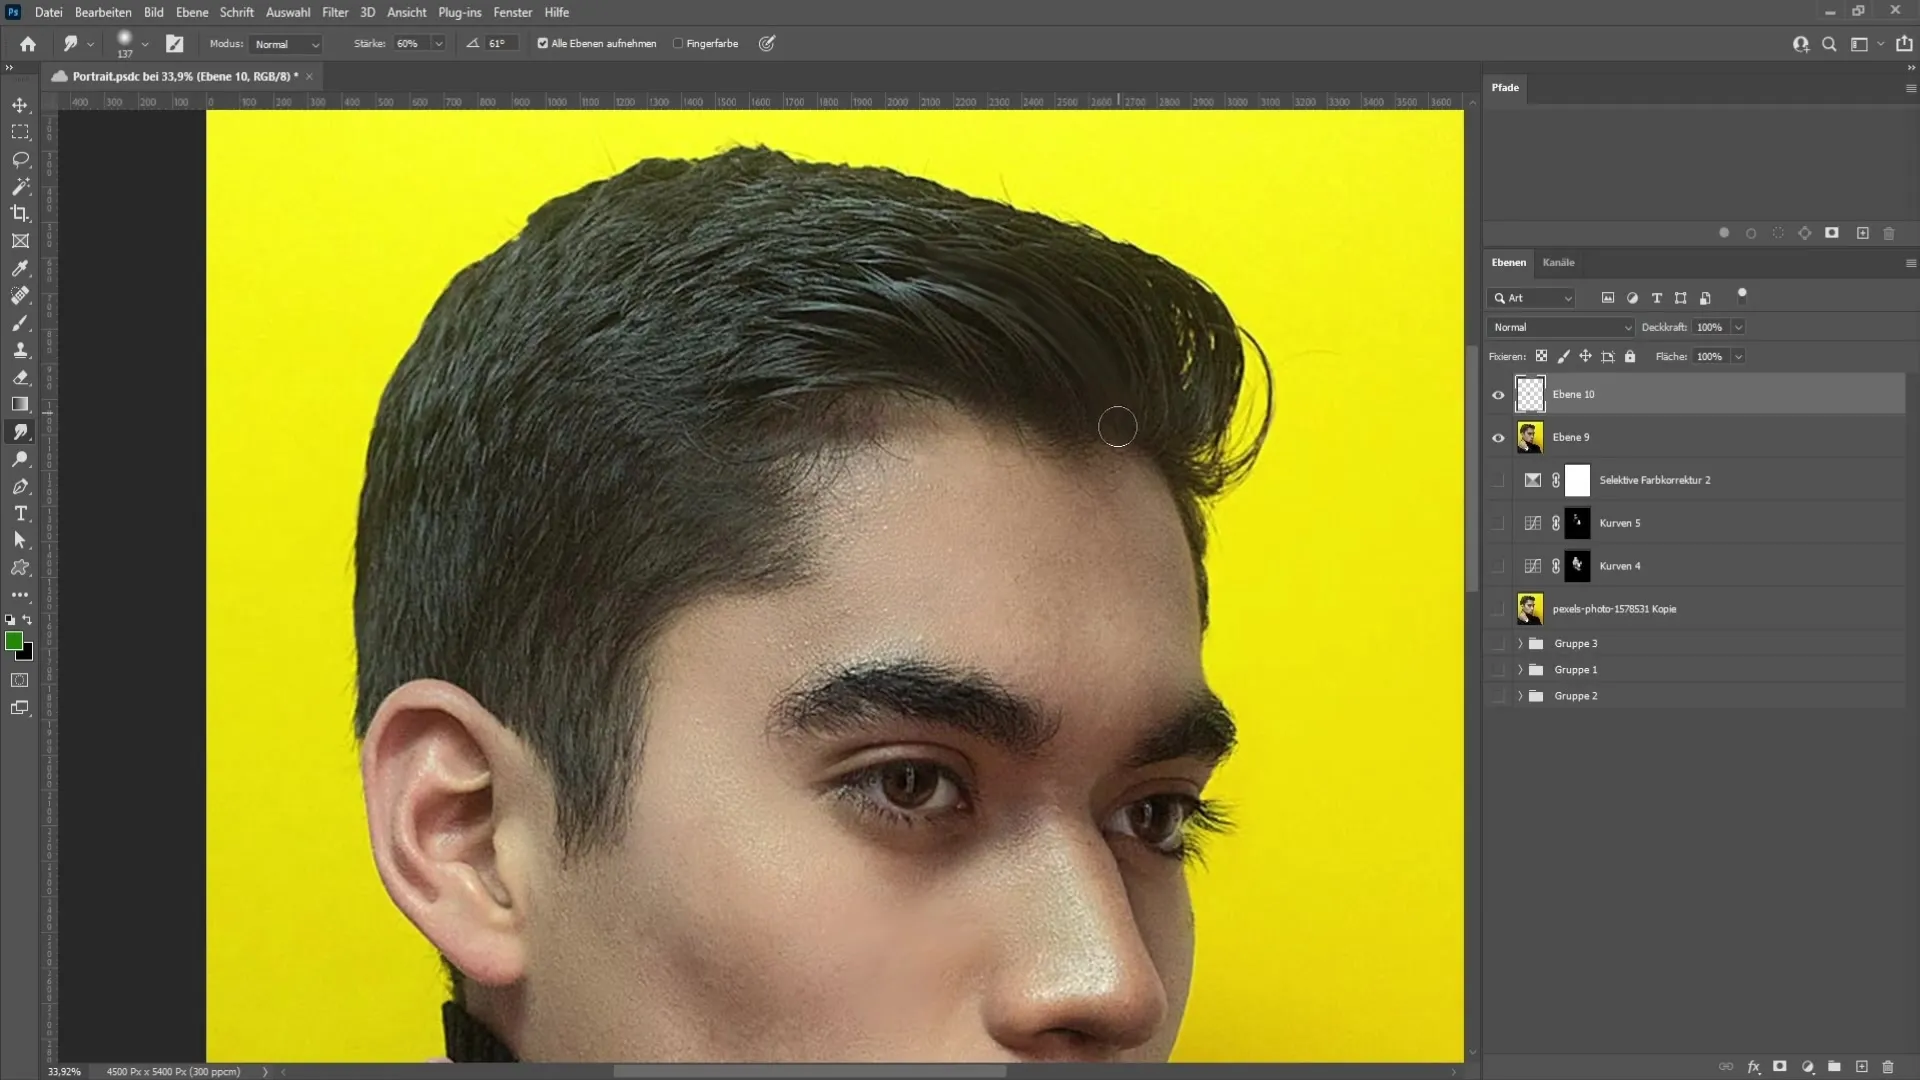
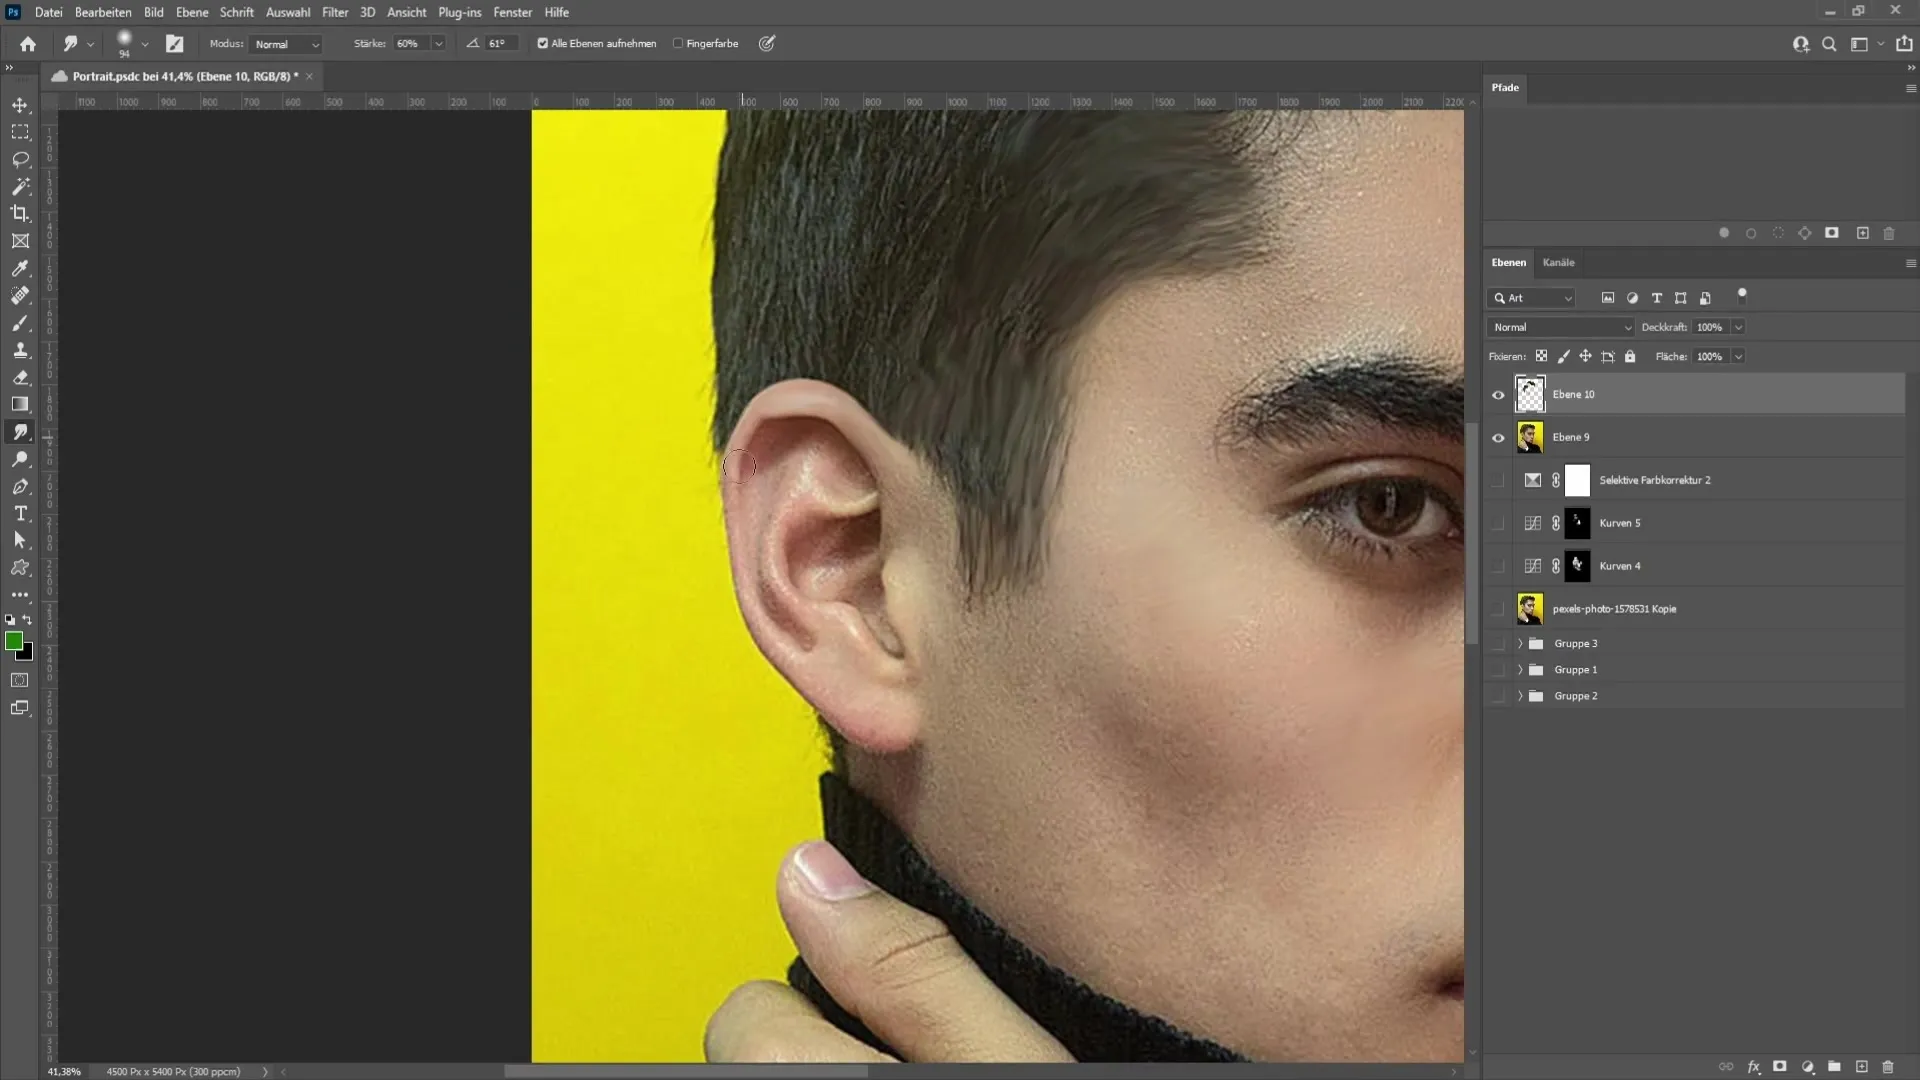
When you are done with the hair, pay attention to details such as the ears and eyes. For the ears, choose a brush that has the edge of the ear canal. Precision is important for the eyes: Use a very small brush to create the shine and details of the iris and pupil.
Step 6: Applying Filters
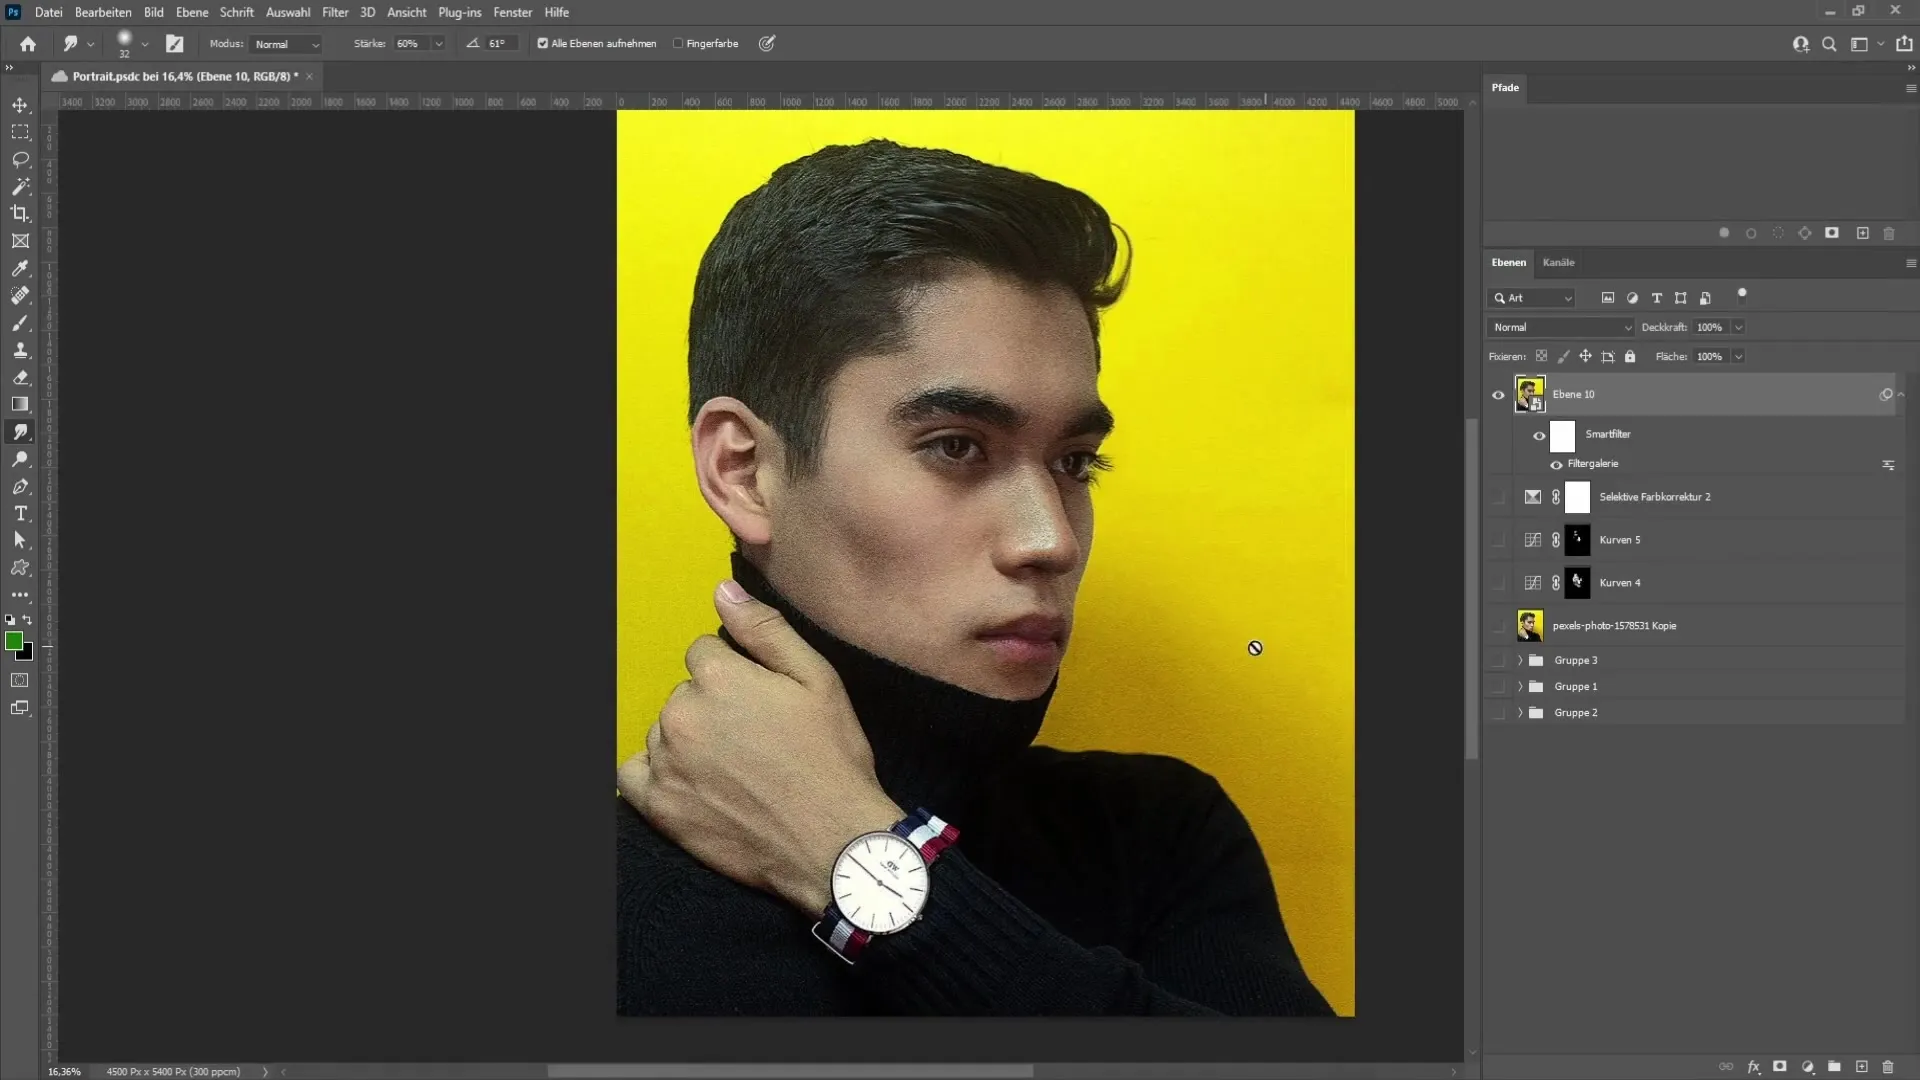
To give your portrait the final touch, I recommend applying a filter that simulates the look of a painting. Convert your layers into a Smart Object by right-clicking on it and selecting "Convert to Smart Object." Choose the "Texturizer filter" from the filter menu and adjust the settings to your liking.
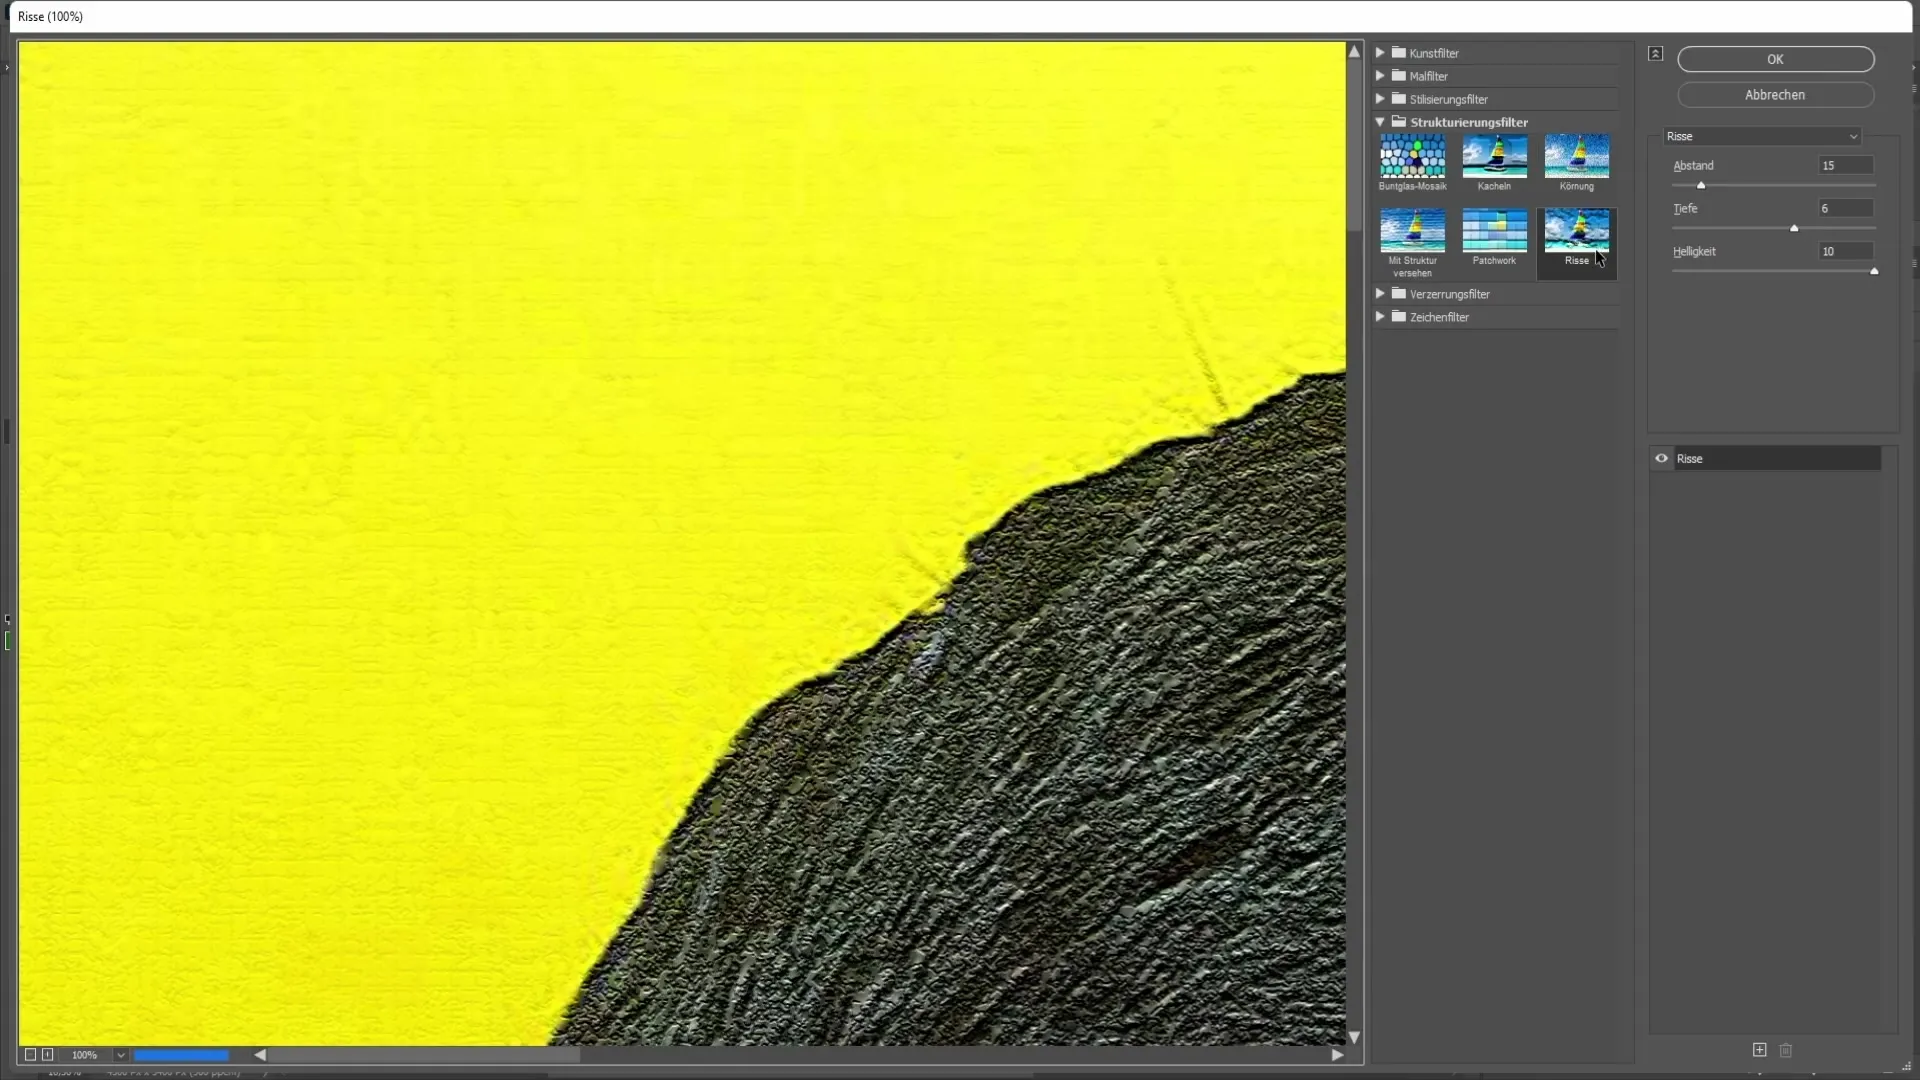
I recommend the following values for the cracks filter: Cracks 15, Depth 6, and Brightness 10%. Confirm the settings and you can toggle the effects of the filter on or off at any time.
Summary
In this tutorial, you have learned how to create an artistic portrait using Photoshop. The steps involve basic retouching, adjustments to lighting conditions, using the smudge tool, and applying filters to enhance the final look. Practice makes perfect, so take your time and experiment!
Frequently Asked Questions
What is the first step in creating a portrait in Photoshop?The first step is basic skin retouching to remove imperfections.
How can I adjust overexposures in the image?Use the Curves adjustment and pull down the midtones to darken the bright areas.
What tools do I need for portrait editing?Important tools include the Spot Healing Brush, Smudge tool, and various adjustment filters.
How can I undo my adjustments if I'm not satisfied with the result?Use the History panel to undo multiple steps.
Where can I find the Texture filter?You can find it in the Filter menu under Filter Gallery.


