Part 01 - Introduction: Animal motif - beastly good!
Part 02 - The right equipment
Part 03 - The main problems: light & sharpness
Part 04 - It's all about the detail!
Part 05 - Shooting preparations and planning
Part 06 - Dog photography
Part 07 - Cat photography
Part 08 - Horse photography
Part 09 - Small animal photography
Part 10 - Indoor shoots - studio photography
Part 11 - Outdoor shootings
Part 12 - Image editing
Part 13 - Various general tips
Part 14 - Reptile photography
My name is Nicole Schick and my greatest passion is animal photography. As a now self-employed photographer with my own studio in Langenfeld (NRW) specializing in animal photography, I travel to exhibitions, horse shows and other animal events. I carry out indoor and outdoor shoots with large and small four-legged friends and the focus of my work is of course always on the subject.
In my workshop, I would like to tell you a bit about my passion and my experience as an animal photographer. I hope you enjoy reading it and would be delighted if you can take something away from it for yourself and your work. I'm trying to read as much as possible about digital photography and to make progress with self-study. But even I am only at the beginning of a long journey ...
I would like to take this opportunity to thank you once again for all the emails and comments about my workshops. As I have taken the plunge into self-employment, it has unfortunately taken me a little longer to continue the series. I now hope to be able to complete the remaining parts as soon as possible. I hope all readers enjoy reading the tutorial!
Contents:
- Introduction
- What is needed?
- Compilation of photo bag for 3 purses
- Compilation of studio equipment for hobby and professional use
1. introduction
I often read in books that sports photographers need the most expensive equipment. This is of course true, but a wildlife photographer also needs high-quality equipment and good lenses with long focal lengths and good light intensity, depending of course on whether he is taking more studio shots or traveling through the safari parks of Africa. In this tutorial, I would like to introduce you to the most important equipment for a wildlife photographer and tell you what to look out for when making your choice. I would also like to put together three photo bags for you, one for the small, one for the medium and one for the large purse.
We will also take a look at studio equipment, and here too we will put together two different sets of studio equipment, one for hobbyists and one for professionals.
As I have only sufficiently tested my own equipment, I only want to present this to you; whether you have equipment from Nikon or Canon, Hensel or Multiblitz is completely irrelevant. Every photographer gathers their own experiences in the course of their "career" and learns to love and appreciate their own equipment. Of course, every photographer would give different tips in this tutorial. As this tutorial only serves as a guide, please bear this in mind.
2 What is needed?
First of all, we need to be clear about what we need! And then we can start to look around our league in terms of price and pack the shopping basket. Here is a list of equipment that we should definitely have in our range:
- SLR camera
- Storage medium
- Removable battery
- 1-2 lenses
- UV filter for each lens
- Photo bag or rucksack
- Tripod if necessary
- Battery grip if necessary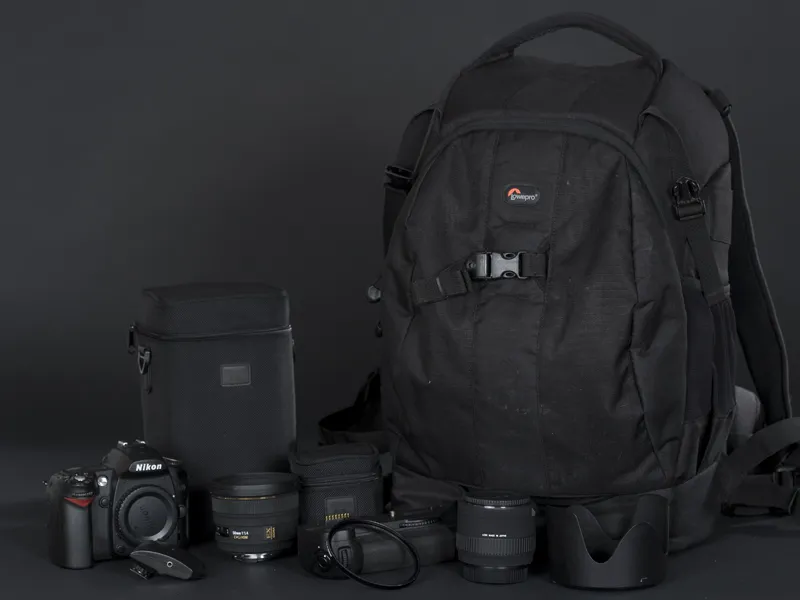
So we can already get started. We've got the most important things together. If you wish, you can of course extend your list indefinitely!
I would prioritize the following items for your image processing list:
- Card reader
- Image editing program
- External hard disk if necessary
So, now let's take a look at what the above items are important for and what should be important in our choice:
The right camera
If you are thinking about buying your first SLR camera or whether it is worth buying the next model up or whether you should perhaps wait a little longer, then let's take a look at what is important when choosing your camera. At the very least, if you want to use it in the animal sector then you should pay attention to one or two criteria. Of course, you also need to know where you want to go and how often you will be out and about with your camera. If you simply enjoy photographing the lions in the zoological garden three times a year when the weather is nice, then equipment of around 600 euros designed for this purpose will suffice. If you want to regularly photograph equestrian sport at tournaments and are dependent on optimum quality even in poor lighting conditions, you will quickly find yourself in the €2,000 range.
If you still have no idea where you want to go and how much you enjoy photography, I will first give you some tips that could be important for you when buying your SLR - if you are thinking about buying better equipment, you should read my comments on lenses or, if necessary, take a look at the photo bags we have packed below.
My first kit was around 800 euros. It was a Nikon D40 and a Sigma 70-300 mm lens. I achieved really great results with it, and I still weep for the Sigma lens today. The camera was great. The zoom lens was perfect! However, the lens naturally came to its knees when the light started to fade. In other words, you should definitely know what you mainly want to photograph.
Here are a few shots for comparison: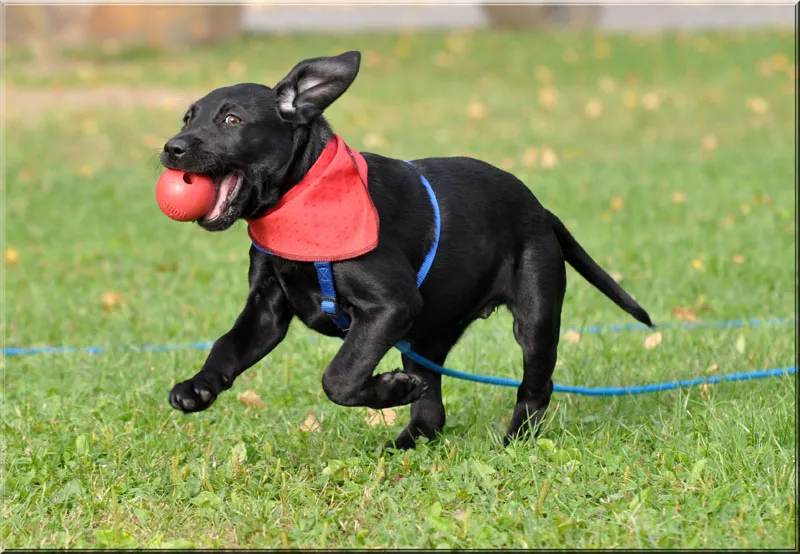
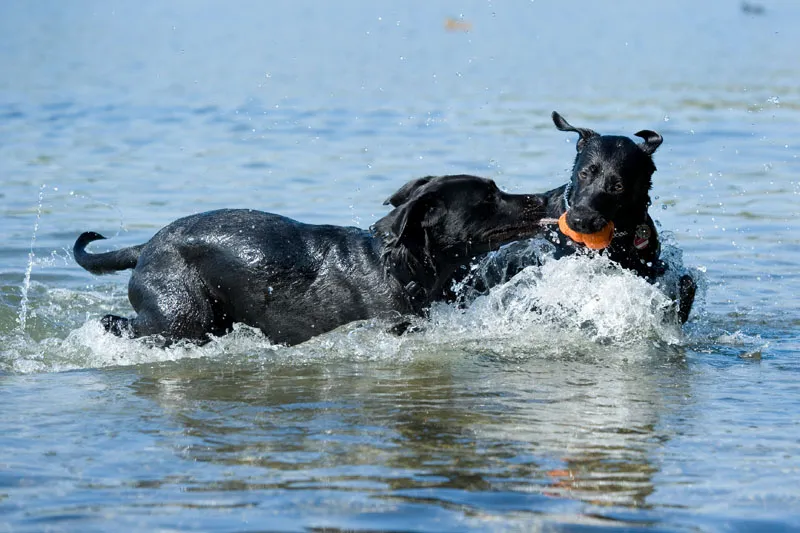
The first photo shows Labrador dog Sari as a puppy. The Nikon D40 was used here and the above-mentioned Sigma lens (70-300 mm). The second photo shows Sari at one year old. Here the Nikon D700 was used with a Nikon lens (70-200 mm).
Of course, the smaller camera types have important disadvantages compared to the larger models. It's the same if you compare a Golf with an E-Class. Whether it's the build quality, the slower technology, the shutter speed, the resolution of the images, the focus points, etc. - you'll just have to decide for yourself what comes closest to what you want; and read reviews!
Don't listen to someone you know who has ALWAYS photographed with Nikon and gets on so well with it. Perhaps this friend only shoots in auto mode at family celebrations with the internal flash, and you quickly realize that this technology is absolutely unsuitable for you. Of course, technology always has an impact on the price, but I would like to make it very clear that even amateur photographers can achieve excellent results with simple technology if they know what they are doing. So if you are familiar with your camera and can operate it well, you will also be satisfied with small camera types. Conversely, you can get into difficulties with the auto function on any camera in certain situations.
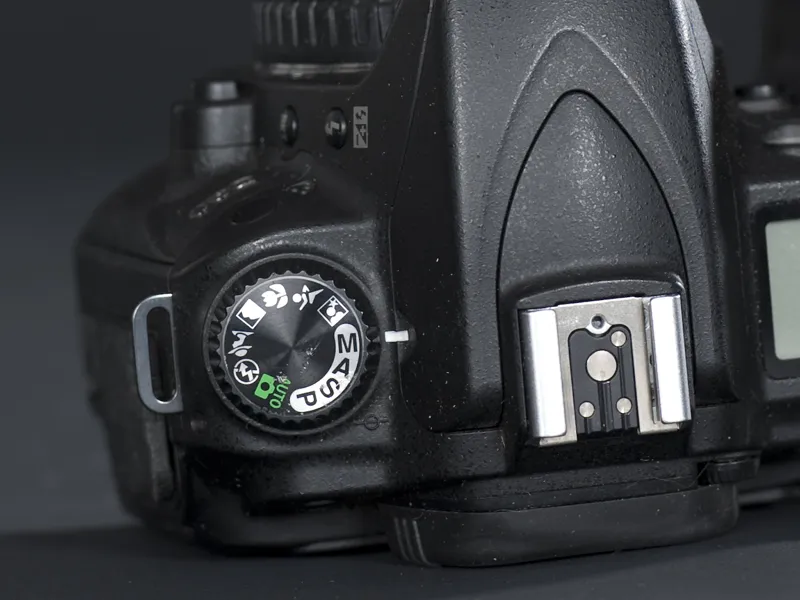
In any case, I do NOT recommend camera types without automatic modes to beginners. The Nikon D700, for example, only has semi-automatic and manual control. Here you should already know how to set the SLR manually. You can't just set the switch to automatic or sports photography and start shooting straight away. If you read this tutorial and have an interest in photography, which is necessary for this, then you will have the ambition to control your camera completely manually one day anyway. ISO, exposure, Blender ... Believe me, this will eventually become second nature to you and then photography will really be fun. When you know what all these components stand for and try them up and down to achieve the perfect result. You also need to consider whether a full-frame format is right for you or whether you would prefer to work with the advantages of the format factor.
To explain: The DX format was introduced in 1999 with the Nikon D1. Due to the smaller format compared to 35mm, a so-called format factor must be taken into account. This is usually specified as 1.5 for the DX format. This means that for a camera with DX format, the focal length is multiplied by 1.5. Your 70-200 lens will therefore have a realistic focal length of approx. 100-300. With a full-frame camera it is actually 70-200 mm. This makes a considerable difference. With my first camera, I had a zoom focal length of 450 mm with the 70-300 mm lens in DX format! Now I only have 200 mm ... not a day goes by that I don't think about buying another large zoom lens. For motion shots of dogs and horses, I find few techniques better than a DX format with a large zoom lens.
So you see, the "smaller" cameras also have advantages, and here's another one: some time ago, a customer was sitting next to me and said: I have the same camera. At first I had to swallow. After all, if you have such an expensive camera, you take your own photos, I thought to myself. Her husband had given her the camera as a present because she wanted a really good one, she told me. Of course, she can't work with it because she doesn't know how an SLR camera works. I don't want to discourage anyone from buying a good, expensive camera, quite the opposite. But it must be clear to the buyer that they need to know how to use it ...
The right lenses
Lens speed and quality are of course what make a good lens. A lens with an extremely high focal range can never be as good as a fixed focal length with high speed. You will definitely see a difference in quality, and a considerable one at that. So if you want to work with just one lens at the beginning, you will quickly reach your limits. You will be very happy with a good zoom lens if you are taking photos at the zoo, but if you want to take a group photo at a party, it will be tight if your focal length starts at 100 mm. Of course, it is best to start with two lenses. You don't have to buy both with an aperture of 2.8. Often a lens is already included with the camera and you can also purchase a zoom lens. Again, it depends on your budget ...
I now use my 70-200 mm lens 99% of the time, albeit in full format. It covers almost all areas. Portraits, motion shots, studio shots ... Of course, portraits would be even better with a higher zoom lens, and sometimes a smaller focal length is also missing. BUT you can always do better. It's all a question of money! What I want to say: I have a few lenses, but I almost only use the one mentioned above.
I also have a 24-70 mm lens, which I hardly ever use for wildlife, and a 50 mm focal length. I have to admit, I even have a teleconverter, but I've never used it! Maybe I should give it a try. It would bring me back to 300 mm. So let's list what we really need and some clear rules on what is really important when buying a lens! Here I have a lens that costs around 400 euros from Nikon or Canon and about half that if we go for Sigma or Tamron:
- Focal length: 70-300 mm
- Lens speed: 1:4.0-5.6
What do these values stand for? The focal length of course stands for our zoom range. As already mentioned, 300 mm is already a nice size, so you can get very close to the tigers at the zoo, I promise you that! If you also have a nice, bright day, this light intensity will also give you wonderful results. It is an absolute dream to work with this lens. The values 4.0-5.6 represent the widest aperture you can use with this lens. Here you have specified a from-to value. This means that your light intensity decreases the higher the zoom range is utilized. So at 300 mm you are always at an Blender of 5.6f. This actually makes the difference that has such a massive impact on your wallet. The same lens with a continuous aperture of 2.8 from Nikon or Canon costs around 2,000 euros. You should always make sure that you don't make a bargain and end up with a poor all-rounder lens, such as an 18-250 mm - 3.5-6.3.
The higher the focal length range, the poorer the quality of your lens. I once read that you should never exceed the factor lowest focal length x 3. I can only confirm that. You will definitely be happier in the long run if you spend a bit more and buy a second lens. Then it's better to start with a Sigma or Tamron, which is what I did. Again, the Nikon and Canon lenses are of course a little more accurate, but if you want to test a little first, you're better off with two good Sigmas than a bad Canon.
Of course, if you want to shoot macro, then you need to focus on that, and you won't be happy with just a zoom lens. There are so many different lenses these days; you really are spoiled for choice. But the advantage is that you can go wild and there is something for every photographer.
As I have already written in other tutorials, I can only refer you to the specialist sales staff or telephone hotlines of the good Internet mail order companies. You can often get good advice here, and the trained staff will certainly be able to help you!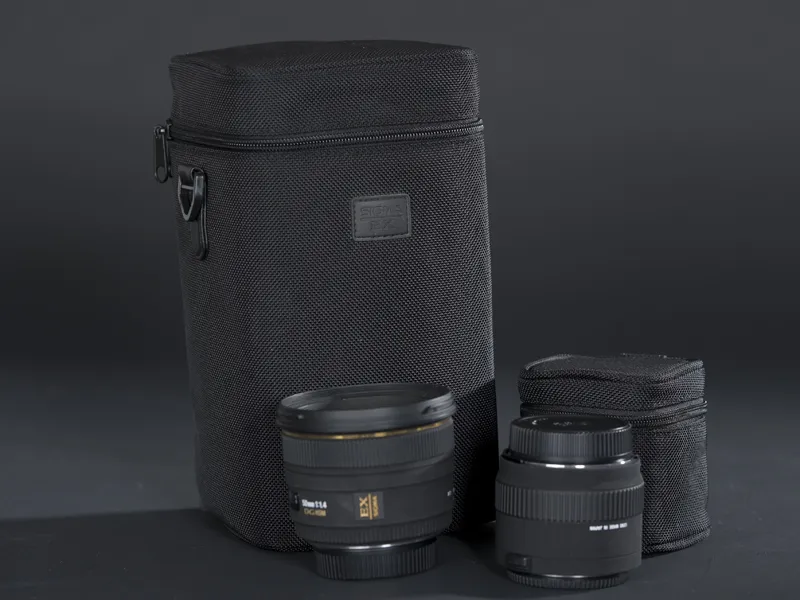
Other accessories:
What you definitely need is a good bag or rucksack. It is important that everything is well protected and nothing can fall out. Carrying comfort on long journeys is of course also an advantage, as is plenty of space. I was constantly buying new bags because I was lugging more and more equipment ashore! So it's better to buy two sizes too big than to spend new money later. You're looking at around 80 euros for a good backpack.
Batteries and memory cards are of course just as important. You should always have a spare battery with you, if possible even the charger. If things get tight, there is almost always a power socket somewhere for emergencies. With the original batteries, however, it has to be said that they last a damn long time! It takes a lot to drain two batteries in one day. But the inexpensive alternative batteries are also good; I also use two of them and have done well with them so far. They just have slightly longer charging times and the batteries run out a little quicker. But that is a minimal difference.
I would recommend quality memory cards. Of course, speed is also an advantage. You should never cut corners here. 2-3 large memory cards are enough to start with, and they have become affordable in the meantime! I always have some in different sizes in stock. For outdoor shoots I use the large cards, for smaller studio shoots it can also be a 4 GB card. Of course, you always need more memory in RAW format, so you'll have to look for larger cards at the latest.
Very important: When buying your lens, you should always order a UV filter in the right size. This is very important, if only to protect your lens. Of course, there are a whole host of filters available; the polarizing filter, for example, is also a very nice thing. Here you can experiment to your heart's content.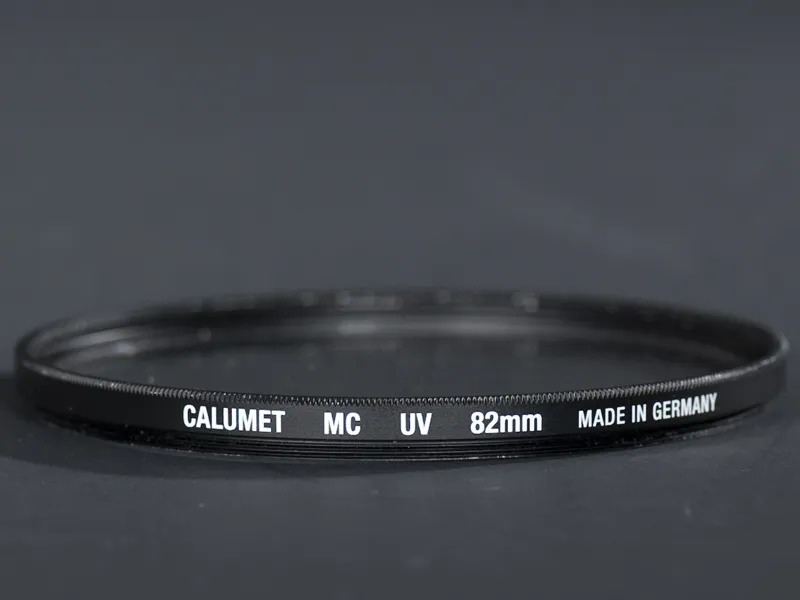
I have a tripod and also a battery grip, but I hardly ever use them. That's because the tripod is too cumbersome for me and I prefer to work freely. In addition, I hardly ever take macro shots; I would certainly use it here. The battery grip, on the other hand, is simply too much for me on the already heavy camera. The D700 takes 5 shots per second. That has always been completely sufficient. With the battery grip, it would be 8. I'd rather do without the extra weight. If you always work without a grip, it takes some time to get used to it. That is certainly a matter of opinion.
Of course, you should also think about something for your PC. I have several card readers from Hama. They are inexpensive, easy to replace and practical! The internal reader in my PC broke after a while and took a whole card with it. Thanks to today's recovery programs, that was not so bad, but it saves you unnecessary trouble and work. If something is wrong with it, throw it away and don't get annoyed. I also recommend a case for your memory cards!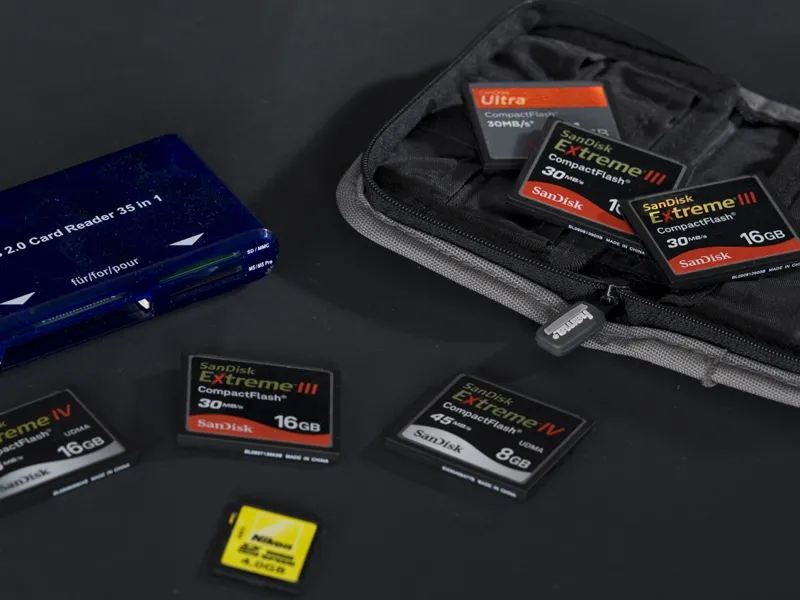
You can tell I'm not a product photographer :-)
Of course, image editing is also an important thing in photography. If you shoot in RAW format you should use Lightroom or Bridge. Of course, Photoshop would be a good solution as an editing program, but it doesn't always have to be the most expensive, there are many good image editing programs these days that can make your work easier. After all, you need to be able to use the software, and PS is a comprehensive program. I advise you to read the image editing workshop. Here I show you some nice editing options for animal photography.
I save all my pictures on external hard disks. So once you have a large treasure trove of images on your PC, this may also be a good solution for you so that you don't bring your PC to its knees with all the photos. I have only had good experiences here, regardless of which hard disk I have worked with. Nevertheless, I would of course recommend that you carry out a weekly back-up.
As I've already written a lot about equipment in the studio photography section, I won't go into any more detail here and will refer you to the last part of this tutorial, where we simply put together two pieces of studio equipment. If you would like to find out more, please read the studio photography section.
3. compilation of photo bag for 3 purses
When putting together the equipment, I concentrated primarily on the camera and lenses. You should also plan to spend around 150-250 euros on the following items, which you will need in any case: Spare battery, memory cards, UV filter for the lens, photo bag/backpack.
For the small purse:
I pack the first bag once for those who are considering buying an SLR camera - who just want to work with it once to see if they enjoy it. Here I have worked once with one lens (especially for wildlife photography) and once with two lenses. I have tried to be as "cheap" as possible here. Please note that I have not read any major test reports on the items mentioned; you should find out more about them! Also, I personally only have experience with the Nikon types. You also need to check if the camera specs fit your needs. These are just suggestions! Please note that most cameras are already sold together as kits with a lens of 18-55 mm or similar. For this class here, we are looking at a price of around 600-800 euros.
Cameras:
Nikon D5000
Canon EOS 1000D
Canon EOS 500D
For a lens:
70-300 mm (wildlife photography range!)
For two lenses:
18-55 mm and
70-300 mm
For the medium budget:
If you have already worked with an SLR, photography is your big hobby or you want to hit the ground running, then I have put together something for the fuller purse here. You will certainly be very satisfied with this equipment for both occasional and professional use. However, you will have to reckon with costs of around 2,000 euros.
Cameras:
Nikon D90
Canon EOS 60D
Canon EOS 7D
Canon EOS 1D
Lenses:
24-70 mm
70-300 mm
For the big wallet:
Would you like professional equipment straight away? Then let's get started. I'll put together some equipment for professional photographers here; however, you should know how to operate your camera manually and have the necessary experience. Otherwise, I recommend that you choose a camera from the mid-range. They are priced at around 5,500-8,000 euros.
Camera:
Nikon D700
Nikon D3
Canon EOS 5D
Lenses:
24-70 mm (from Nikon or Canon)
70-200 mm (from Nikon or Canon)
You can of course extend this list to include larger zoom or macro lenses, fixed focal lengths, etc.
4. compilation of studio equipment for hobby and professional use
I use two different sets of studio equipment. One is a small Walimex kit for mobile use and the other is Hensel equipment for the studio. Both sets consist of three flash heads. Only the attachments are different. But here, too, I vary between spots, umbrellas, softboxes in various formats and beauty dishes. As already mentioned, I've already written a lot about this in the studio photography tutorial. So I'll concentrate on putting together two different sets of studio equipment for you! With the hobby studio equipment, you should soon be able to take beautiful pictures of your animals at home with your SLR. If you already have such equipment and want to put together your own professional home studio, I recommend the second category.
First, let's pack up our basic studio equipment. Here I will also choose a Walimex set that you can use from beginner to professional. It is completely sufficient for this. Whether you prefer umbrellas or softboxes is entirely up to you. Almost all internet store suppliers now have these sets on offer; it's just a question of which set you choose. However, they will probably cost around 800-1,000 euros. Here is a list of approximately what you need for a Walimex set:
- 2 Walimex flash heads
- possibly another Walimex flash head for the background
- Radio trigger for your camera
- 2 umbrellas
- 2 softboxes
- Spot for the third lamp with colored inserts if required
- tripods
You will of course also need a suitable background. However, you can also photograph your cats on the scratching post, for example. Sometimes I even use just one lamp for this and off you go. Just give it a try. You'll be surprised. Alternatively, you can of course also use a sofa with a nice blanket as a background for Wuffi or Mietzi. If you want to be more professional, there are so-called background systems that are very easy to set up and can then be equipped with narrow background rolls or beautiful fabrics. Every photo studio store can offer you a large selection! As I said, you can find out more in the studio photography tutorial.
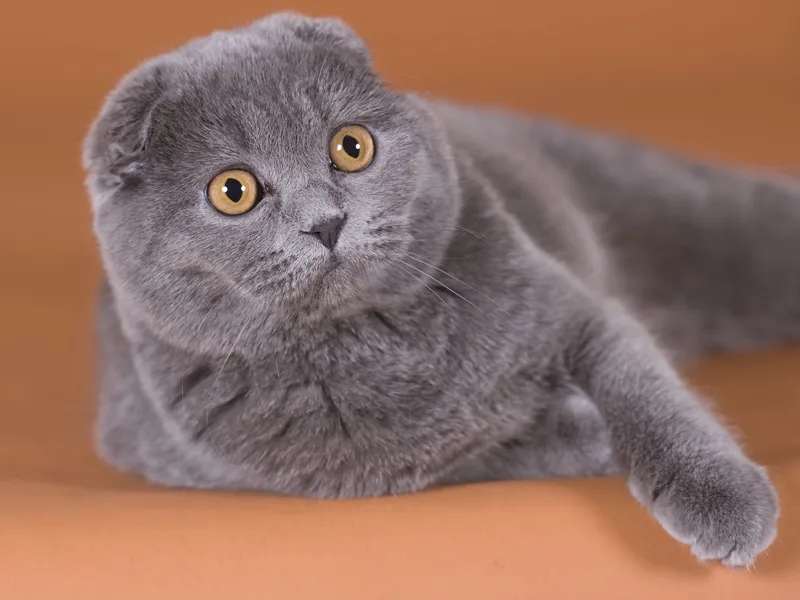
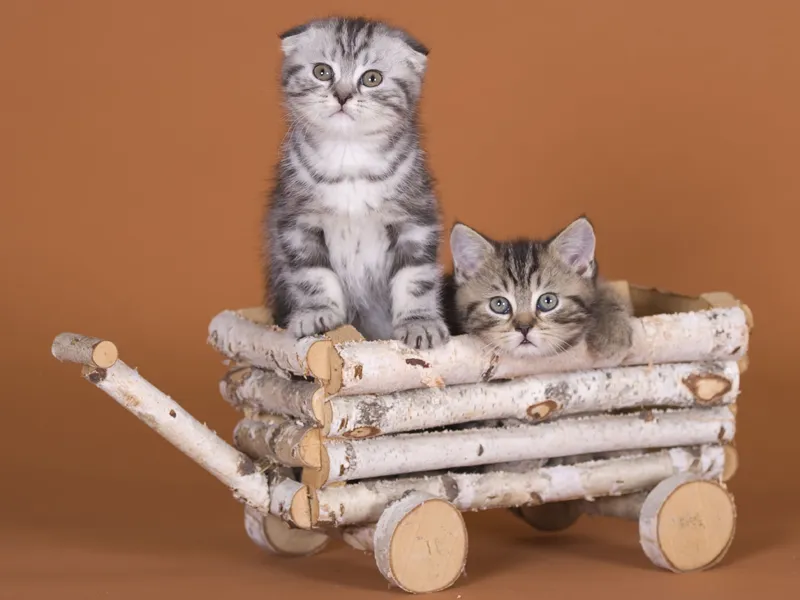
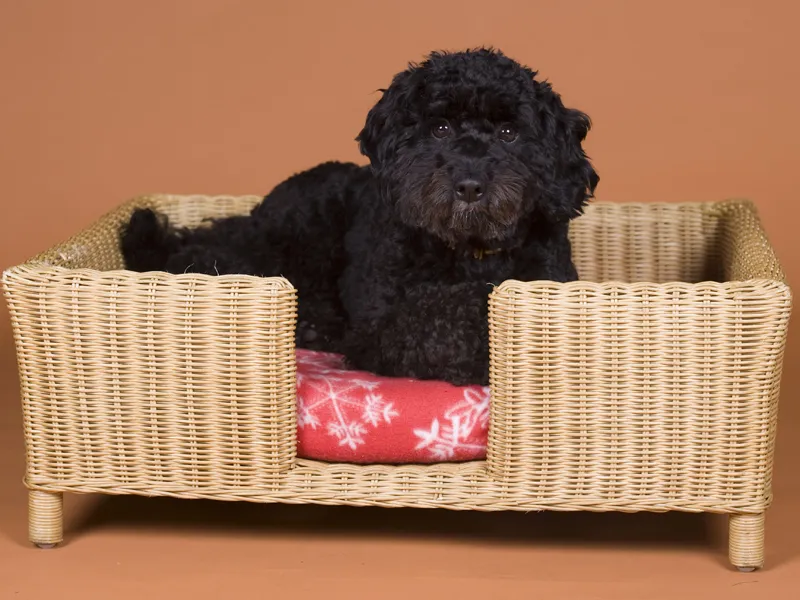
These photos were taken just two weeks ago with the Walimex studio (but with only two flash heads). One softbox on the left in front and one on the right in front of the subject: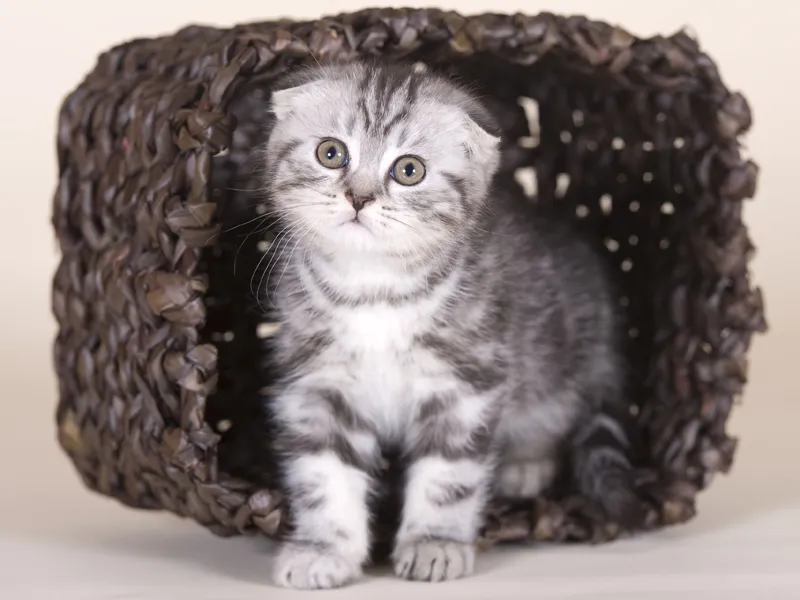
Now I would like to introduce you to some professional equipment that you will obviously need for a good studio. If, for example, you have already worked with a small photo studio and are now looking for the next higher studio class, you will be amazed at the price. As am I ... because we're not talking about double or triple the price here; we're usually talking about five times the price for the same equipment! Professional studio equipment is often from the Multiblitz or Hensel brands. And these devices have their price. The flash head can cost a good 1,000 euros. Here is a recommendation for Hensel equipment if you are considering starting your professional career with such a set:
- 2 Hensel flash heads 500
- 1 Hensel flash head 250
- various attachments according to your wishes (softboxes, umbrellas, beauty dish etc.)
- Radio trigger for the camera
- tripods
Here are some pictures I took with the Hensel equipment. As always, the pictures are all unedited.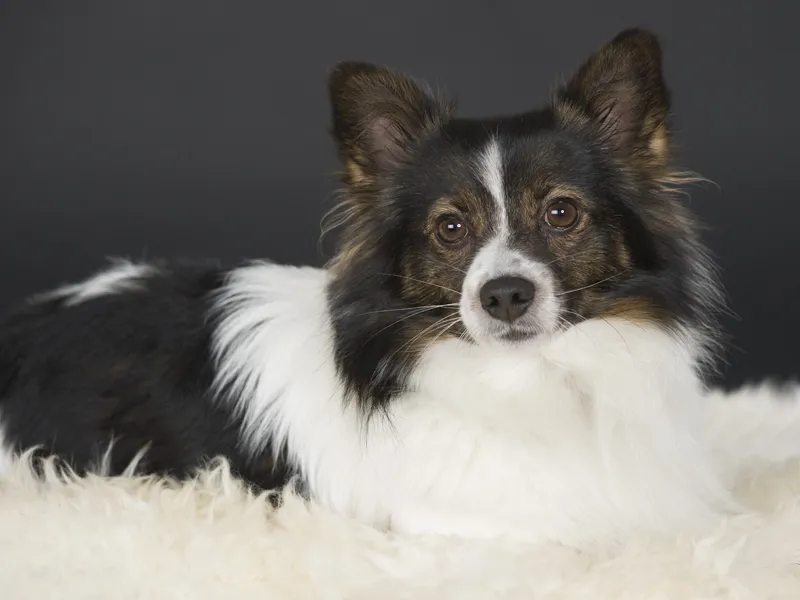
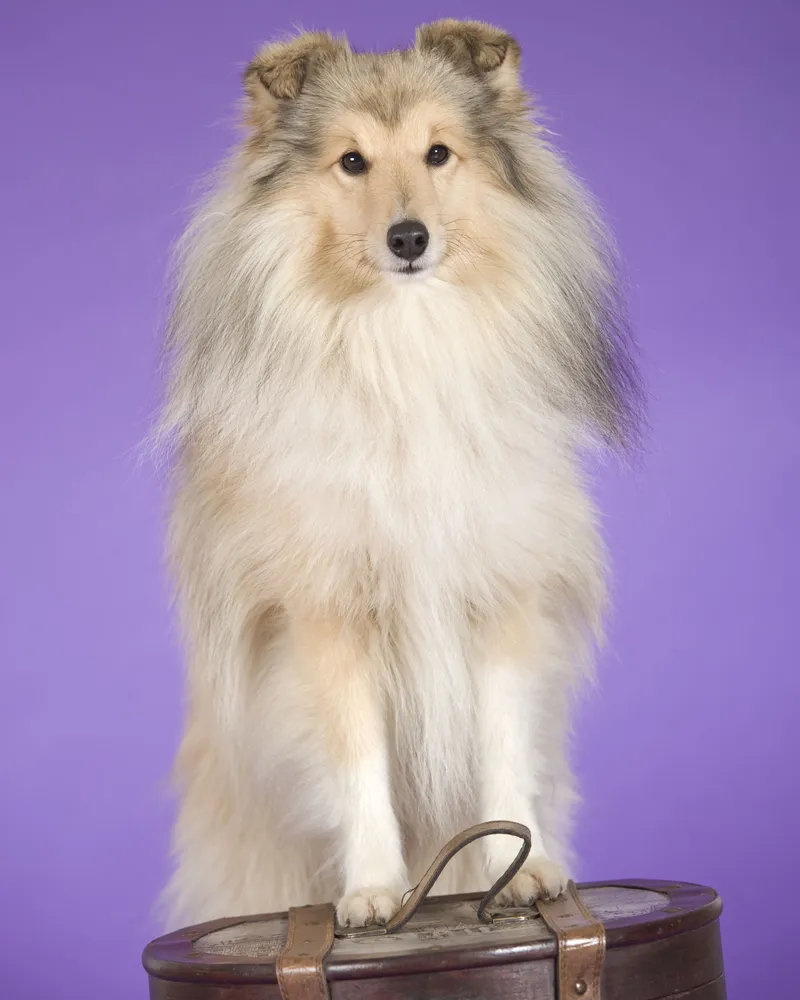
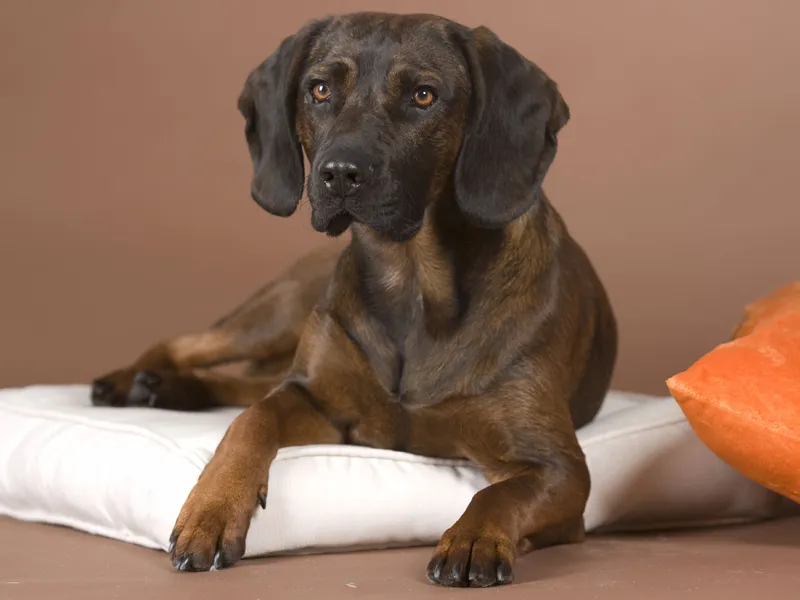
As I said, I can't do a lot of work for you, I can only give you an approximate direction and a guide as to what you need in each case. It depends on your wishes and also on your budget. Here you should have found at least roughly what you need in animal photography in any case and also what you should have if you really want to get started in the professional field. I hope the workshop was a bit helpful, and of course I'm happy to answer any questions you may have! Finally, I've added a few snapshots taken over the last few weeks with the D700 and the 70-200 mm lens.
Until the next tutorial.
Nicole Schick
www.tierfotografie-mit-herz.de
Our handsome Australian Shepherd Sullivan has a lot of fun in the snow. He is already 9 months old ...
This pretty mouse has discovered something particularly exciting in the grass ...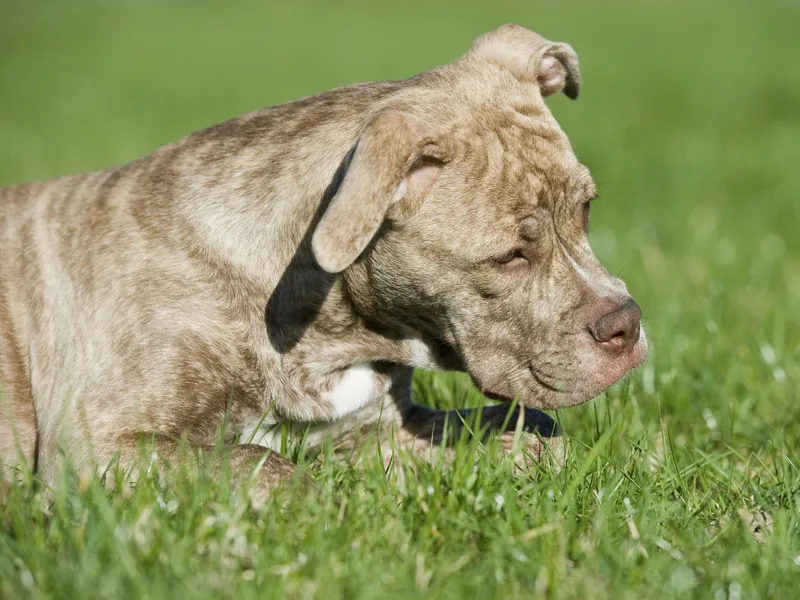
Little Frieda is now a popular regular customer with us. But she also has unique skills as a model ...