In this guide, I will show you step by step how you can create a silhouette from a regular image in Photoshop. This technique can be applied in various ways, whether for graphics, artworks, or simply for creatively enhancing your images. Whether you are a beginner or already familiar with Photoshop, this guide will take you through the entire process. Let's get started right away!
Key Insights
- Selection tools in Photoshop are essential for creating a silhouette.
- You can refine the selection using various methods, including the blur tool.
- Working with layer masks helps perfect the silhouette.
- Manipulating smart objects allows you to further customize the silhouette.
Step-by-Step Guide
First, open your image in Photoshop. To do this, click on "File" > "Open" and select the desired image.

After opening the image, you will see that we want to create a silhouette from the depicted motif. To achieve this, we must first make a selection of the person in the image.
Photoshop offers you many ways to make a selection. In newer versions, the "Subject Selection" feature is located in the Selection menu. This will automatically create a selection.

If you are using an older version, you can use the quick selection tool in the left toolbar. Just hover over the person to select them. Hold down the Alt key to subtract areas from the selection.
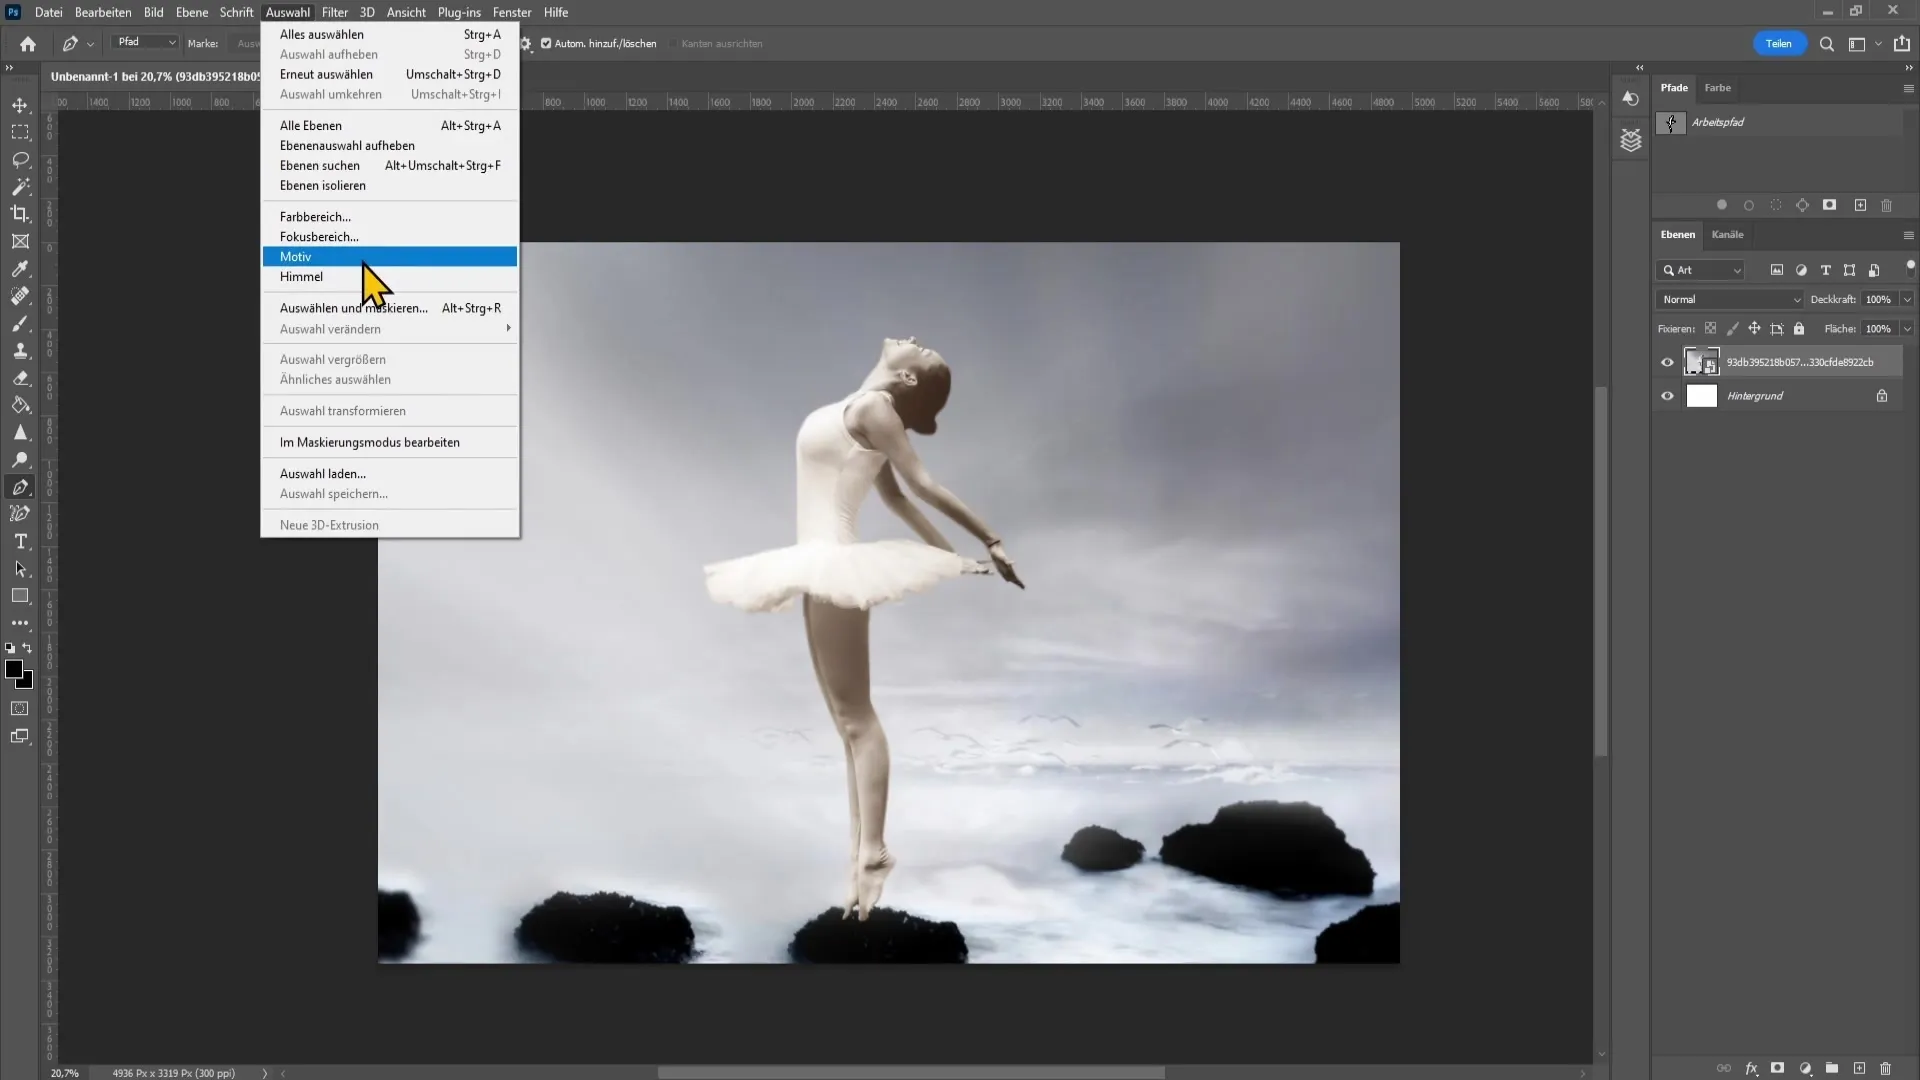
I will use the automatic selection, as it is much easier. So, I click on "Select" at the top and then "Subject Selection".

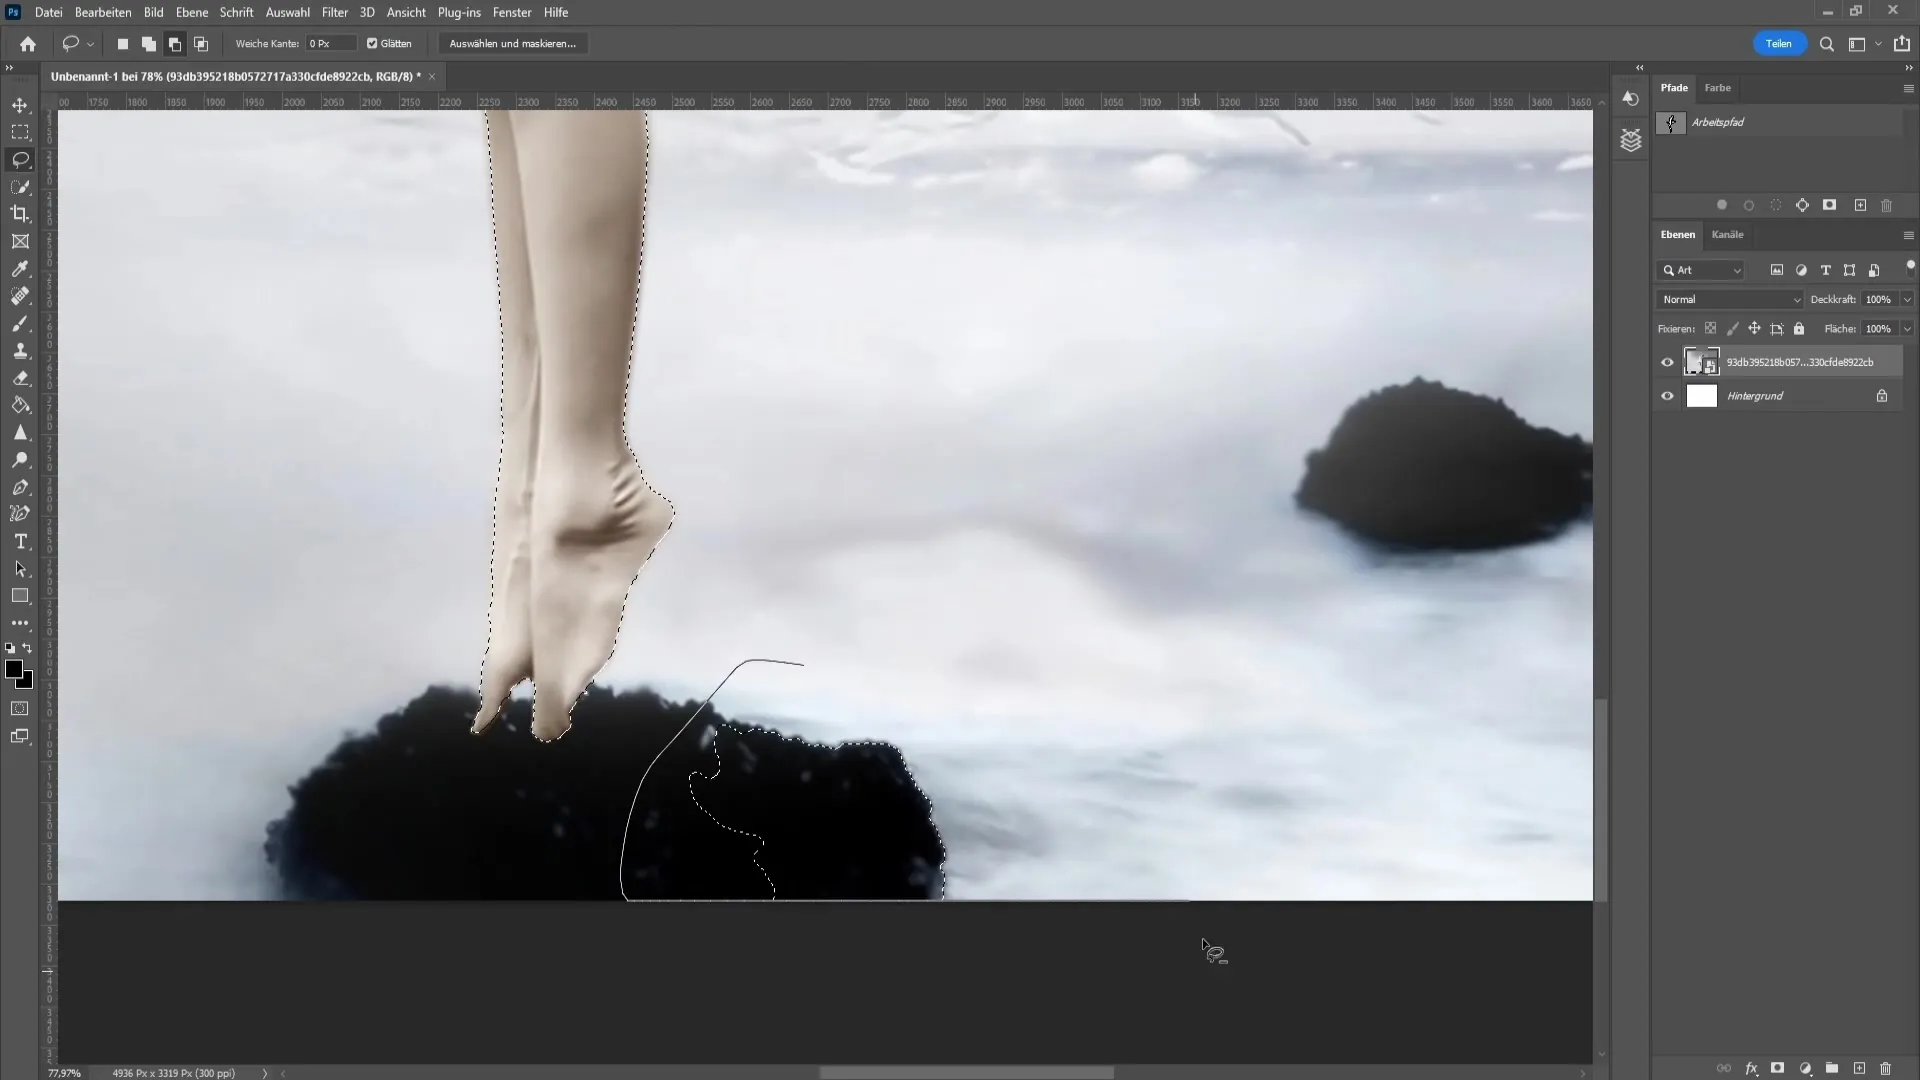
Once you have the selection, make sure it is correct. Check if there are areas you do not want to select.

For this, use the lasso tool to subtract unwanted parts or add more parts by holding down the Shift key.
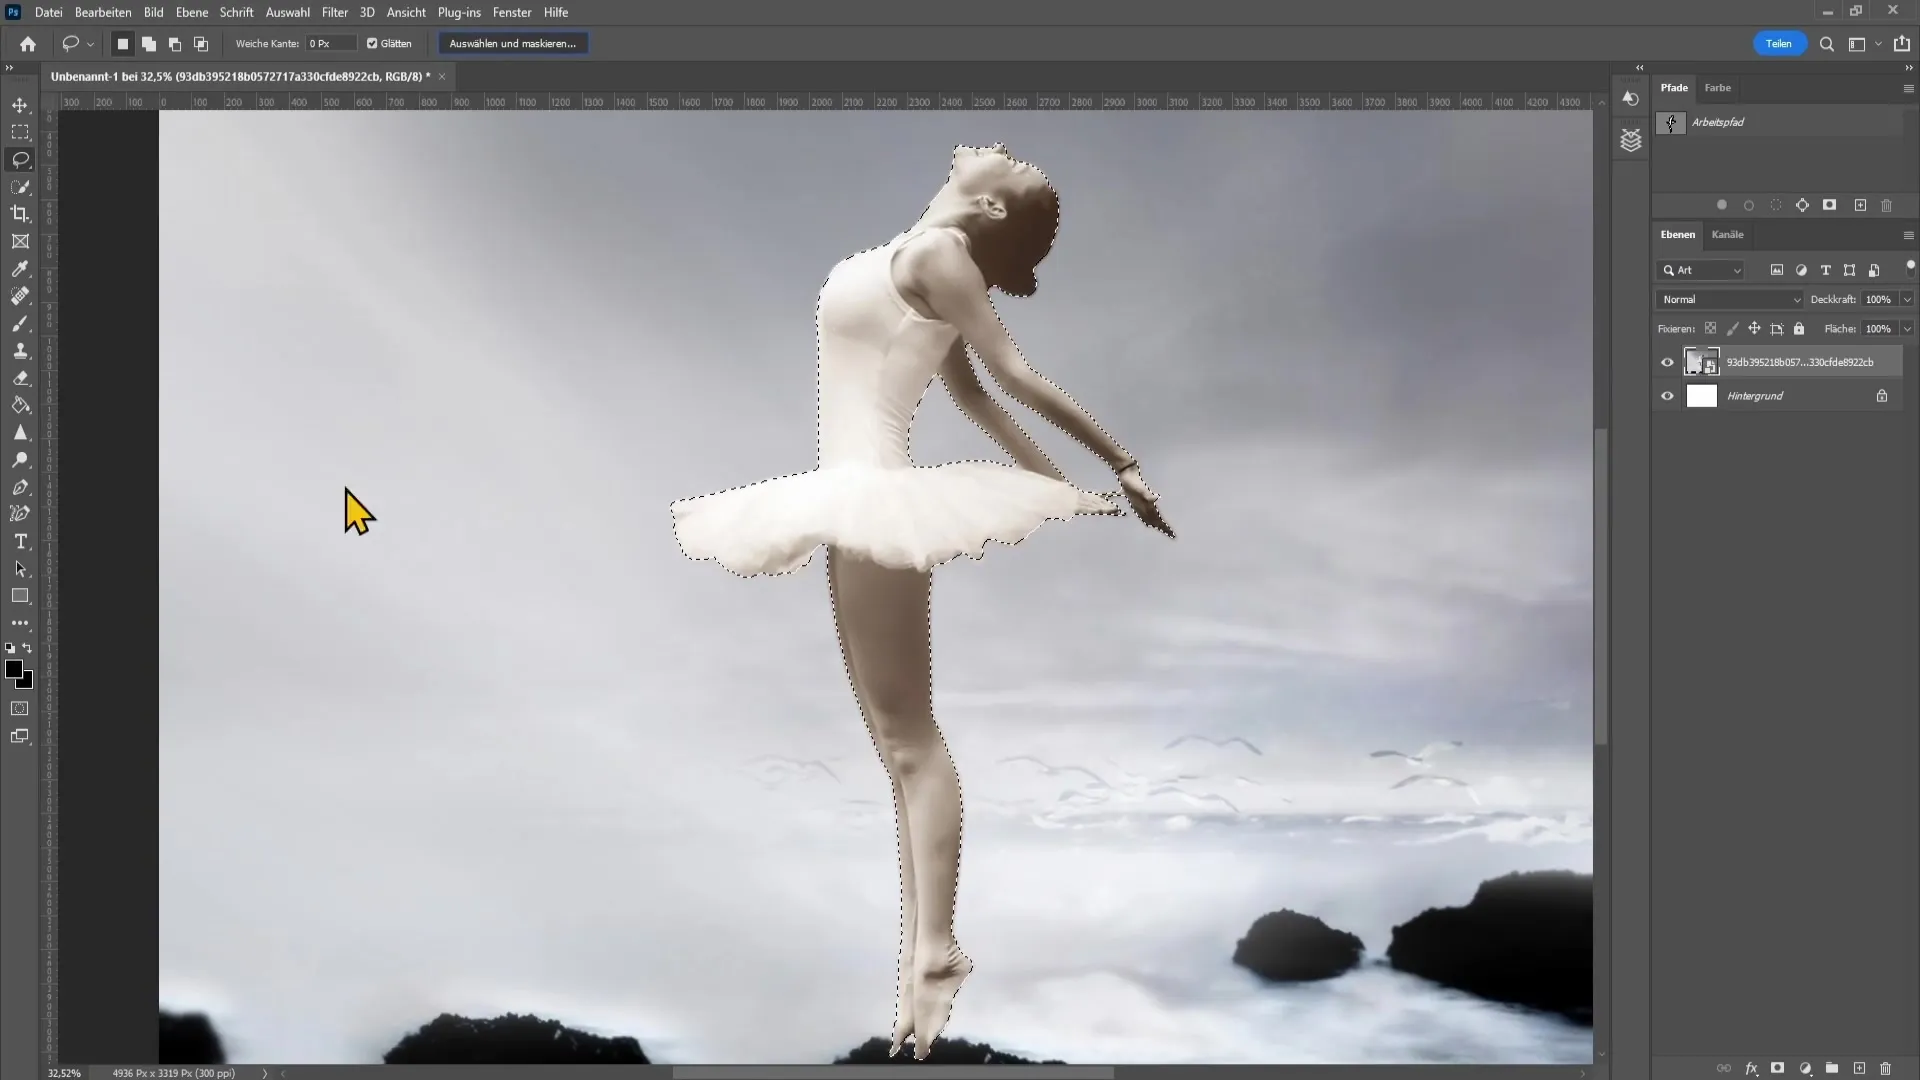
Once you are satisfied with your selection, go to "Select" and then "Select and Mask". Here you can refine the edges of the selection.
To soften the edges, drag the "Feather" slider upwards. If the view is not optimal, click on "View" and then "Grayscale" to get a better overview of the silhouette.
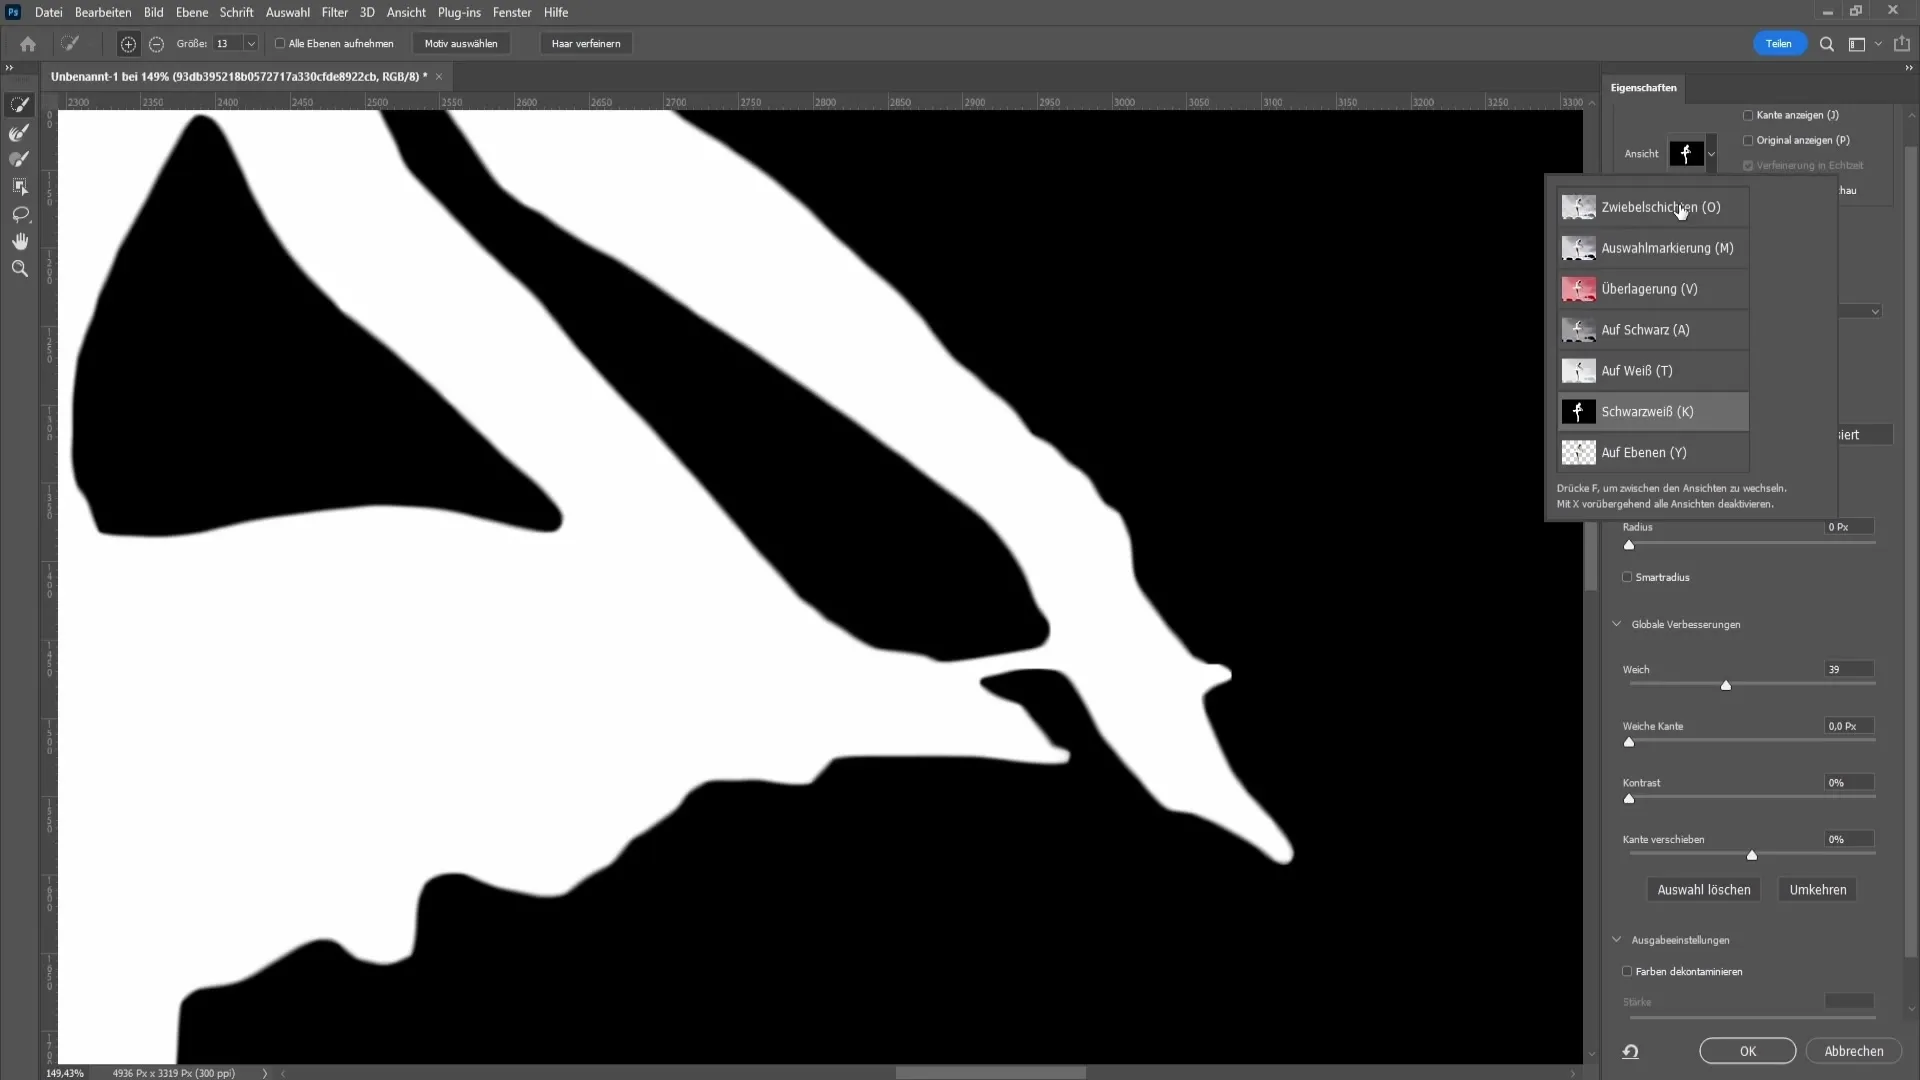
Set the feather to about 1.7 and increase the contrast to make the edges clearer.
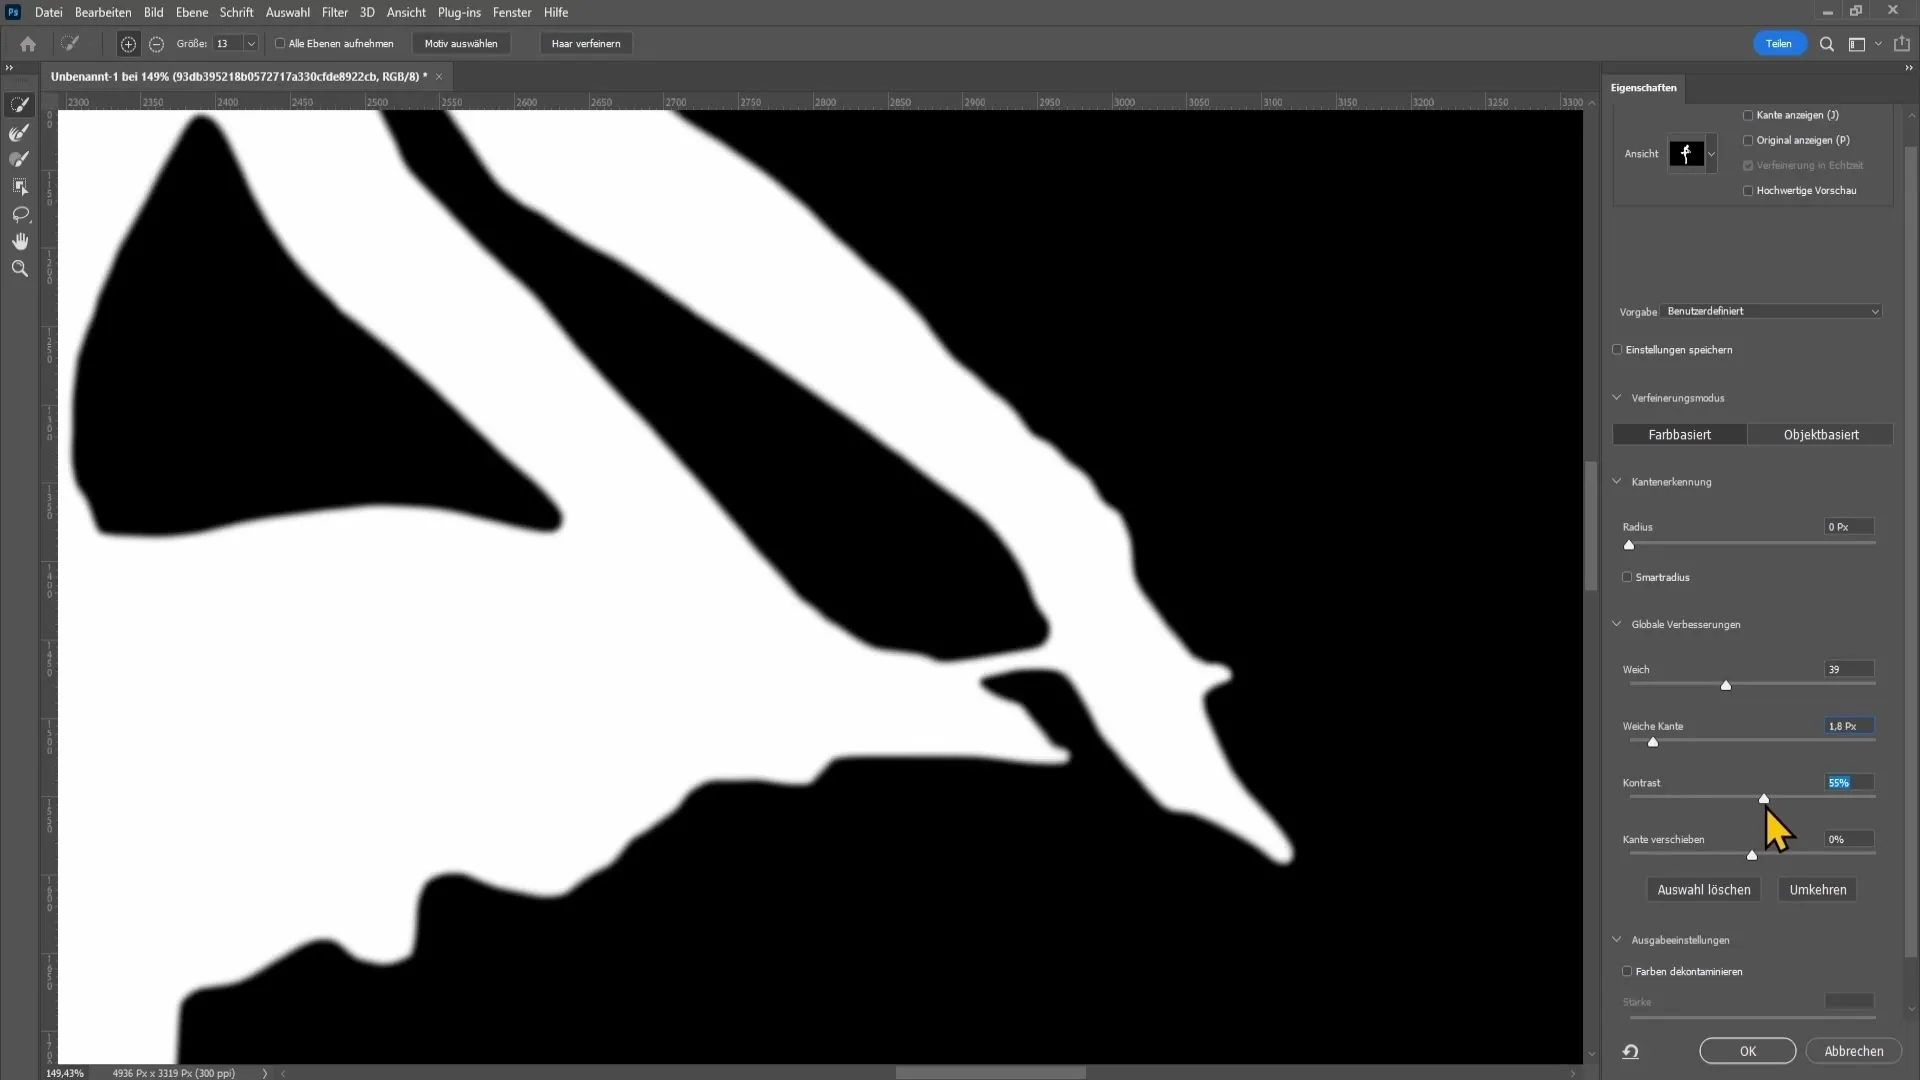
Once you have made the necessary adjustments, click "OK" at the bottom of the window. You now have a precise selection of your person.
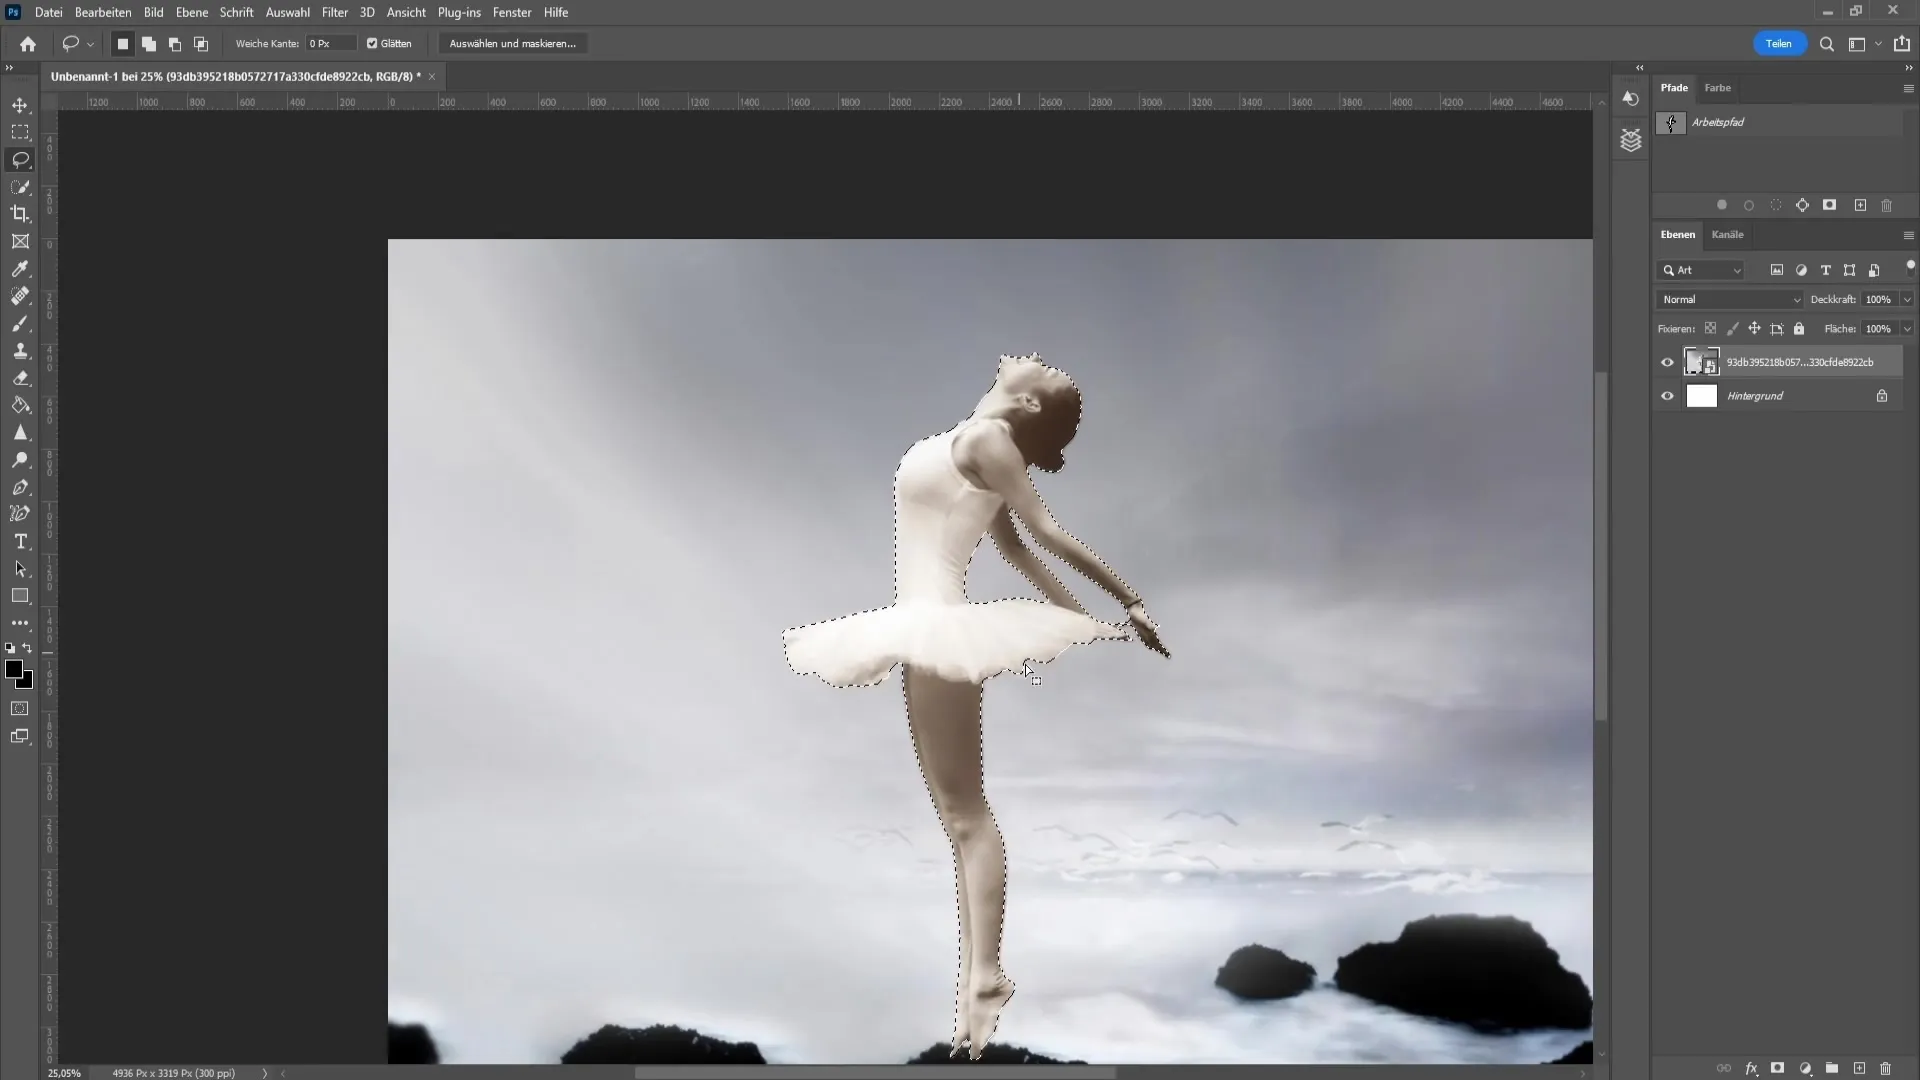
To create the silhouette, we need to convert the selection into a path. Click on the "Path" icon, which is located on the left side, and then click on the corresponding icon that creates a path from the selection.
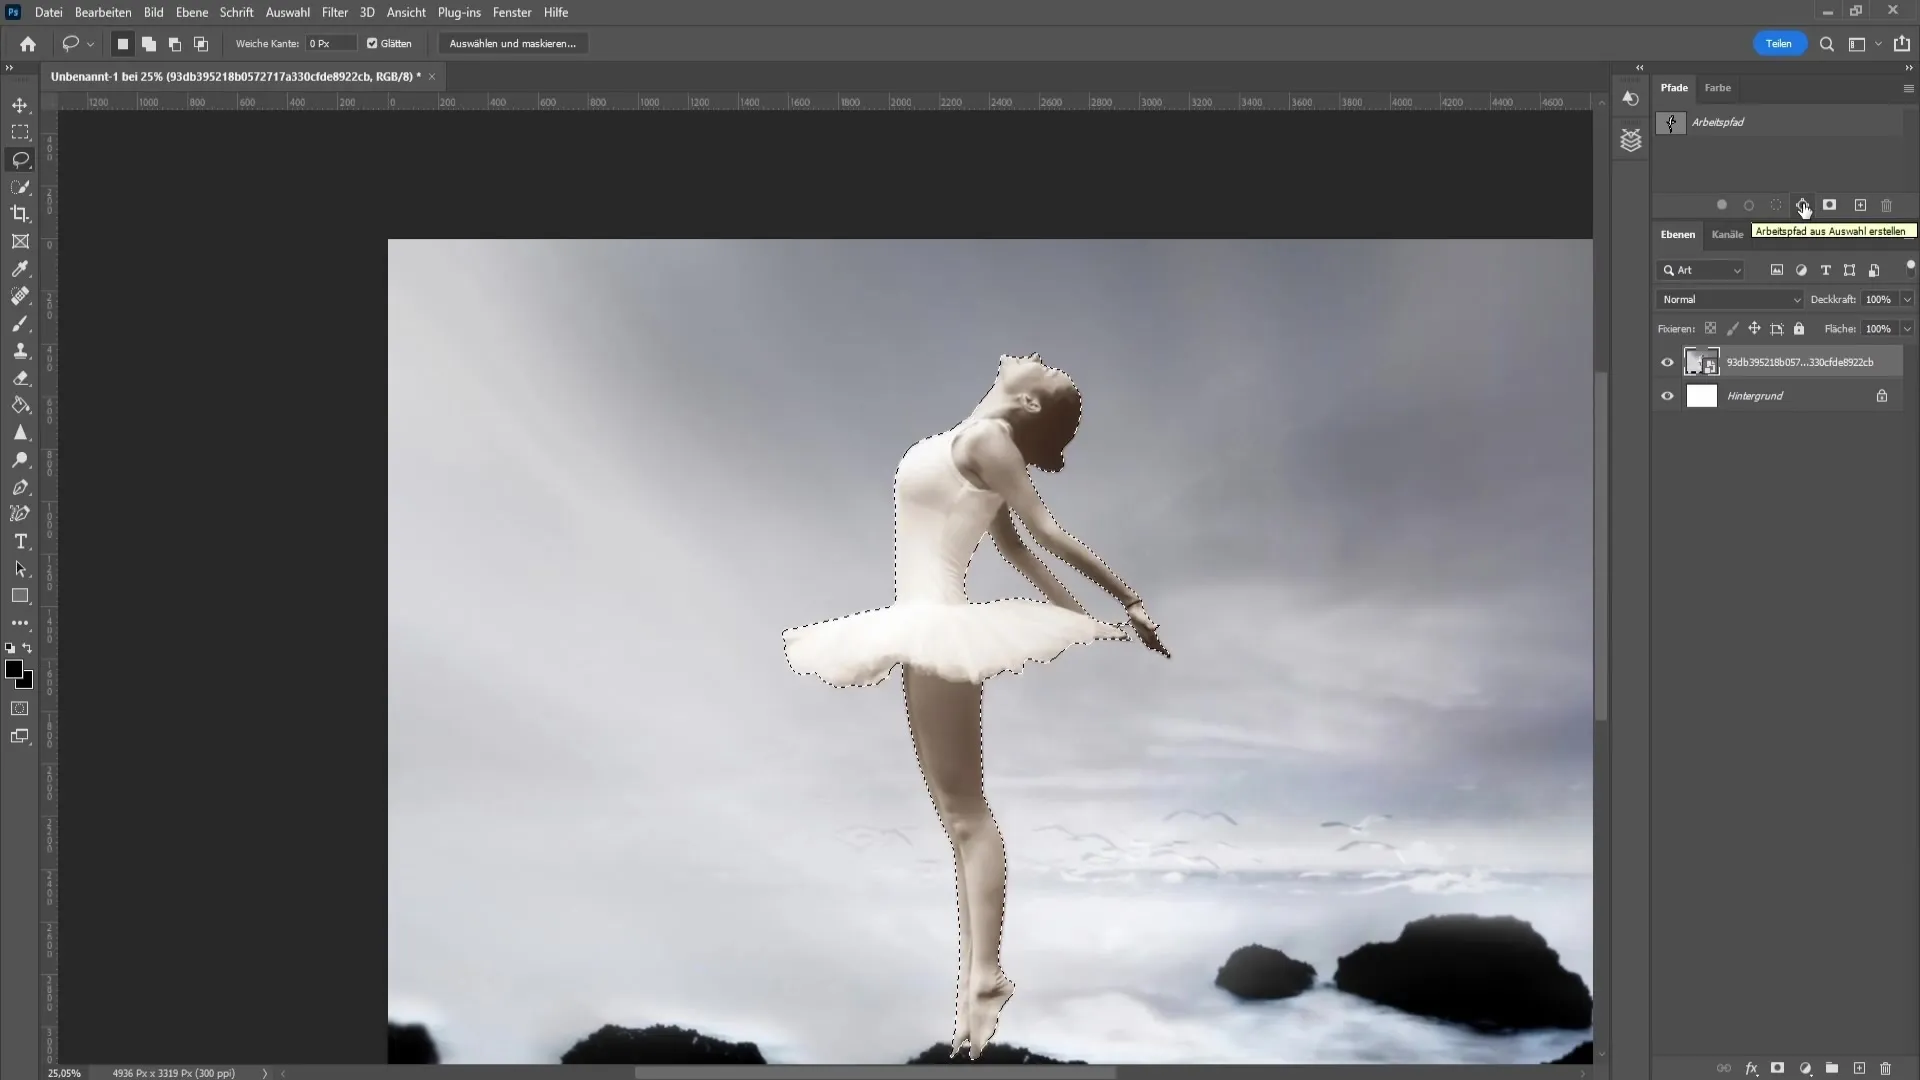
Now create a new empty layer located bottom right next to the trash can. Fill this layer with a black color by pressing the "D" key to set the foreground color to black.
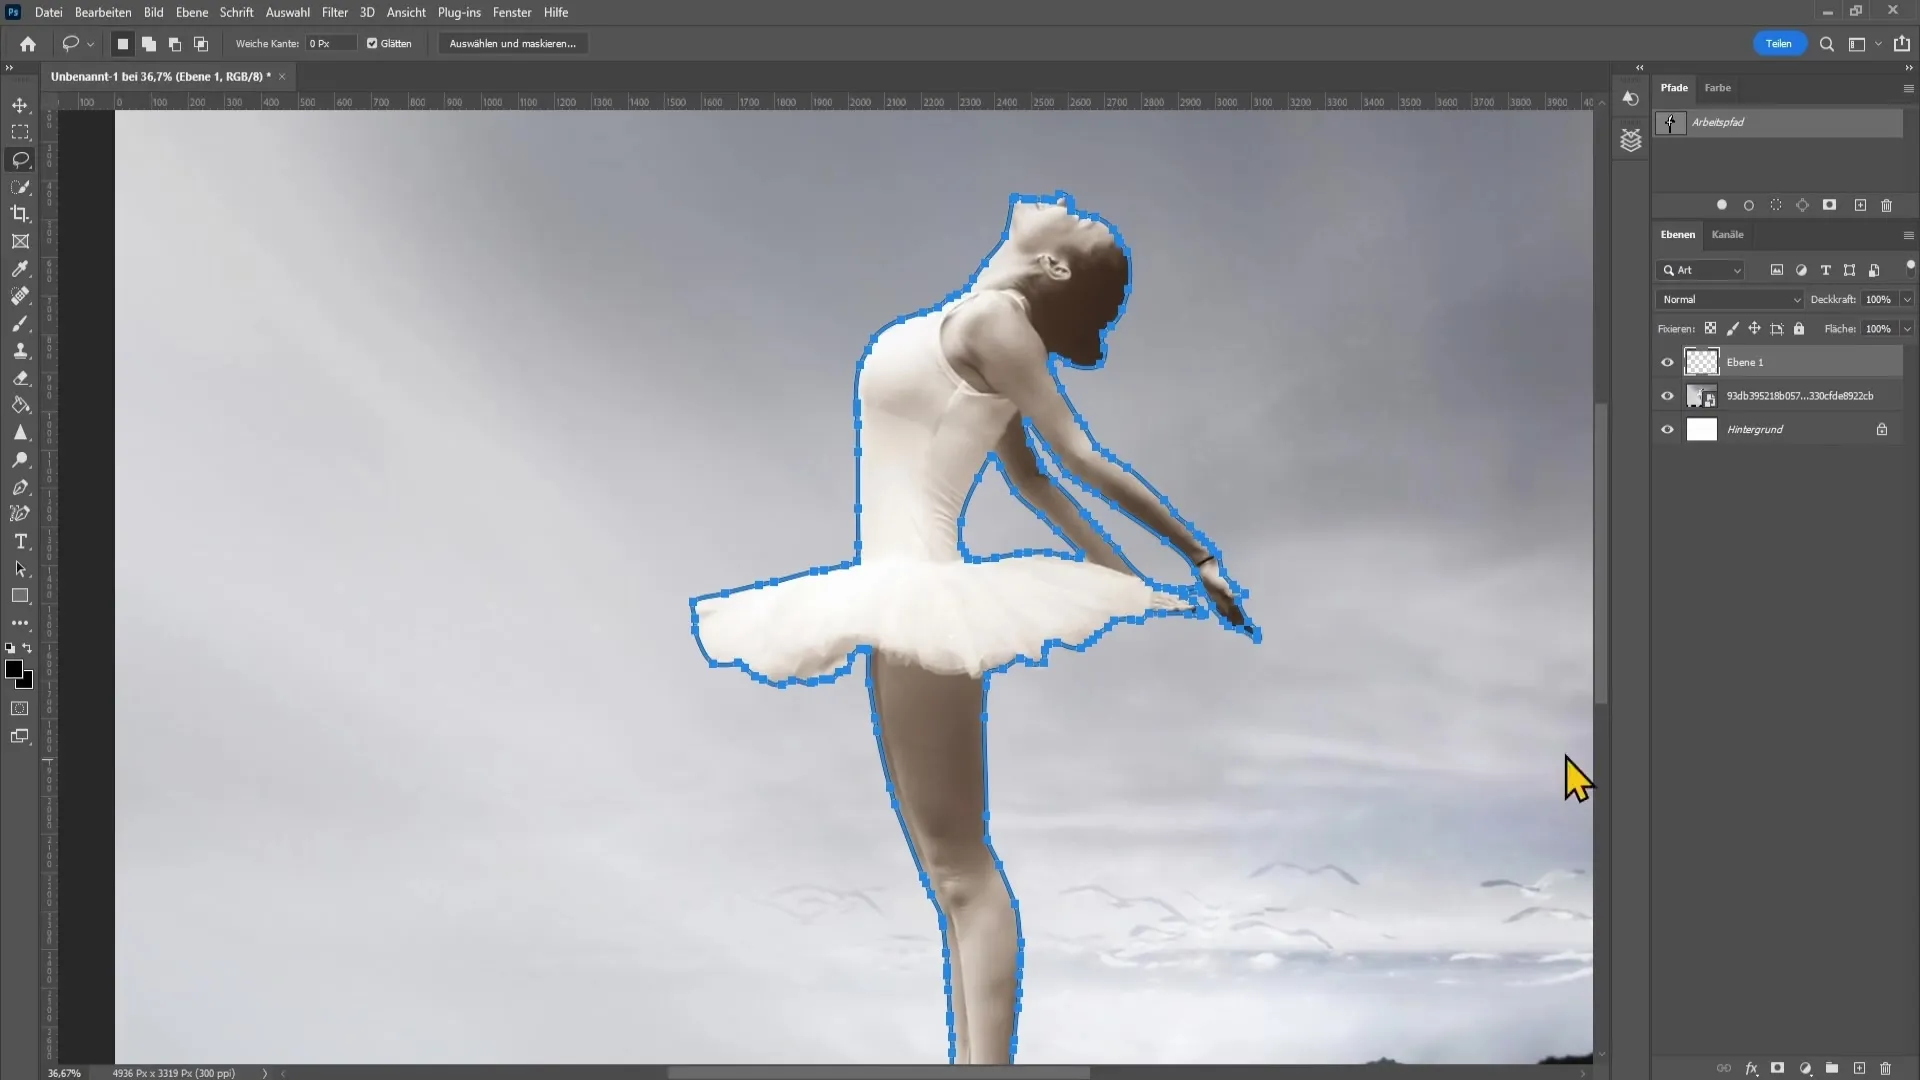
Now click on the filled circle, and you will see that you have already created your silhouette. To delete the path, you can simply press the Delete key.
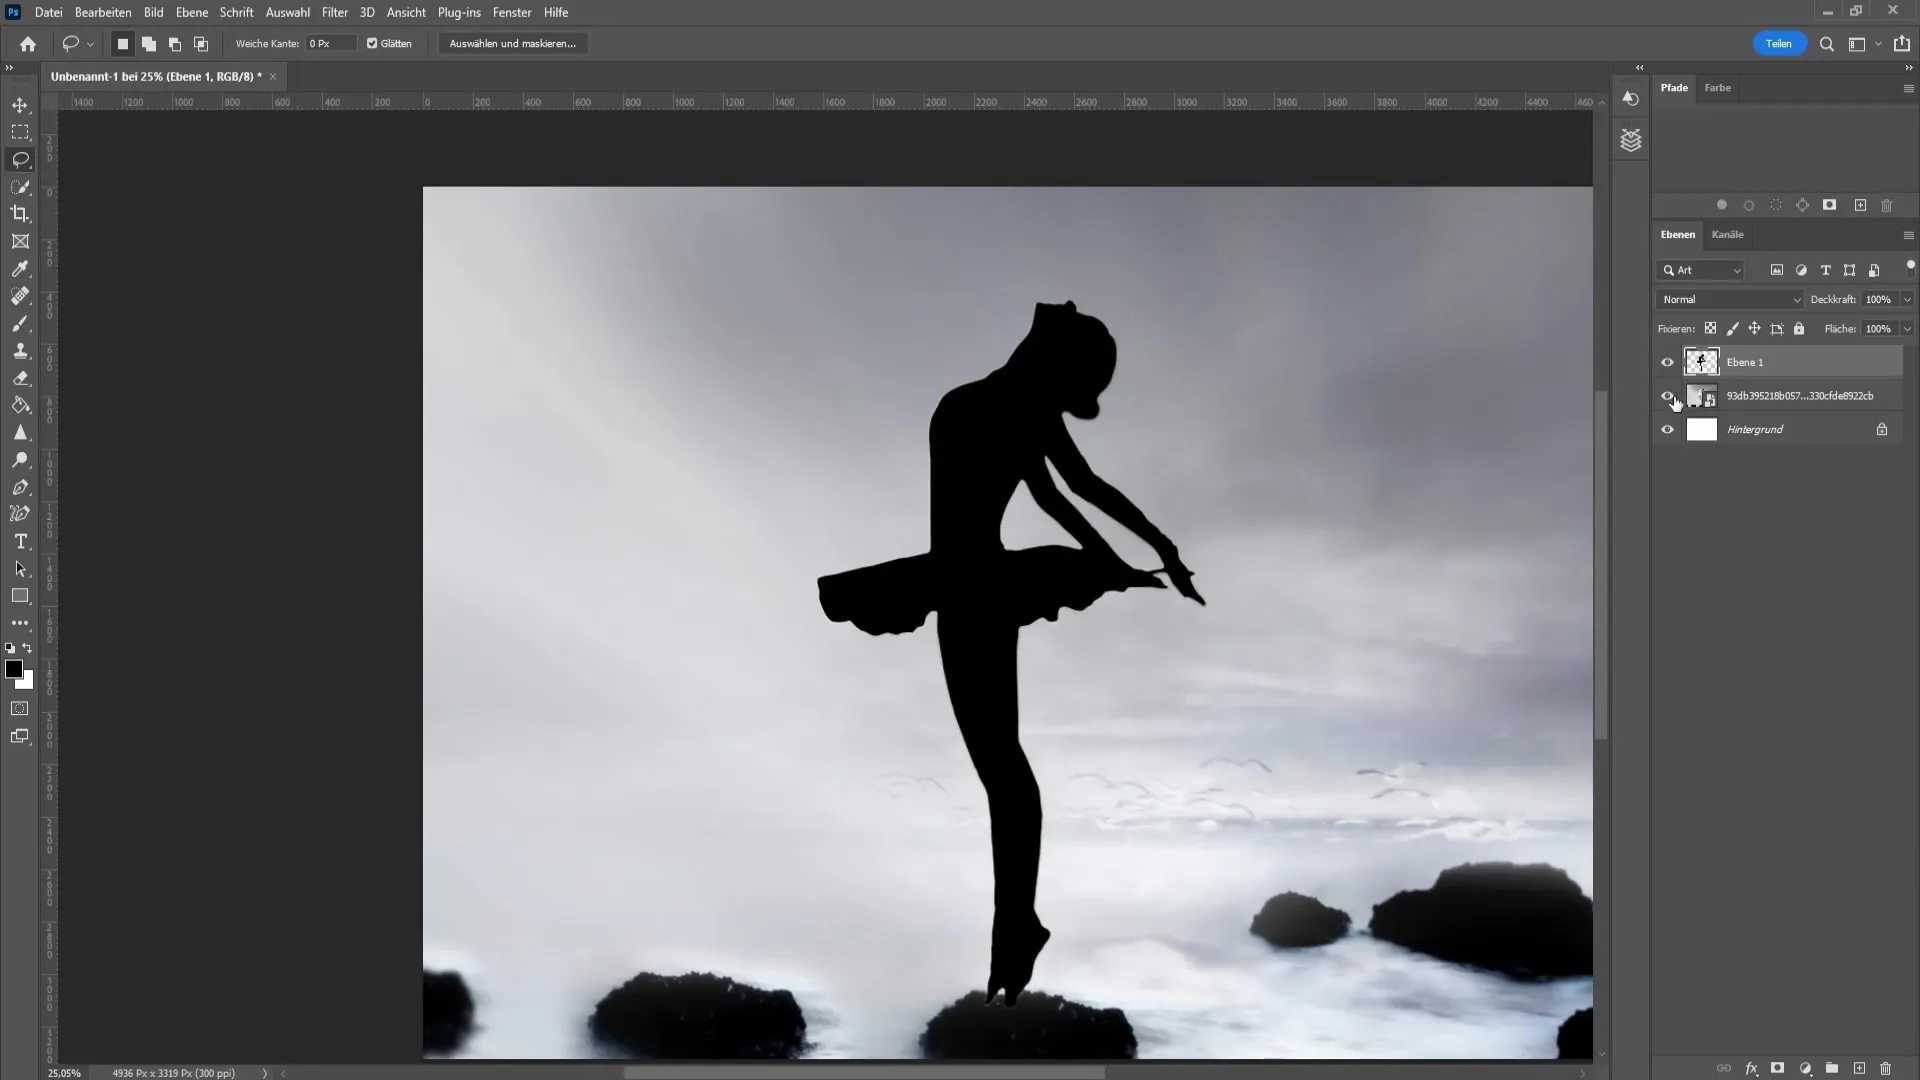
If you want to change the position of your silhouette, right-click on the layer and click on "Transform". Then go to "Warp".
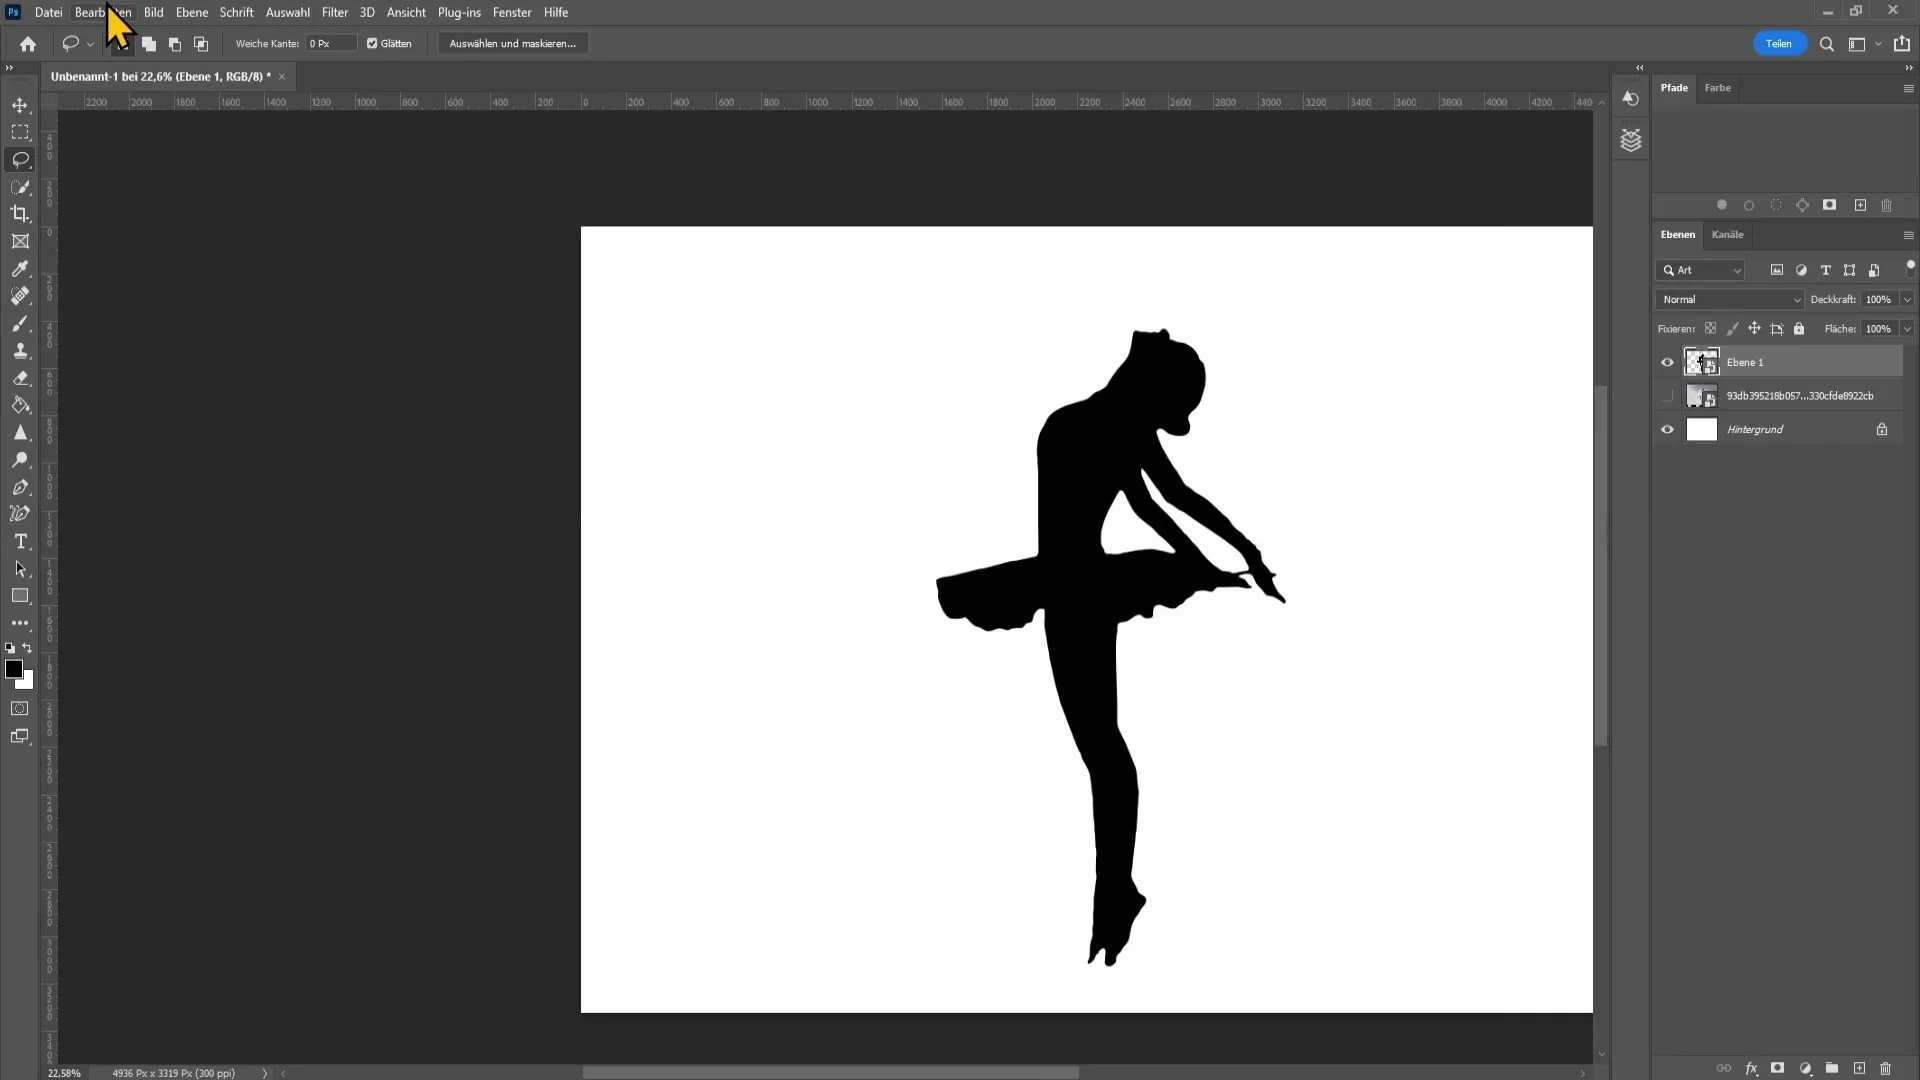
Here you can place pins to modify the silhouette at specific points, such as the arm or the dress.
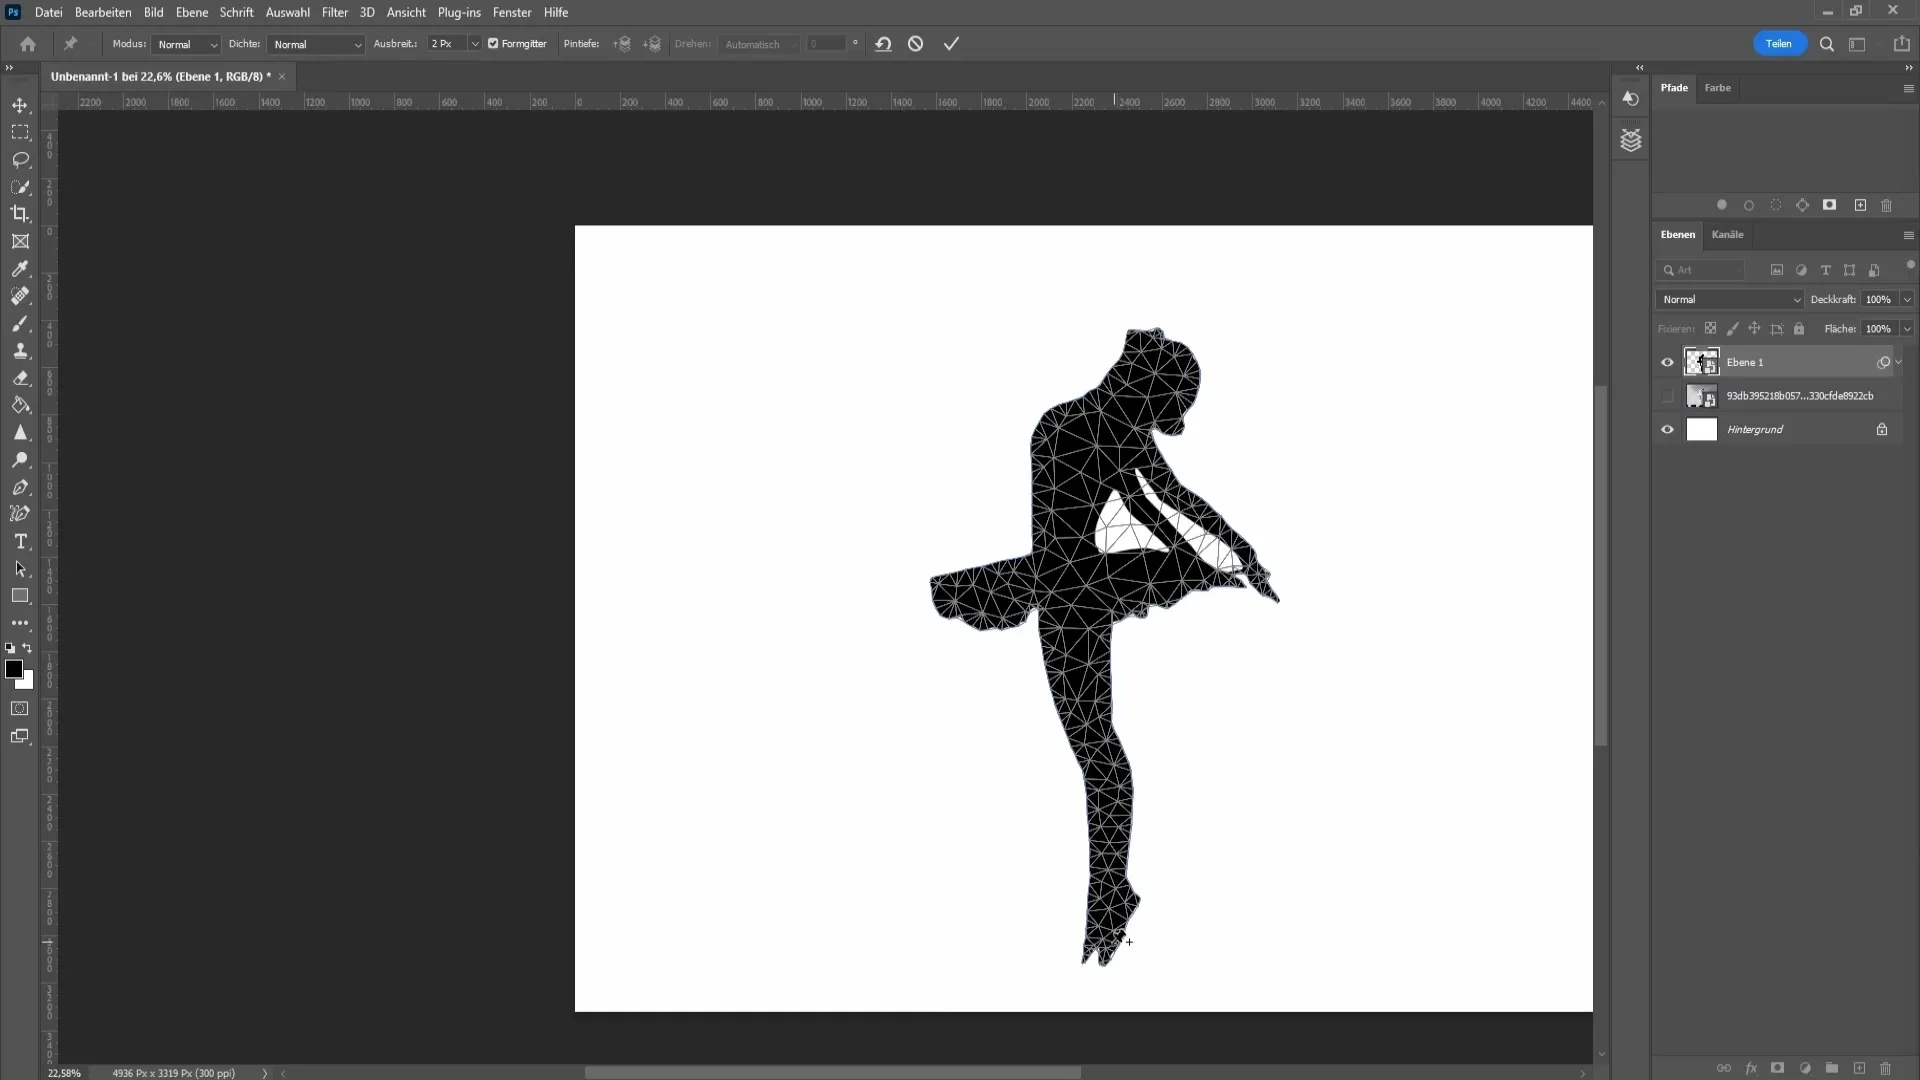
Once you are satisfied with the changes, click on the checkmark to complete the transformation.
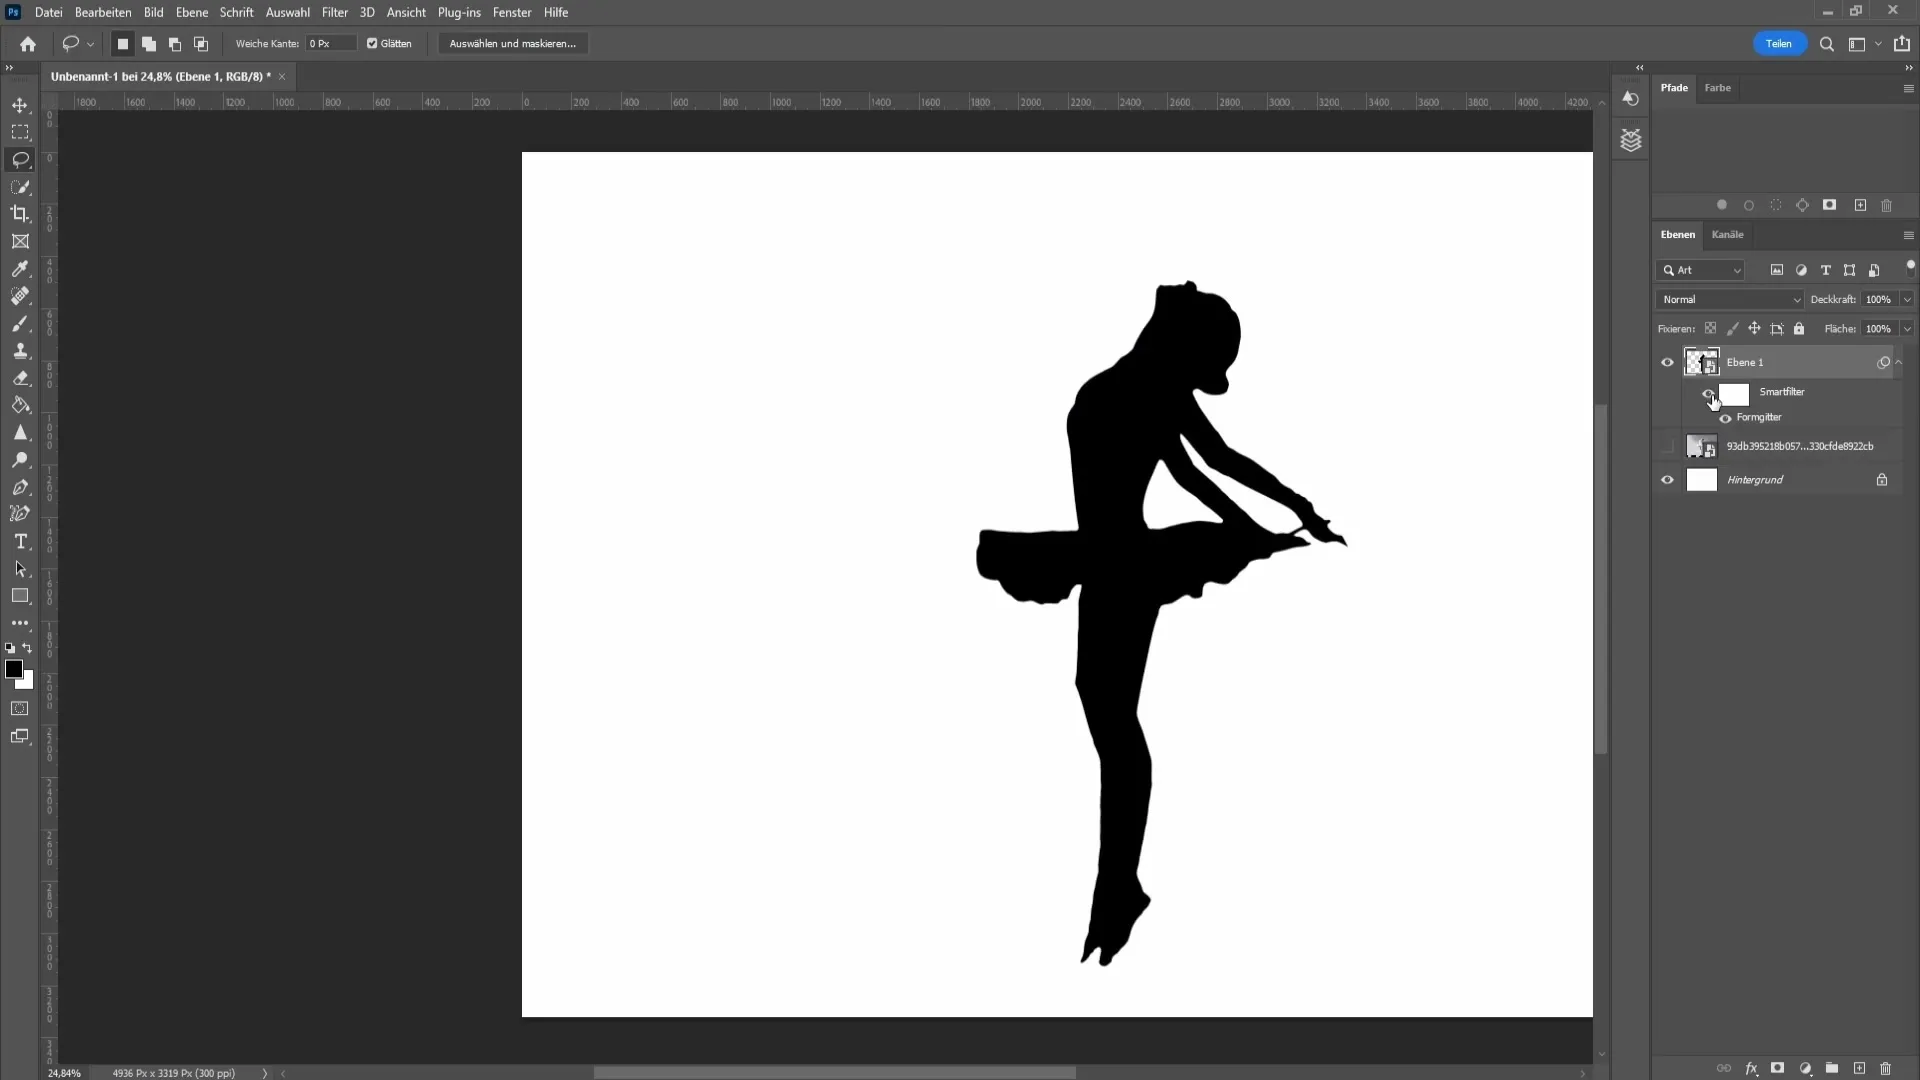
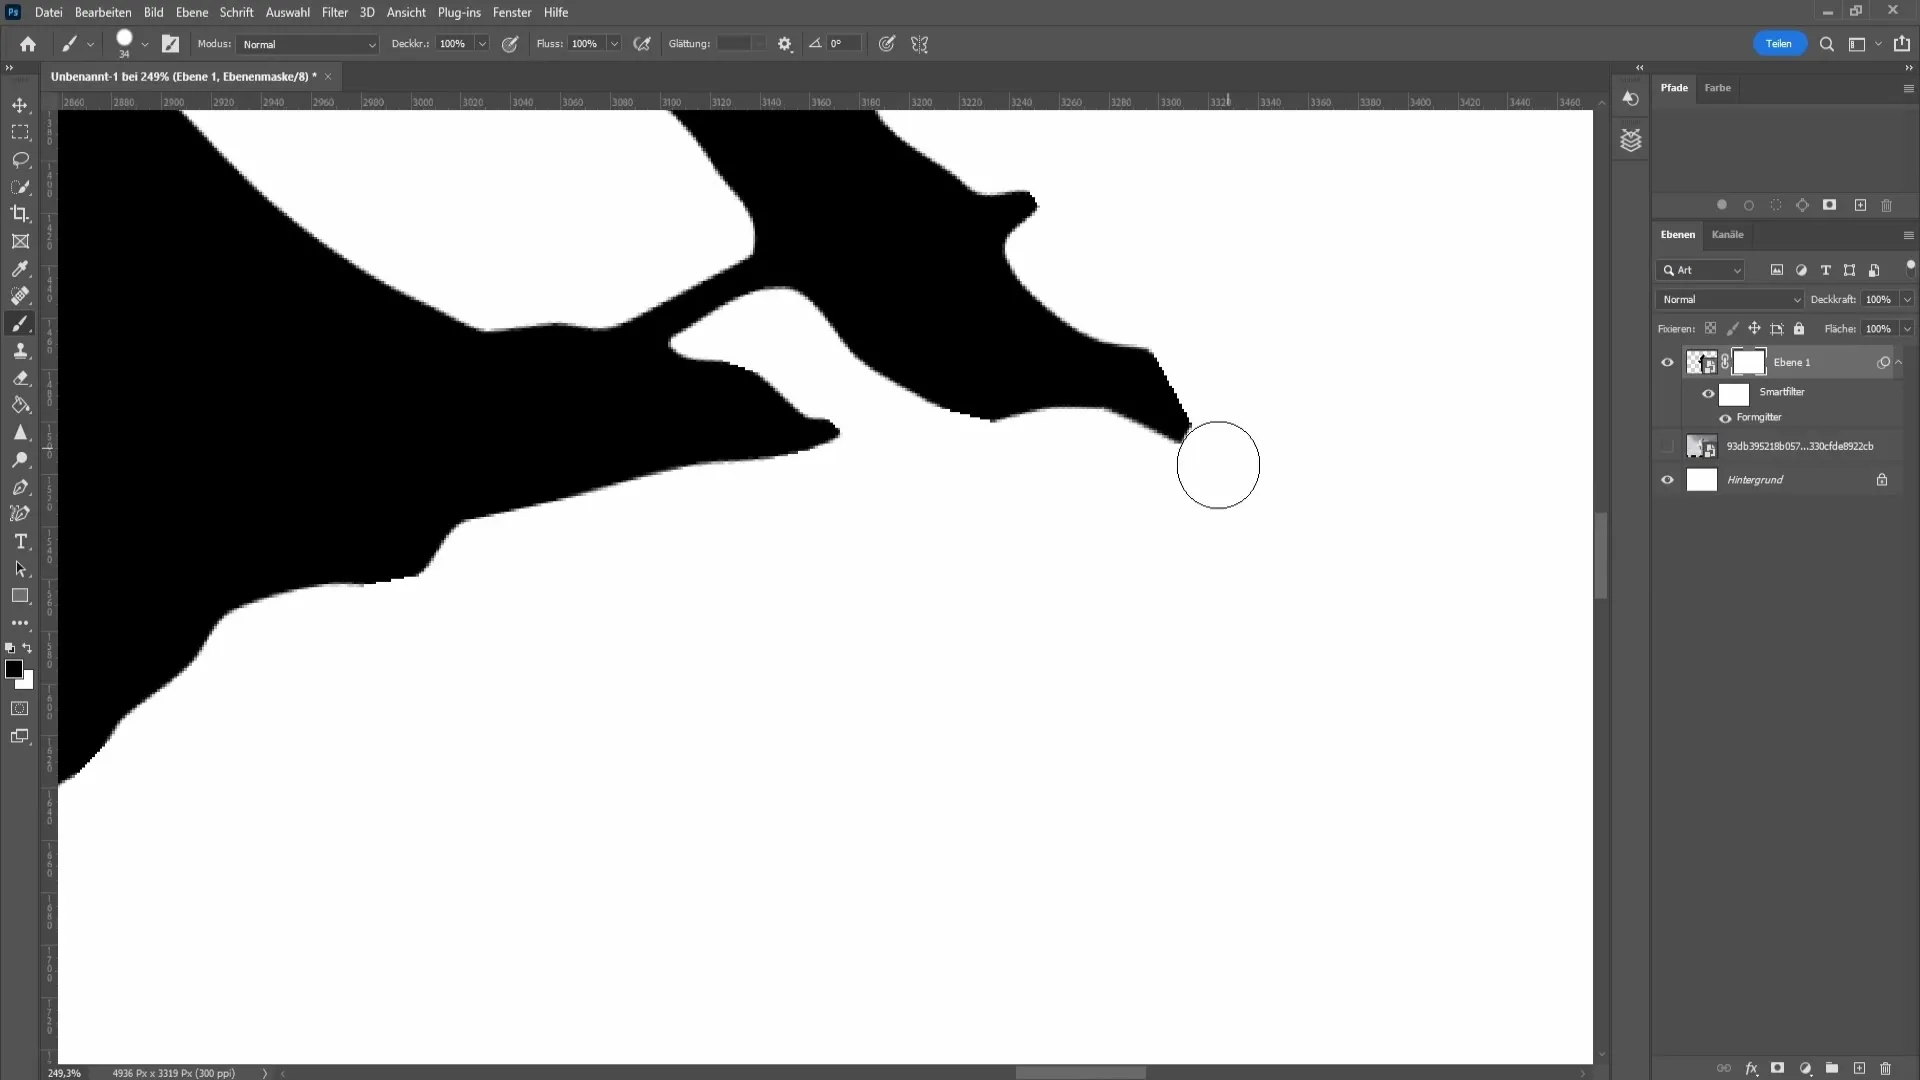
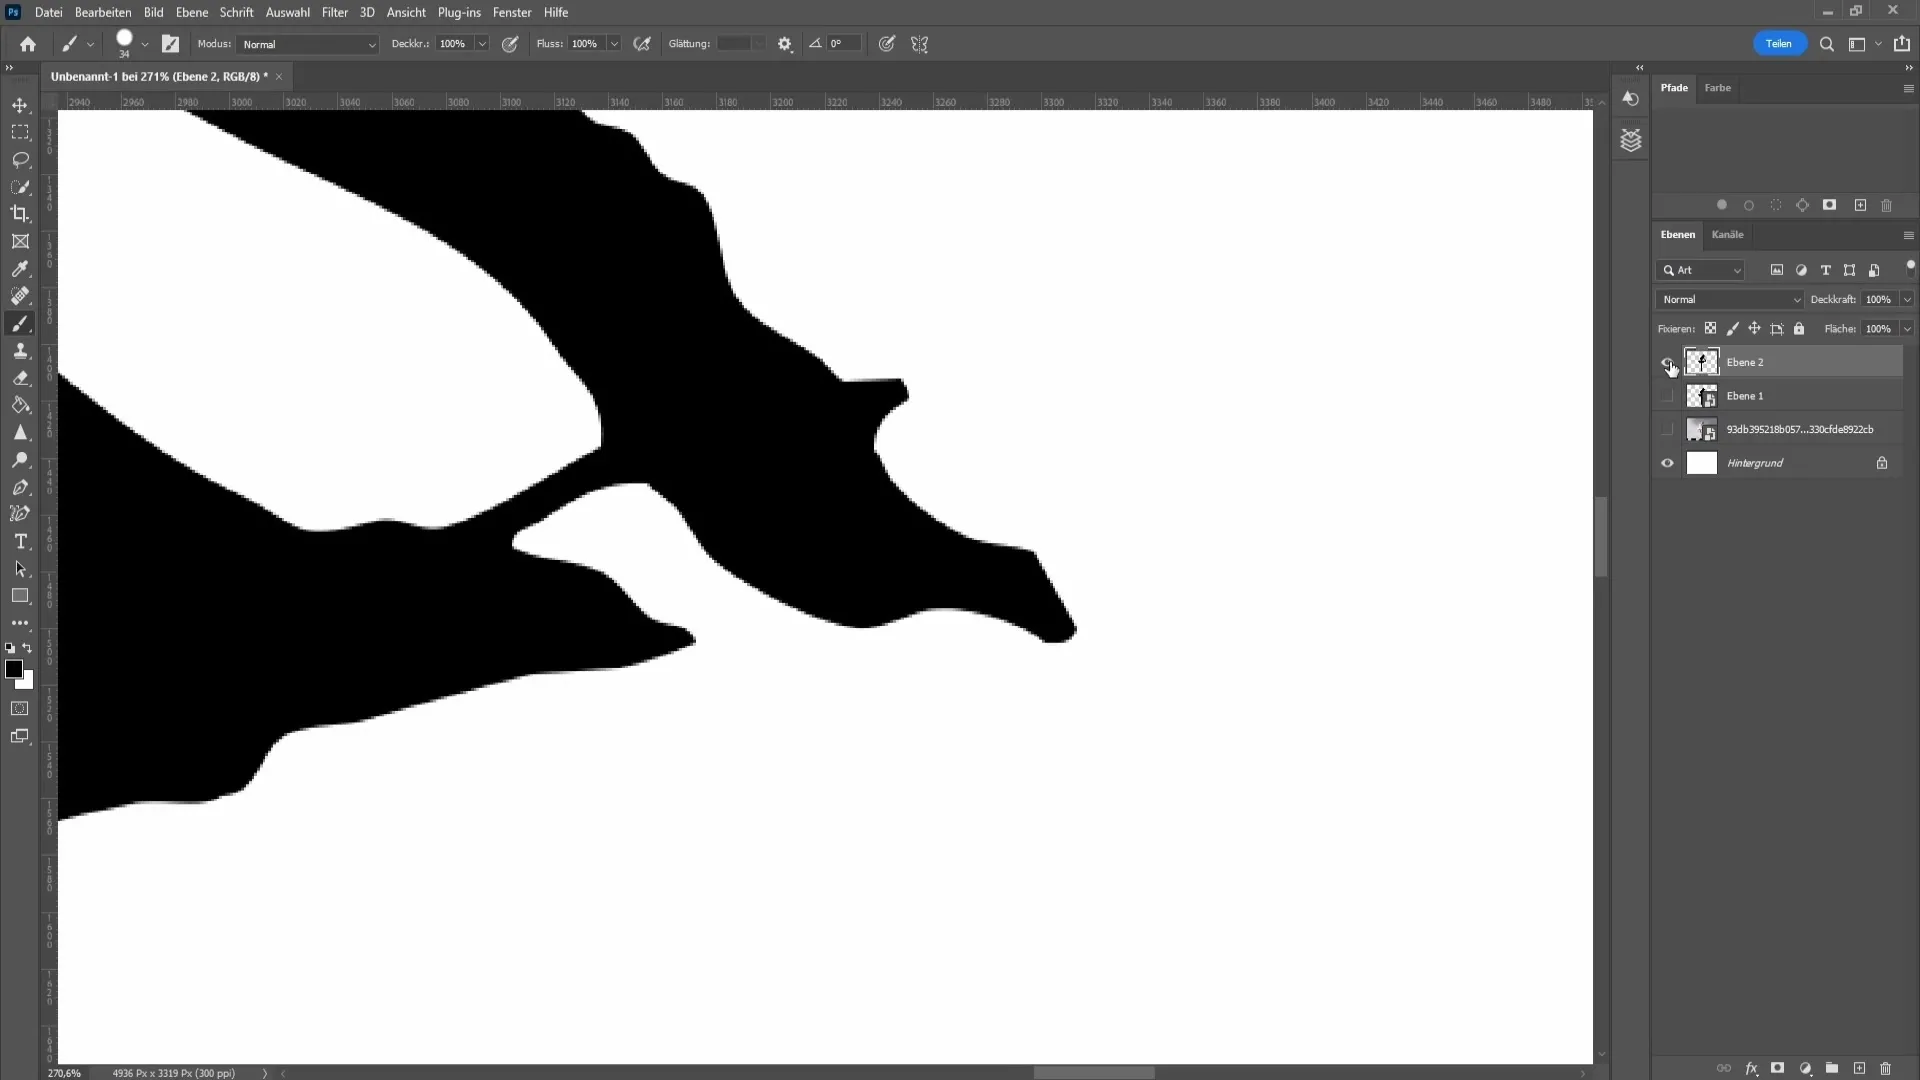
However, it may happen that after the transformation, unsightly edges become visible. You can round these edges with a layer mask and a hard edge brush (100%).
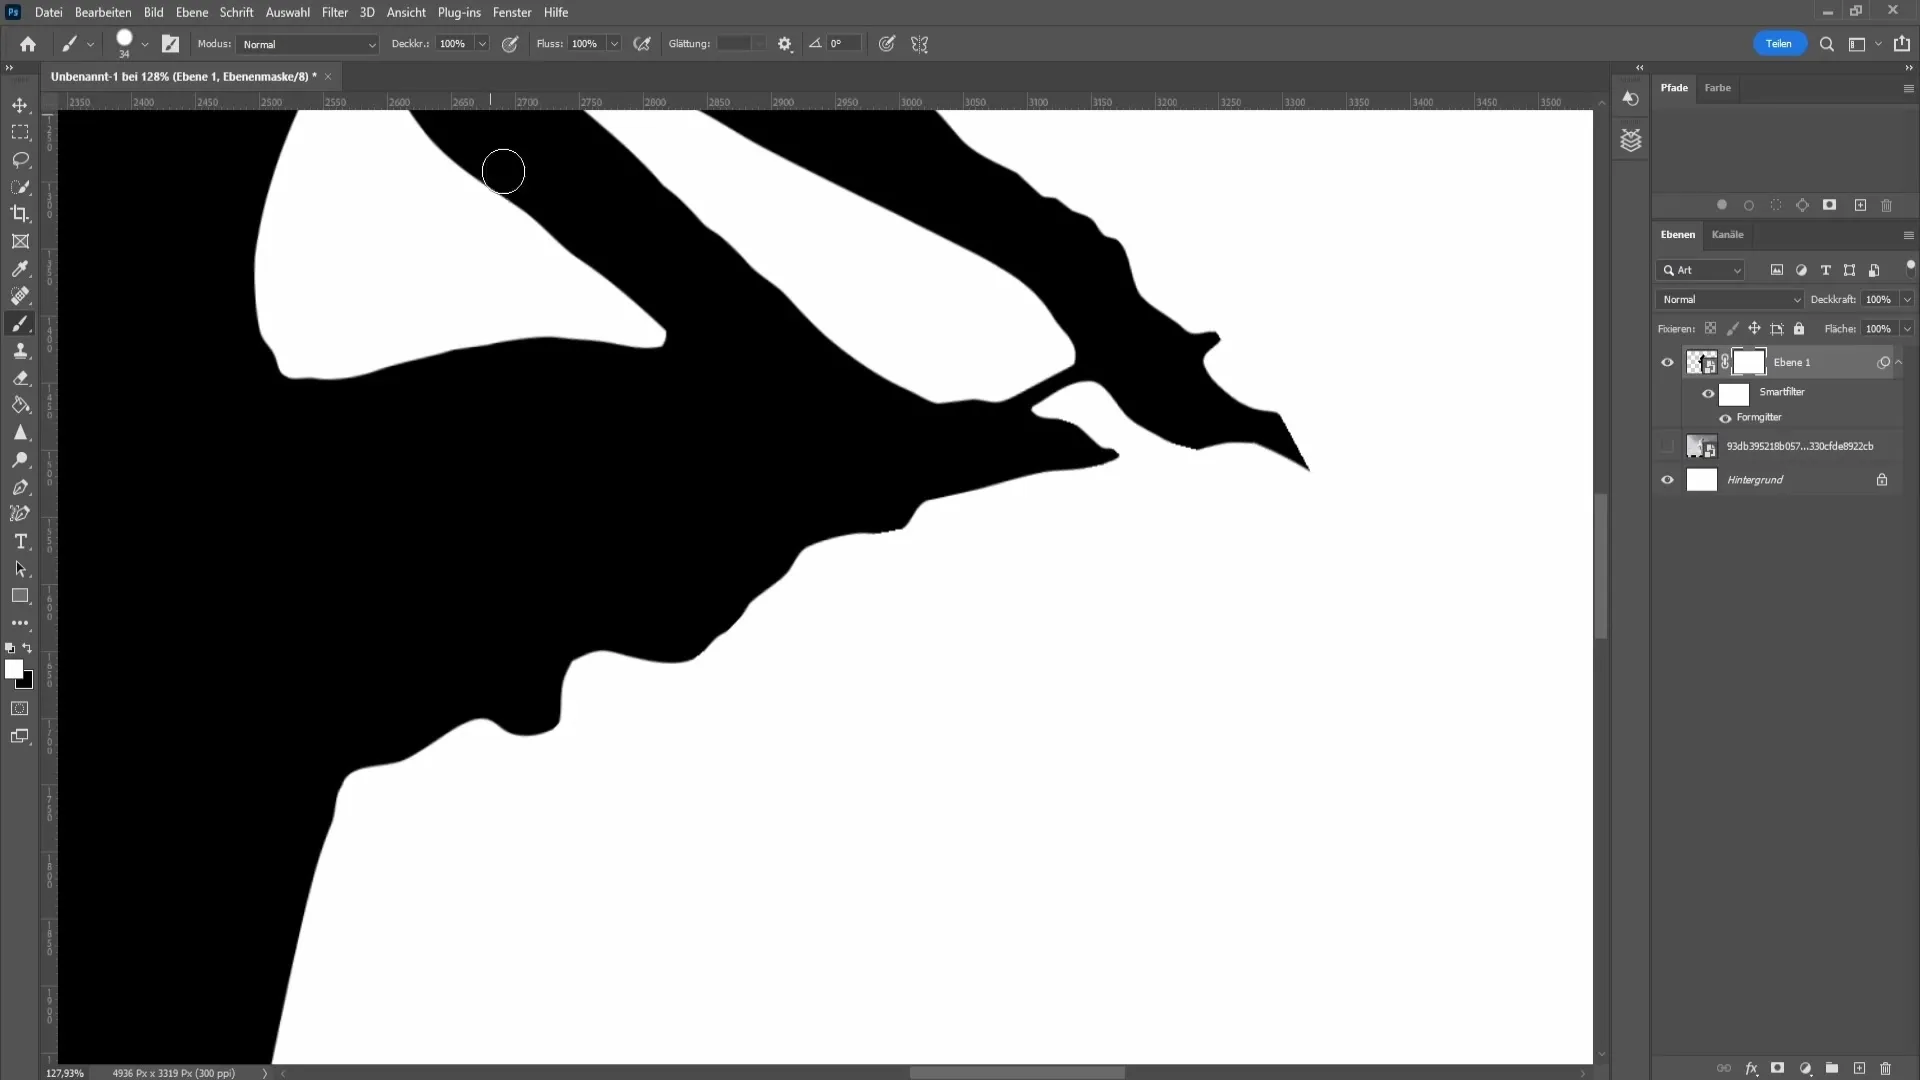
Using the black foreground color, you can remove the excess material at the edges. You can adjust the brush size as needed.
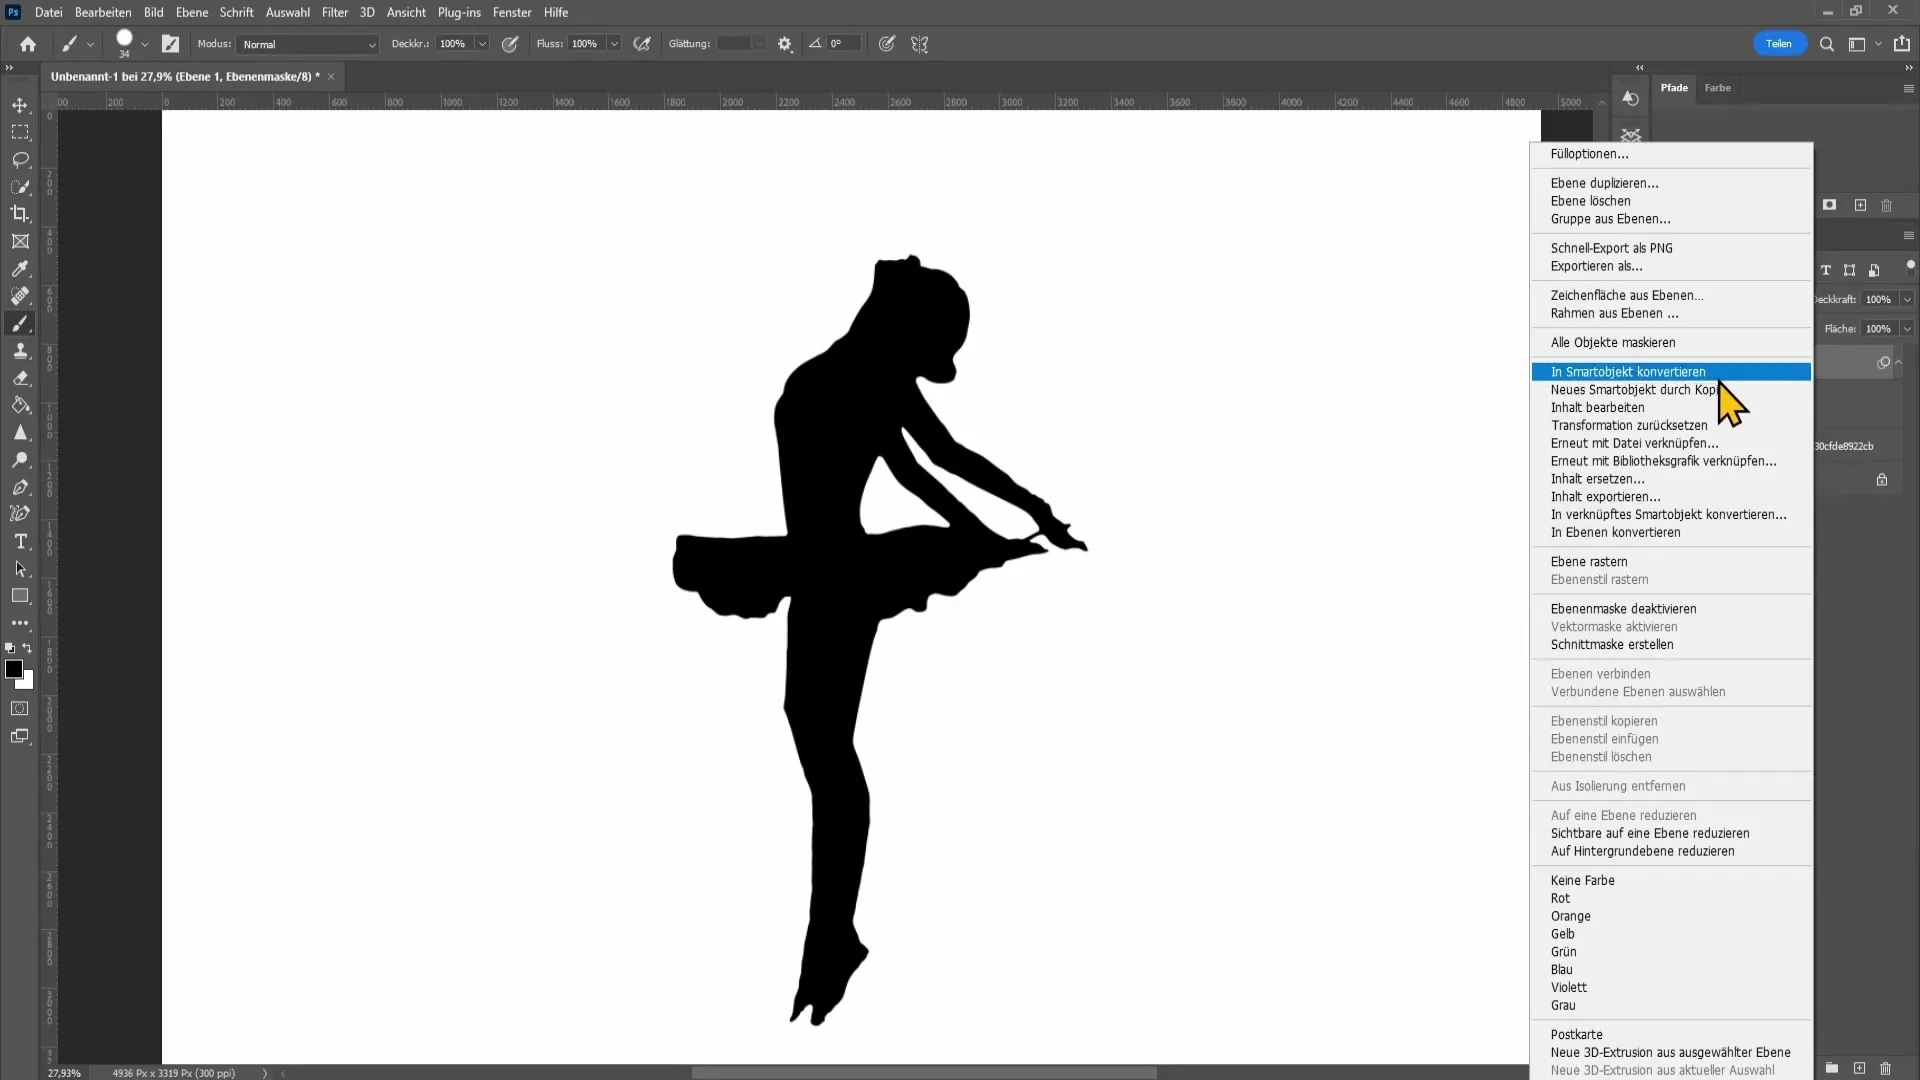
If you are satisfied with the edges, you can convert the silhouette into a Smart Object. Simply right-click on the layer and select "Convert to Smart Object".
Now you can use the selection tool again (Control + Click on the thumbnail) to create a new path for further adjustments. Again, create a new empty layer and fill it with the black foreground color.
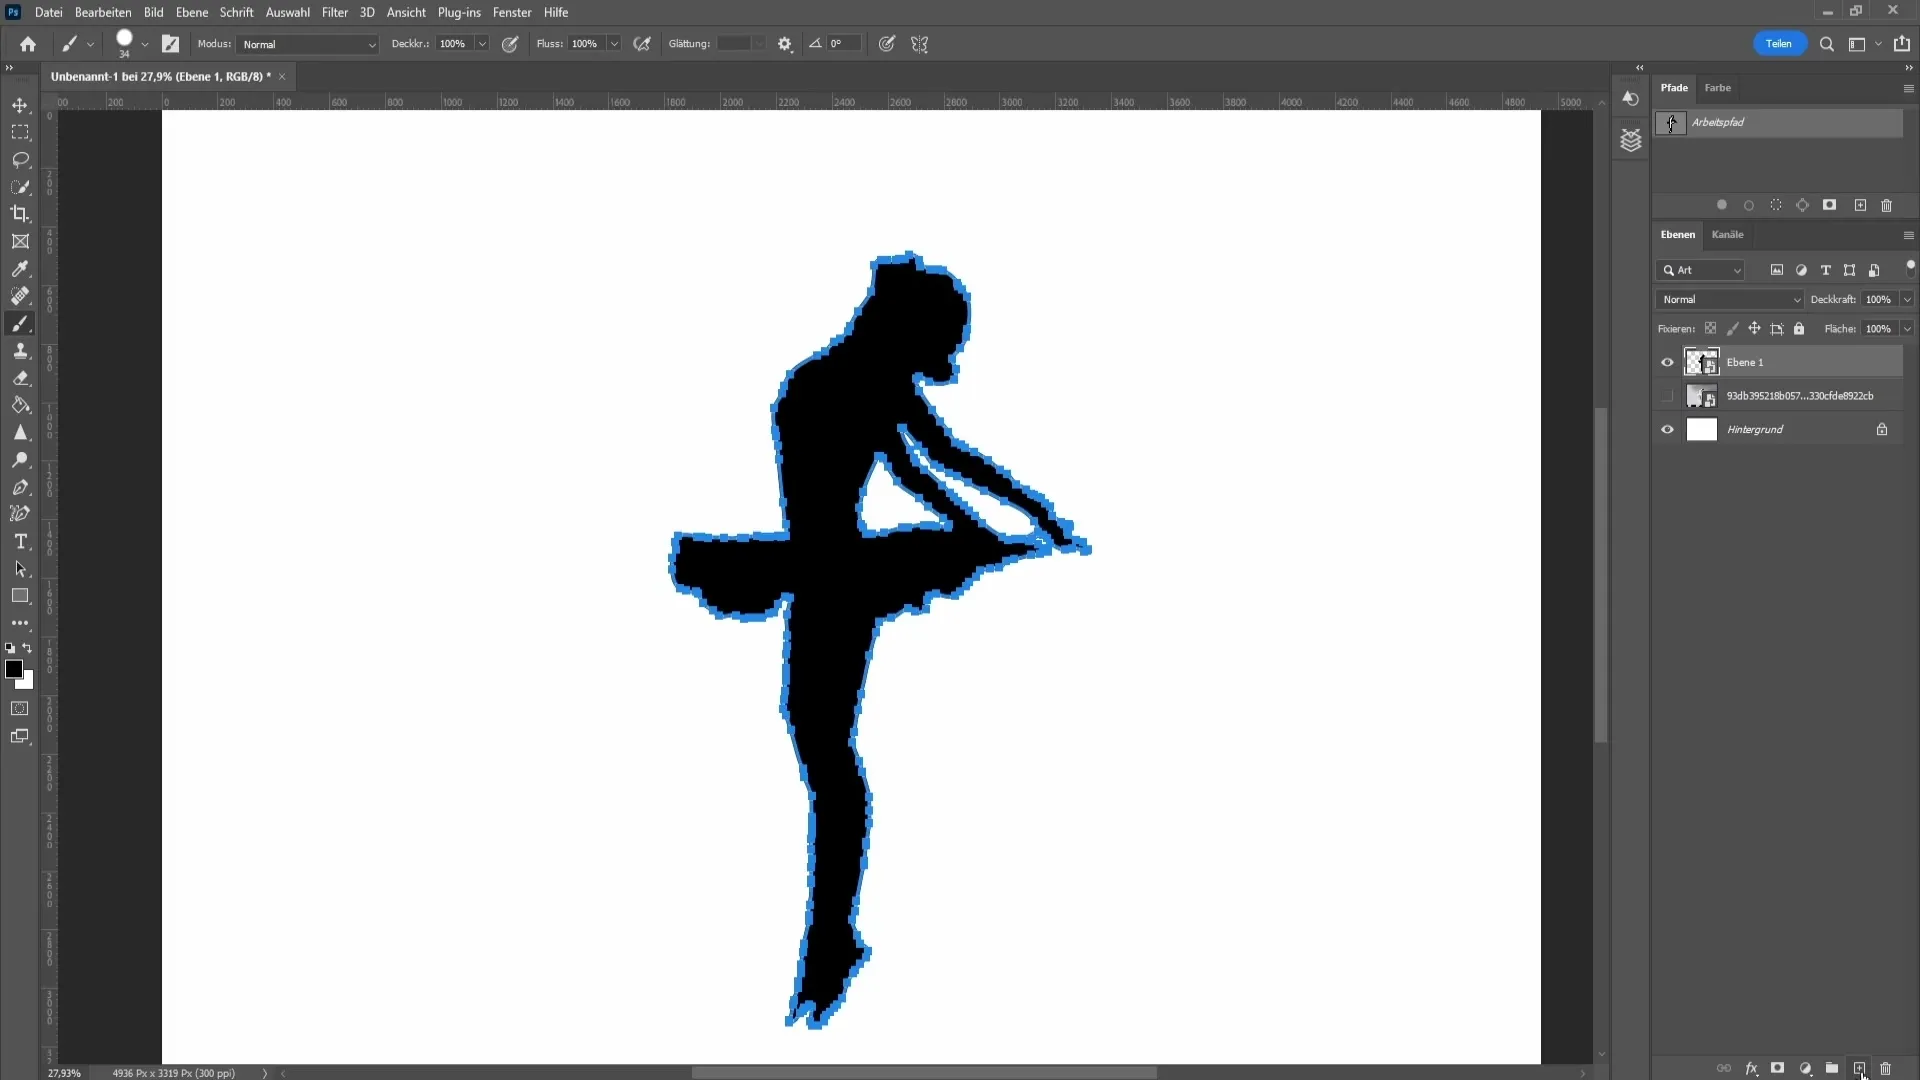
When you compare before and after now, you will see that unsightly edges are no longer visible.
Summary
In this guide, you have learned how to create a silhouette from an image in Photoshop using various tools. The steps include selecting the motif, refining the edges, and adjusting through layer masks and Smart Objects. With some practice, you will soon be able to apply this technique to your projects!
Frequently Asked Questions
How do I make a selection in Photoshop?You can make a selection using various tools like the Quick Selection tool or the "Select Subject" feature.
How can I fix unsightly edges in my silhouette?Use a layer mask and a brush with 100% hardness to round off the edges.
Can I adjust the silhouette later on?Yes, by using Smart Objects, you can continue to edit your silhouette at any time.


