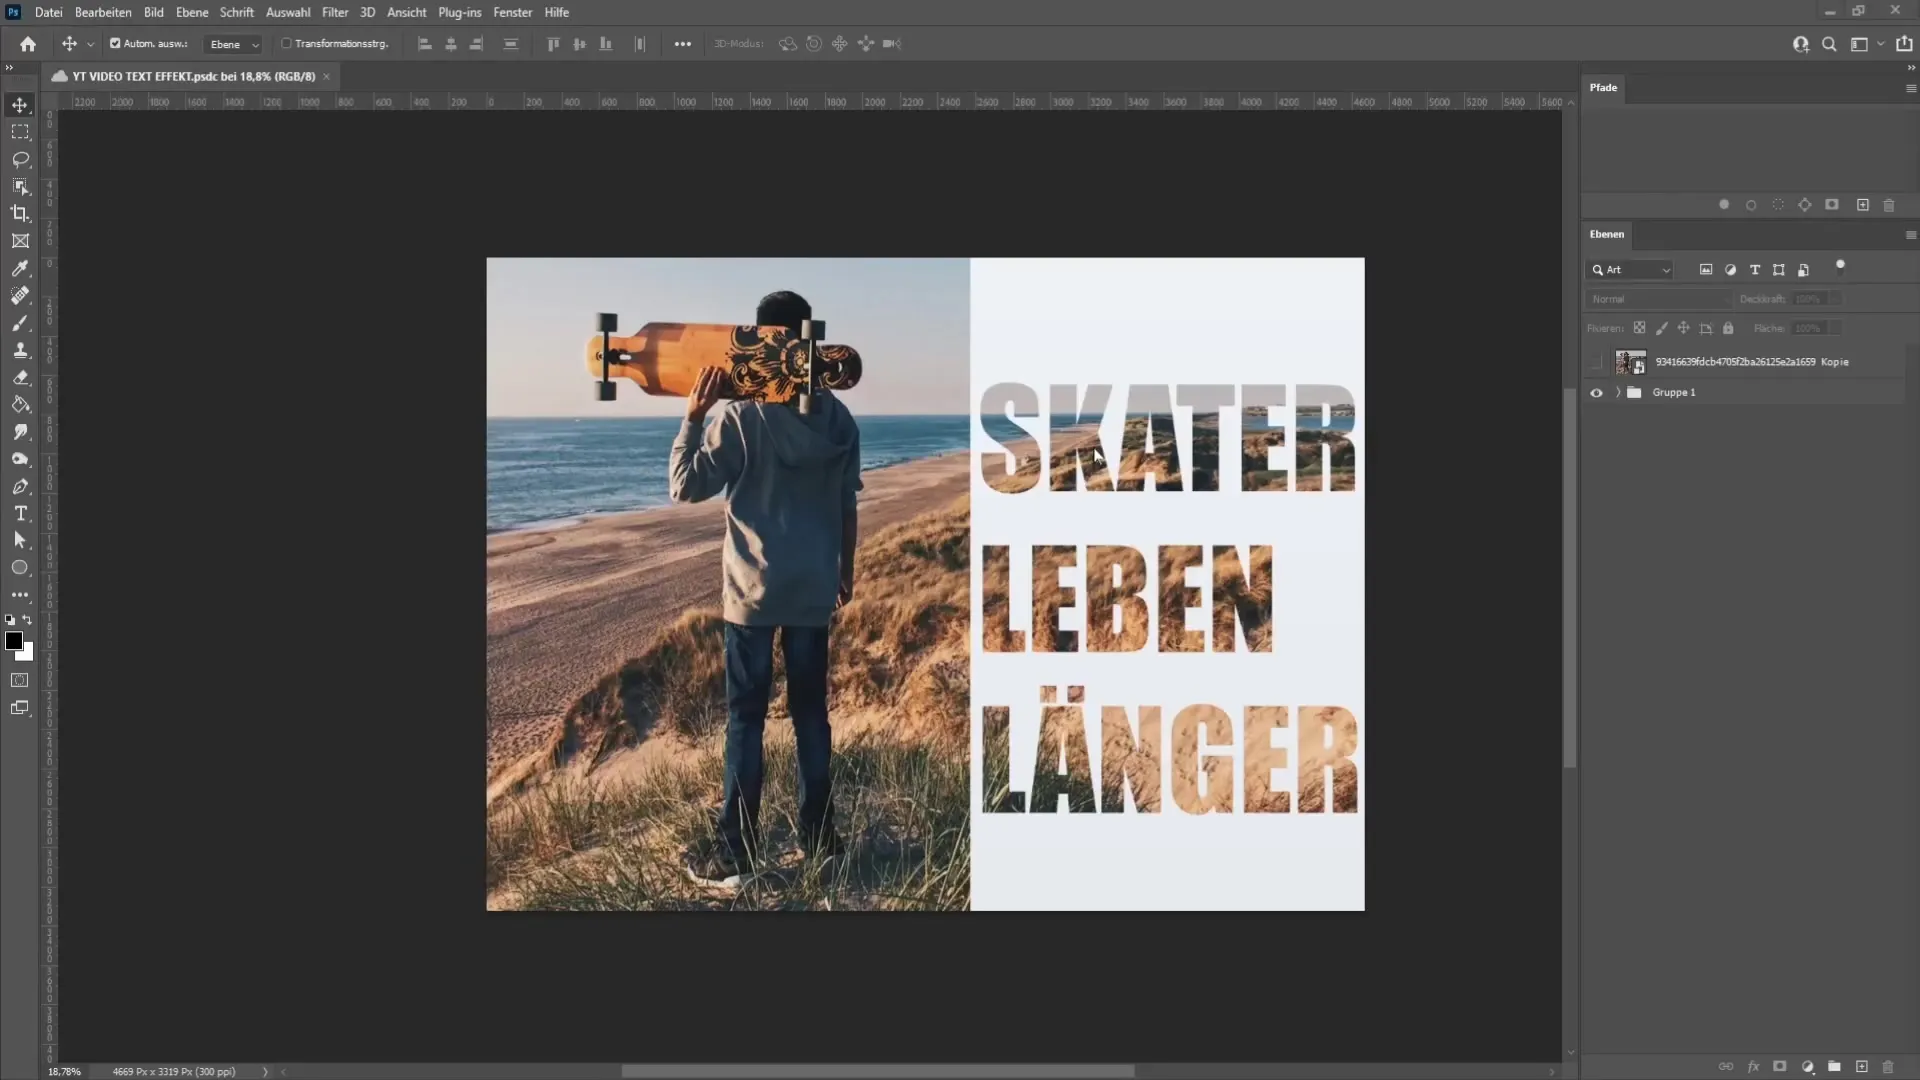
In this tutorial, I will show you how to insert text next to an image in Photoshop. This technique is especially useful when you want to create appealing graphics for social media, presentations, or other projects. I will guide you through the process step by step so that you will be able to implement this technique yourself.
Main Key Takeaways
- Using the text tool and adjusting the text
- Cropping and overlaying a section of an image
- Adding background color to improve readability
Step-by-Step Guide
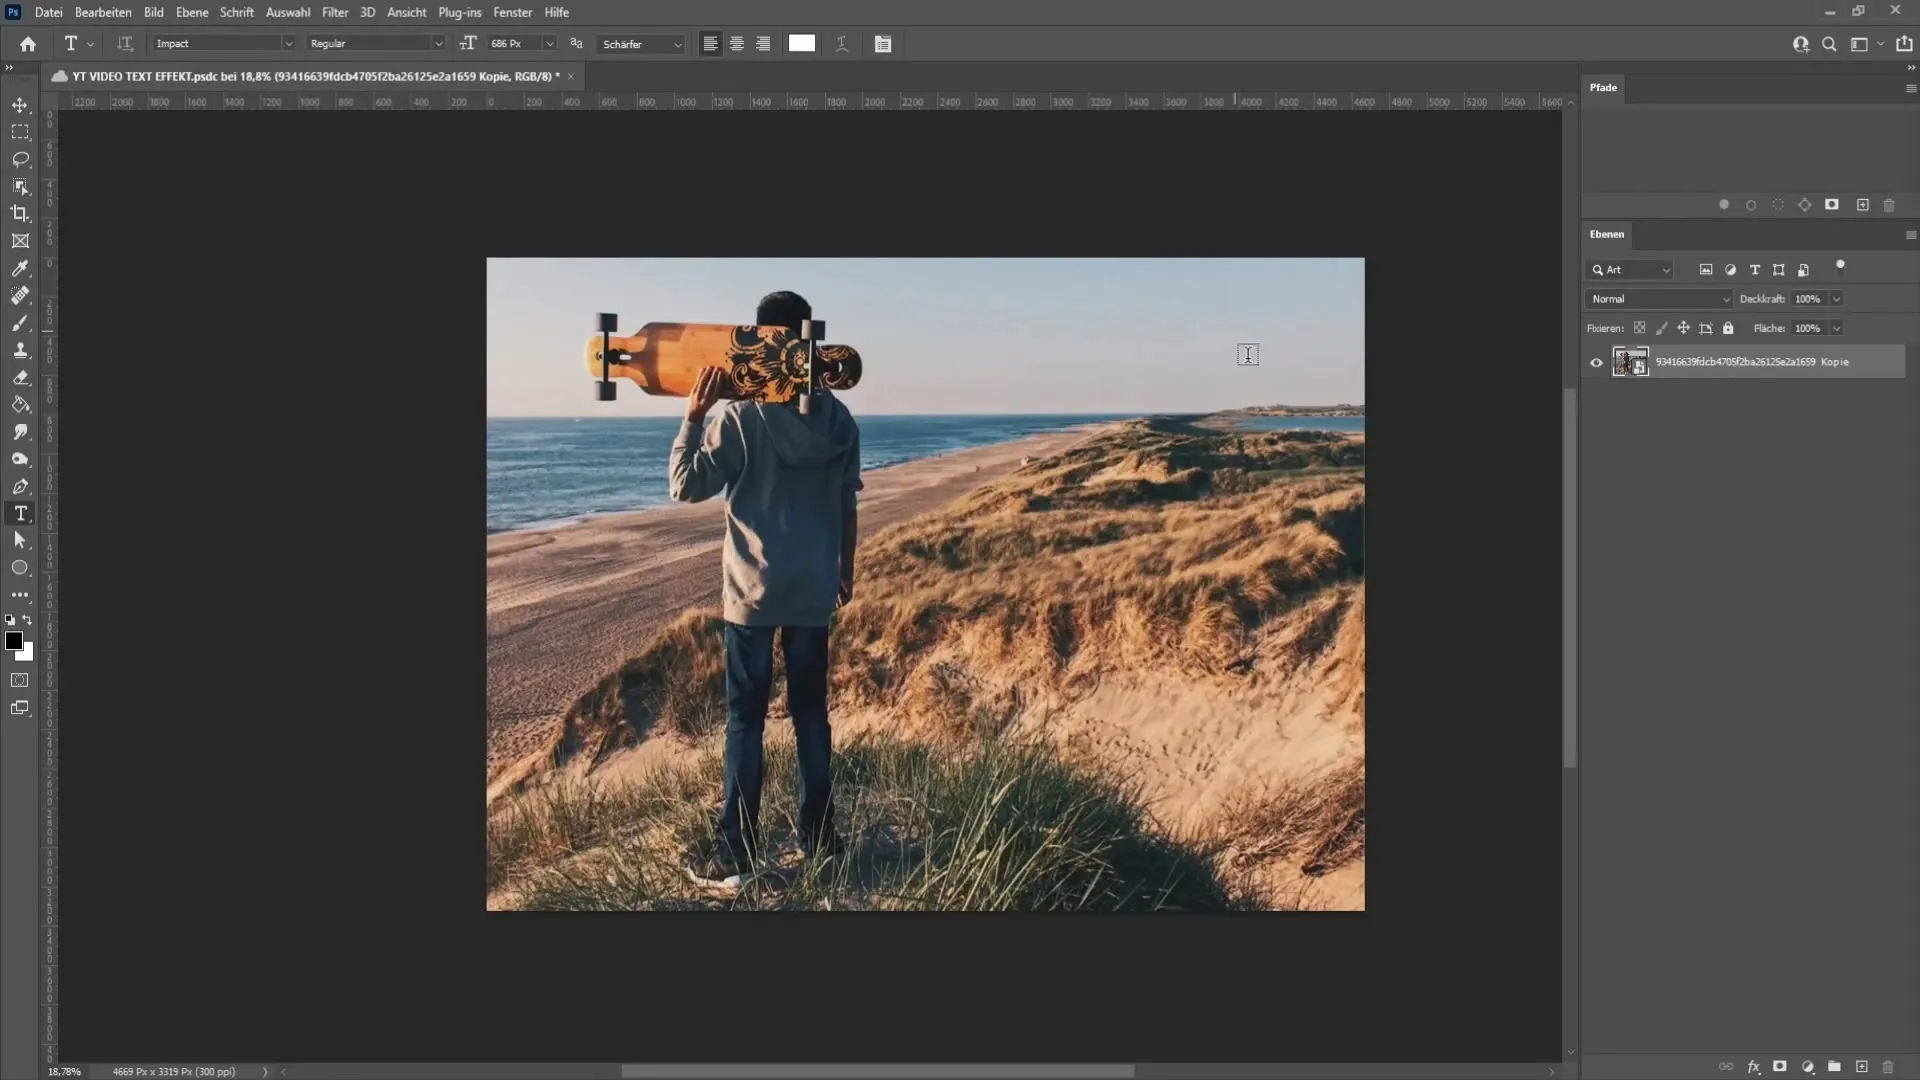
First, open Photoshop and load the image next to which you want to insert your text. Once you have selected an image, make sure it is in the correct view. If needed, you can horizontally flip it to adjust the text position. To do this, press Ctrl + T and right-click to open the menu. Choose the "Flip Horizontal" option. This step is important if your image is not in the desired orientation.
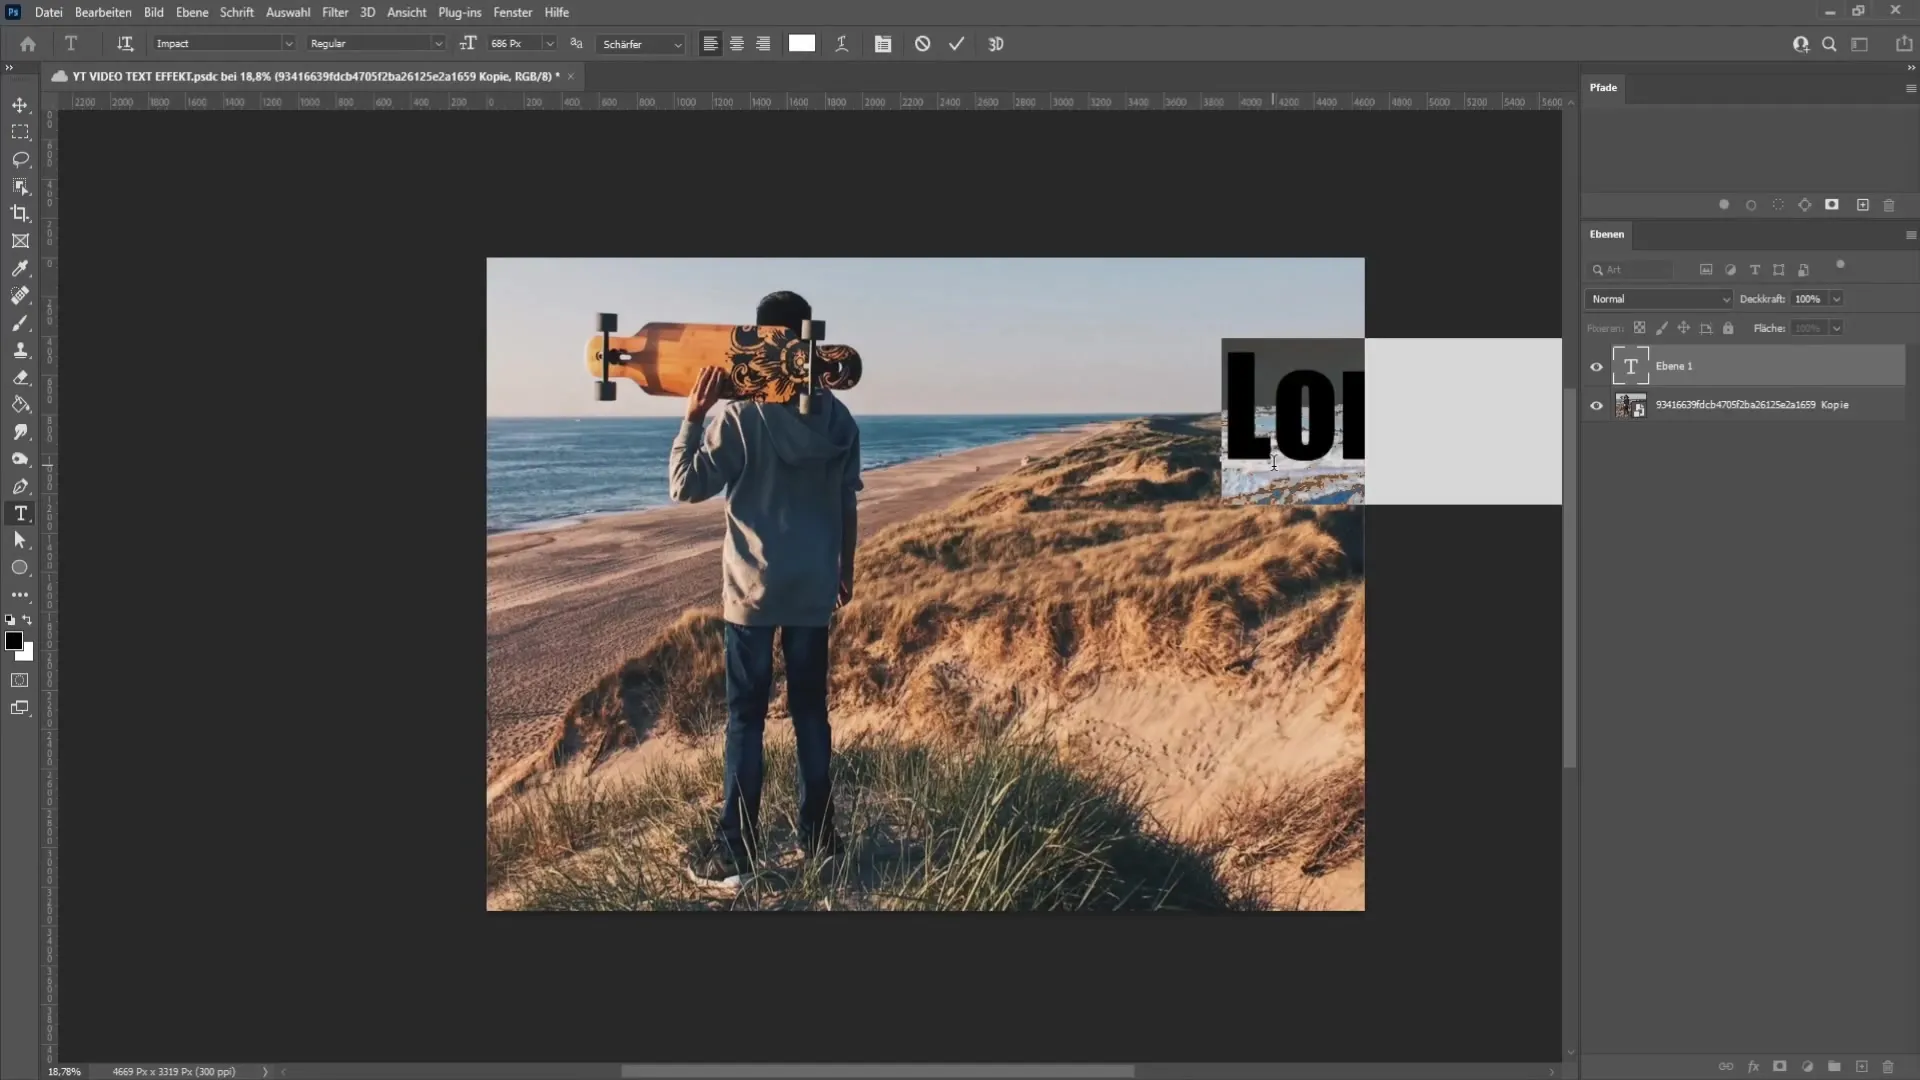
Now, it's time for the text tool. You can find it in the left toolbar. Select it and click on the right side of your image to create your text. Make sure the words are not too long to fit well into the design. A good guideline is to use shorter sentences or phrases. Press the Enter key to create line breaks if needed.
At this point, you can move the text by holding the Ctrl key and dragging it to the desired location. You can also adjust the font size by selecting the text and using the font size buttons in the top toolbar. Make sure the text is neither too small nor too big to remain legible on your image.
Another important adjustment is the line spacing. Go to the Properties panel and look for the line spacing symbol. Click on it and move the slider left or right to adjust the spacing according to your preferences. Don't forget to align your text to the left by selecting the first of the three paragraph symbols in the Properties panel. This ensures that your text has a clean, professional look.
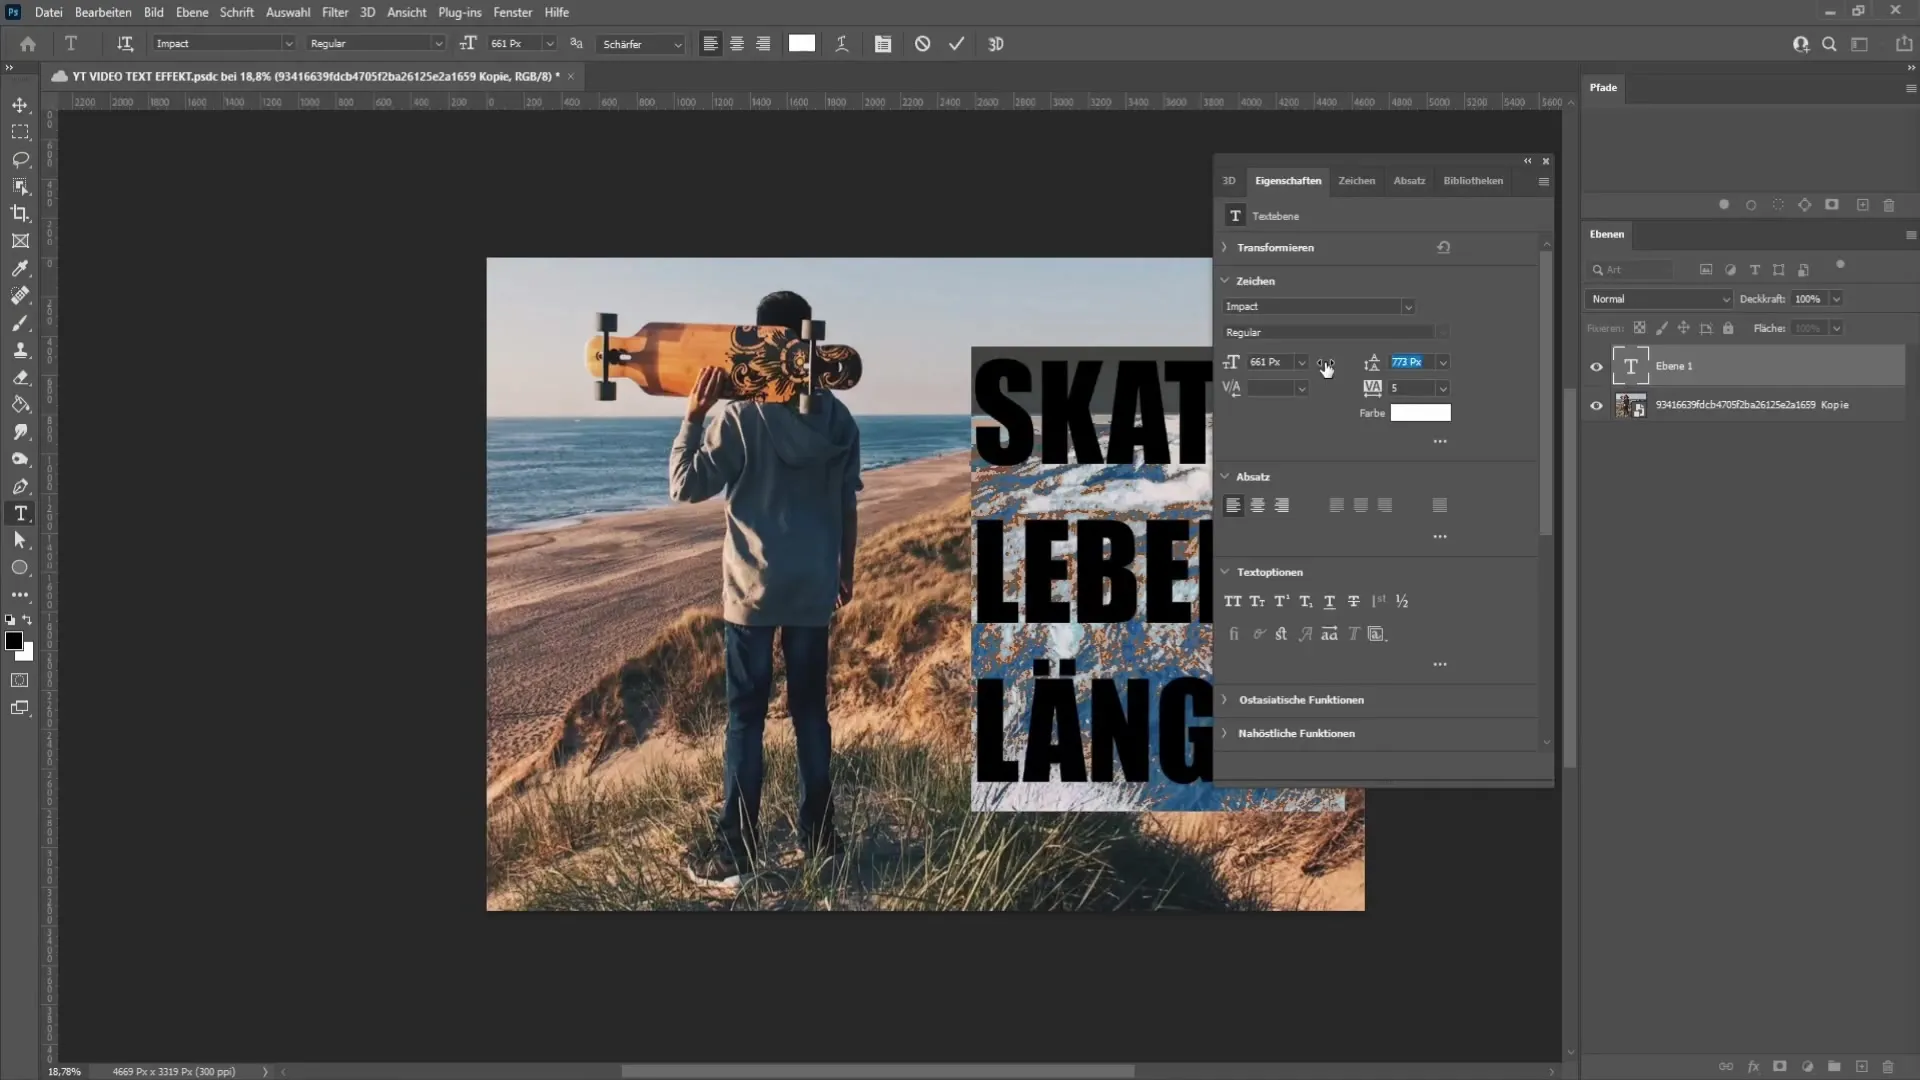
Are you happy with your text? Let's move on to the next step. We will now crop the area of the image you want to use. Select the Rectangular Marquee Tool from the toolbar. Make sure the soft edge option is set to 0 pixels, then select the desired area of your image. Release the mouse button and press Ctrl + J to create a copy of the selected area.

Next, select the copy and right-click on it to add the mask. Hold the Alt key and click on the mask icon at the bottom right to apply the cutout area to your text. Then drag the copied layer over the text layer in the Layers panel.
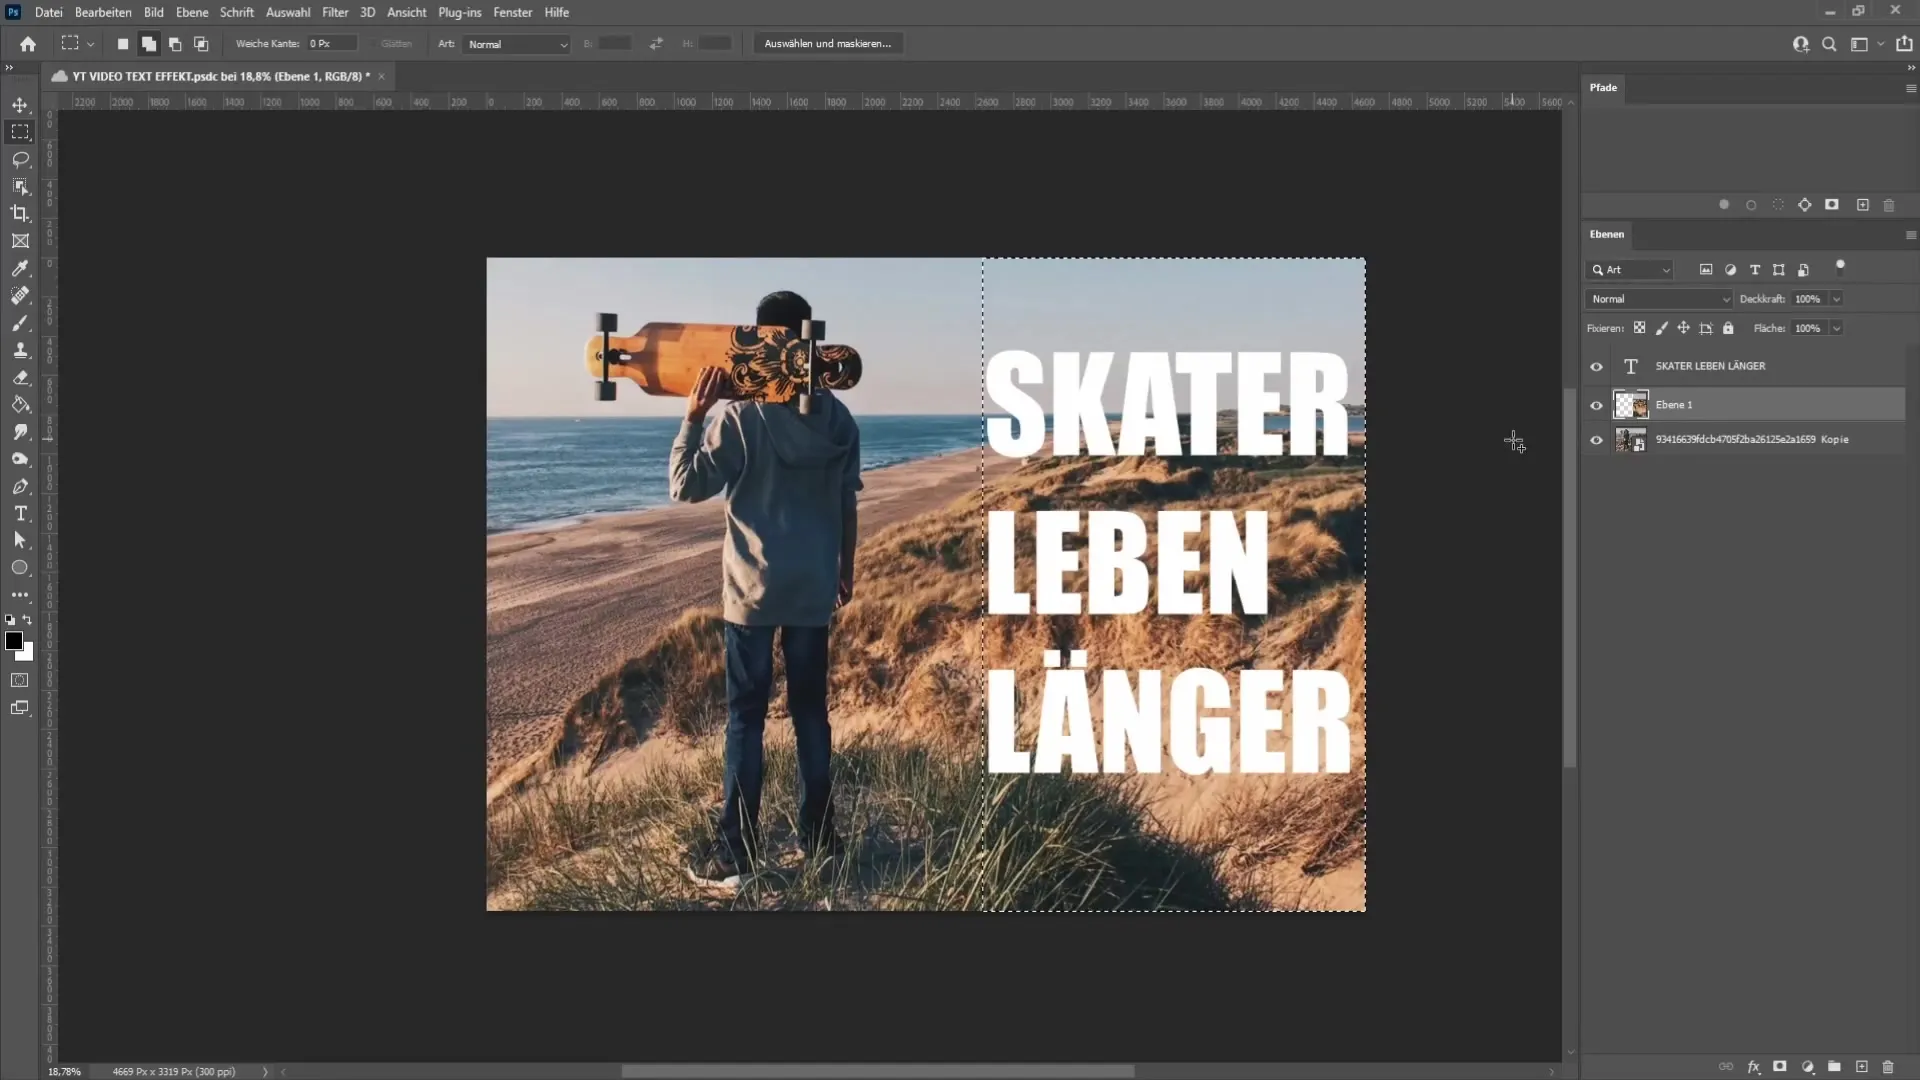
Now you should see that the cropped area of the image is above your text. This is a crucial step to achieve an appealing graphic effect. You can also add a background color to improve the readability of the text. Select the bottom layer in the Layers panel, go to Adjustments, and choose "Solid Color".
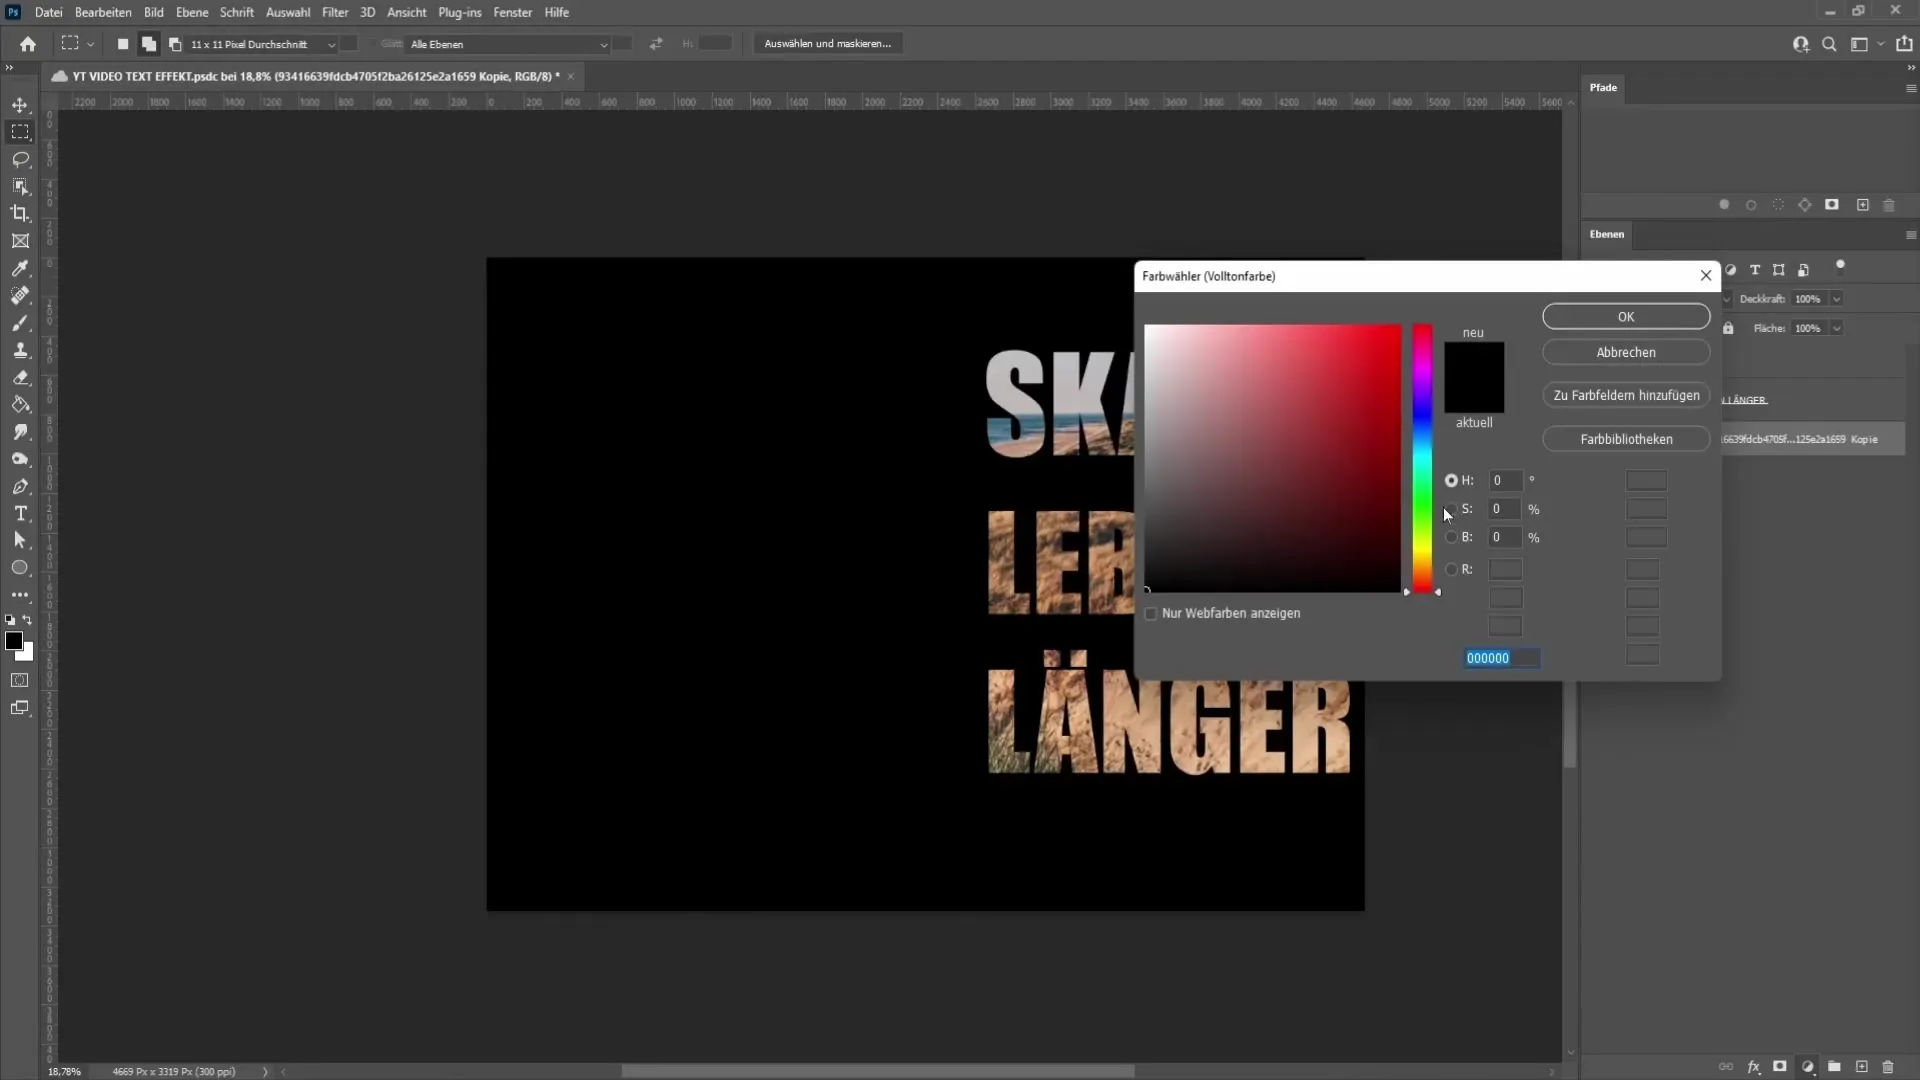
Here you can choose a color to use as the background. I recommend a subtle, desaturated color that complements well with your image and text. A white-blue hue could work well here. Once you are satisfied, confirm the selection and place the solid color layer below the text.
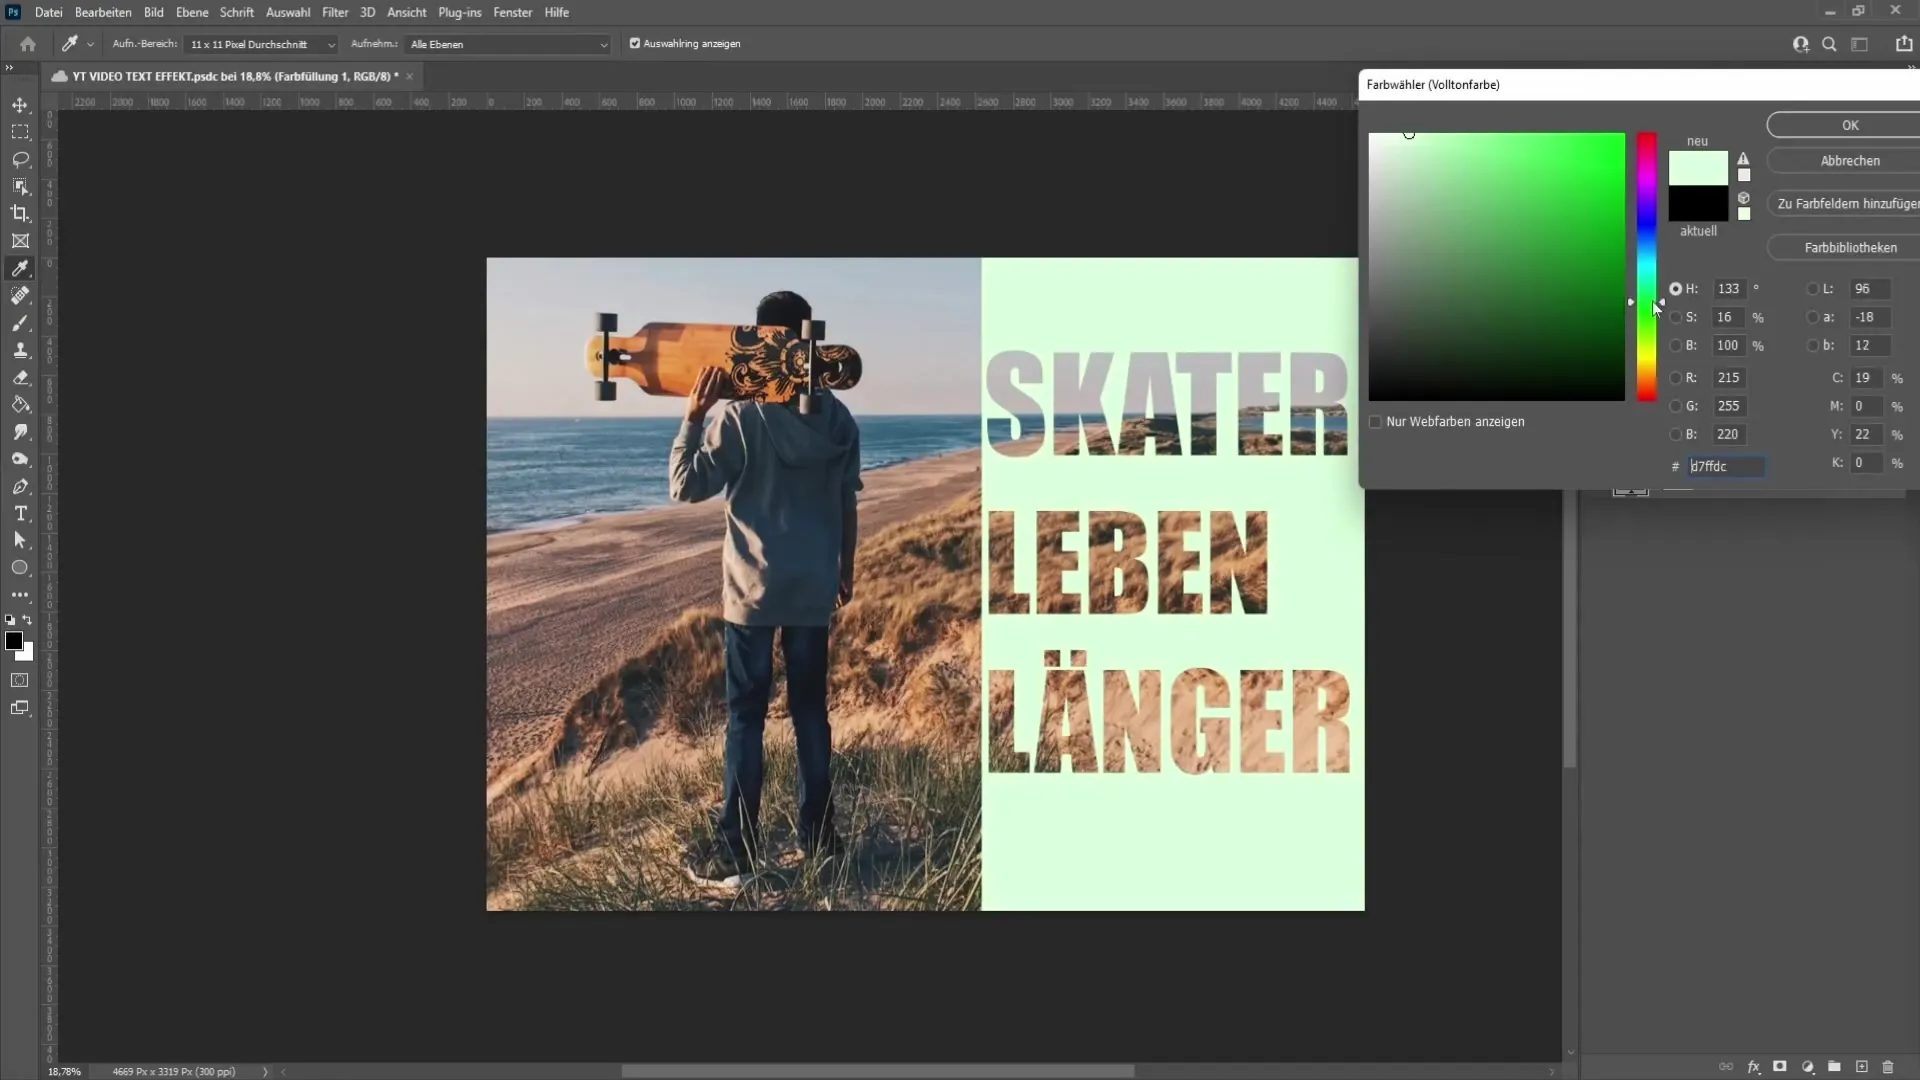
After the background color has been added, you can further adjust the text so that it fits well with the image. Go back to the text layer and use the Move tool to move the text up or down, as well as left or right. Make sure the spacing is even so that everything looks neat.
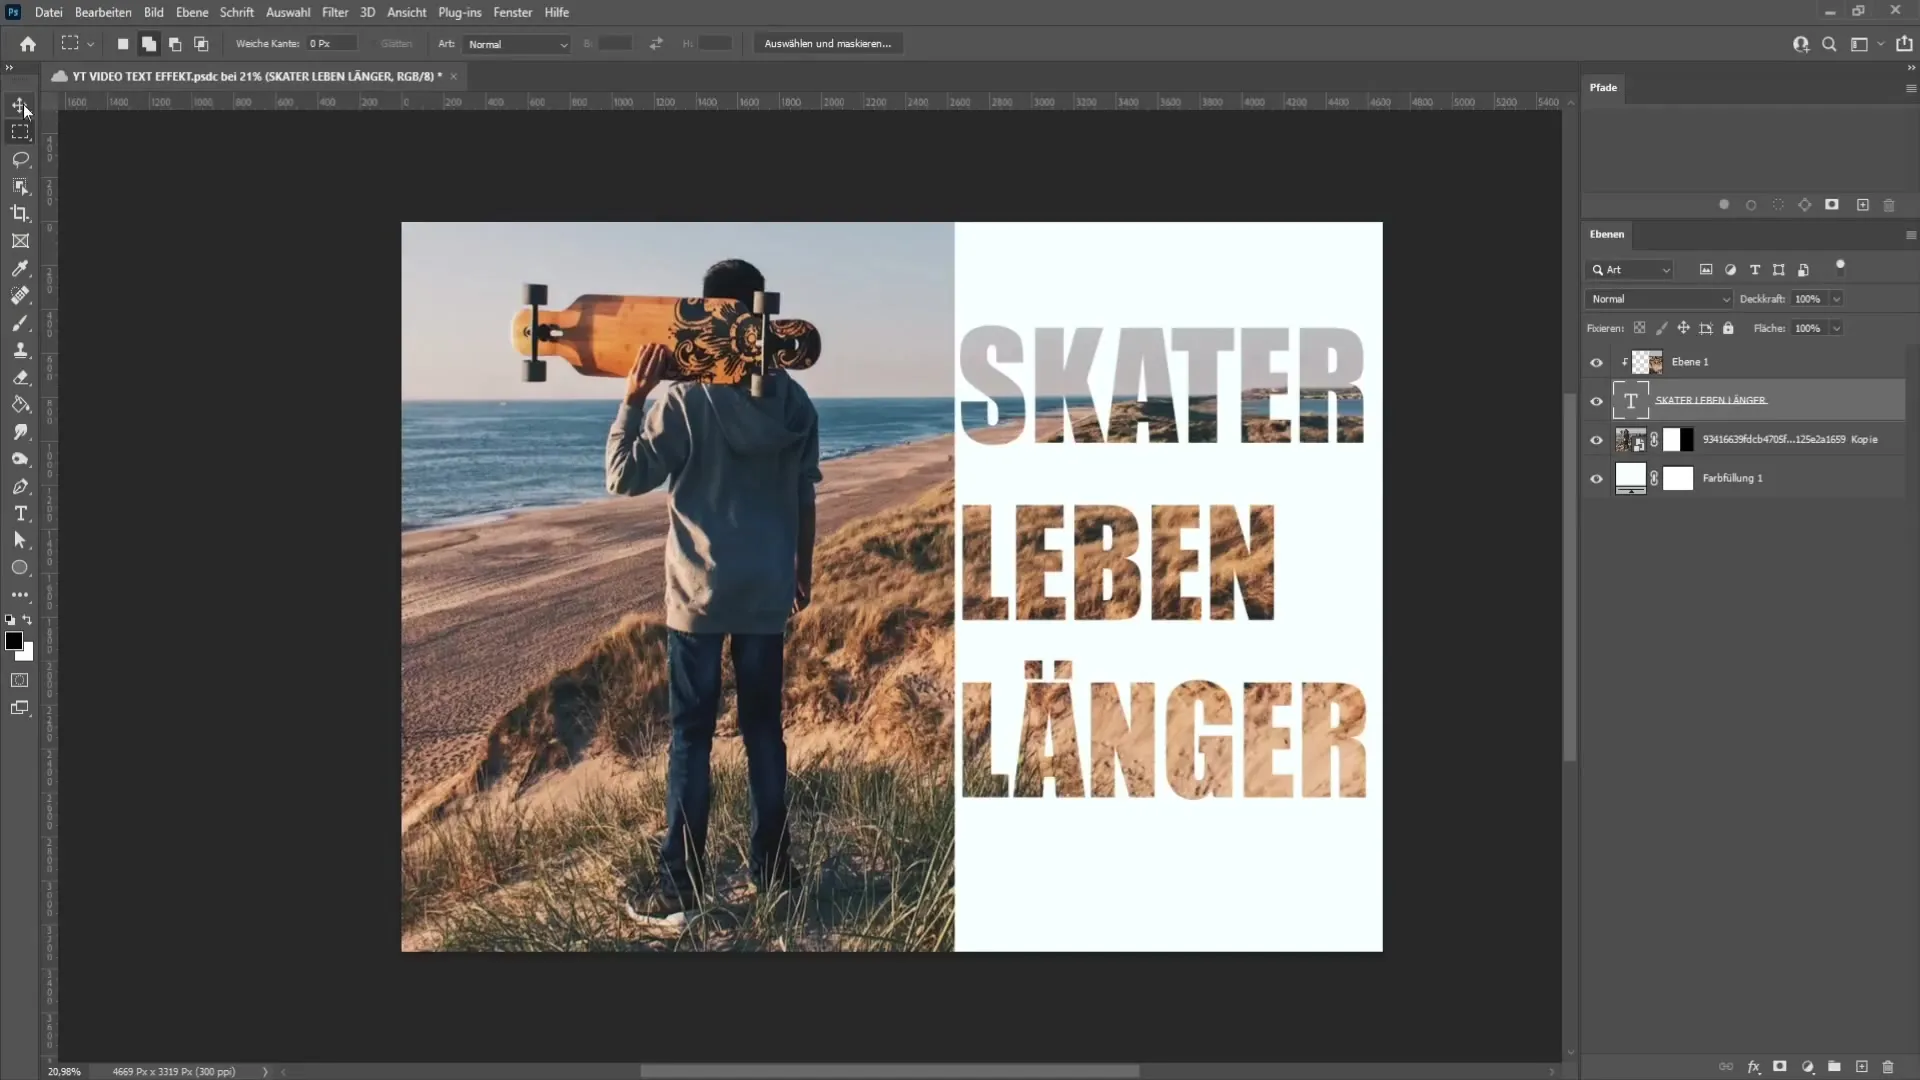
With these steps, you have now successfully inserted text next to an image and created an appealing graphic. Feel free to be creative and try out different fonts, colors, and layouts to create your own designs.
Summary
In this guide, you have learned how to insert and customize text next to an image in Photoshop. You now know the tools and techniques you need to create visually appealing designs. Practice these steps and develop your own style!
Frequently Asked Questions
How do I find the text tool in Photoshop?You can find the text tool in the left toolbar, it looks like a large "T".
How can I adjust the text line spacing?In the properties window, you can adjust the line spacing by selecting the corresponding icon and moving the slider.
What should I do if the font size doesn't fit?Select the text and use the font size selection in the top toolbar to adjust the size to your liking.
Can I use a different font?Yes, you can use any font installed on your computer. Simply select it in the properties window.
Can I change the background color after adding it?Yes, you can change the background color at any time by selecting the color area in the layers window and choosing a new color.
