In this tutorial, you will learn how to blend two images in Photoshop to achieve impressive effects. Blending offers many creative possibilities, whether for photo manipulations or artistic projects. Whether you are a beginner or advanced, with the right steps you can easily combine images. Let's now go through the process step by step.
Key Takeaways
- You need two images for the blending
- Clipping the motifs is important, but not always 100% precise necessary
- The use of layer masks is crucial for adjusting the effects
- High-quality adjustments in the corrections give the image the final touch
Step-by-Step Guide
Let's start with blending the images. First, make sure you have the two images you want to use at hand. One of the images will depict the person, while the other image will show a city.
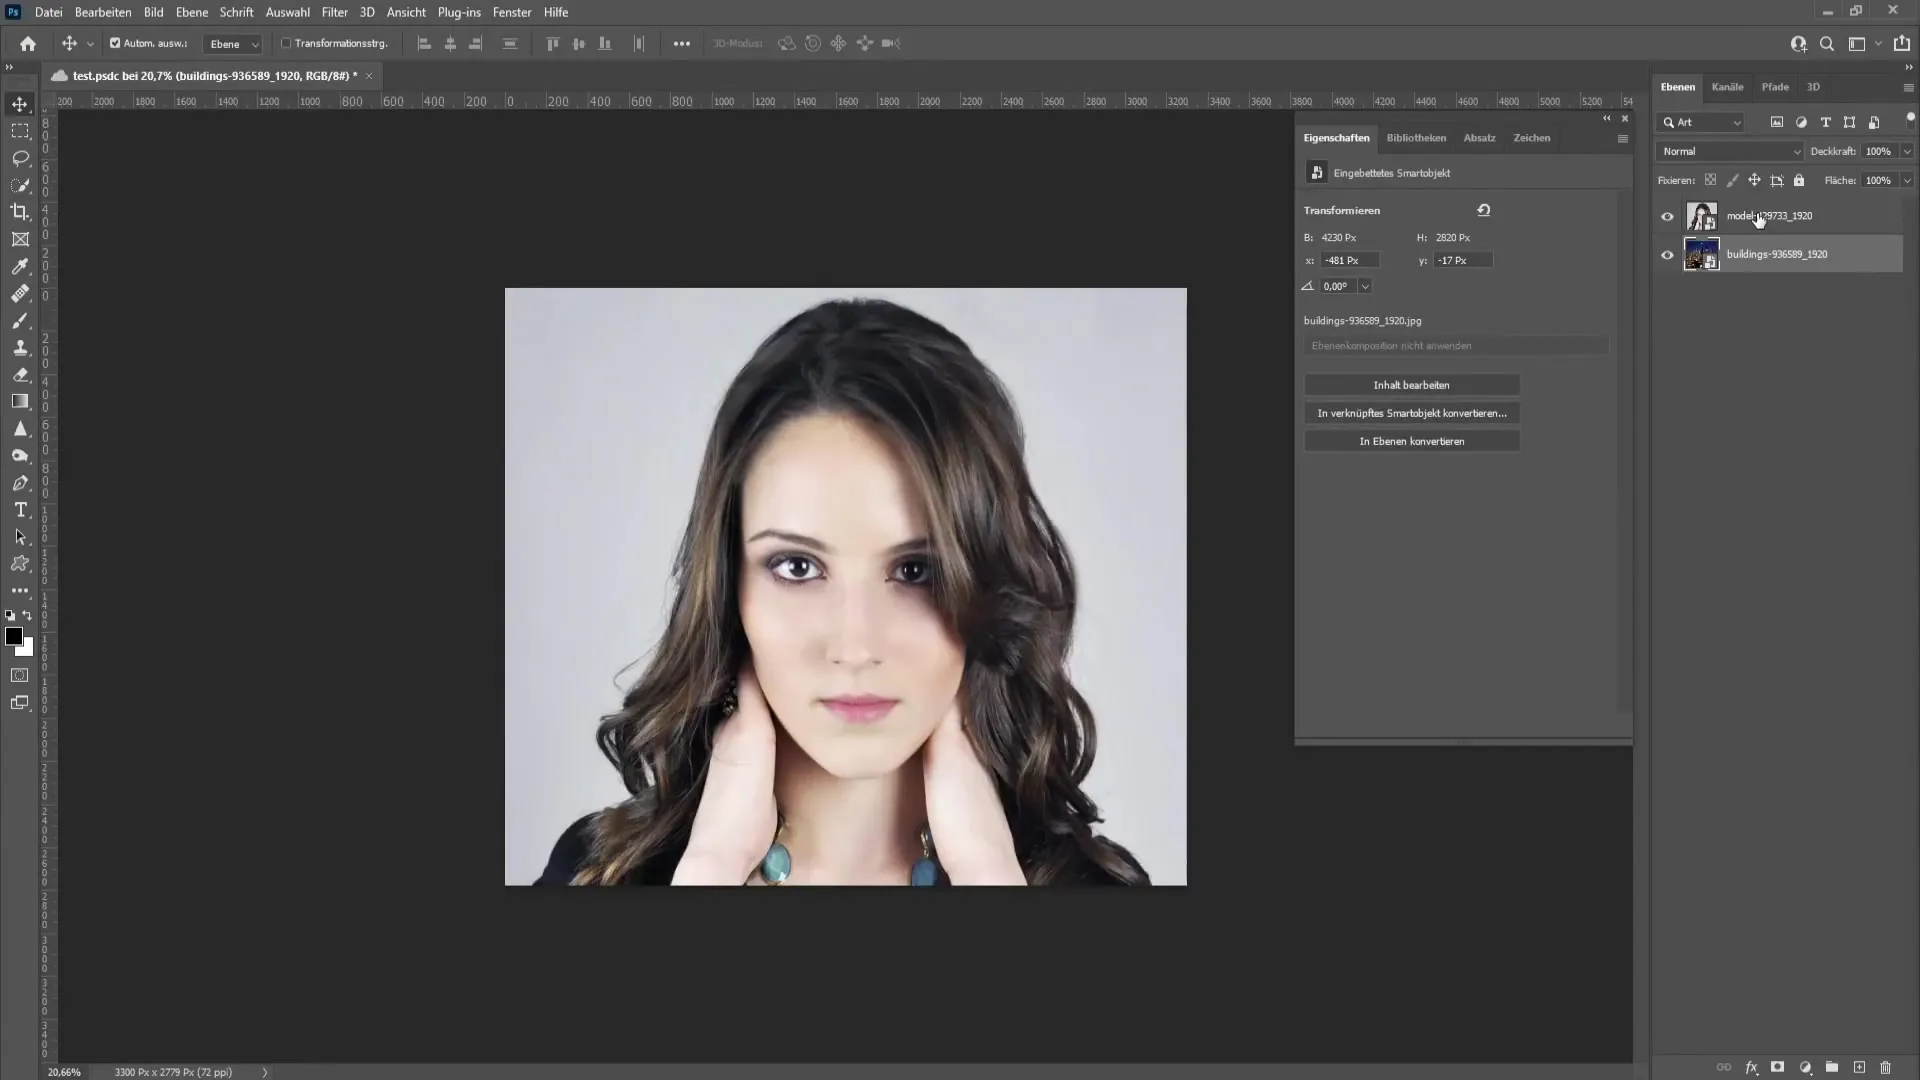
Step 1: Clipping the image
First, start by clipping the image with the person. Select the image of the person and go to "Select Subject". The program will show you which subject was recognized. You will find that you do not necessarily need a perfect selection - suffice with rough clipping.
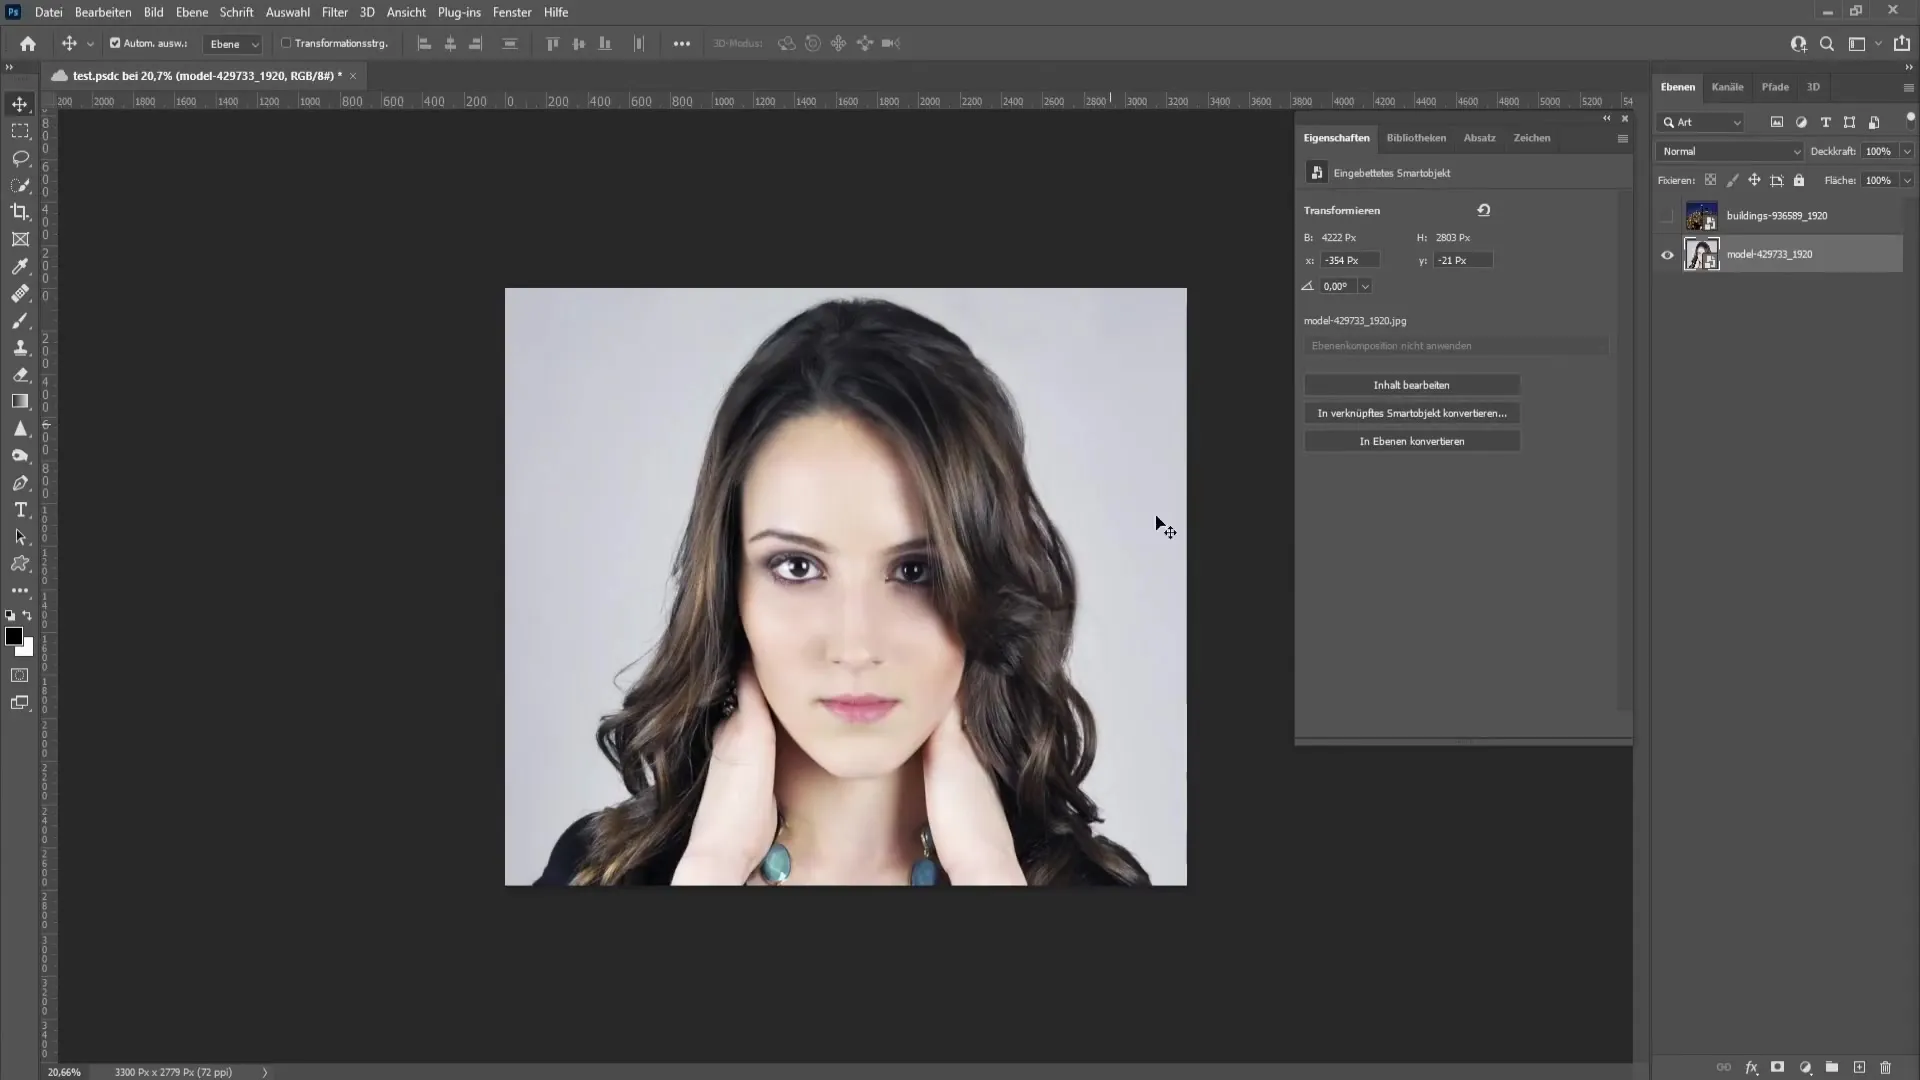
After selecting the subject, go to the "Layer Mask" to clip the person.
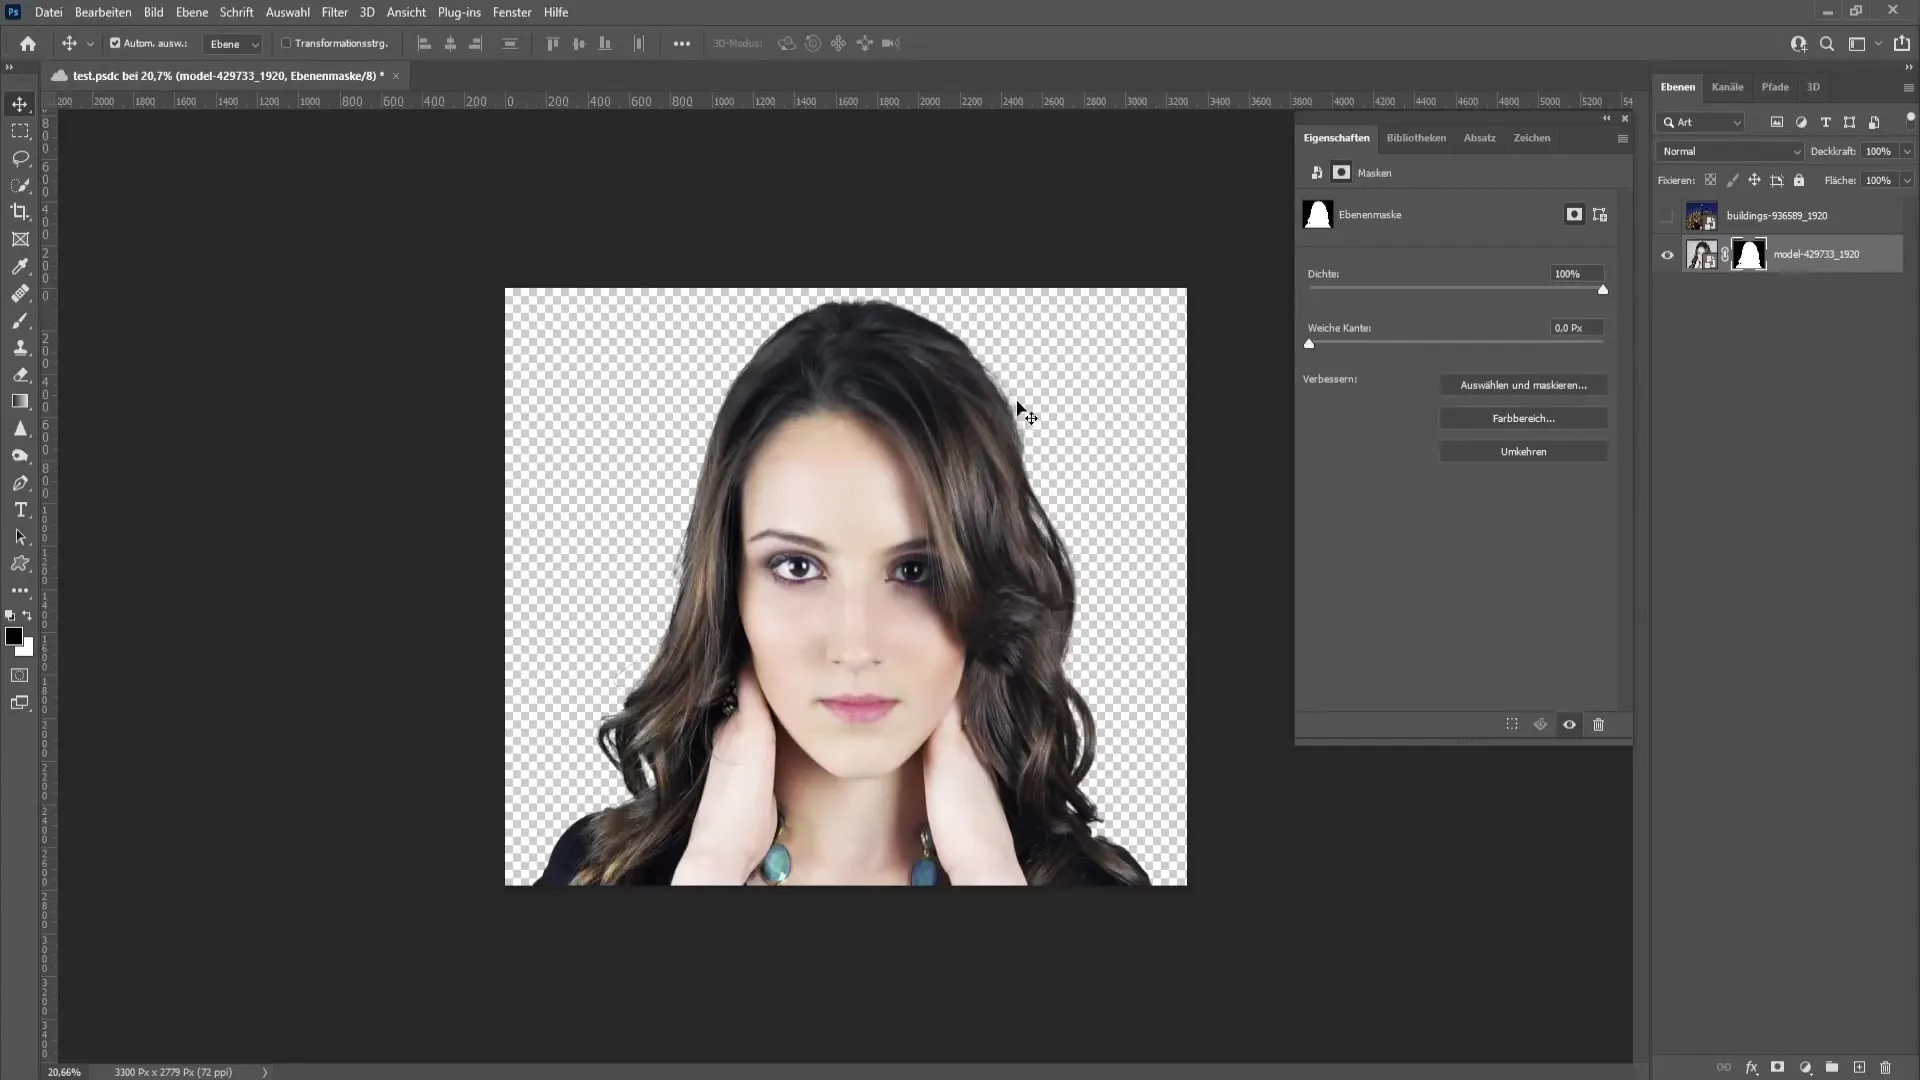
Step 2: Black and White Conversion
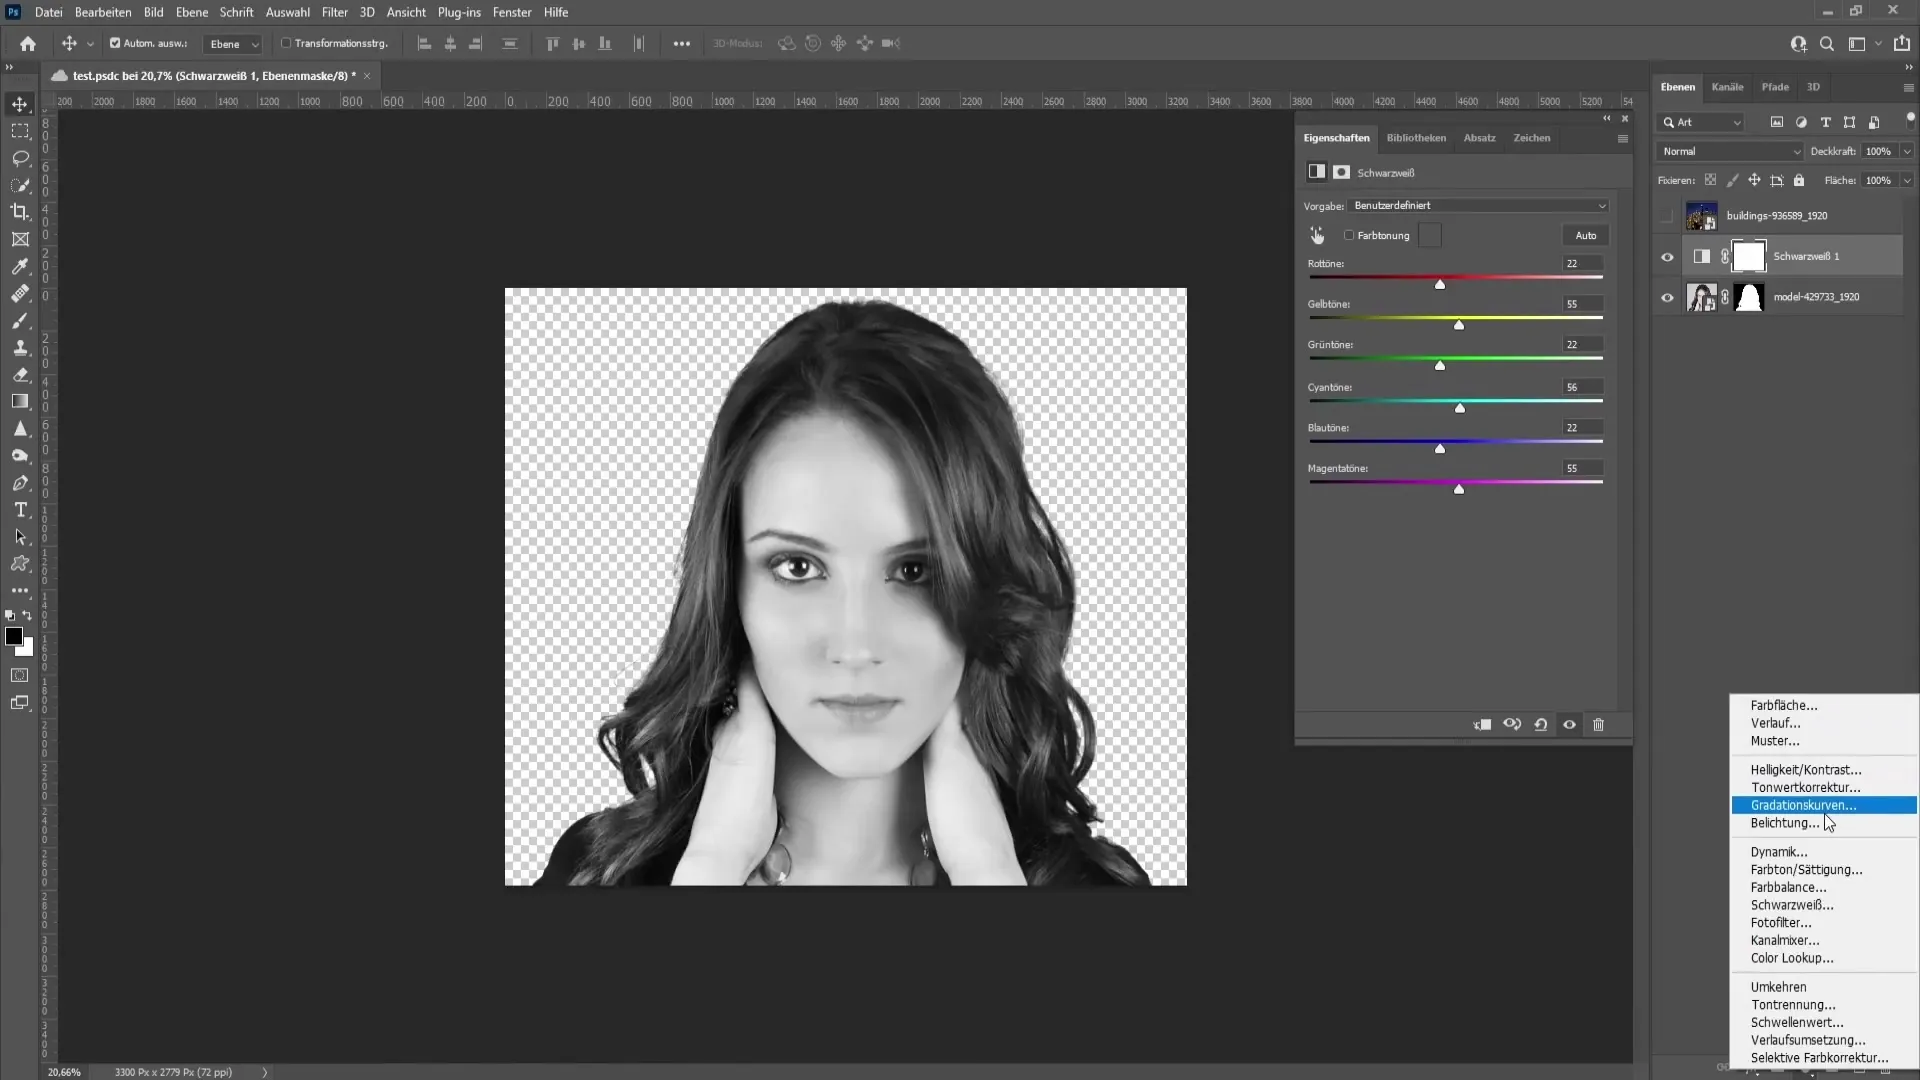
To highlight the person, you can convert it to black and white. Go to the "Corrections" section and select "Black & White". Click on "Auto" to automatically get the best settings for your image.
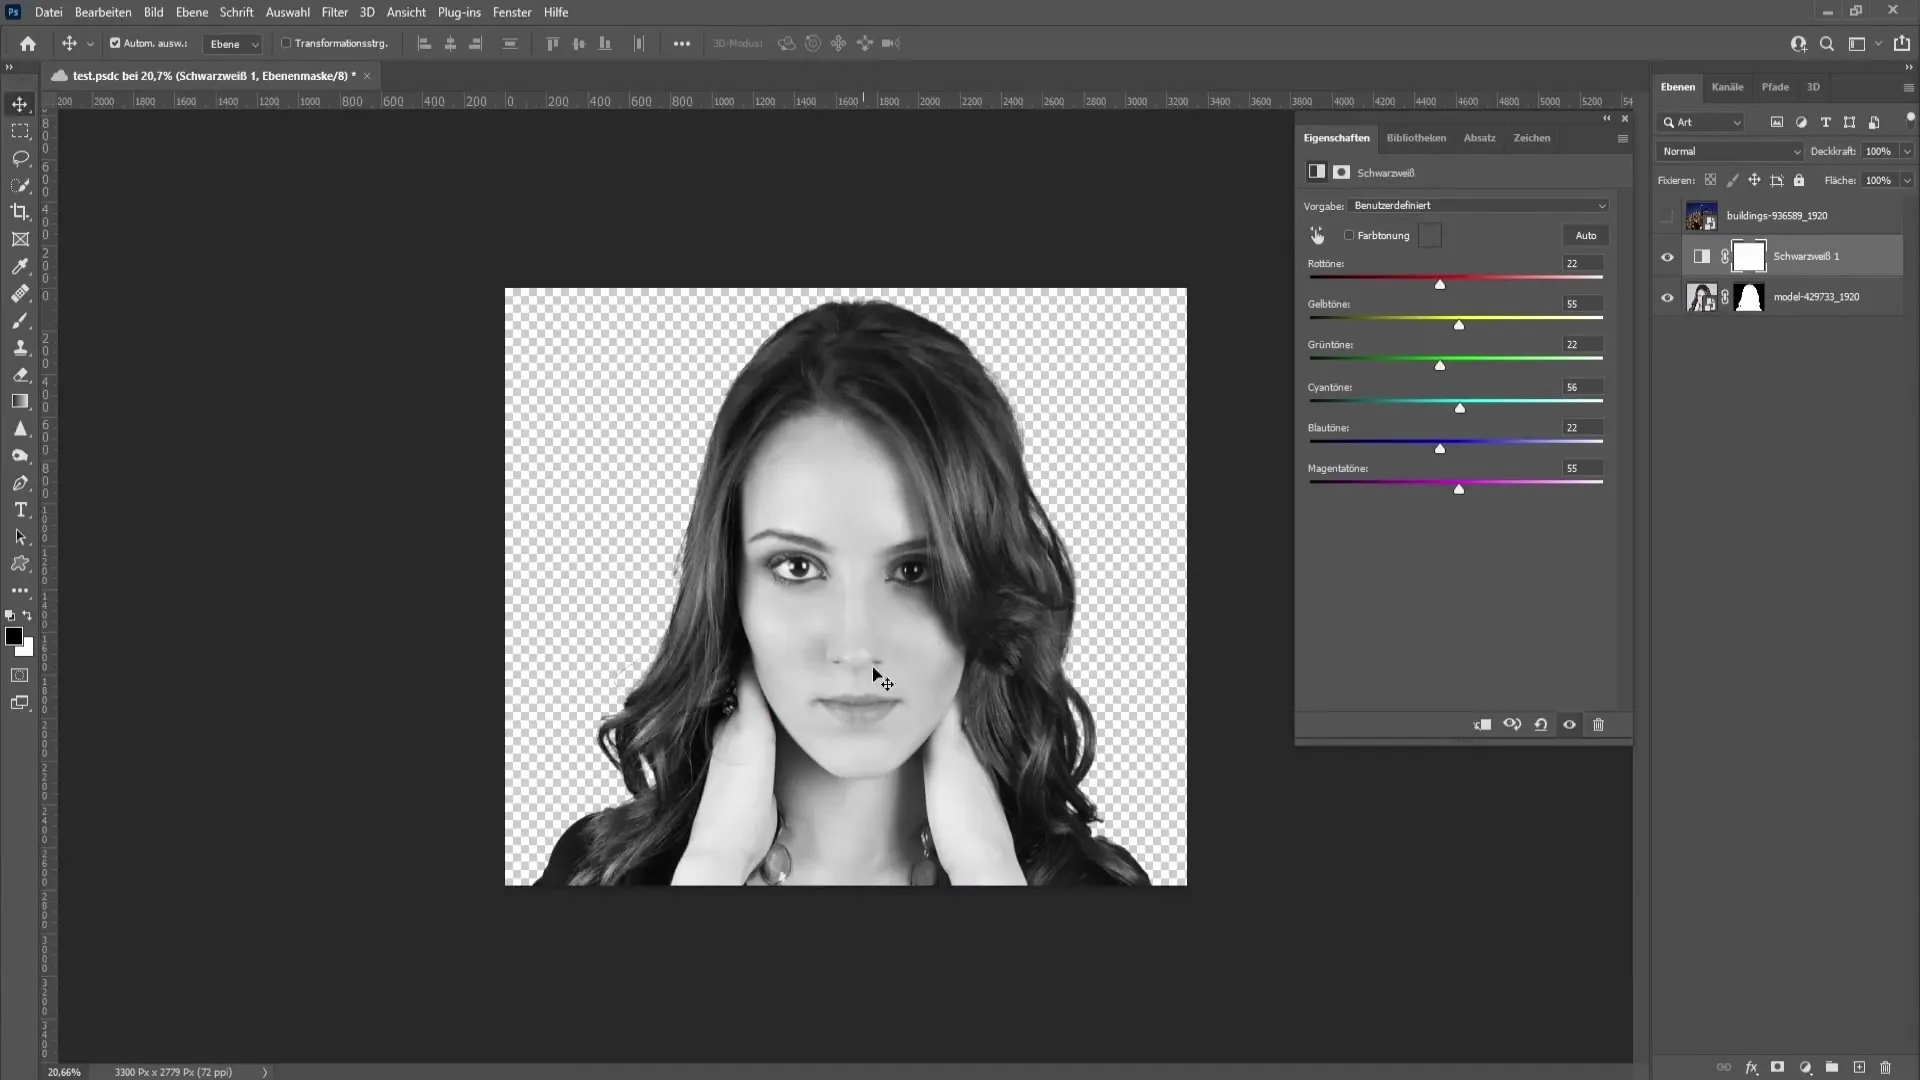
To add more dynamics, apply a "Curves" adjustment. In the corrections, find the "Curves" again and pull the curve down to significantly darken the image while retaining some details.
Step 3: Adjusting the City Image
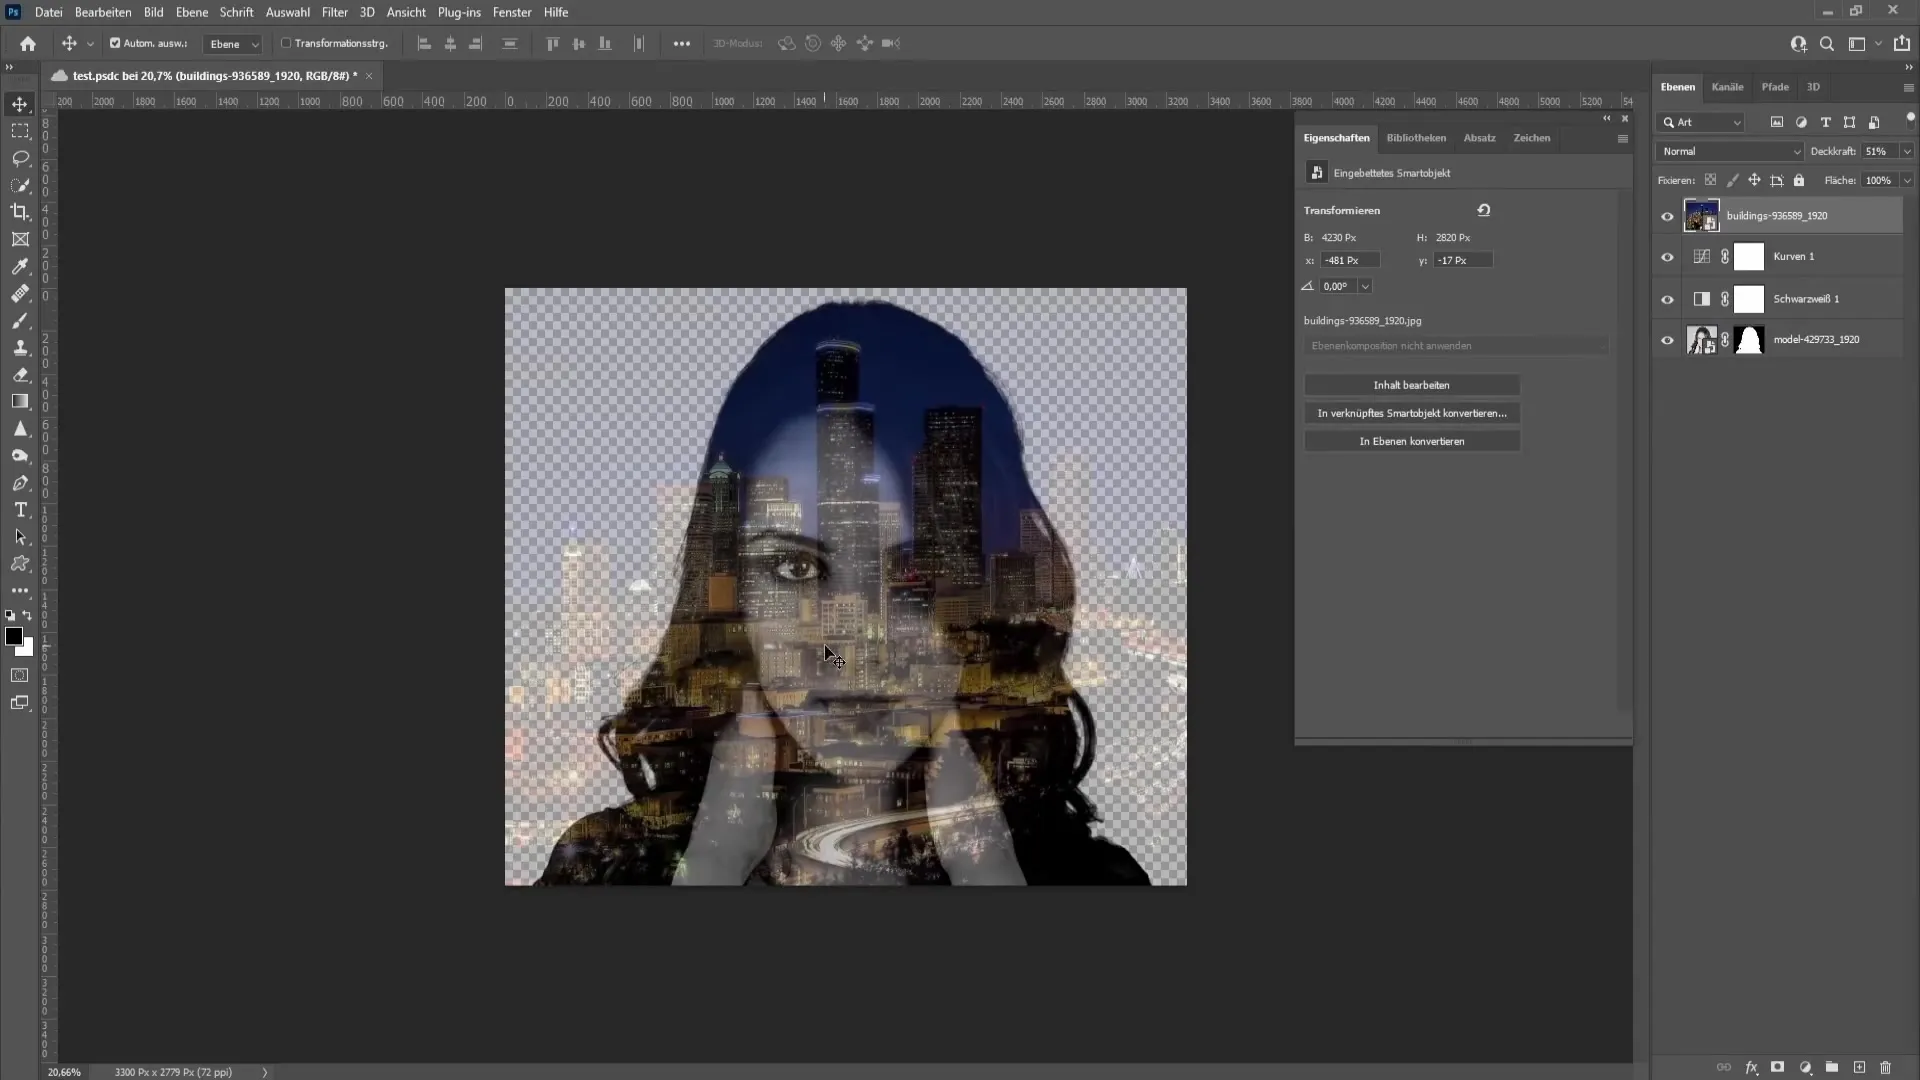
Now let's focus on the city image. Select the city image and initially reduce the opacity to align it relative to the person at the desired position. This way, you can gently place the city behind the person without distracting from the main subject.
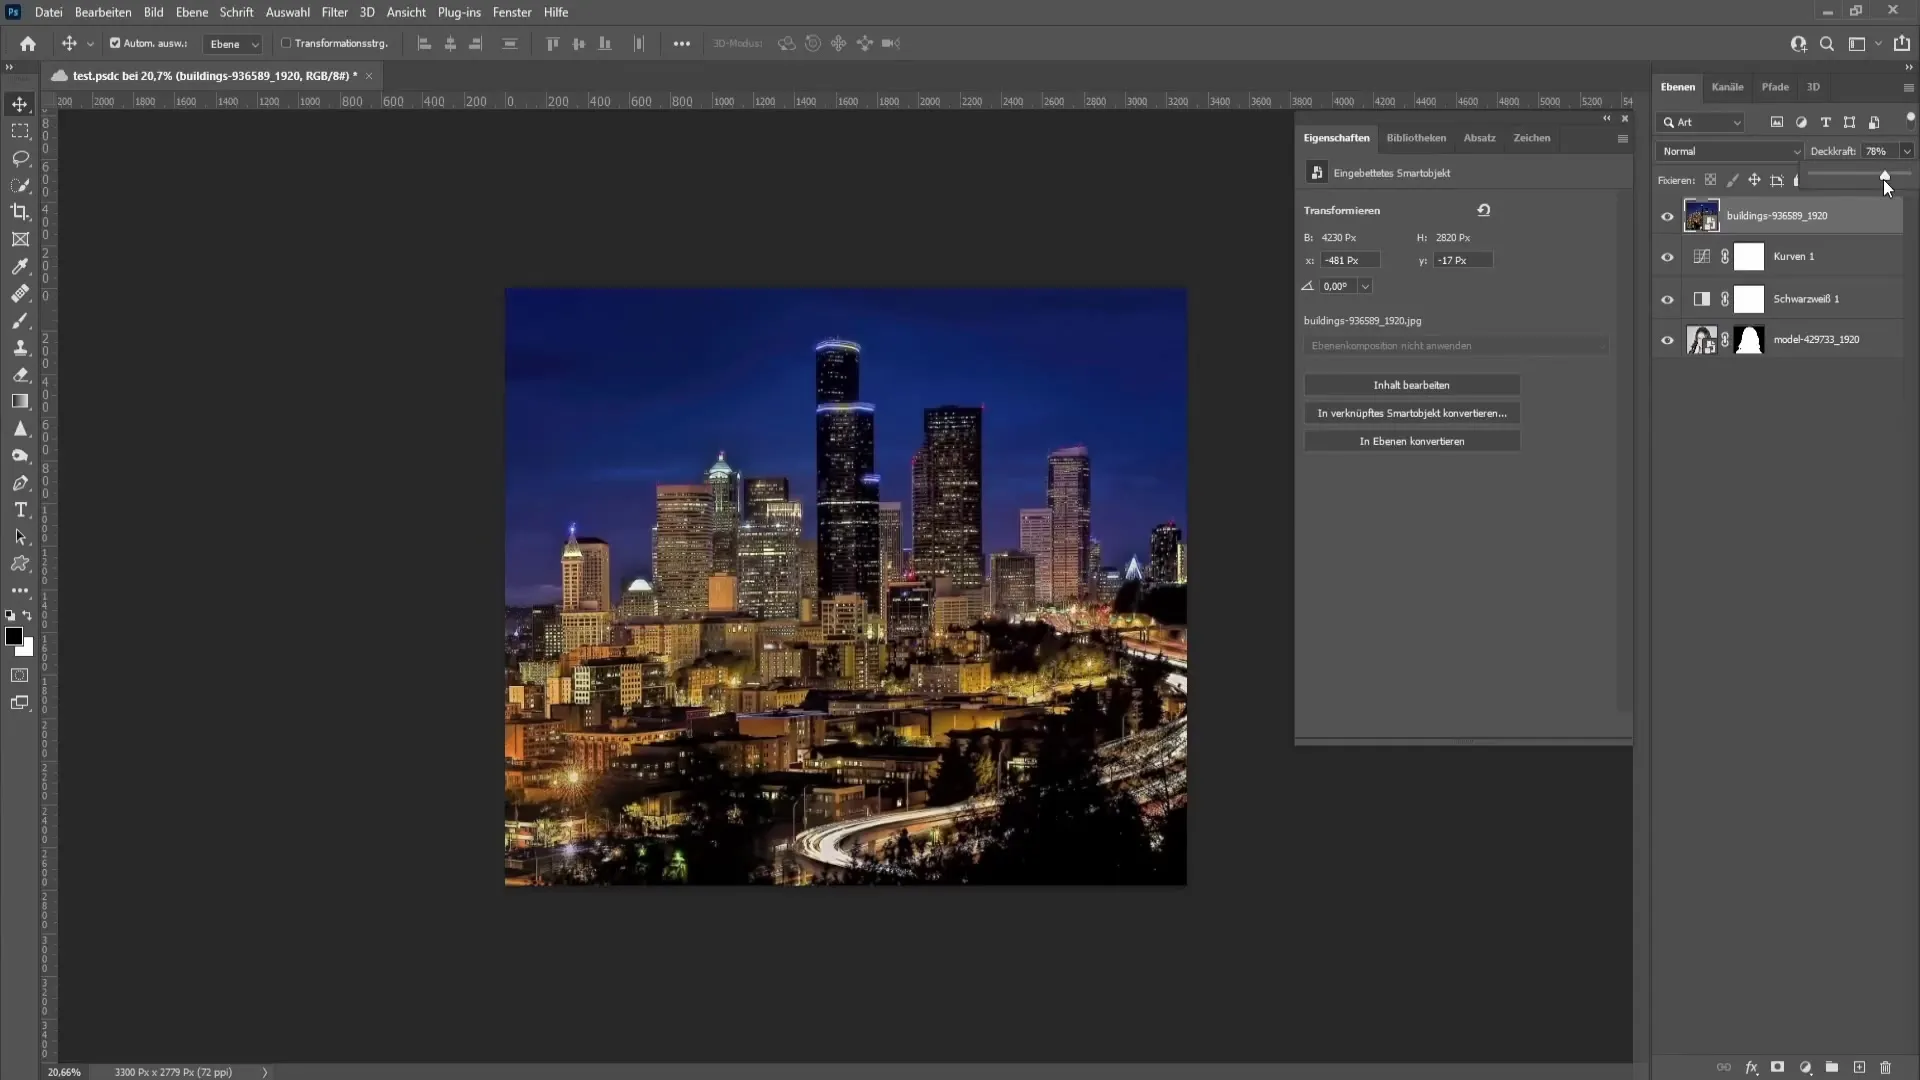
You can adjust the position until it looks good. Then, increase the opacity back to 100%.
Step 4: Creating Selection on the Person
To mask the city correctly, we will now create a selection for the person. Hold down the control key and click on the layer mask of your person. This creates the necessary selection.
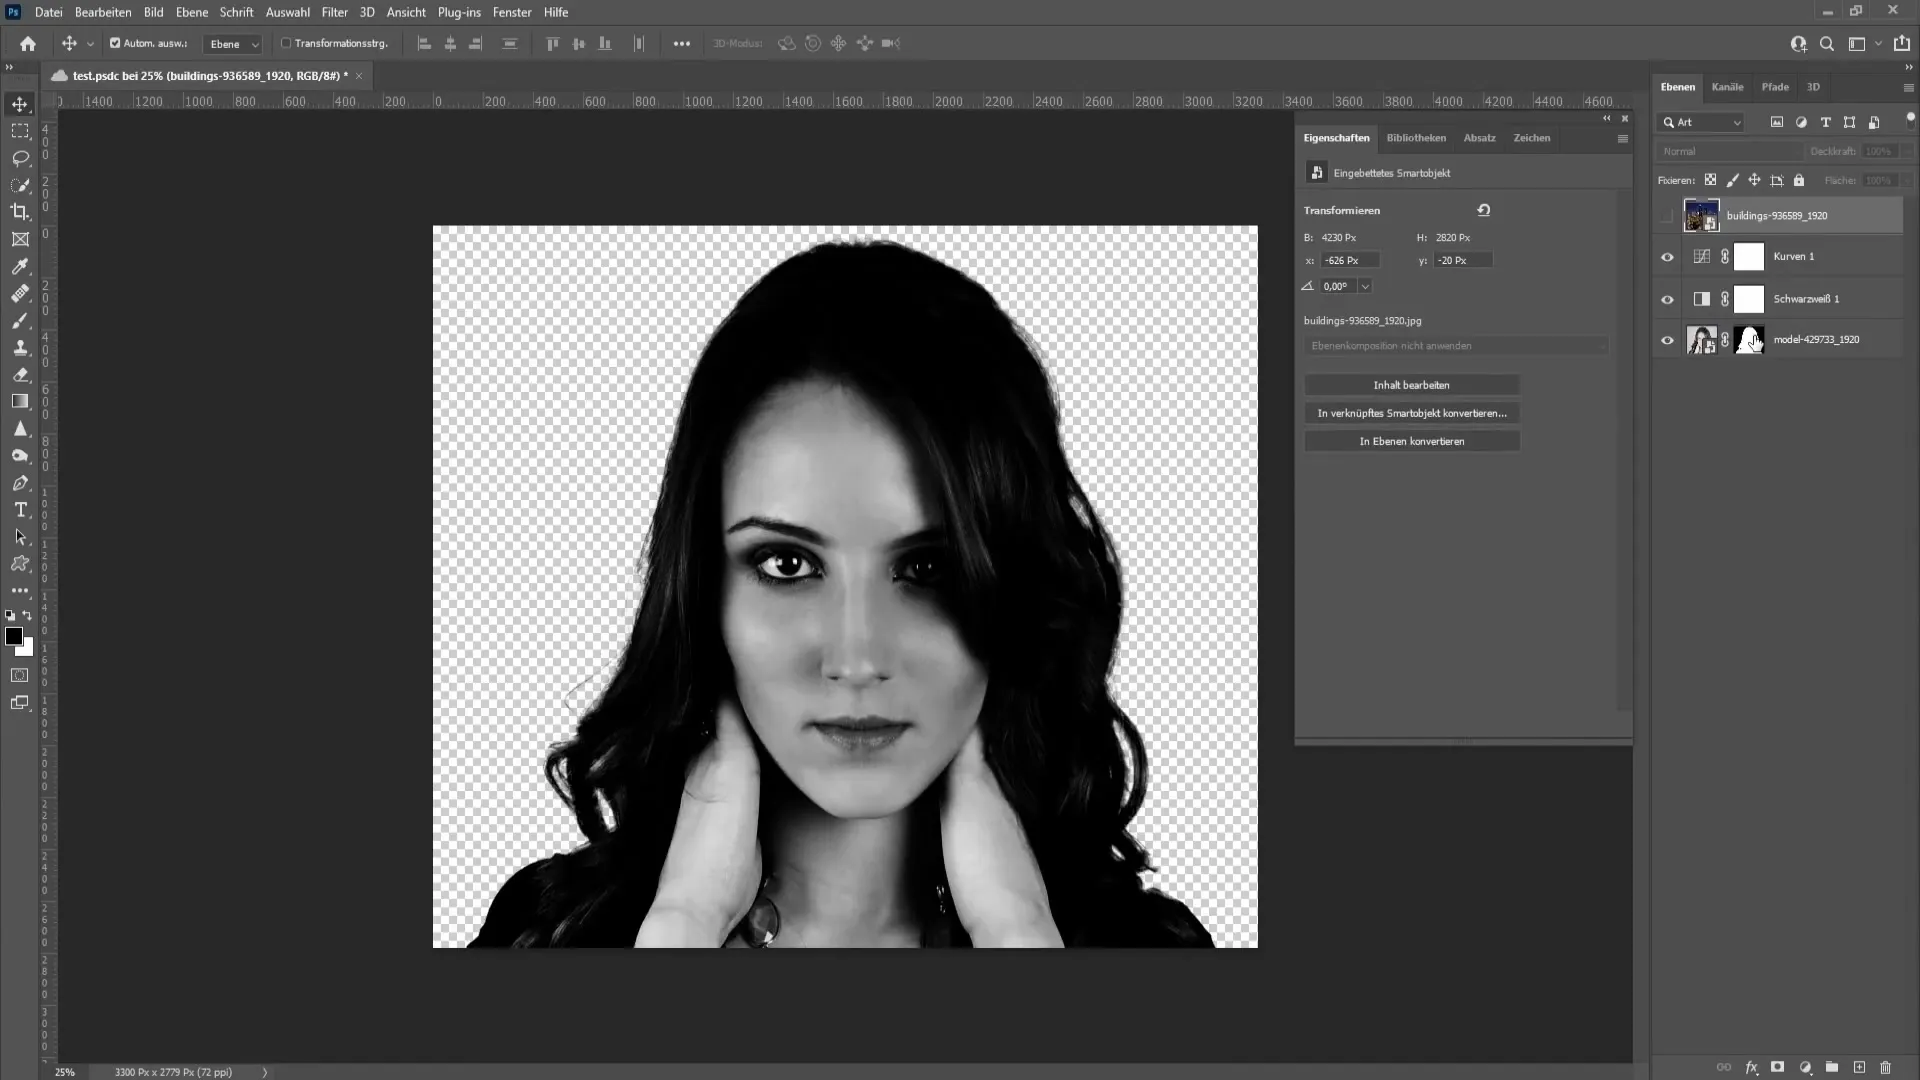
Now, go to the layer of the city image and click on the "Layer Mask" to display the city masked.
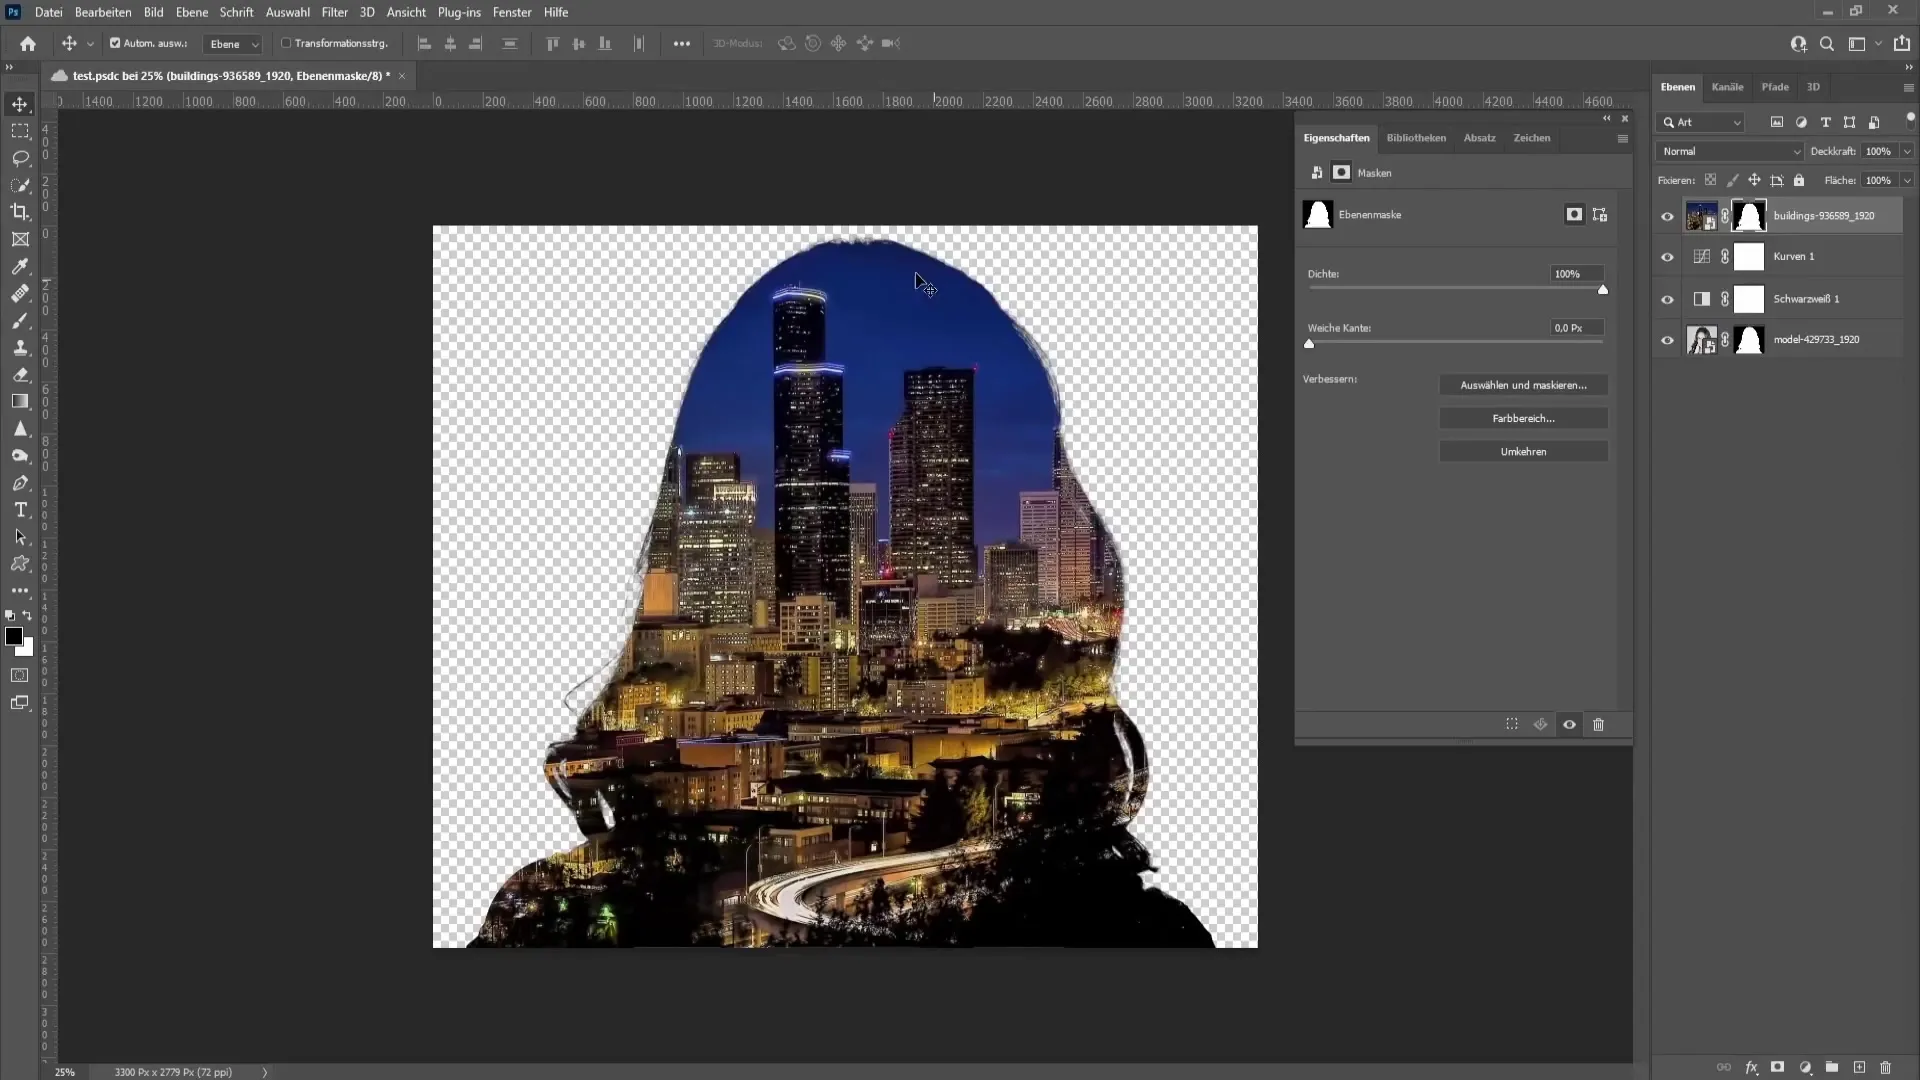
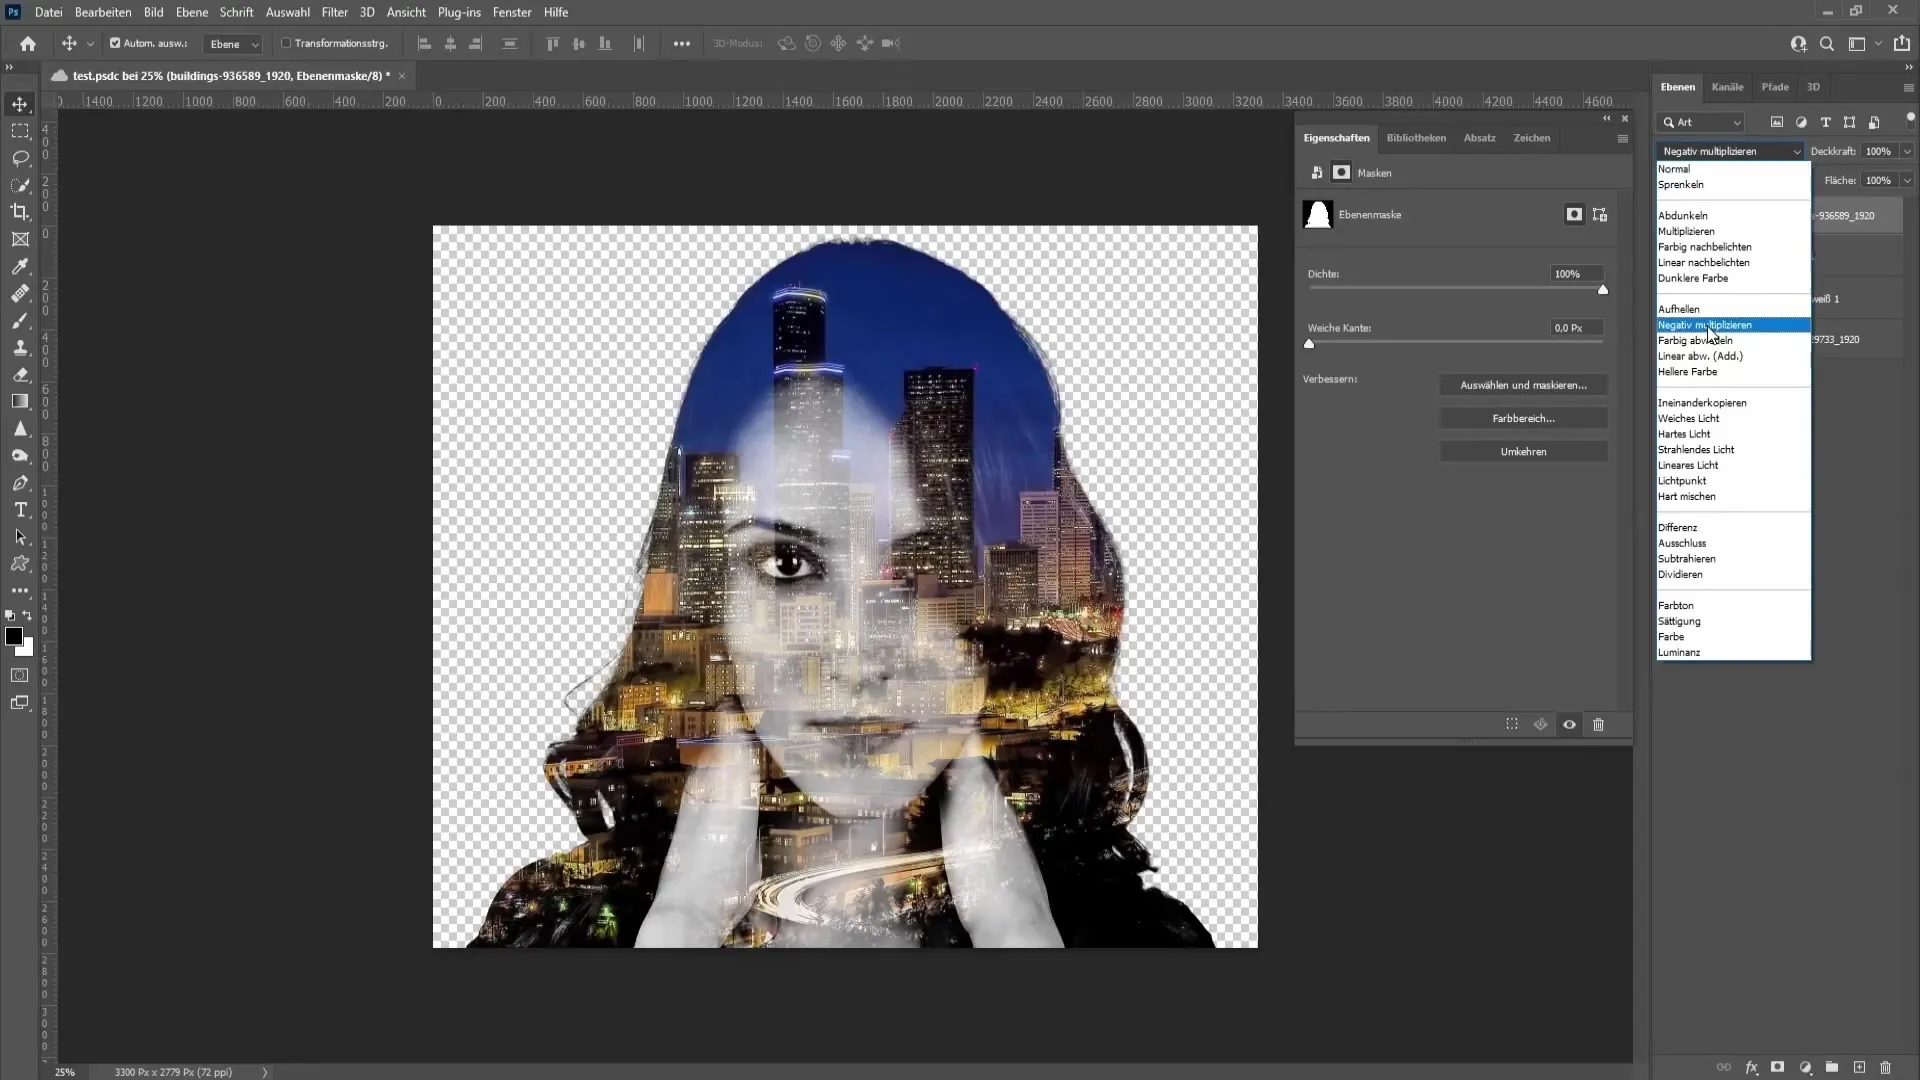
Step 5: Adjust Blend Mode
To intensify the effect, change the blending mode of the city to "Lighten" or "Multiply". Experiment with the two modes to achieve the desired effect. I prefer "Lighten", so I will set that now.
Repeat this process for the black and white conversion of the city and create a "Clipping Mask".
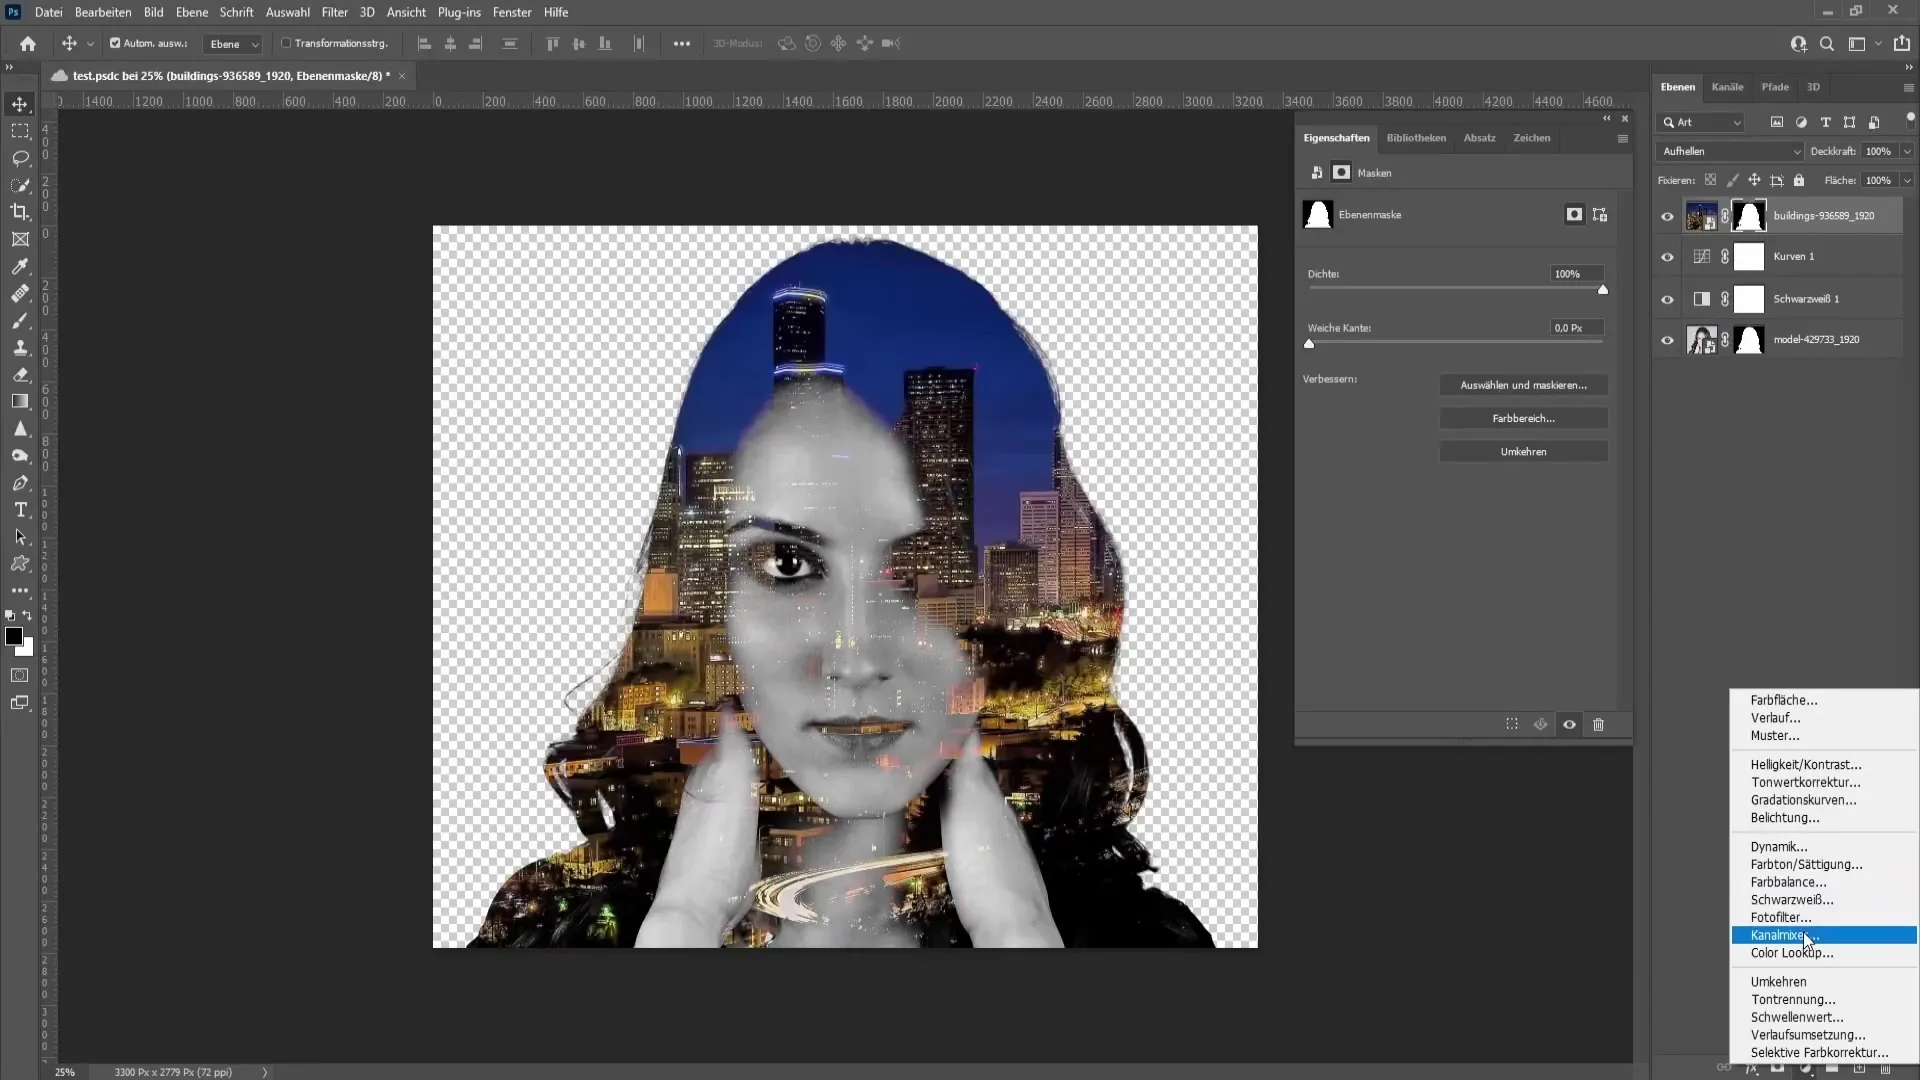
Step 6: Fine-tuning
To complete the overall image, you can once again apply a "Curves" adjustment to modify the brightness and contrast. If necessary, increase the brightness to make the city in the background more visible.
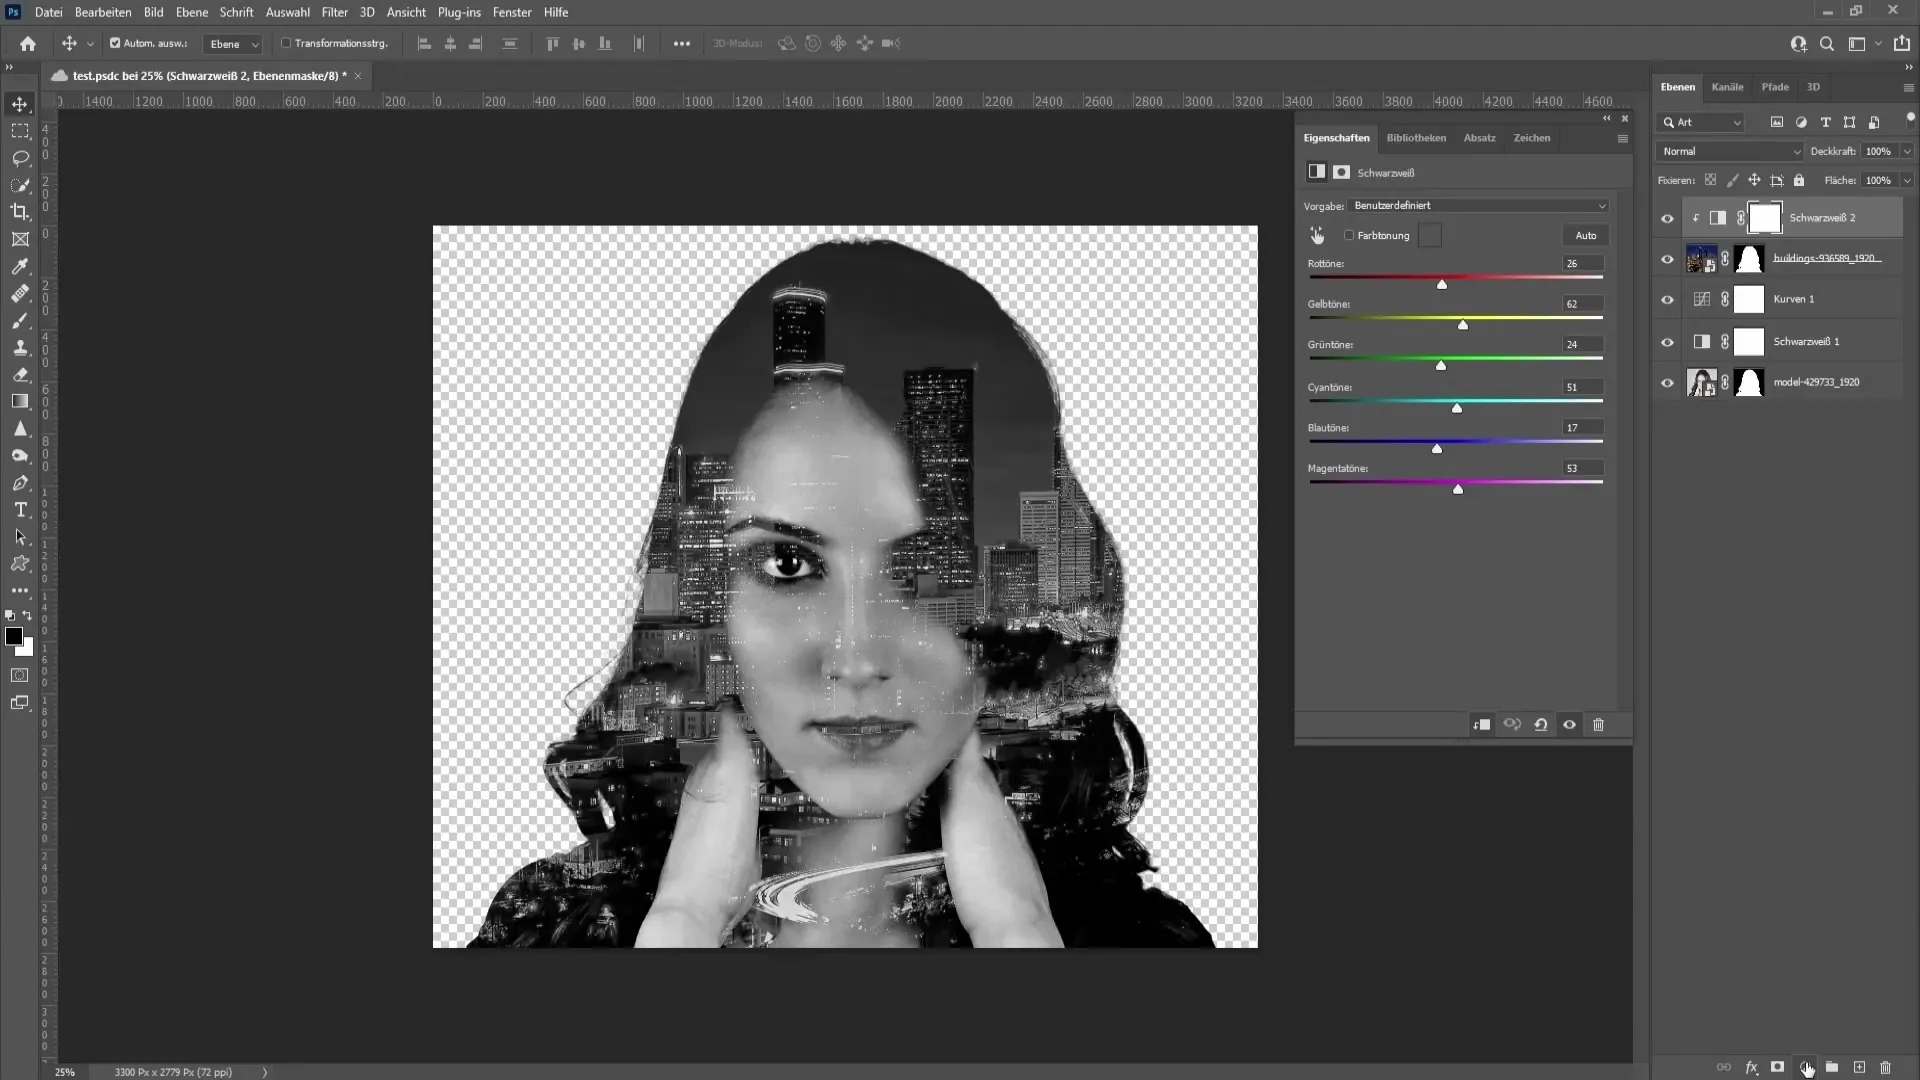
If you want to use the second method of the clipping mask, you can do so by clicking on the corresponding clipping mask symbol.
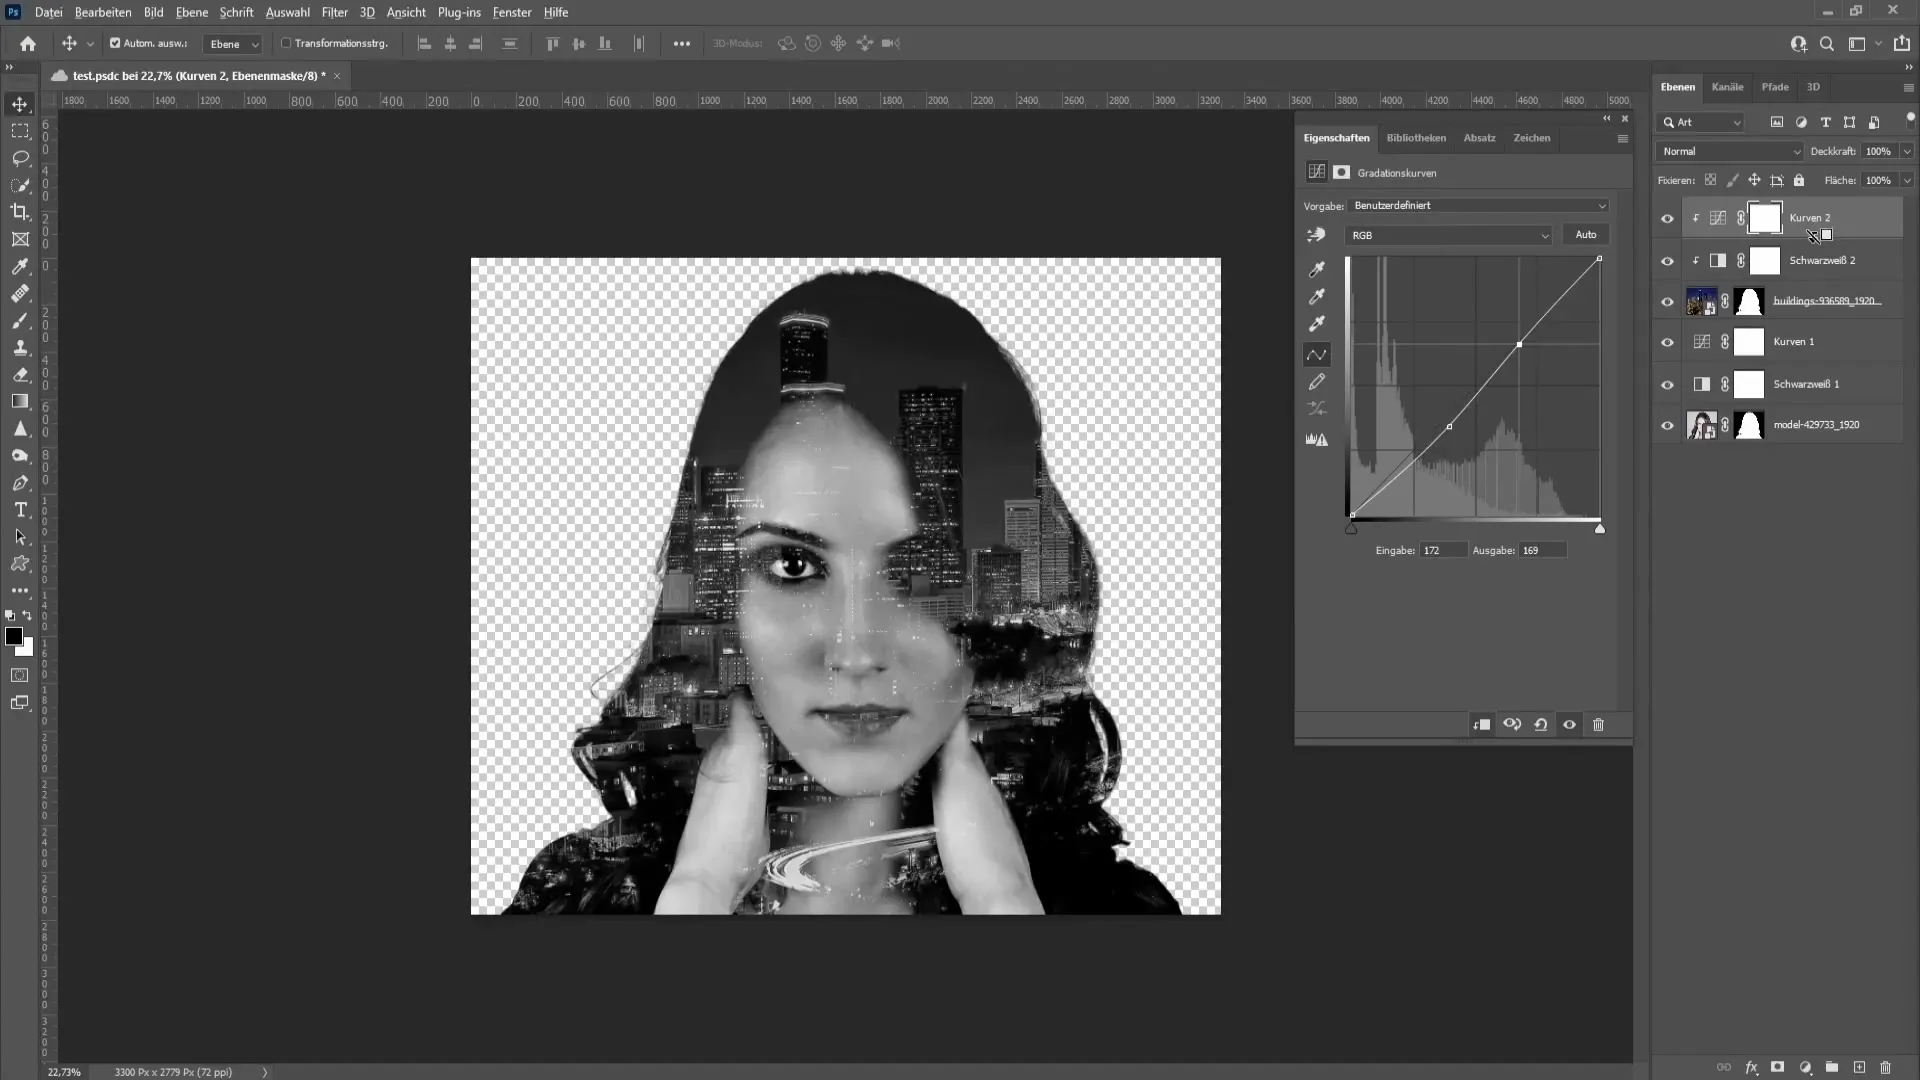
Step 7: Further Adjustments
If the city is still too prominent for you, you can reduce the visibility of the city by decreasing the opacity.
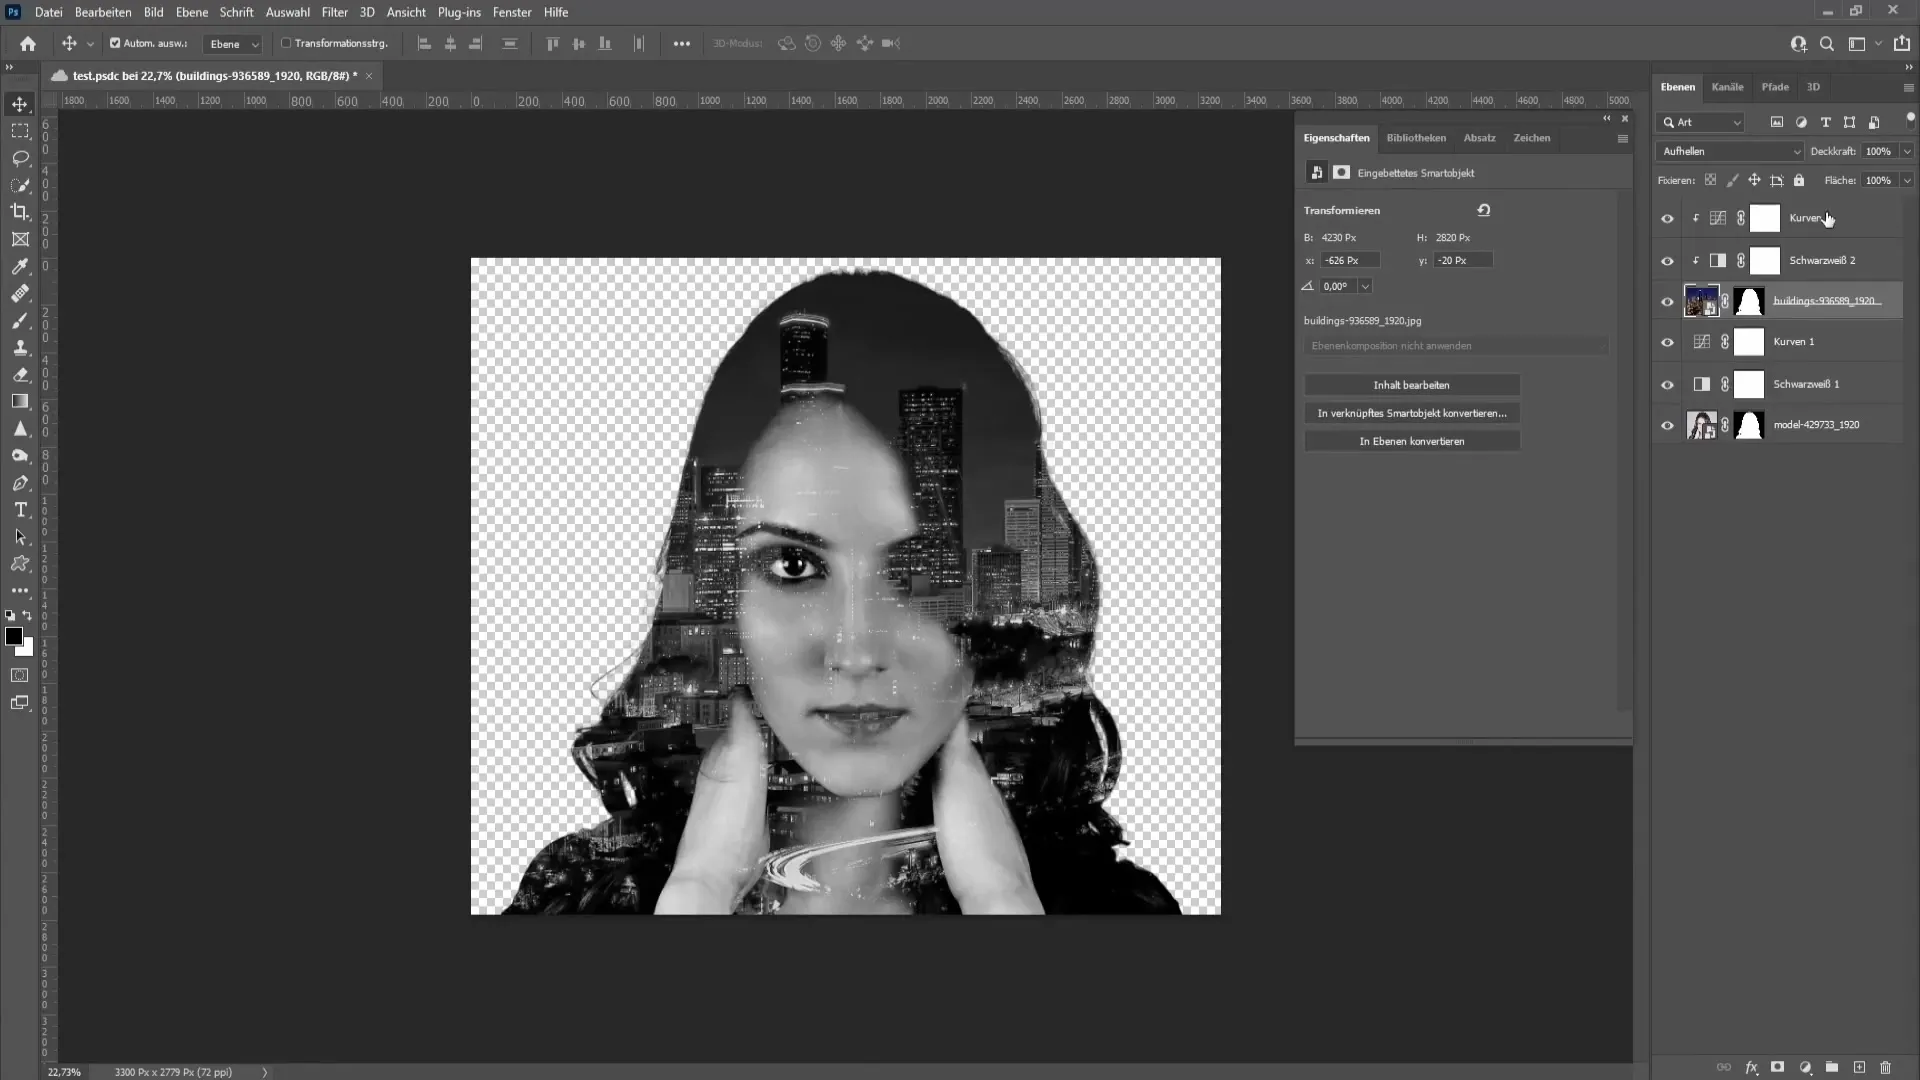
At this point, you are almost there. To highlight the person more, go to the layer mask of the city and take a brush with a low flow rate (2-3%) and a hardness of 0. Lightly paint the person's face to make it more visible.
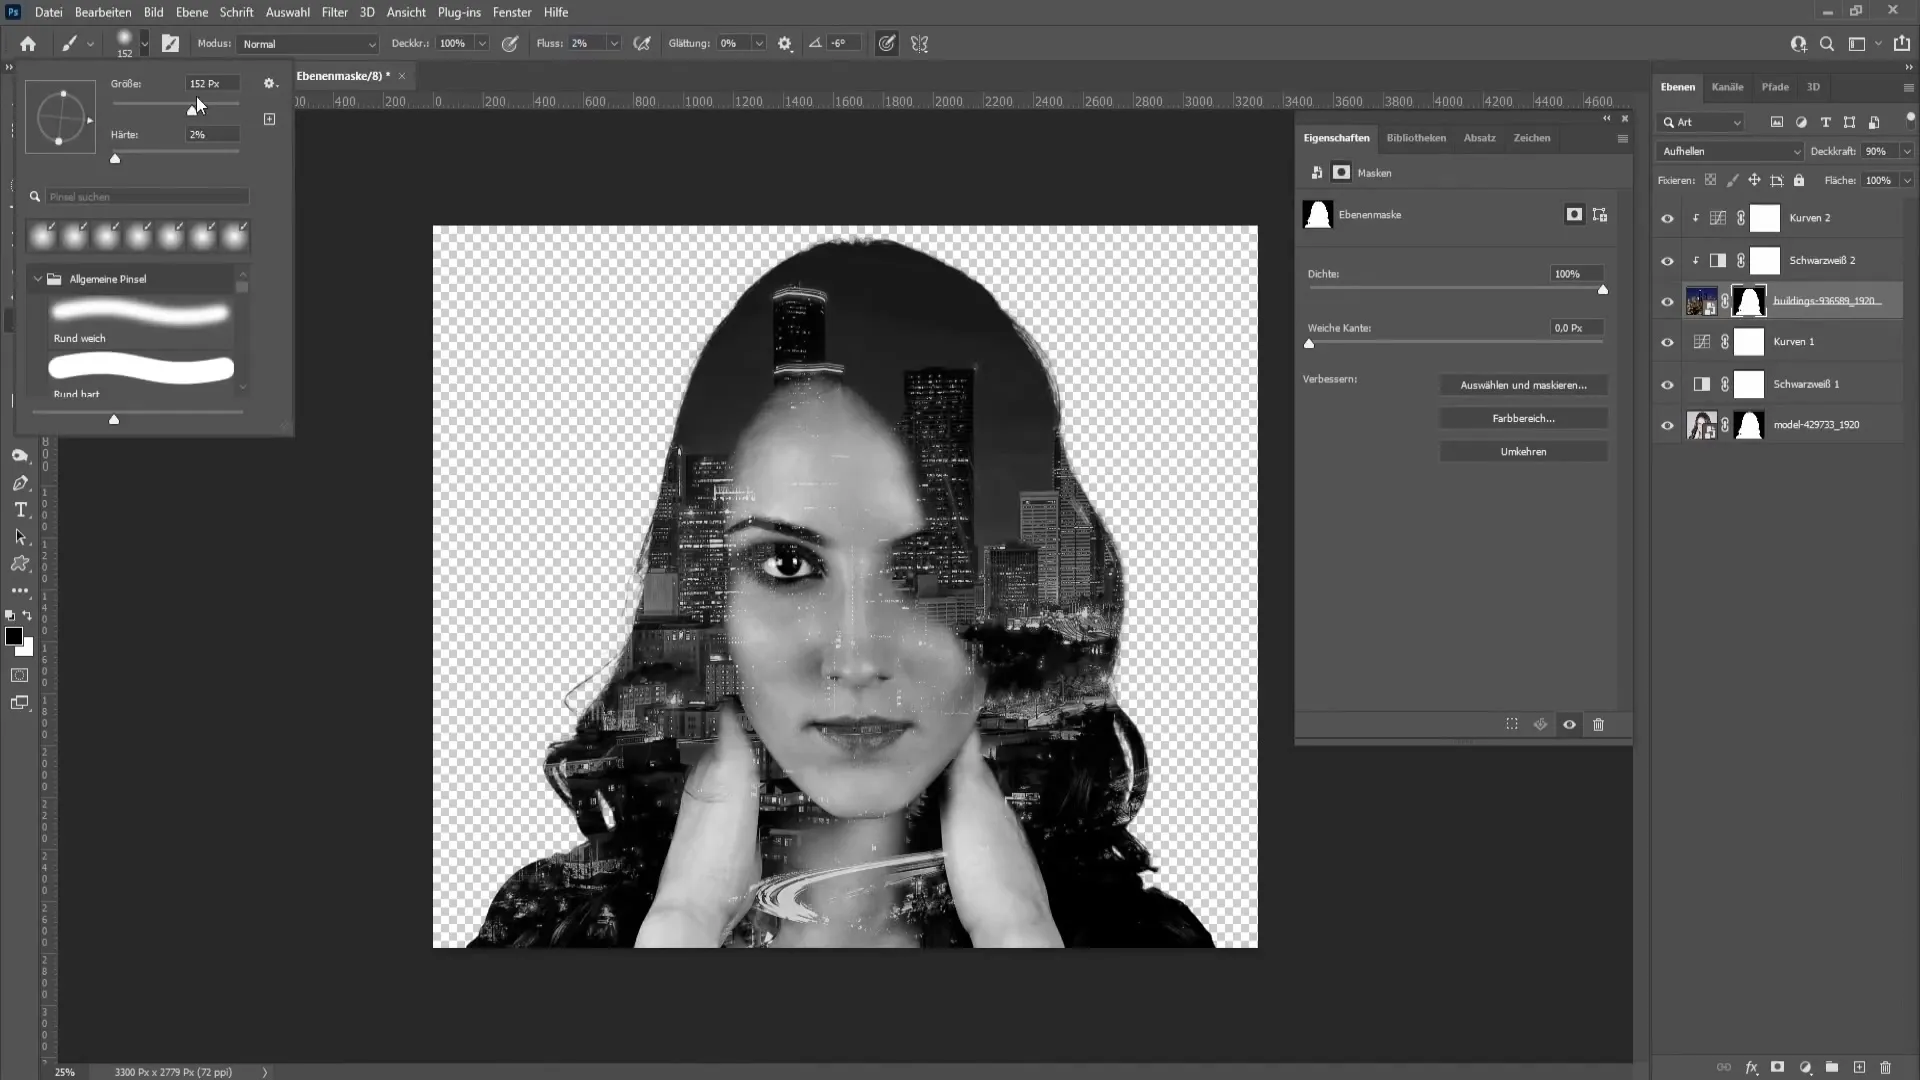
Make sure to proceed carefully to highlight only the face and suitable areas.
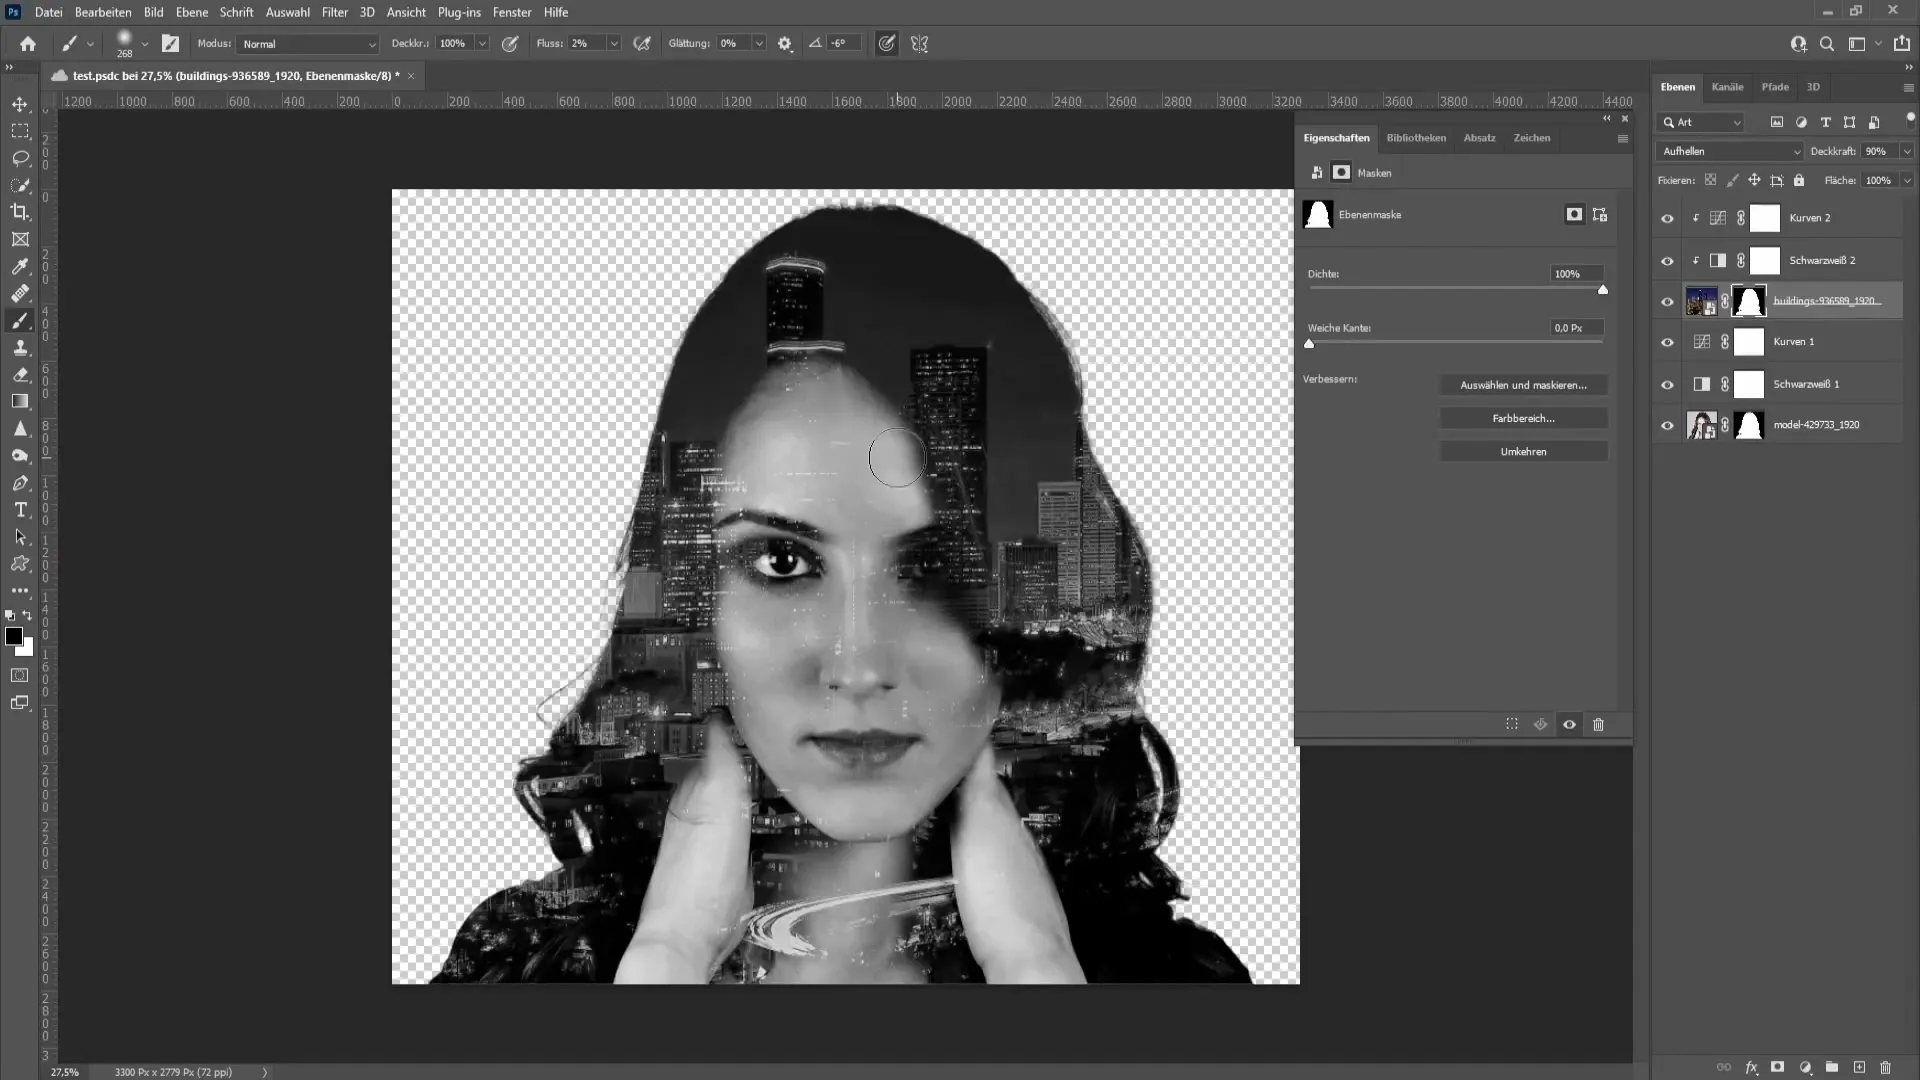
If you are satisfied with the result, you can add some color to the city by slightly reducing the opacity of the black and white layer.
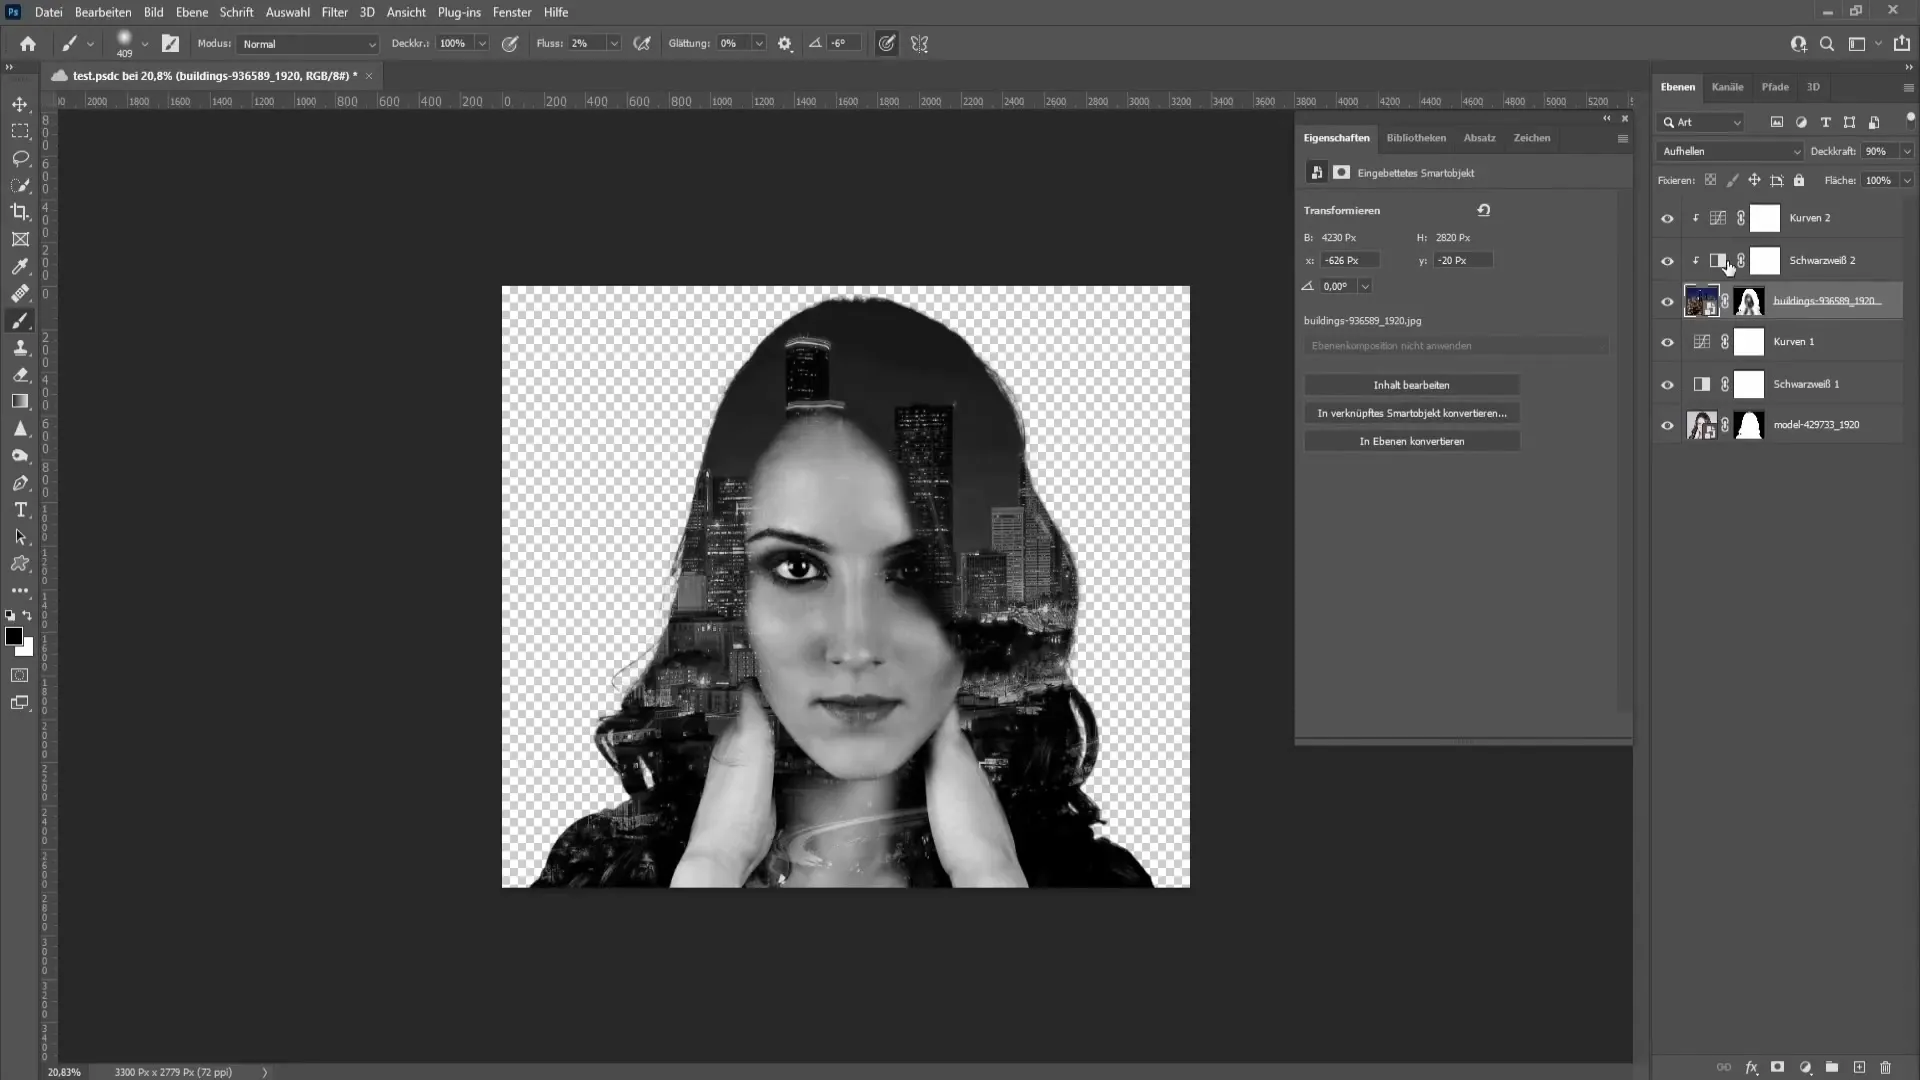
Finally, you can retouch fine hairs that may be distracting with a new blank layer and black paint.
Summary
In this tutorial, you learned how to blend two images in Photoshop to achieve a creative effect. The steps involved selecting the subjects, masking the layers, and adjusting the black and white corrections. With these techniques, you can create exciting and visually appealing image compositions.
Frequently Asked Questions
How do I best isolate the image in Photoshop?Use the "Subject Selection" feature and a layer mask to roughly isolate.
Can I undo the black and white conversion?Yes, you can always reset or remove the adjustment layer.
How can I change the visibility of a layer?Select the layer and adjust the opacity in the Layers panel.


