In this tutorial, I'll show you how to convert a completely normal photo in Photoshop into a vector effect. You will learn how to achieve a stylish visual effect step by step using various filters and adjustments. Whether for graphics, illustrations, or simply for creative projects, this technique will help you elevate your images to a new level.
Main Takeaways
- You will learn the basics of image selection in Photoshop.
- Filter such as oil paint, tonal separation, and sharpen will create a vector effect.
- Adjustments like tone corrections will help you achieve the desired contrasts and colors.
Step-by-step Guide
First, you can open Photoshop and create a new project.

Load your desired normal image into Photoshop. To do this, select the file and import it into your workspace.
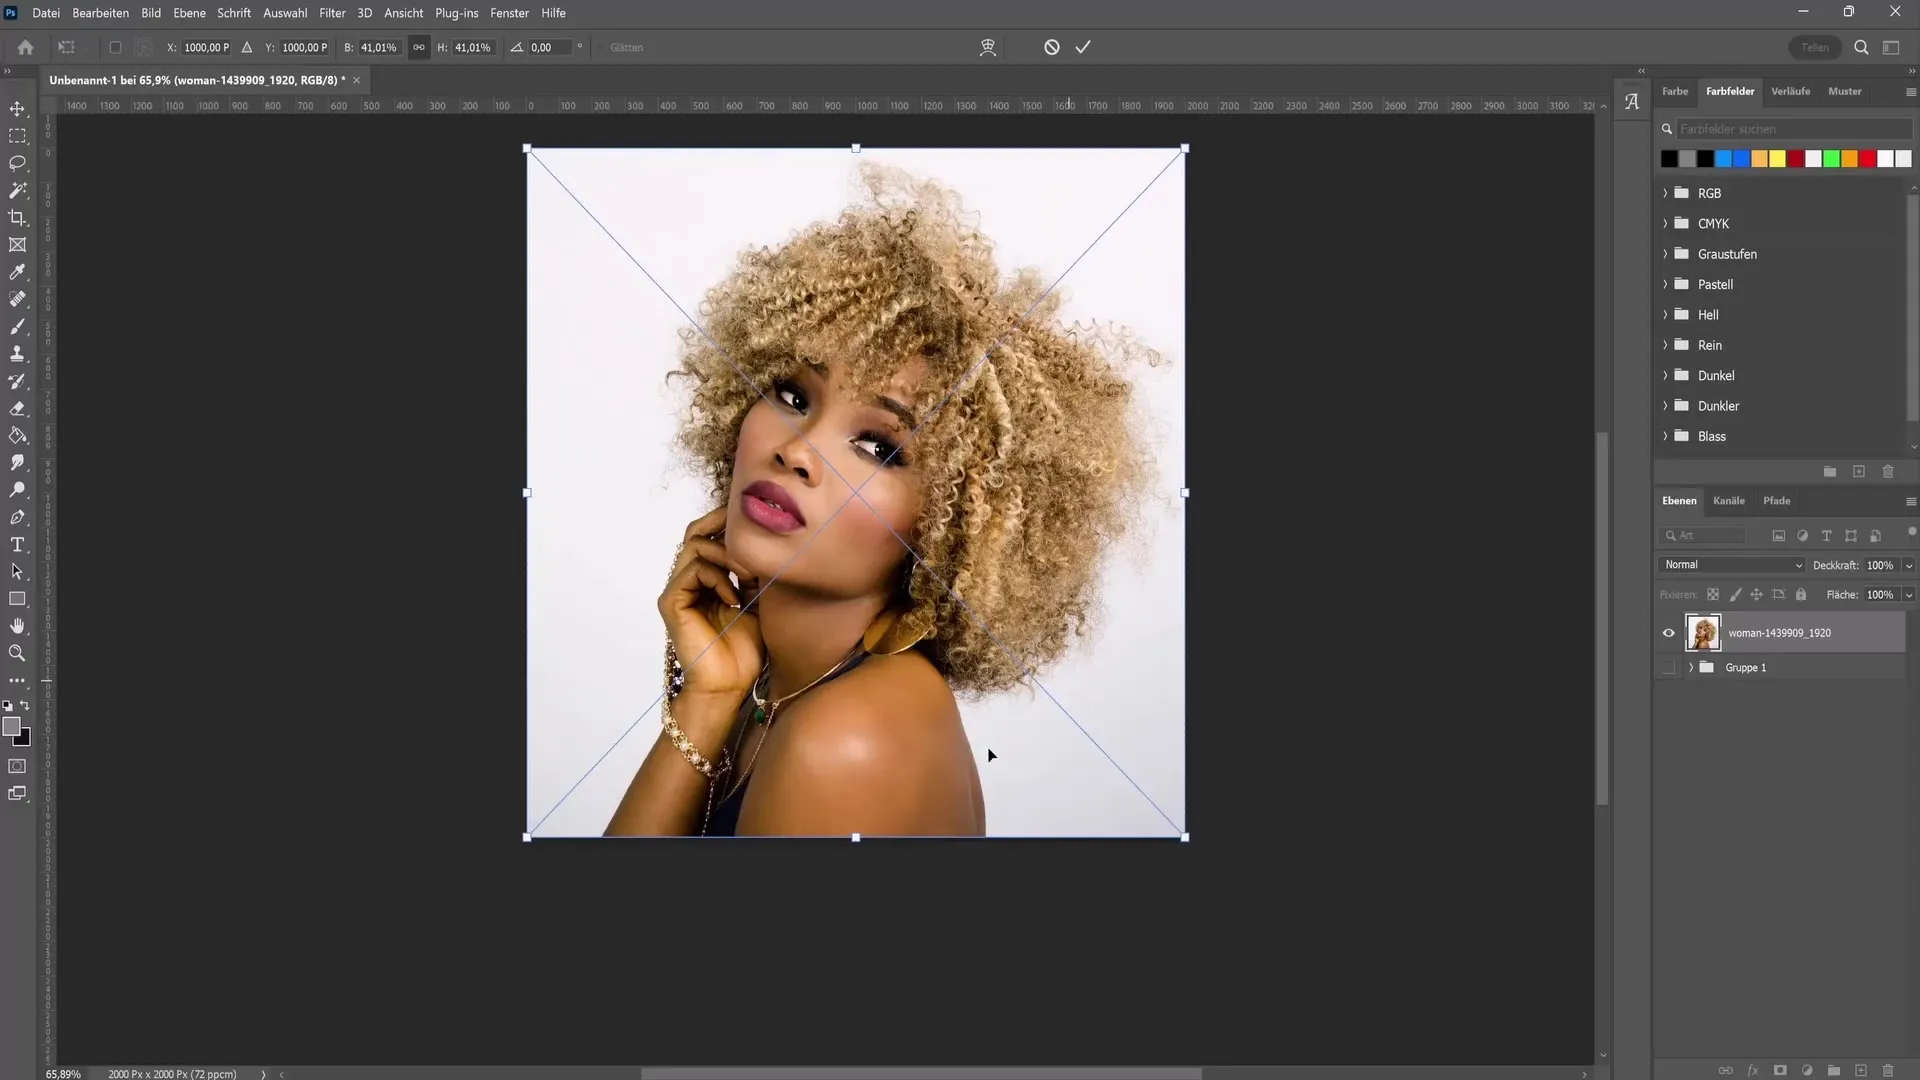
Now it's time to free the person or main subject in the image. Click on the "Select Subject" tab in the upper left corner. Make sure the selection does not have to be perfect - a rough selection is sufficient at this stage.
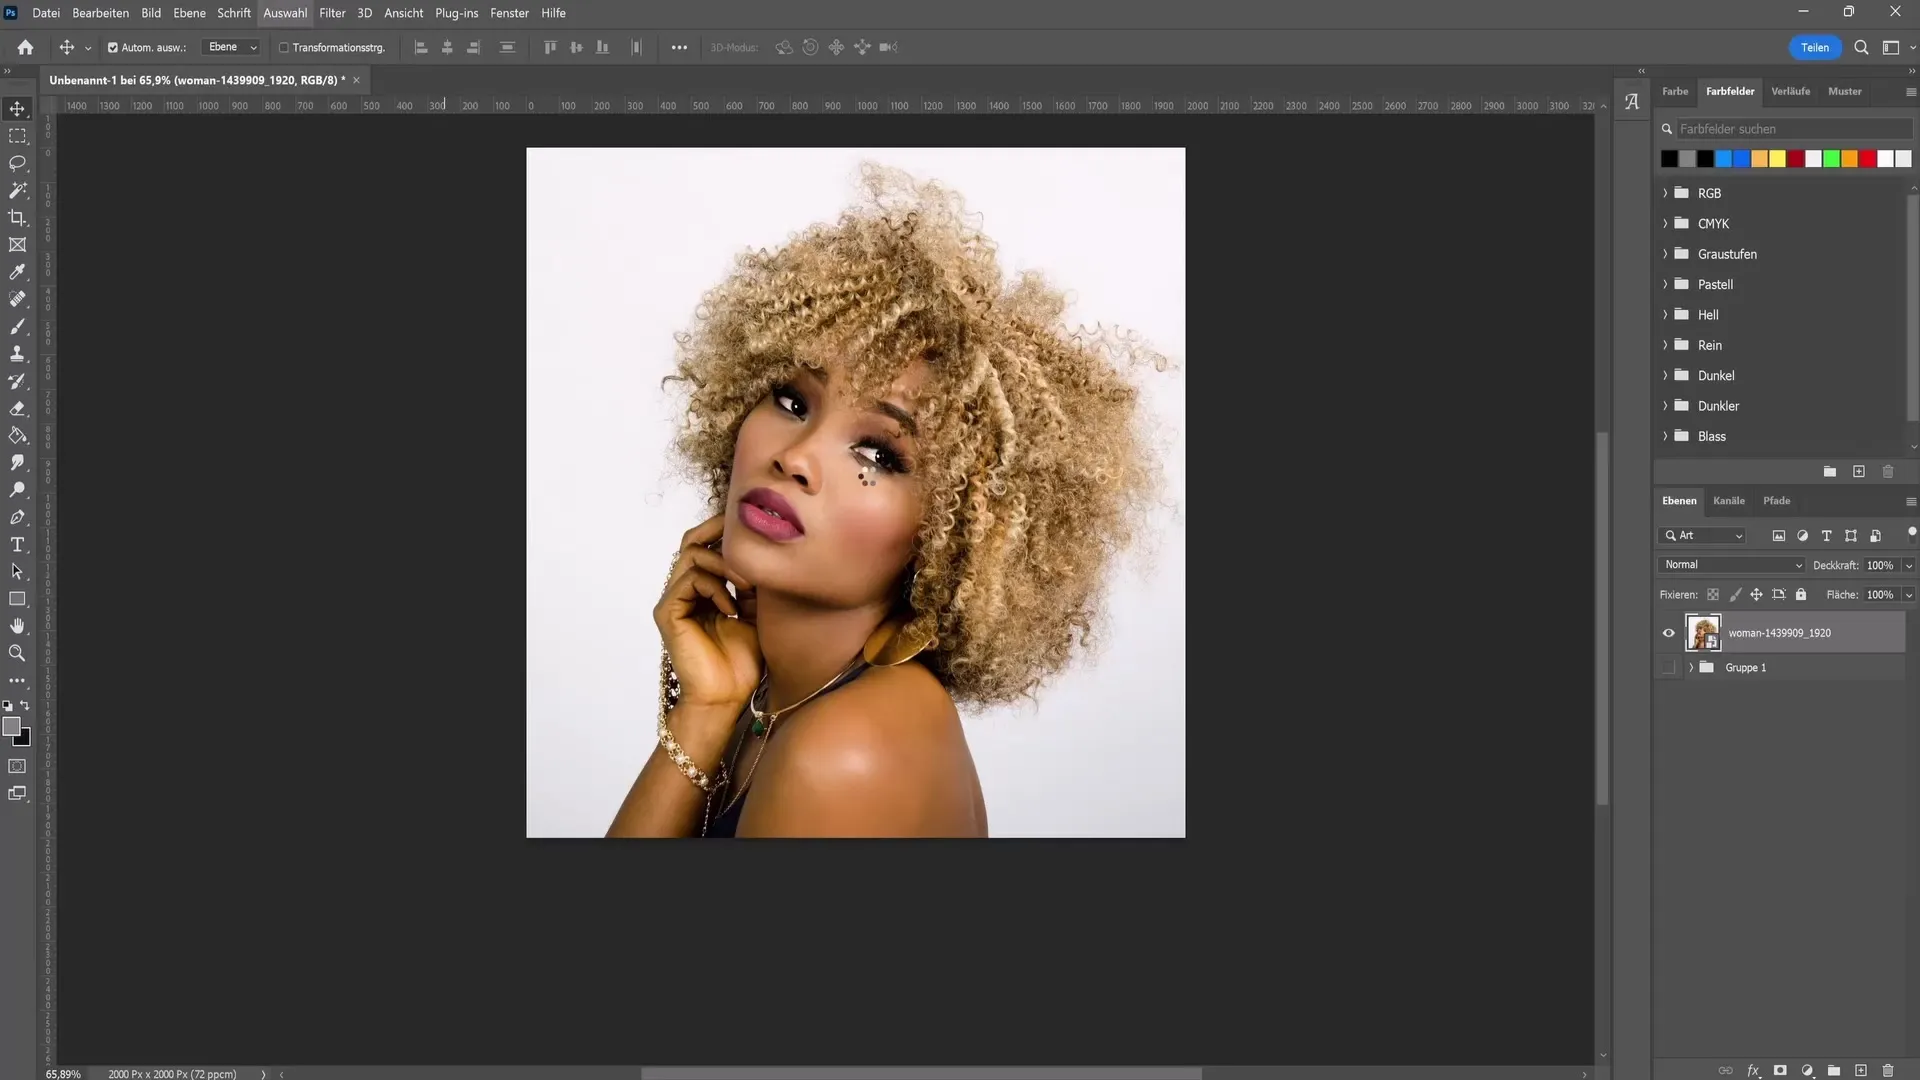
Once you have made the selection, click on the layer mask icon at the bottom right. This will successfully free your subject.
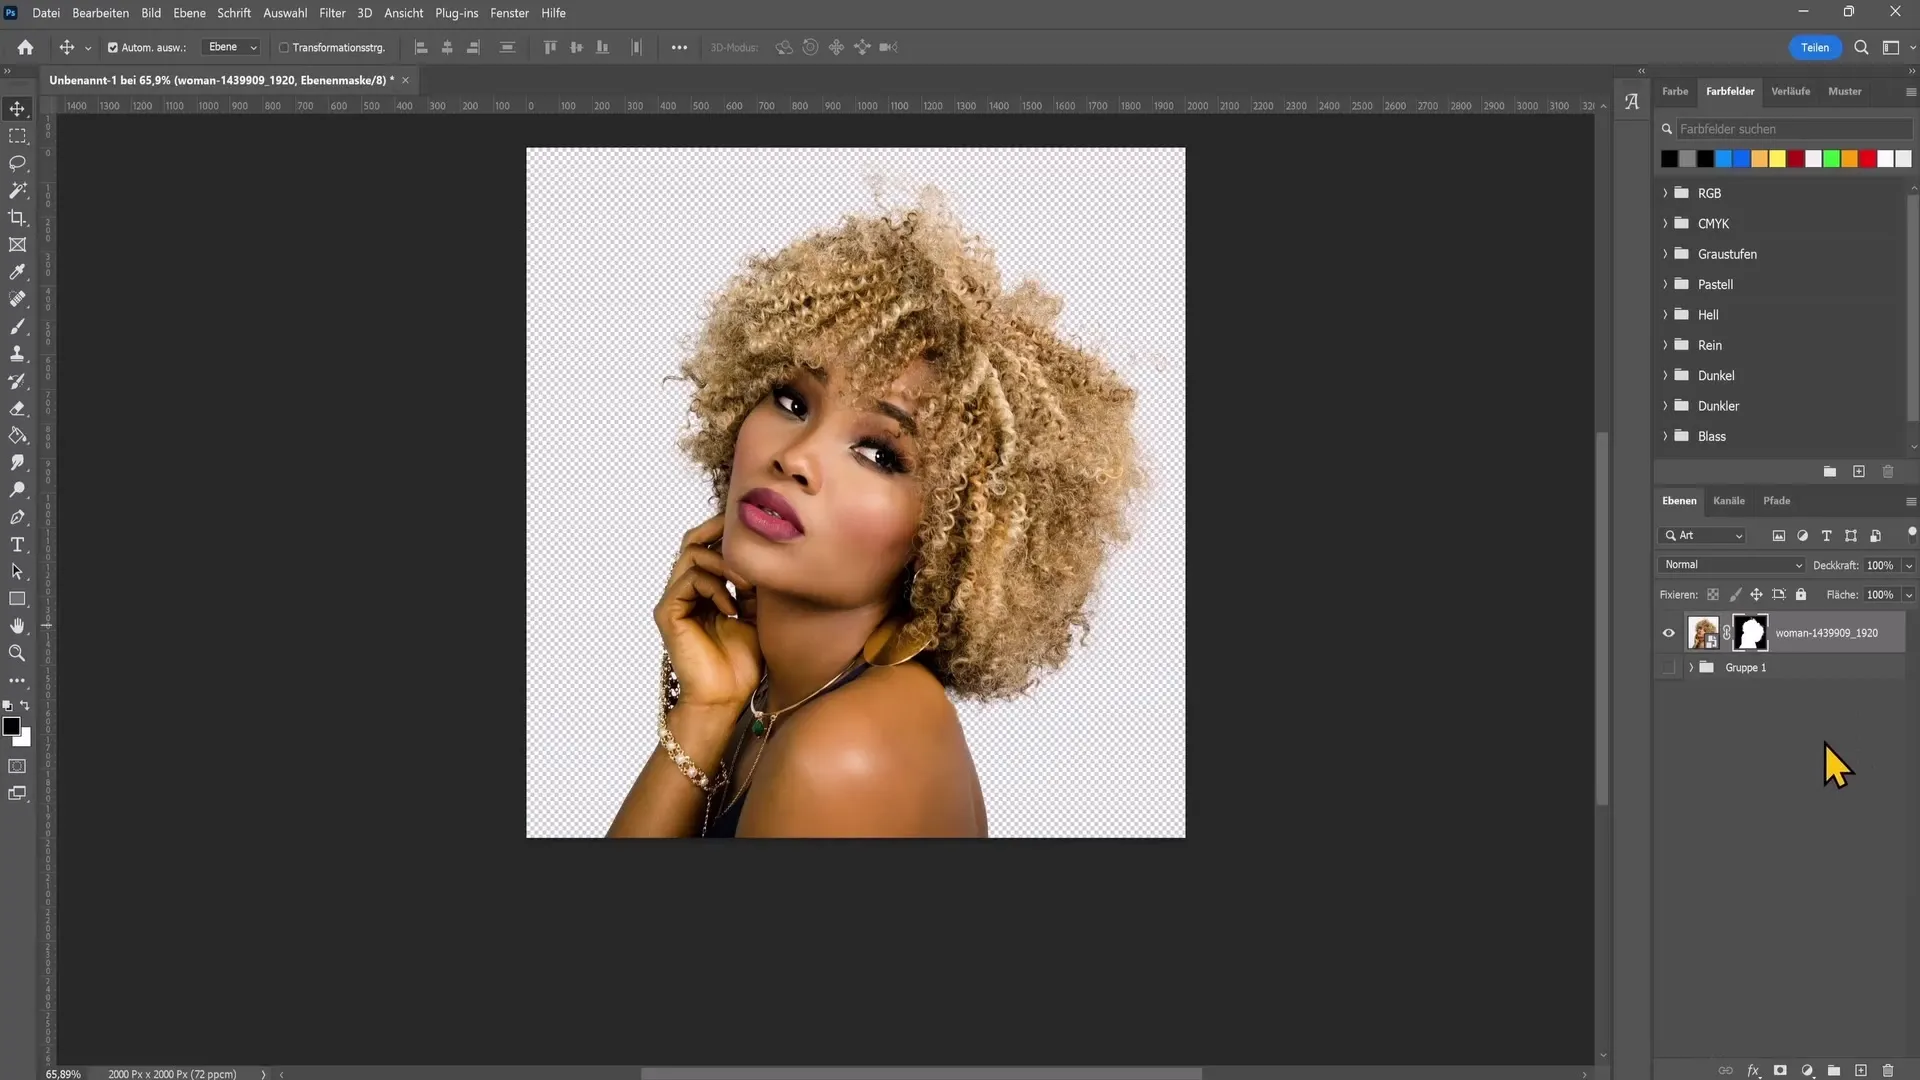
To continue with editing, right-click on the layer and select "Convert to Smart Object." This allows you to make later adjustments without loss of quality.
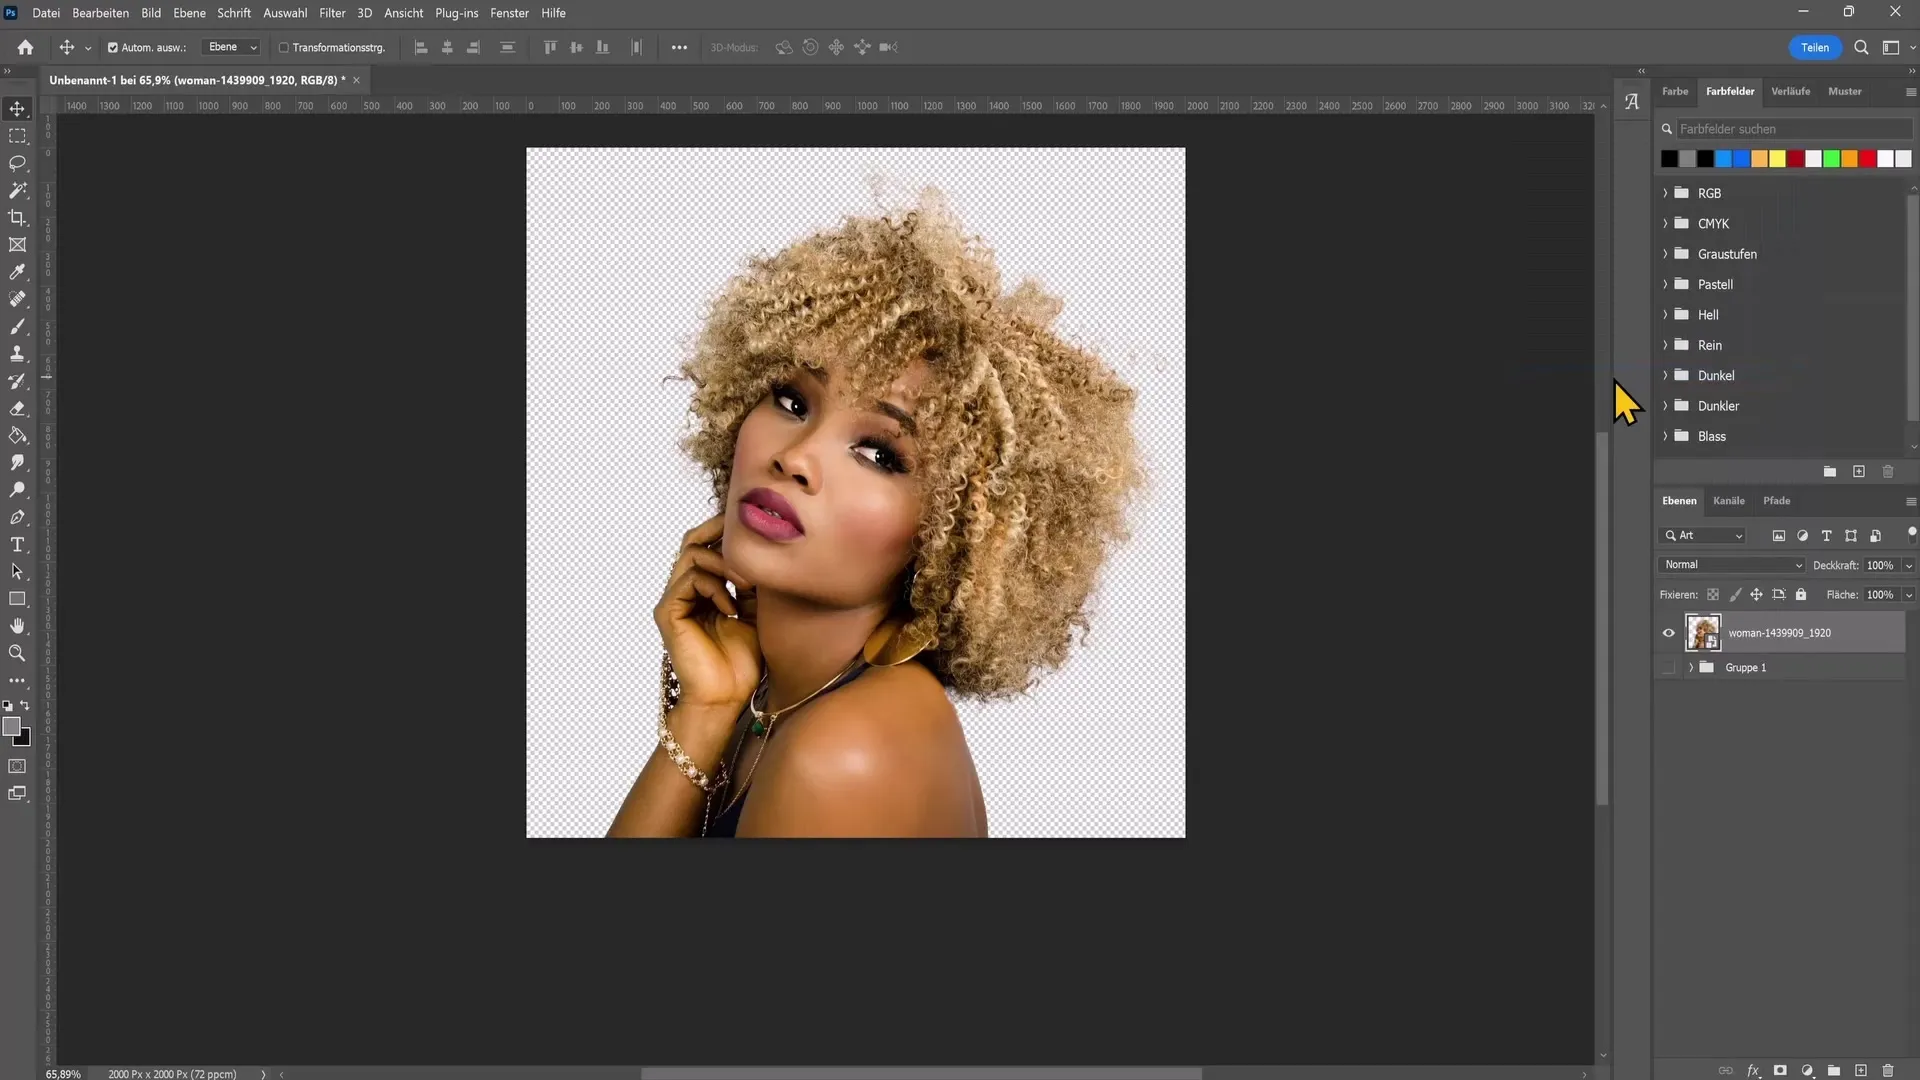
Now you can start with the first filters. Go to "Filter" and select the "Oil Paint Filter" from the Stylize filters. Accept the default settings or adjust them slightly before clicking "OK."
On the right side, you will now see the applied filters under your Smart Object. You can copy these at any time for other images.
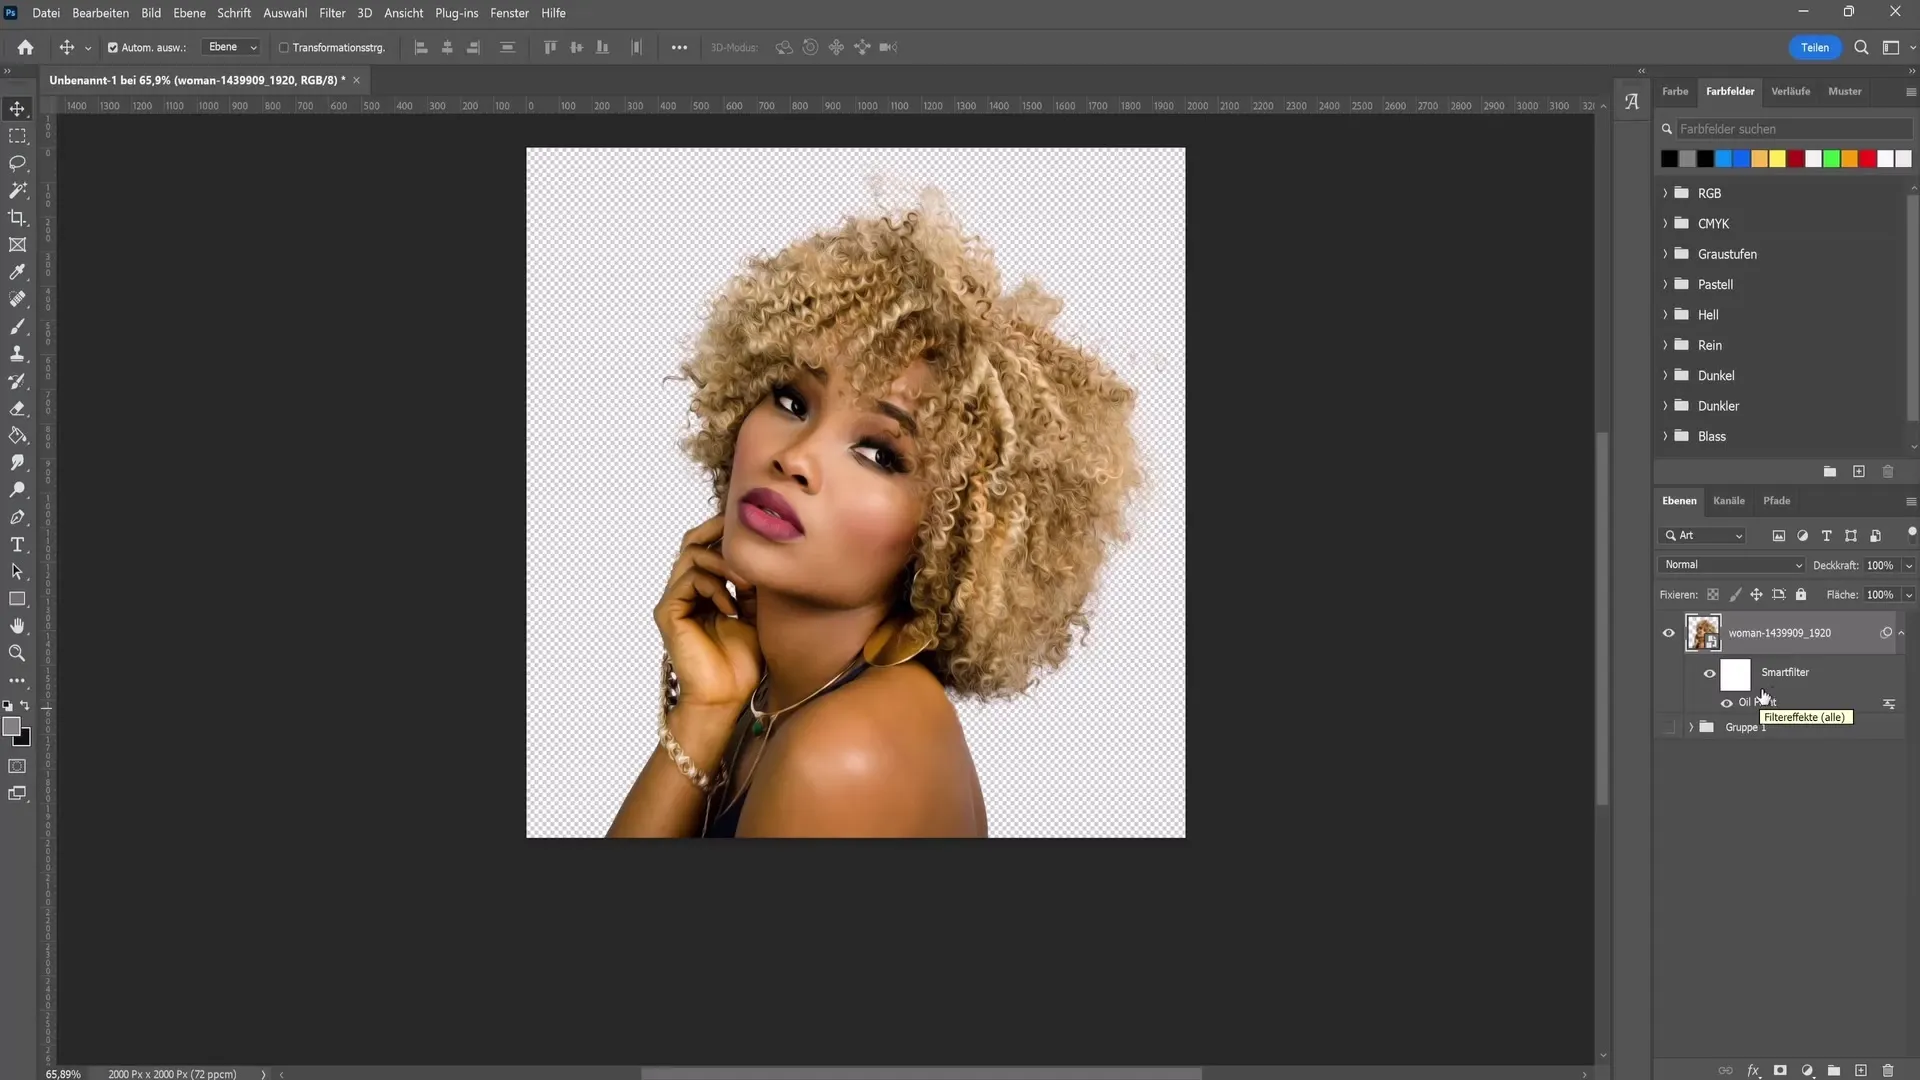
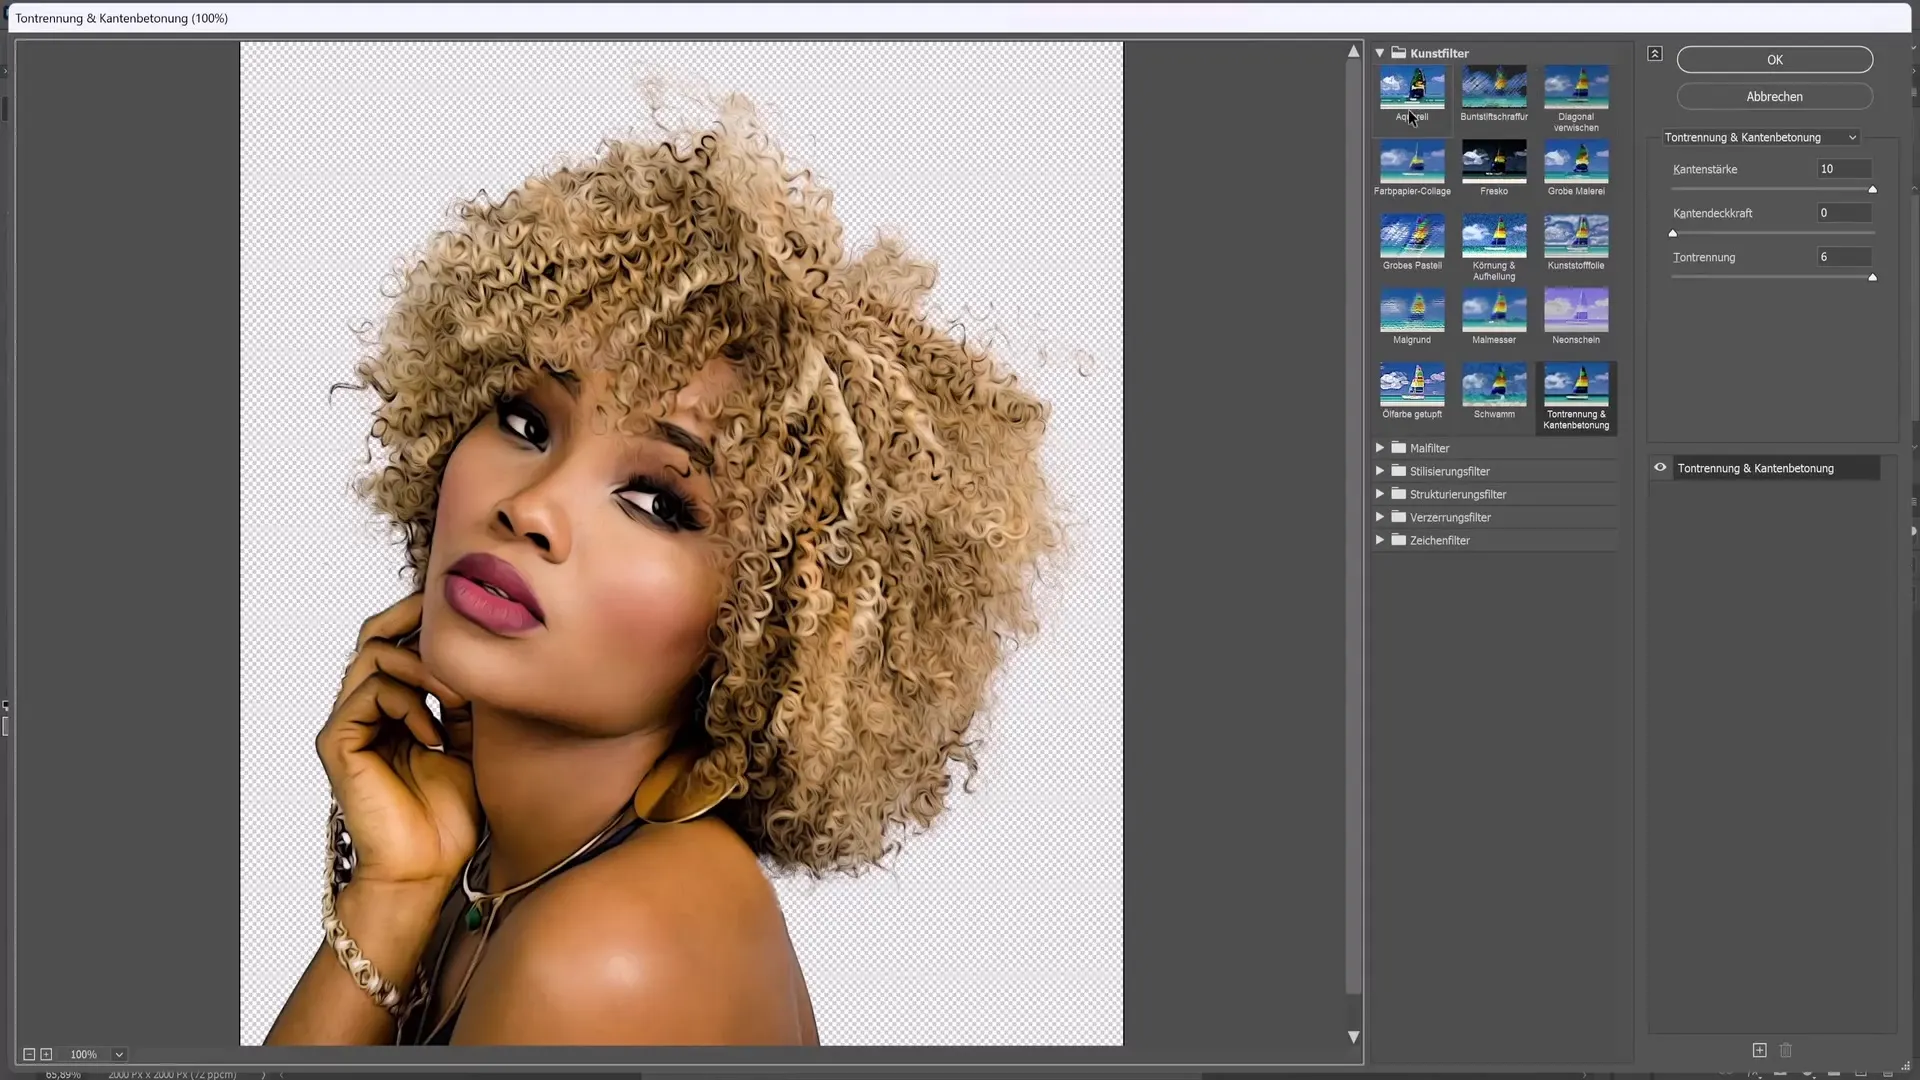
Next, go back to "Filter" and open the "Filter Gallery." There, under the Artistic category, choose the "Cutout and Edge Emphasis" filter and use the same values as before.
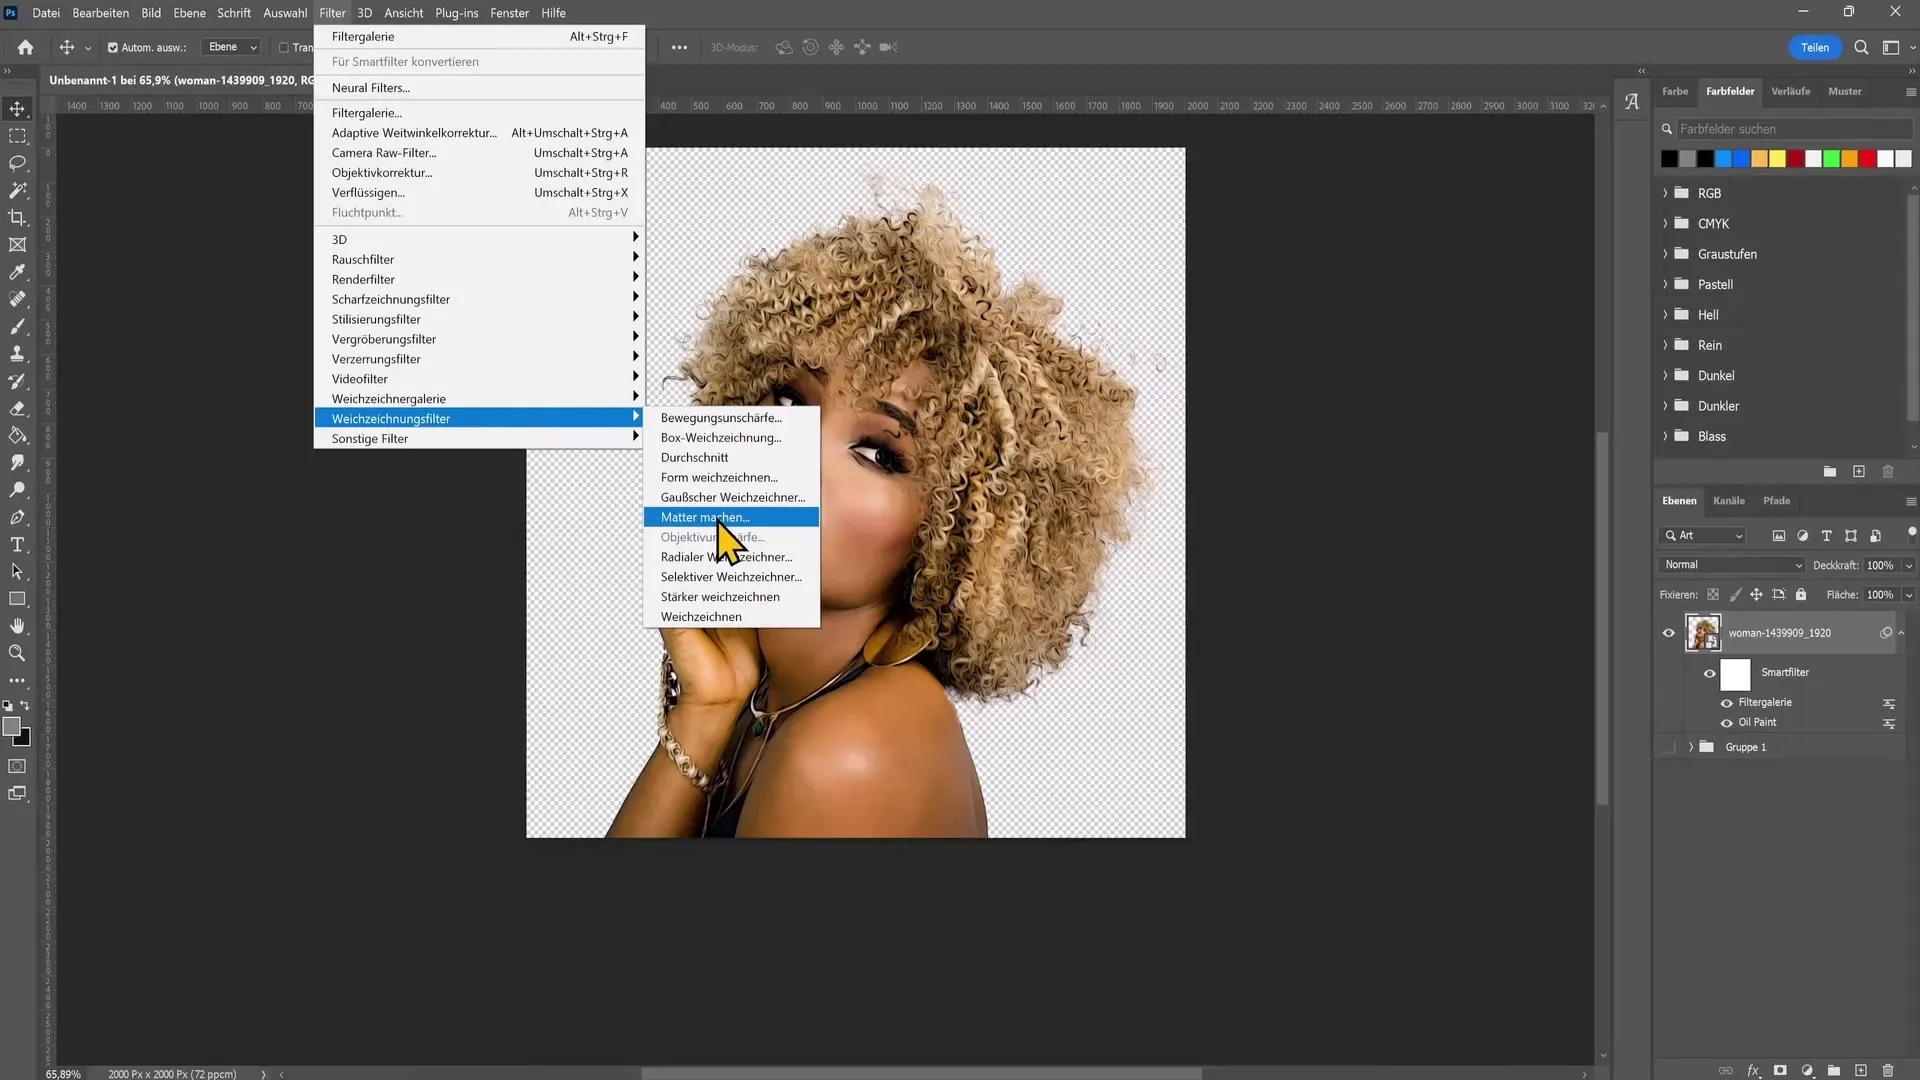
Then navigate to "Filter" again and select the "Blur Filter." Choose "Make Matte" and make the usual adjustments here as well.
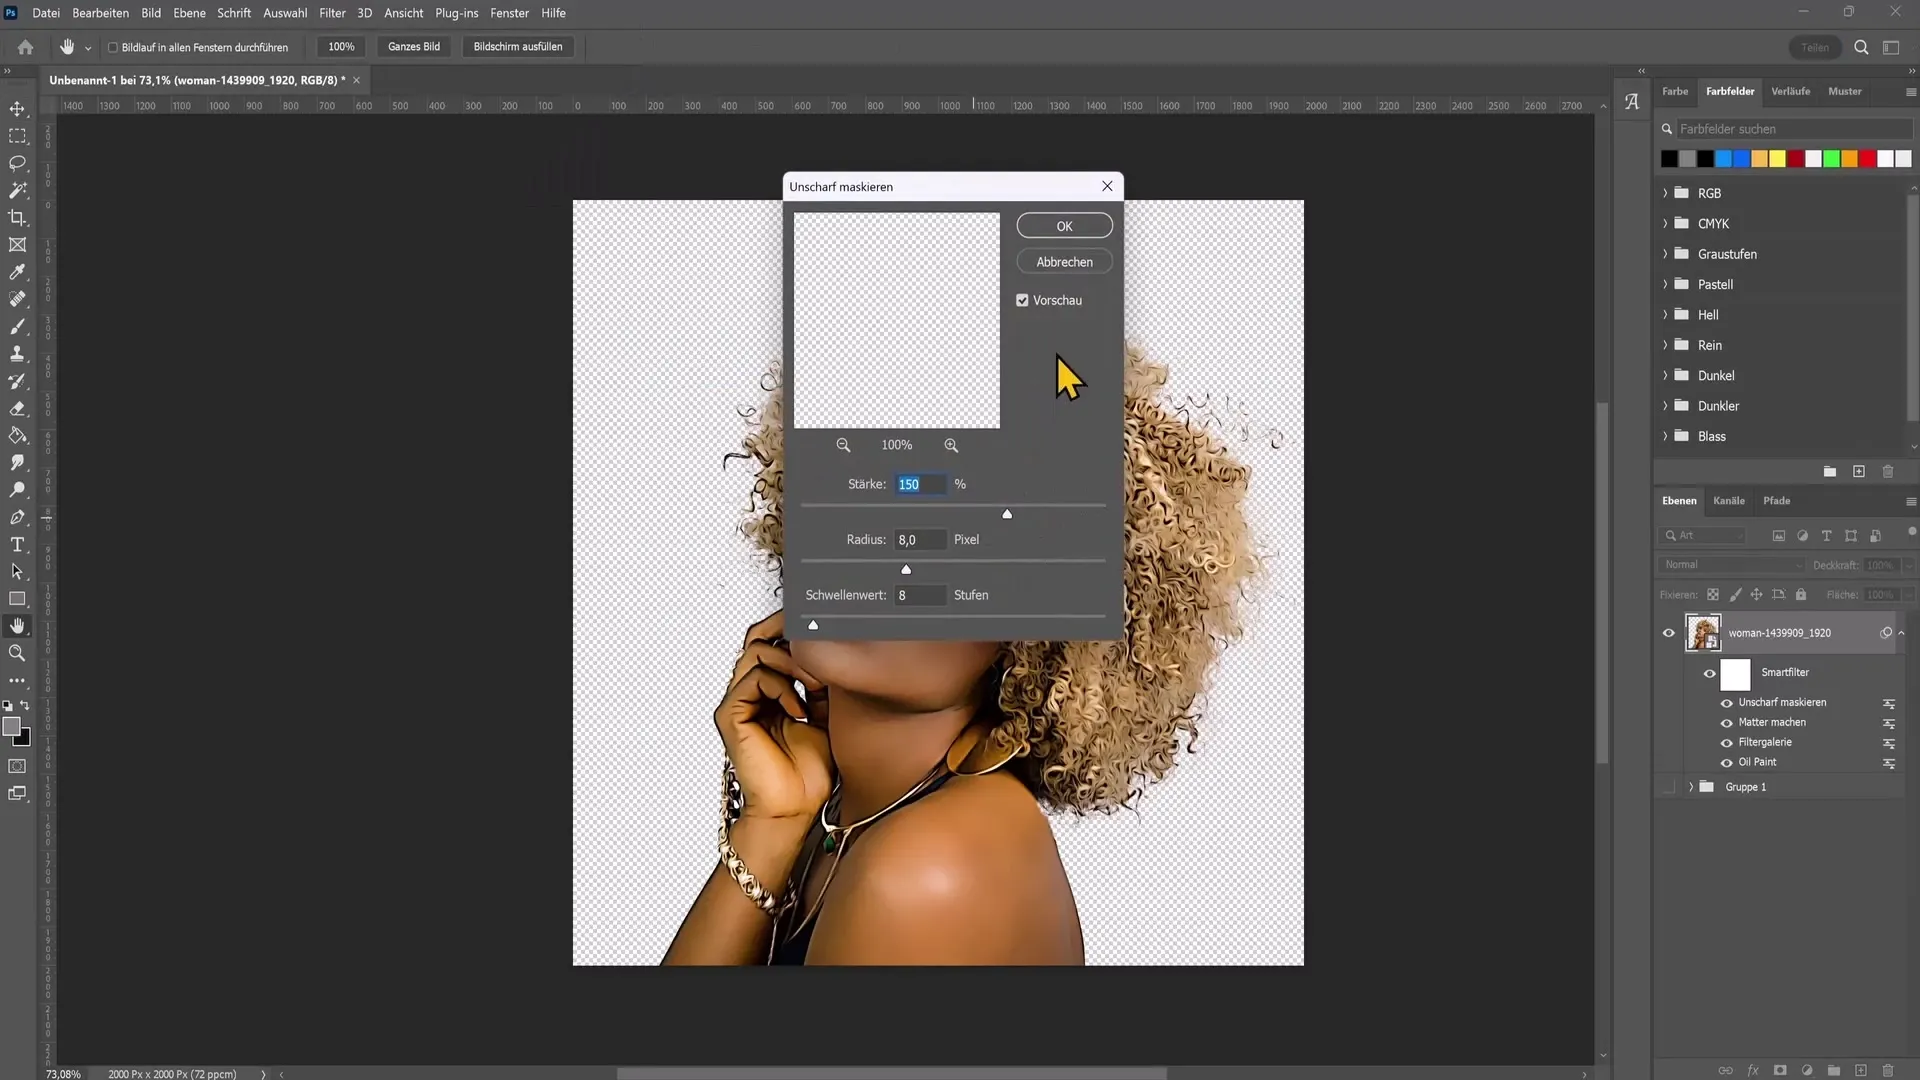
You will see that the image already shows a cool effect, but we want to refine it further. Now we apply another filter: the "Sharpen" function, which you can find under "Filter" and then "Sharpening Filters." Use the usual values and click "OK."
Now we're almost done. Hold down the Alt key and drag the Oil Paint filter to the top of the list of applied filters. Now it's time for some adjustments.
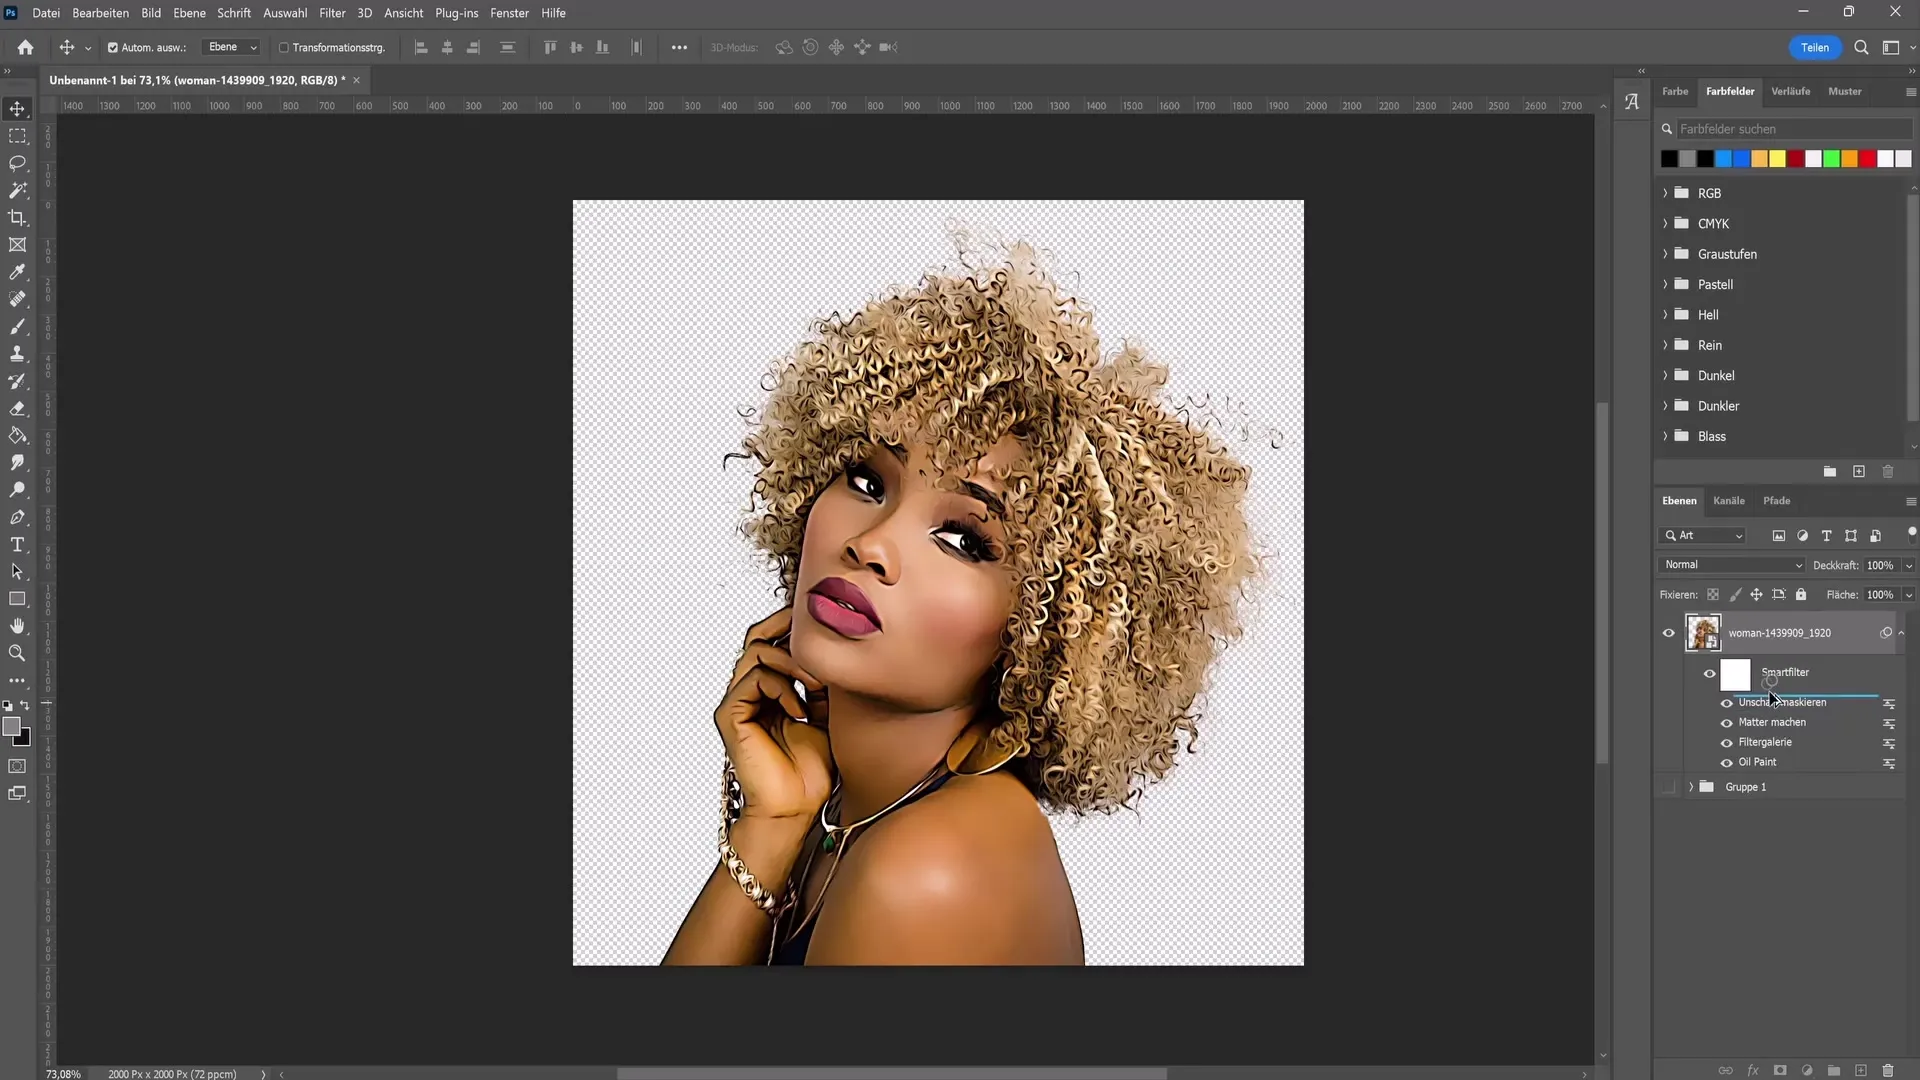
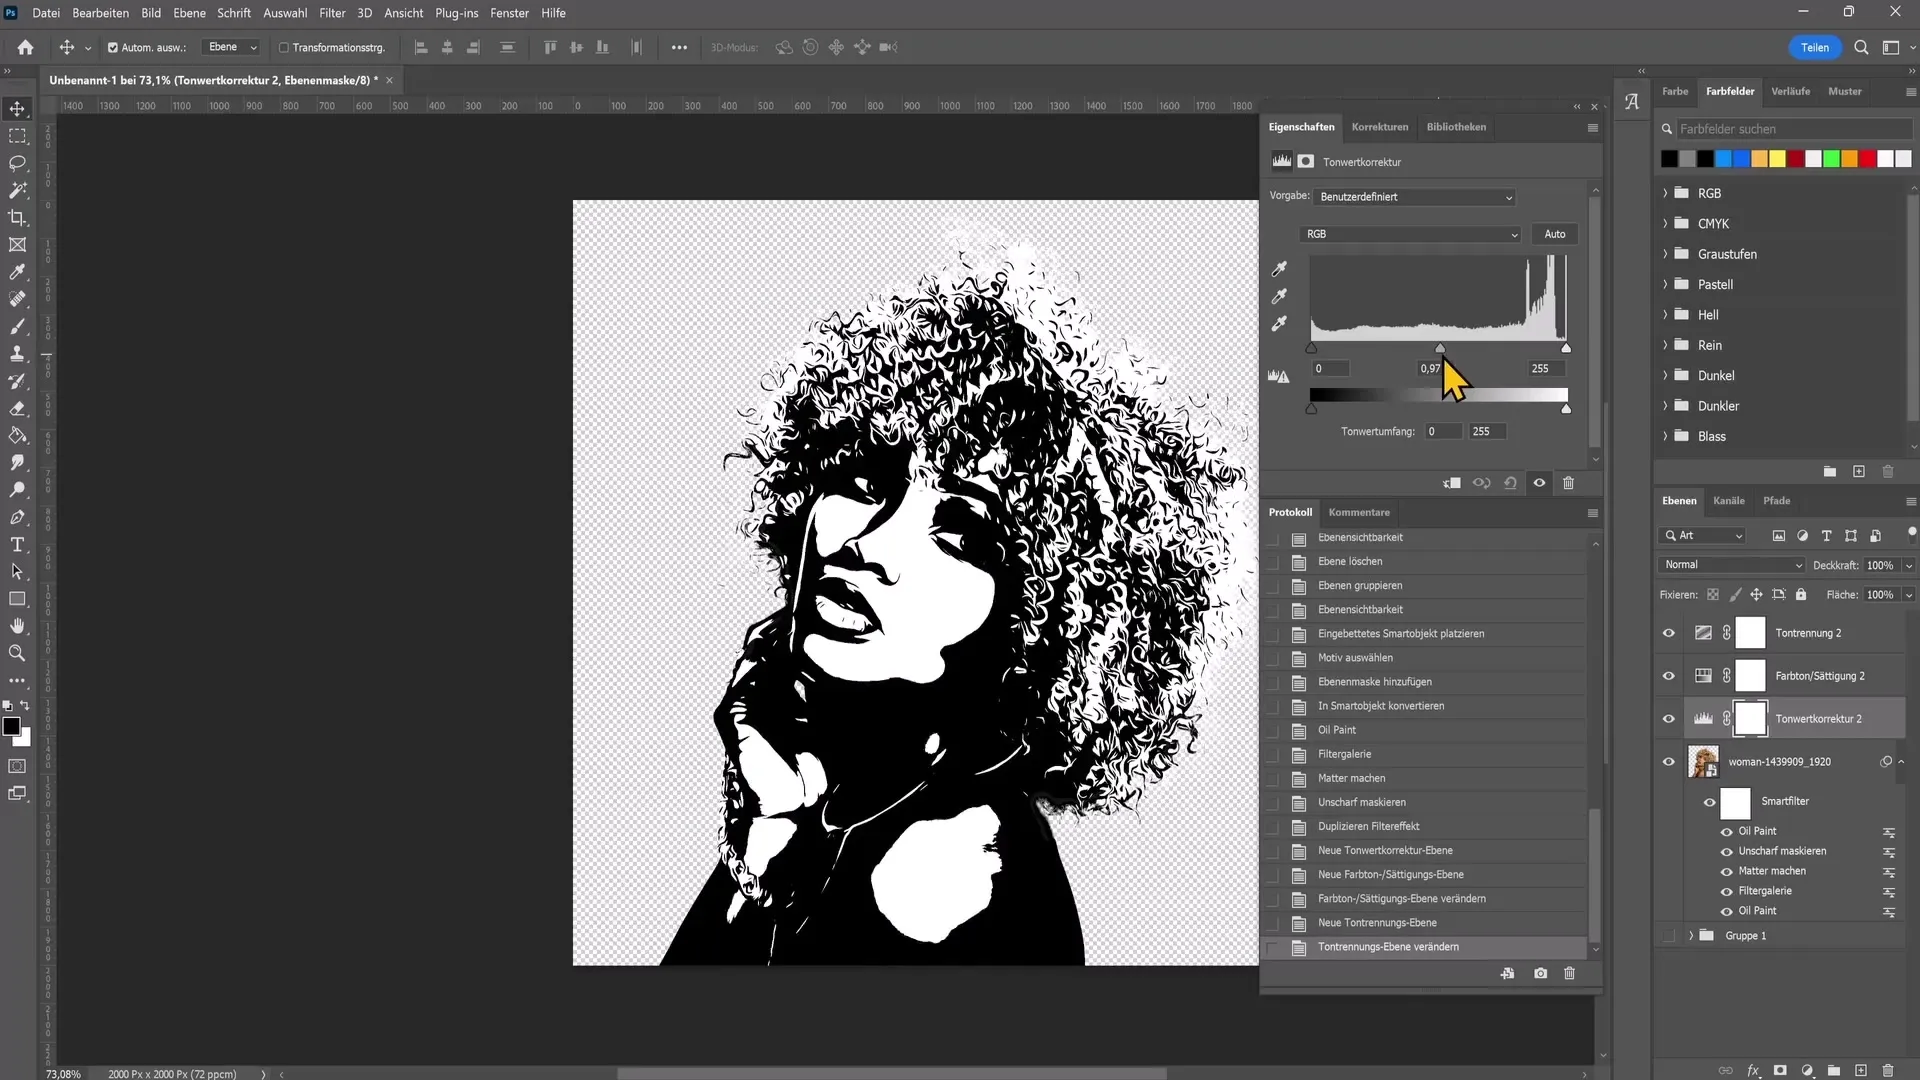
To make adjustments, select "Levels." This way, you can adjust the highlights and shadows of the image.
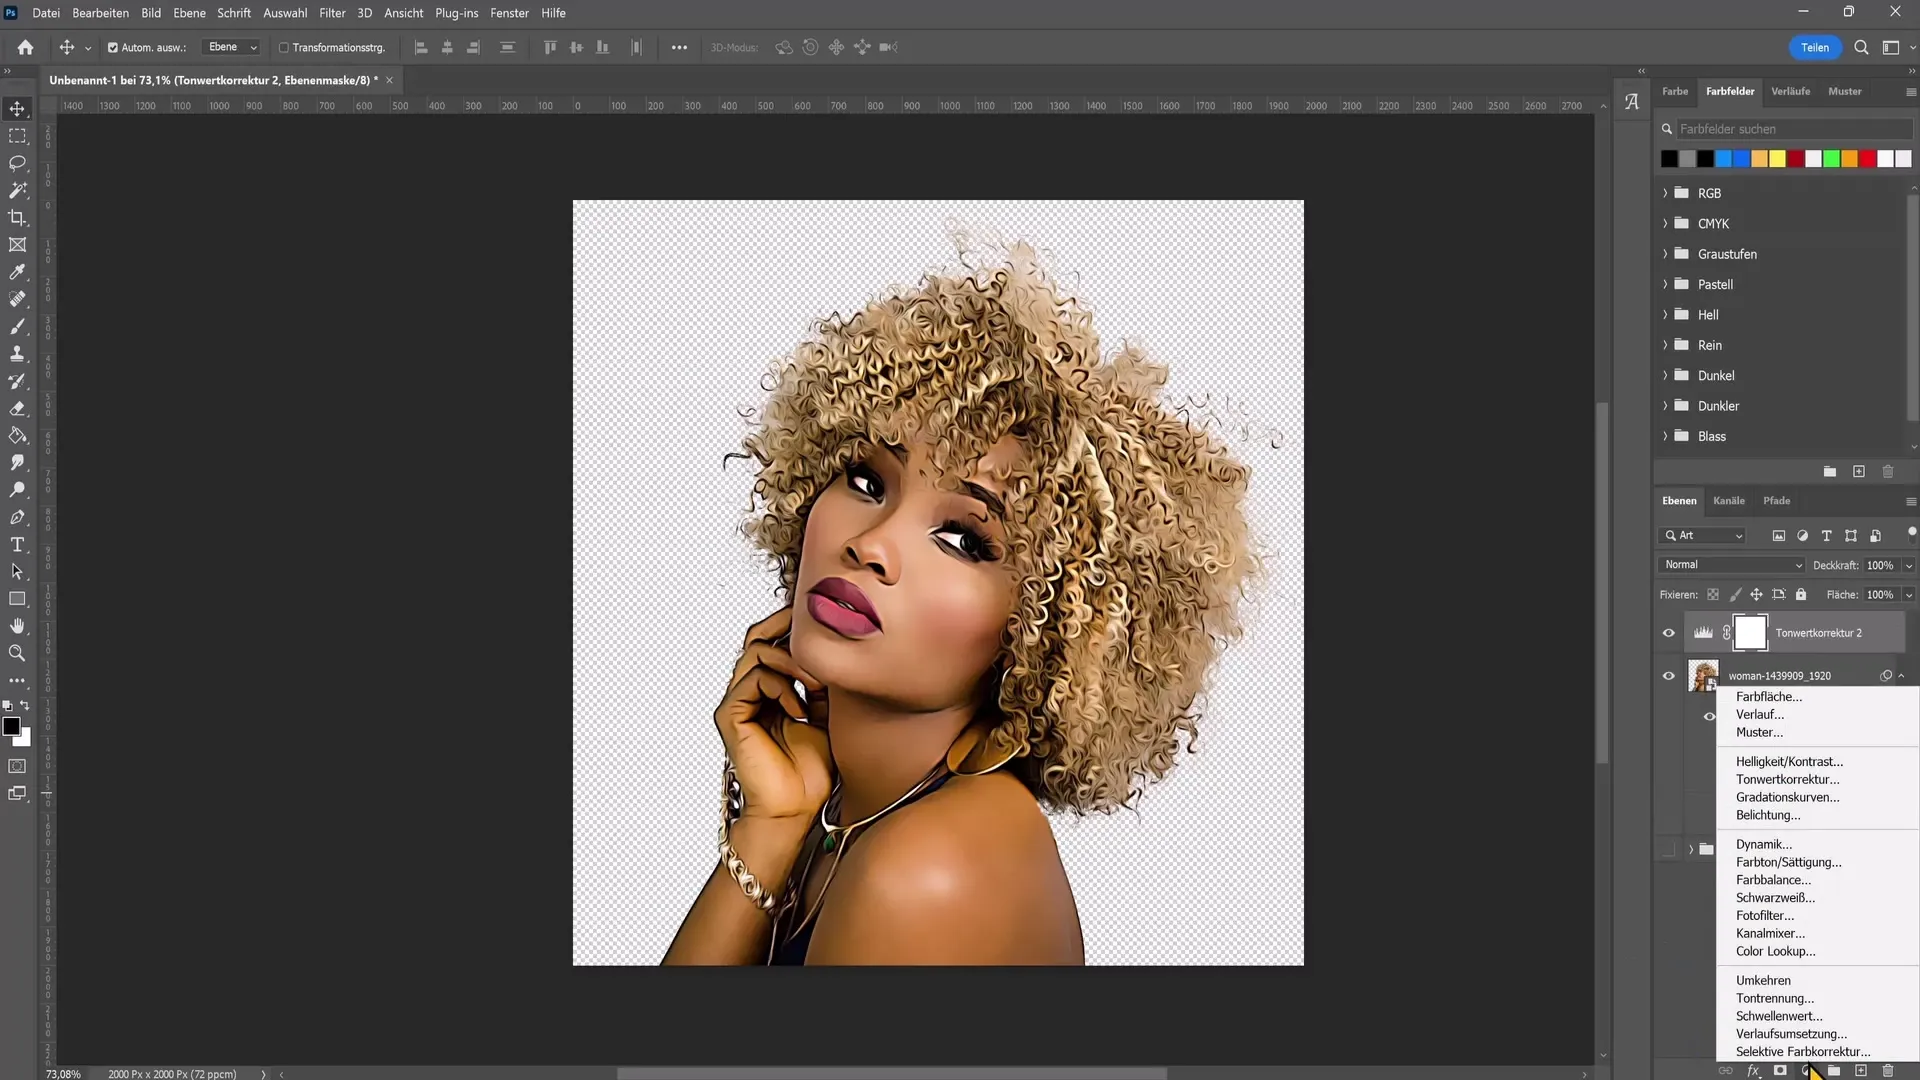
Additionally, you should adjust the settings for "Hue/Saturation." Move the saturation slider to -100% to turn the image into black and white.
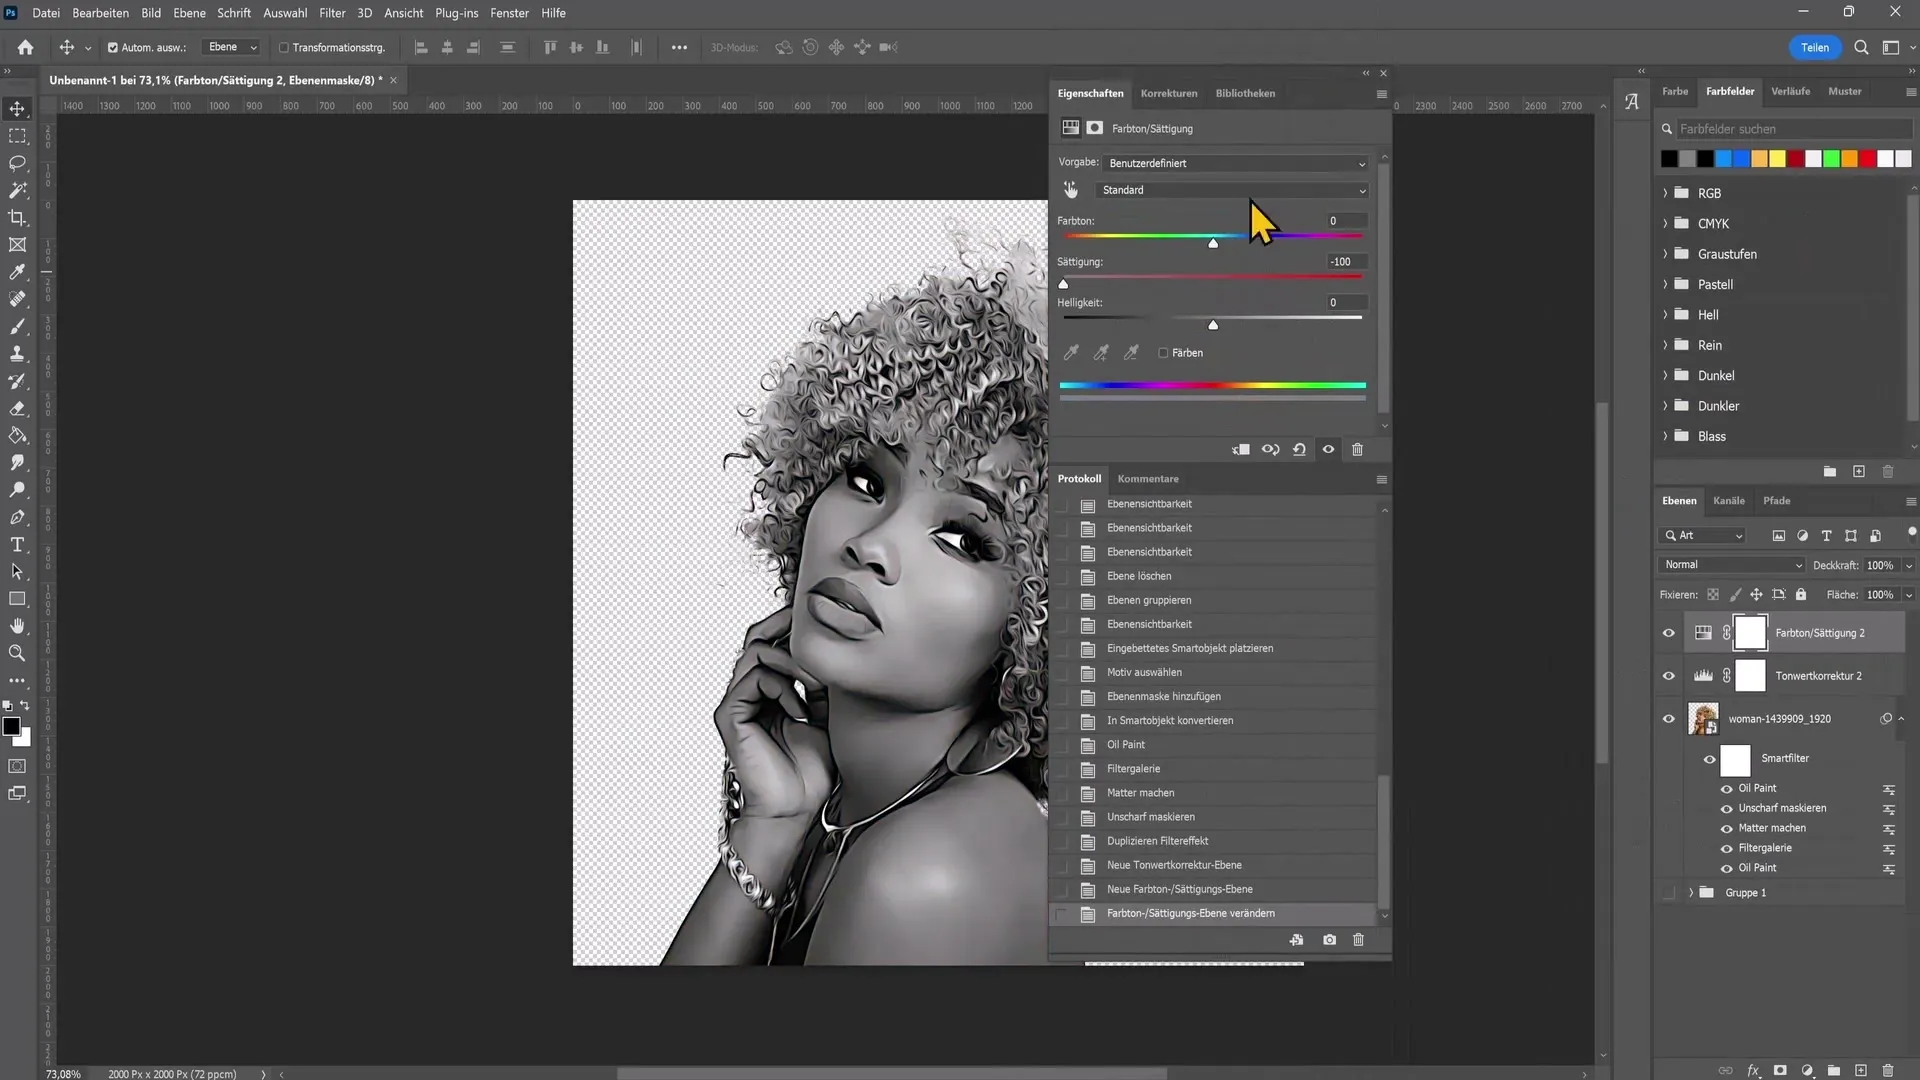
Another important step is the application of "tone separation." Here you can decide how many colors should appear in your image. Experiment with the sliders to achieve the desired effect.
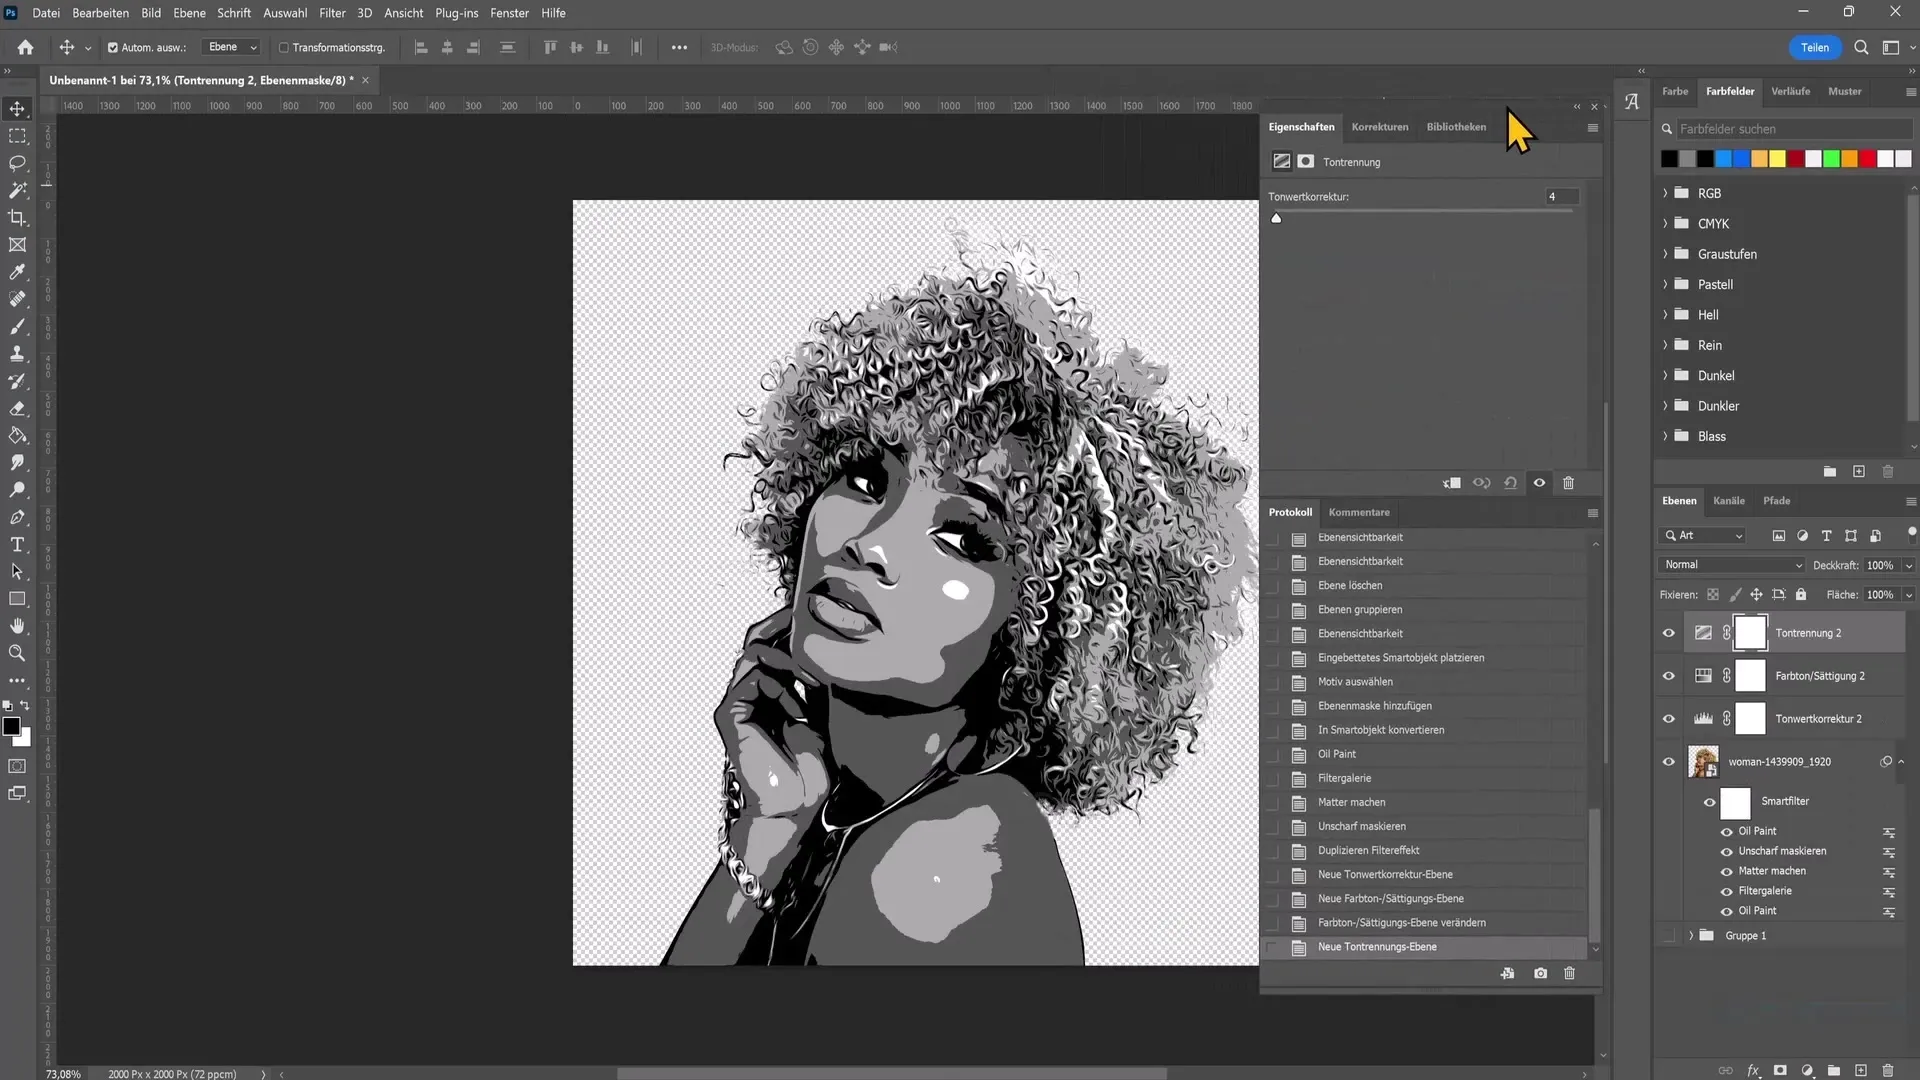
To enhance the contrasts, you can adjust the middle slider of the tonal correction accordingly. This way, you can adapt the light and dark areas to your preferences.
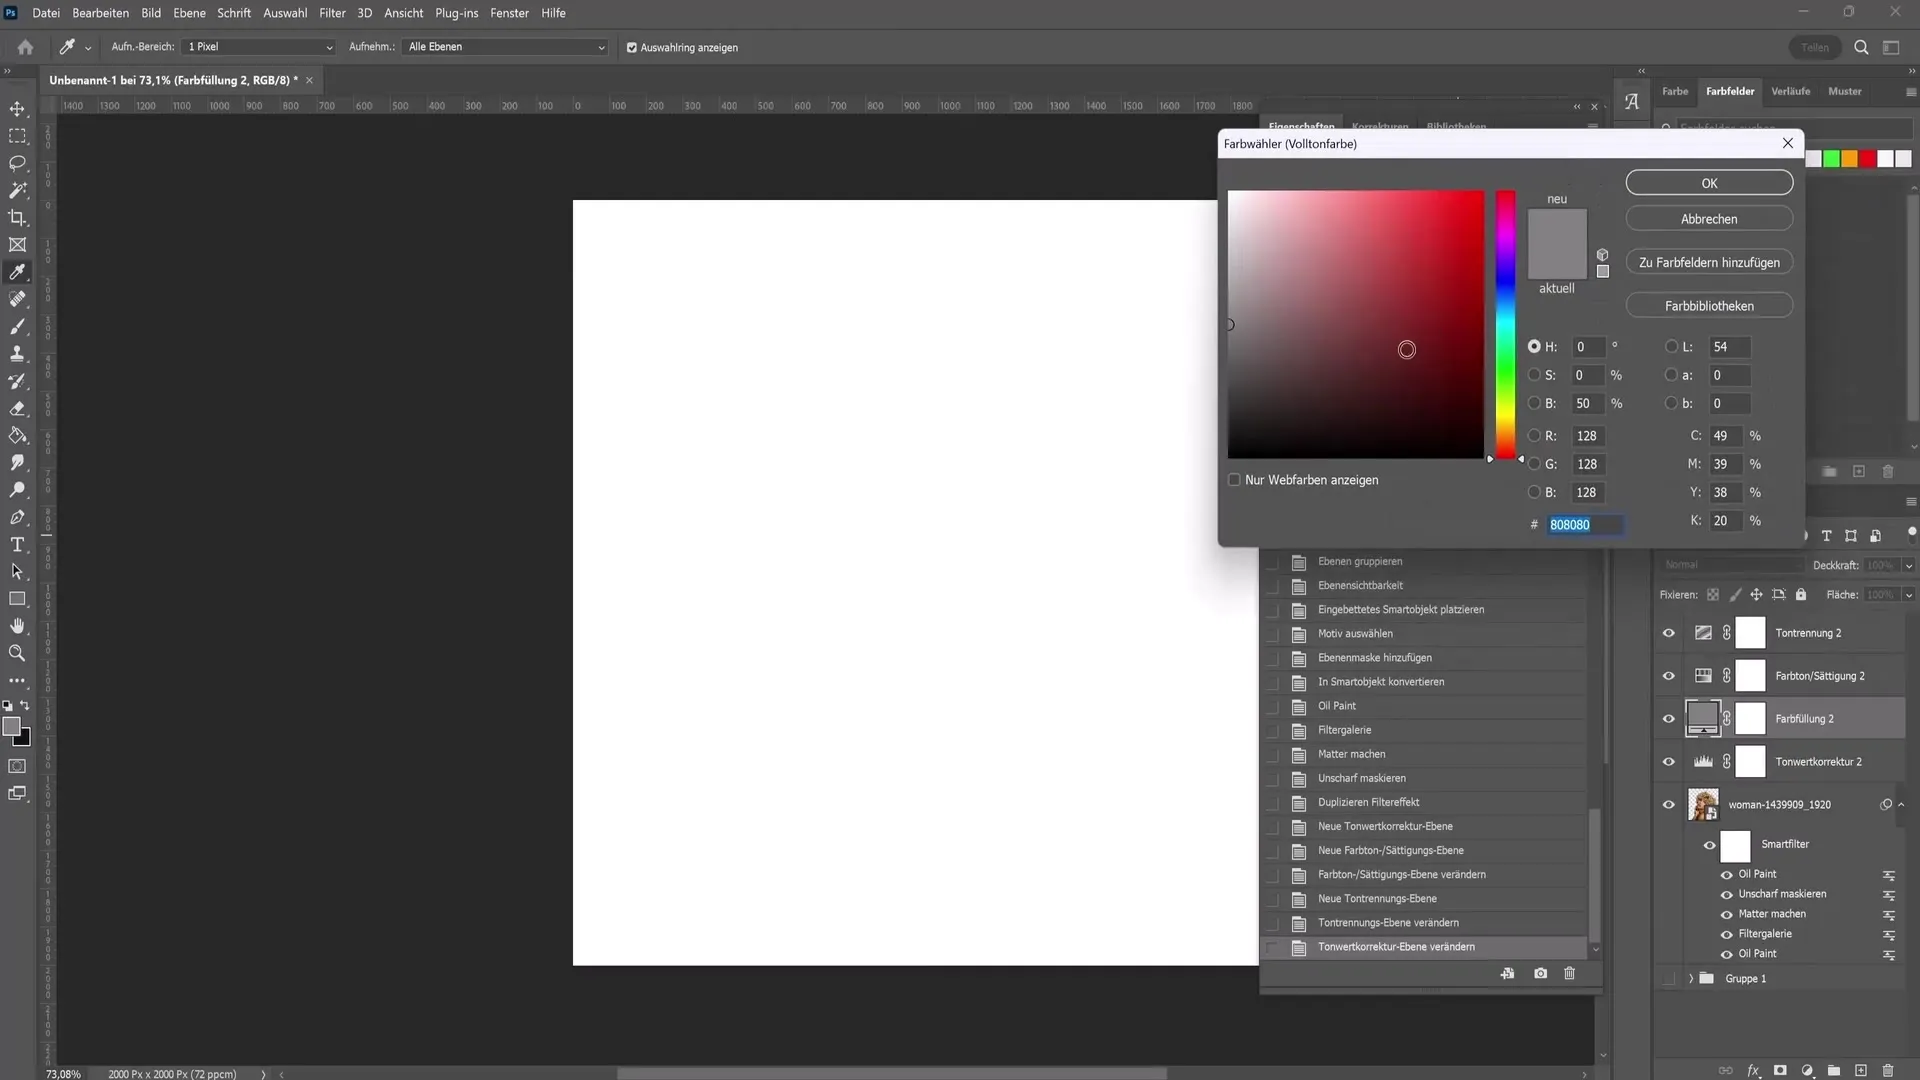
Once you have found the optimal values, you can theoretically add another color field. Click on "Color Fill", choose a color, for example, black, and drag it all the way down in the layers palette.
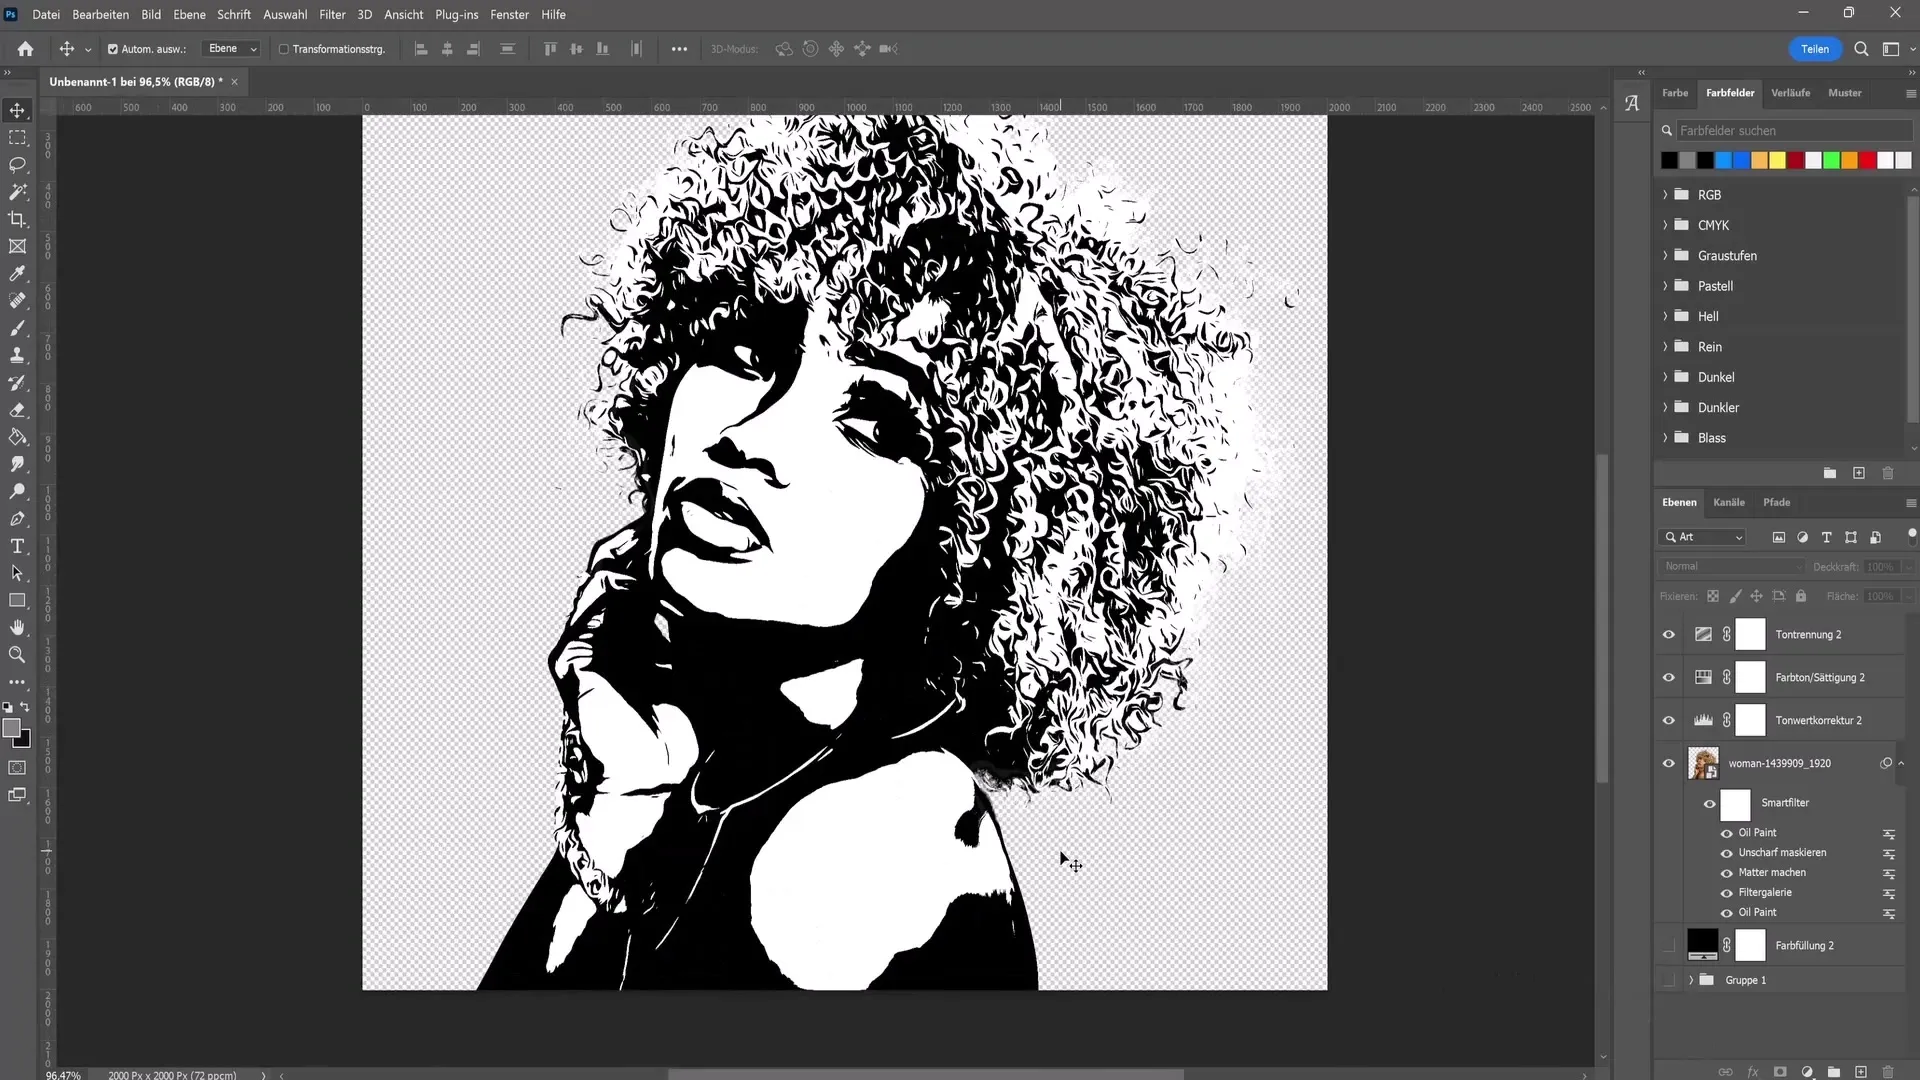
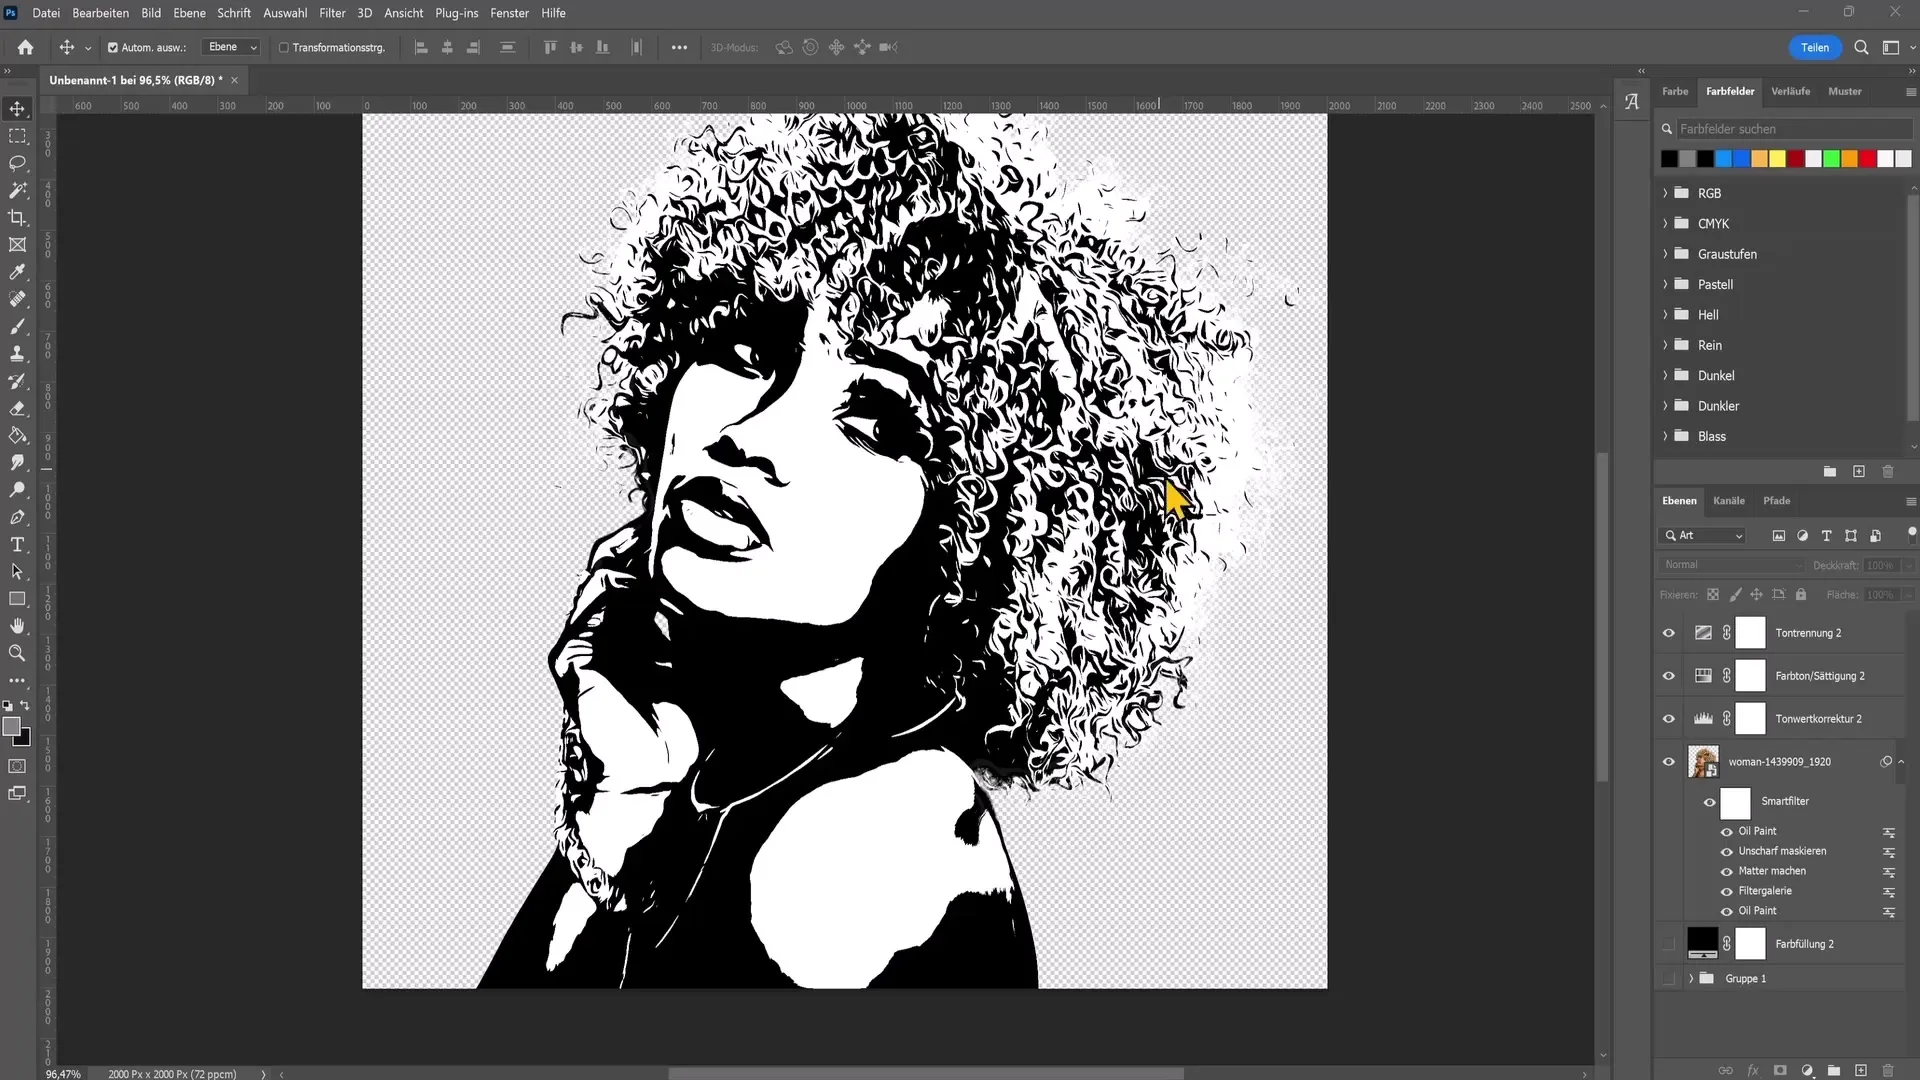
Now you have created a background. If you want to export the image with a transparent background, simply hide the color fill.
To save your image, go to "File" and choose "Export". Select "Export As" and save it as PNG to preserve transparency.
Summary
In this guide, you learned how to turn a regular photo into a vector effect in Photoshop. The steps included cropping the image, using filters like oil paint and blur, and adjusting the colors. With these techniques, you can now enhance your images creatively.
Frequently Asked Questions
How do I crop an image?Use the "Select Subject" tab and select the subject in the image.
Which filters were used?Oil Paint filter, Blur and Tone Separation are the main filters applied.
How do I export my image with a transparent background?Hide the color fill and save the image as PNG.
Can I adjust the filter values?Yes, Experiment with the values to achieve different effects.
Can I use the filters for other images?Yes, the applied filters can be copied to other images.

