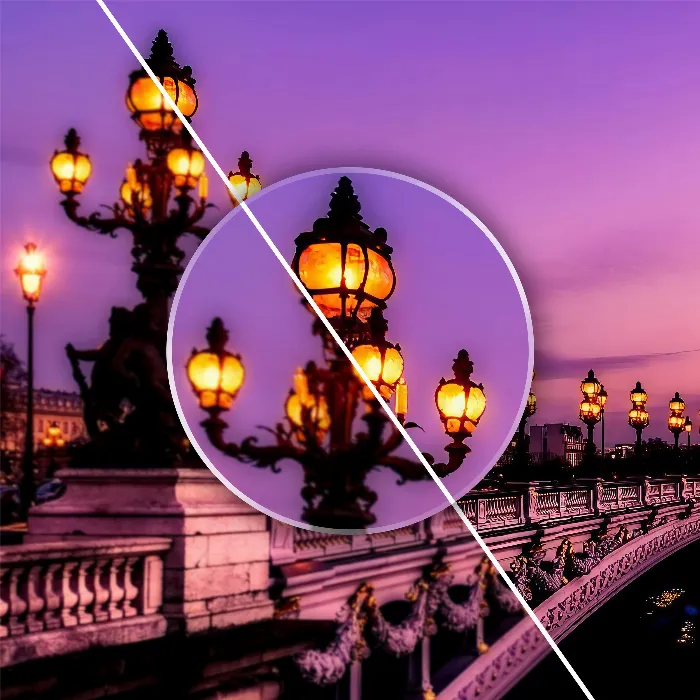
Blurry photos are a common problem that frustrates many photographers and hobbyists. But with modern AI technologies and classic image editing tools, it's easier than ever to turn a blurry image into a sharp photo. In this tutorial, you will learn the best strategies and tools to enhance the sharpness of your images. You will learn how to achieve impressive results using both traditional programs and AI-powered applications.
Key Takeaways
- Modern AI technologies can transform blurry photos into sharp images.
- There are a variety of tools, many of which are very effective, while others are not convincing.
- Applying sharpening techniques does not require much time and can significantly improve the quality of your photos.
Step-by-Step Guide
Step 1: Choosing the Right Tools
To sharpen photos, it all starts with choosing the right tools. In this tutorial, we focus on classic programs like Photoshop and Lightroom, as well as specialized AI tools. I have tested many of these tools and only kept the ones that truly impress.
Step 2: Using Photoshop for Sharpening
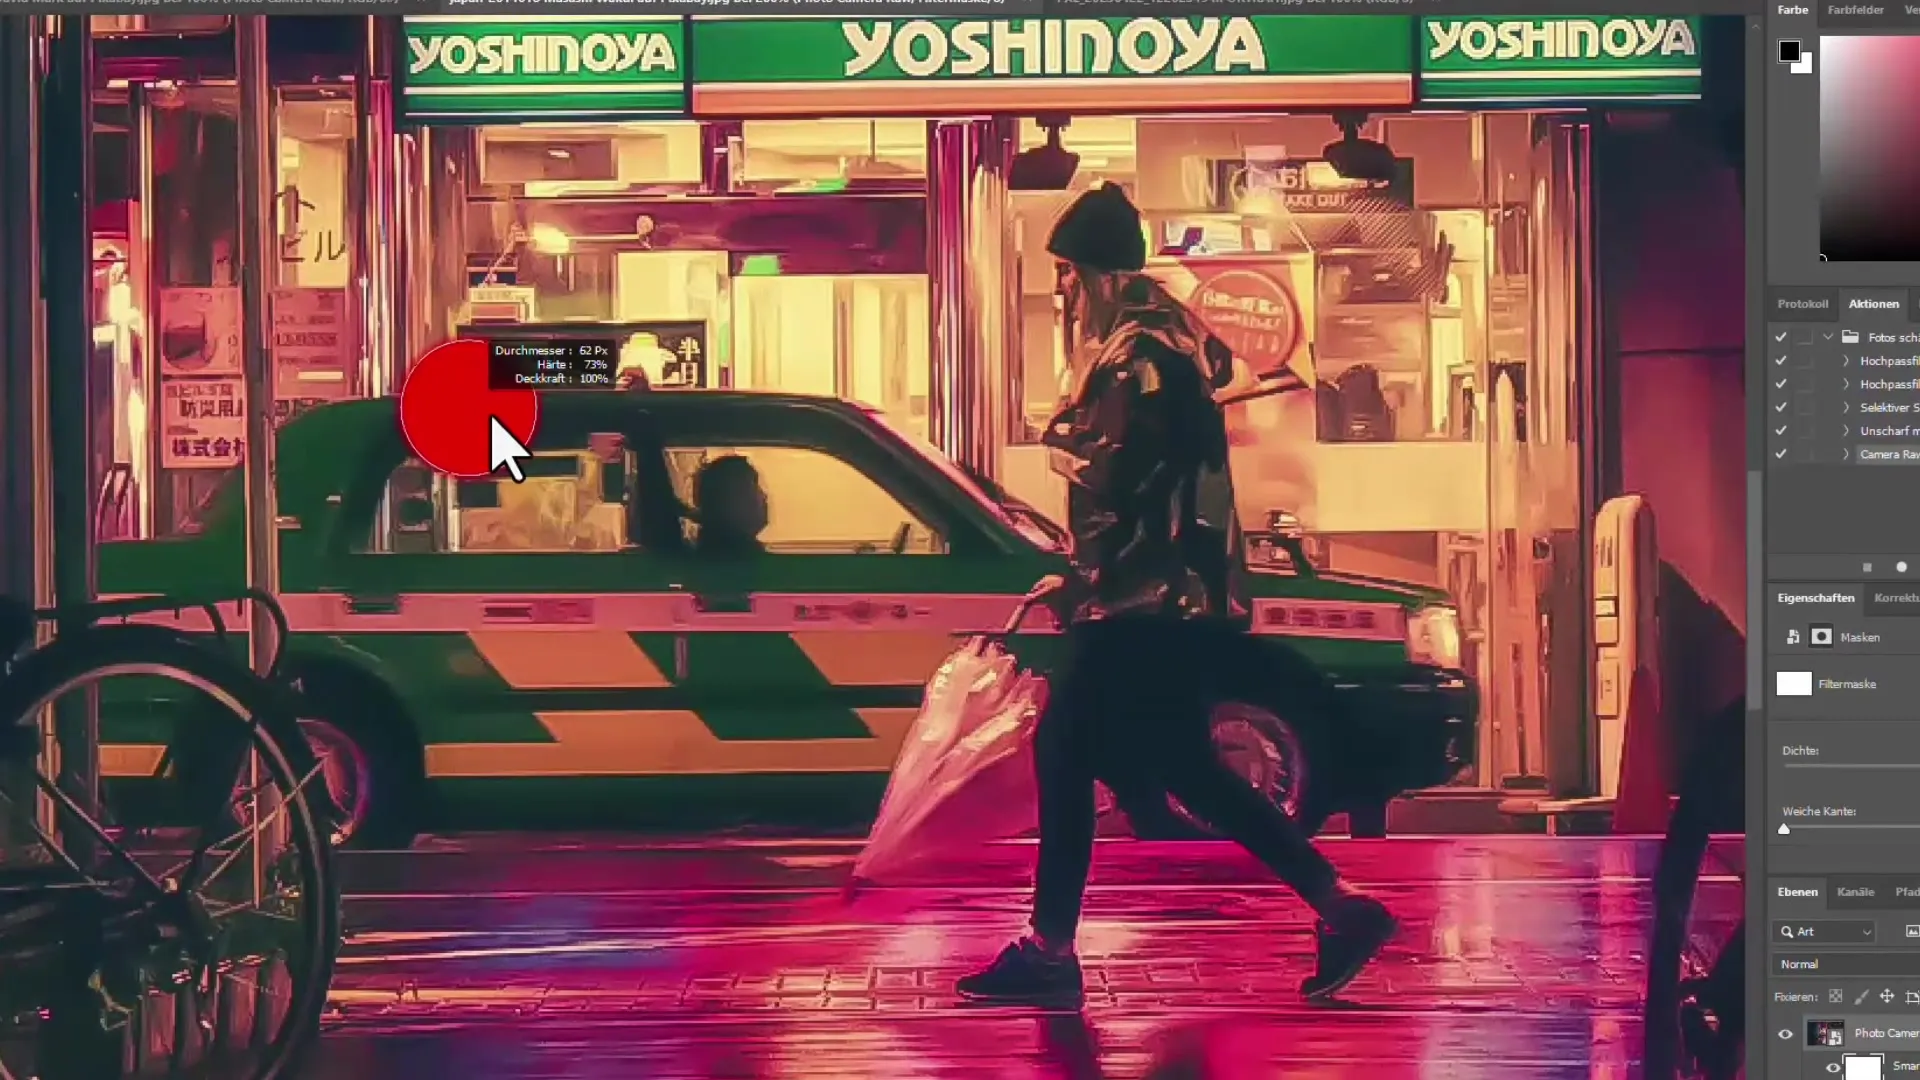
Photoshop is one of the most powerful programs for image editing. To sharpen a photo in Photoshop, open the image and go to the "Filter" menu. Then choose "Sharpen" and adjust the strength of the sharpening. Be careful not to overdo it, as this can lead to unnatural-looking images.
Step 3: Applying Lightroom
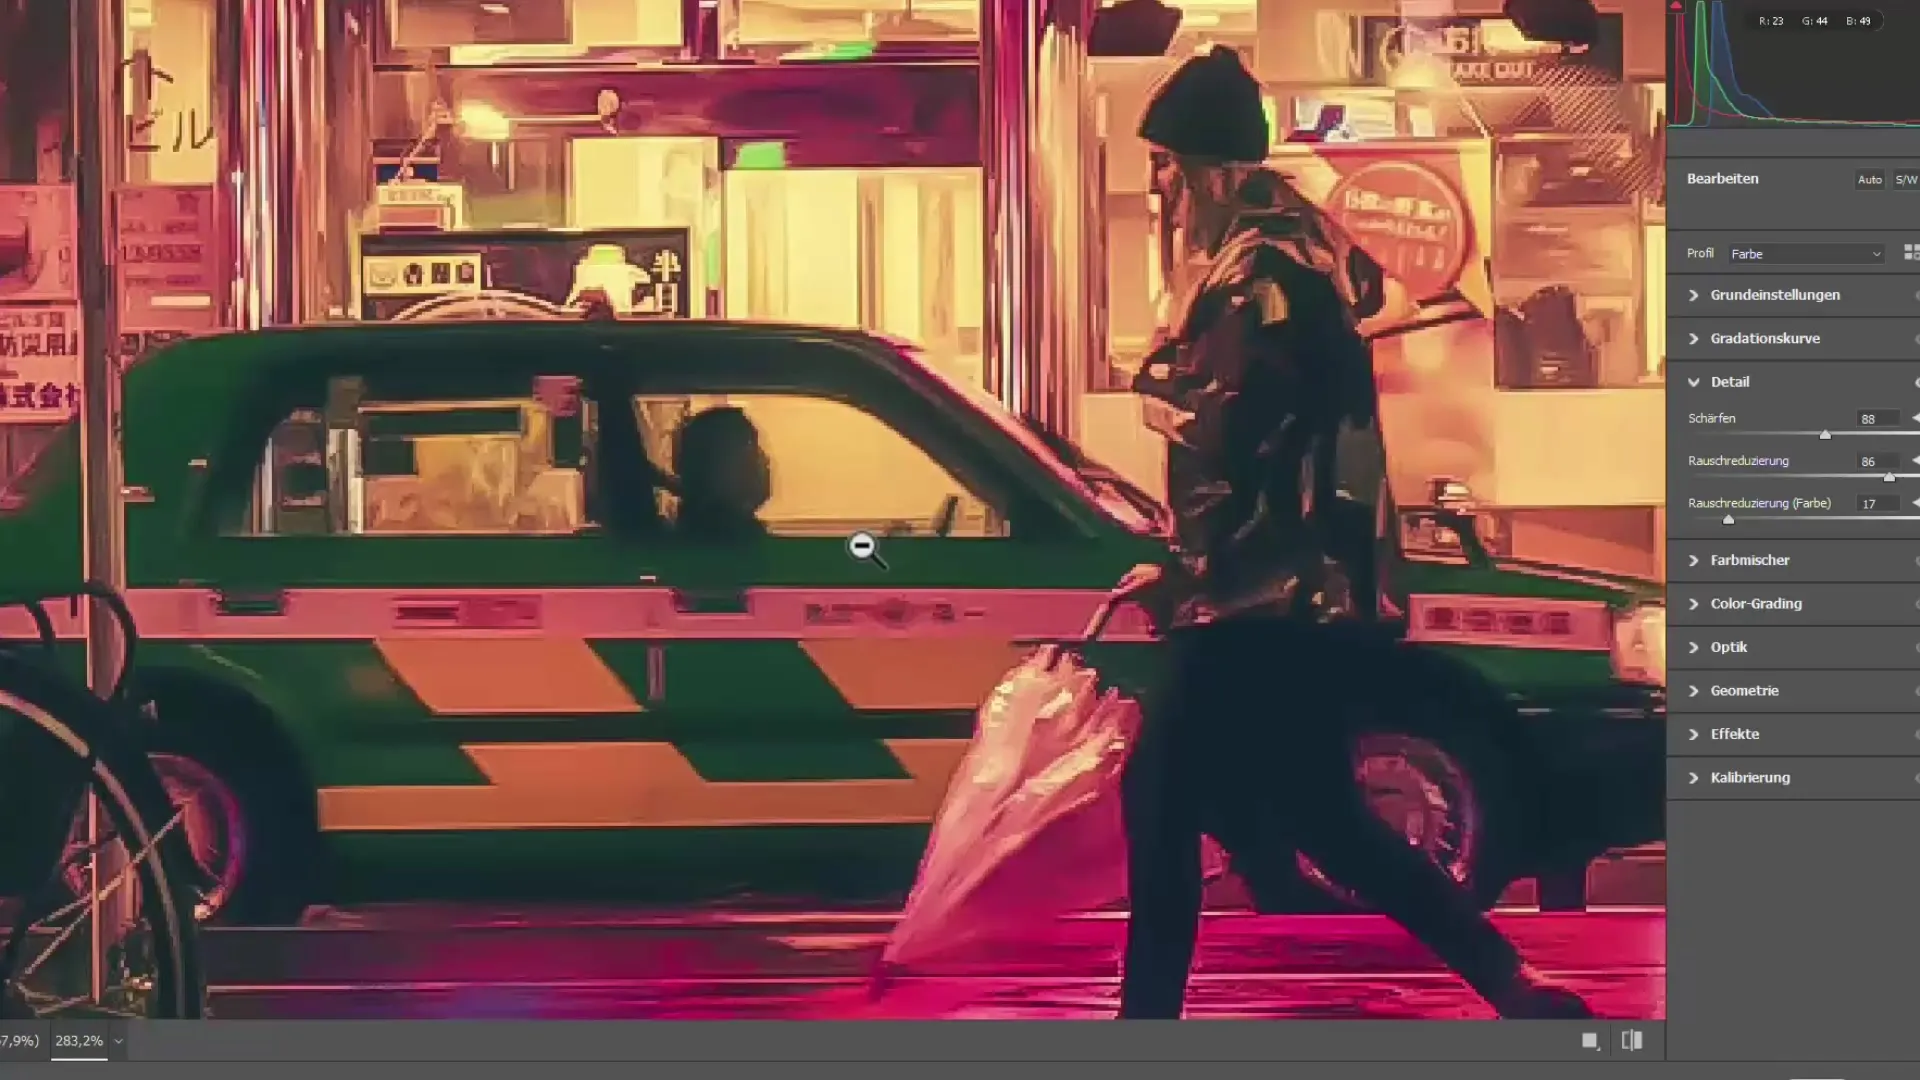
Another option is Lightroom, also a popular image editing program. Here, you can adjust the sharpening values directly in the "Develop" module. Use the "Sharpening" slider to enhance the detail rendering in your images.
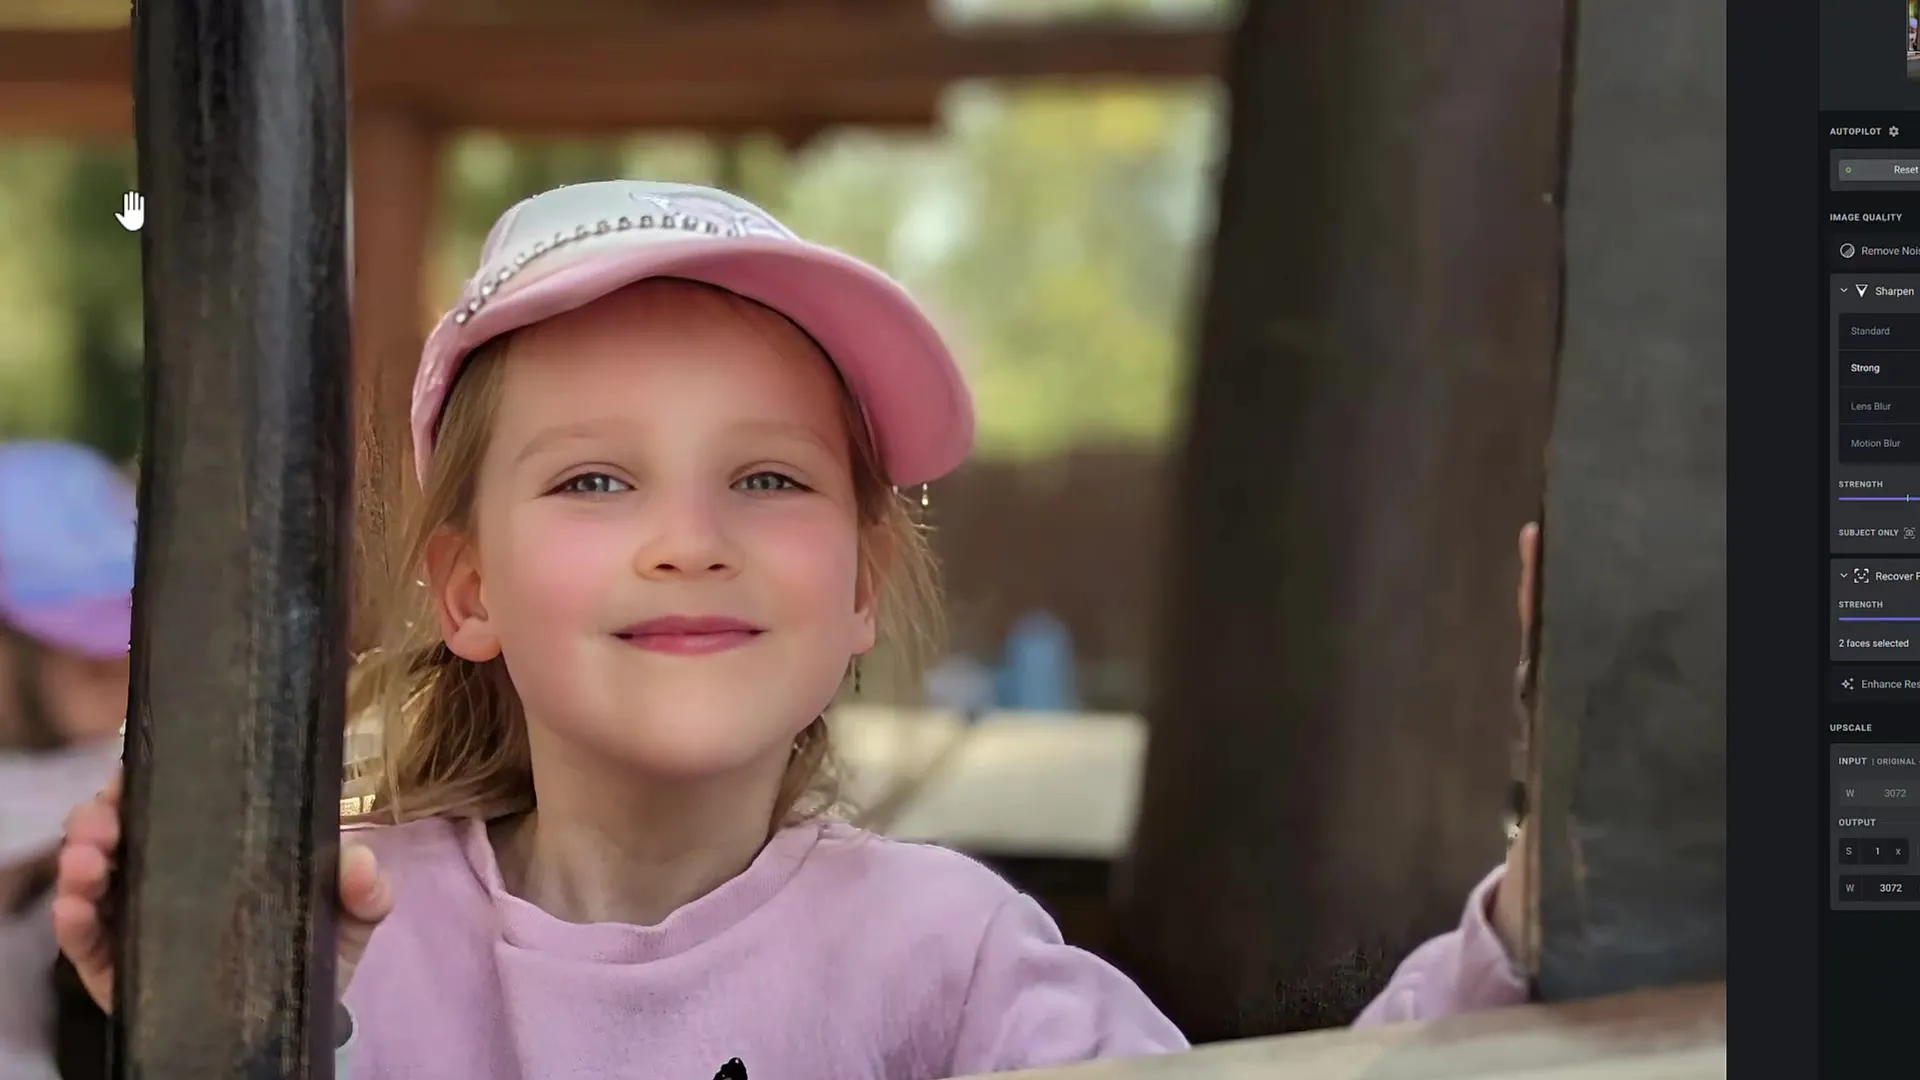
Step 4: Exploring AI Tools
In addition to traditional methods, there are now AI-powered tools that can deliver amazing results. These applications analyze the image and optimize it in real time. I have tested some of these tools and was truly impressed by the results.
Step 5: Before-After Comparison
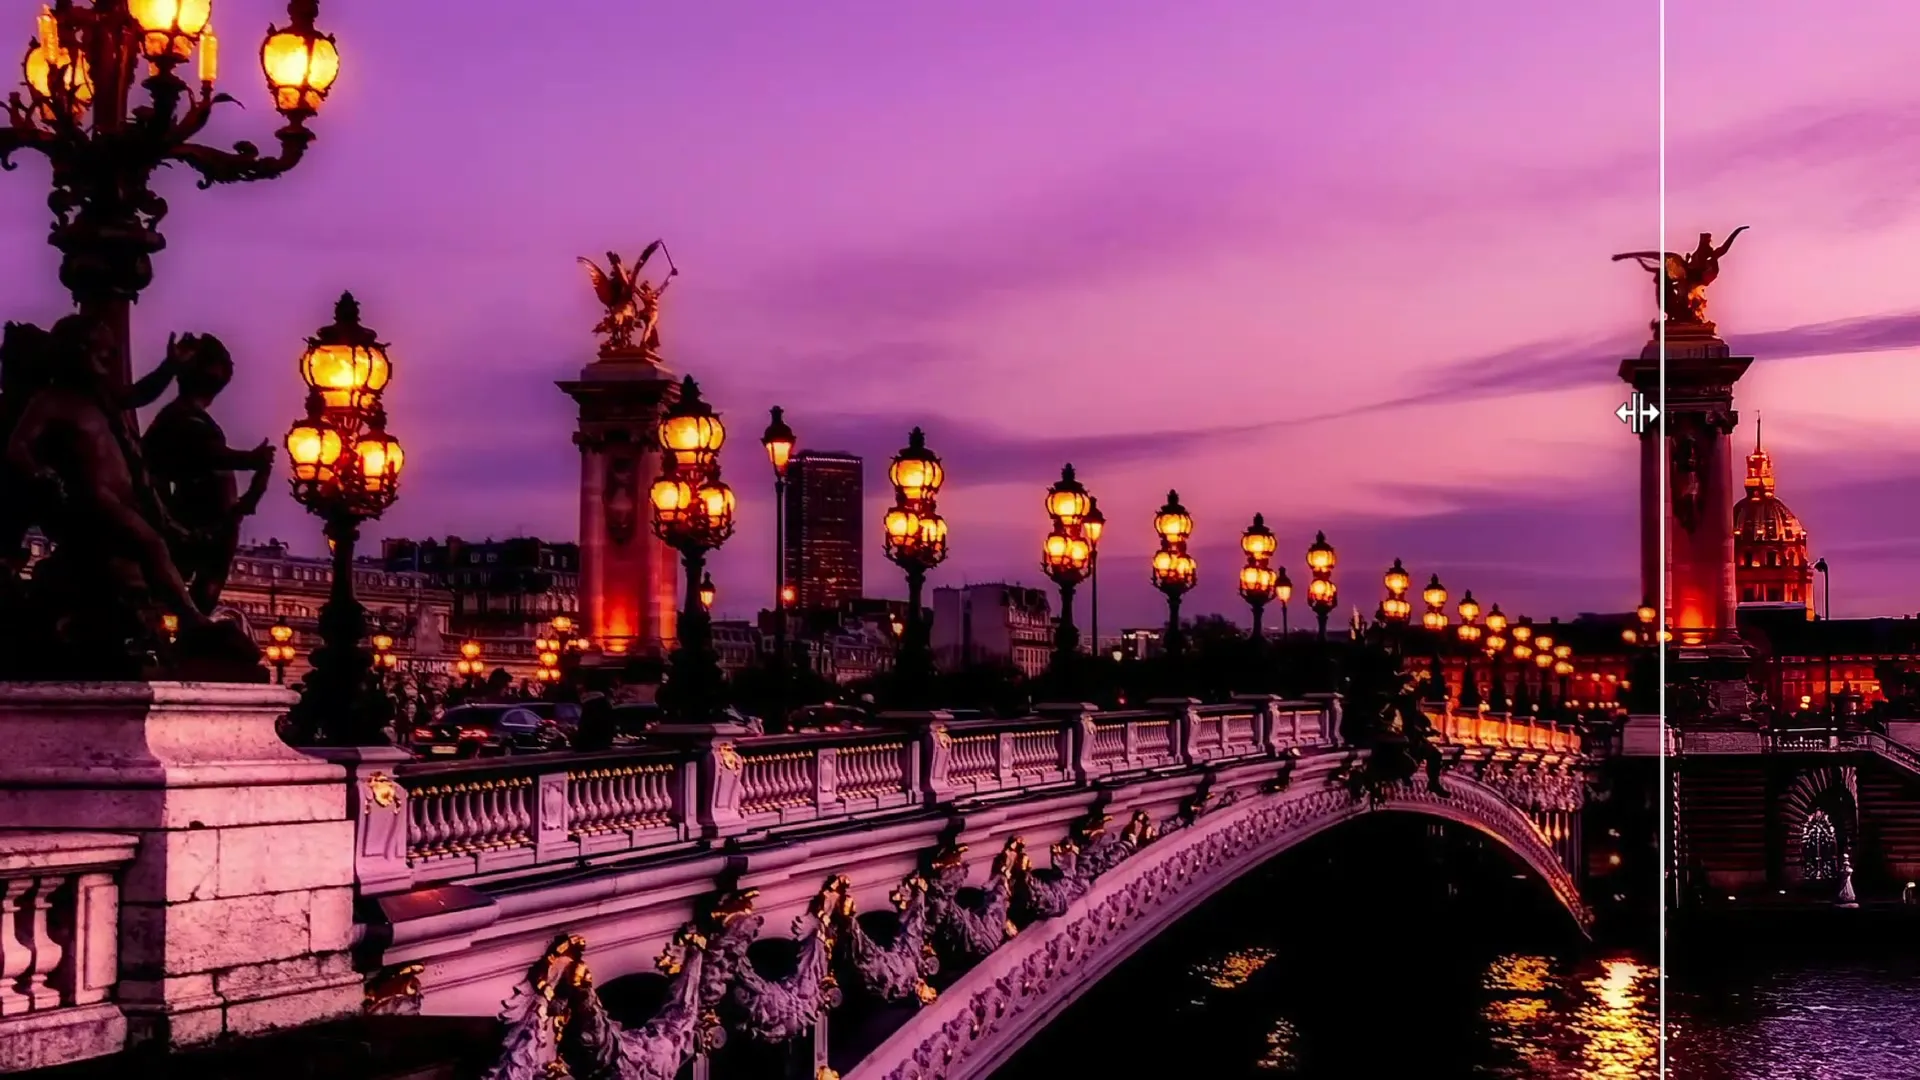
After sharpening your images, it's helpful to make a direct before-after comparison. This gives you a clear overview of the improvement and helps you better adjust your sharpness finish for future projects.
Step 6: Final Adjustments and Export
Once you are satisfied with the sharpness, don't forget to make final adjustments such as color corrections or brightness settings. Export the final image in the desired format, and prepare your images for uploading to stock portals or for sharing with friends.
Summary
In this introduction, you have already learned how to effectively sharpen photos using various tools, both classic and AI-powered. From choosing the right programs to final image editing - the entire process has been explained step by step. You can now be confident that your blurry images can be transformed into sharp photographs in no time.
Frequently Asked Questions
What are the best programs to sharpen photos?Photoshop and Lightroom are excellent options, as well as modern AI-powered tools.
How can I avoid excessive sharpening?Make sure to keep the sharpening values within a moderate range and do before-after comparisons.
Can I successfully sharpen images using free tools?Yes, there are some free tools that also deliver impressive results.
Where can I upload my sharpened images?You can use them on stock portals, social media, or for prints.
