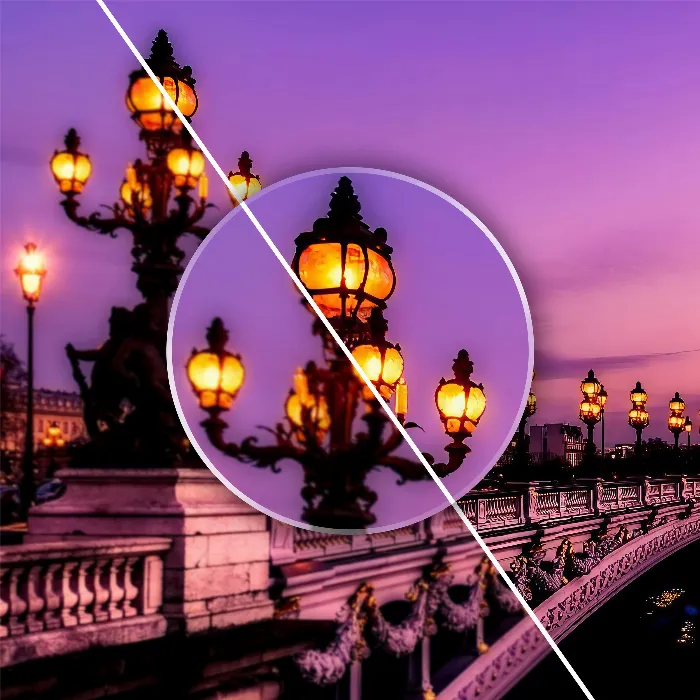
Sharpening photos in Adobe Photoshop is one of the fundamental tasks of every photographer and image editor. Even though it may seem simple, it is important to master certain techniques and tools to achieve the best results. In this tutorial, I will introduce you to four different methods to increase the sharpness of your images without making them appear noisy or artificial. You will learn how to adjust the sharpness in a controlled manner and optimize the results to make your photos look professional. At the end of the tutorial, you will also receive an action that helps you sharpen photos with just one click.
Key Findings
- Use sharpening filters in Photoshop, especially "Unsharp Mask" and the "High Pass Filter".
- Work with Smart Objects to be able to make sharpness adjustments at any time.
- Use the selective sharpener for targeted sharpening of specific areas of the image.
- Camera Raw offers an effective way to sharpen RAW and JPEG images while reducing noise at the same time.
Step-By-Step Guide
1. Unsharp Mask for Quick Results
To quickly sharpen an image in Photoshop, first go to Filter > Sharpen > Unsharp Mask. In the window that appears, you can now make various settings.
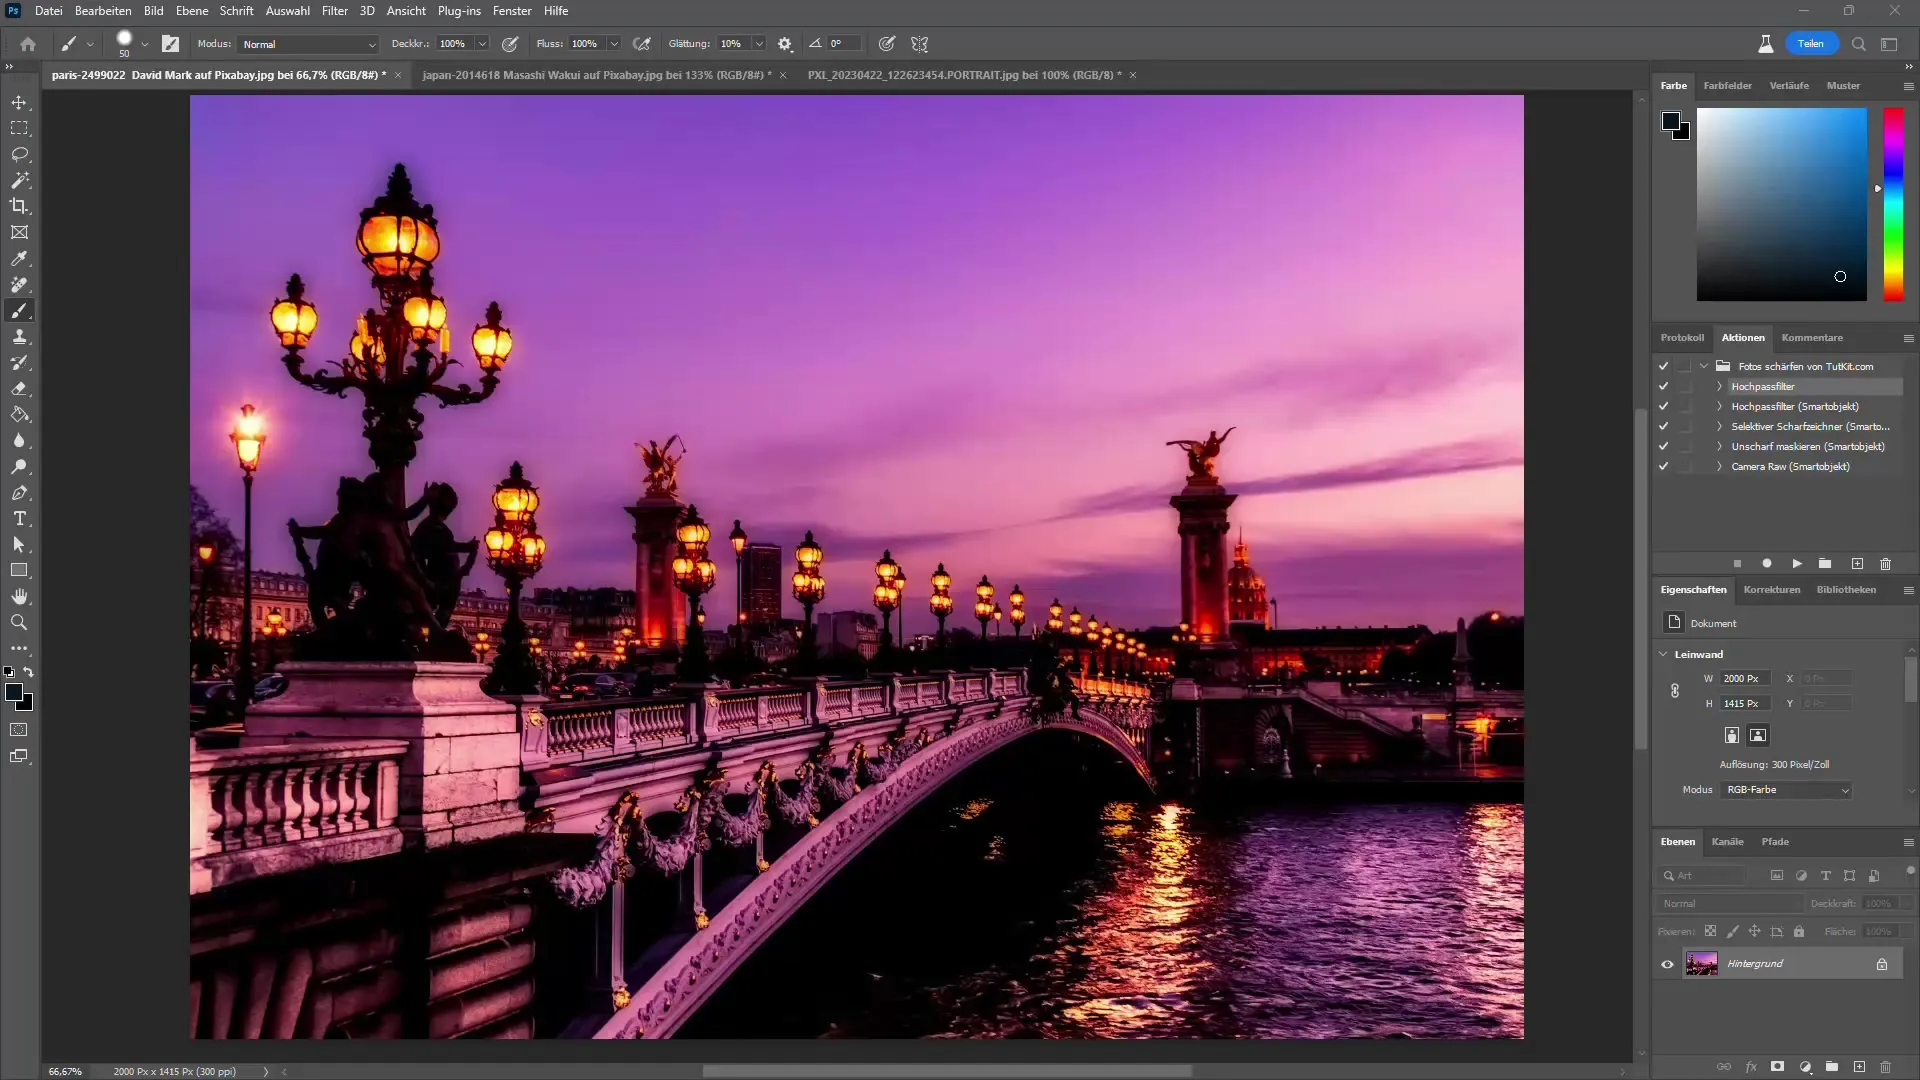
Enlarge the view to 100% to better recognize the sharpness effects. Activate the preview and slide the slider for strength to the right to increase the sharpness. Make sure not to sharpen too much to avoid artificial effects. A value between 100 and 200 is often optimal.
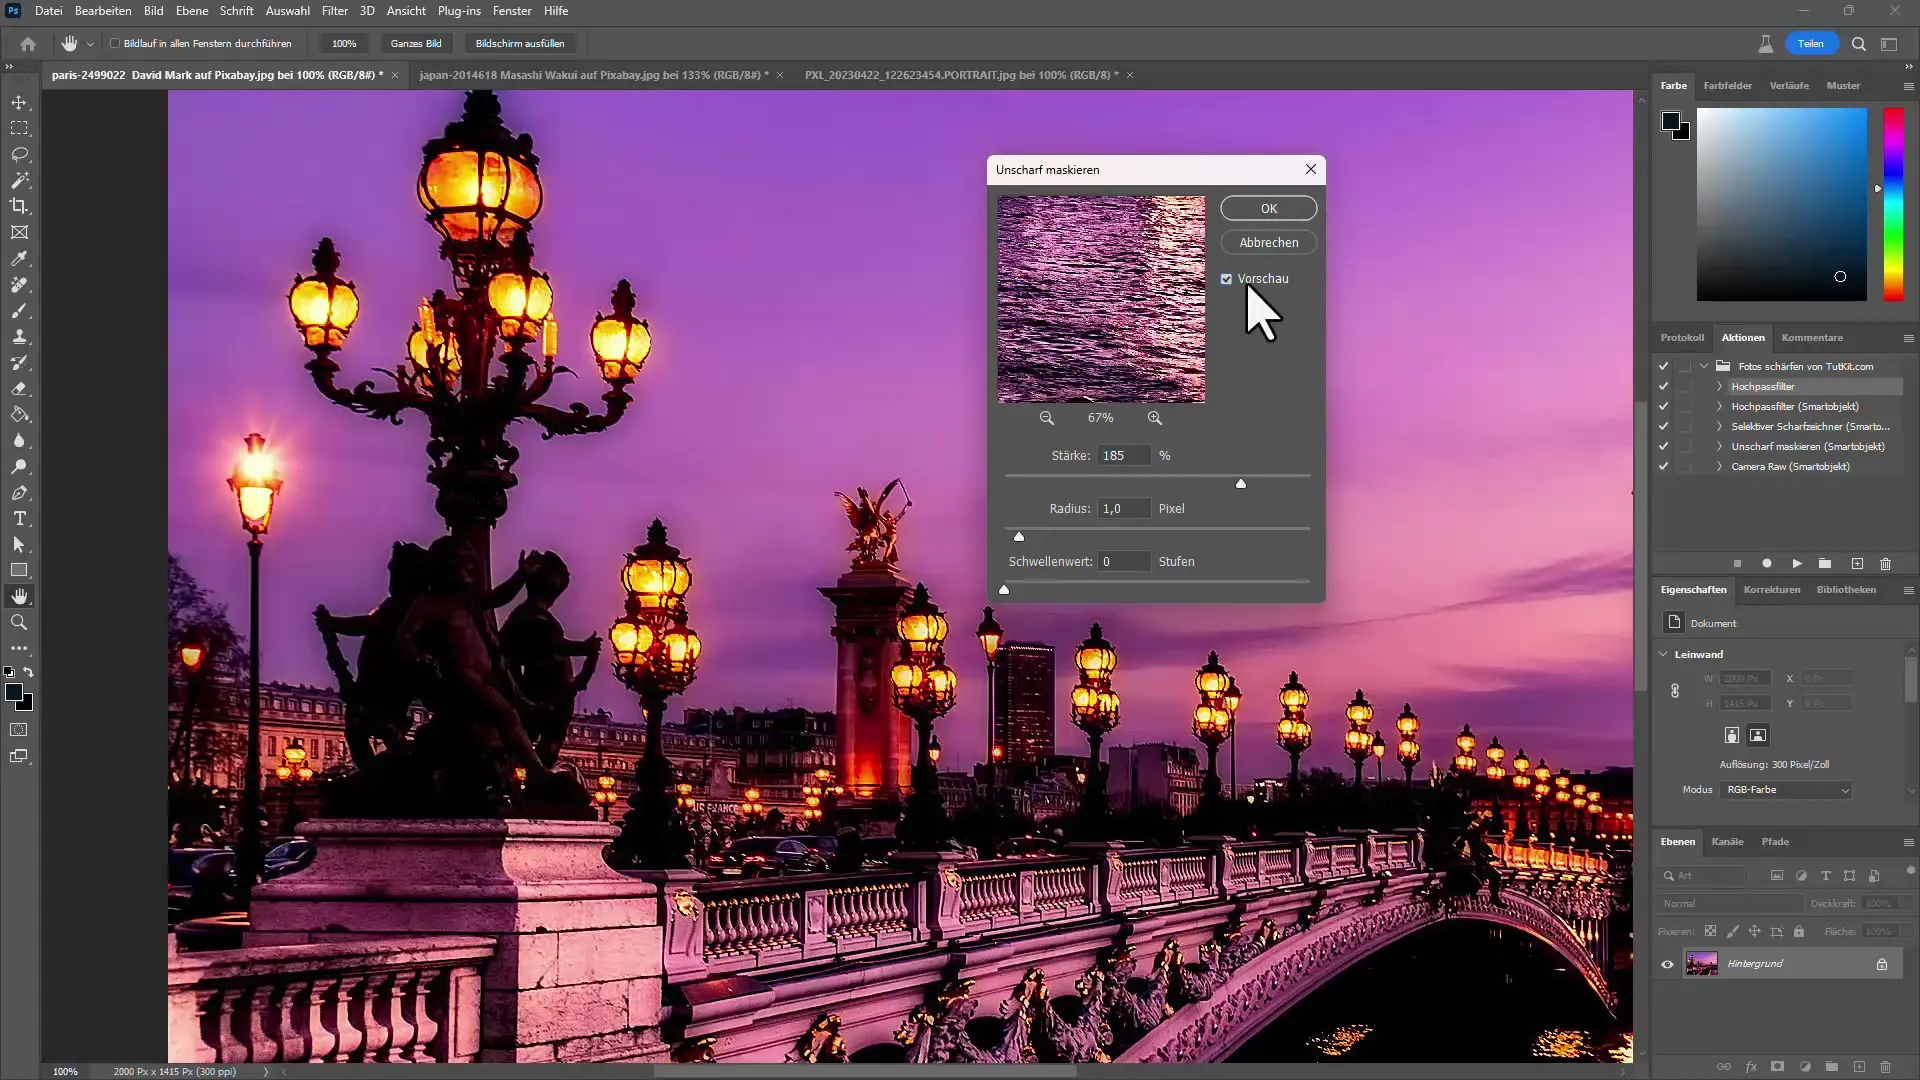
The radius slider determines the size of the sharpening areas. Keep the radius between 1 and 2 pixels to avoid excessive sharpening and to create clear edges.
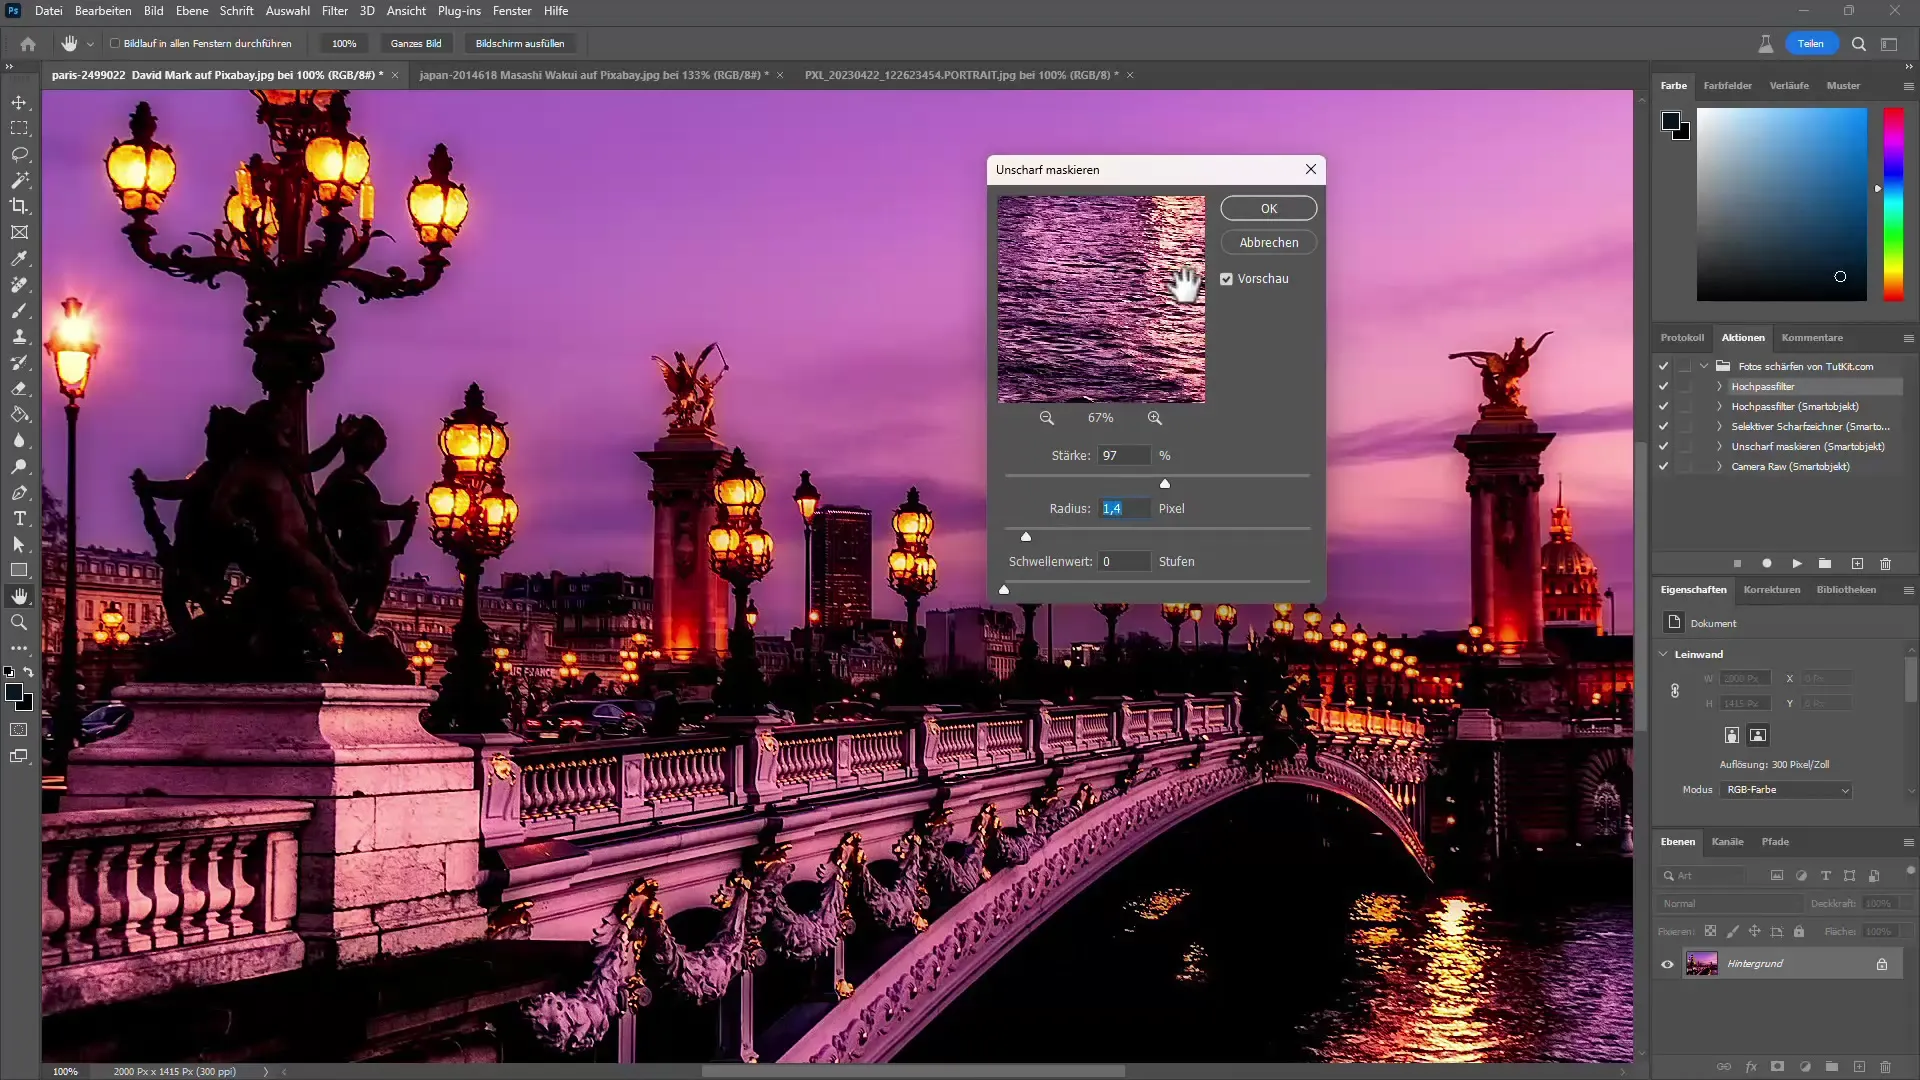
If you are satisfied with the result, click "OK". Be aware that this setting is final unless you have converted your image to a Smart Object.
2. Working with Smart Objects
To ensure that you can make adjustments later, convert your image to a Smart Object. Right-click on the layer and select "Convert to Smart Object".
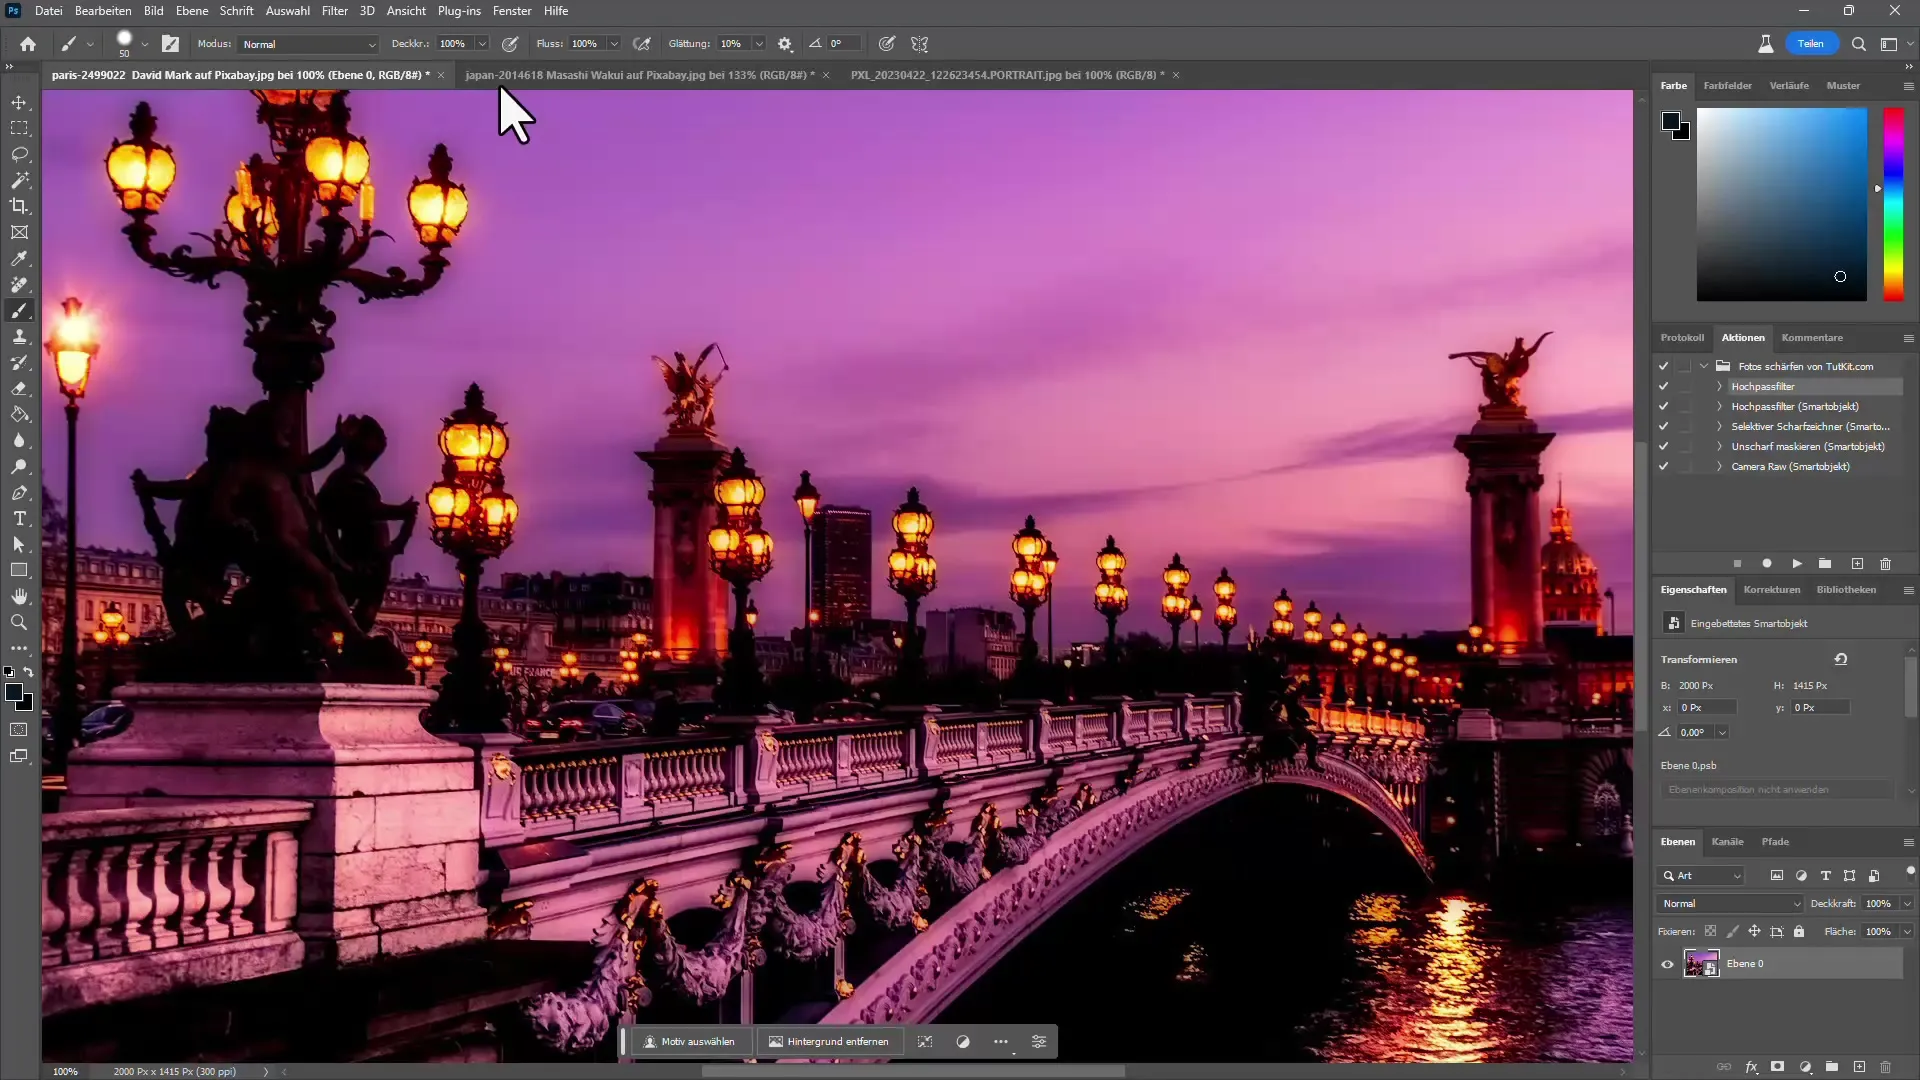
Now you can run the Unsharp Mask filter again, and the settings will remain editable. Go to Filter > Sharpen > Unsharp Mask, and you can adjust your changes at any time.
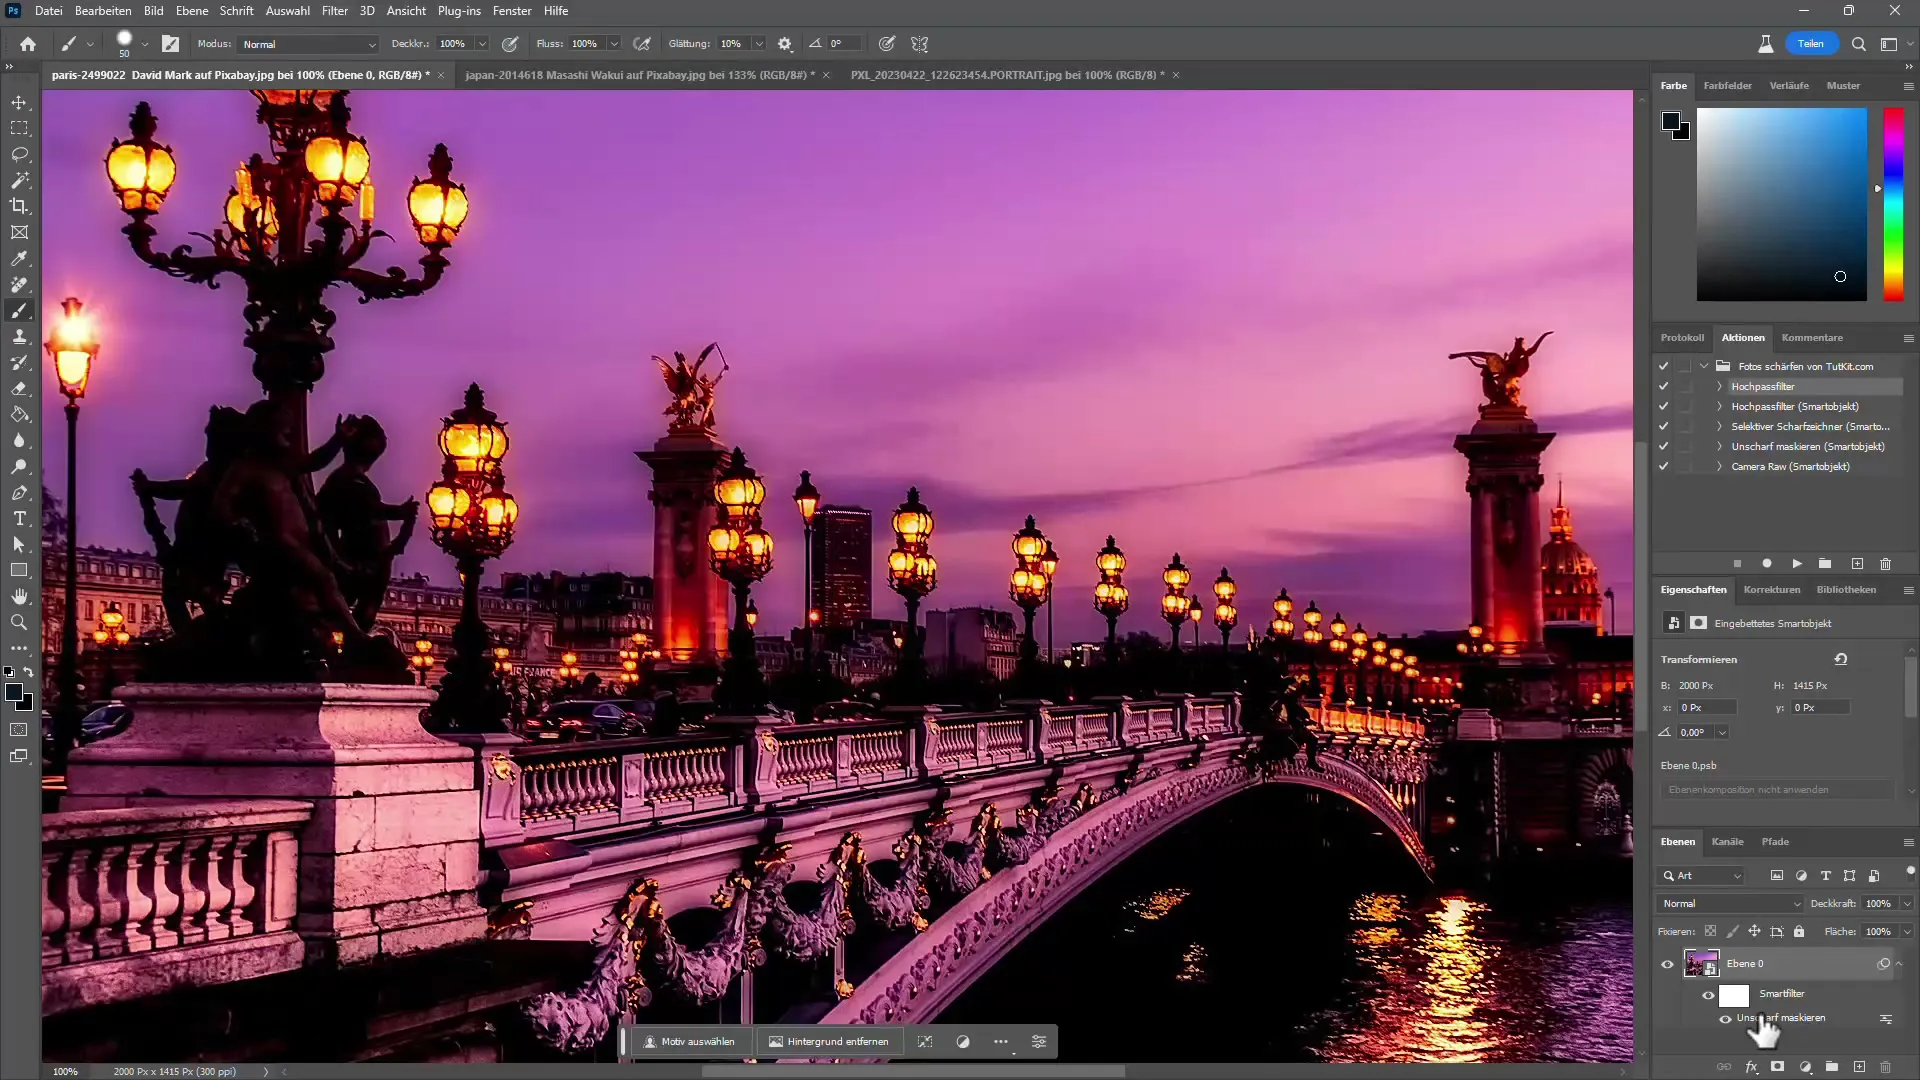
This allows you to fine-tune the sharpness or disable the effect without losing the original image.
3. High Pass Filter for More Precise Sharpening
Another method for fine sharpening is using the High Pass Filter. Duplicate the layer with Ctrl + J and go to Filter > Other Filters > High Pass. Here, you can set the radius to about 1 to 2 pixels to make only clear edges visible.
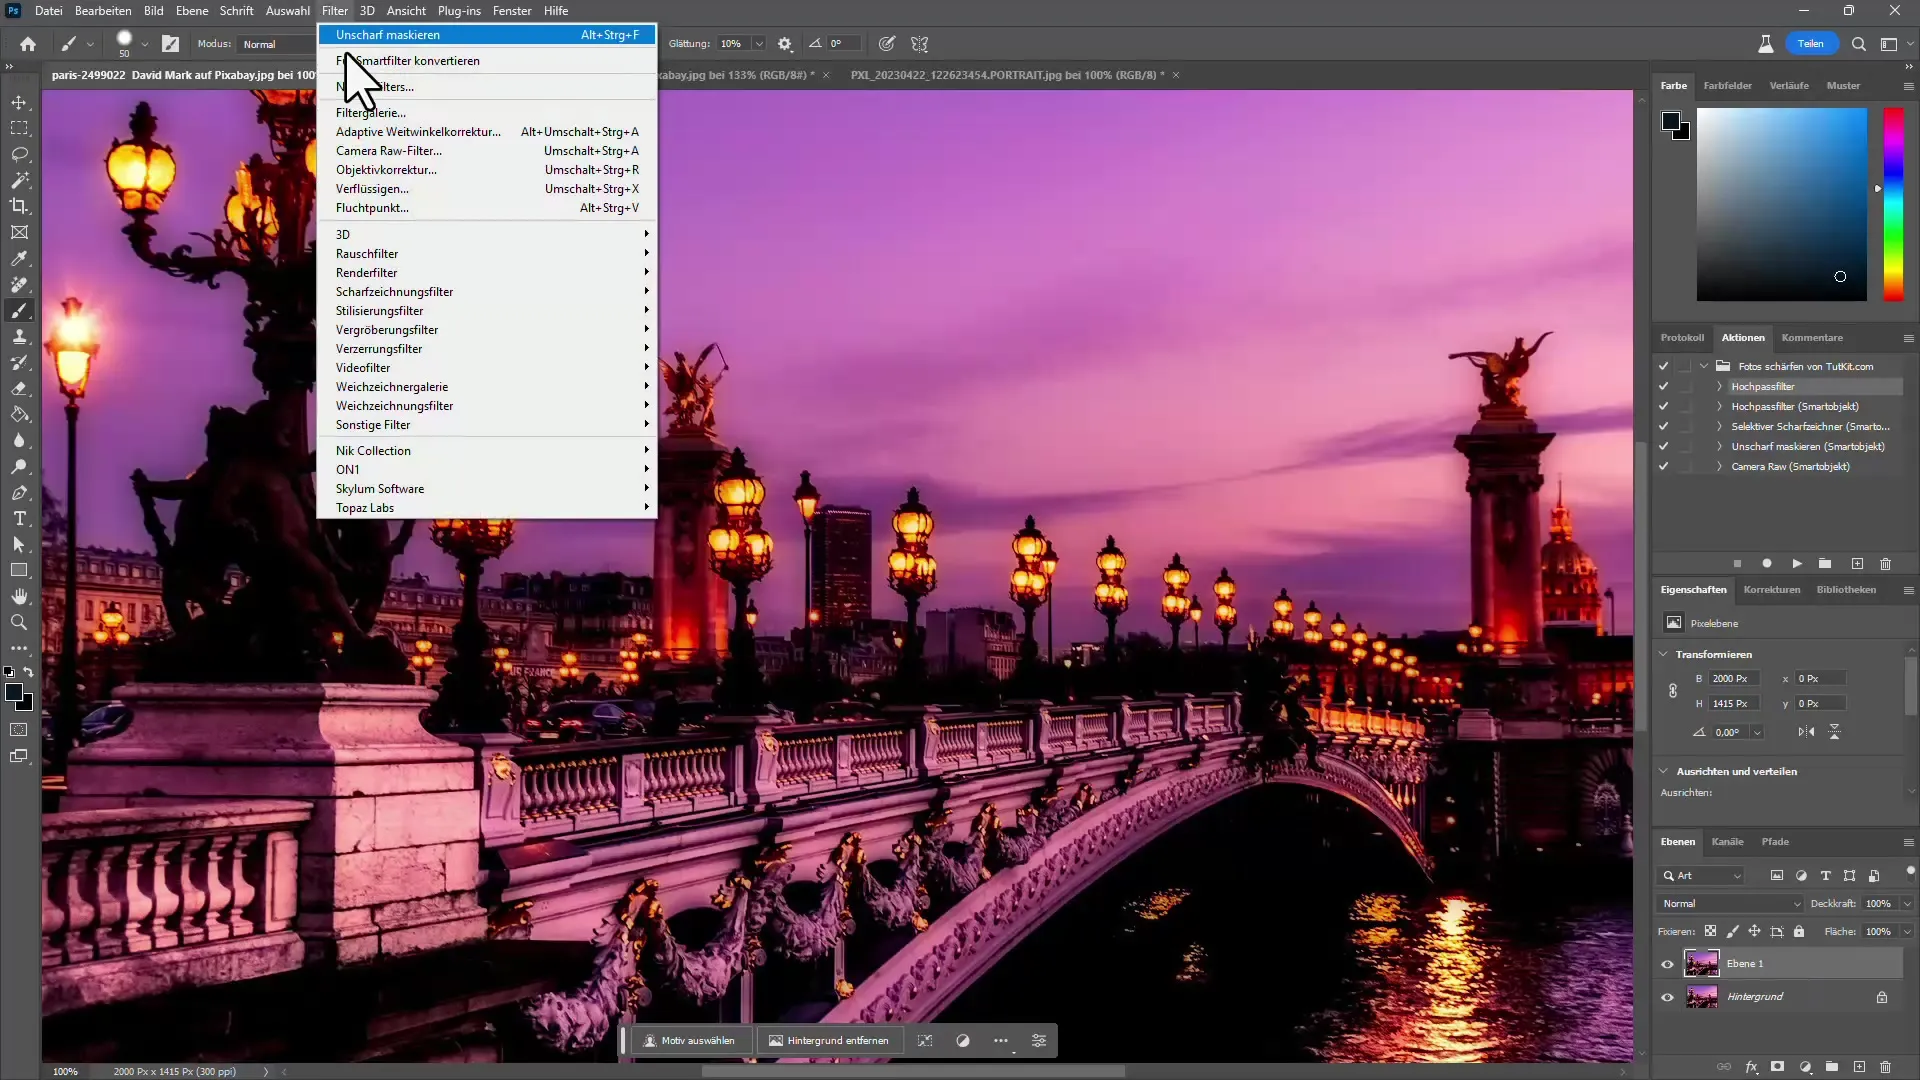
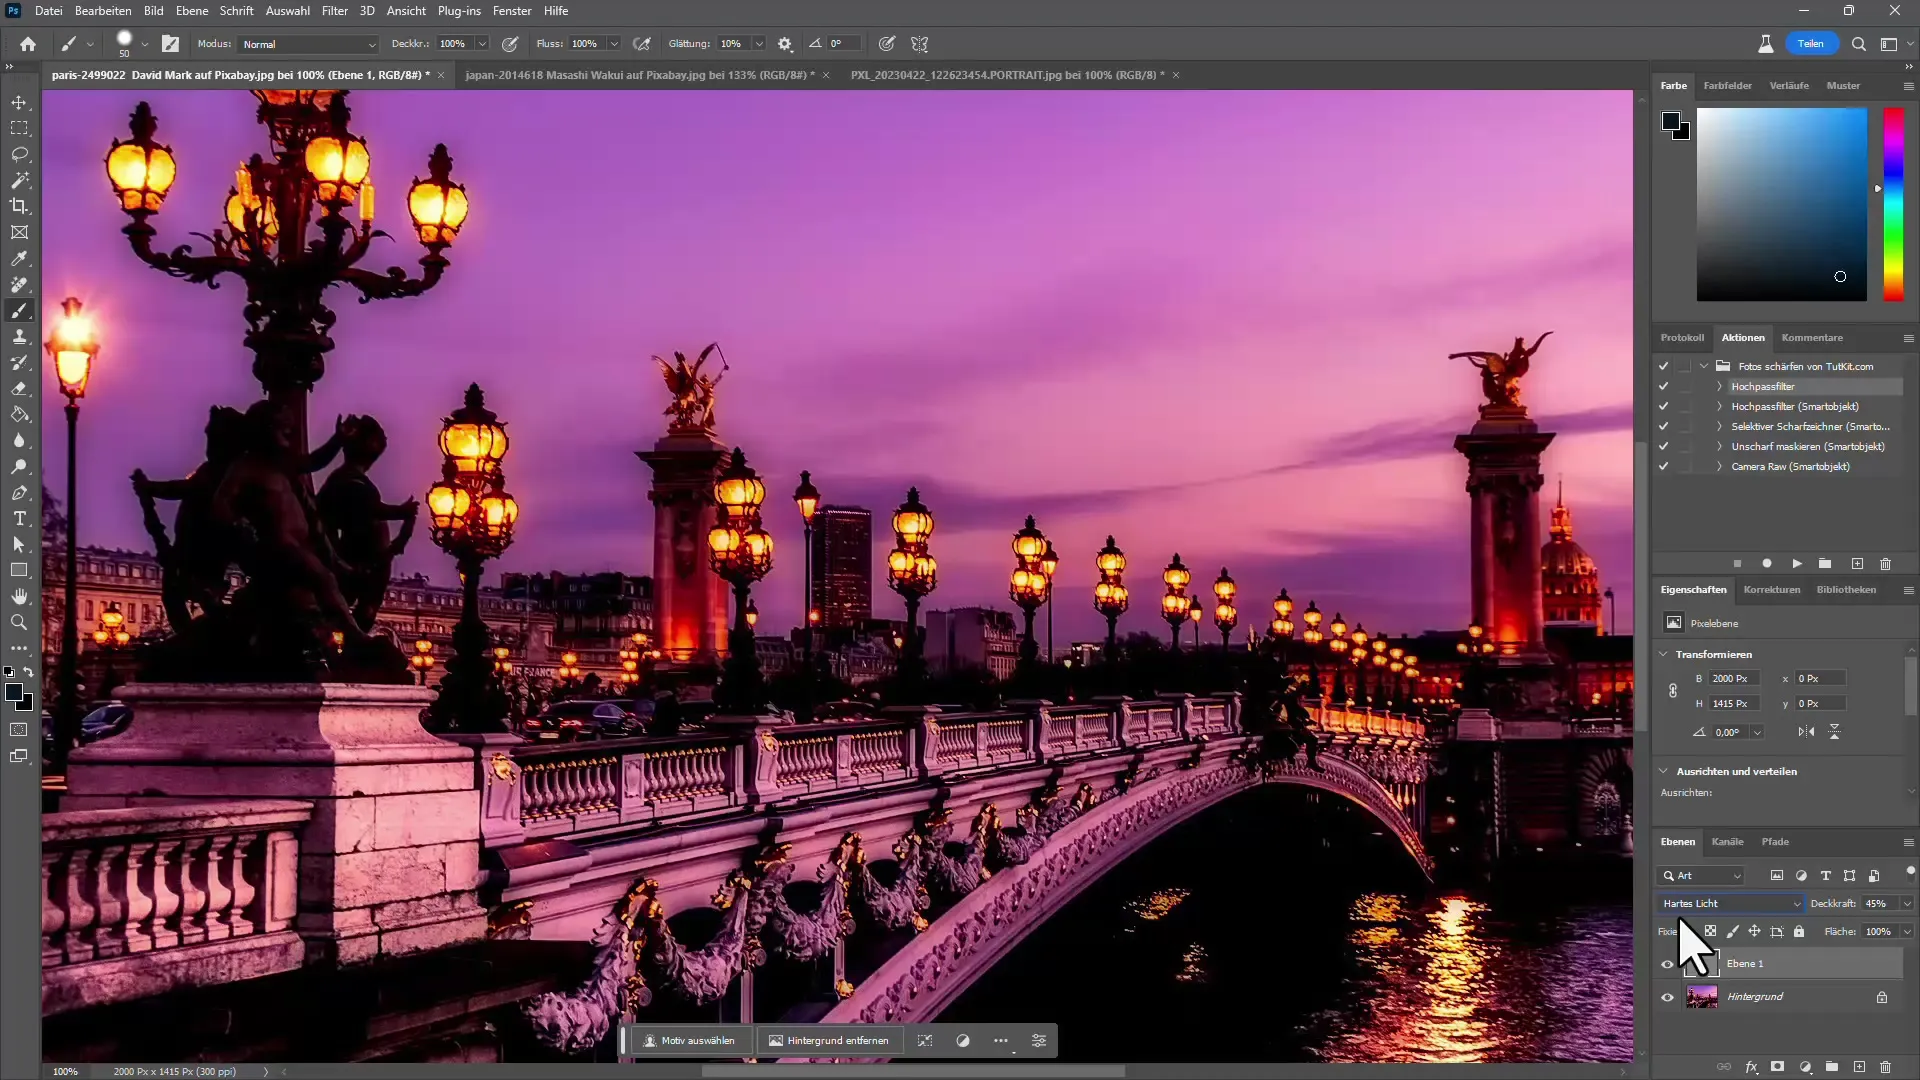
Change the layer's blending modes to "Hard Light" to intensify the sharpness. Adjust the opacity until the result is satisfactory. This method is particularly effective as it leaves the original image untouched.
4. Selective Sharpener
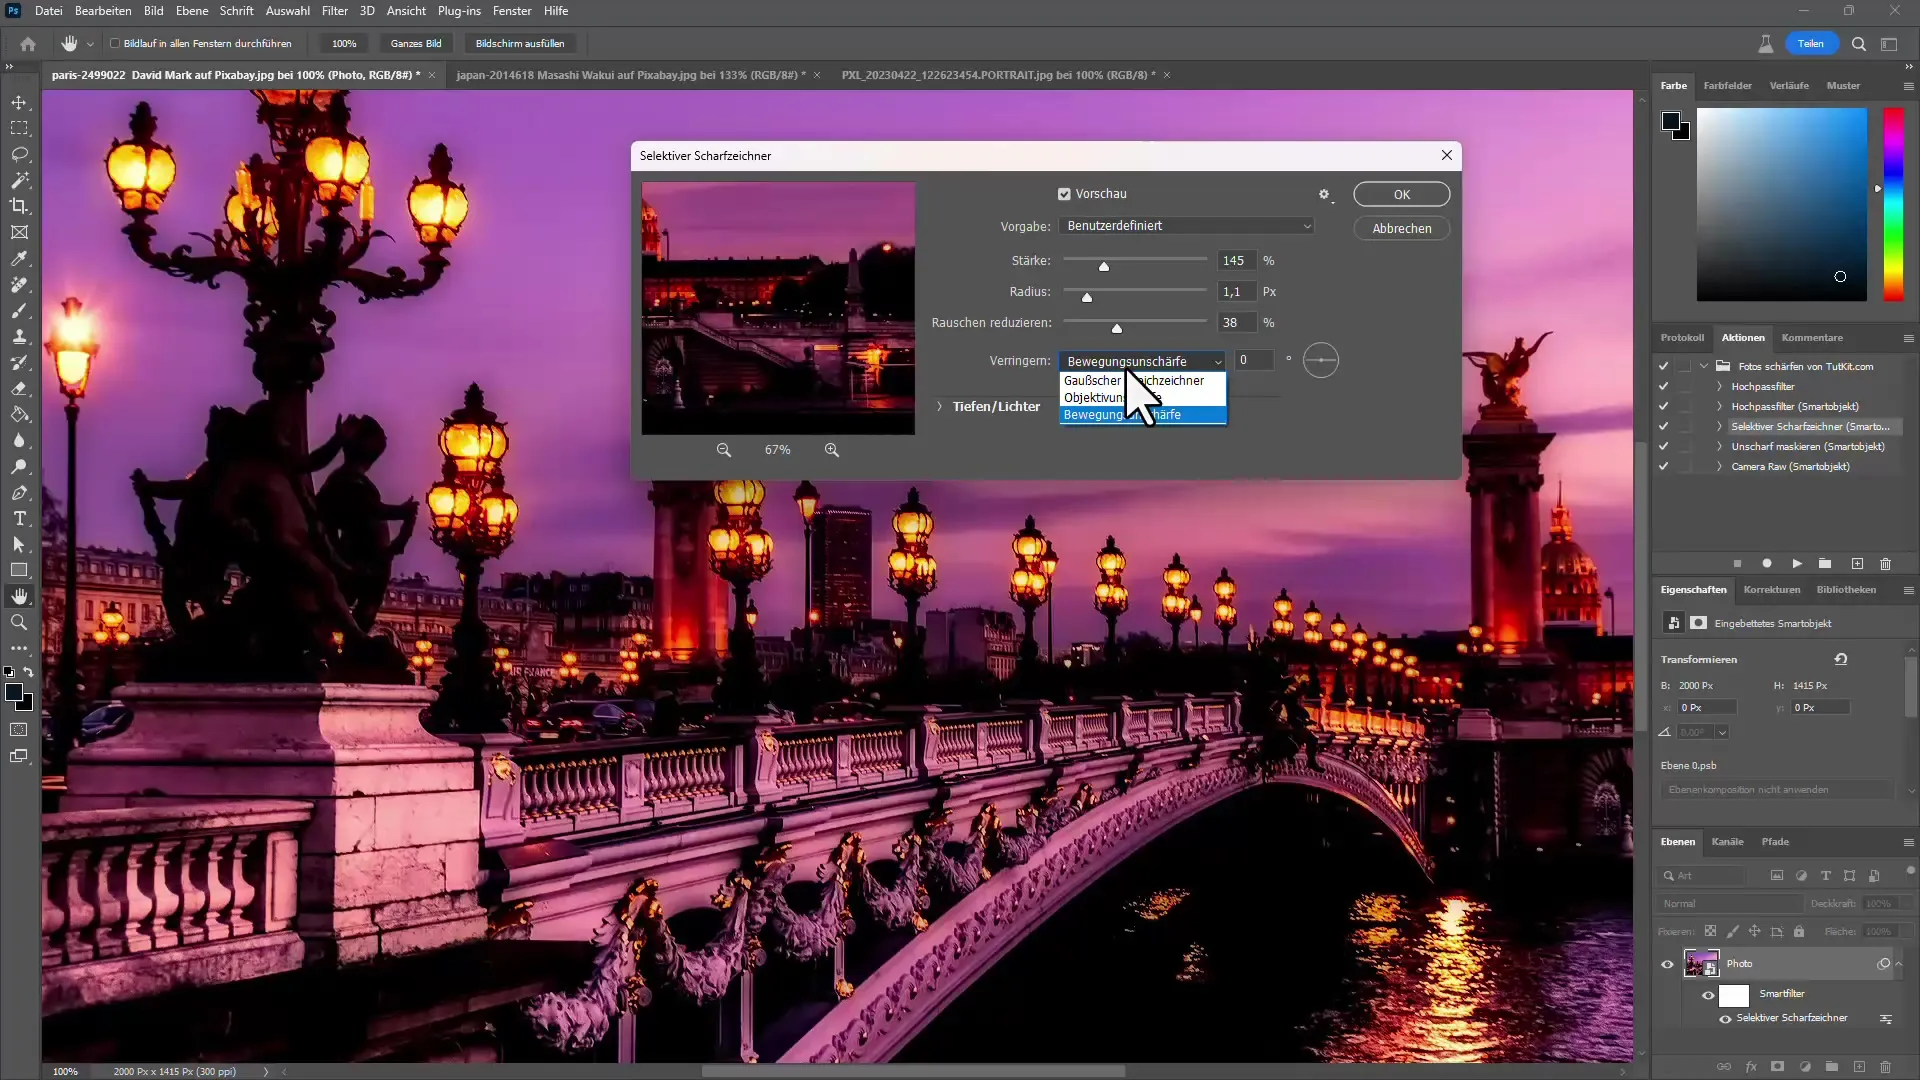
To sharpen specific areas, you can use the Selective Sharpener. Adjust the sharpness controls here. A smaller radius sharpens more precisely, while with larger radii, you risk making the image appear unnatural.
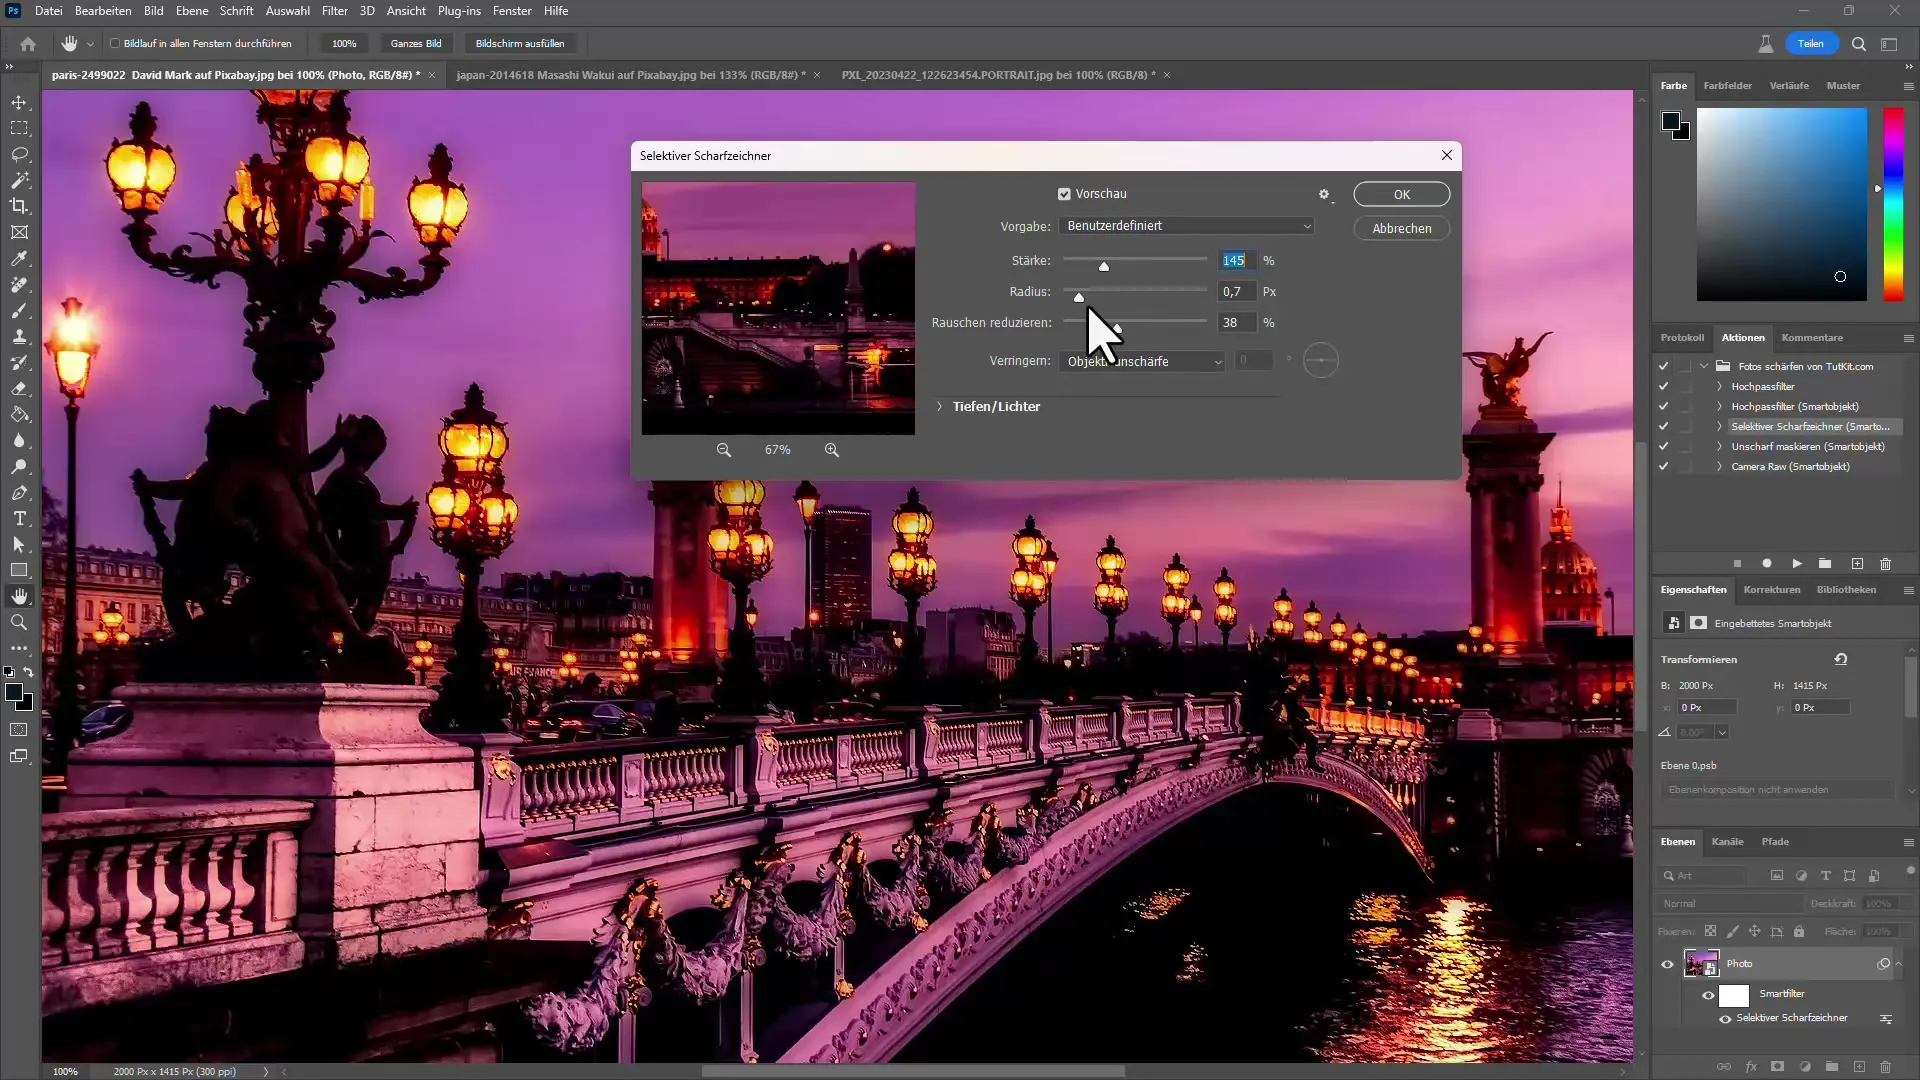
You can also adjust the opacity here to precisely control the sharpness and possibly compensate for motion blur.
5. Using Camera Raw for RAW and JPEG files
For thorough image editing, you can use Camera Raw. Simply import the file via "Open in Camera Raw". Here, you have the opportunity to finely adjust the sharpening sliders and simultaneously remove noise from the image.
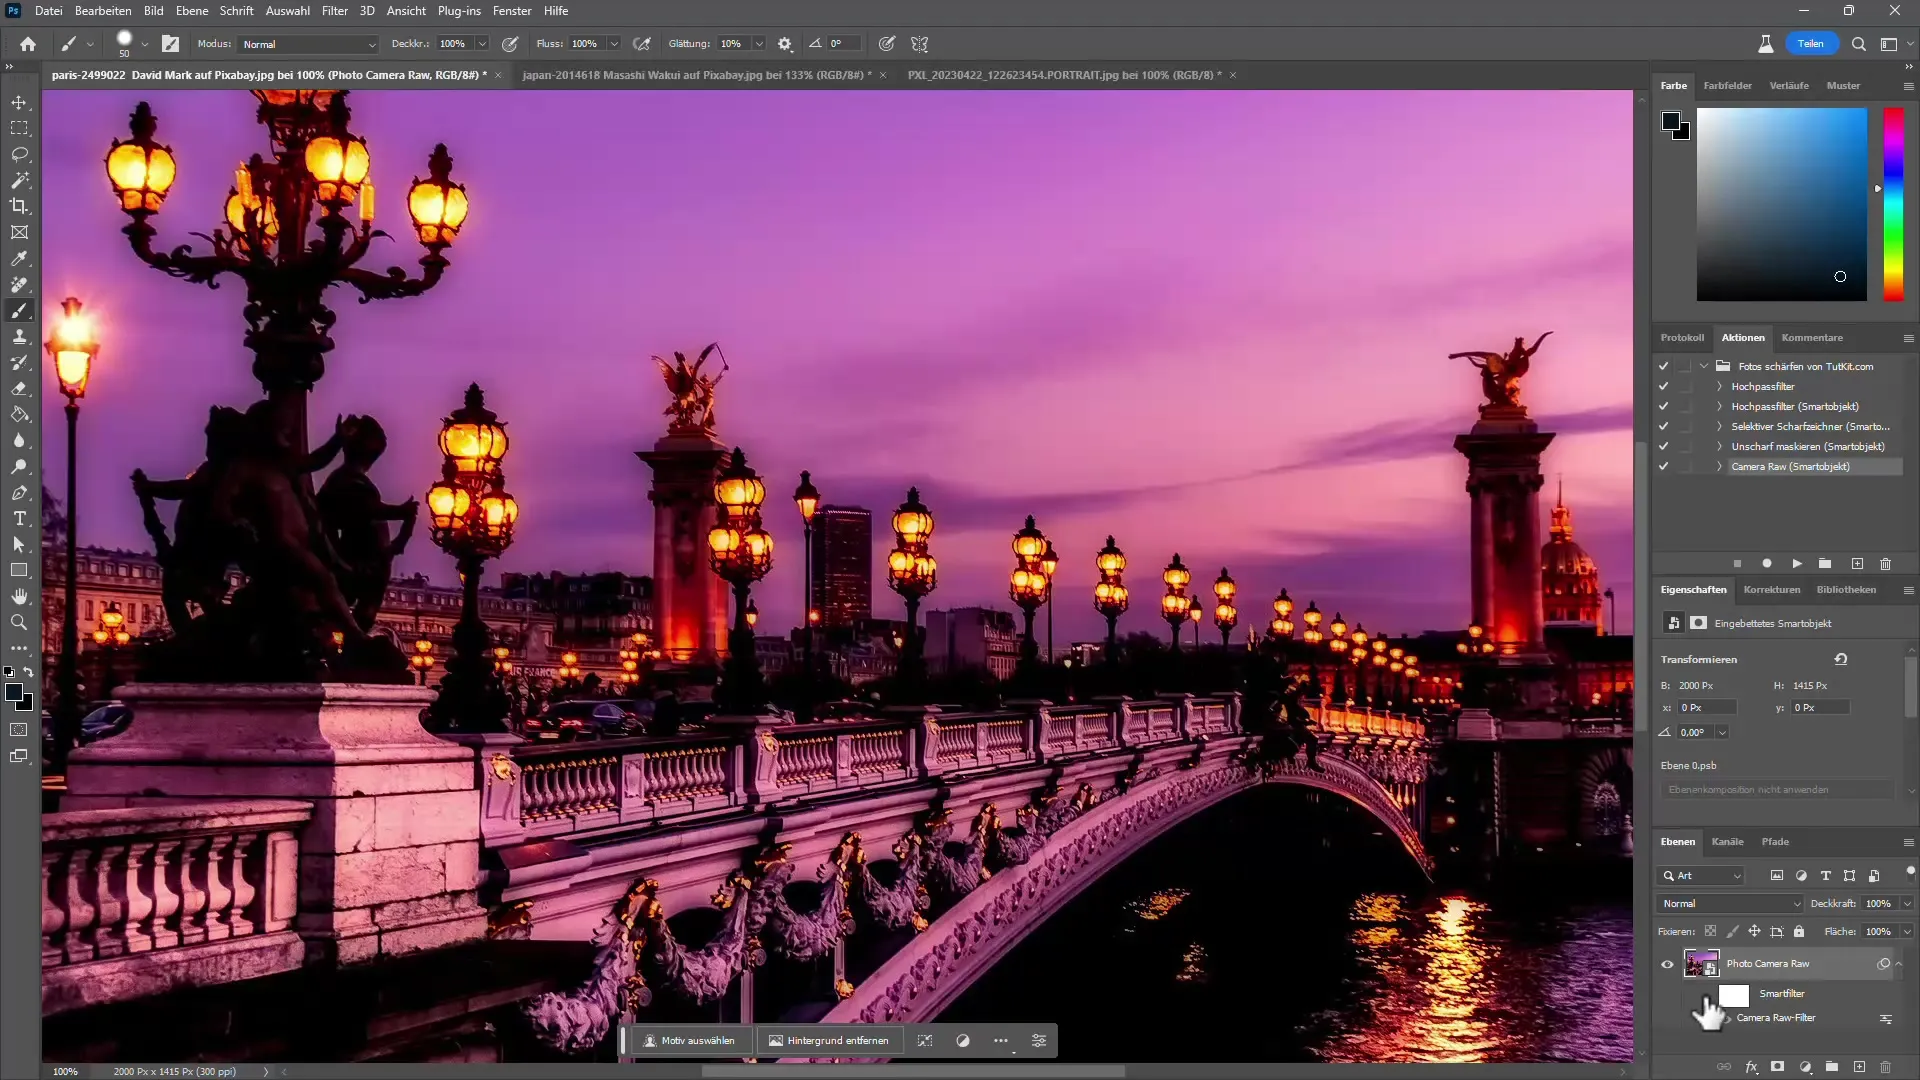
The combination of noise reduction and sharpening in Camera Raw yields impressive results, especially with RAW images.
6. Using Actions and Batch Processing
To make the image editing process more efficient, take advantage of my provided action. You can use this action for batch processing to sharpen multiple images at once. Go to Automation > Batch Processing and select the desired action.
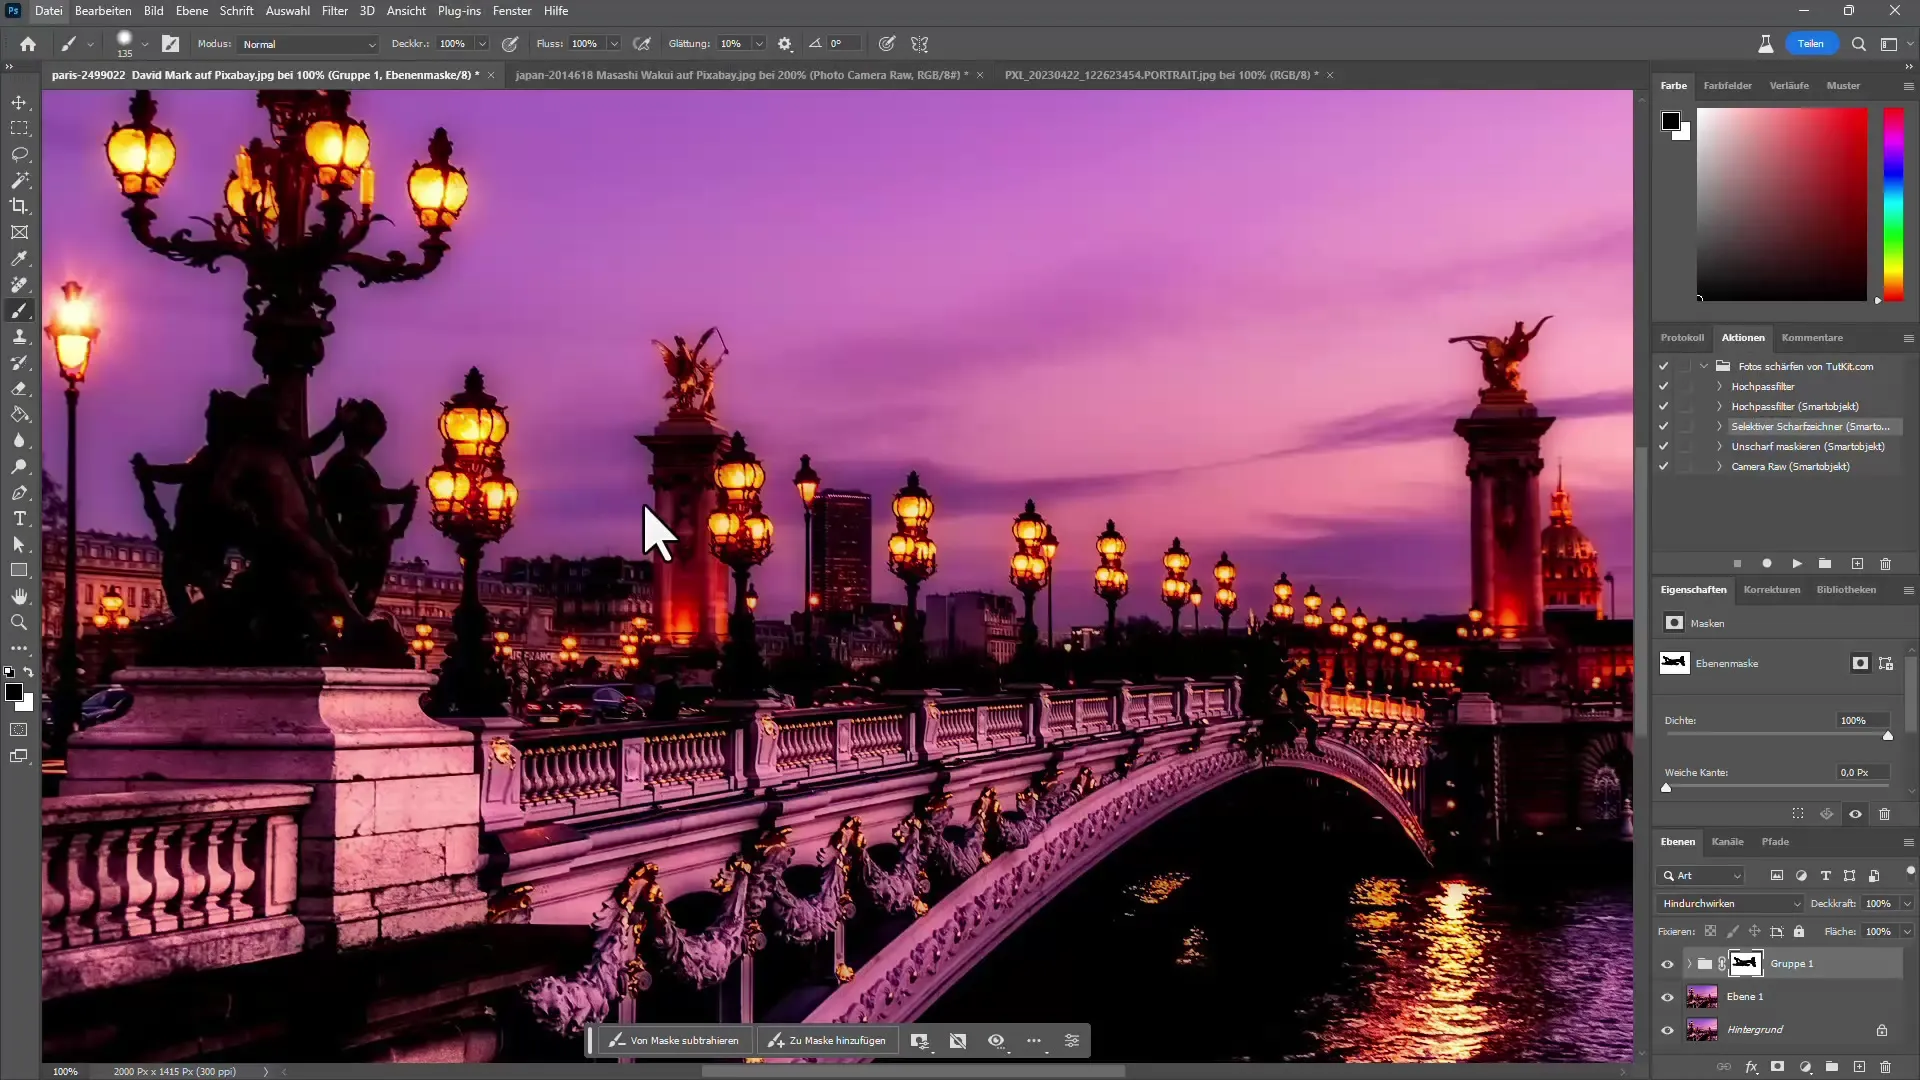
This function is ideal for photographers who need to edit large quantities of images, such as wedding photographers.
Summary
Sharpening images in Photoshop can be optimized using various techniques and tools. By applying the mentioned methods, you can elevate your photos to the next level and avoid unwanted noise effects.
Frequently Asked Questions
How do I sharpen an image in Photoshop?Use the "Unsharp Mask" function to easily adjust the sharpness.
What is the advantage of Smart Objects?Smart Objects allow you to apply filters and later edit them without altering the original image.
How does the High Pass filter work?The High Pass filter selectively sharpens only the edges of an image, leaving unwanted areas untouched.
Can I sharpen multiple images at once?Yes, you can use actions in batch processing to sharpen multiple images automatically.
How do I reduce noise while sharpening?Use noise reduction in Camera Raw along with sharpening for better results.
