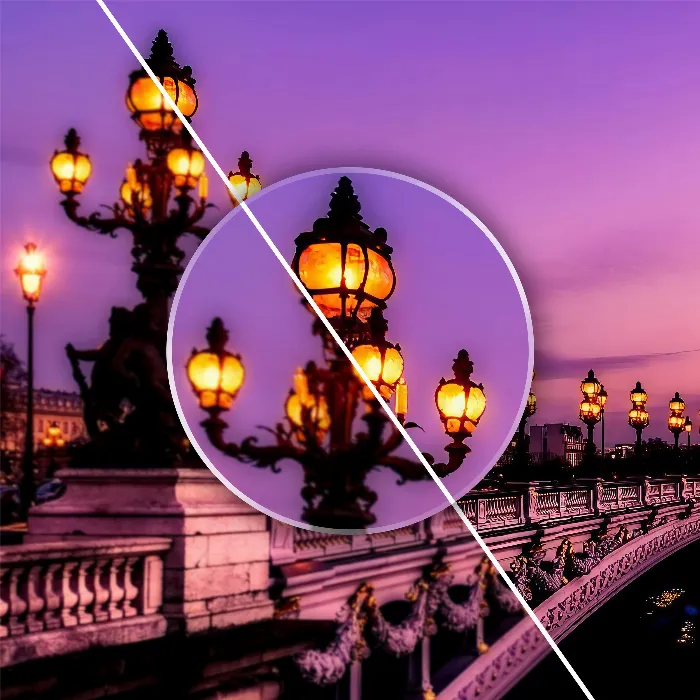
In this tutorial, I will show you how to efficiently sharpen photos using Topaz Photo AI. This program is particularly powerful and user-friendly, perfect for photographers and hobbyists who want to optimize their images in no time. I will introduce you to the advantages of Topaz Photo AI, explain how it stands out from other programs, and show you through practical examples how to achieve the best results.
Main Insights
- Topaz Photo AI contains powerful features for sharpening, noise reduction, and enlarging images.
- It is important to carefully choose the sharpening settings to avoid exaggerated results.
- A new update has integrated text enhancement, which is especially useful for images containing text.
Step-by-Step Guide
To use the software optimally, follow these steps:
Installation of Topaz Photo AI
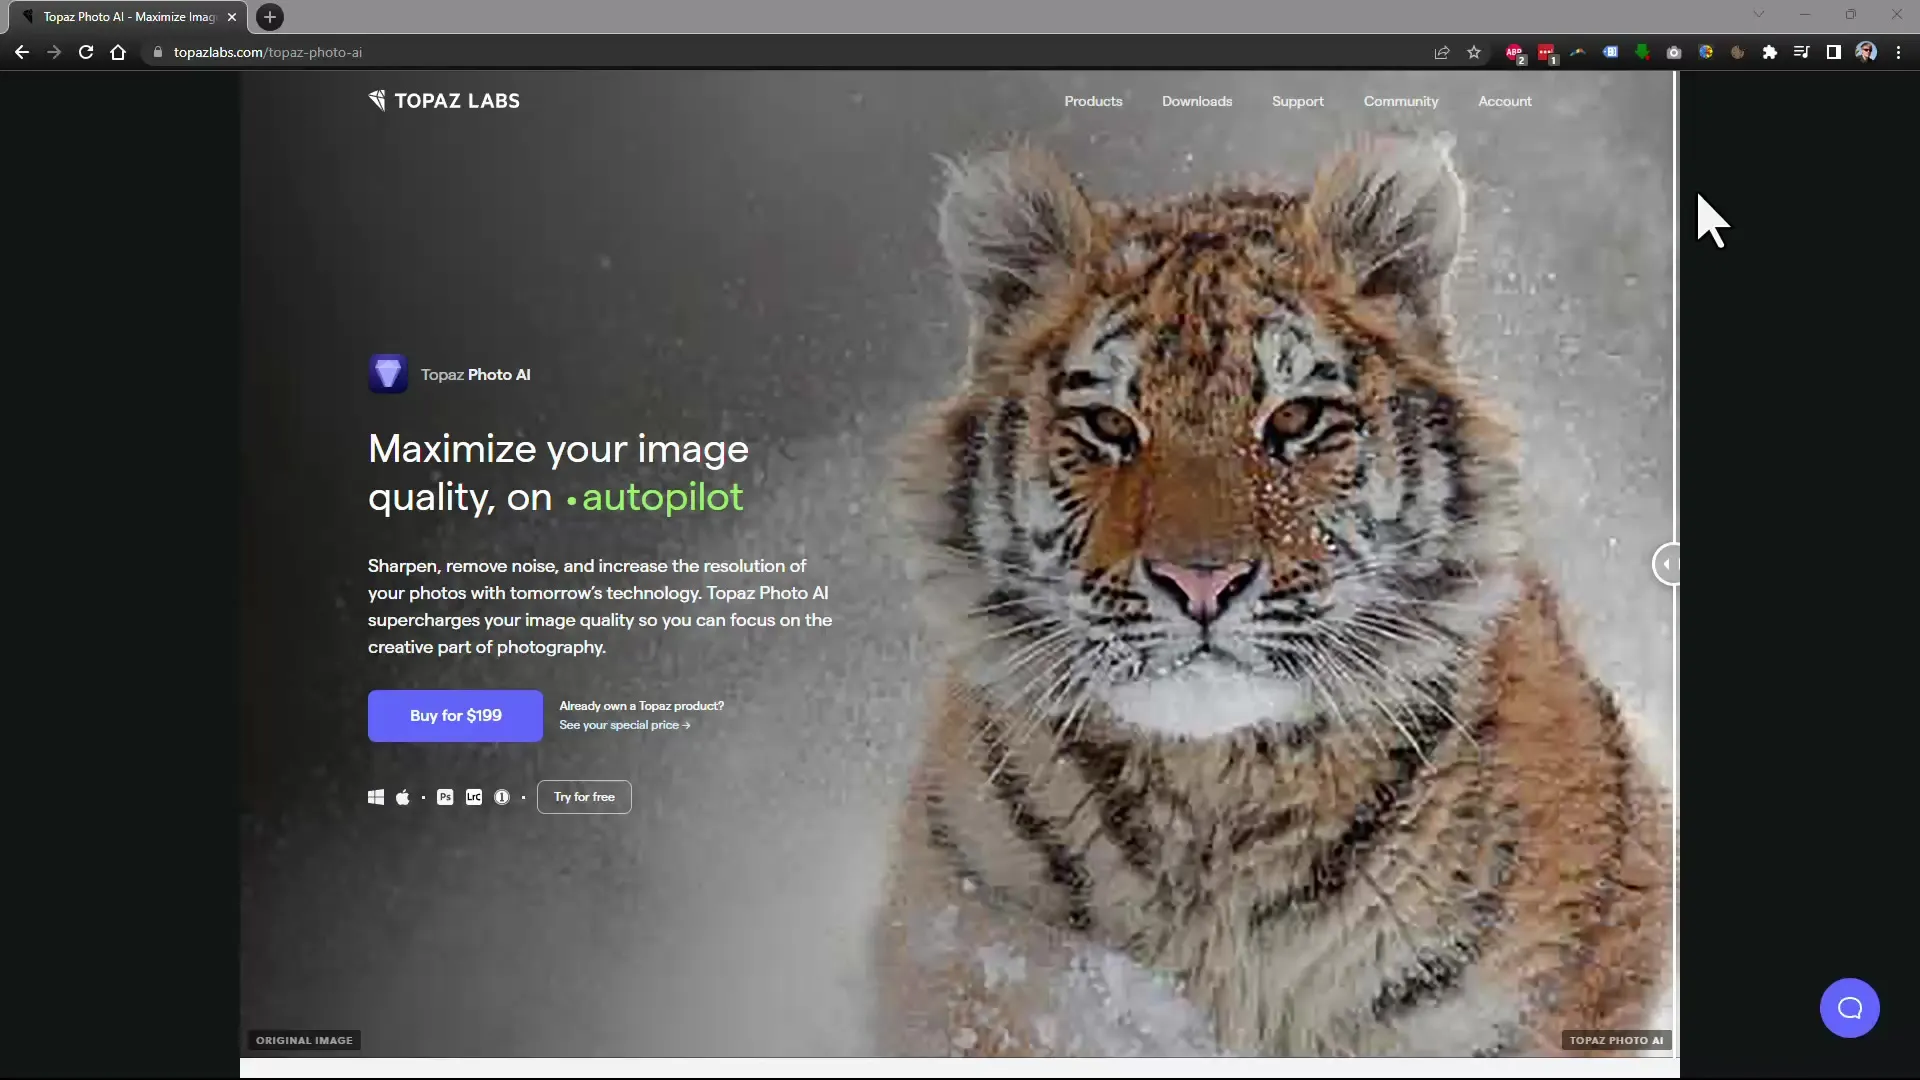
Before you start sharpening your images, you need to download and install Topaz Photo AI. Visit the official Topaz website and download the trial version or full version. After installation, open the program.
Import Your Image
To sharpen your image, you first need to import it into the program. Click on "Open Image" and select the desired photo from your gallery.
Noise Reduction
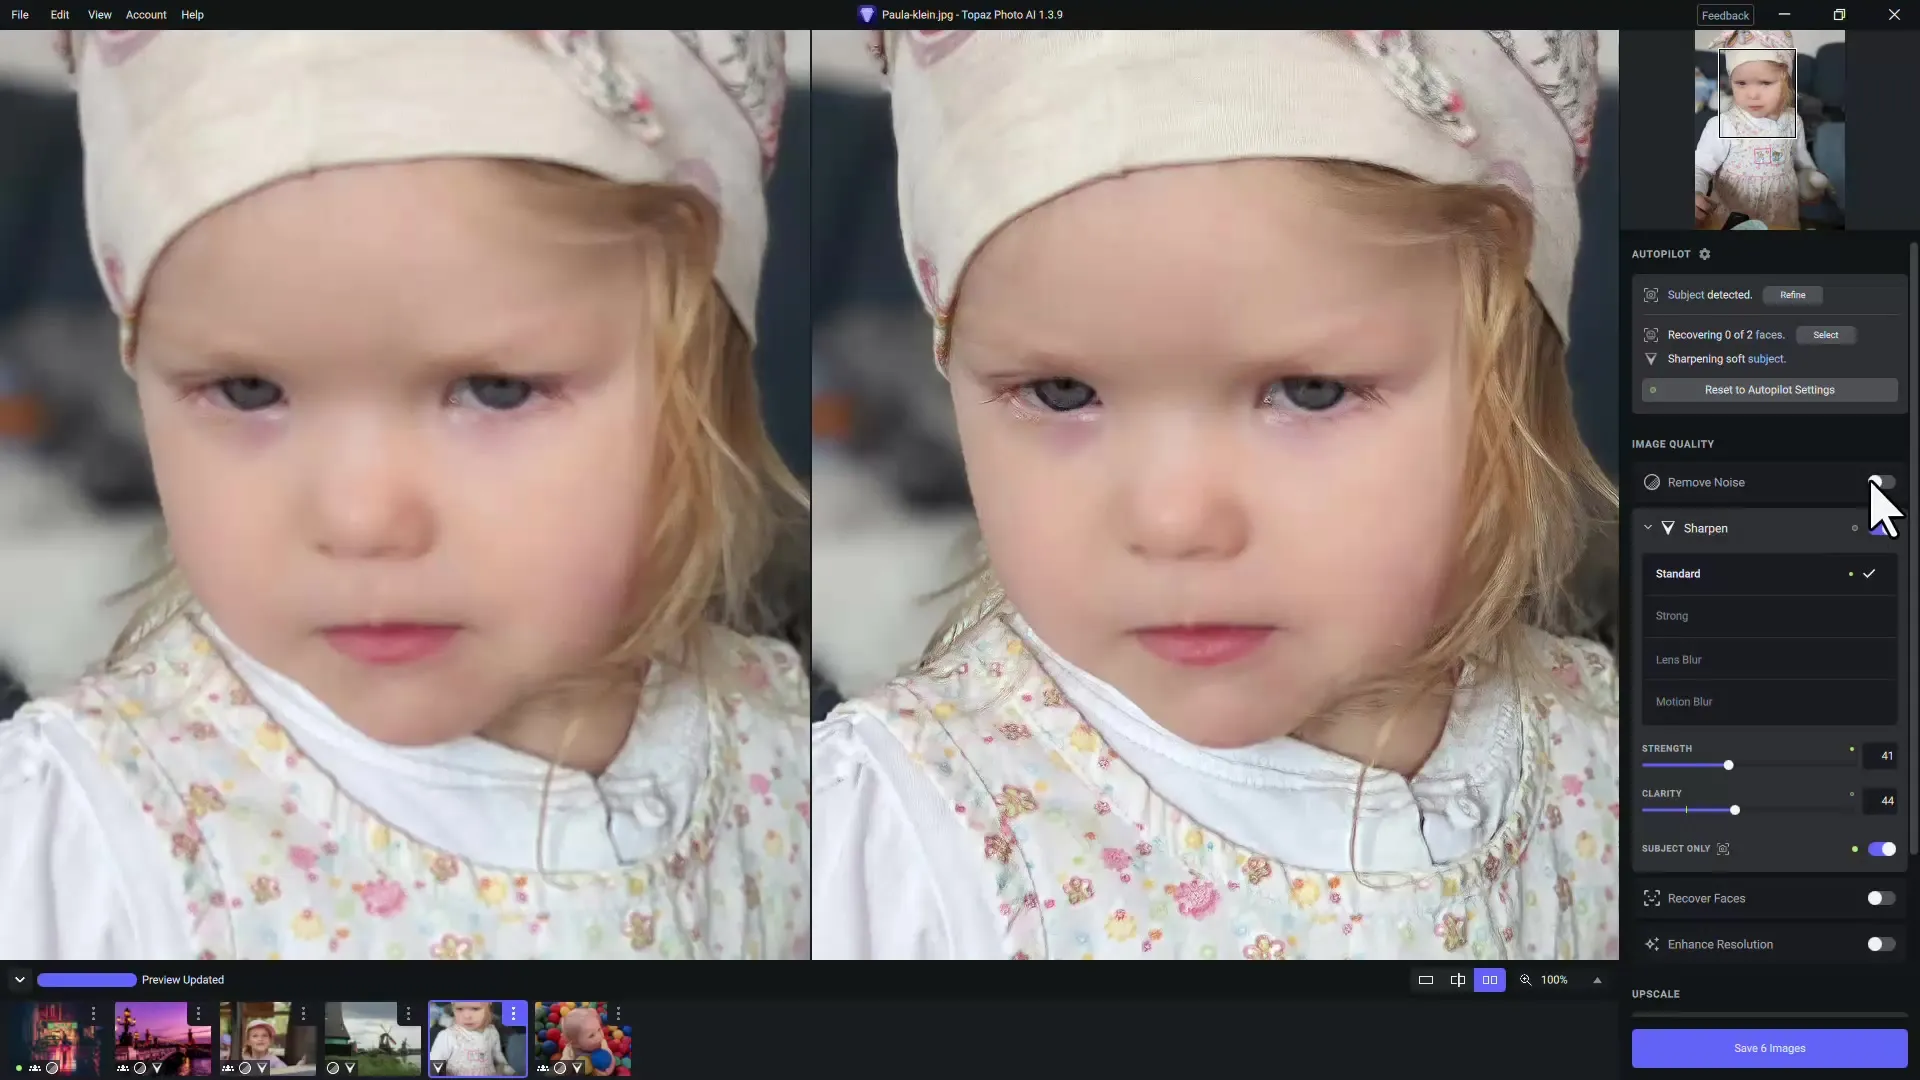
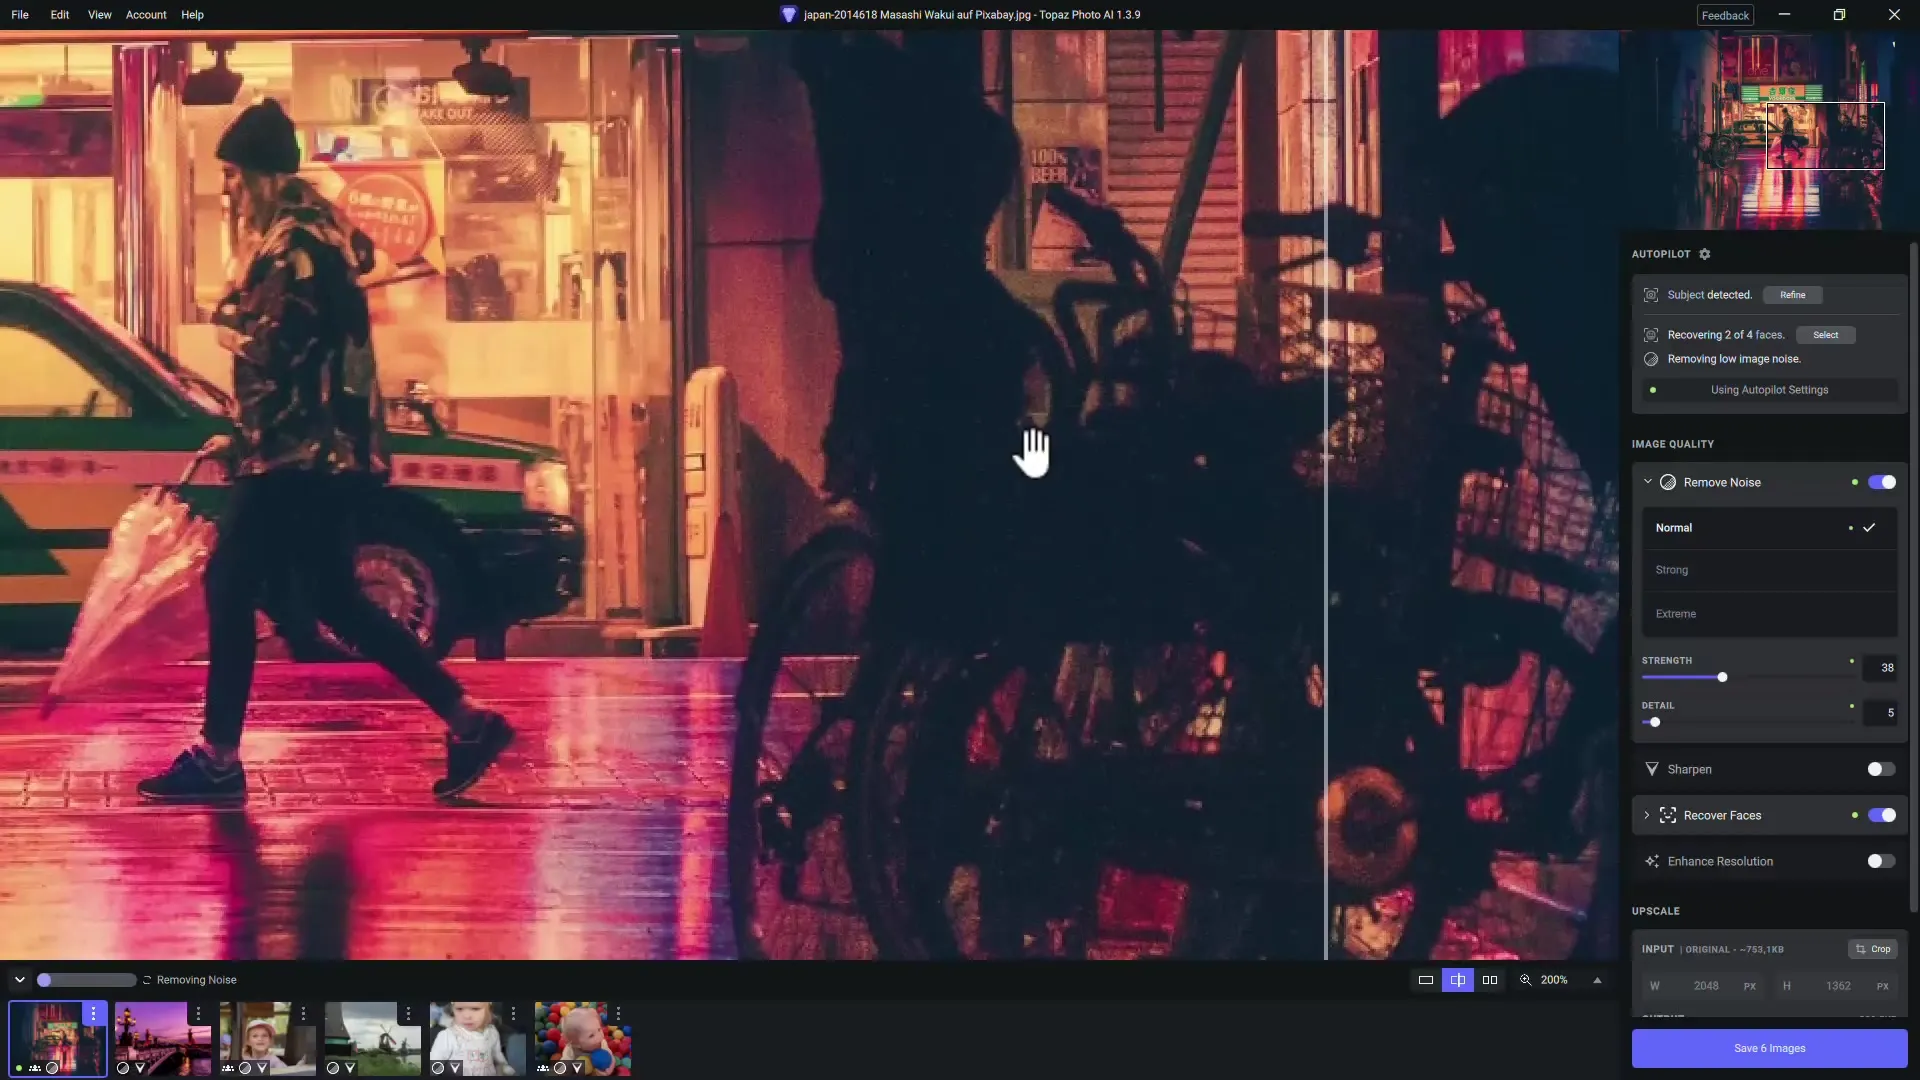
One of the strengths of Topaz Photo AI is the ability to remove image noise. Depending on the image, you can adjust the noise reduction parameter. You have the option to apply strong or mild noise reduction. You can enable noise reduction beforehand to ensure the image remains clear and sharp.
Choose Sharpening
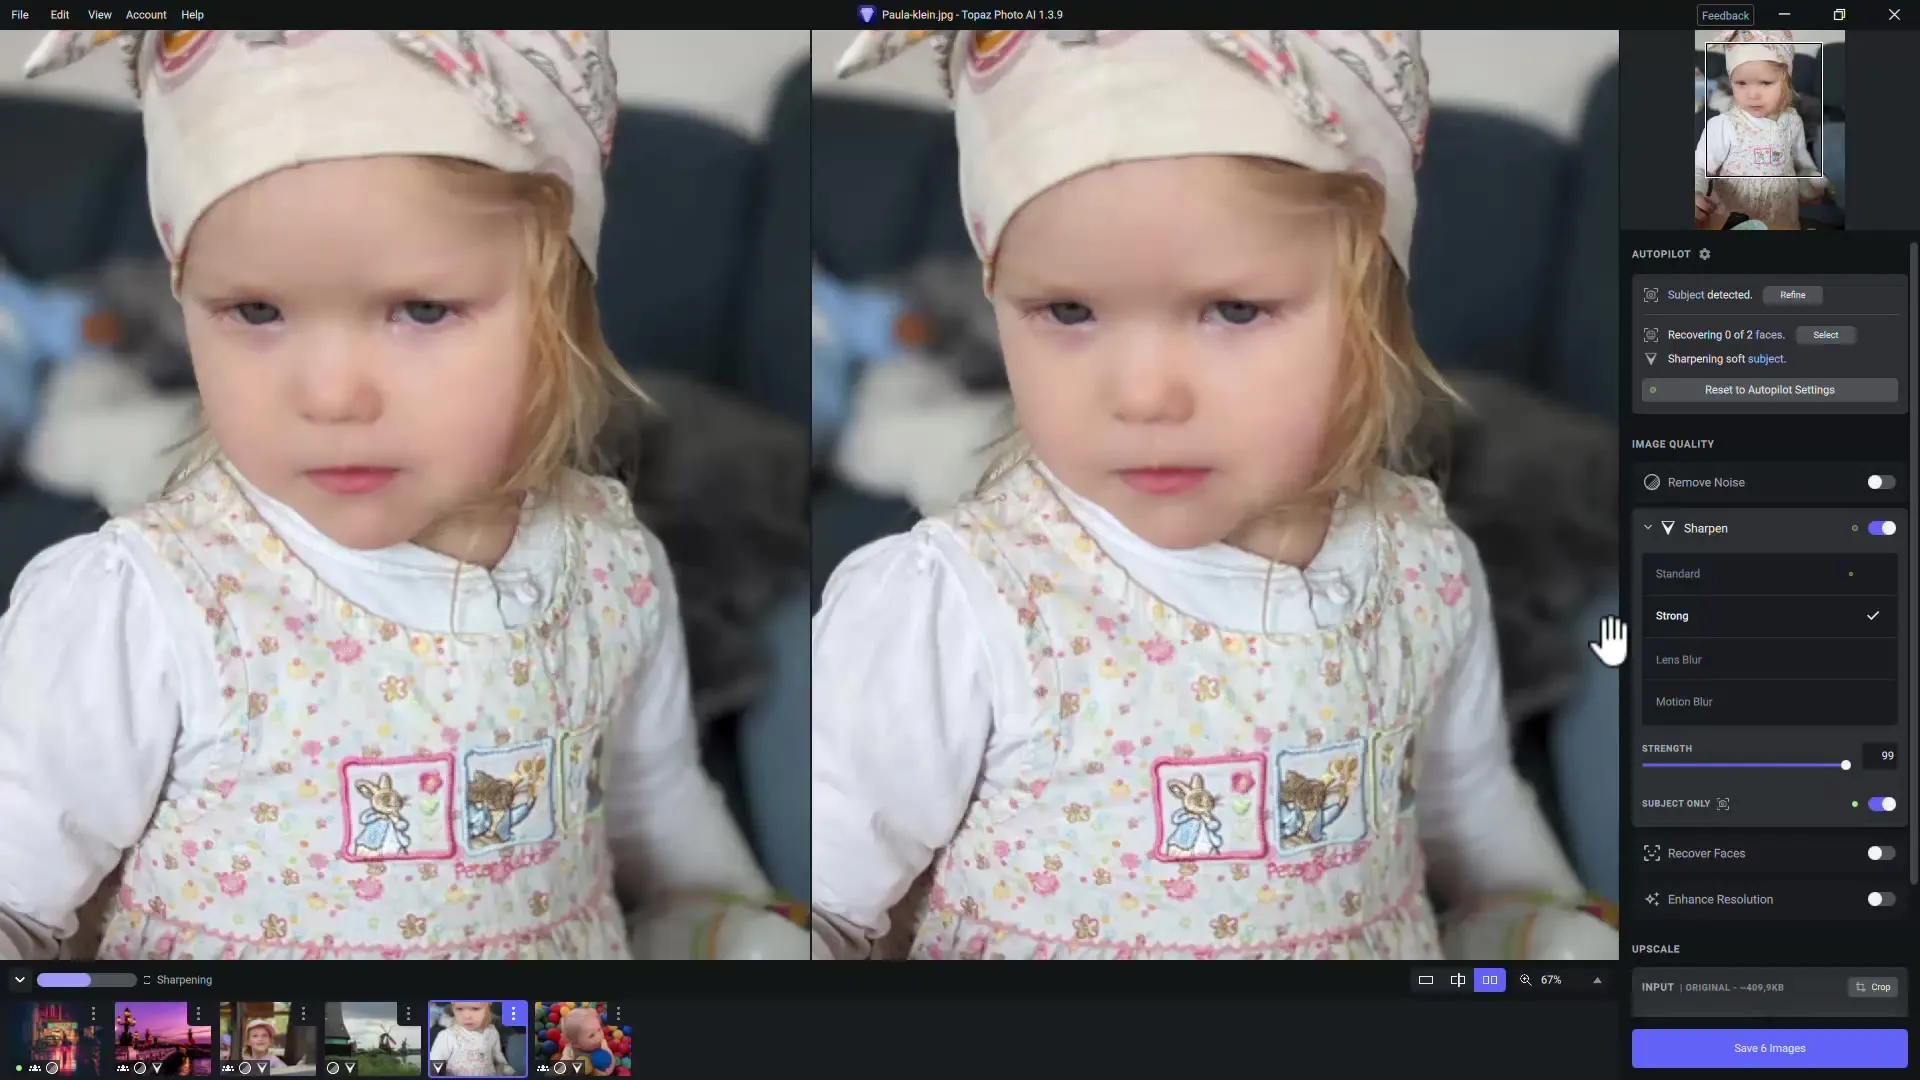
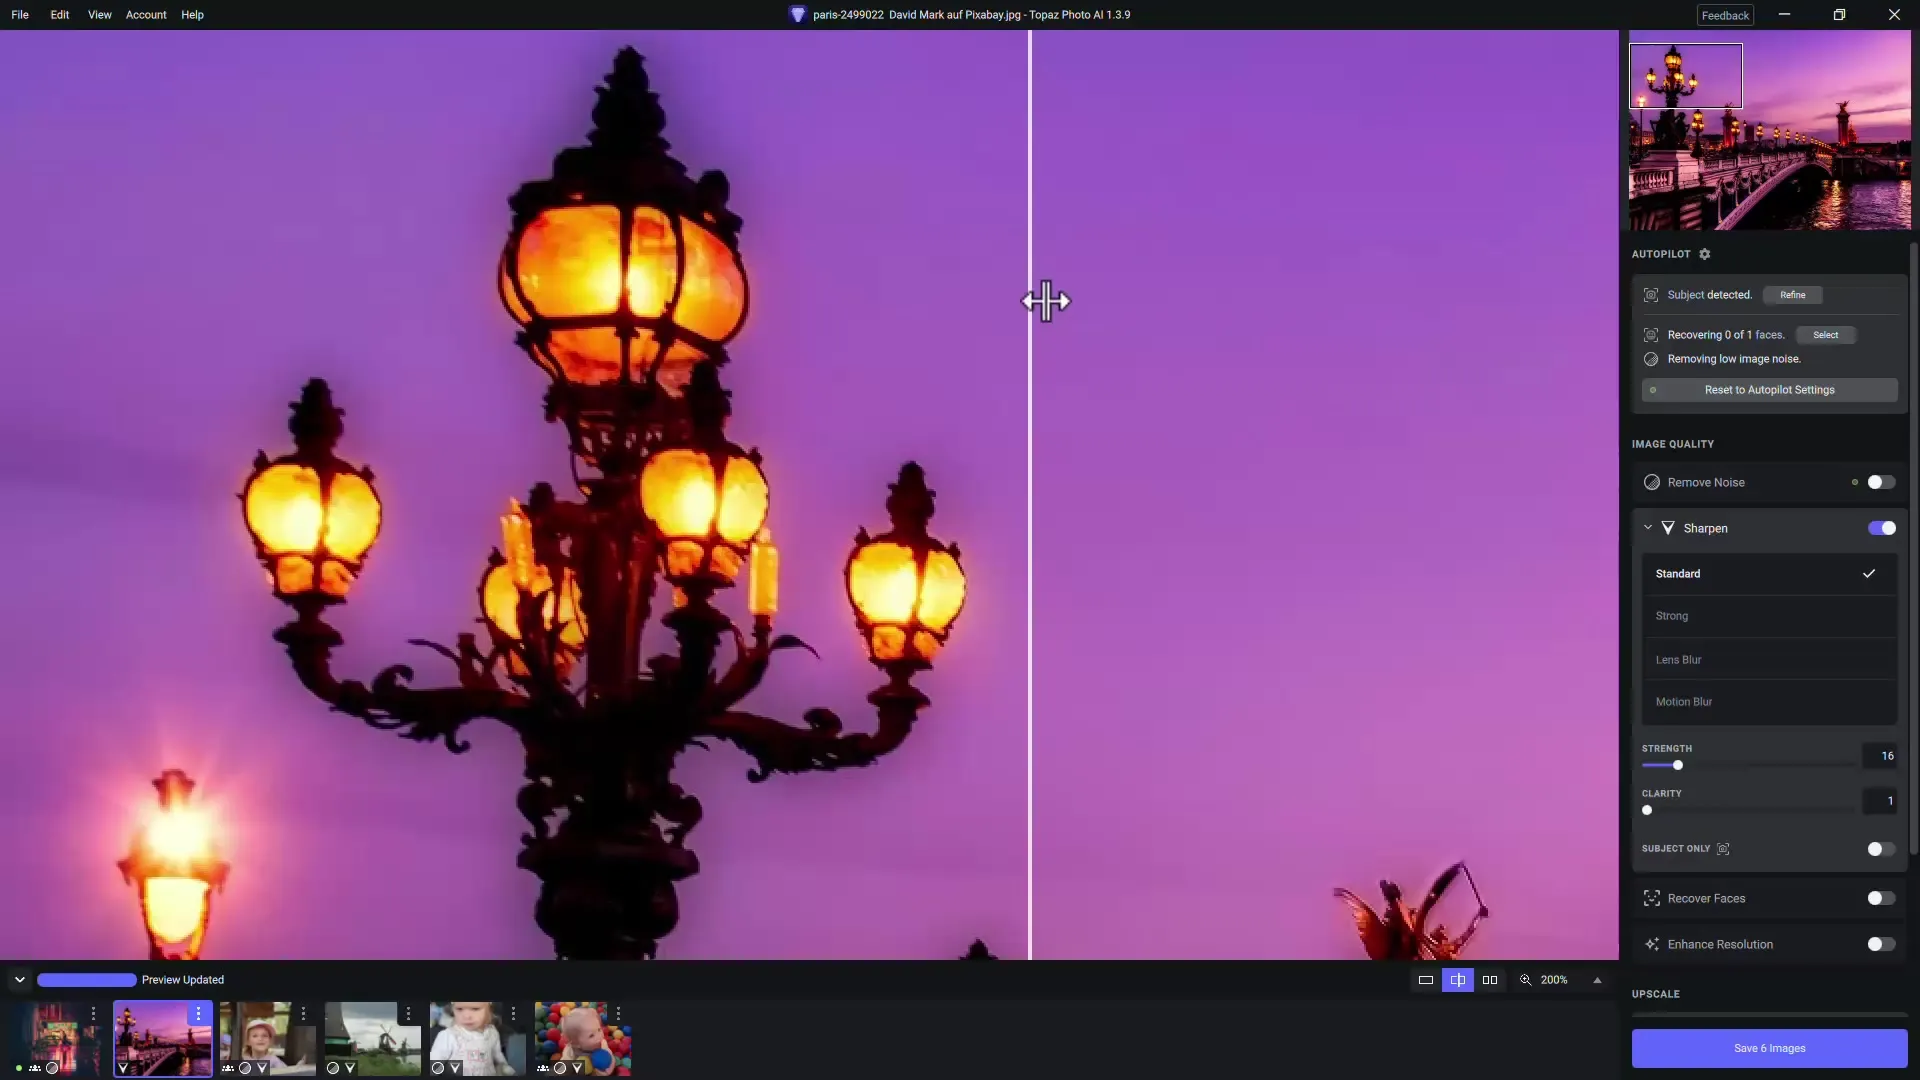
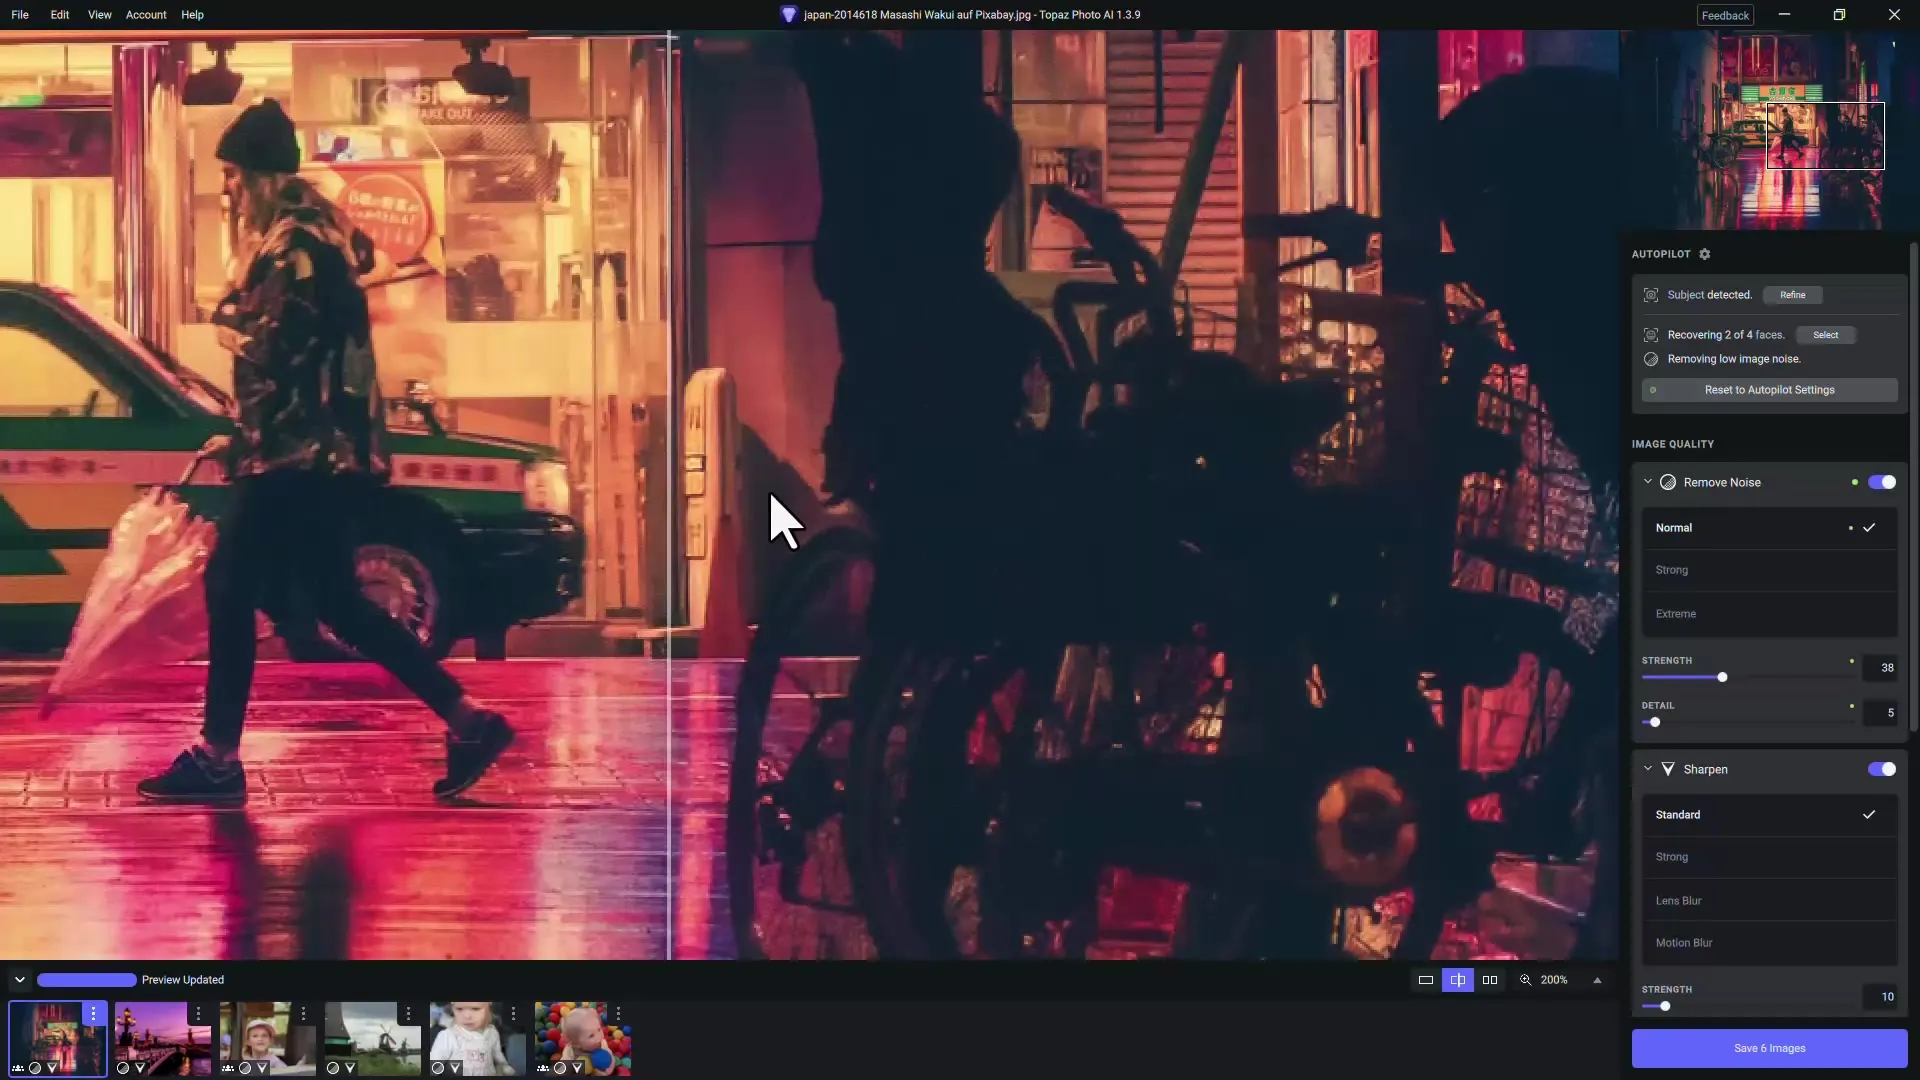
Next, you can choose the sharpening parameters. The program allows you to choose between standard, motion, or normal sharpening. You should decide how strong you want to sharpen the image. Do not hesitate to use the preview function to switch between settings and see how the image changes.
Adjust Sharpening
Adjust the sharpness intensity by moving the sliders for the desired outcome. You can apply the selection to the main object or the entire background. Be careful not to sharpen too much to avoid an unnatural effect.
Reviewing the Results
It is important to zoom in to a 100% view to check fine details. This way, you can ensure the sharpness looks good not only across the entire image but also that no artifacts or noise are left behind.
Further Adjustments
If you find that the image still has noise, you can adjust the noise reduction parameters afterwards. Make sure not to lose the details of the image and to preserve the natural structures.
Enlarging the Image
If you need your image in a higher resolution, you can use the enlargement option. This process should be done after sharpening to guarantee the best results. You can increase the image to several sizes as needed.
Exporting the Image
Once you have successfully made all adjustments, you can export the image. Note that the trial version will insert a watermark. If you plan to use the software regularly, it is advisable to purchase the full version to avoid such limitations.
Summary
In this tutorial, you have learned how to use Topaz Photo AI to sharpen and enhance your photos. Applying noise reduction, adjusting sharpness, and the option for enlarging are crucial steps that can significantly benefit your image. With some practice, you will be able to achieve impressive results.
Frequently Asked Questions
How does Topaz Photo AI work?Topaz Photo AI uses AI-powered algorithms to reduce noise and sharpen images.
Is the software easy to use?Yes, the user interface is intuitively designed, making it easy to use even for beginners.
Is there a trial version of Topaz Photo AI?Yes, there is a trial version that includes all features, but with watermarks on the exported image.
