Luminar Neo offers powerful tools with its "Super Sharpening" feature that not only optimize the overall sharpness of a photo, but also provide special adjustments like the Face Enhancer. In this guide, I will show you step by step how you can effectively use these functions to get the best out of your images.
Main Insights:
- The "Super Sharpening" feature allows for better detail representation in images but can appear exaggerated if applied too strongly.
- The Face Enhancer can be particularly useful for portraits in defining facial features.
- Results vary depending on the quality of the source material; not all images benefit equally from the AI-based sharpening.
Step-by-Step Guide
Step 1: Installation and Preparation
Before you start editing, make sure you have Luminar Neo installed on your computer. Launch the application and load the image you want to sharpen. I recommend starting with a slightly blurry image to better assess the effectiveness of the features.

Step 2: Applying the Super Sharpening Function
In the editing menu, select the "Super Sharpening" option. You can set the sharpness intensity to the highest level to bring out the maximum details in your image. Pay attention to how the image changes and which details are highlighted.

Step 3: Activating the Face Enhancer
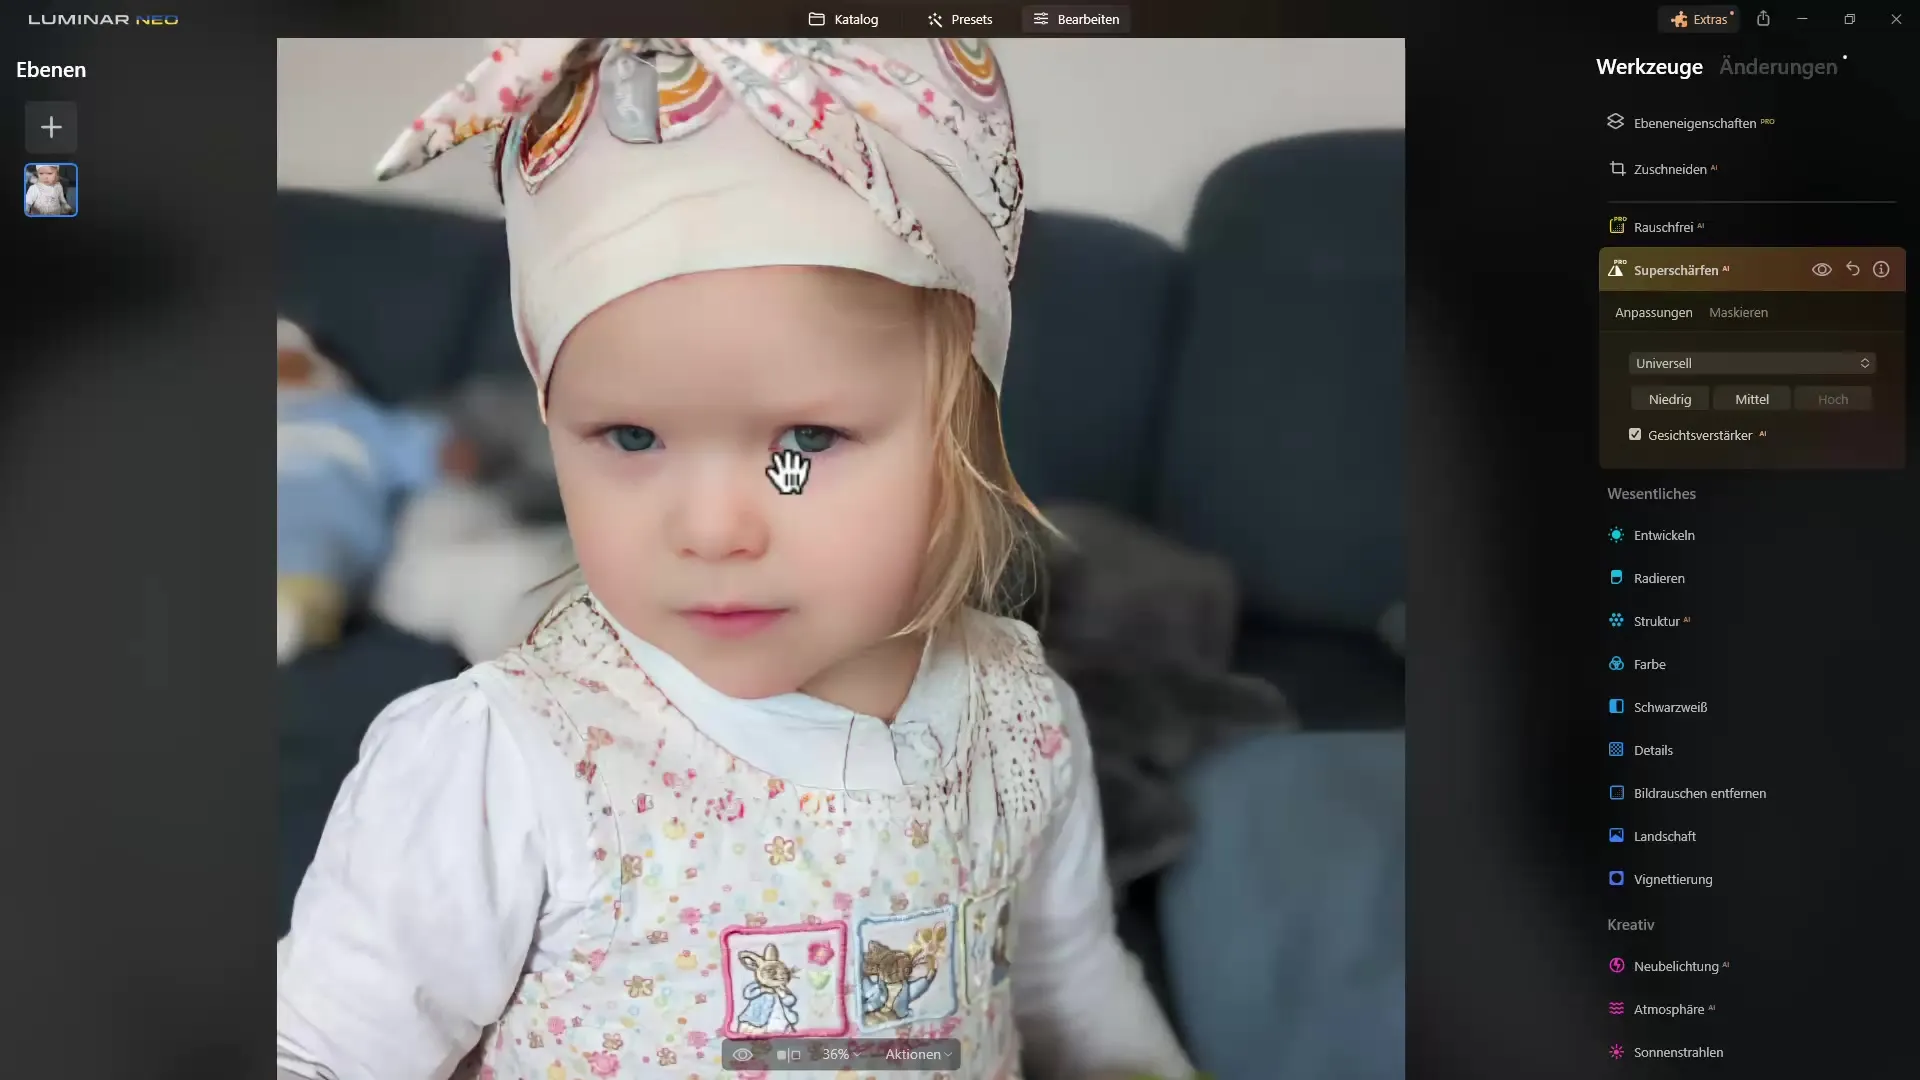
After applying the Super Sharpening function, you can activate the Face Enhancer. This feature is especially useful when your image contains faces as it helps define facial features more clearly and highlight the eyes.
Step 4: Checking the Results
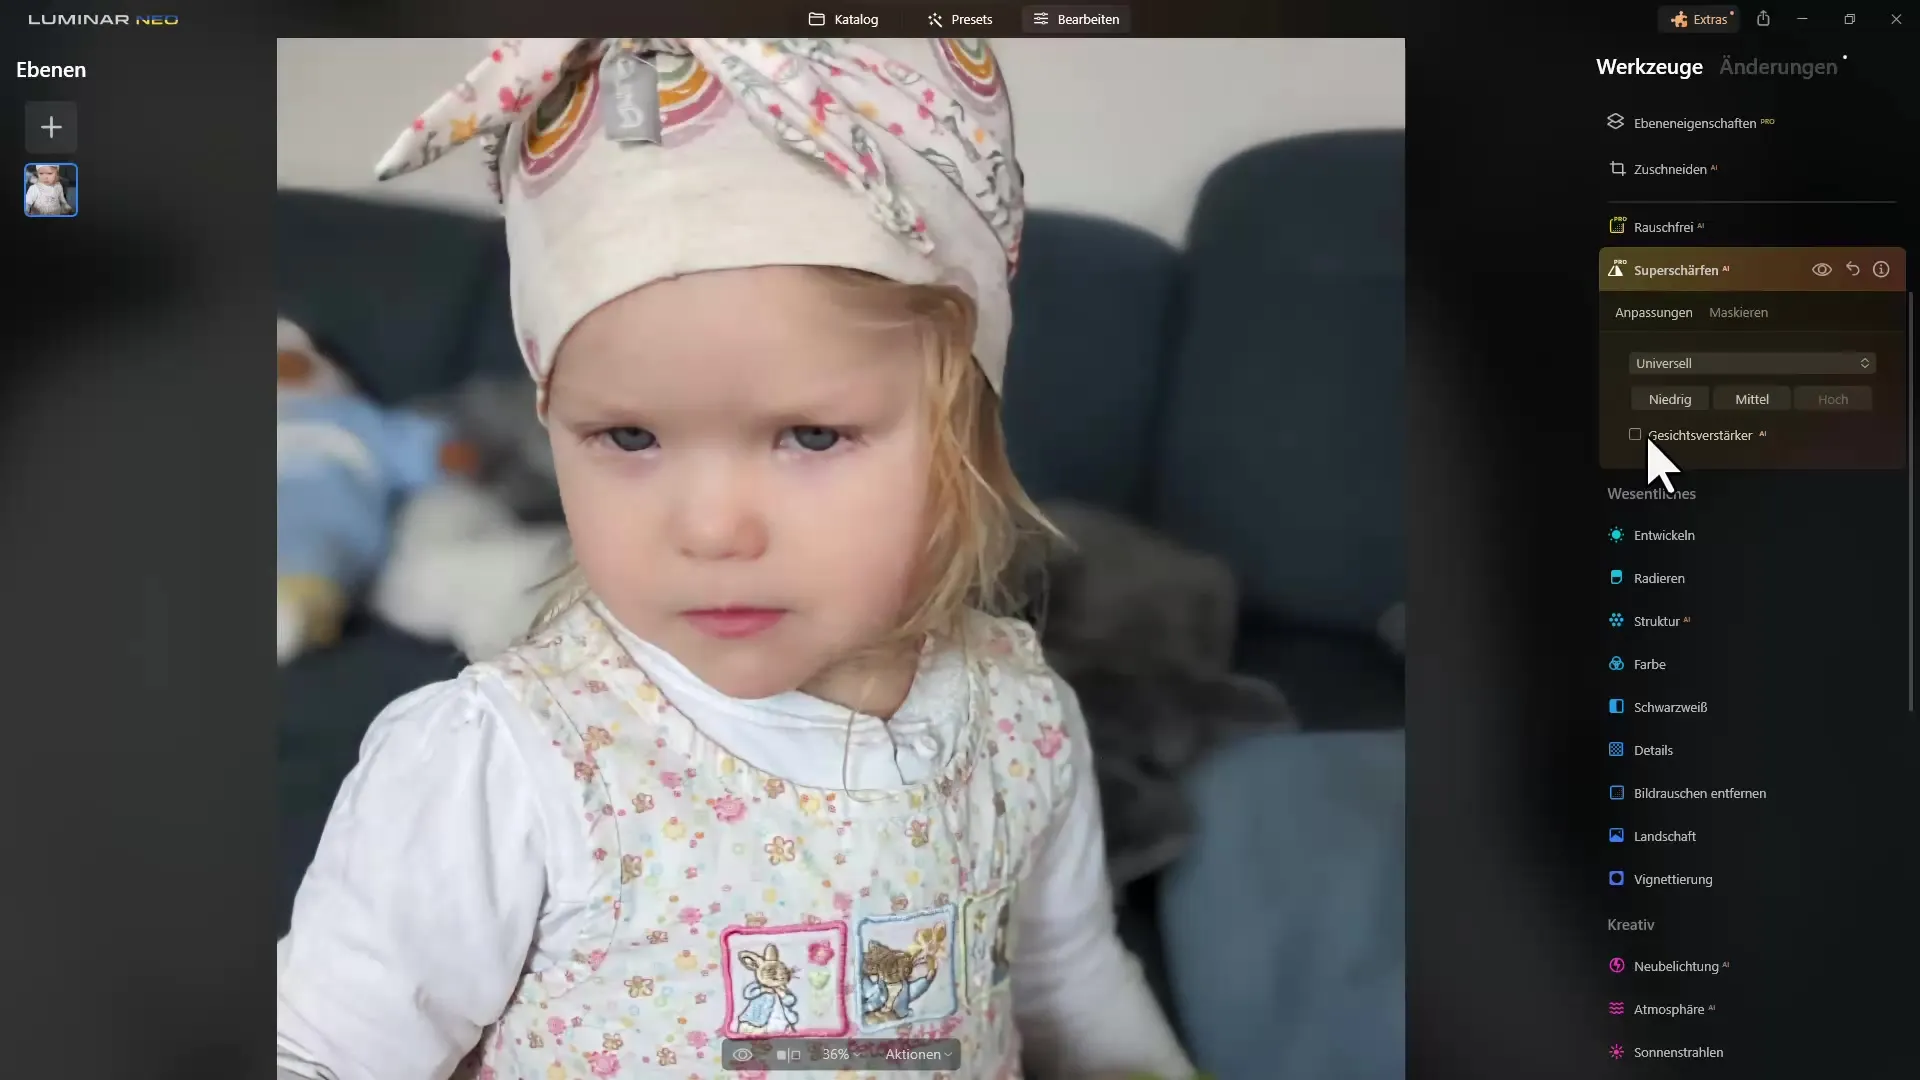
Now compare the original image with the edited version. Toggle the sharpening on and off to see the differences. Pay attention to whether the face of your subject, in this case perhaps a child, looks better or appears too exaggerated.
Step 5: Making Adjustments
If the image appears too heavily processed after editing, you can adjust the sharpness values afterwards. Sometimes, a moderate sharpening is more appealing than an extreme version. Use the sliders to adjust the sharpness to your liking.

Step 6: Testing More Image Examples
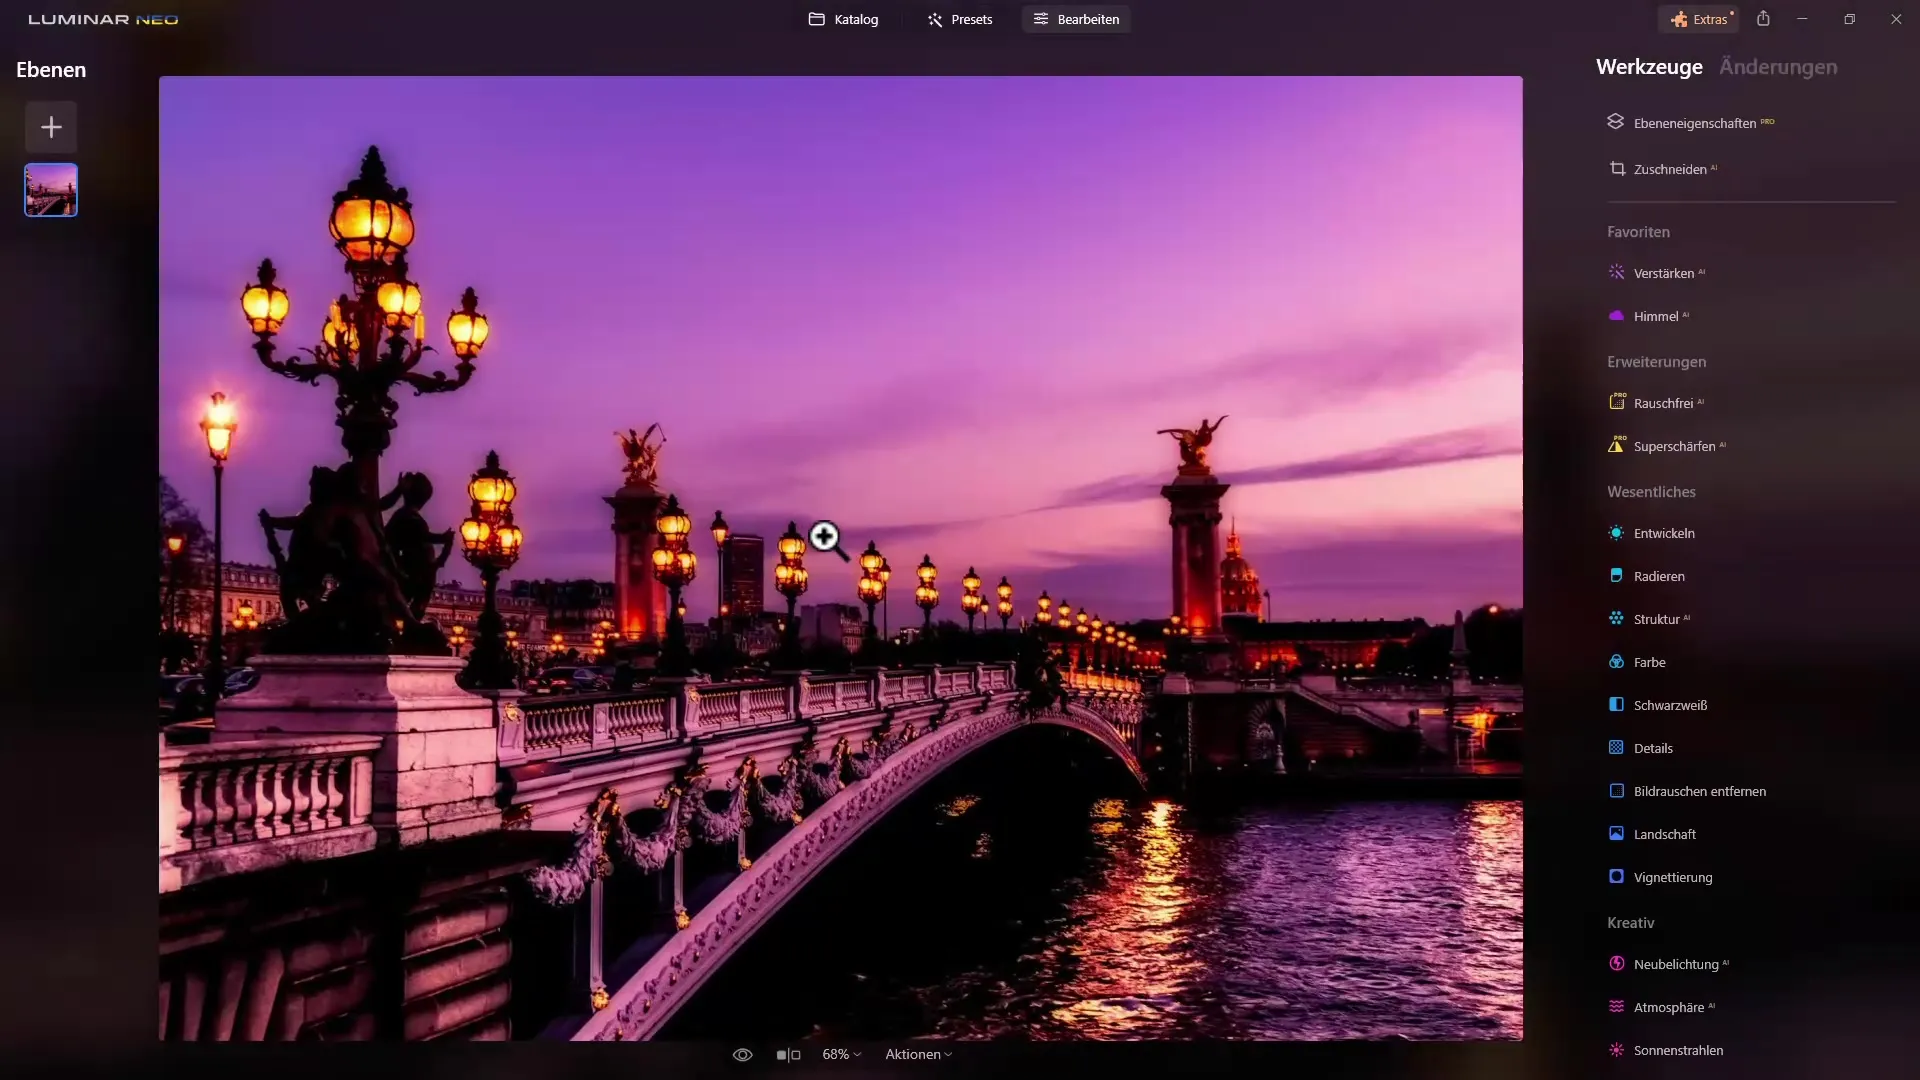
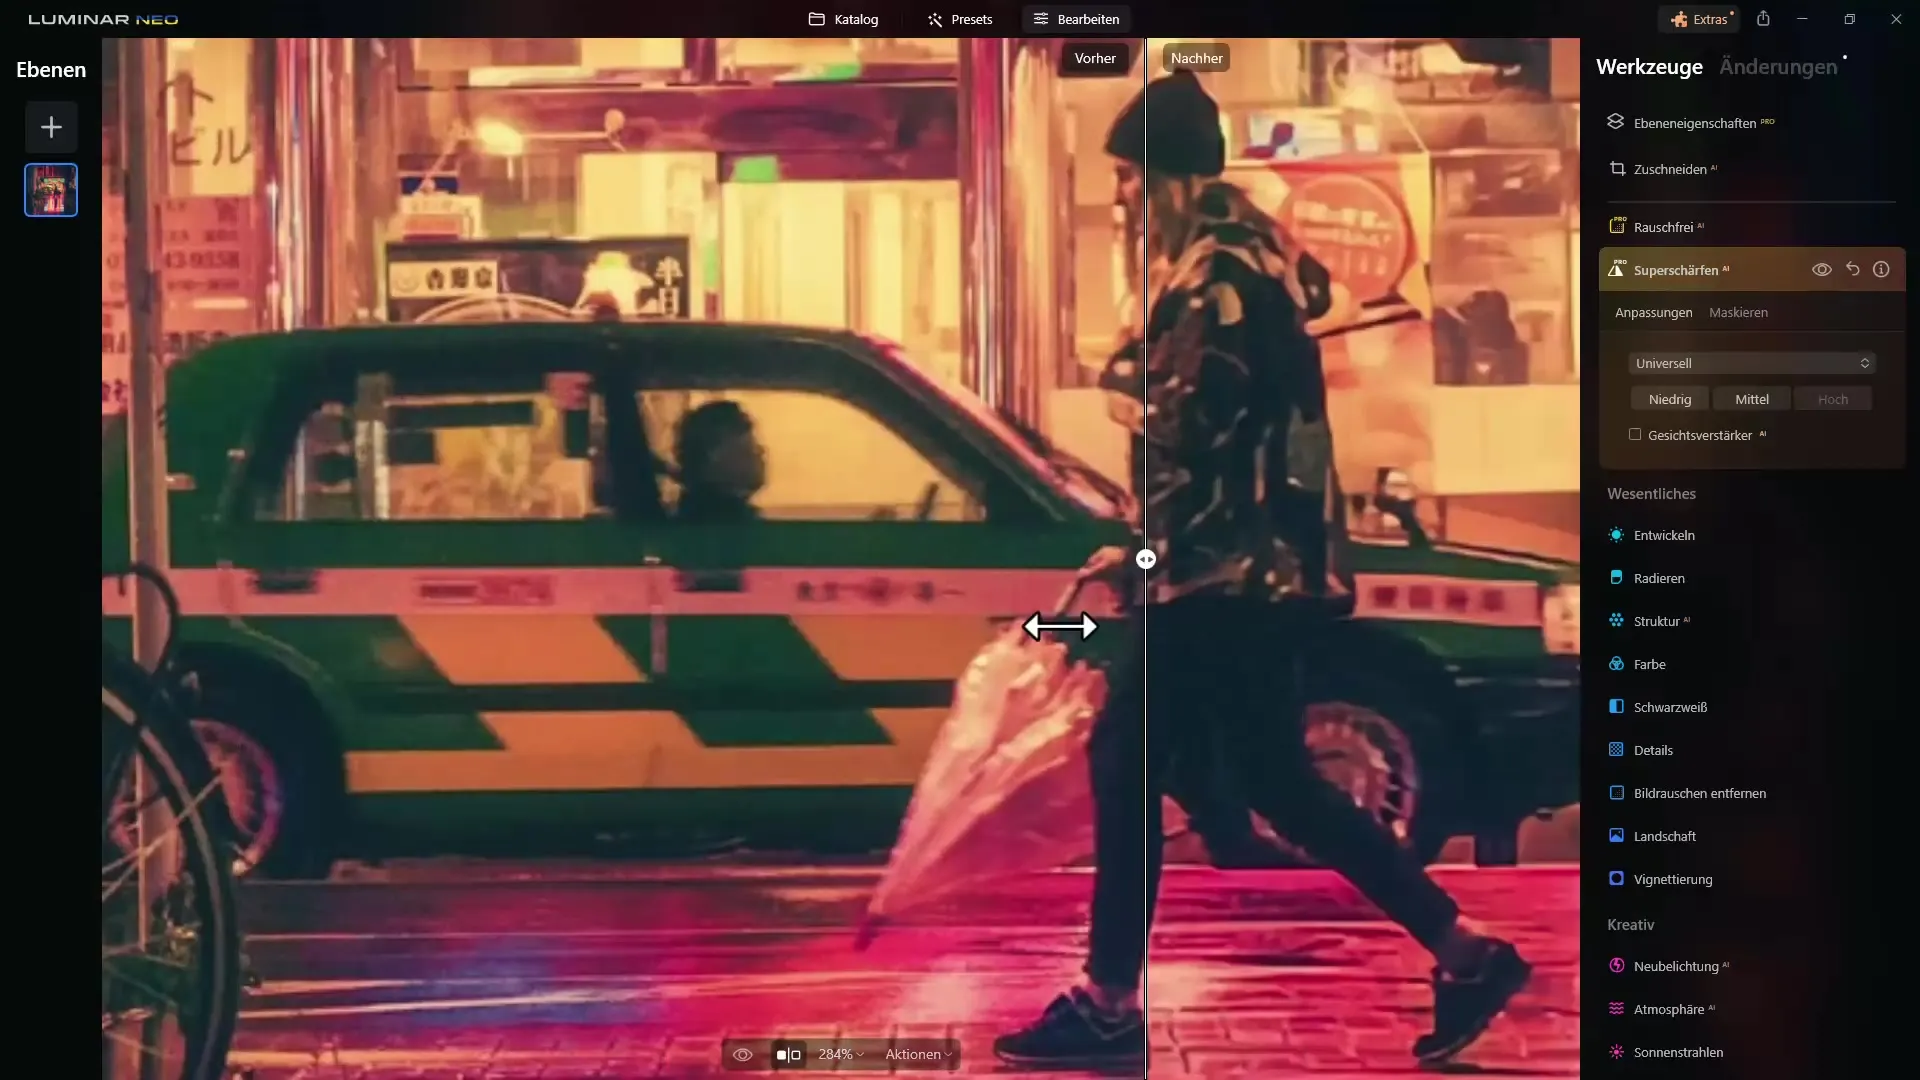
Test different images to evaluate the performance of the Super Sharpening tool. Dark images or those with low contrast can often benefit from sharpening, while other images may not show the desired effect.
Step 7: Saving Your Results
When you are satisfied with your adjustments, don't forget to save your image. Choose the "Export" option and select the desired format and quality. This way, you can ensure that your edited images look their best everywhere.
Summary
In this guide, you have learned how to effectively apply the Super Sharpening function of Luminar Neo to optimize the sharpness of your images. Additionally, you were able to discover and test the Face Enhancer feature. While the results are promising, be mindful not to make the editing too intrusive. Improve your image editing skills by experimenting with different images and carefully comparing their results.
Frequently Asked Questions
How does the Super Sharpening function work in Luminar Neo?The Super Sharpening function uses AI to detect and enhance details in blurry images.
When should I use the Face Enhancer?The Face Enhancer is useful in portraits to present facial features more clearly and vibrantly.
Can I adjust the sharpness after applying it?Yes, you can adjust the sharpness values at any time using the sliders to achieve the desired result.
What to do if the result looks overly edited?Reduce the sharpness intensity or go back and test other adjustments for a more natural result.
Can I edit RAW images with Luminar Neo?Yes, Luminar Neo supports RAW formats and offers special features for their editing.
