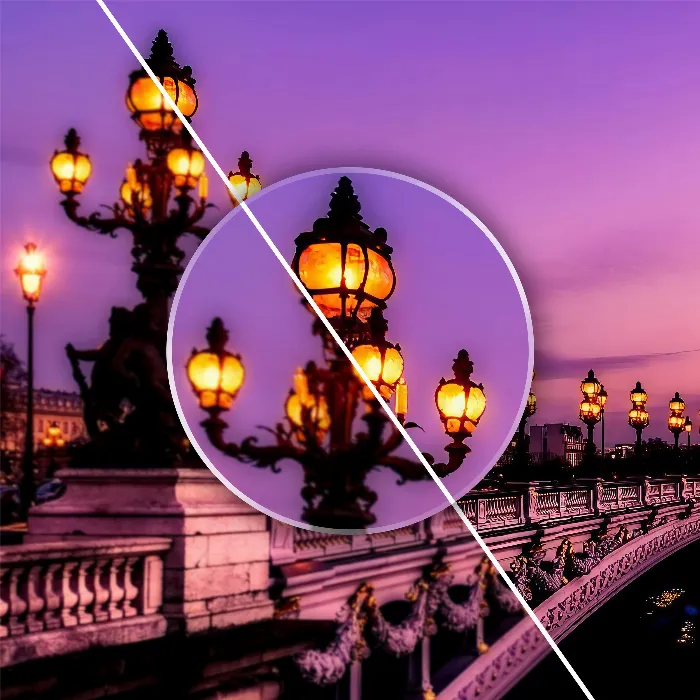
In this tutorial, I will show you how to effectively sharpen your photos in Adobe Lightroom - both with AI support and manually. Sharpening images can be a challenge, especially when noise and blur come into play. I will explain to you step by step how to achieve the best results while maintaining the quality of your images.
Main Takeaways
- Start by adjusting the light, shadow, and white value to create a solid base for sharpening.
- Use the sharpening and masking sliders moderately to avoid exaggerations and noise.
- AI-supported denoising can be crucial to achieve optimal image quality before applying sharpening.
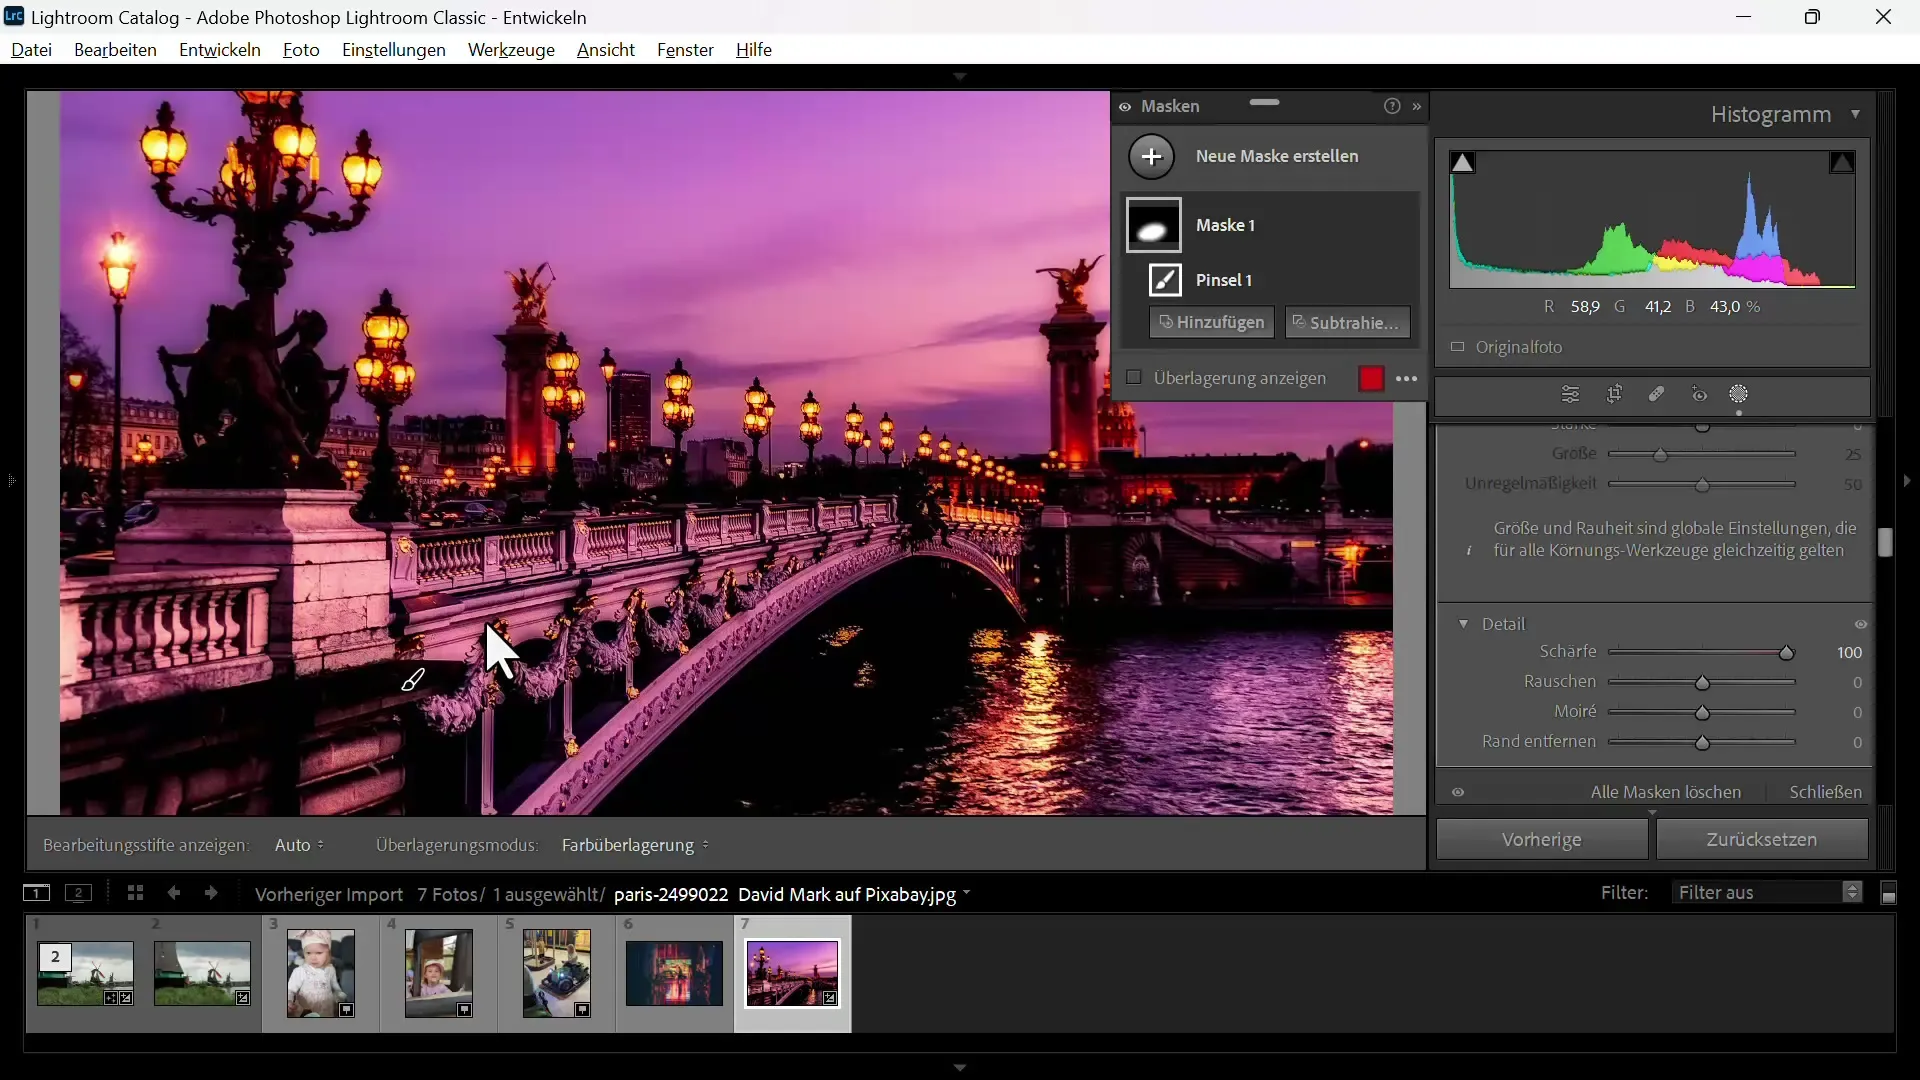
- You can create targeted masks in Lightroom to sharpen only specific areas of the image.
Step-by-Step Guide
Before you start sharpening, it is advisable to adjust the brightness and contrast of your image. Start with the highlights, shadows, and white value. You should lower the highlights slightly and raise the shadows a bit to make more details visible. These color corrections form the basis for effective sharpening.
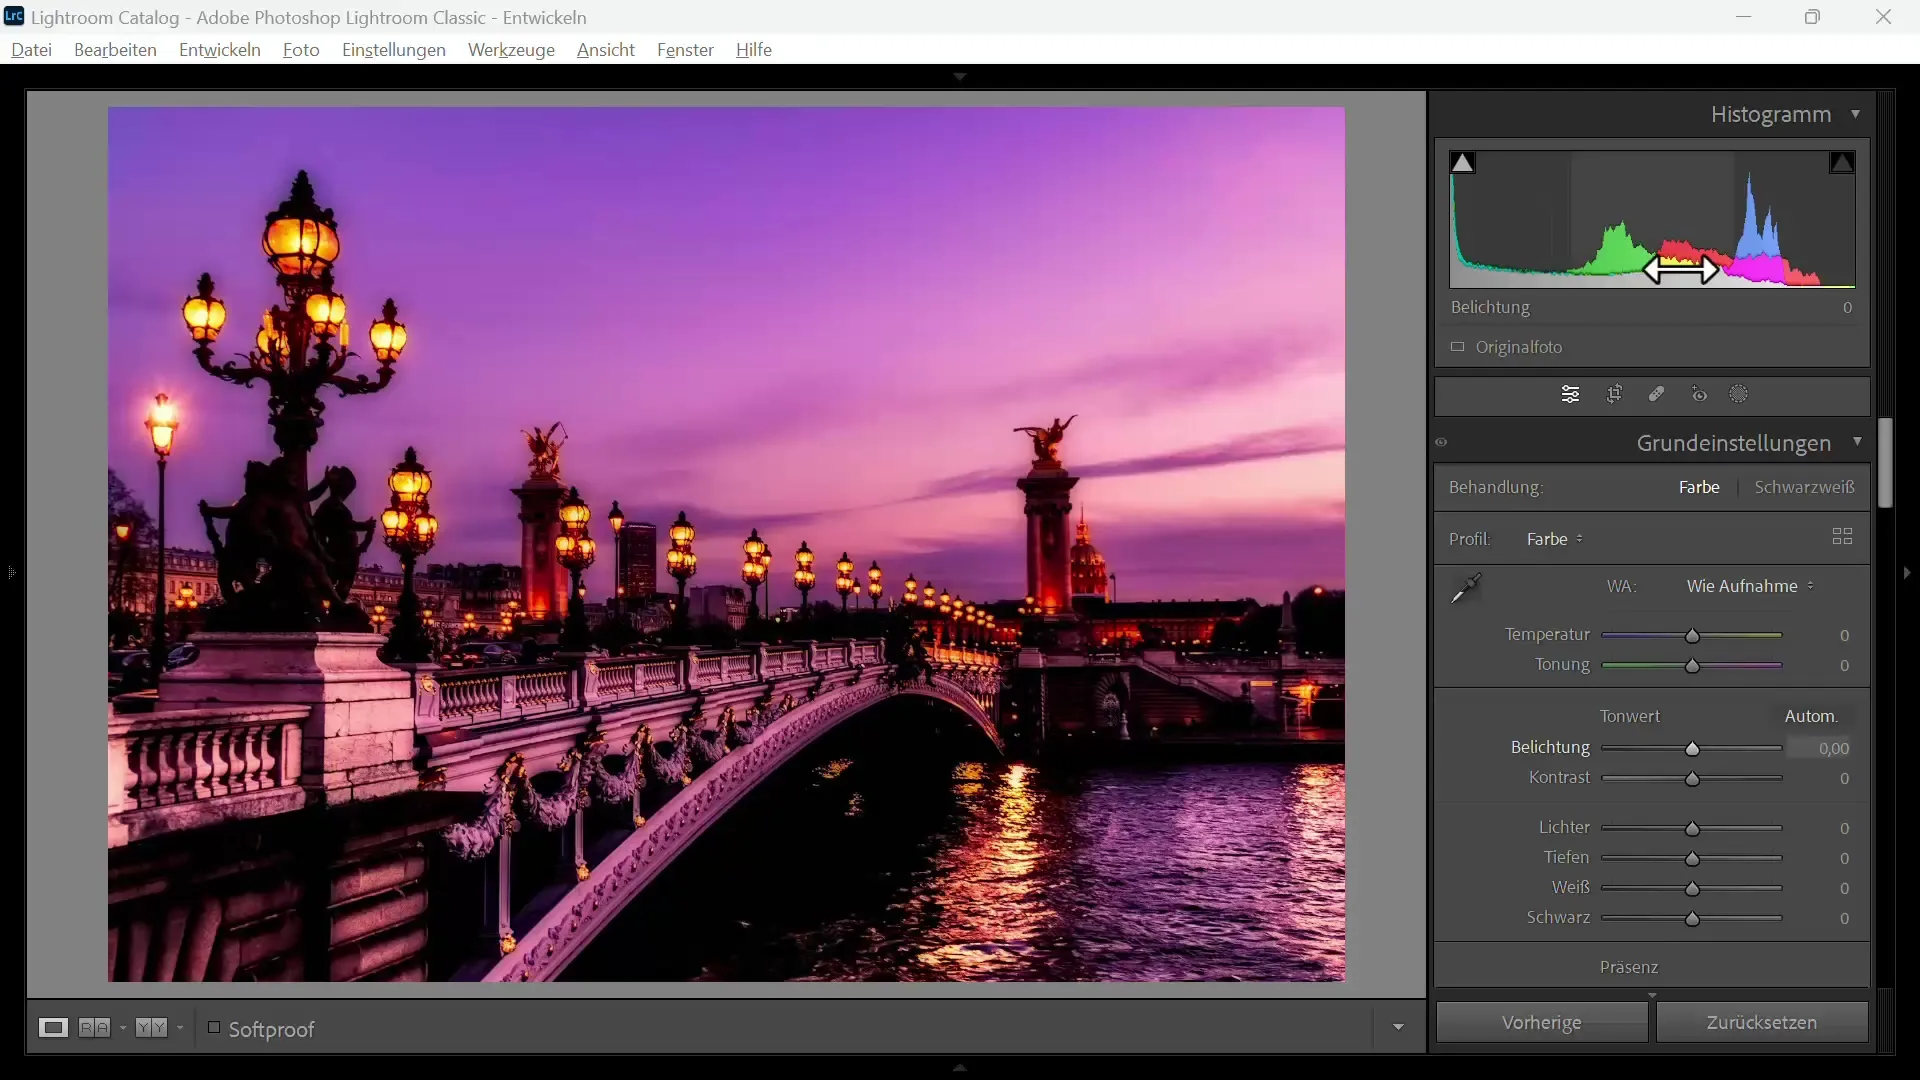
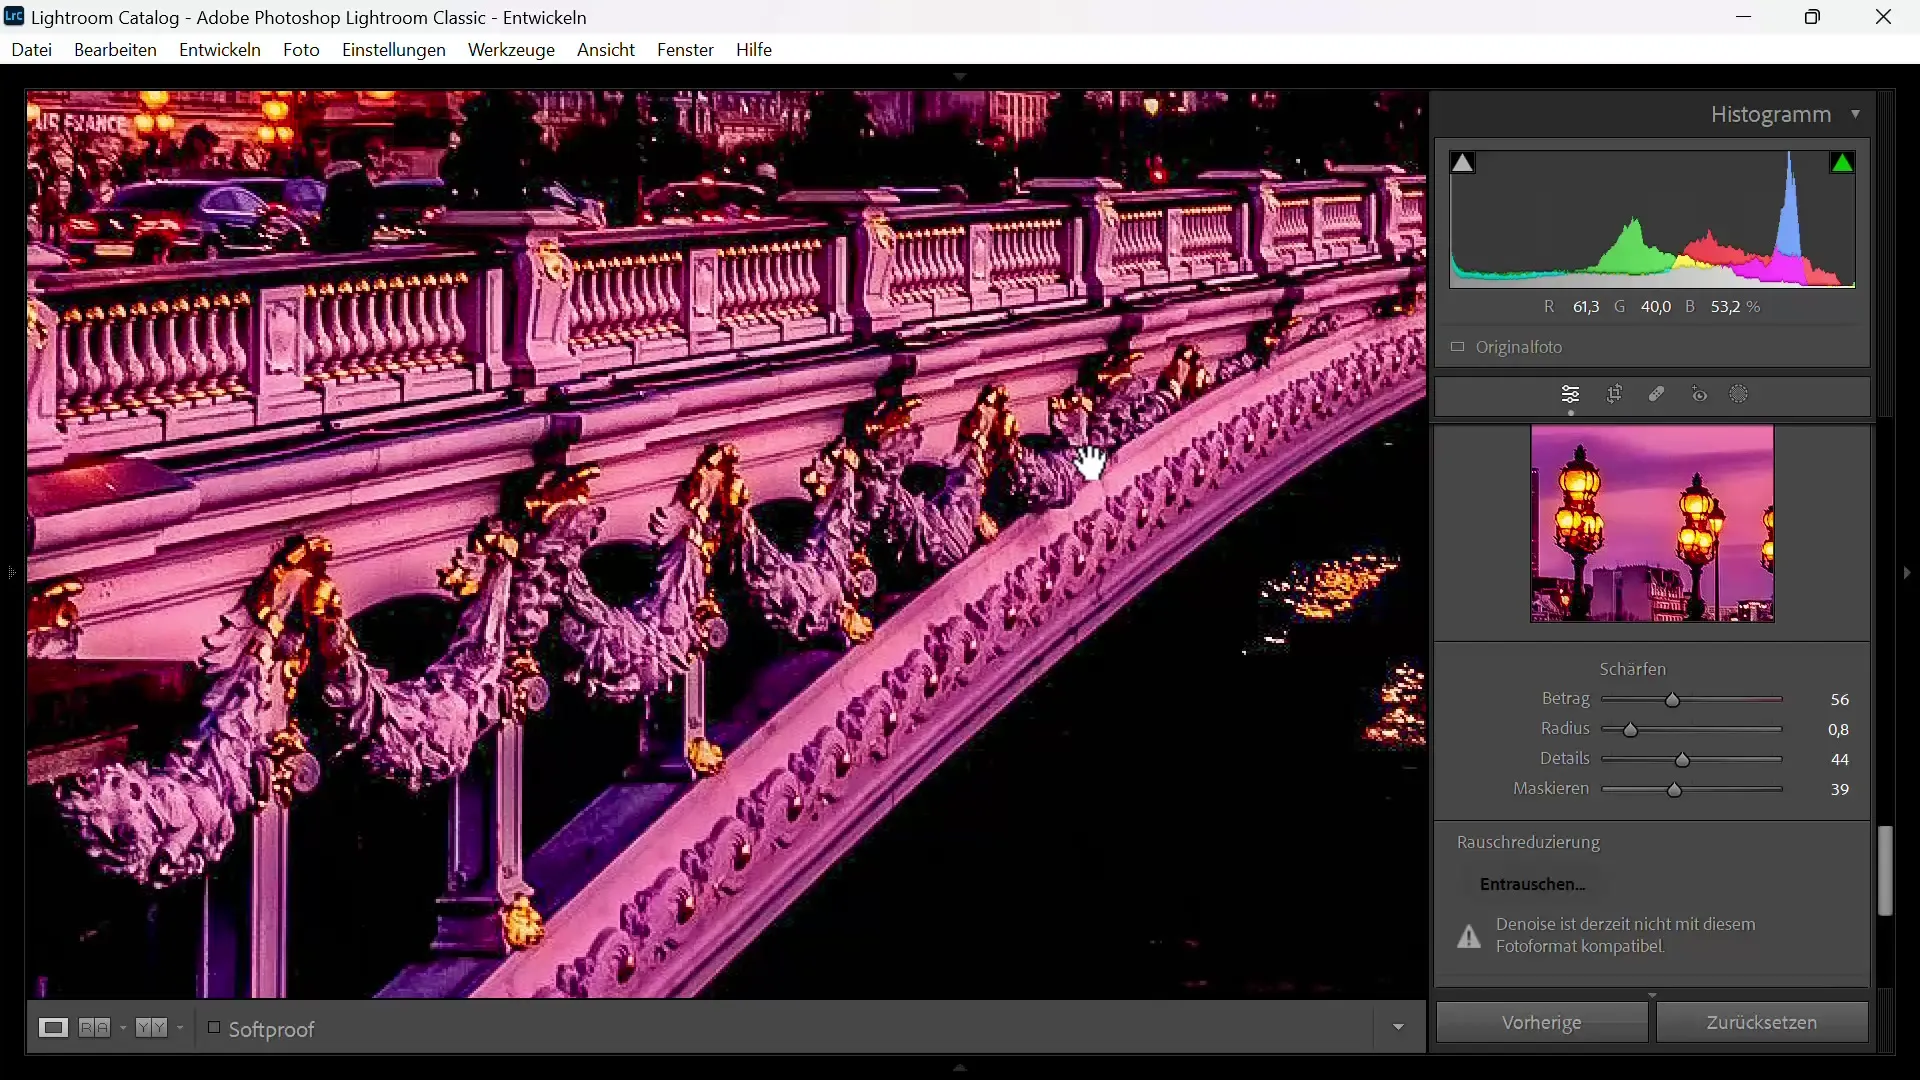
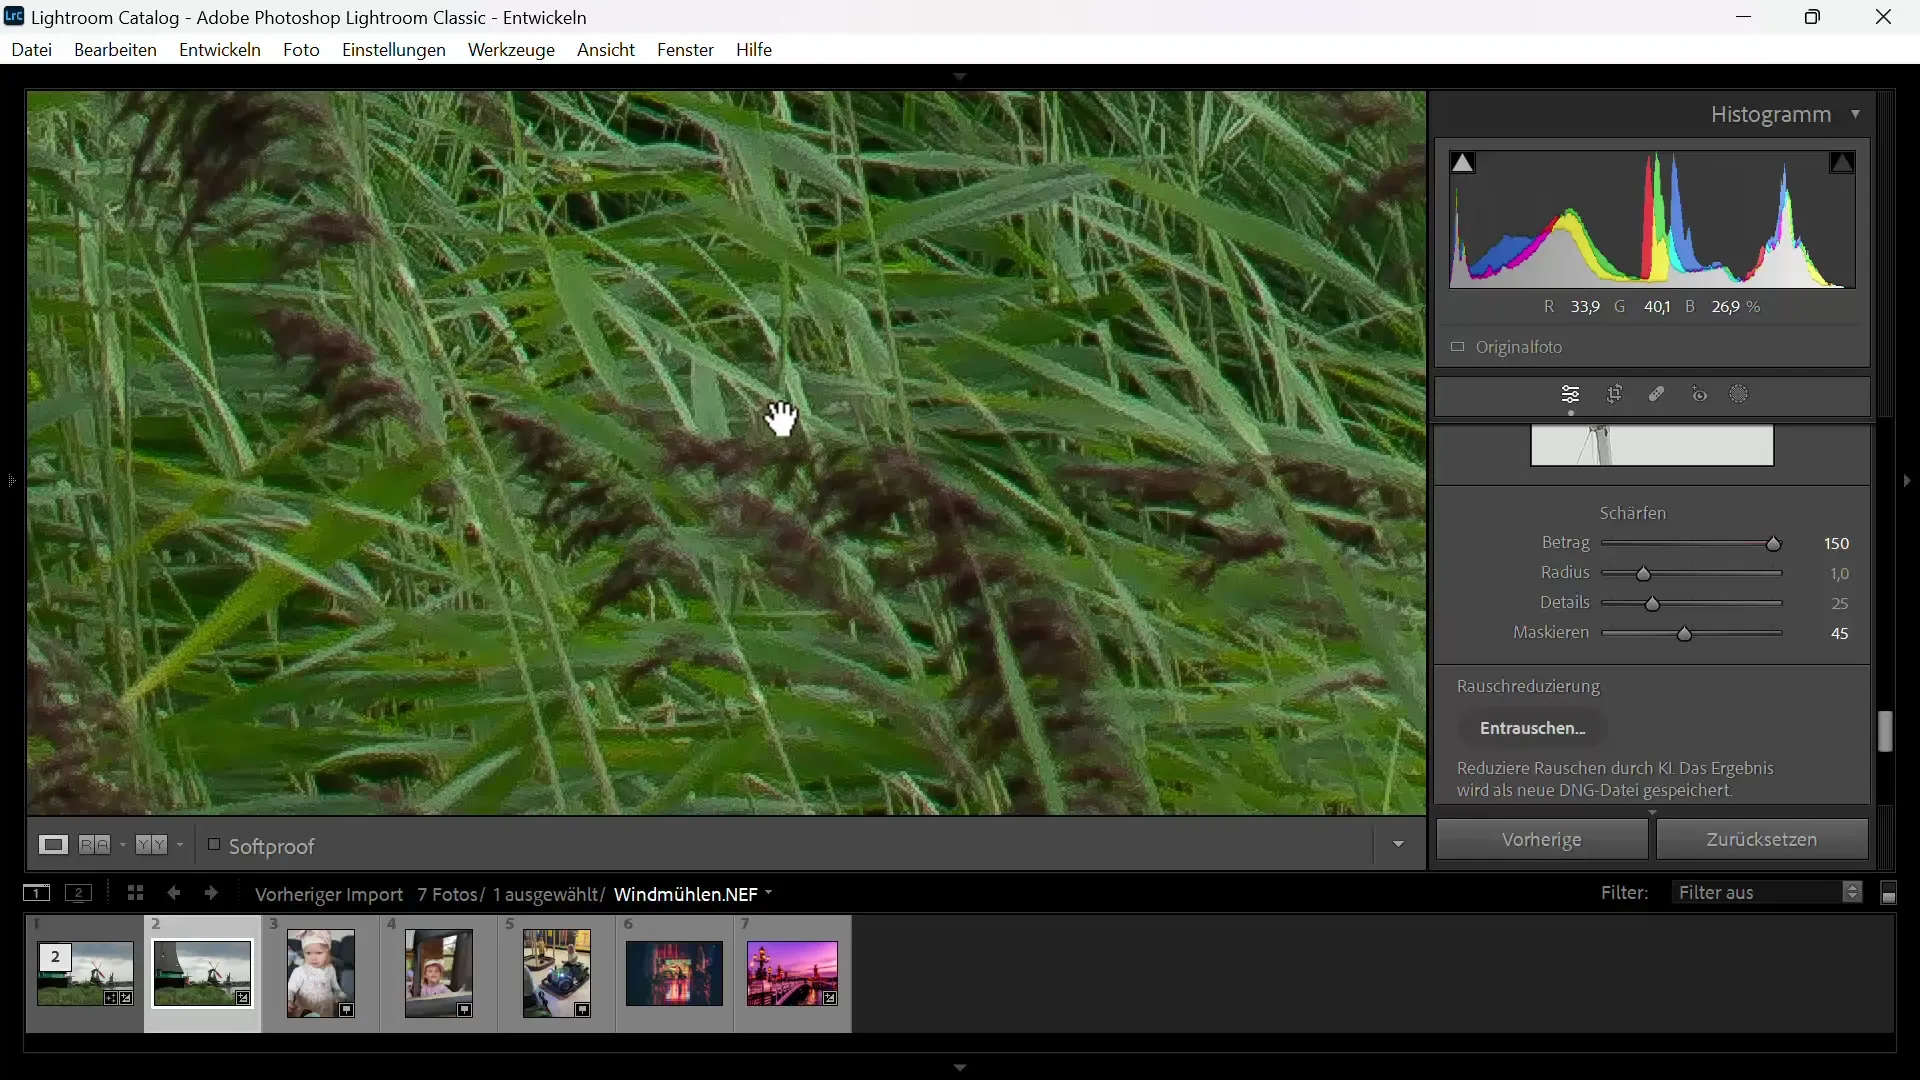
Now, after making the brightness adjustments, you can proceed to sharpening. Zoom into the image to identify blurry areas and drag the sharpening slider to the right to increase sharpness.
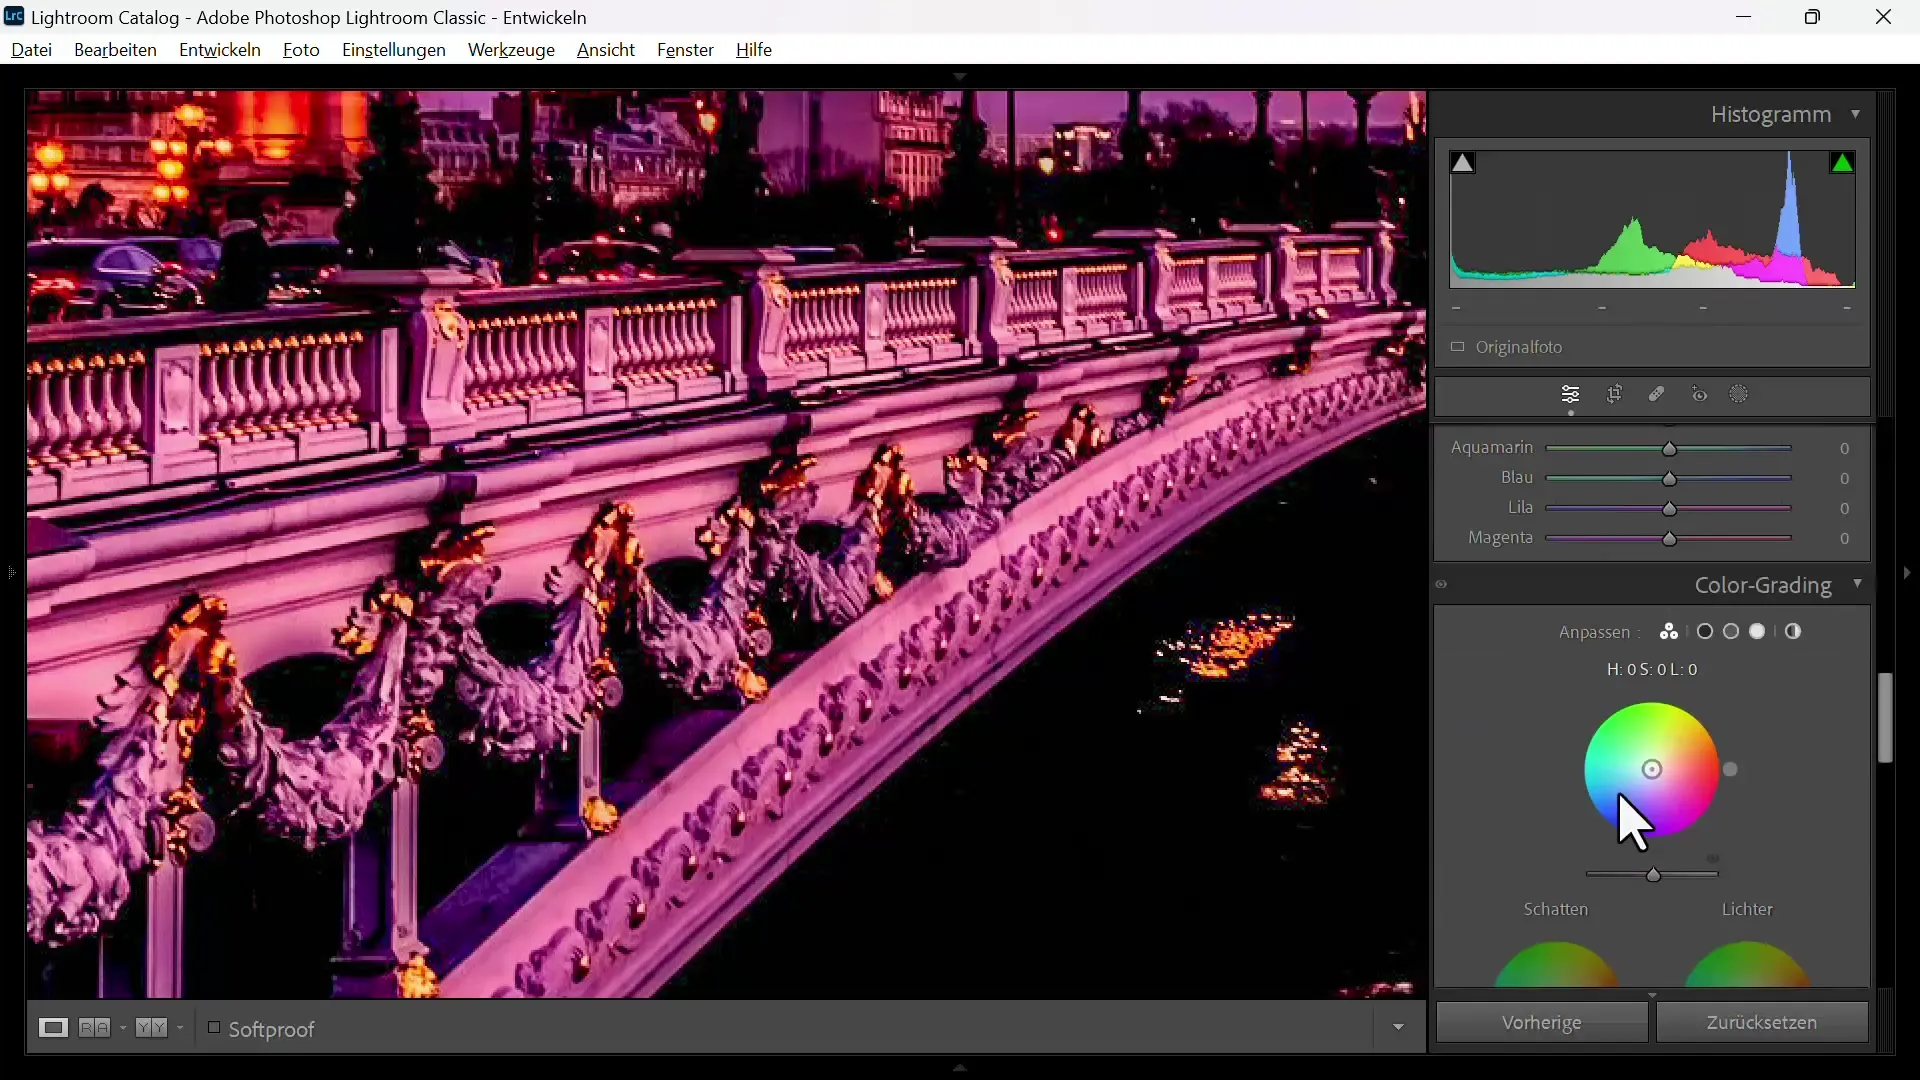
Be careful with the radius. The radius controls how much the edges in those areas are sharpened. Typically, slide this slider between 0.8 and 1.0. Make sure you do not excessively enhance the edges, as this can lead to an unnatural look.
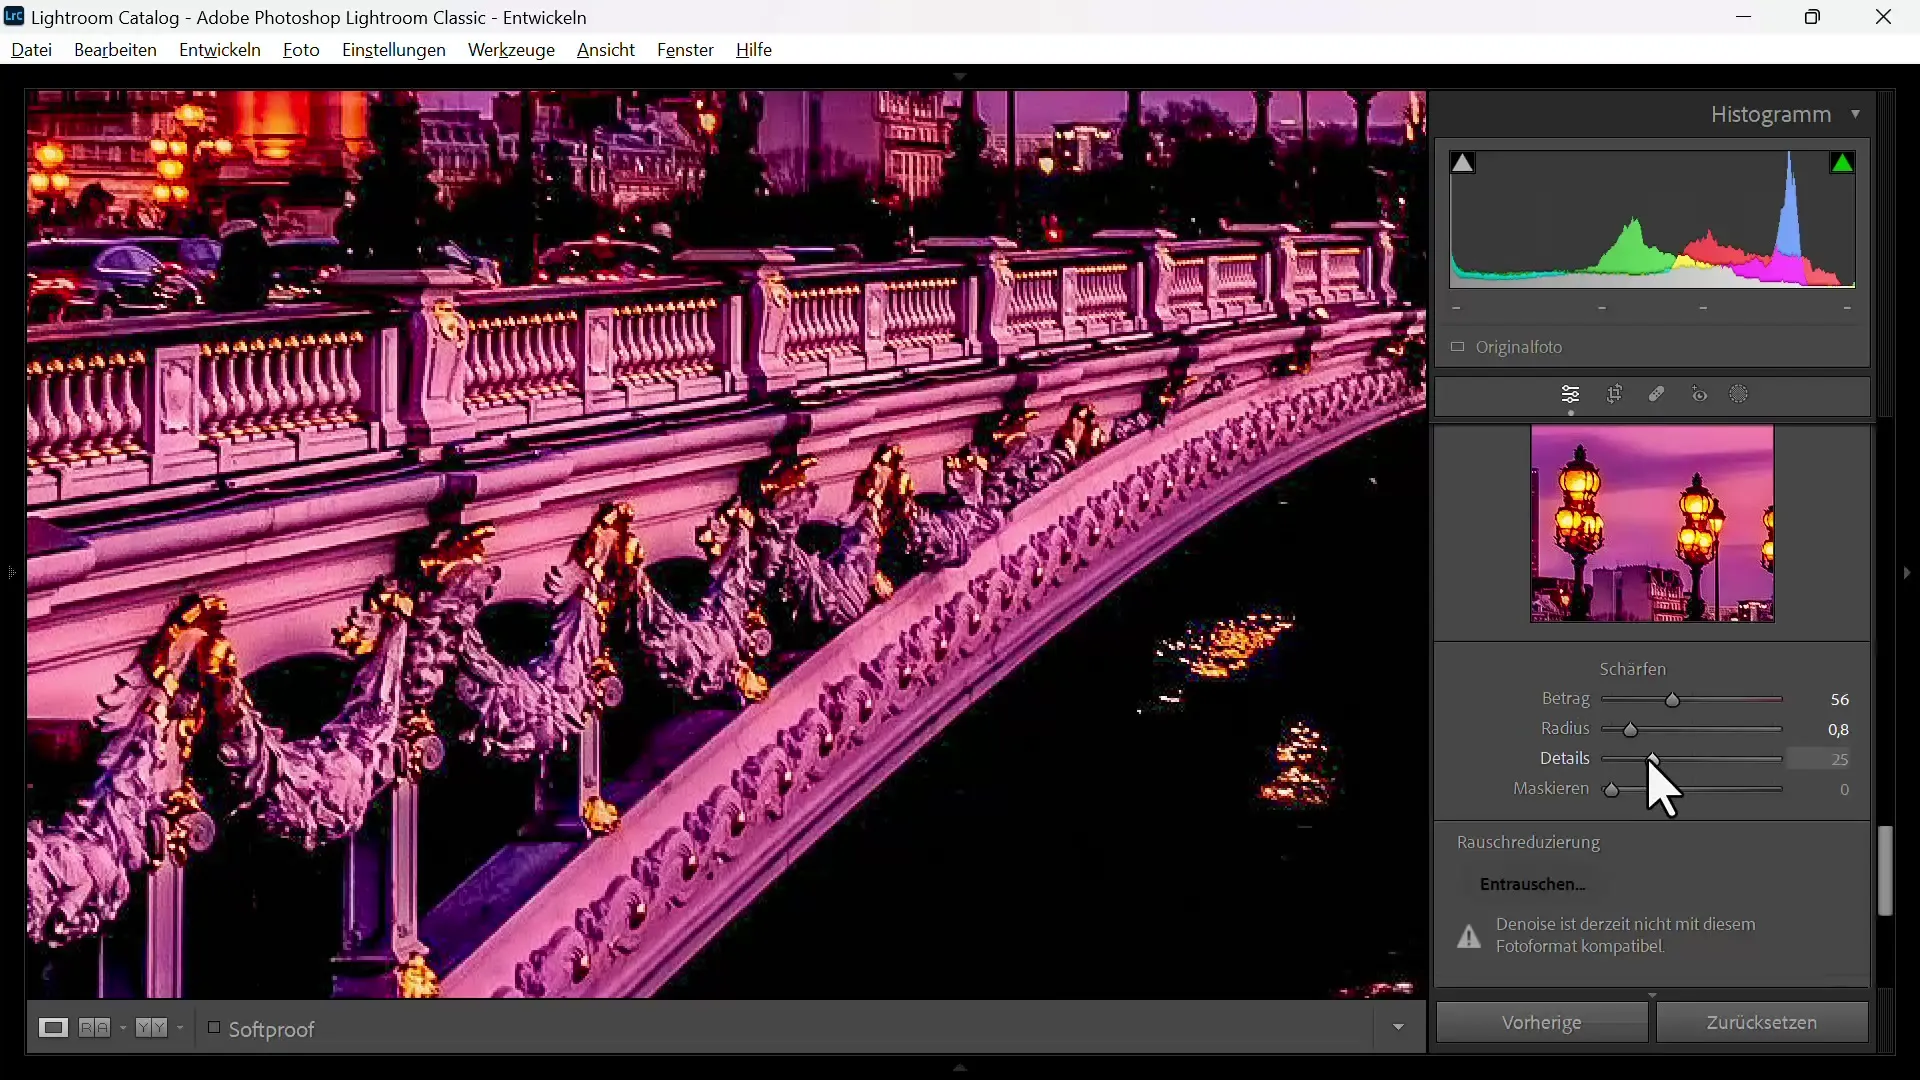
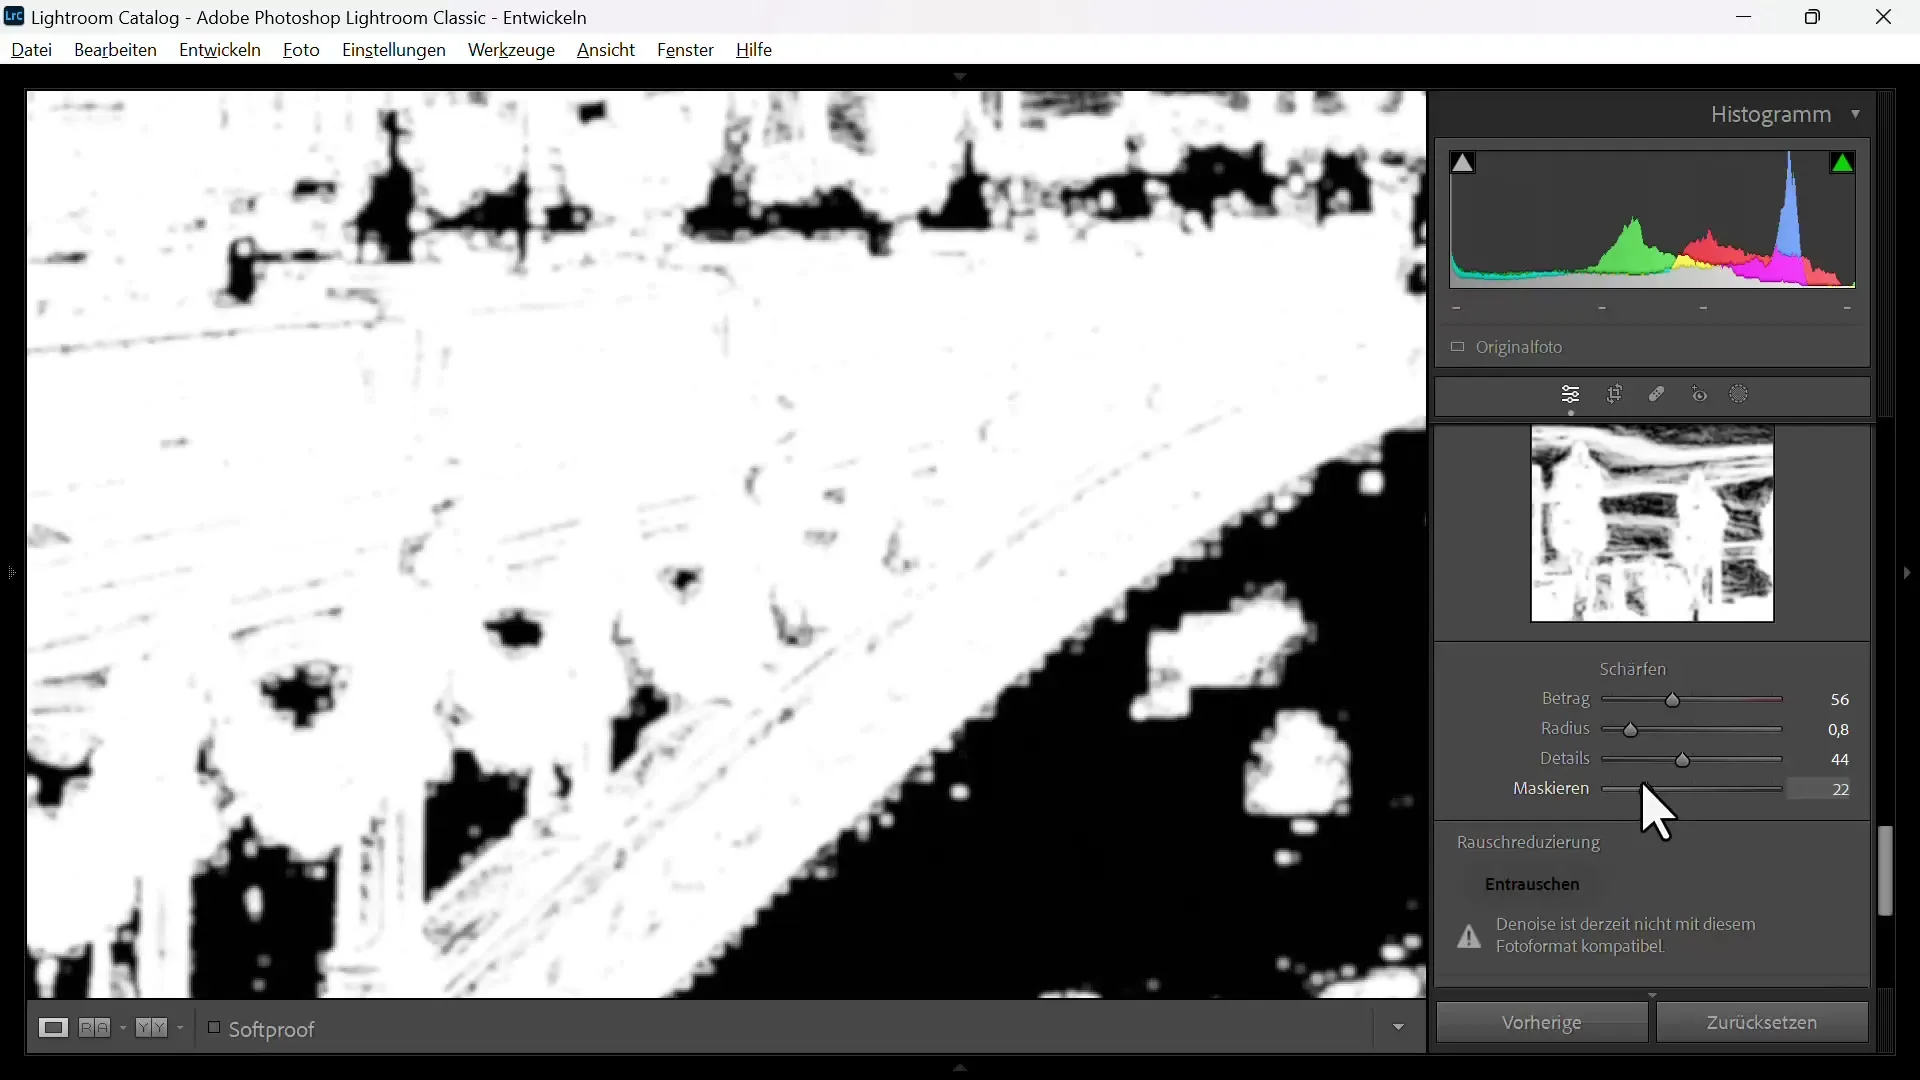
An important function in Lightroom is masking. With the Alt key, you can visualize the effect of masking. Drag the slider to sharpen only the bright areas of the image while the dark parts are barely affected. This is particularly useful to avoid unwanted noise in the sky or other dark areas.
Before starting the sharpening, ensure that your image is in RAW format, as these images provide a better foundation for editing. If you only have a JPG file format, be prepared for noise when sharpening.
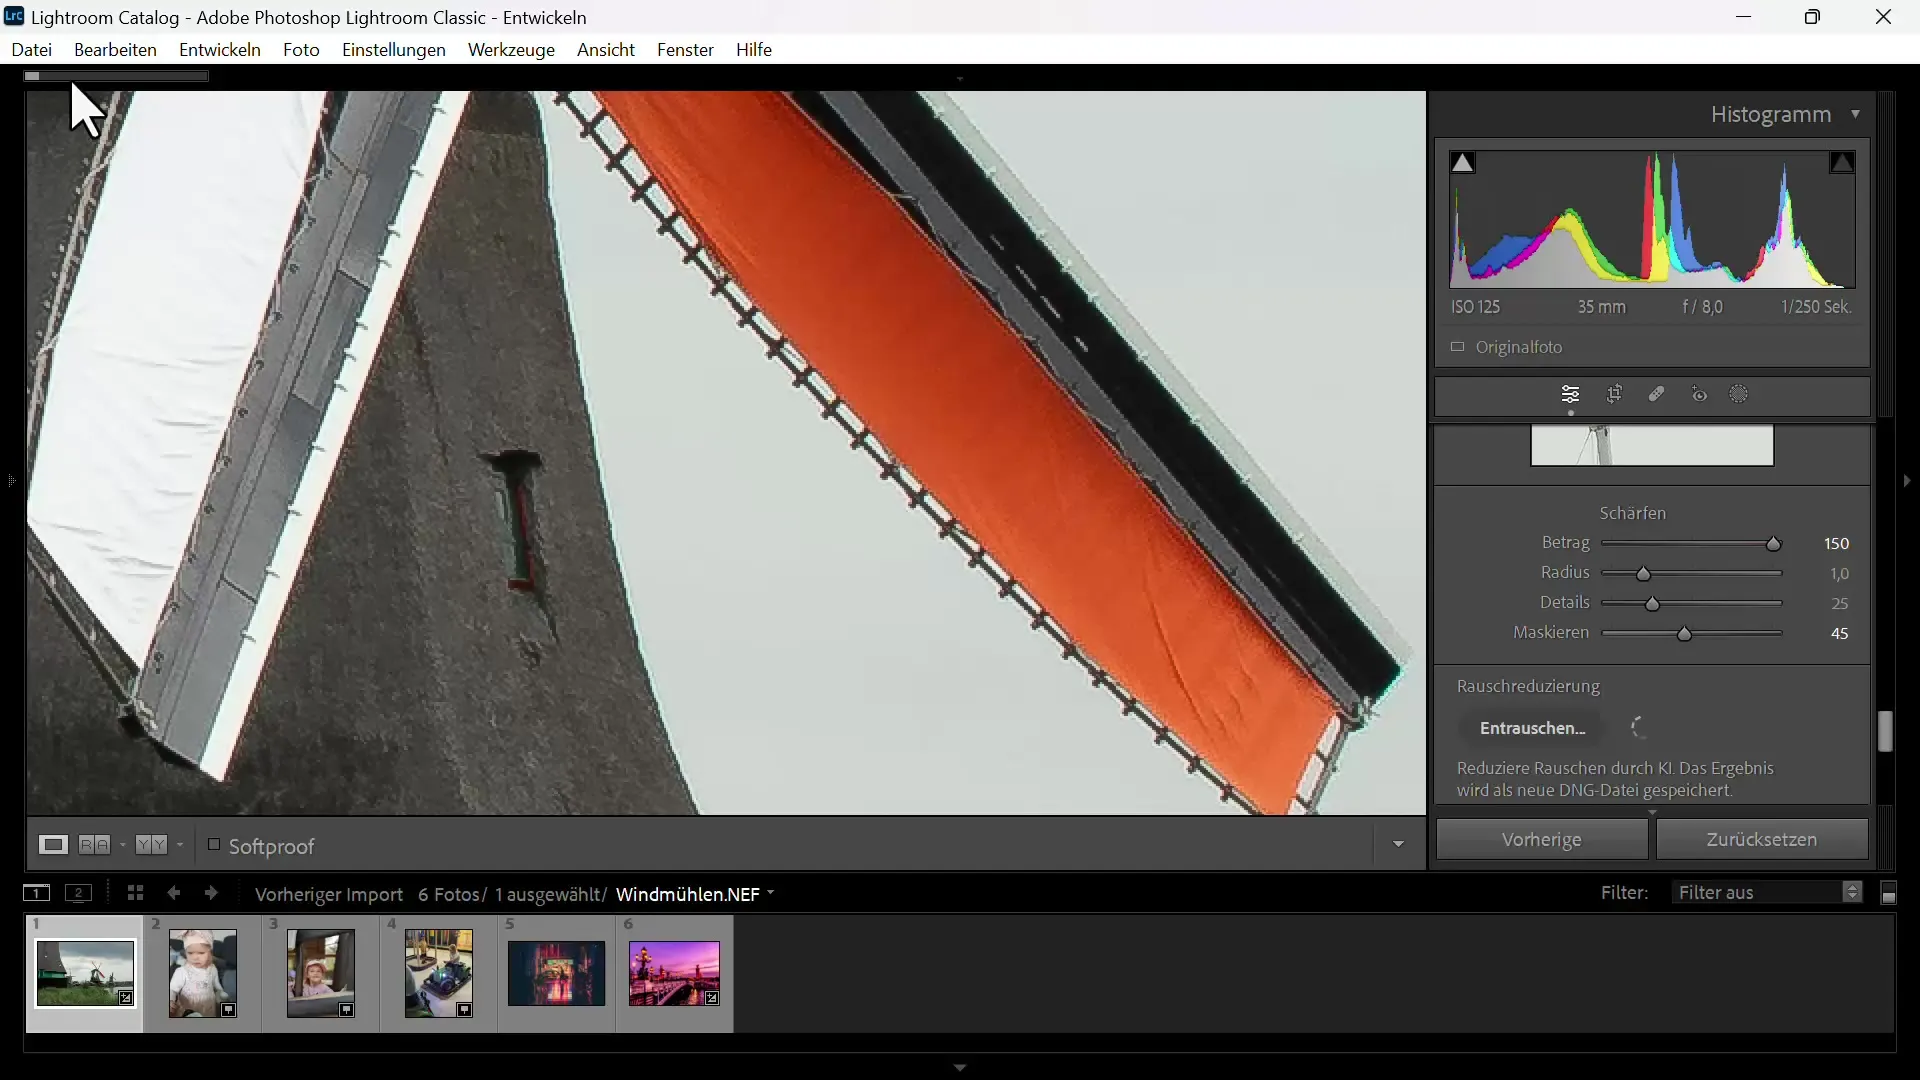
If you have already noticed noise in the image before sharpening, I recommend using the denoiser first. Go to the actual denoising option in Lightroom and let the AI perform the noise reduction process. Select a maximum value to achieve the best results.
After denoising, you can compare the two images. The denoised image will generally appear clearer and more detailed than the original one.
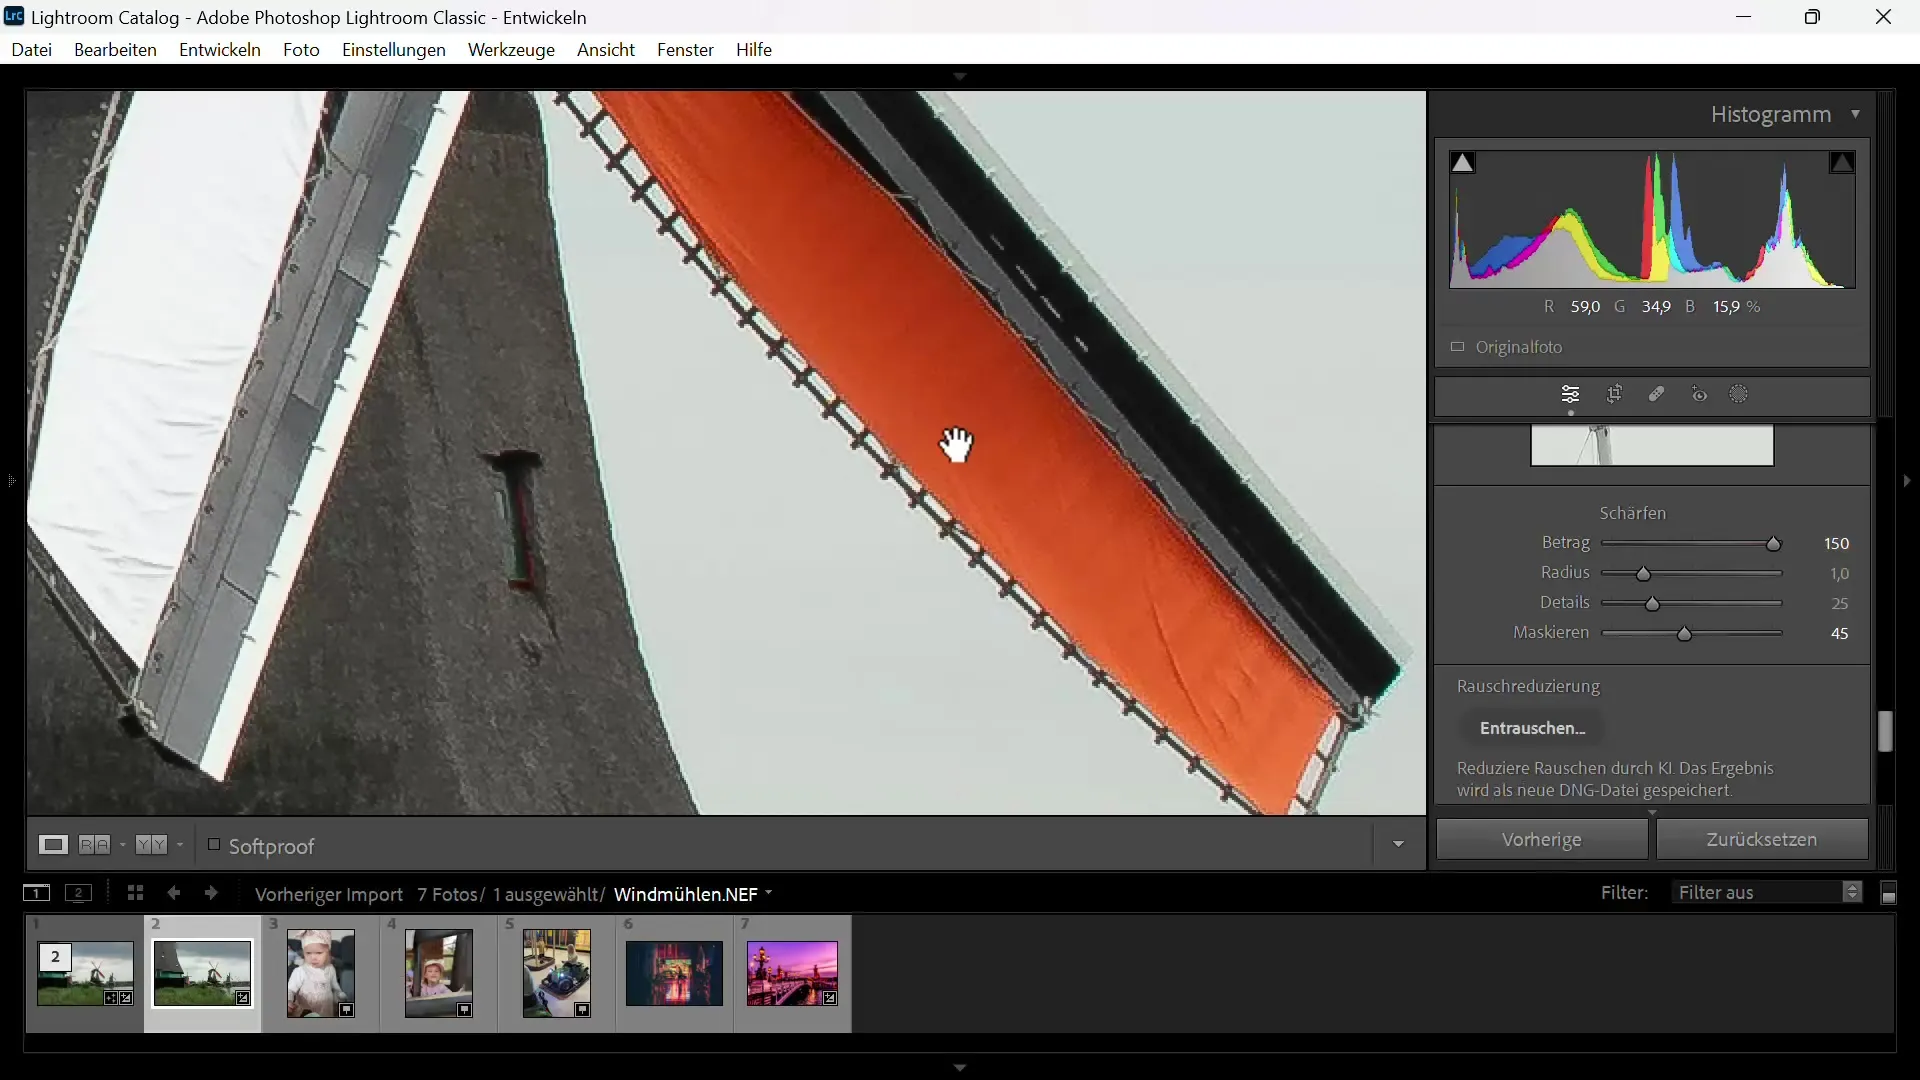
When applying sharpening, adjust the sliders as needed. The differences shown between the denoised and unedited image will illustrate how important the denoising process is.
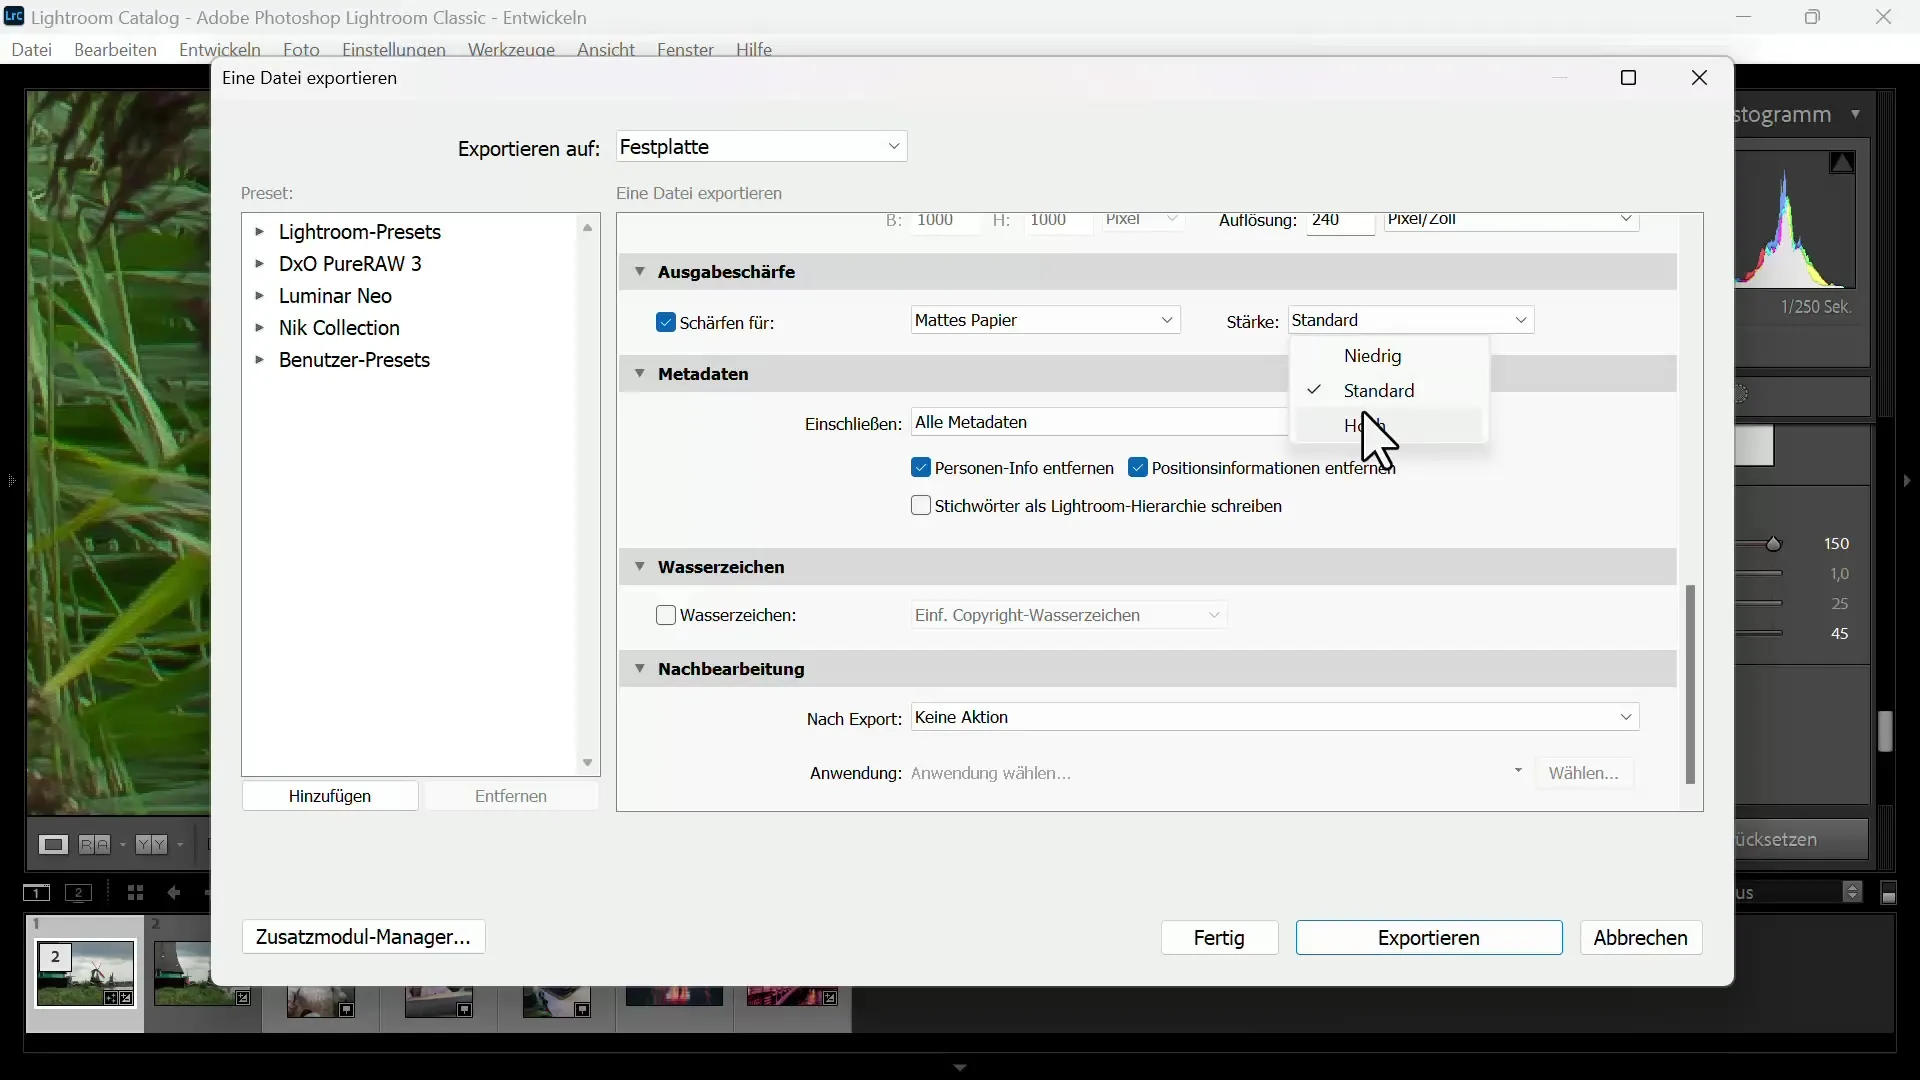
Remember that when exporting the image, you can set an output sharpening to add further sharpness. You can choose the options depending on the intended use, whether for screen or print.
For any photos that have acceptable sharpness but are anything but perfect, you can also allow for precise sharpening of specific image areas using masking fine-tuning. This way, you can sharpen only eyelashes or eyebrows, for example, while leaving the rest of the image unchanged.
Summary
In this tutorial, you learned how to sharpen images in Adobe Lightroom optimally to maximize image quality. You should start by editing your image with the basic controls for light and shadow before applying the specific sharpening and masking tools. The use of AI for noise reduction offers an additional level of quality that can significantly enhance your editing process.
Frequently Asked Questions
How can I reduce noise in my images?By using the noise reduction tool in Lightroom before applying sharpening.
What is the best sharpening value for my images?Stay in the range of 0.8 to 1.0 to avoid exaggerations and preserve natural details.
Can I sharpen specific areas as well?Yes, with the masking function in Lightroom, you can apply targeted sharpening.
Why should I work in RAW format?RAW images provide a better base for editing and noise reduction as they are unprocessed.
How can I apply additional sharpness when exporting?In the export window, you can set an output sharpening to further optimize your images.
