In this guide, you will learn how to use the program Vance AI to sharpen blurry photos. Vance AI provides a variety of features that allow you to optimize your images. Artificial intelligence (AI) plays a crucial role in improving the sharpness and contrast of your images. I will go through the different steps and evaluate the results of this software. You will see that sharpening images is not only simple but also effective. Let's get started!
Main Insights
- Vance AI offers options for sharpening images using various AI methods.
- There are different sharpening methods that provide specific results.
- The noise reduction capabilities can further improve image quality.
- Excessive application can make the result appear unnatural.
- The application can be tested for free, giving you the opportunity to try out the features.
Step-by-Step Guide
Step 1: Launch the program and select an image
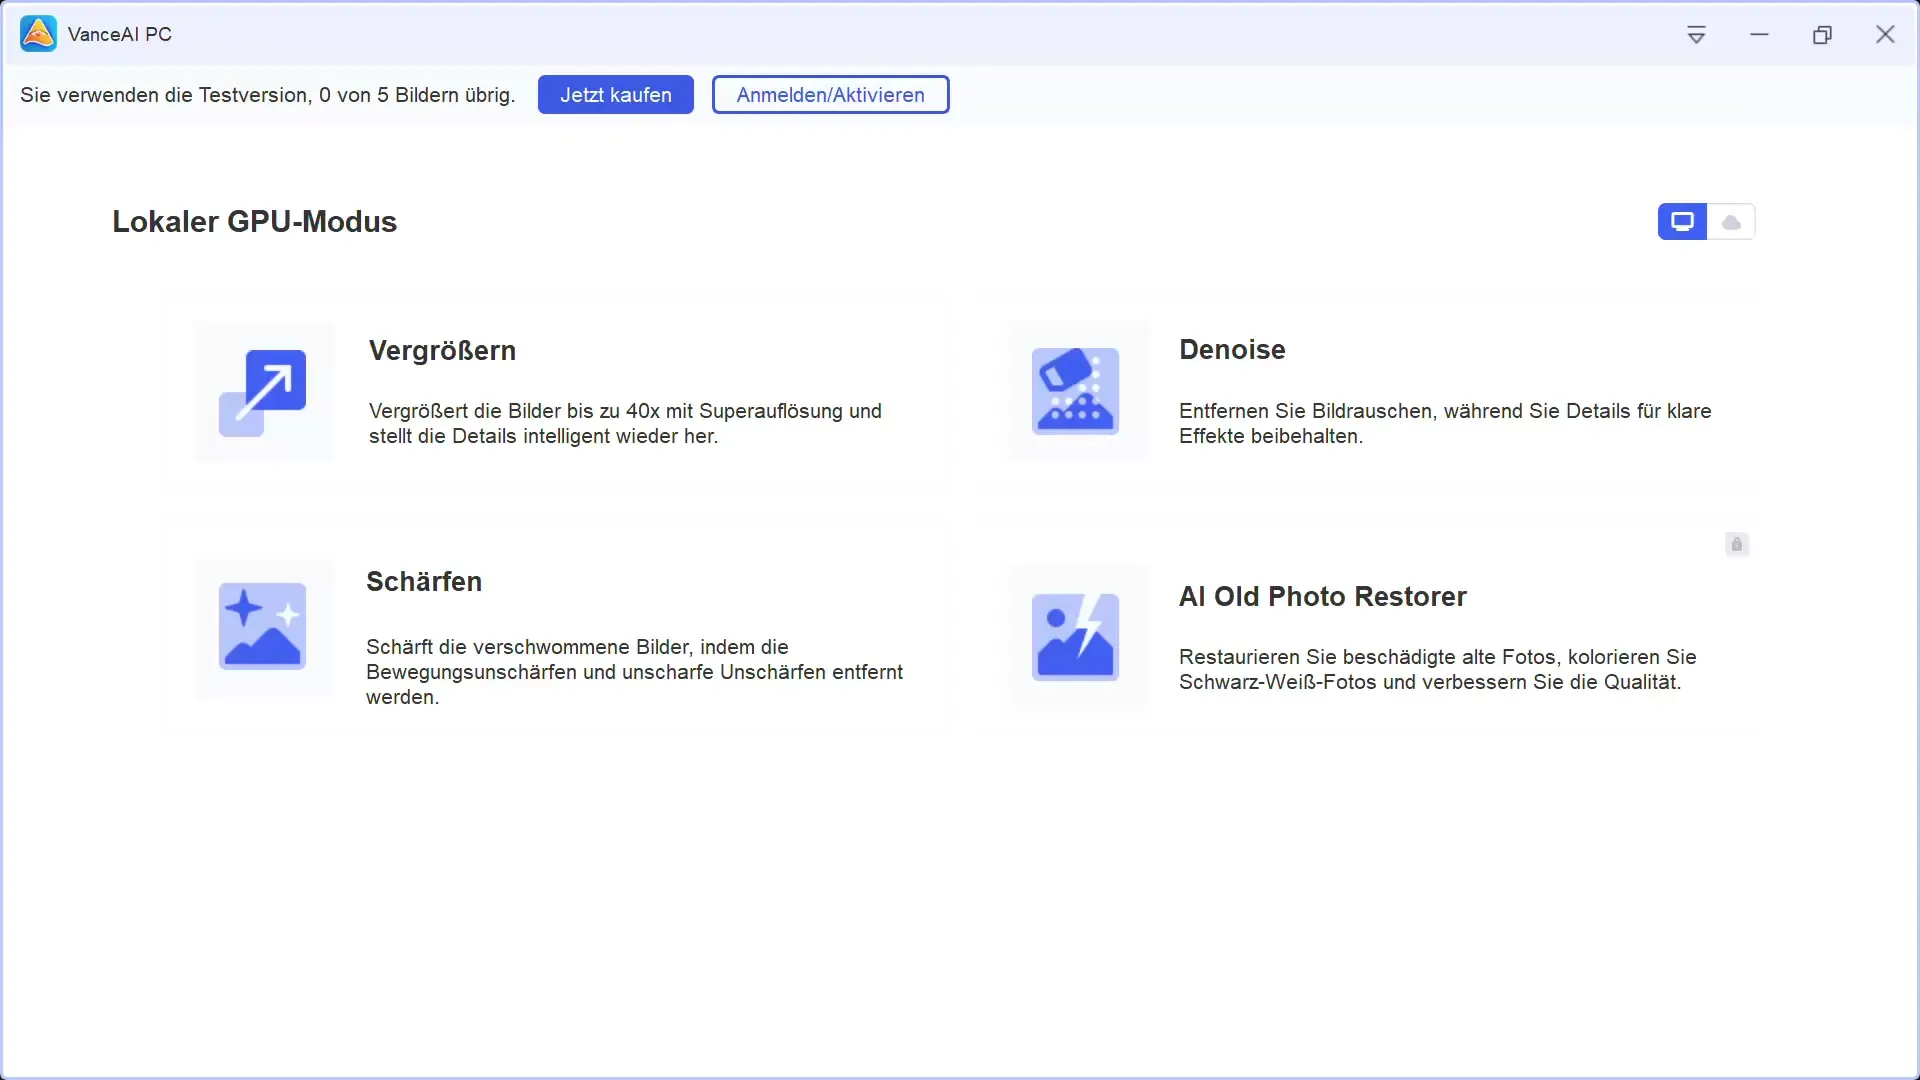
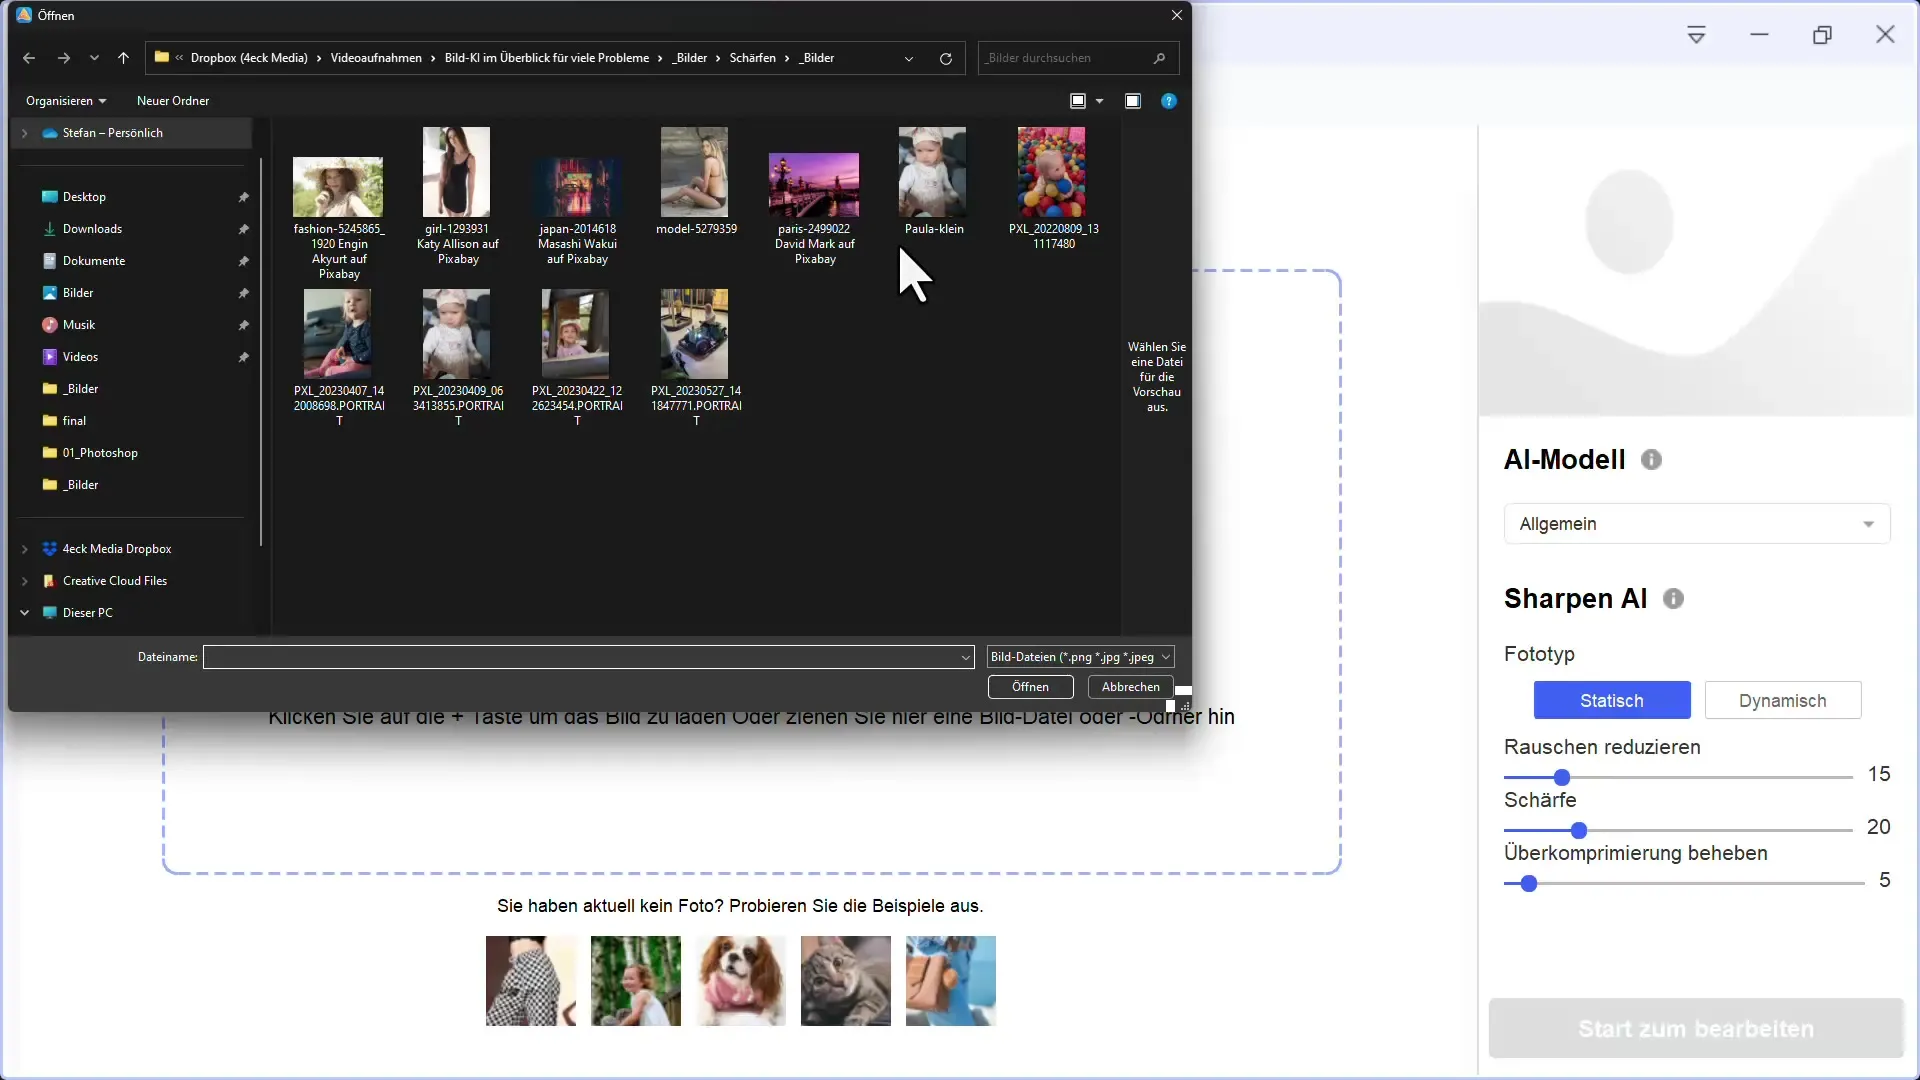
First, you should open Vance AI on your computer. You will have the option to add an image that you want to sharpen. For example, I select an image of my little Paula. Make sure the image is blurry so that the sharpening function can take effect.
Step 2: Analyze the image and select the sharpening function
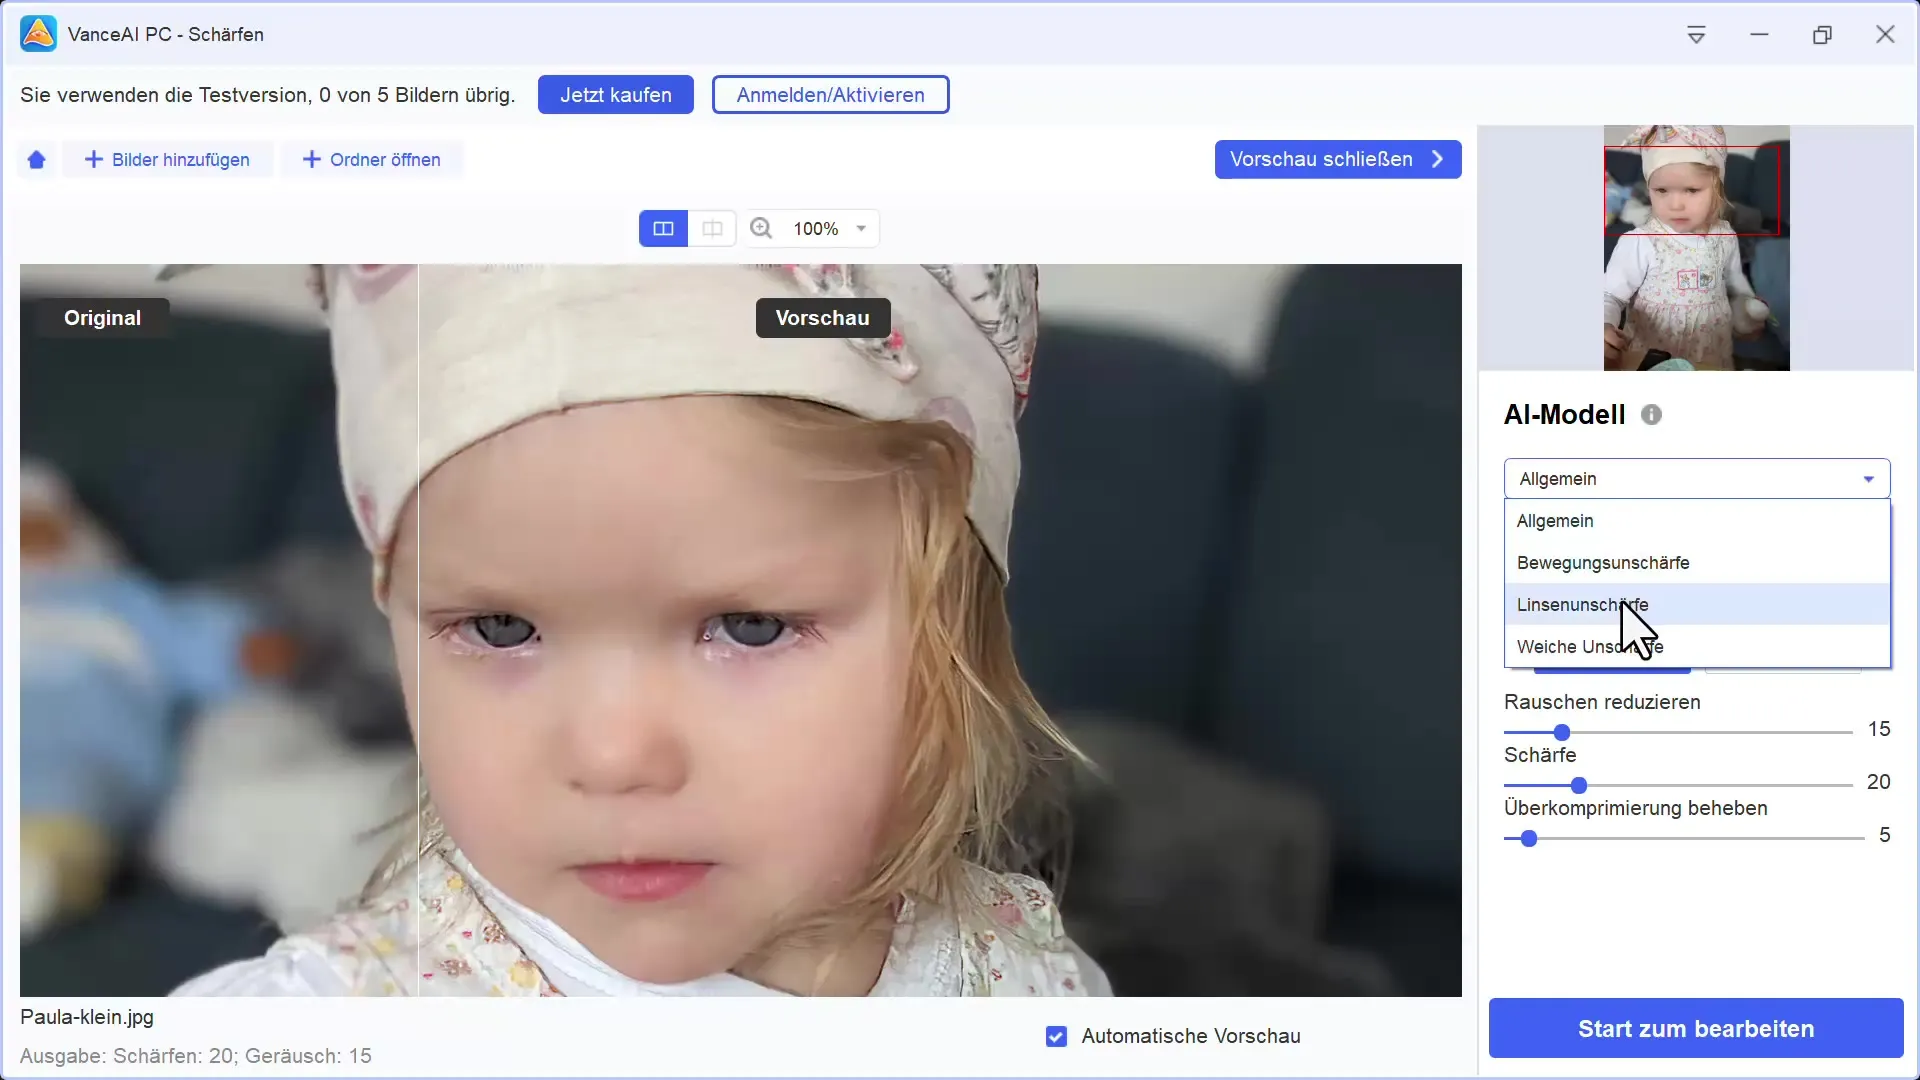
Once the image is uploaded, you can immediately notice that the photo is very blurry. To correct this, click on the sharpening function. You have the choice between different sliders to optimize the sharpness effect.
Step 3: Adjust sharpening values
The next step is to adjust the sharpening values. You have the choice between different modes such as the standard model and specific options like motion and lens sharpness. I recommend starting with the standard model as it often delivers very good results.
Step 4: Dynamic versus static
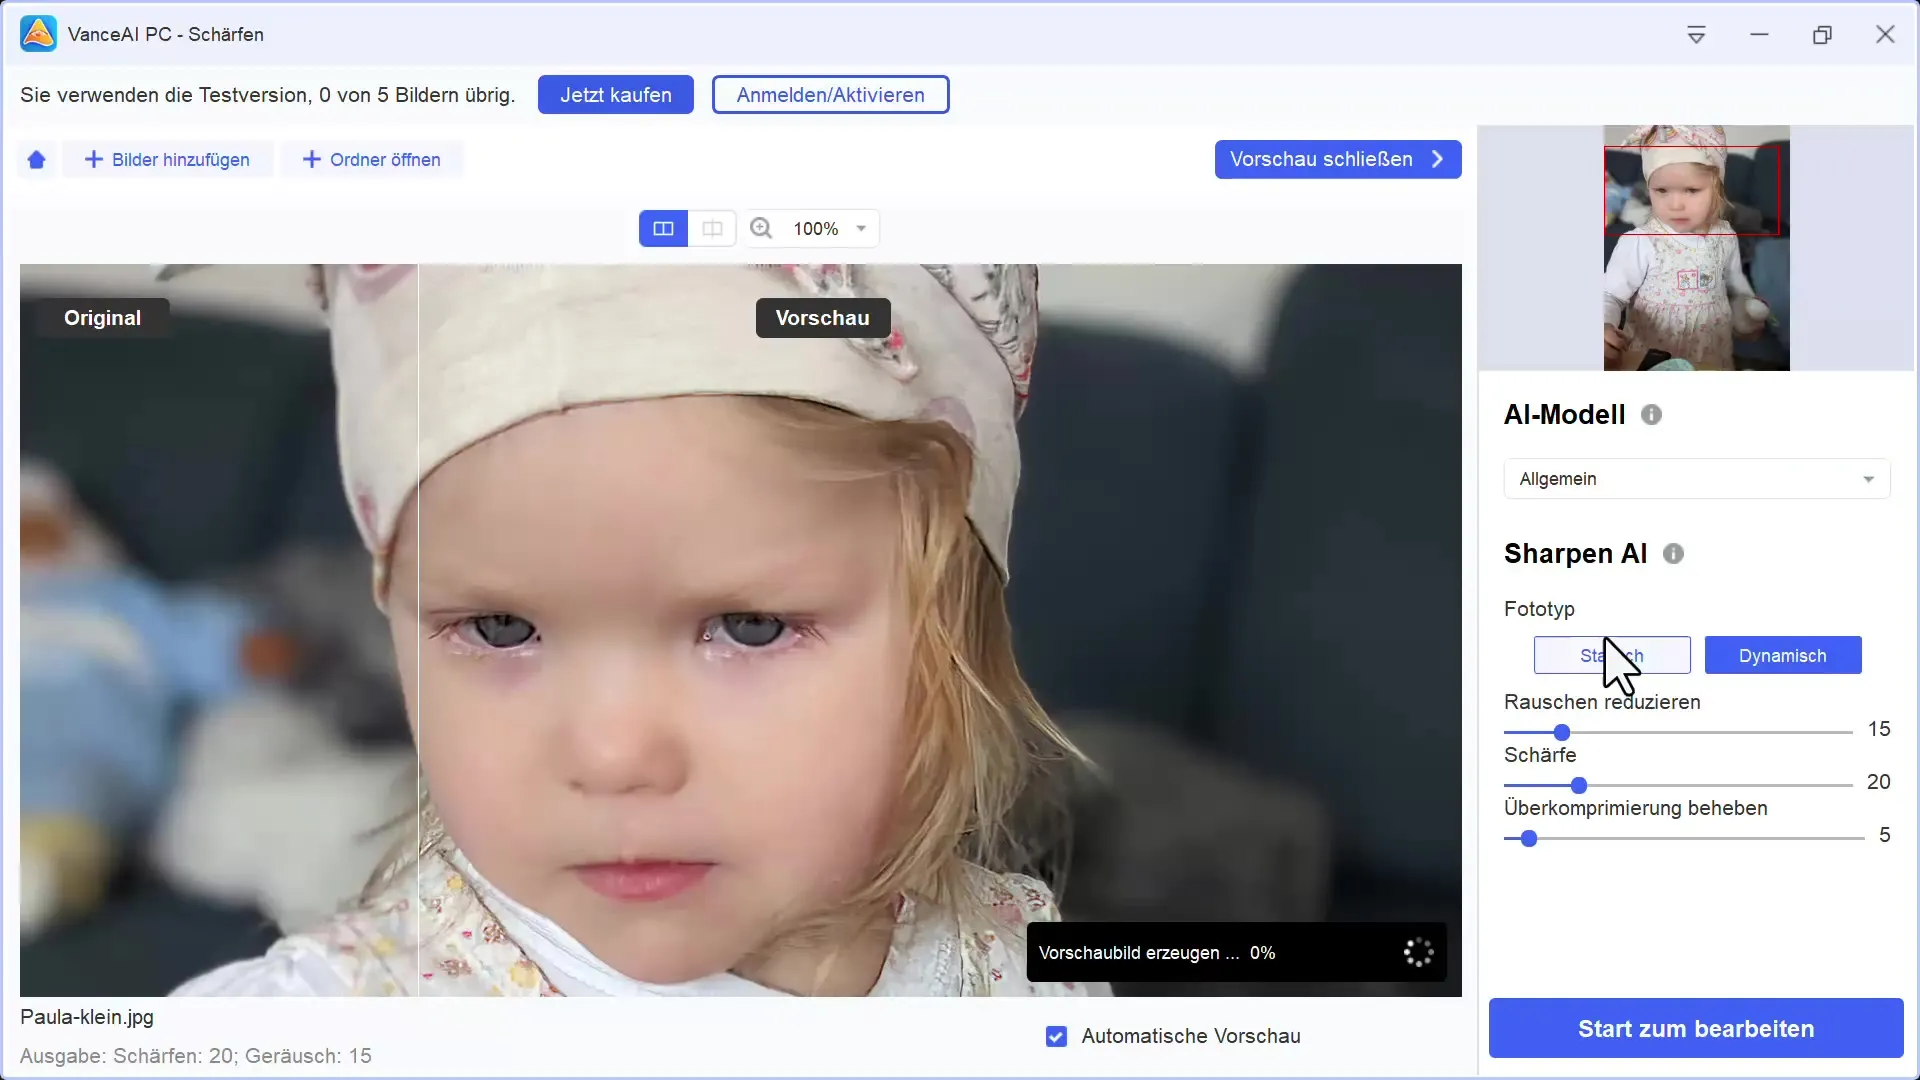
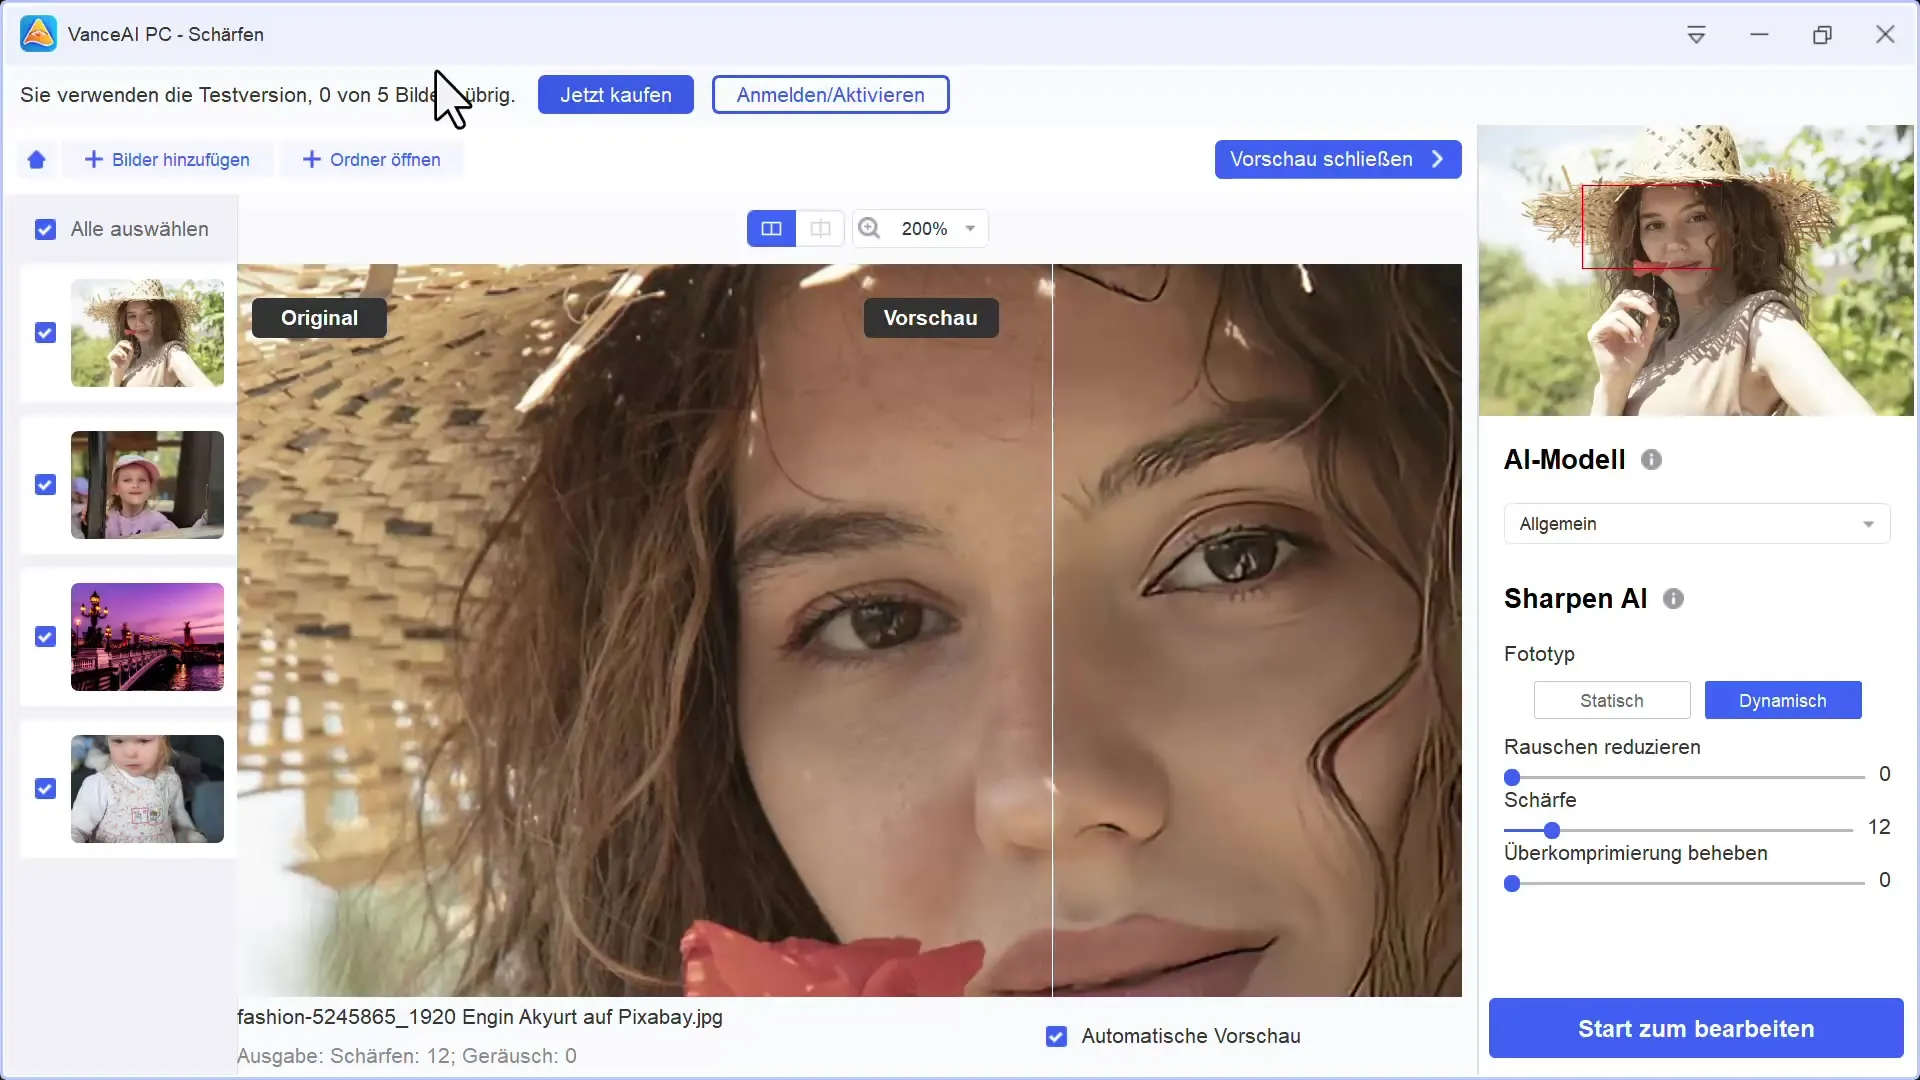
A very interesting aspect of Vance AI is the ability to choose between dynamic and static photo types. The dynamic type calculates more AI elements, while the static type works more traditionally. I have found that the static mode often delivers more natural results.
Step 5: Activate noise reduction
In addition to the sharpening function, you can also reduce the noise in the image. This function is particularly helpful for images with visual disturbances. Noise reduction can further enhance the sharpening effect and result in an overall clearer image.
Step 6: Review the results
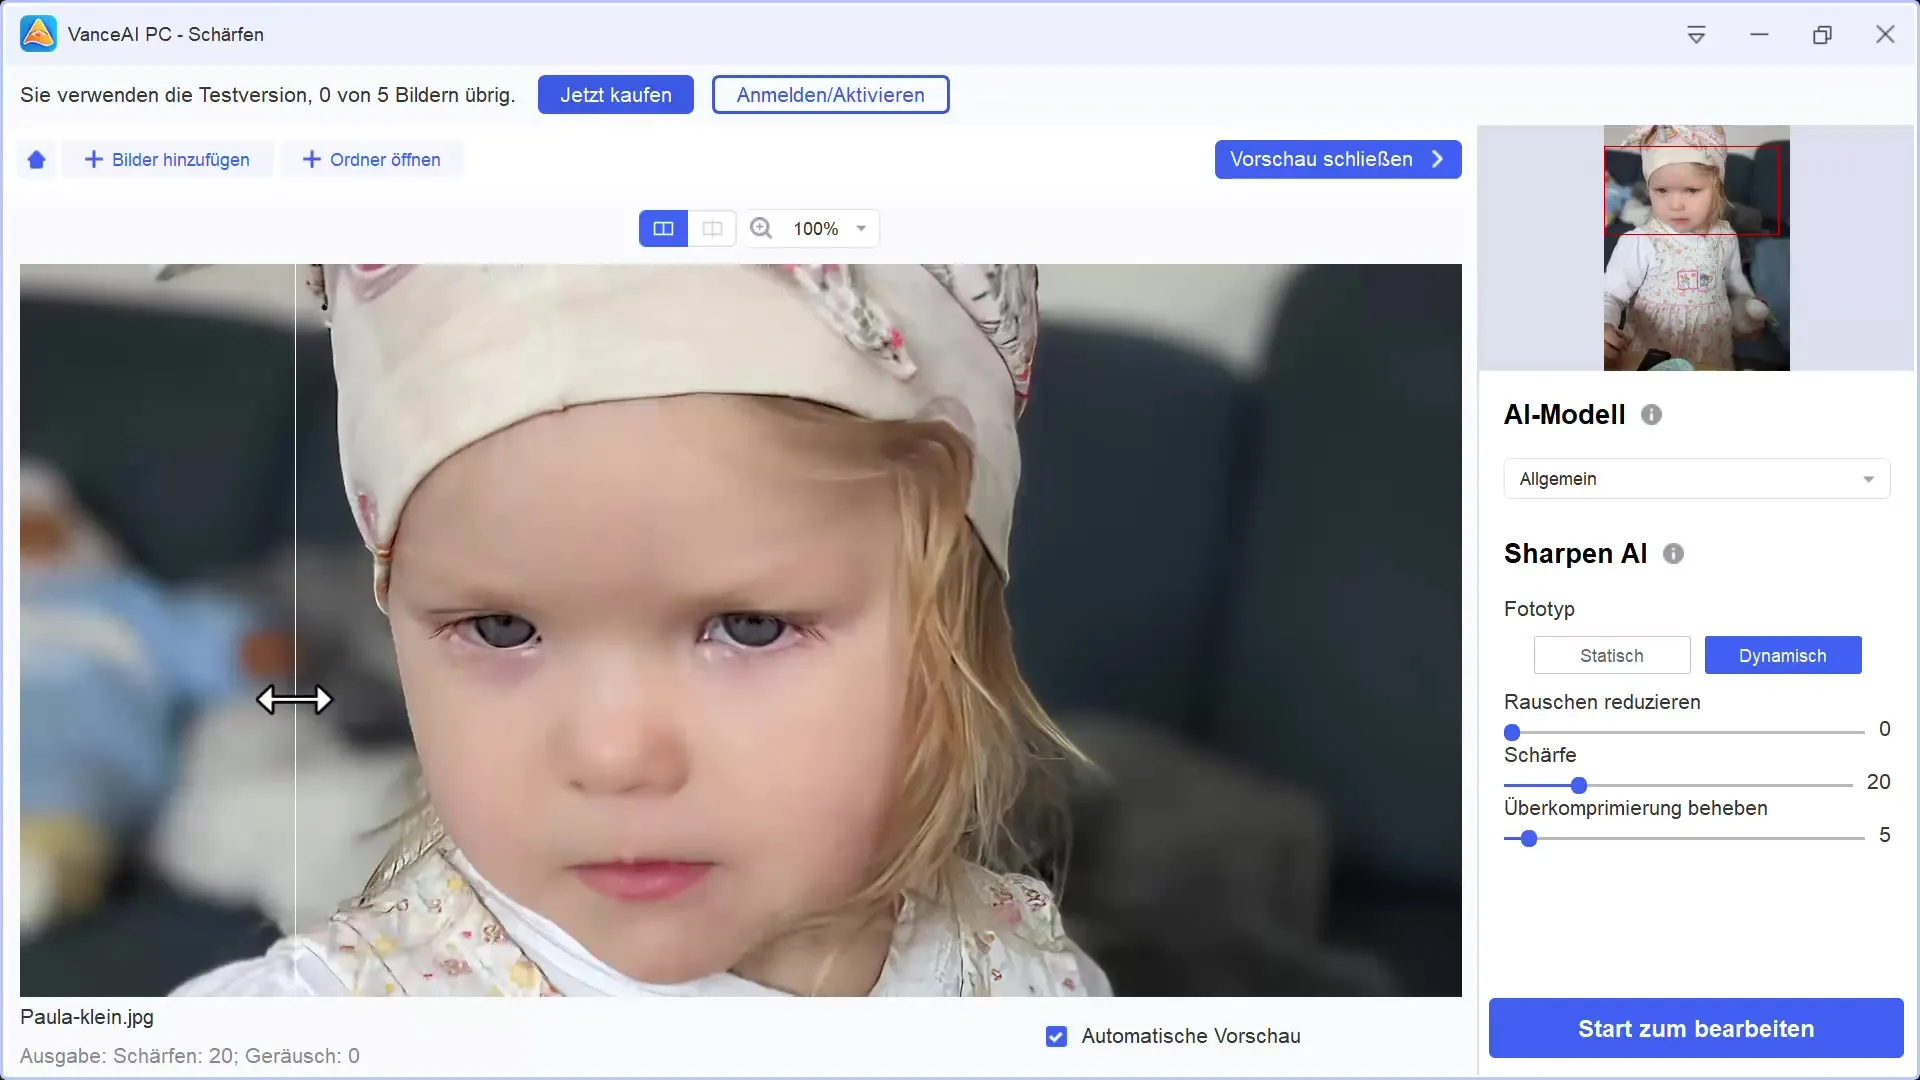
Once all settings are made, you will immediately see that the image has become much sharper. The clothing of the person in the picture and their face appear much clearer. It is advisable to handle the sliders with caution here to avoid an exaggerated, unnatural result.
Step 7: Make fine adjustments
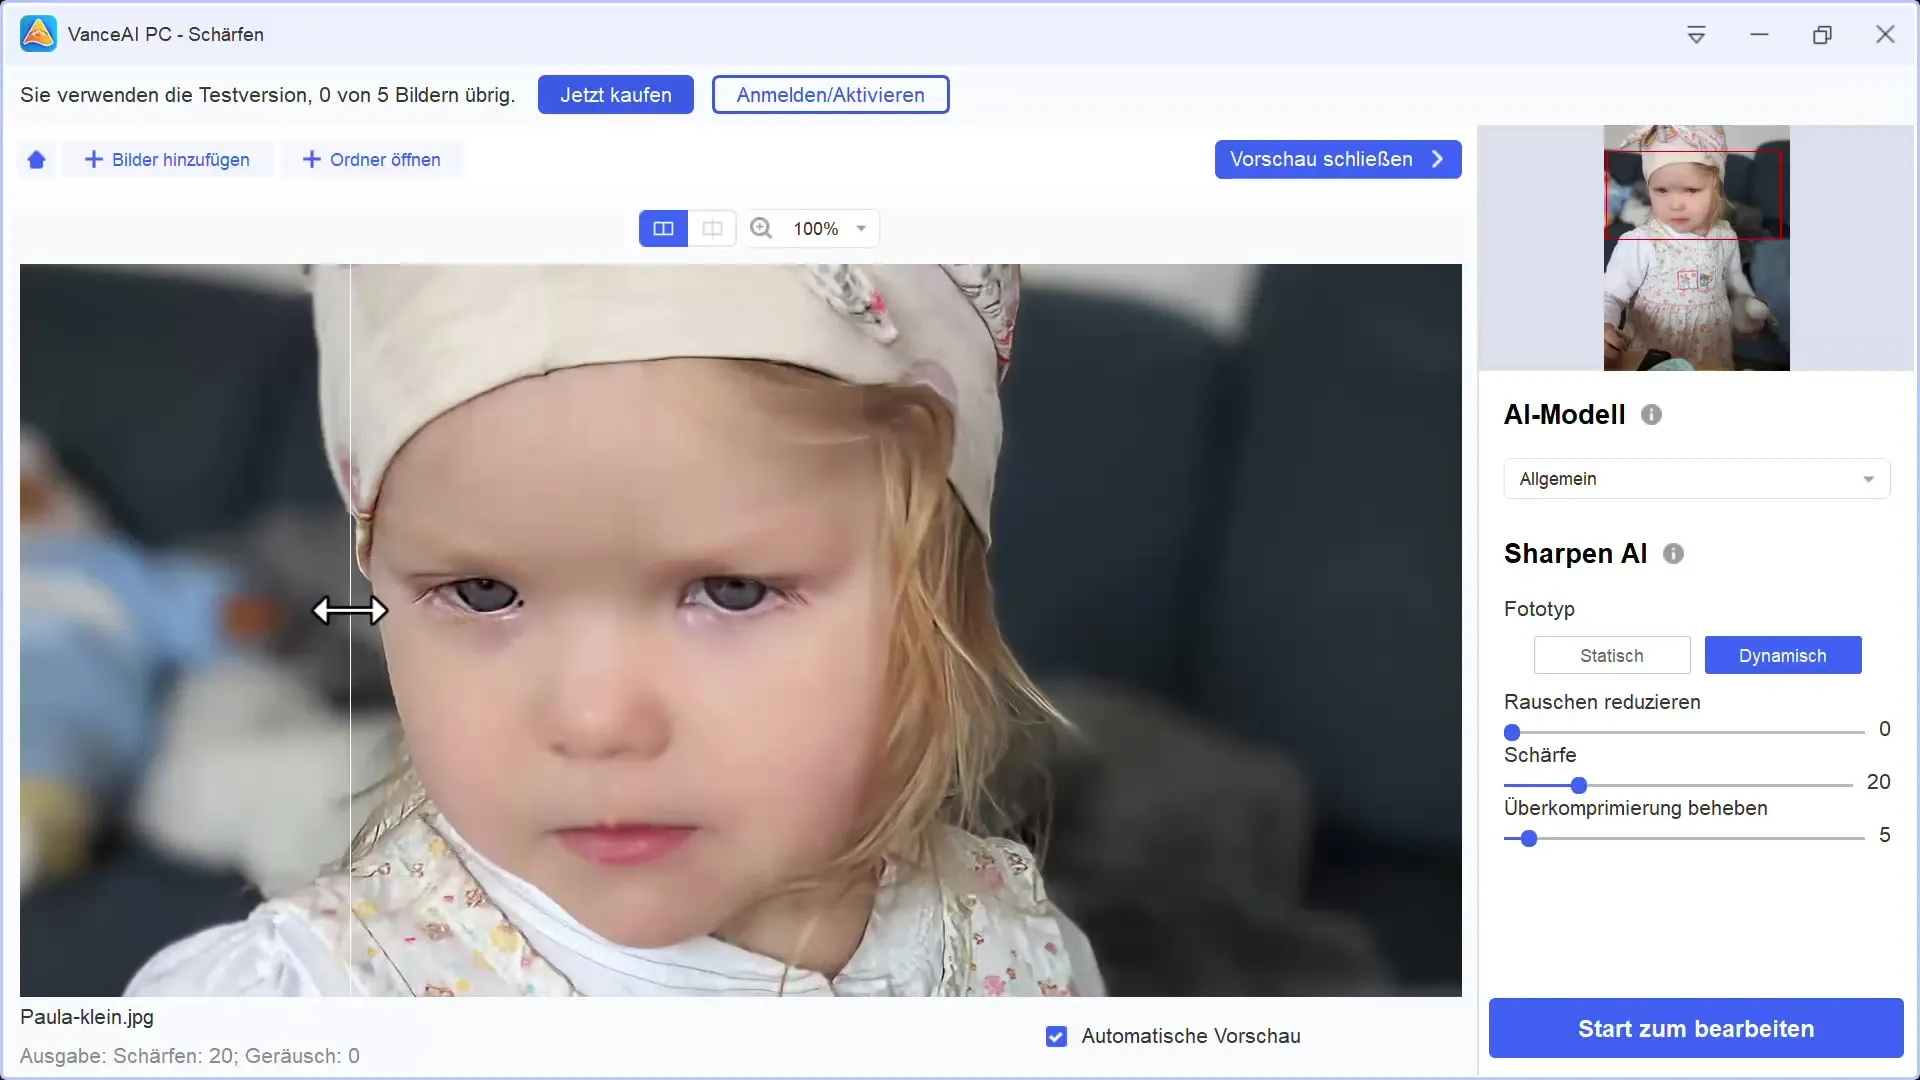
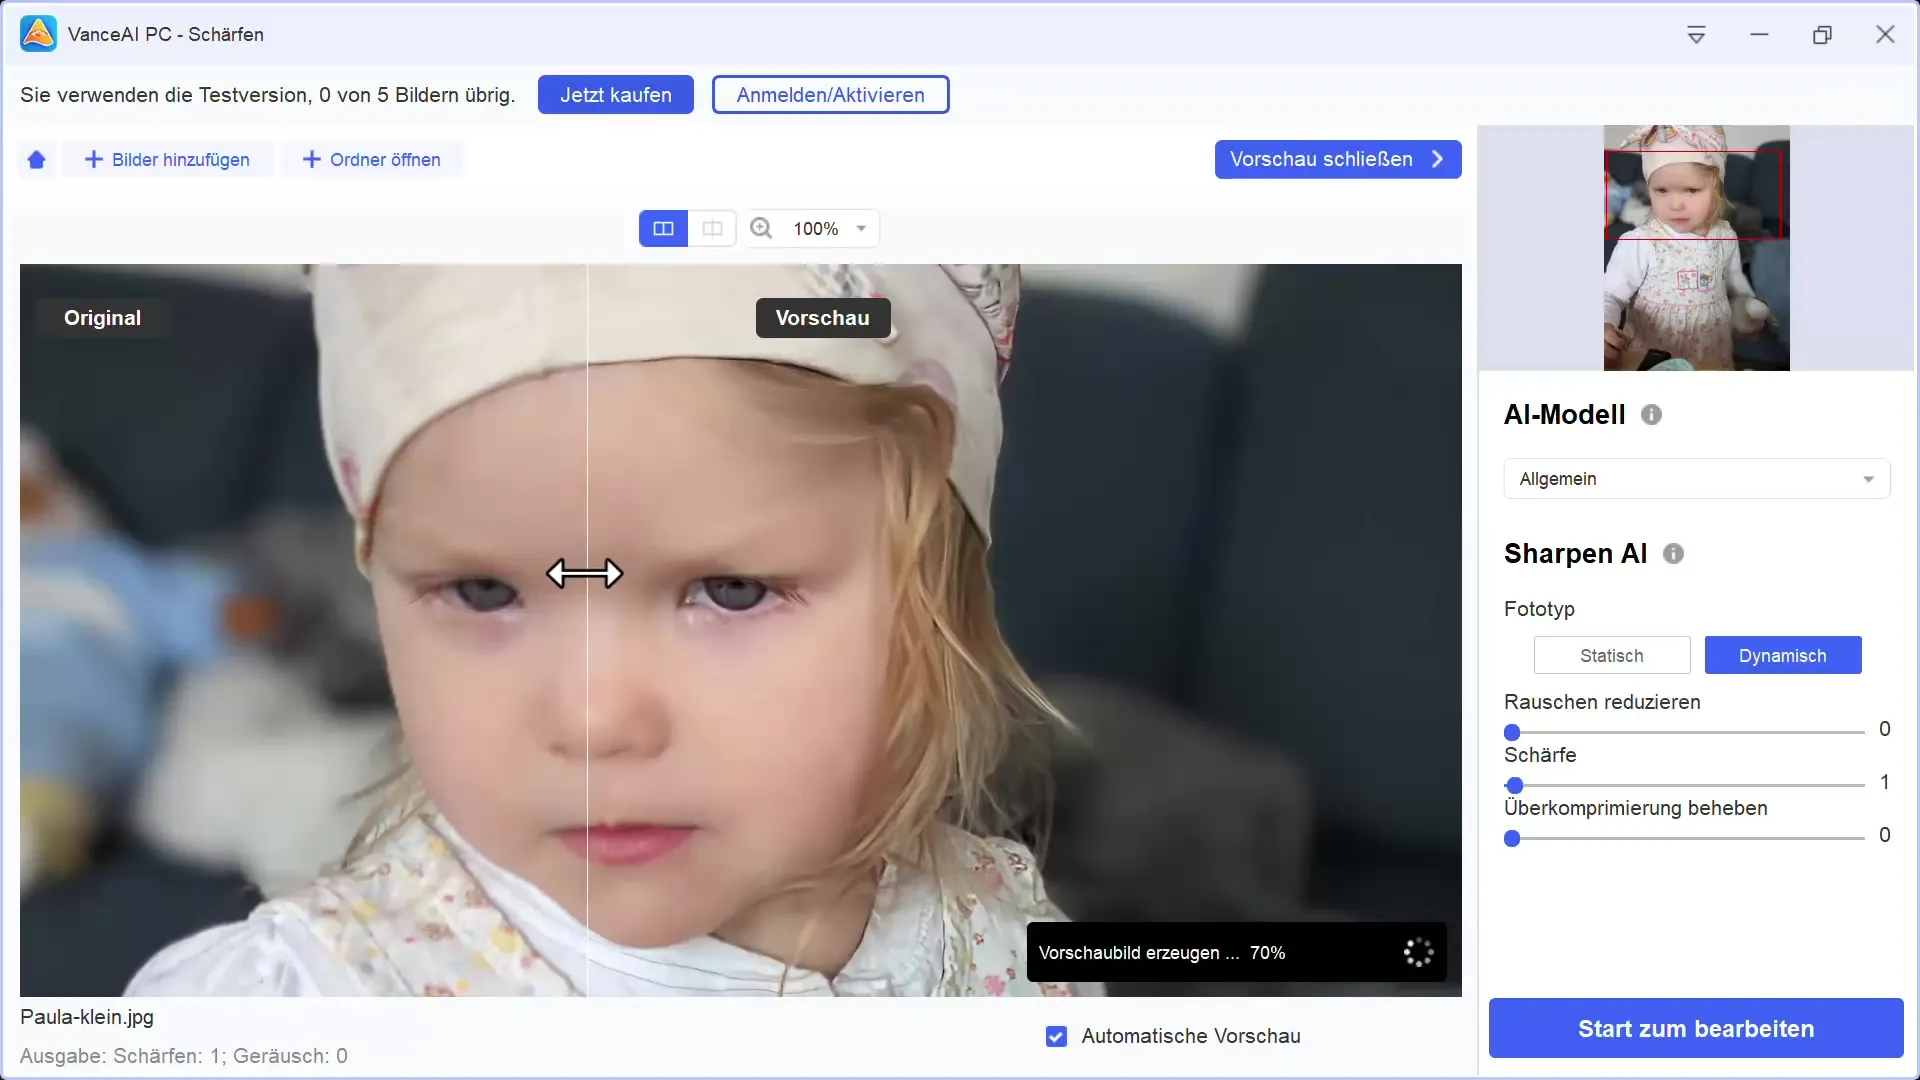
Here, you should make small adjustments. Experiment with the sharpening values and observe how the image reacts to each change. Fine-tuning can greatly enhance the overall image. Make sure that with a stronger sharpening adjustment, too many details are not lost.
Step 8: Test different images
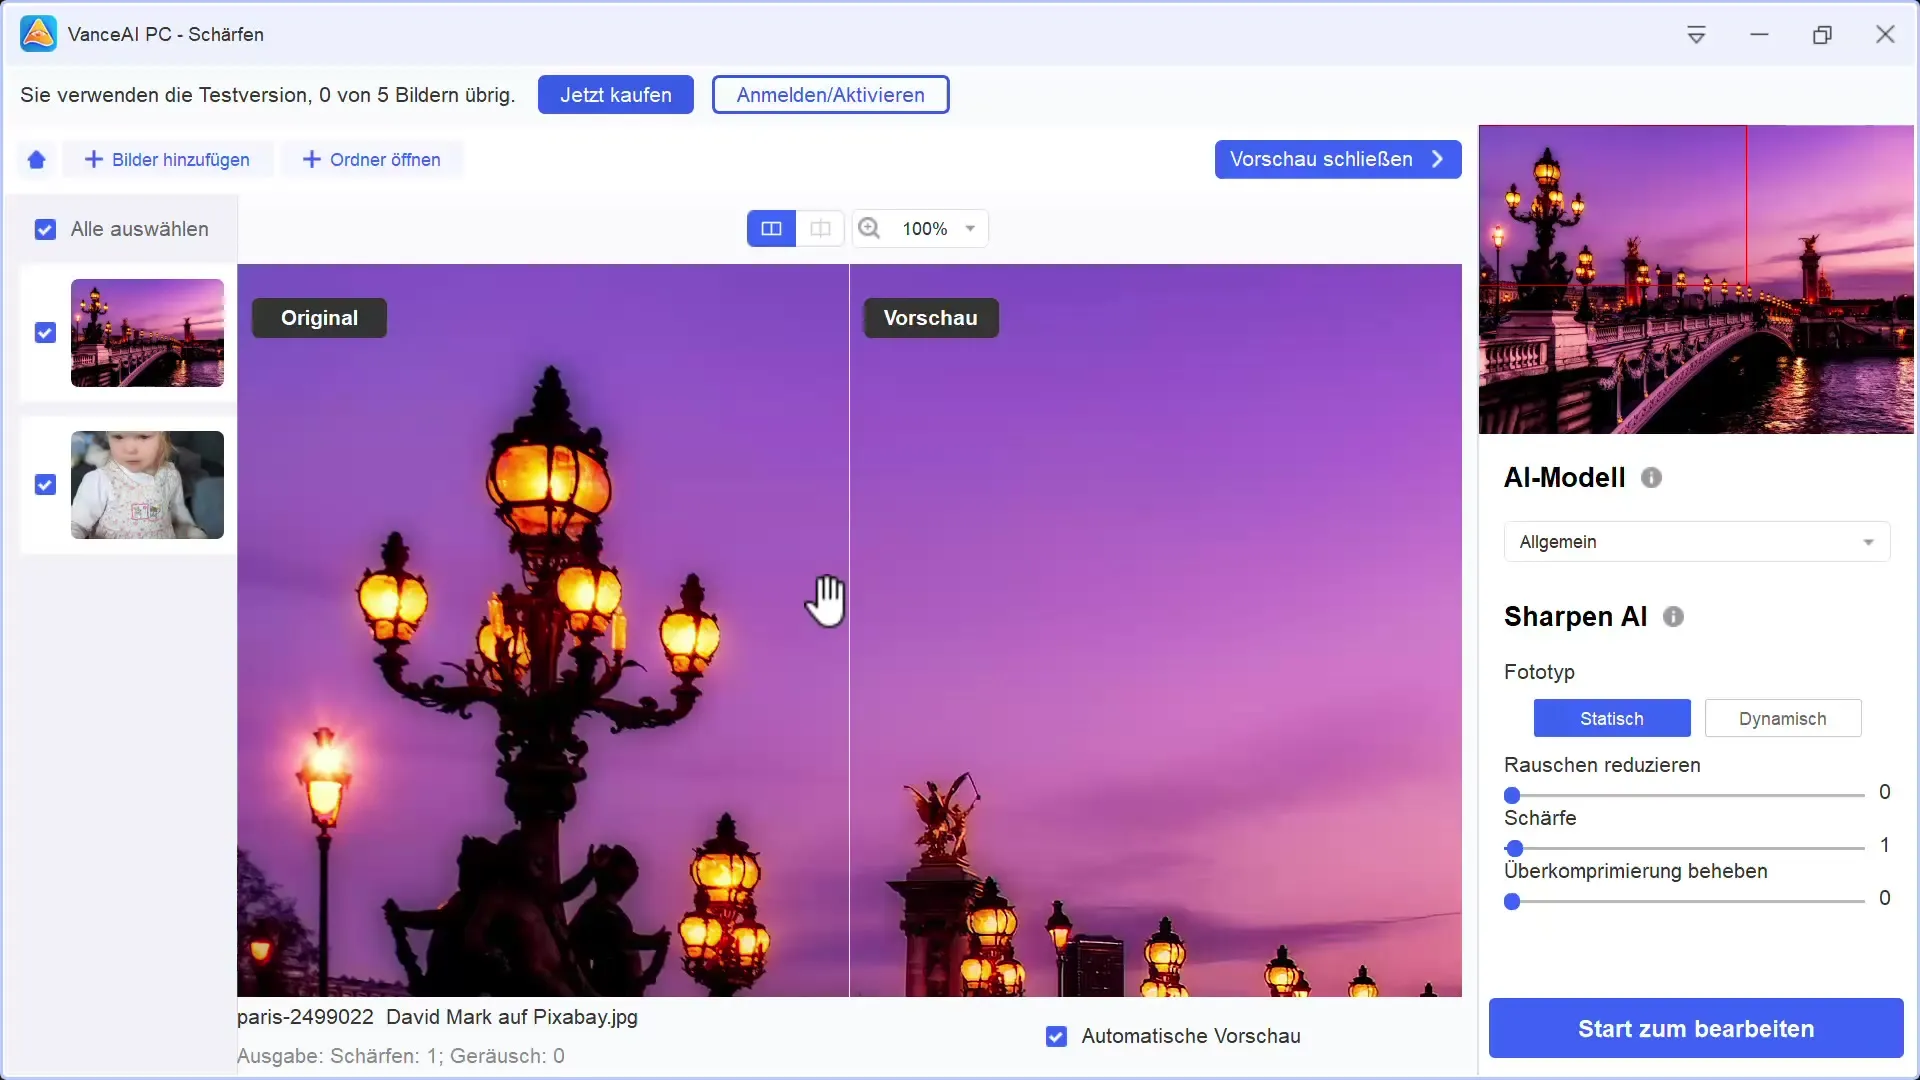
It can be useful to test different images in Vance AI to better understand the functionality. I tested a dark, nostalgic image that benefited from sharpening. Vary the sharpening values and observe the results.
Step 9: Save the image
If you are satisfied with the result, the last step is to save your image. Vance AI allows you to save the edited images for free in the trial mode. This is a great opportunity to try out the software at no cost.
Summary
Vance AI offers an effective solution for sharpening images, utilizing the capabilities of artificial intelligence. You have the opportunity to choose between different models and sharpening functions, significantly improving the image quality. The possibility of a free trial version gives you the freedom to try out different settings and find out which one is best suited for your images.
Frequently Asked Questions
How do I upload an image to Vance AI?You can upload an image by opening the program and selecting the "Upload Image" function.
Are the features of Vance AI free?Yes, Vance AI offers a trial version that allows you to edit five images for free.
How can I adjust the sharpness of an image most effectively?Experiment with the sliders to optimize the sharpness values step by step, and aim for natural results.
What should I do if the image looks unnatural after sharpening?Gradually reduce the sharpness value sliders to achieve a natural result.
Are there differences between the sharpening methods?Yes, the different methods offer different results. Experiment to find out which one you like best.
