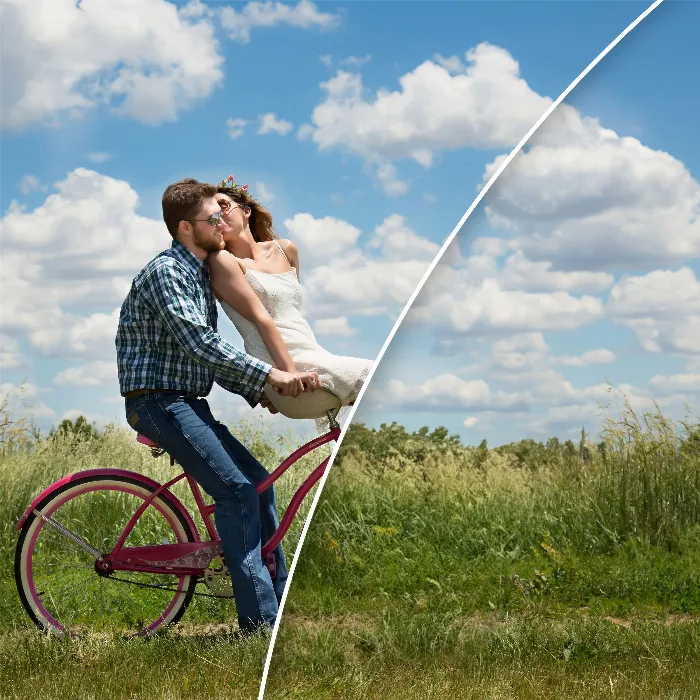
Hello and welcome to this detailed guide on how to remove distracting objects from your images using Artificial Intelligence (AI). My name is Stefan, and I will guide you through the process that allows you to eliminate unwanted elements in your photos in just a few clicks. In the past, it used to be a tedious task, spending, for example, two to four hours editing a single image. Thanks to today's technologies, we can now do this much more easily and quickly. In this guide, you will learn how to do it effectively.
Main Insights
- With AI technologies, you can quickly and easily remove distracting objects in photos in just a few clicks.
- In this guide, we will introduce various software solutions.
- Based on personal experiences, we will show you practical steps for application.
Step-by-Step Guide
To remove distracting objects, you can follow this simple step-by-step process.
Step 1: Choose the Right Software Tool
First, you need to select a suitable AI software that helps you in object removal. I have researched various programs capable of effectively performing these functions. Some are even available for free. Check which software best suits your needs.
Step 2: Upload Your Image
Once you have chosen a software tool, upload the image from which you want to remove the distracting elements. This is often very straightforward and only requires a drag-and-drop operation or selecting the file from your hard drive.
Step 3: Mark the Object to Be Removed
After uploading the image, you need to mark the distracting object in the image. Most software tools provide an easy way to do this, such as a selection tool to outline the unwanted element. Make sure to mark the object precisely for the best results.
Step 4: Apply the AI Function
Once you have marked the object, you can activate the AI technology to automatically regenerate the background. Simply click on the corresponding button, and the AI will take care of the rest. You may need to wait a few seconds while the software performs the editing.
Step 5: Review the Result
Now is the time to review the edited image. See how the software has removed the distracting object. In most cases, you will be satisfied with the result, but if not, you often have the option to repeat the process or make manual adjustments.
Step 6: Save the Edited Image
If you are happy with the result, save your edited image. Make sure to save the image in a format that meets your requirements (e.g., JPEG, PNG). Most software solutions offer an easy way to save your image or even share it directly on social media.
Bonus: Alternatives and Additional Features
In addition to object removal, many AI programs also offer features to add new objects or even change the image format between portrait and landscape. These additional features can help further enhance your photos.
Summary - Removing People and Objects from Images Using AI
In this guide, you have learned how to quickly and effectively remove people and distracting objects from your images using AI. The use of modern software significantly simplifies this process, allowing you to achieve a clean image within just a few clicks.
Frequently Asked Questions
How long does the process of object removal take?The editing usually takes only a few seconds, depending on the software and the complexity of the image.
Which program do you recommend?There are many programs that work well. You should try different options to find the best software for you.
Can I use this technique for other image editing as well?Yes, many AI software solutions offer additional features beyond object removal.

