In today's guide, I will show you how to adjust and improve the quality of your videos in DaVinci Resolve. Whether you want to work in just HD or achieve the highest quality with Ultra HD, the steps are easy and quick to implement. Let's start right away with exporting your videos in the desired quality.
Key Takeaways
- You can easily adjust the resolution and frame rate (FPS) in DaVinci Resolve.
- It is recommended to choose a frame rate of 60 FPS for fast-paced content like gaming.
- The MP4 export format is recommended for most platforms.
Step-by-Step Guide
To improve the quality of your videos in DaVinci Resolve, follow these simple steps:
Accessing Quality Settings
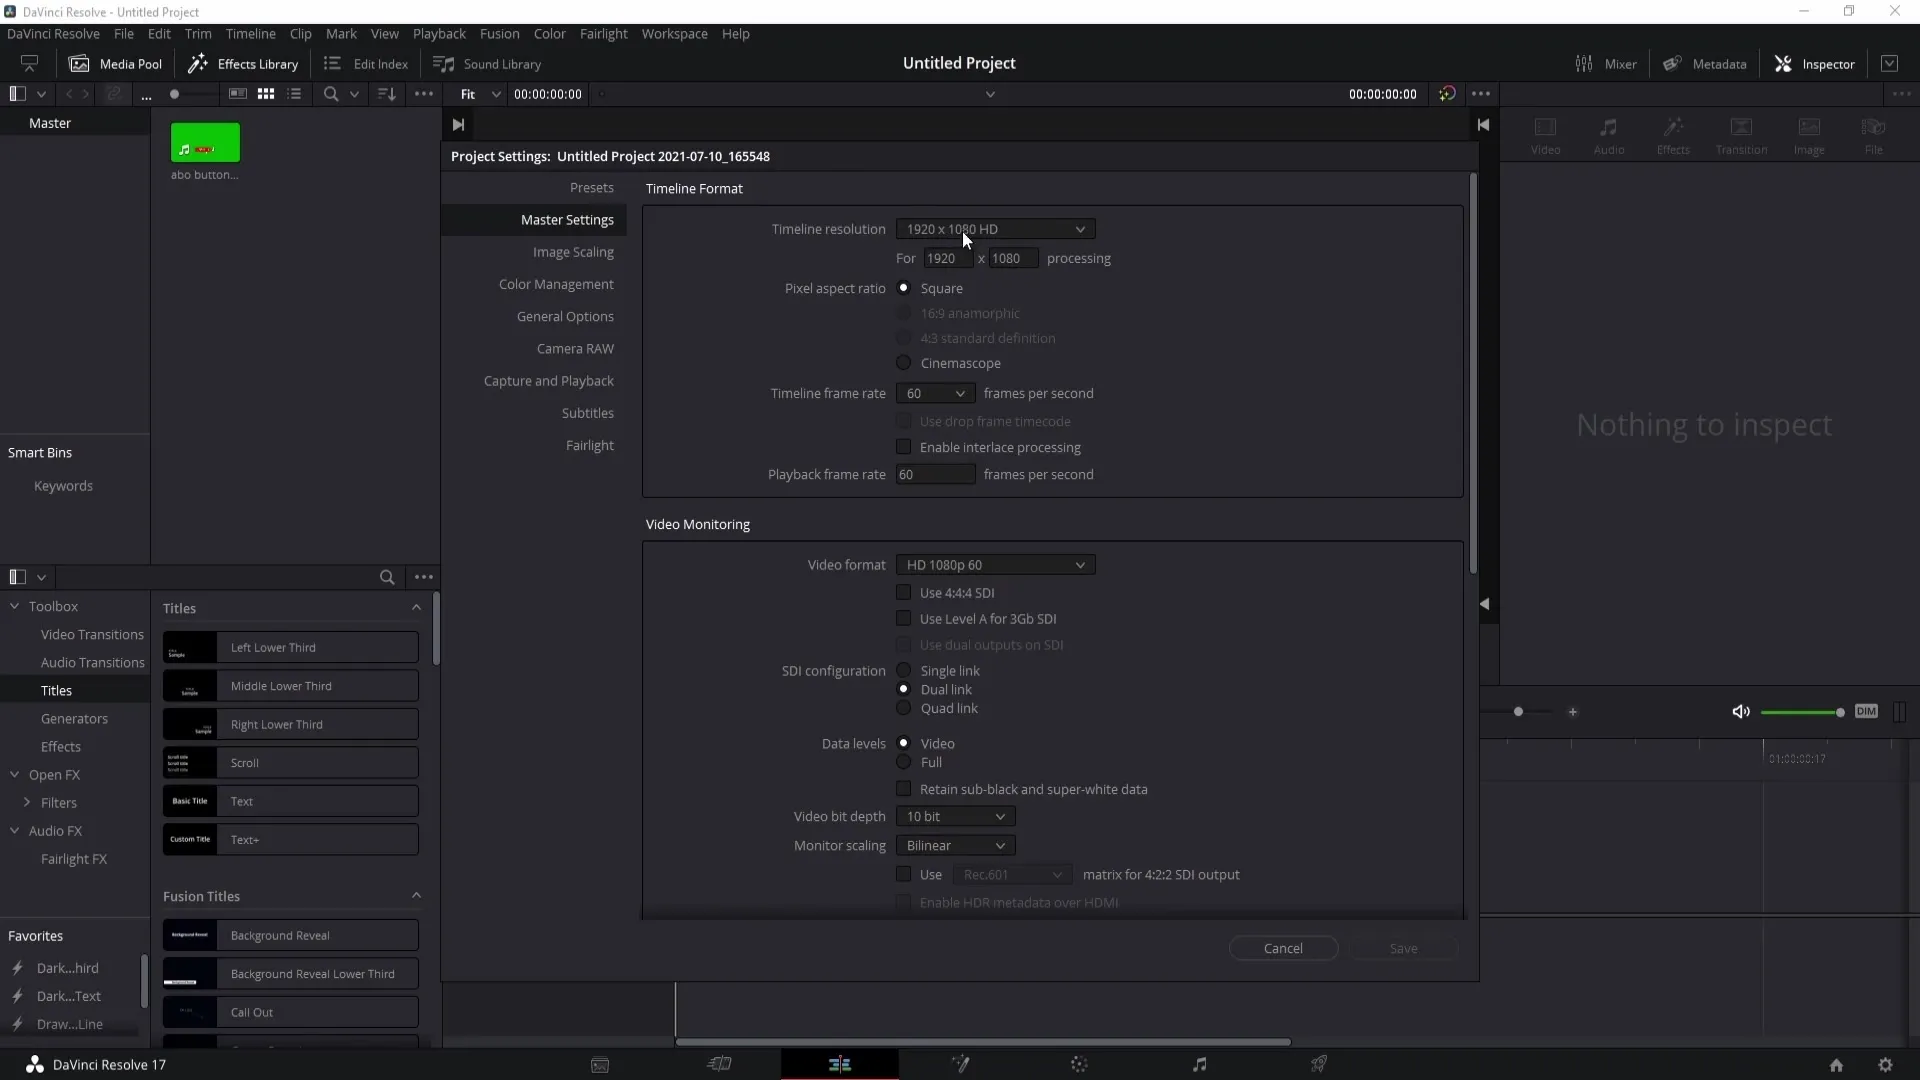
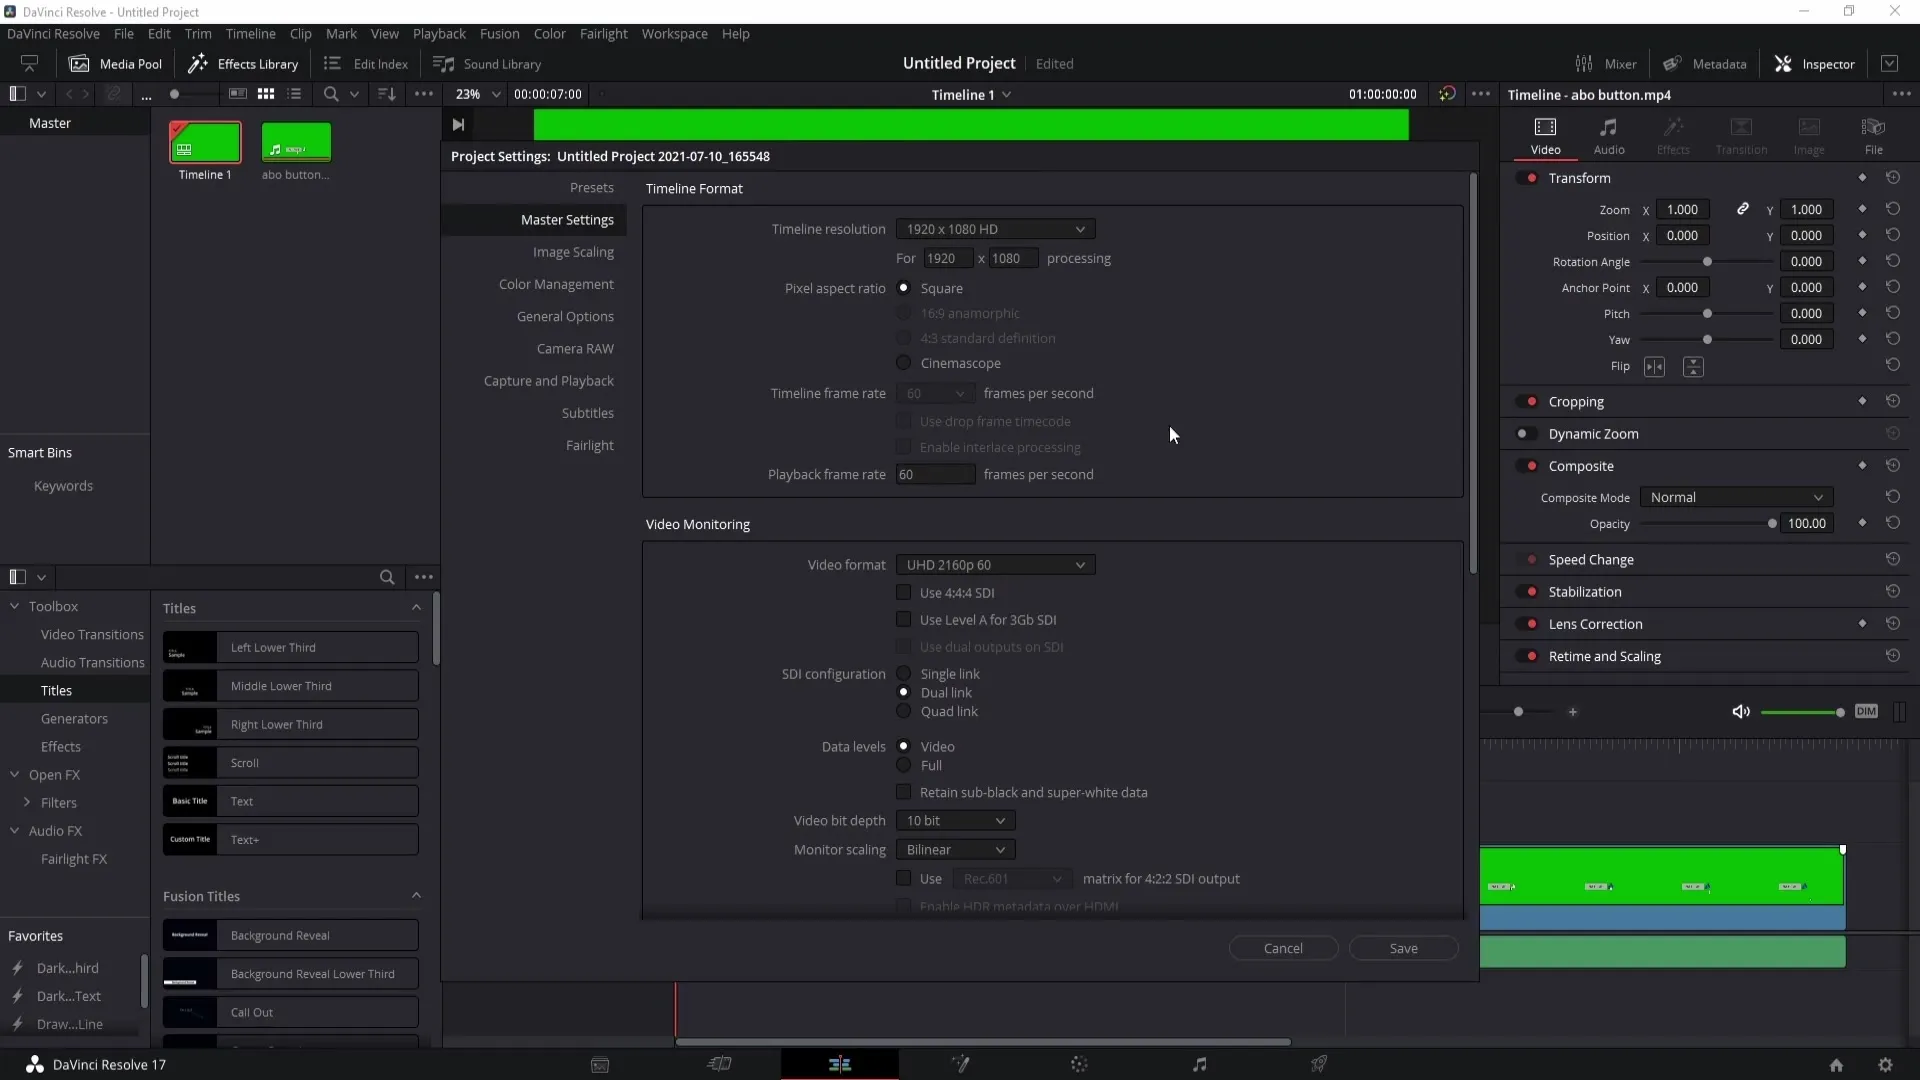
To change the quality of your project, click on the gear icon in the lower right corner of the screen. This will take you to the project settings.
Choosing the Resolution
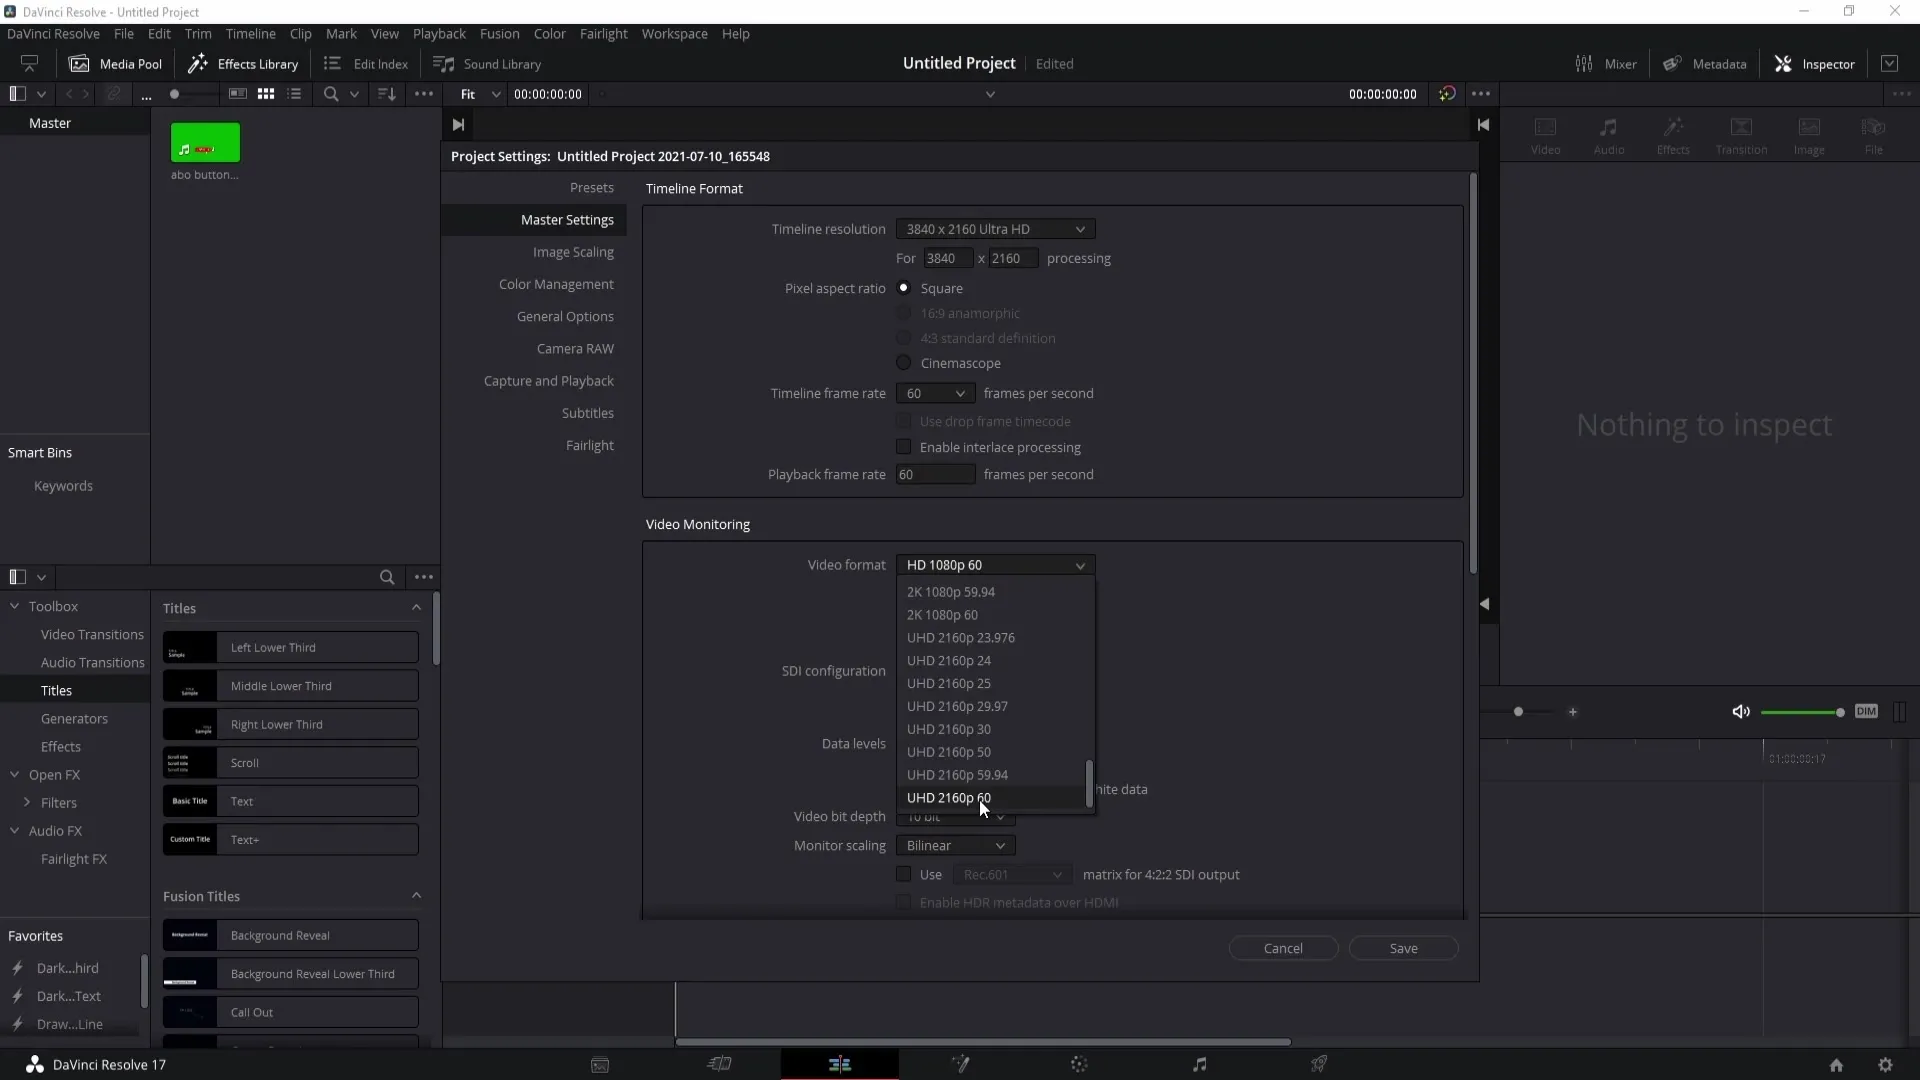
By default, the resolution in DaVinci Resolve is set to Full HD (1920 x 1080). If this is not the quality you desire, you can click on the dropdown menu and choose a different resolution, such as HD (1280 x 720) to decrease the quality. However, you can also switch to Ultra HD (3840 x 2160) if you need the highest resolution.
Setting Frame Rate (FPS)
Beneath the resolution options, you can set the frame rate. I recommend selecting 60 FPS, especially when working with fast-paced content like shooters or action-packed games. For smoother playback, you can also choose 30 FPS, but for faster scenes, 60 FPS is the better choice.
Exporting Video and Audio
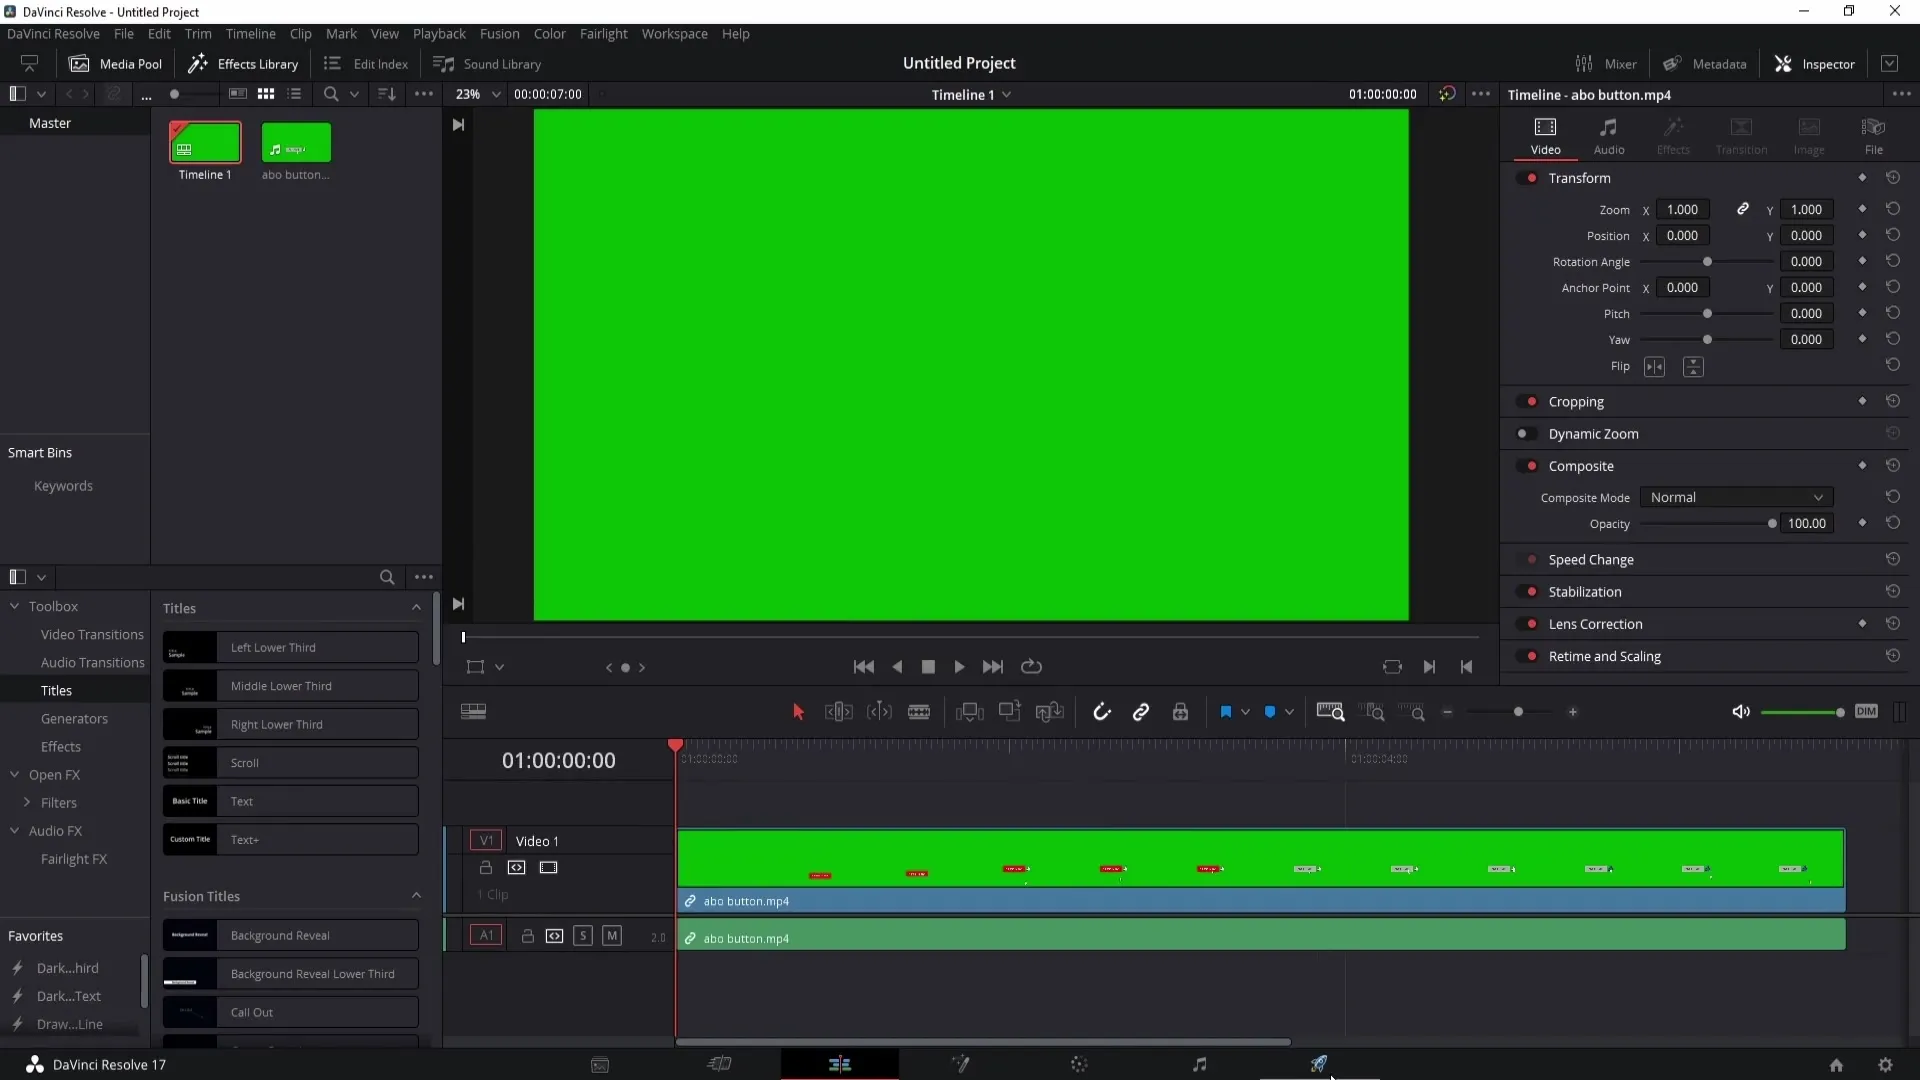
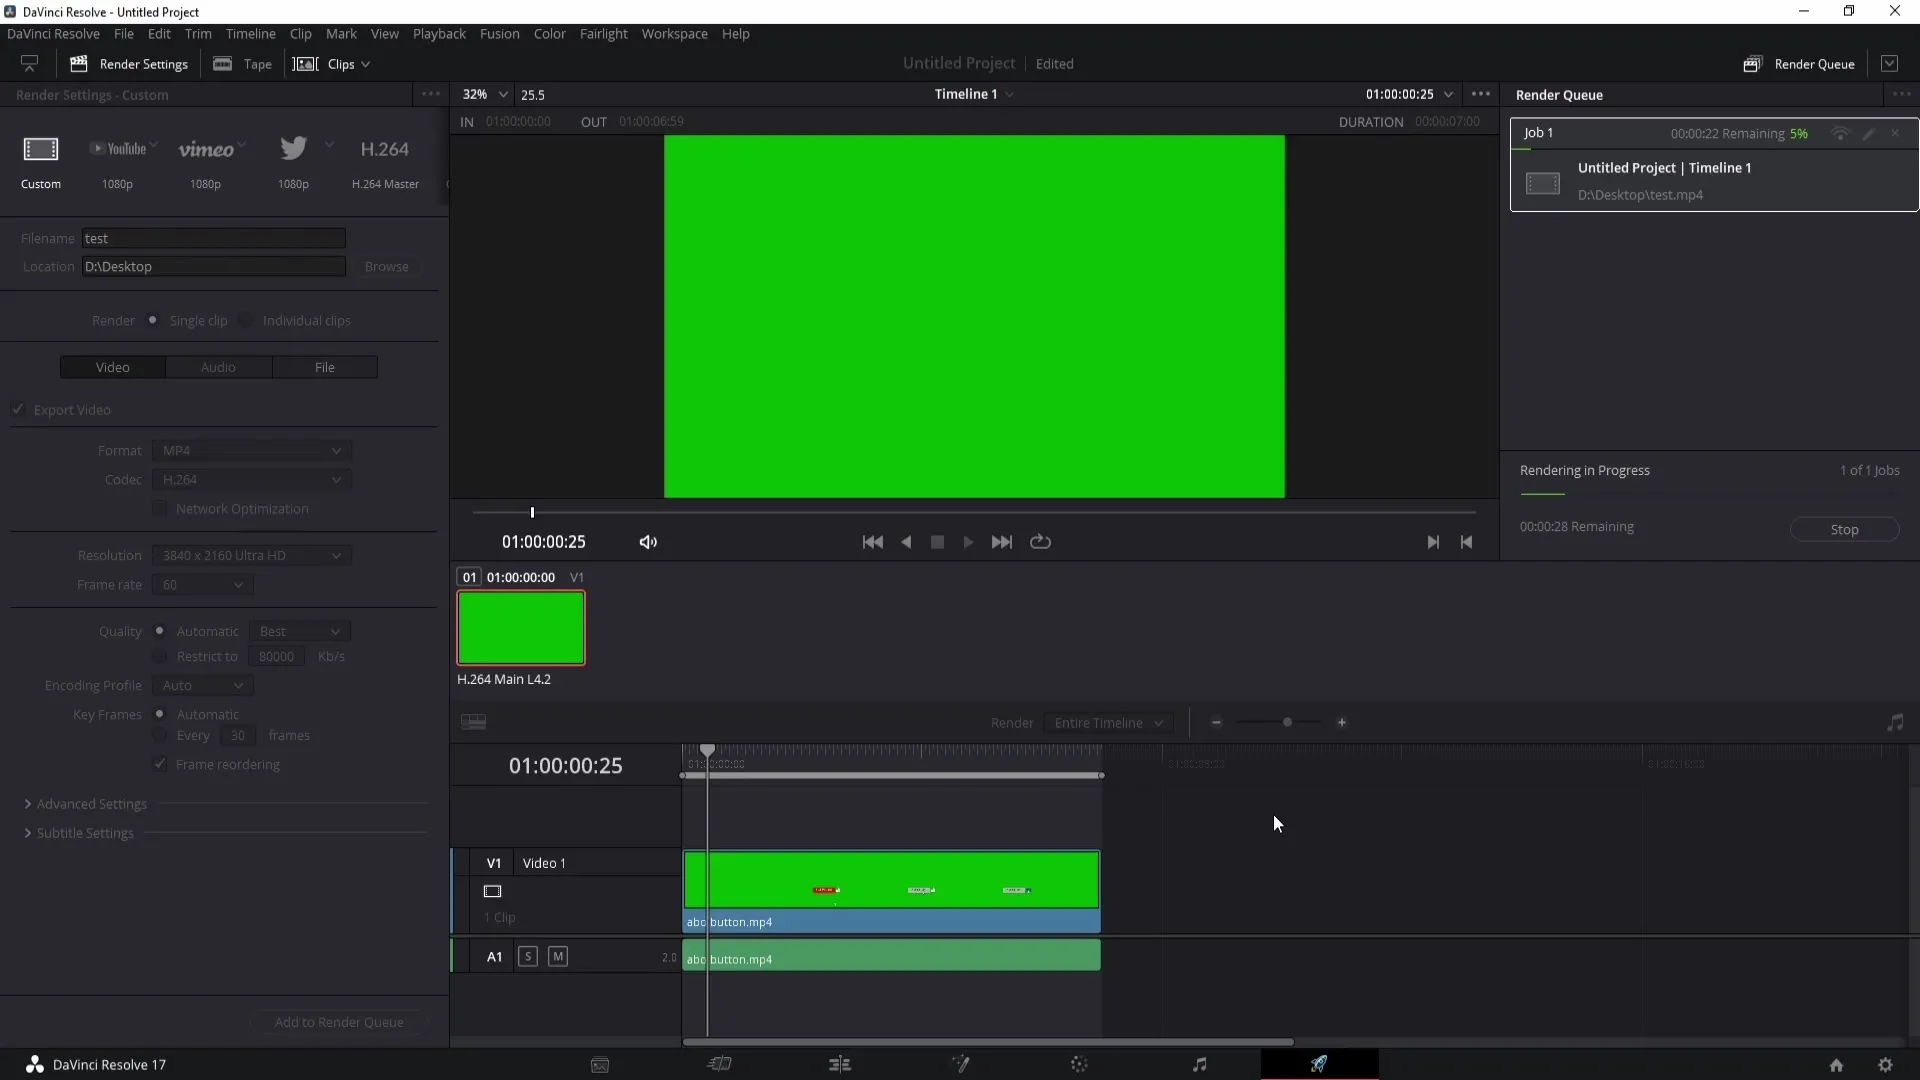
After you have set your video settings, go to the "Deliver" section of DaVinci Resolve. There you will already see the parameters you have set for resolution and FPS. To actually export the video, check the box next to "Export Video" and don't forget to do the same for "Audio".
Selecting Export Format
For export format, I recommend choosing MP4 as it is supported by most platforms and provides good compression. After selecting the format, click on "Add to render queue." Make sure to choose a storage location and give the video a name.
Rendering Video
After adding your project to the render queue, simply click on "Render All" to start the export. Your video will now be rendered and saved in the quality you specified.
Resetting Quality to Standard
After successfully exporting your project, it is important to reset the quality settings to the standard values. Forgetting to do so could result in accidentally exporting your next projects in Ultra HD without intending to. So make sure to revert the resolution and FPS back to your originally chosen settings.
Summary
Adjusting the video quality in DaVinci Resolve is a simple process that allows you to achieve the best results for your projects. Choosing the right resolution and frame rate plays a crucial role in achieving the desired outcomes, especially for fast-paced content.
Frequently Asked Questions
How can I increase the quality in DaVinci Resolve?Go to project settings and choose a higher resolution as well as the appropriate frame rate.
Which export format should I choose?MP4 is the recommended format as it is supported by many platforms.
Why should I use 60 FPS for games?60 FPS ensures smoother playback, especially for fast movements and action-packed scenes.
How do I reset quality settings after export?Go back to project settings and revert the resolution and FPS to the desired standard values.


