In this guide, I will show you how to change the framerate in DaVinci Resolve. The framerate, which refers to the number of frames per second displayed in a project, is crucial for the playback quality and the final product of your video. Often, the framerate can be set when creating a project, but what should you do if you have already been working on a project? In the following sections, you will find a detailed step-by-step guide that explains exactly how to change the framerate, even if clips have already been added.
Key Insights
- The framerate indicates how many frames per second are displayed in your video.
- For existing timelines, a new timeline must be created in order to change the framerate.
- The framerate can be adjusted in the project settings as well as in the export settings.
Step-by-Step Guide
Before we begin, I'd like to briefly explain what the framerate is. It indicates how many frames per second (FPS) are generated. For example, if you use a framerate of 60 FPS, 60 frames are displayed every second. This is particularly important for creating smooth and fluid movements in your videos.
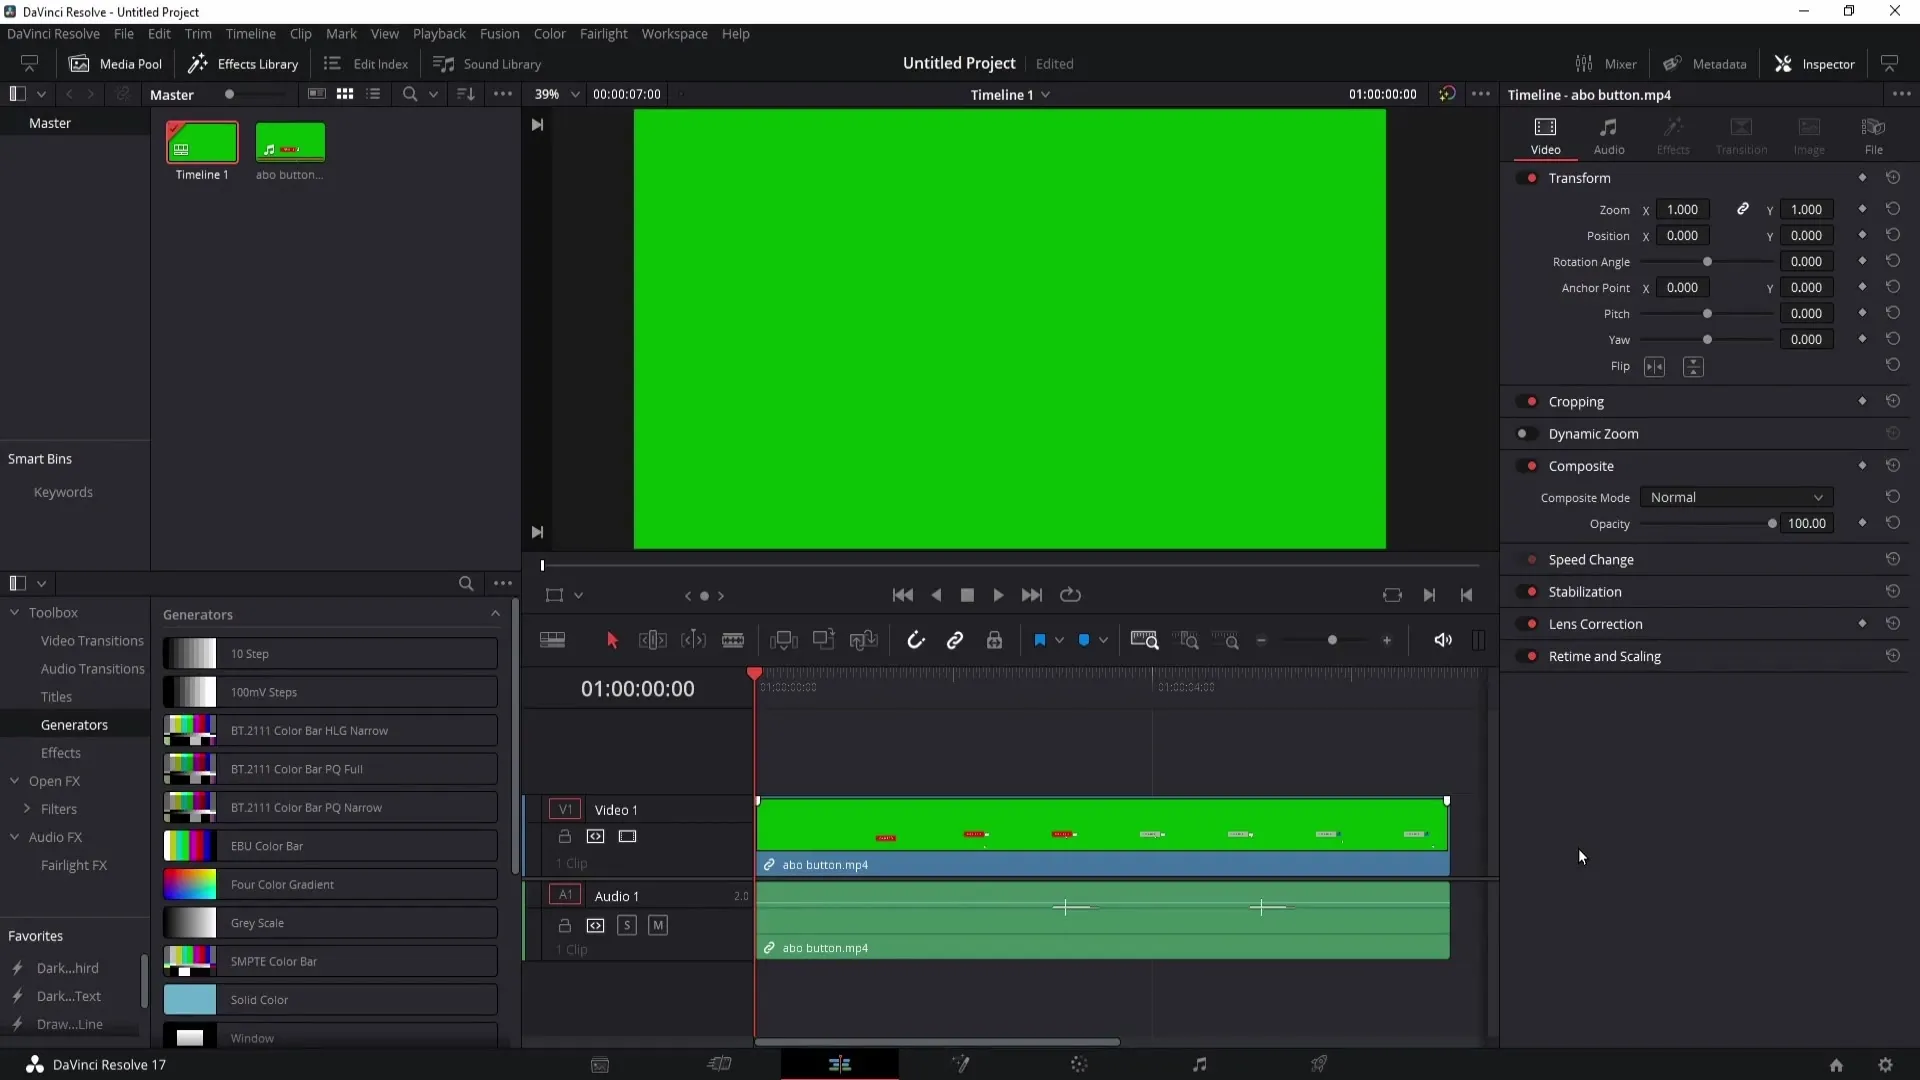
First, let's look at the current project settings. If you have created a new project, you can set the framerate directly at the bottom right in the menu with the gear icon. However, you need to be careful: if there are already videos in your timeline, the option to change the framerate may be grayed out and unavailable.
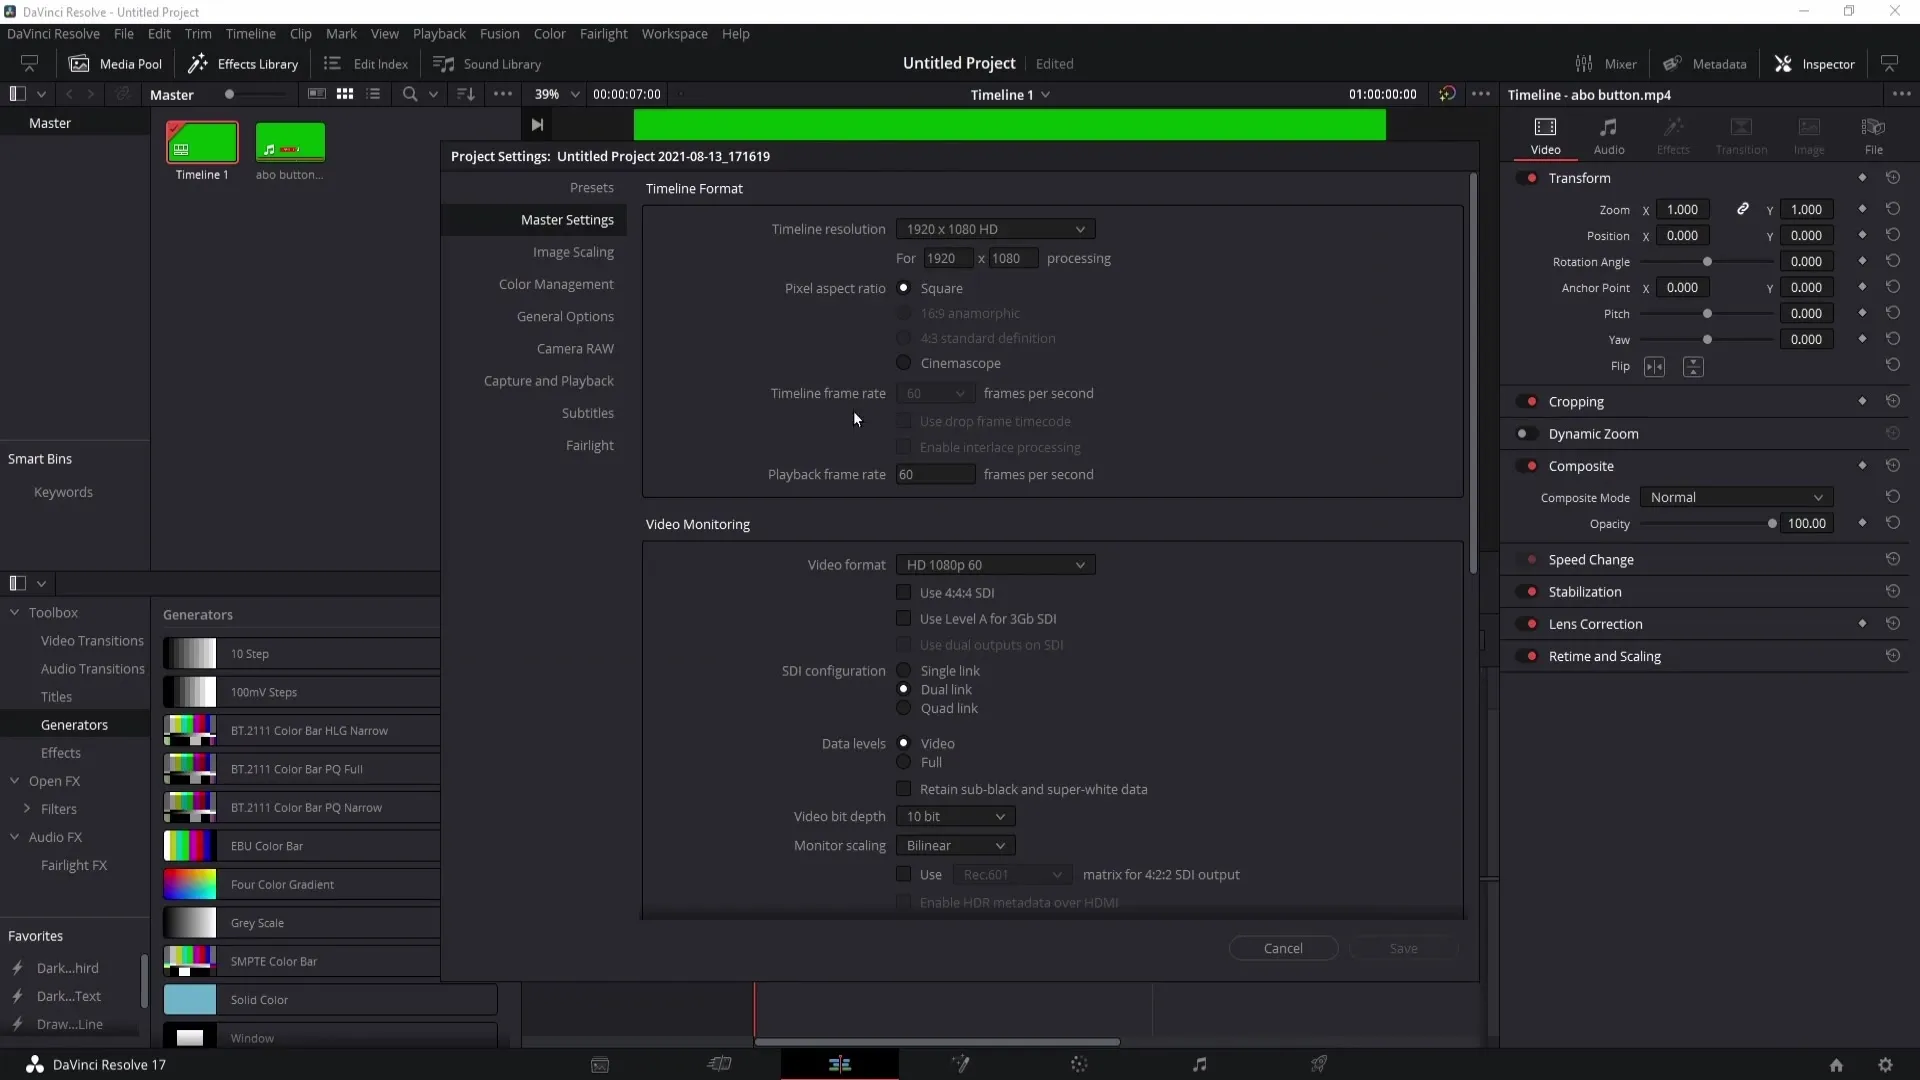
To change the framerate, you need to create a new timeline. Go to the main menu, select "File," and choose "New Timeline." Here, you must uncheck "Use Project Settings."
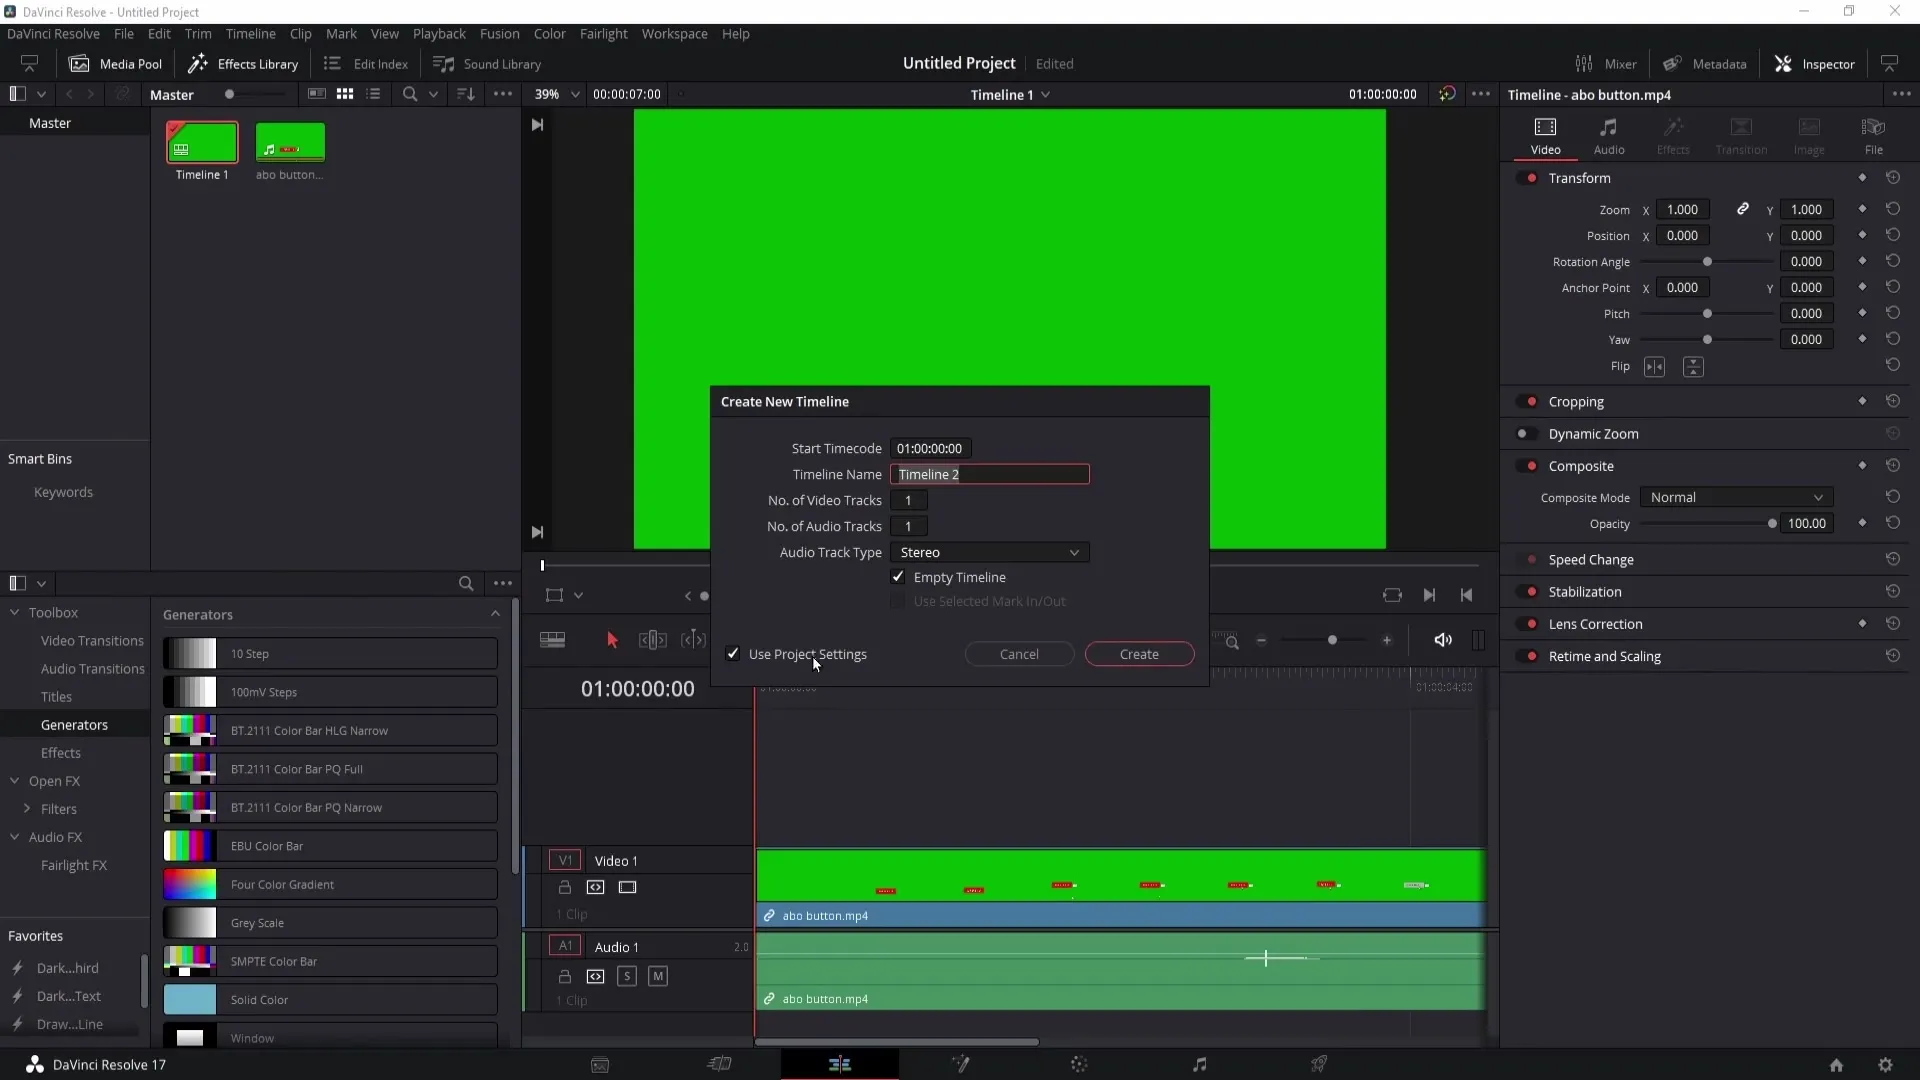
Now you will access the timeline settings where you can adjust the framerate. Here, you can choose from various options. For instance, if you want to use a framerate of 30 FPS, select it and leave the other settings unchanged.
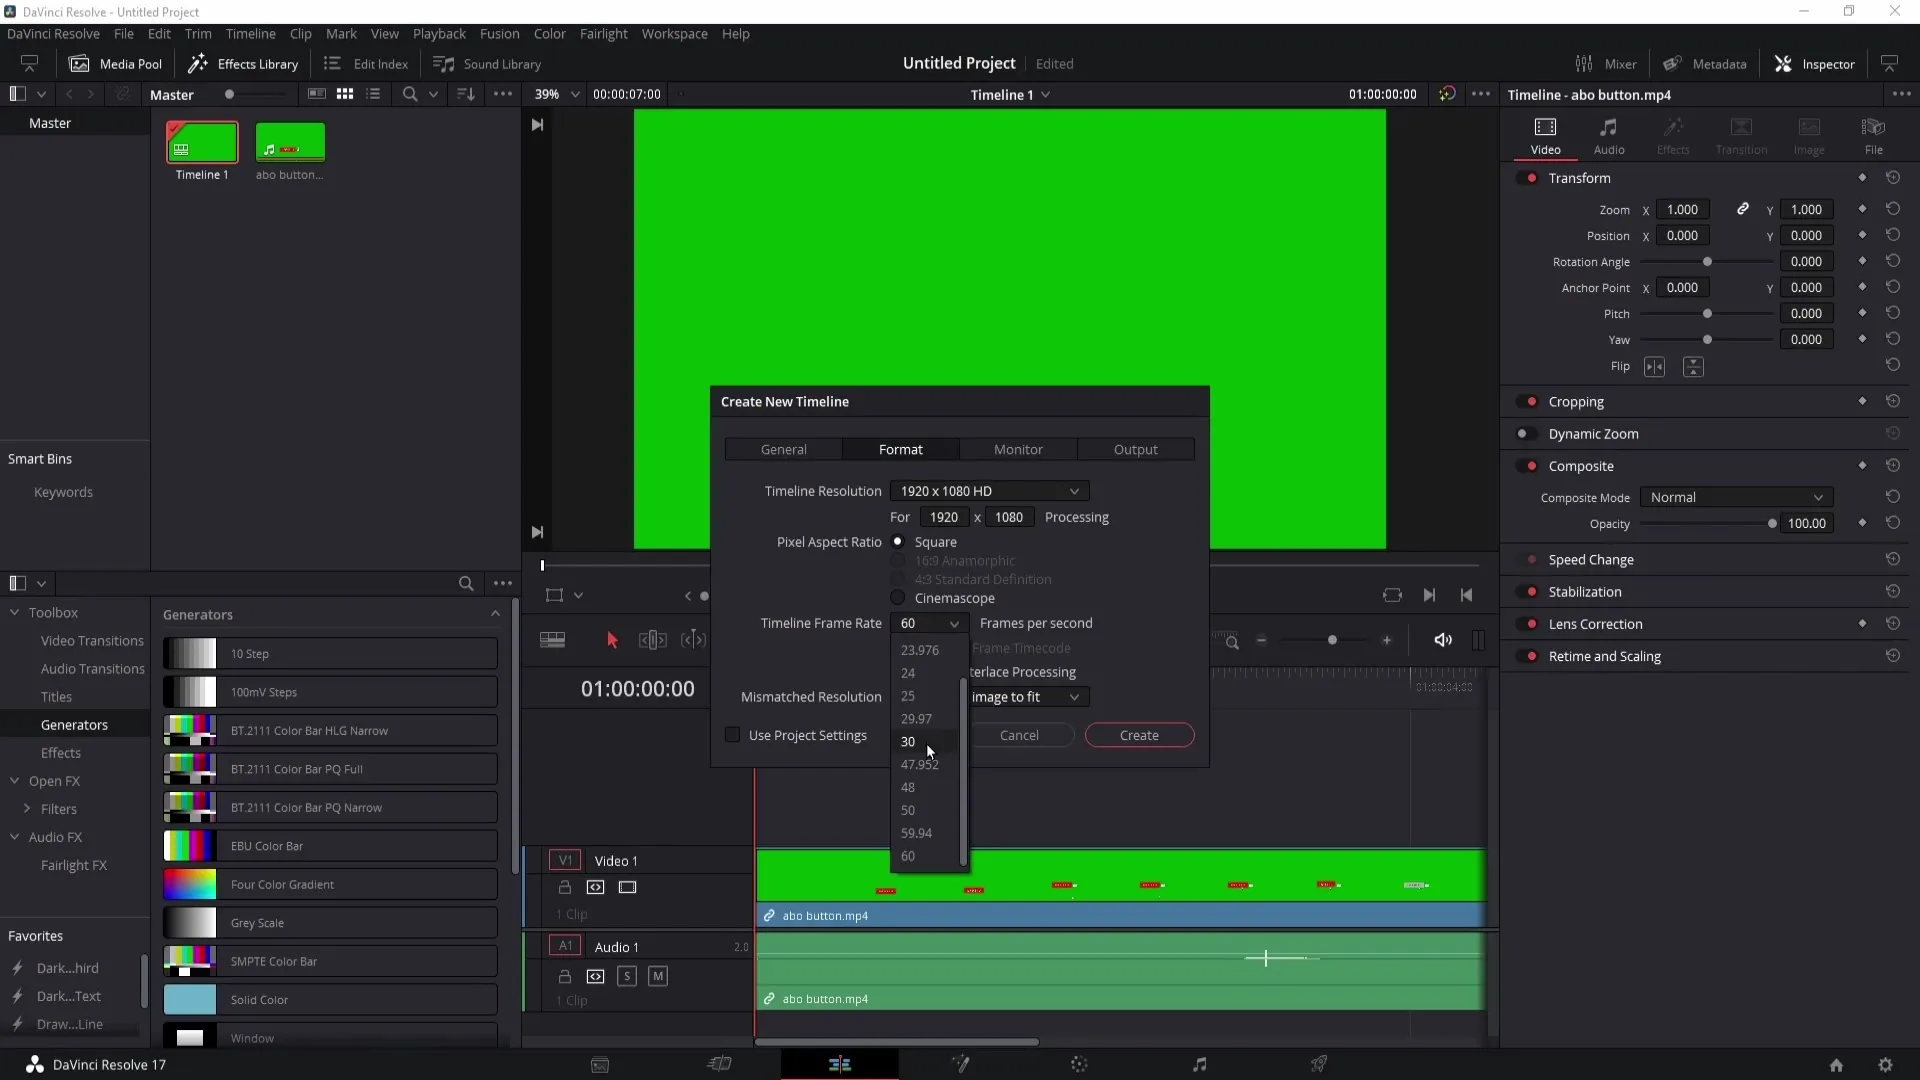
Click on "Create" to generate the new timeline. You will now see a second timeline with the set framerate. If you have multiple timelines, you can select them to switch between them.
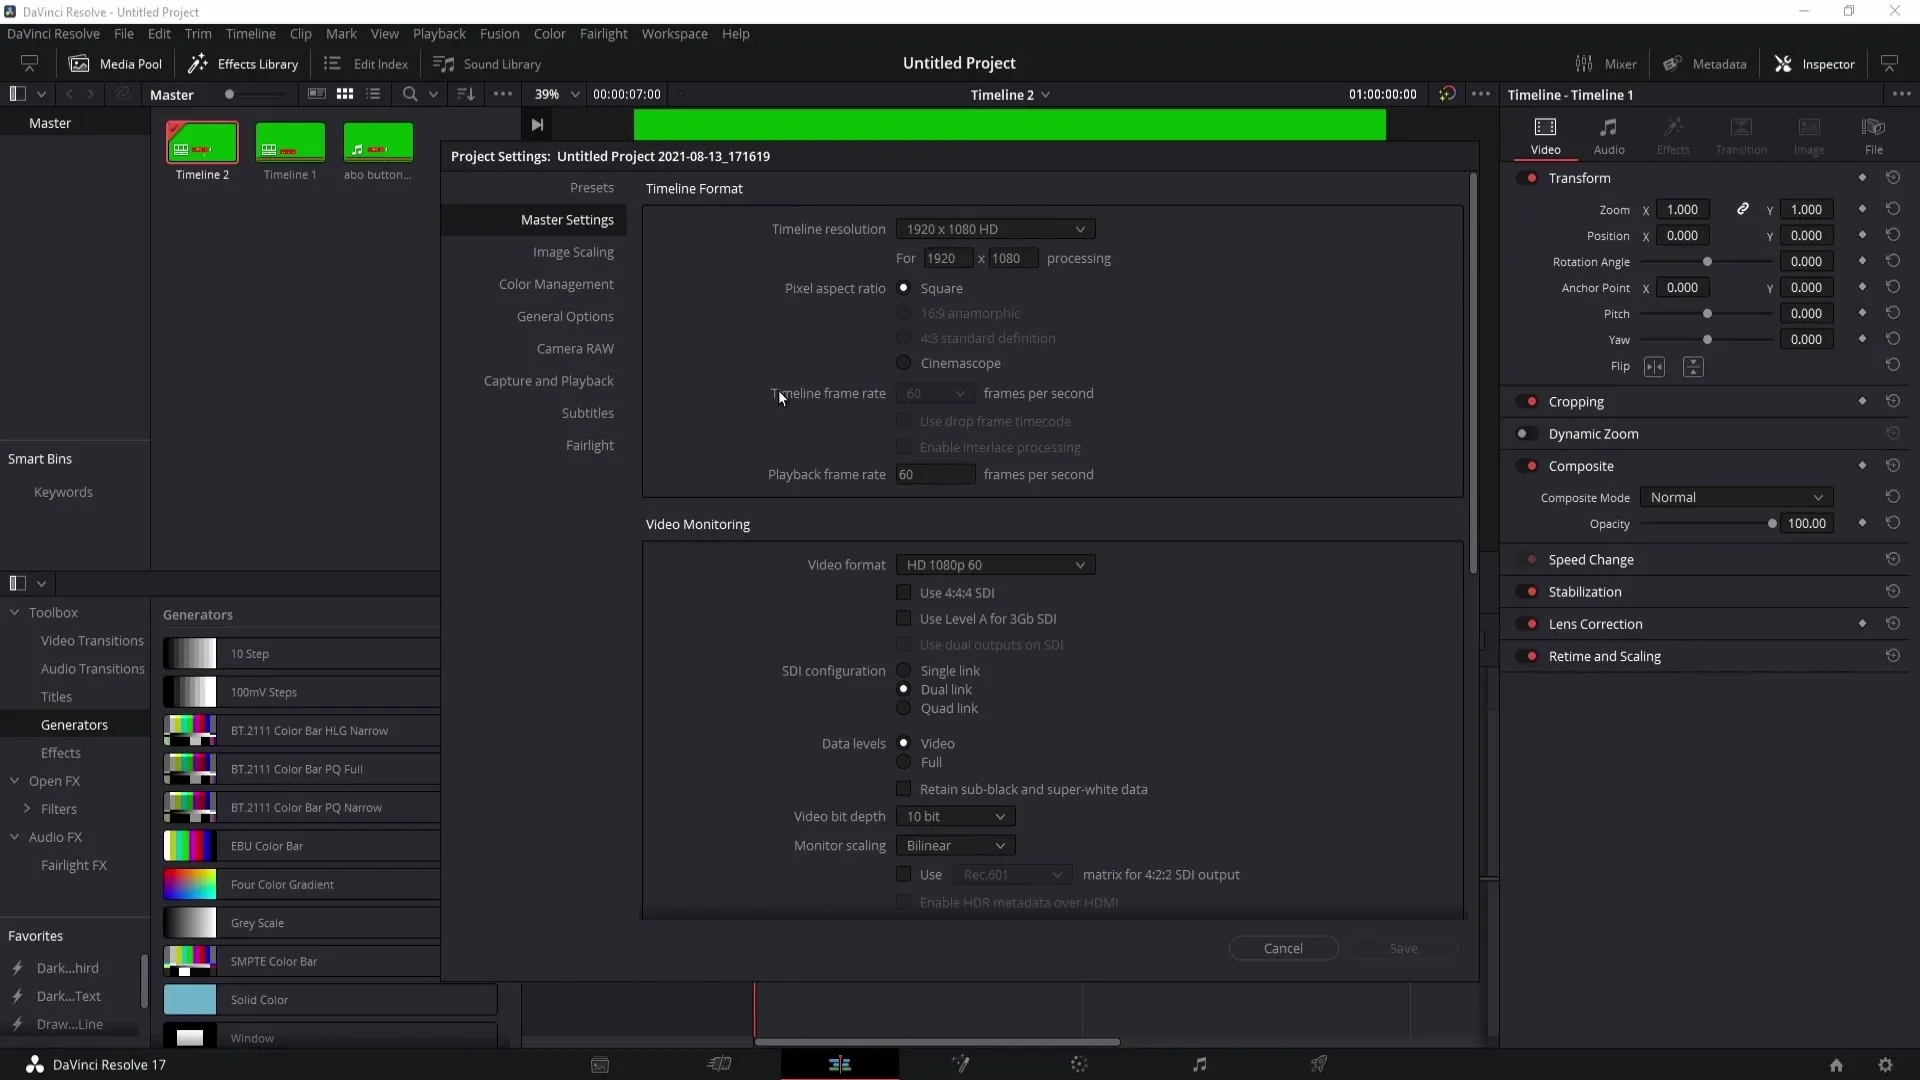
By double-clicking on the desired timeline, you can activate it. When you return to the gear icon in the project settings, you will see that the timeline framerate has now been changed to 30 FPS, even if the project settings still show 60 FPS.
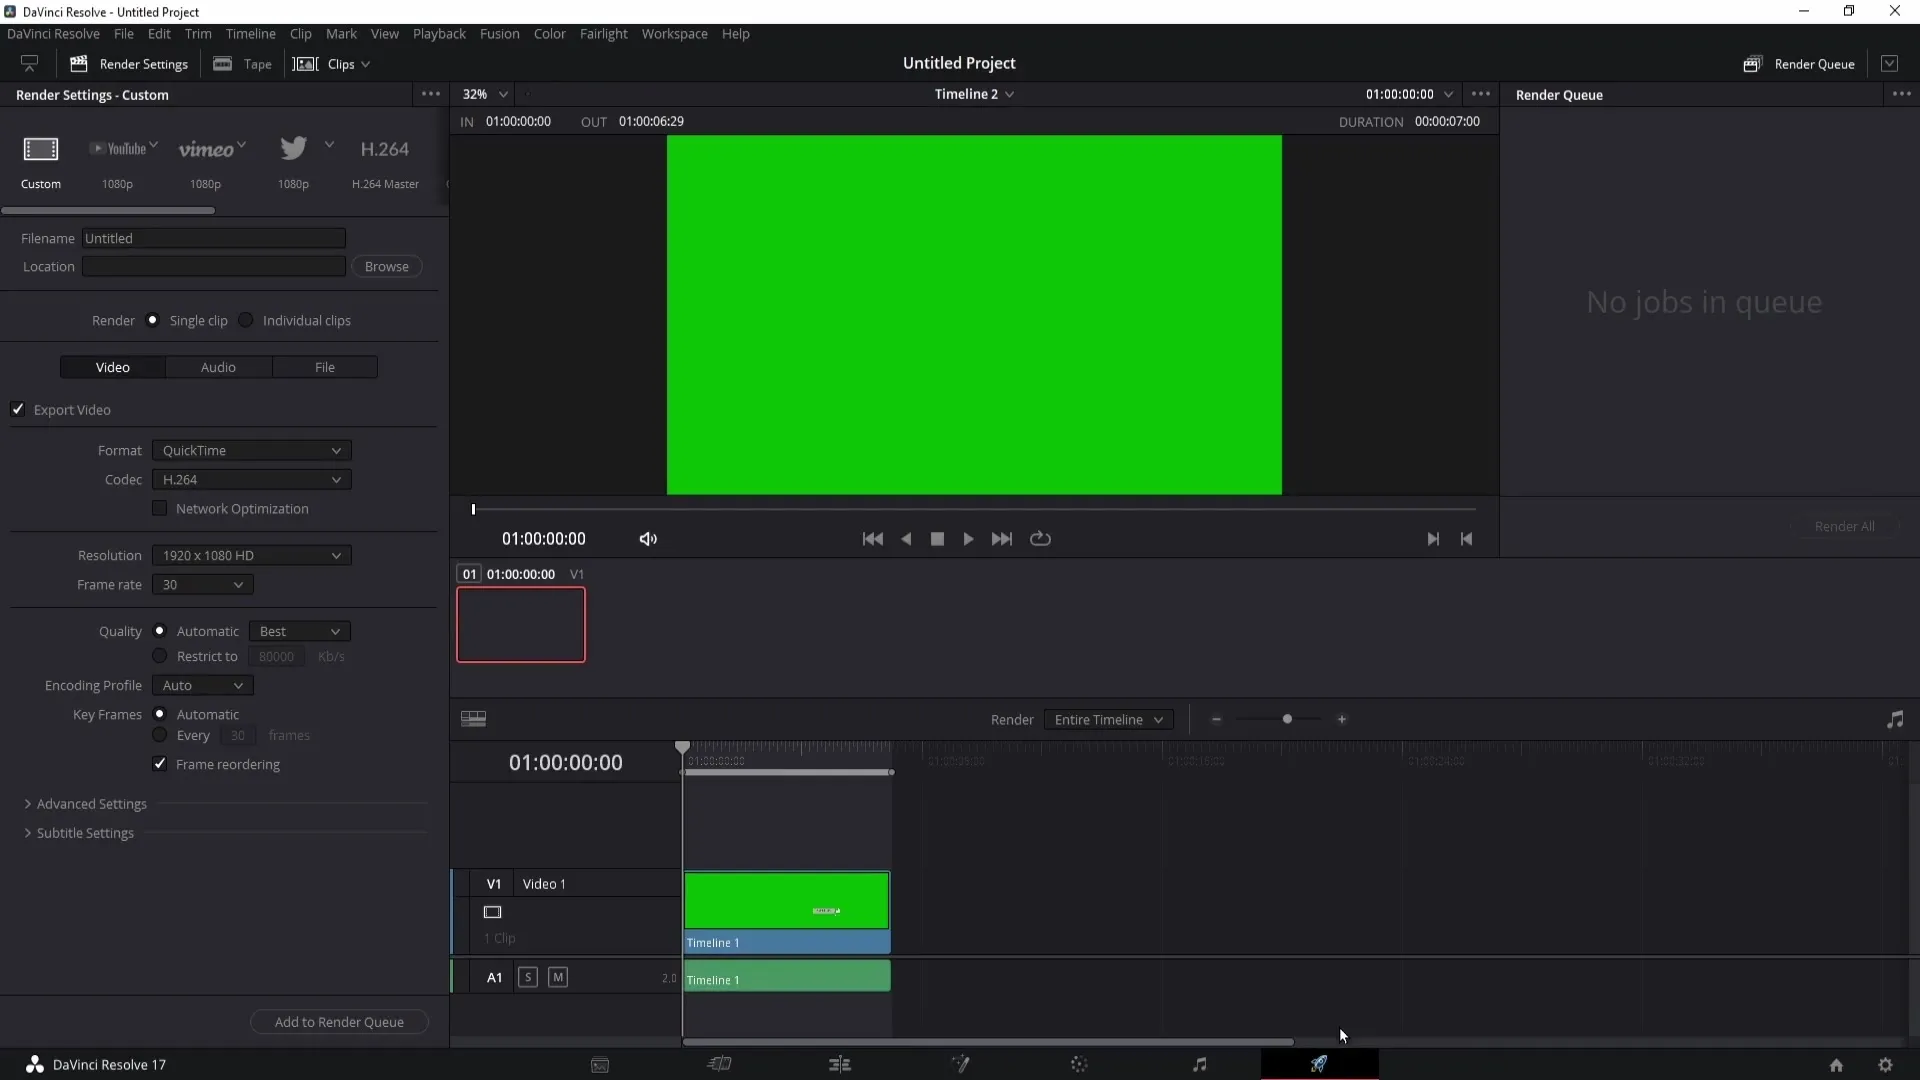
Let's now move to the Delivery section. Here, you will notice that your new timeline now has a framerate of 30 FPS set. This allows you to export your videos in the desired format and ensures that the performance of your videos is optimal.
Summary
In these steps, you have learned how to change the framerate in DaVinci Resolve, even in existing projects. Creating a new timeline is the key to this. Always make sure to adjust the settings according to your needs to achieve the best possible image quality.
Frequently Asked Questions
How can I set the framerate in DaVinci Resolve when starting a new project?You can select the framerate in the project settings menu under the gear icon before adding your clips.
What should I do if I already have videos in my timeline and want to change the framerate?In this case, you need to create a new timeline and uncheck the "Use Project Settings" option.
What is the recommended value for the framerate?It depends on the project; common values are 24 FPS for films, 30 FPS for television, and 60 FPS for smooth movements.
