In this tutorial, I will show you how to change the location for backups, working folders, and clips in DaVinci Resolve. This is particularly important when working with large projects and wanting to ensure that your data is stored in a location that suits you. By adjusting your storage locations correctly, you can not only improve the performance of your work but also keep track of your projects. Let's dive right in!
Key Takeaways
- The location for working folders, clips, and backups can be easily customized.
- Setting an appropriate location can enhance performance.
- It is important to regularly check and delete cache files to save storage space.
Step-by-Step Guide
Changing the Location for Working Folders
To change the location for the working folders in DaVinci Resolve, you first need to access the settings. To do this, click on the gear icon in the bottom right of the user interface.
Once the settings window is open, scroll down to "Master Settings." Here, you will find the various storage locations for your projects.
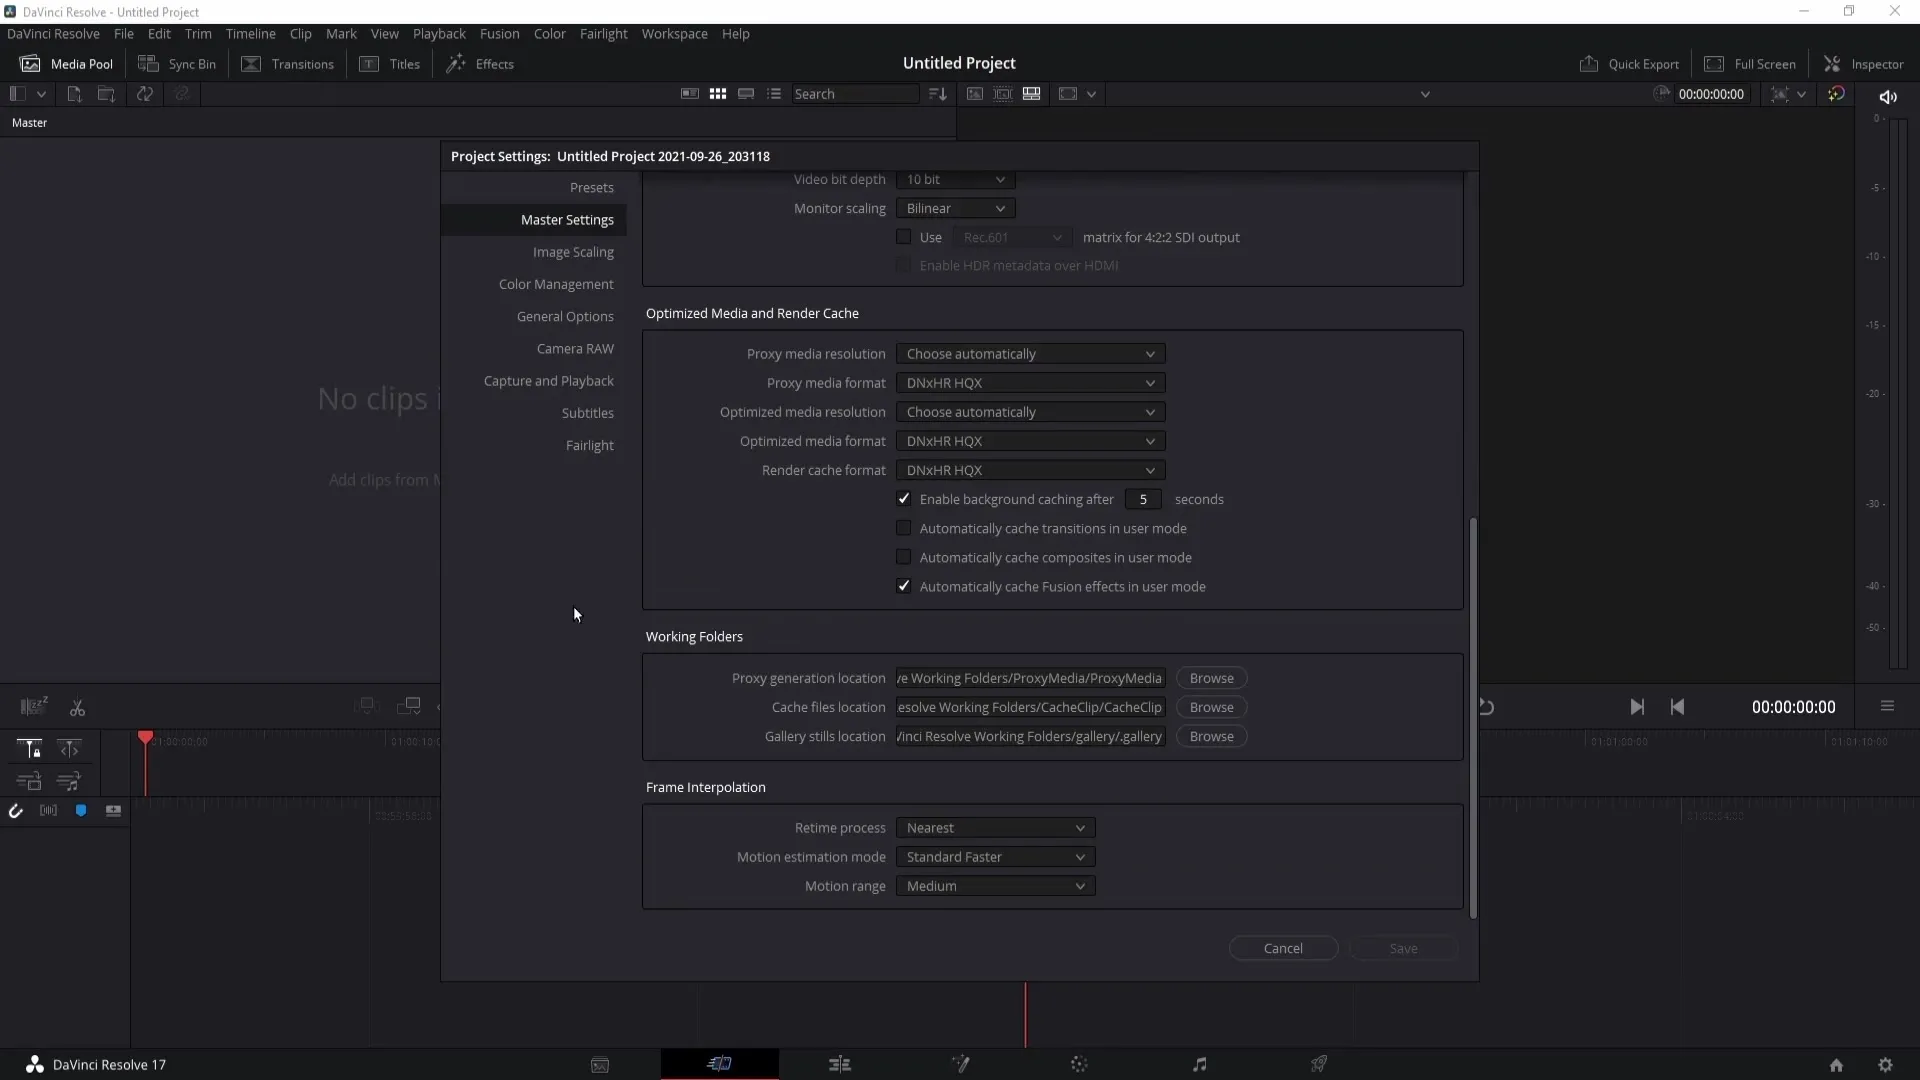
Under the "Working Folders" section, you can change the location for proxies, cache files, and the gallery. Click on "Browse" to select the desired new storage location. If you want to switch to a different drive, click on "New Folder" to create a new folder to store the data.
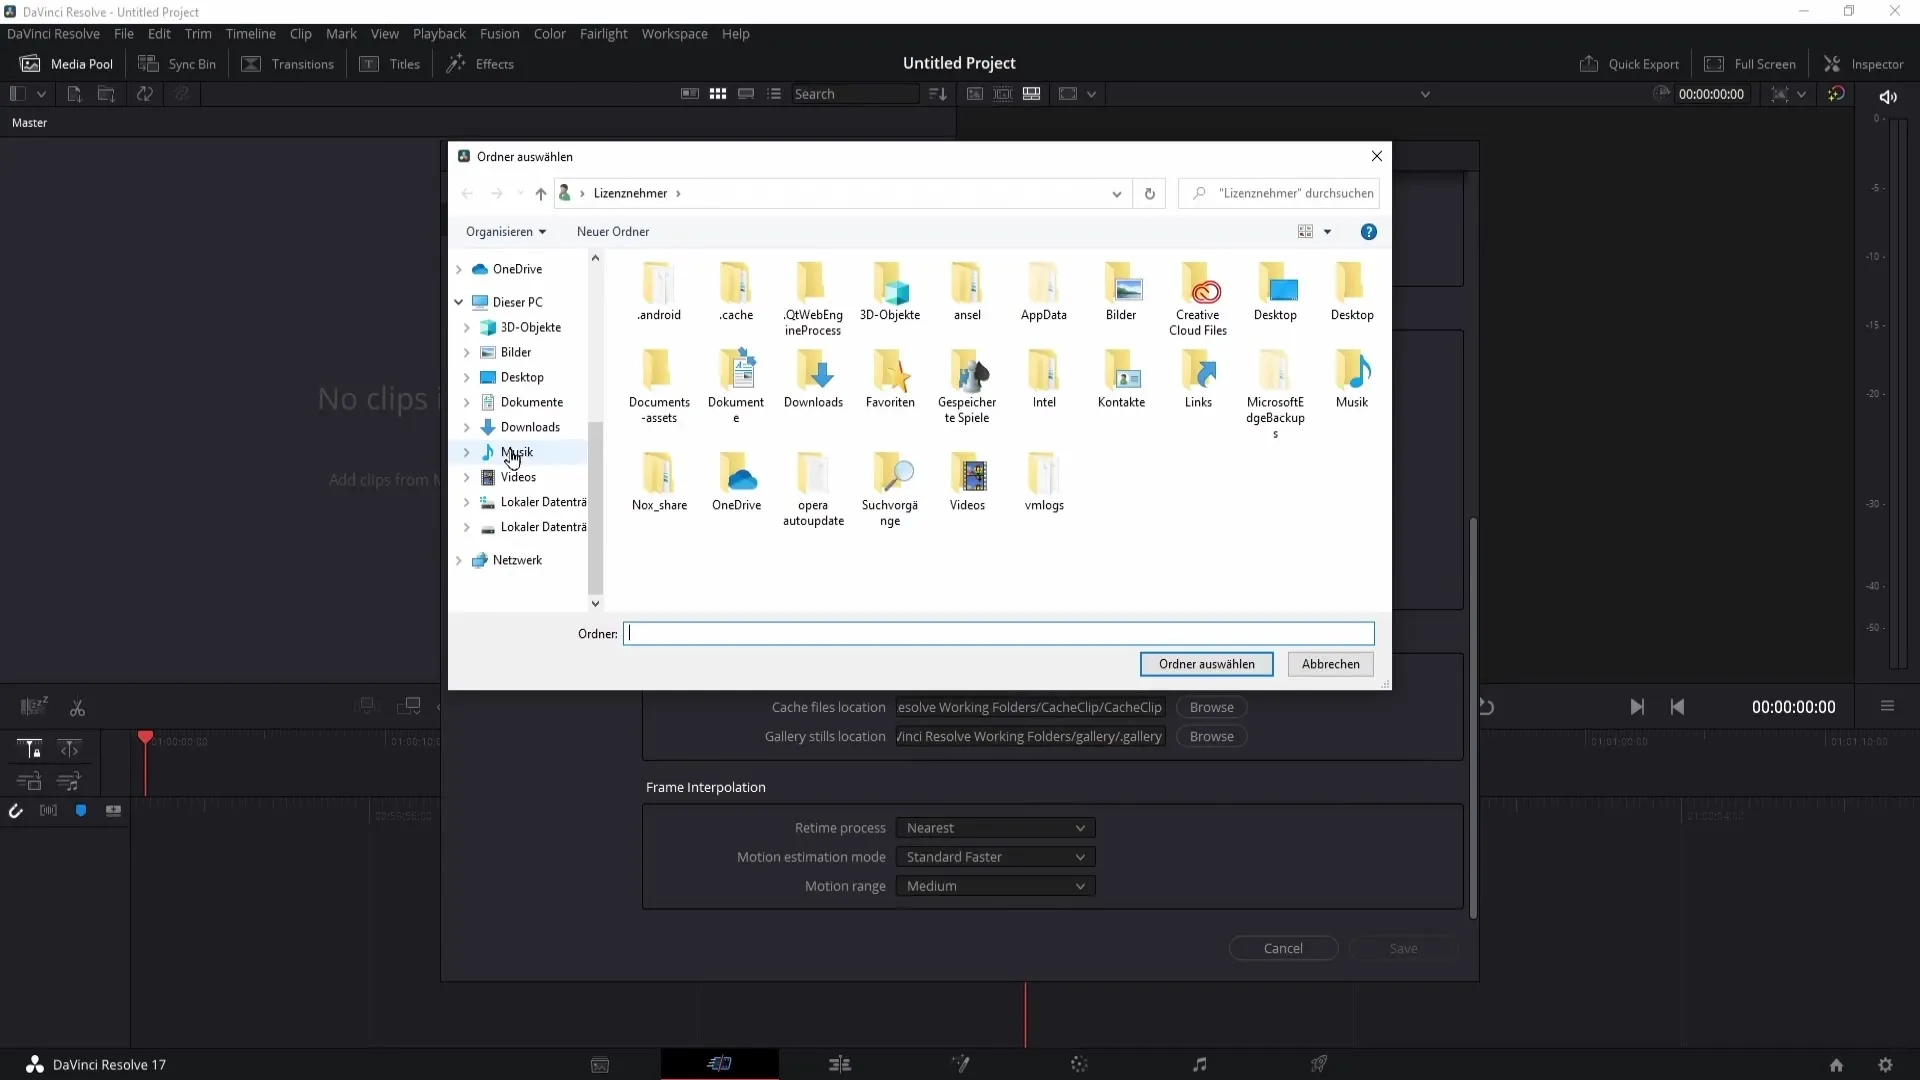
Proxies are particularly important when working with high-resolution materials, such as 4K videos. They enable smoother playback when your computer struggles to play the original file.
It is also important to take note of the storage location for the cache files. These serve as temporary storage, and you should regularly check how much space they are occupying. Therefore, I recommend clearing the cache folder every few months to free up valuable storage space.
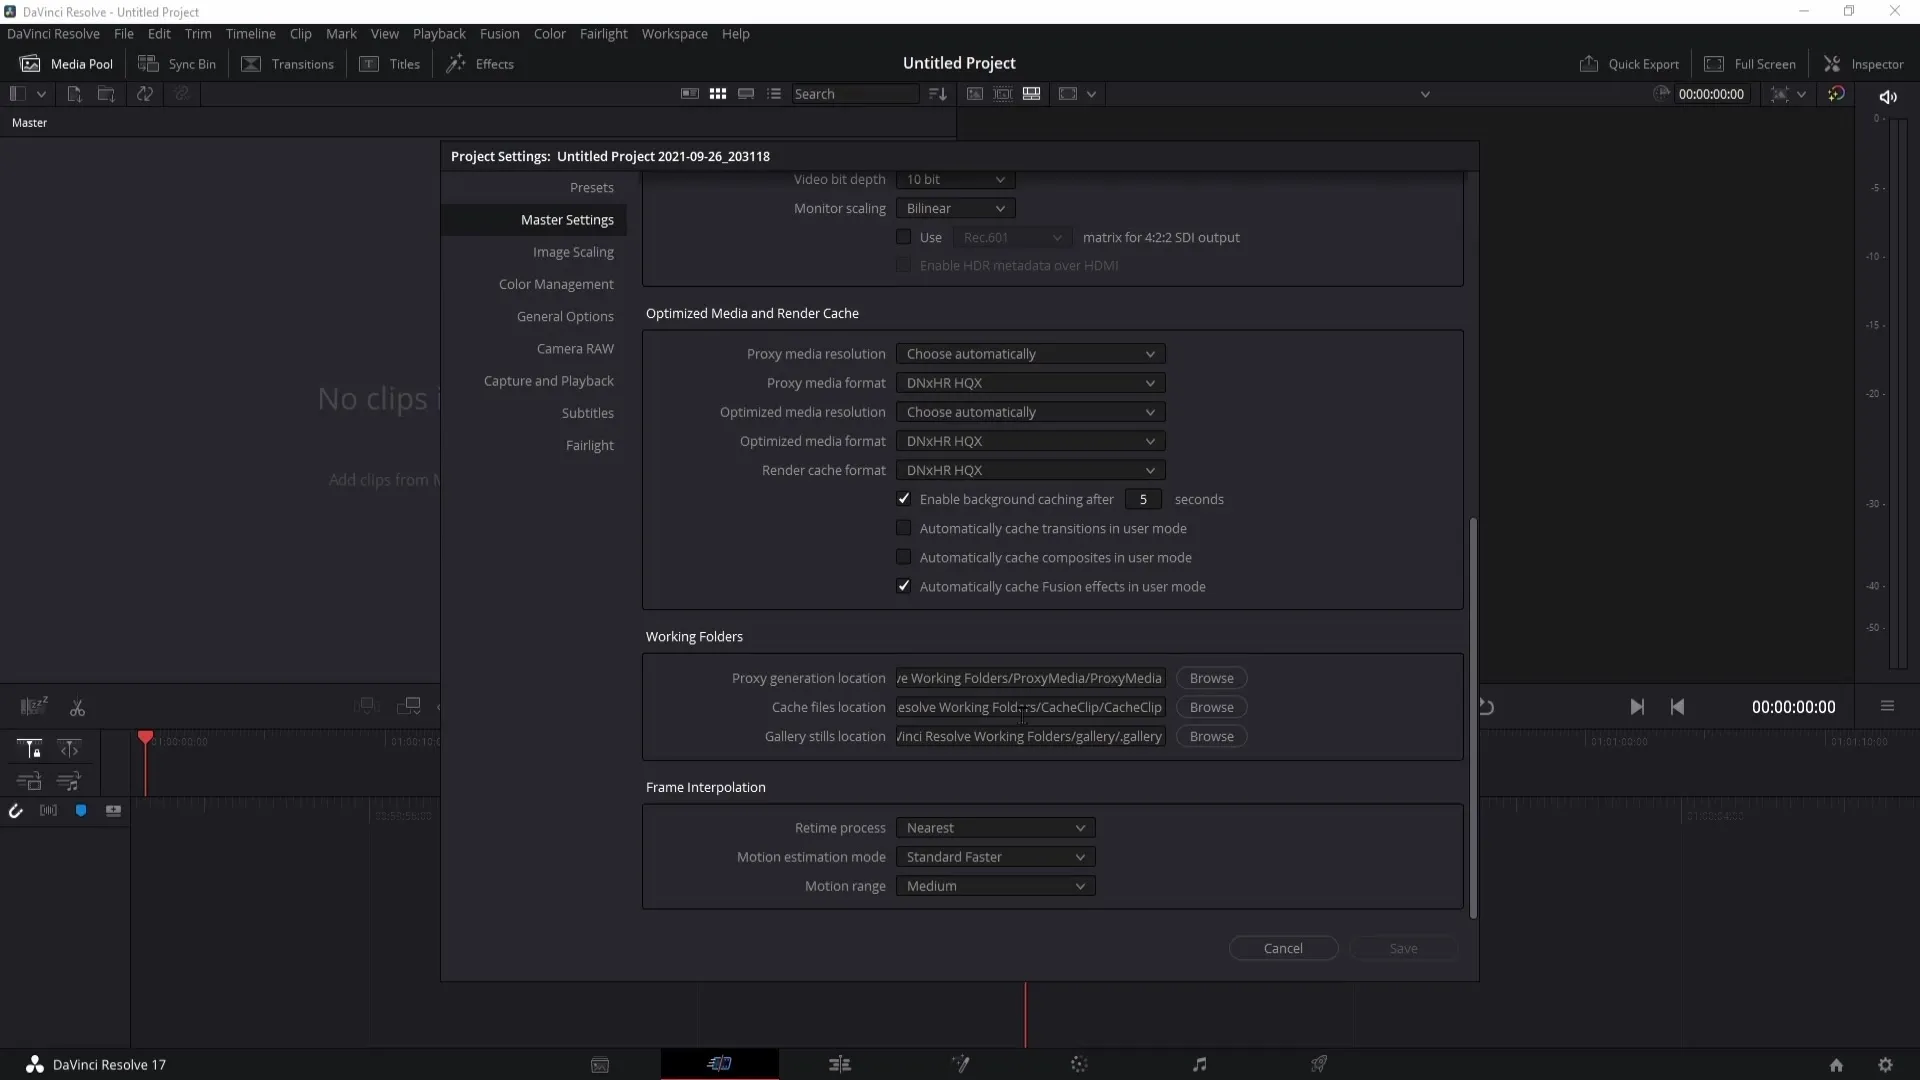
Additionally, the gallery files stored in this folder can provide some information about your color grading settings.
Changing the Location of Clips
Another important location that you can customize is where your clips are stored. To do this, navigate to the "Capture and Playback" settings in the program information.
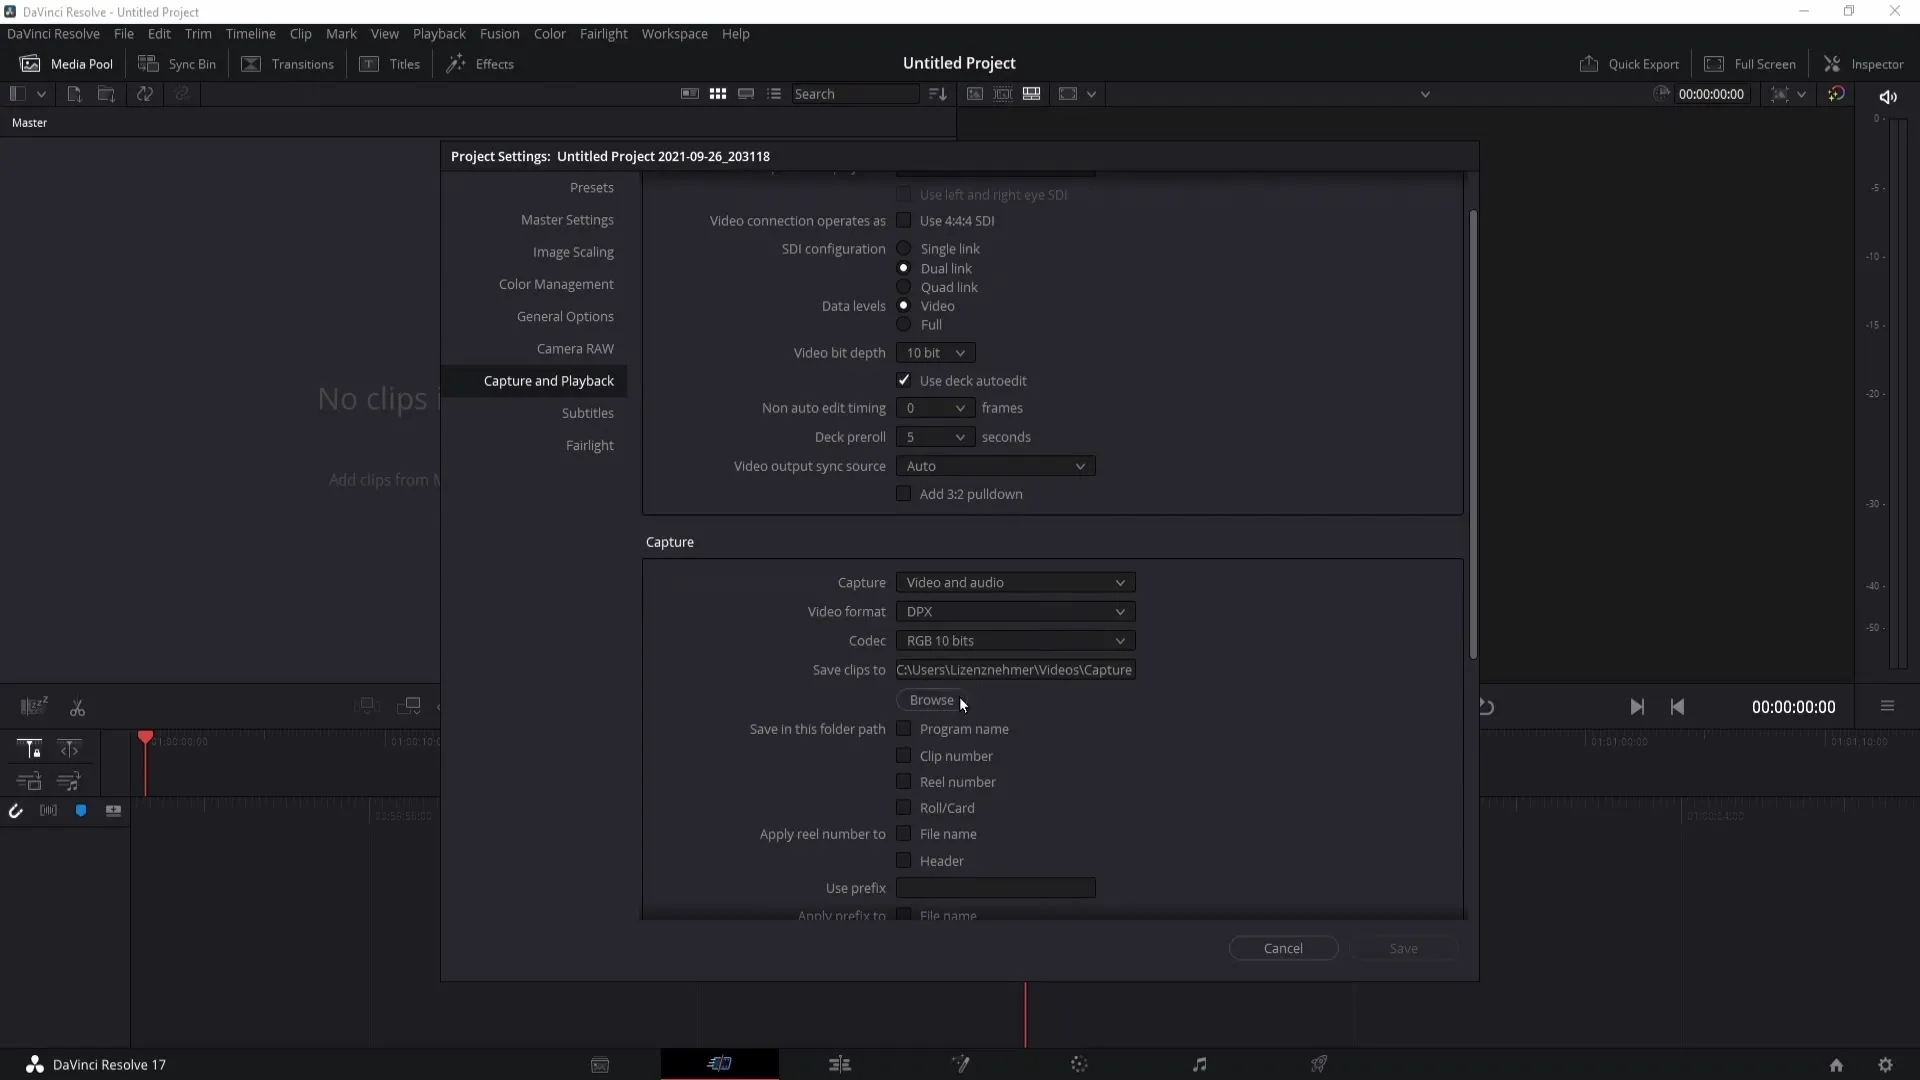
Here, you will find the option "Save Clips To." Again, click on "Browse" to choose the desired storage location.
With this setting, you can set the storage location for all your edited clips, helping you to find them easily when working on your project.
Setting the Location for Backups
The last location you should customize is the storage location for backups. To do this, go to "Preferences" in the top left of the DaVinci Resolve interface and click on it.
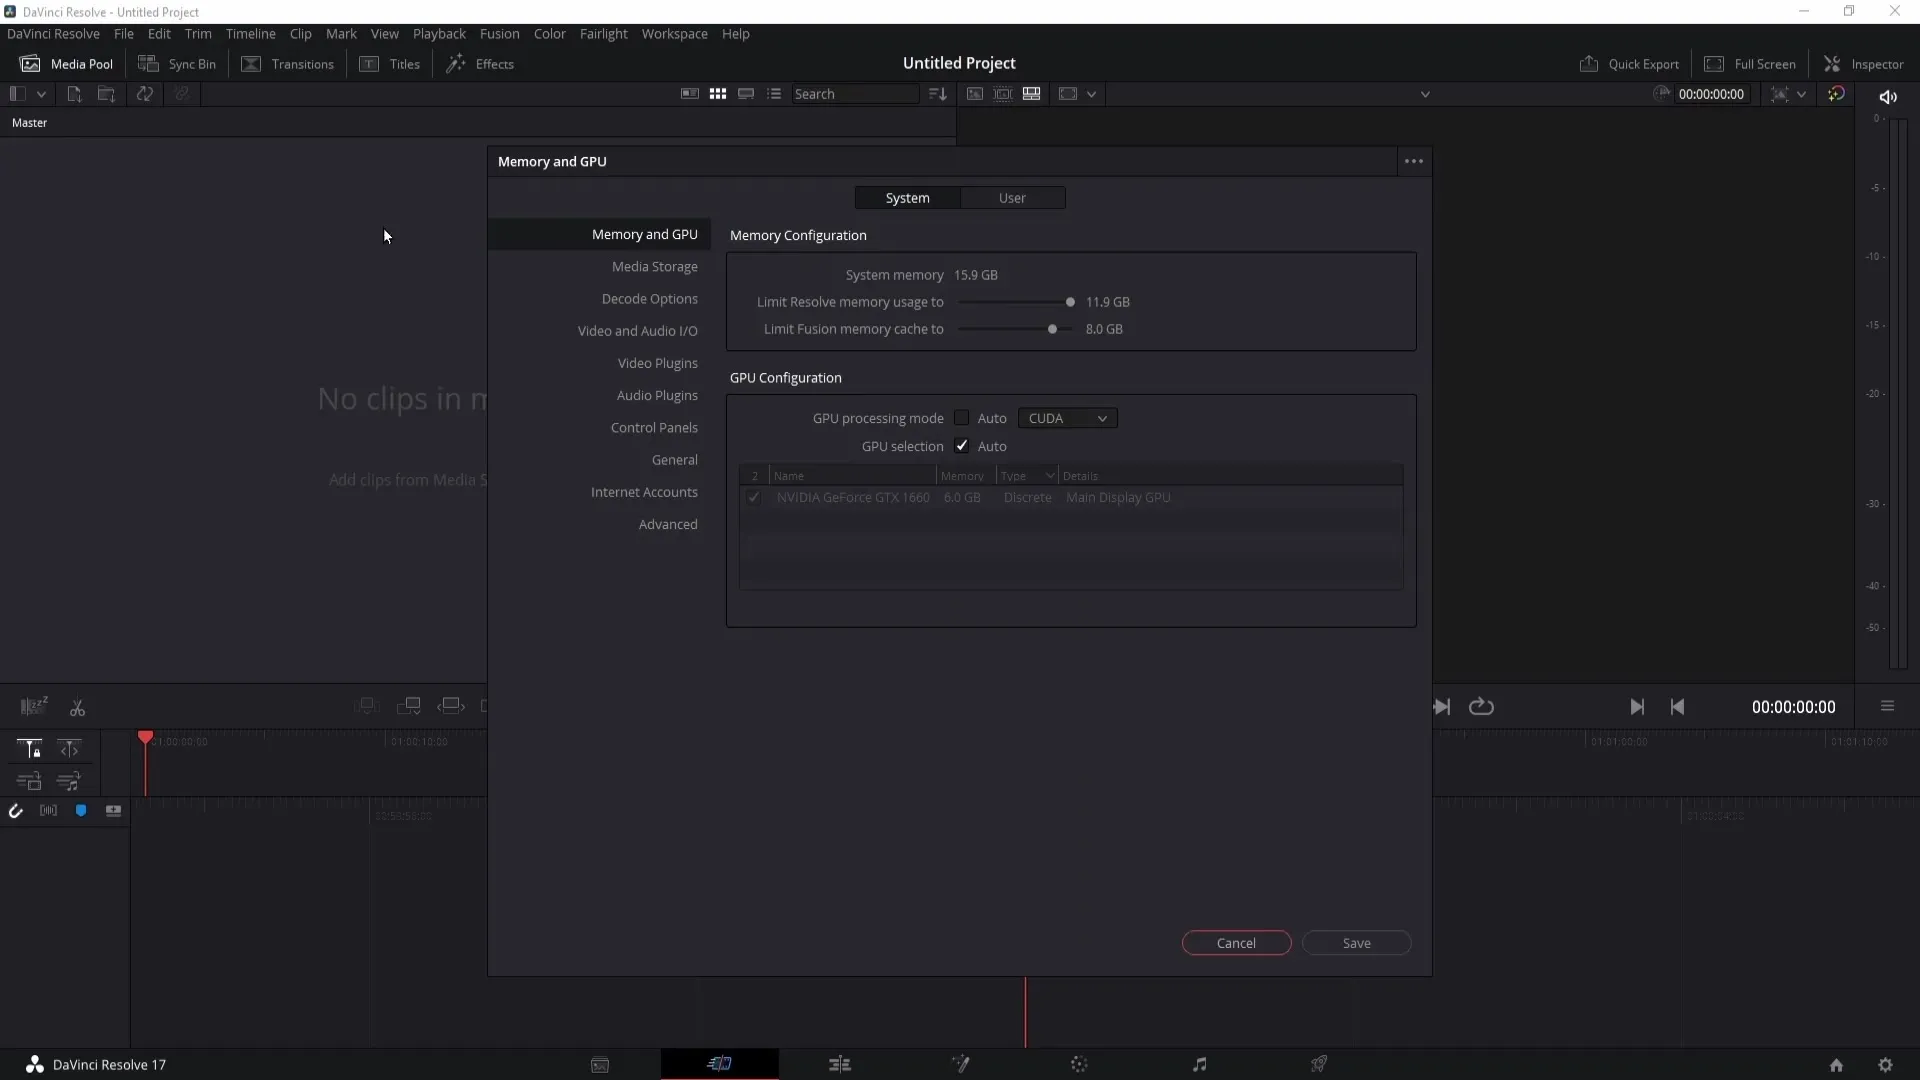
Then, go to "User" and navigate to "Project Save and Load." Here, you have the option to define the storage location for your backups.
I strongly recommend creating backups regularly. To do this, check the box to specify when a backup should be created, for example, every 6 minutes. You can define the storage location for these backups in the designated field.

This ensures additional security for your projects and prevents important data from being lost.
Summary
In this tutorial, you have learned how to change the location for backups, working folders, and clips in DaVinci Resolve. These settings are crucial to ensure the clarity and performance of your projects. Remember to regularly check your cache files and create backups. This way, you will not only keep track of your projects but also secure your valuable work.
Frequently Asked Questions
How do I change the location for the Working Folders in DaVinci Resolve?Click on the cogwheel, go to "Master Settings", and change the location under "Working Folders".
Why should I regularly clear the cache folder?To save storage space and improve performance.
How do I set DaVinci Resolve to create backups regularly?Go to "Preferences", select "User", and set the backup settings under "Project Save and Load".


