Welcome to this comprehensive guide on the Cut Page in DaVinci Resolve. In this tutorial, we will explore the main features and benefits of this special view so that you can edit faster and more efficiently. The Cut Page is particularly useful for projects that require quick editing and offers some tools to help optimize your workflow. Let's discover the possibilities together!
Key Insights
- The Cut Page is ideal for quick and efficient editing.
- The ability to view clips in two timelines simultaneously greatly facilitates work.
- The media management functions and clip previews are also particularly helpful for quick editing.
Step-by-Step Guide
1. Importing Material
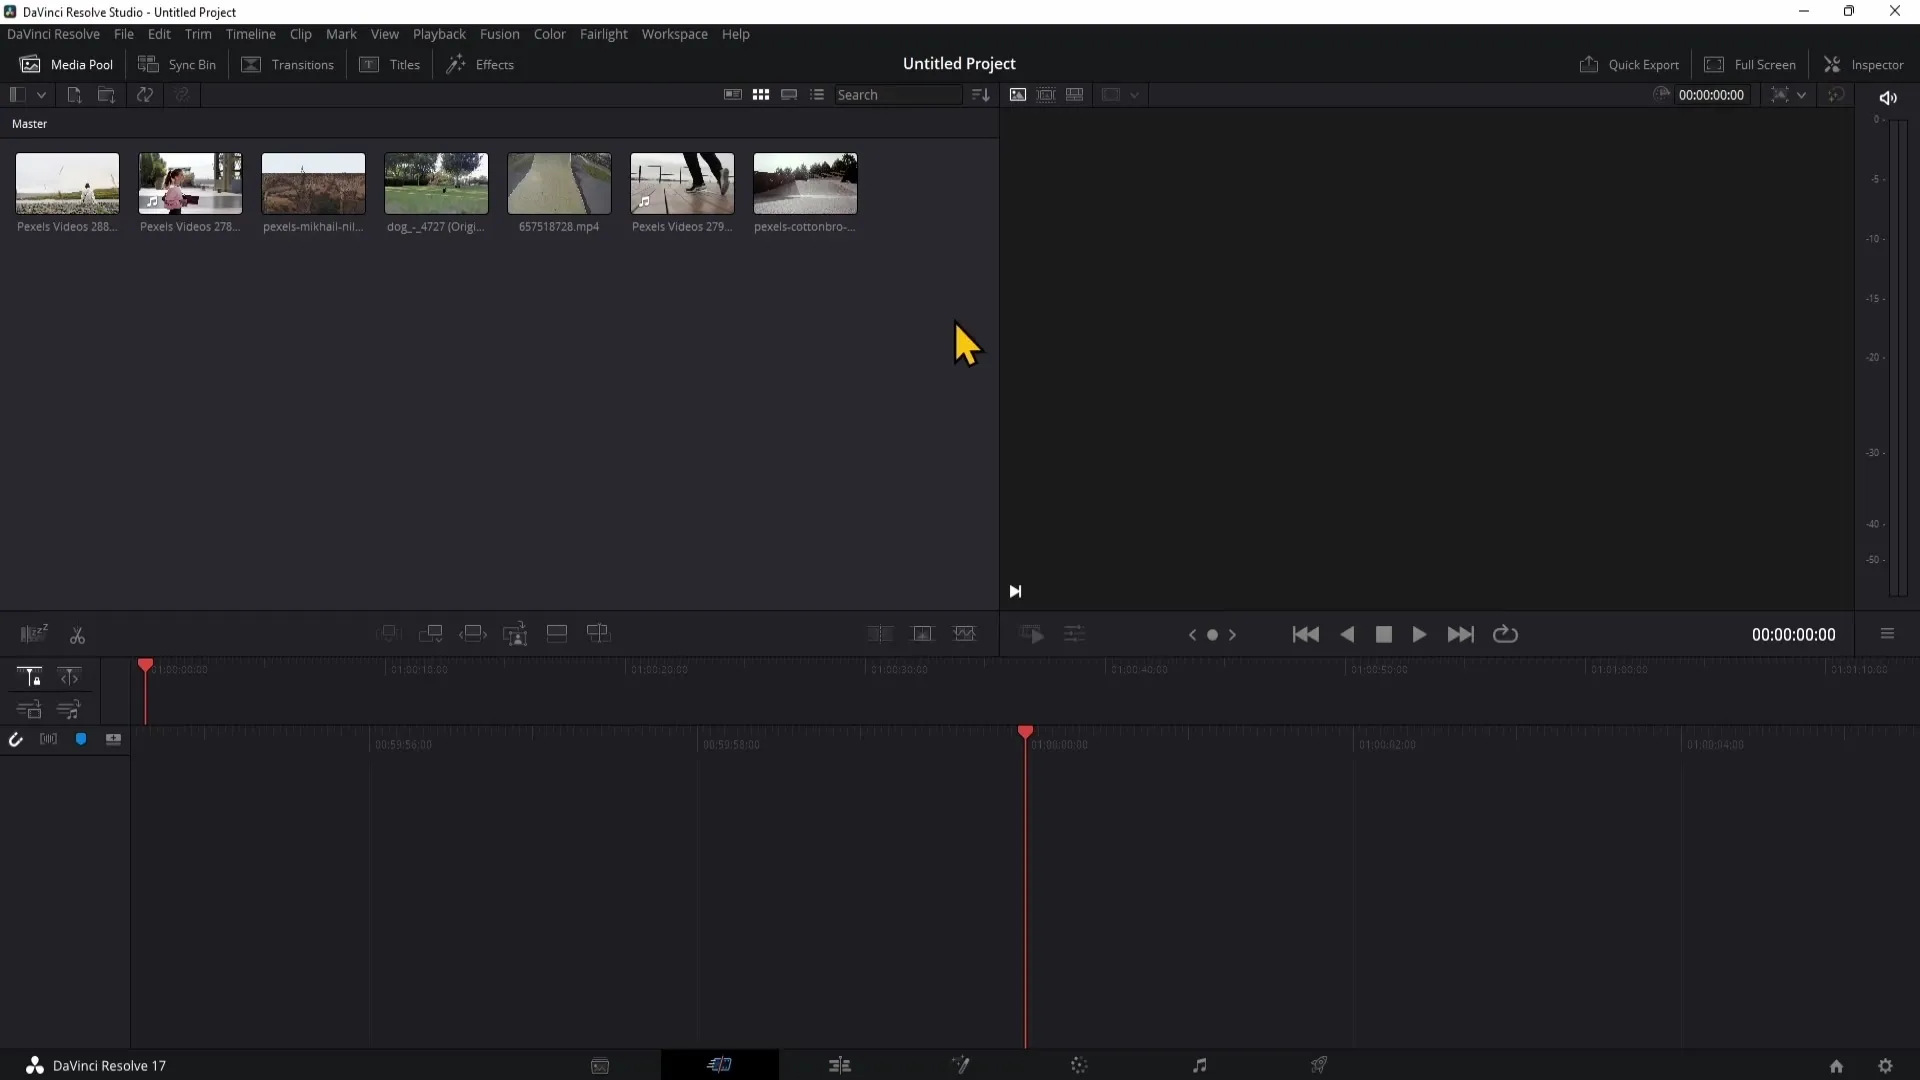
First, you should import your clips into DaVinci Resolve. You can find the import icon on the Cut Page in the bottom bar. Click on it to open the import window.
You can import material by either right-clicking on the Media Pool and selecting "Import Media" or using the import icon. You also have options to drag folders directly into the Media Pool.
After selecting the material, you will be asked if you want to adjust the frame rate to match your project. You can choose "Don't change" to keep the original frame rate or "Change" to match it to the project settings.
2. Arranging Clips
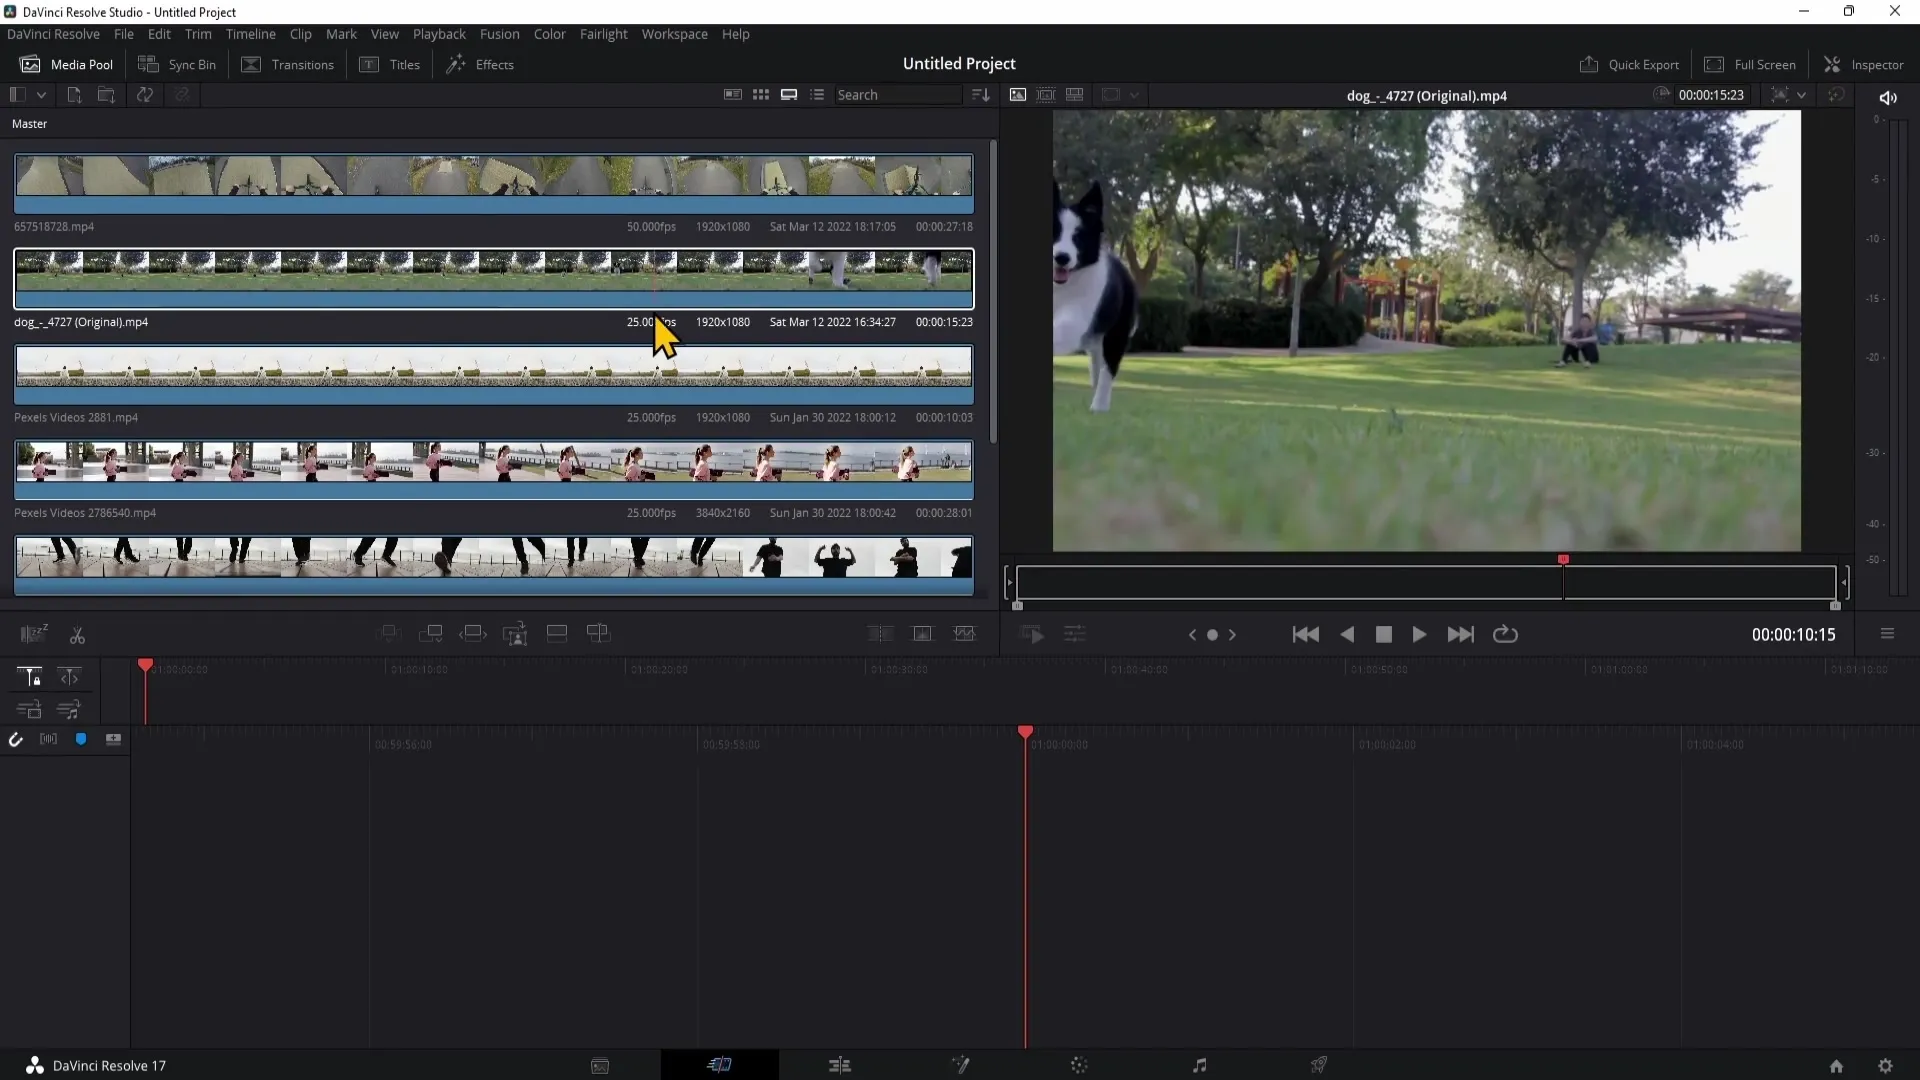
After importing your clips, you may want to arrange them in a specific order. You can click on "File" in the Media Pool and change the order by timecode, date, or clip names.
To change the clip view, you have many options available, such as Thumbnail View, Strip View, and more, which show you different information about the clips.
3. Benefits of the Cut Page
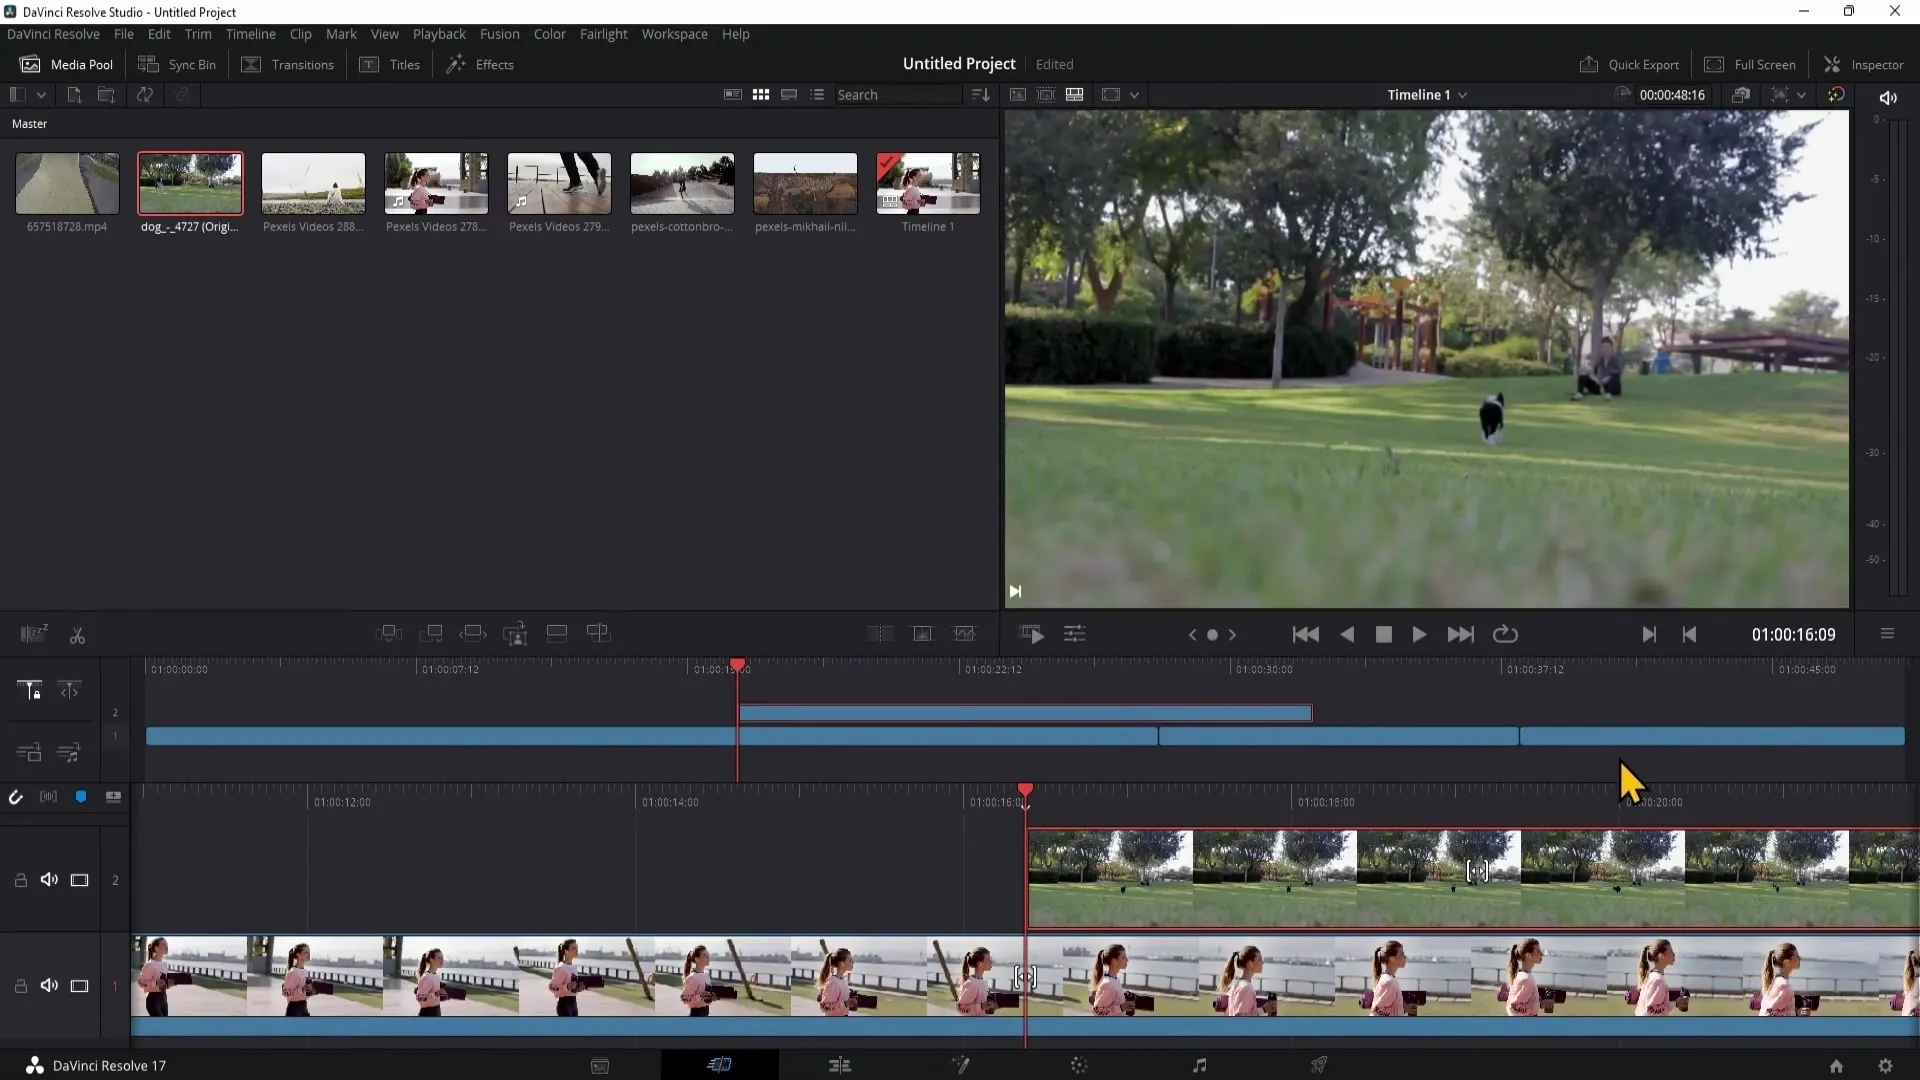
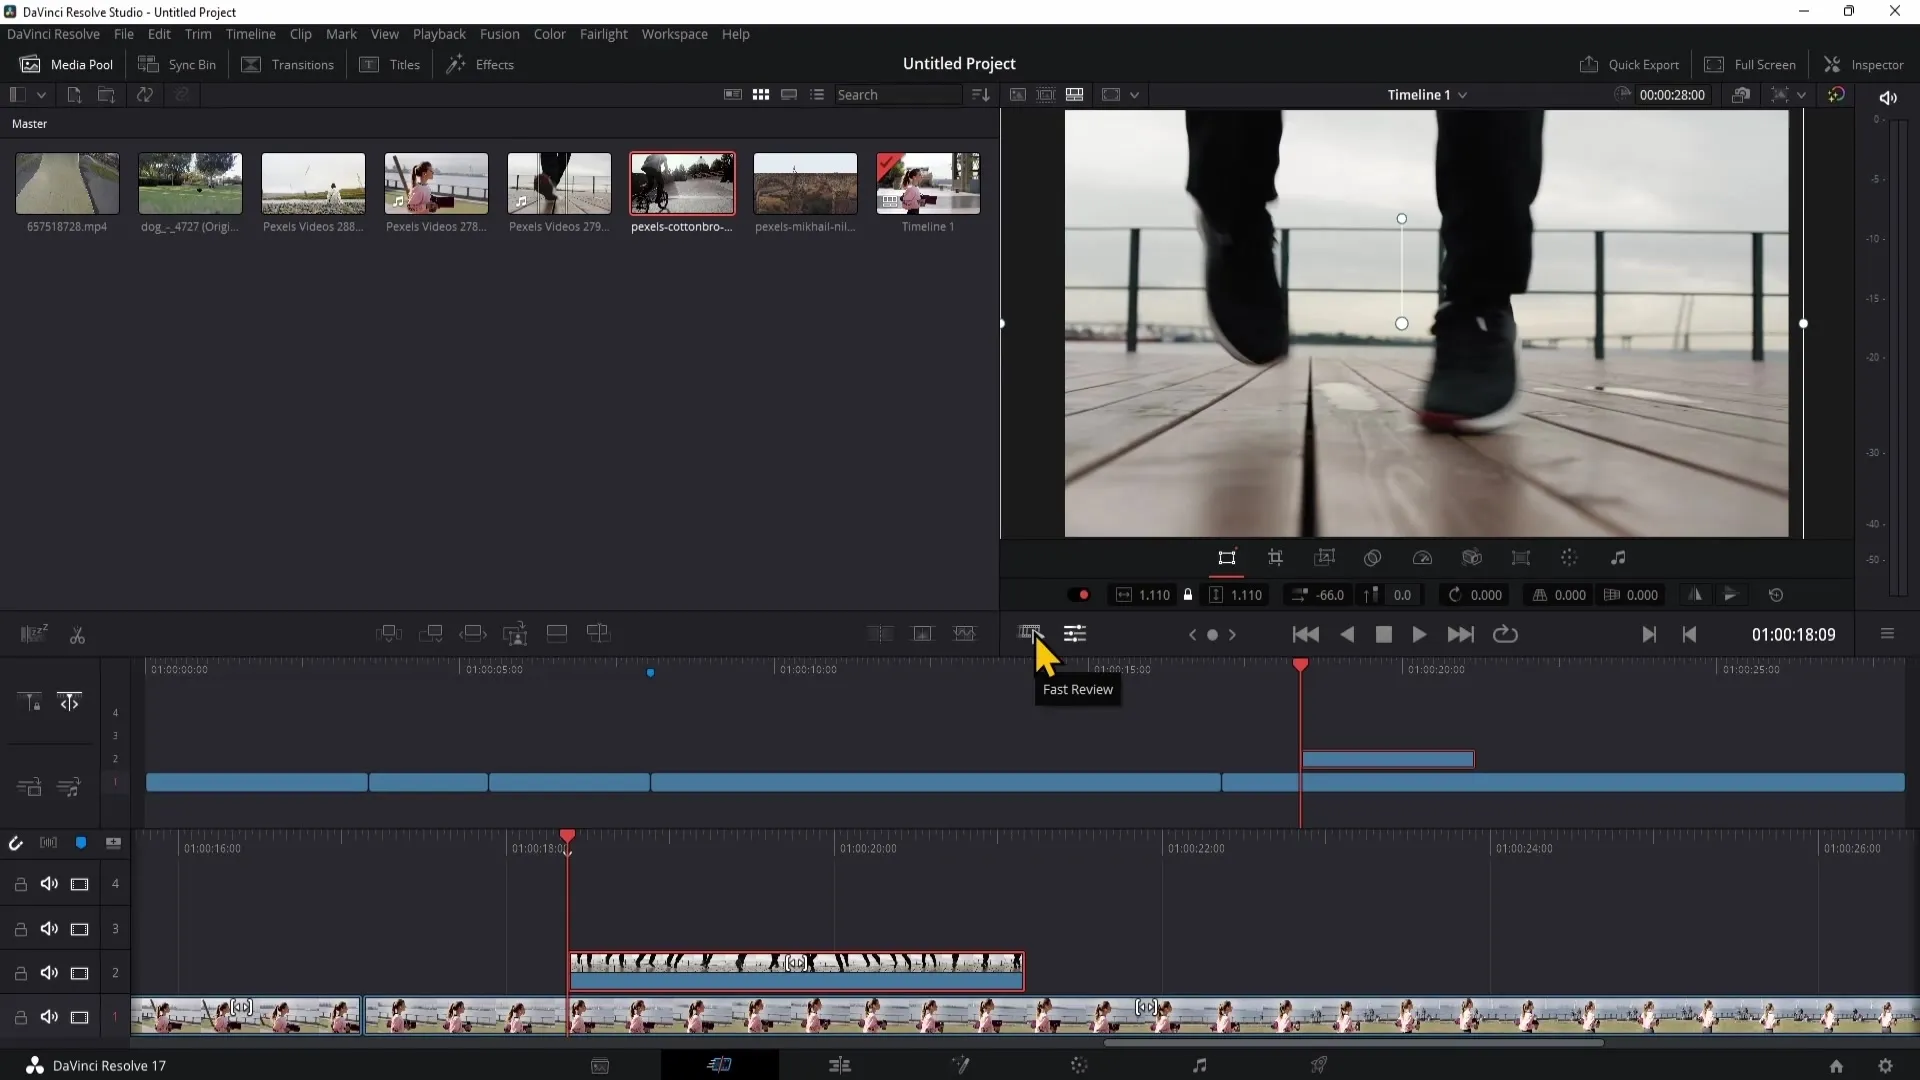
A significant advantage of the Cut Page is the dual timeline, which offers more flexibility in editing. You can easily drag clips between the lower and upper timelines without having to switch views.
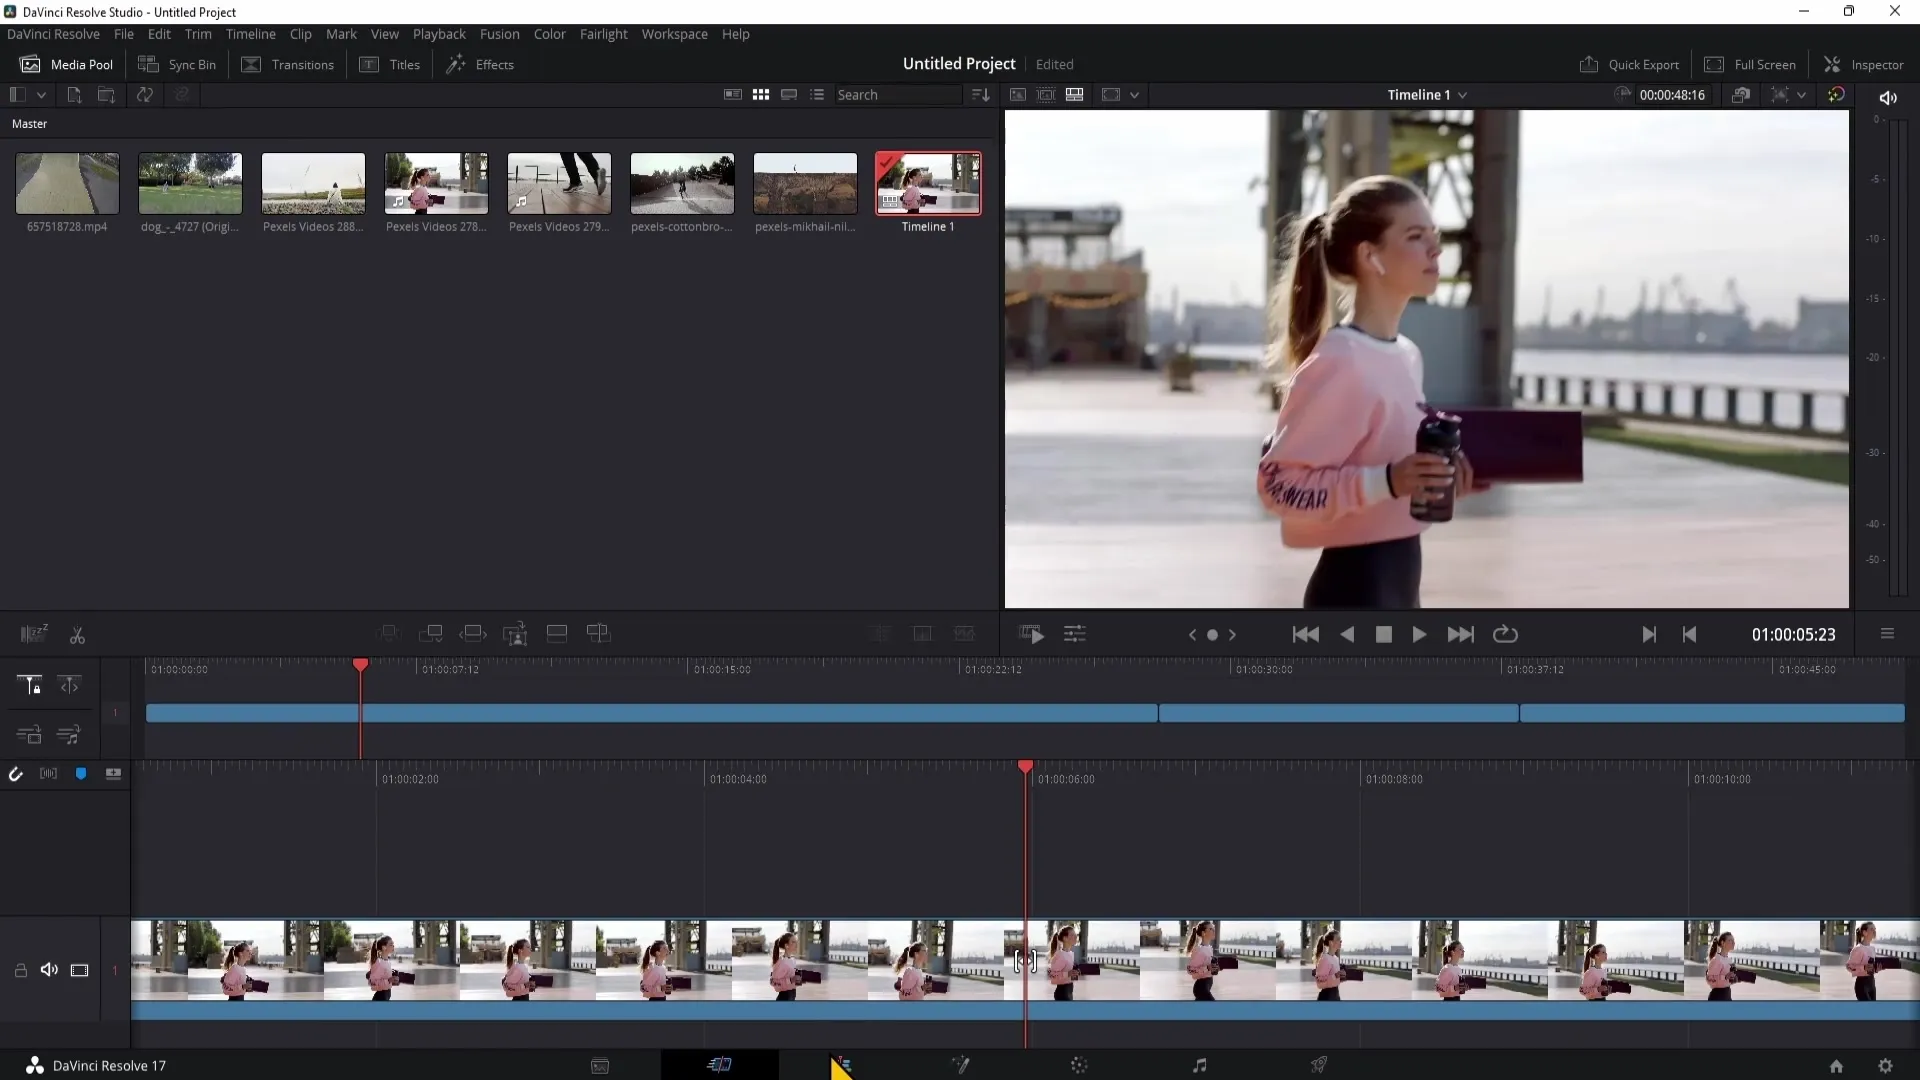
This makes video editing faster and more time-efficient. You can also navigate with the playhead to various parts of your timeline and easily adjust clips.
4. Working with Clips
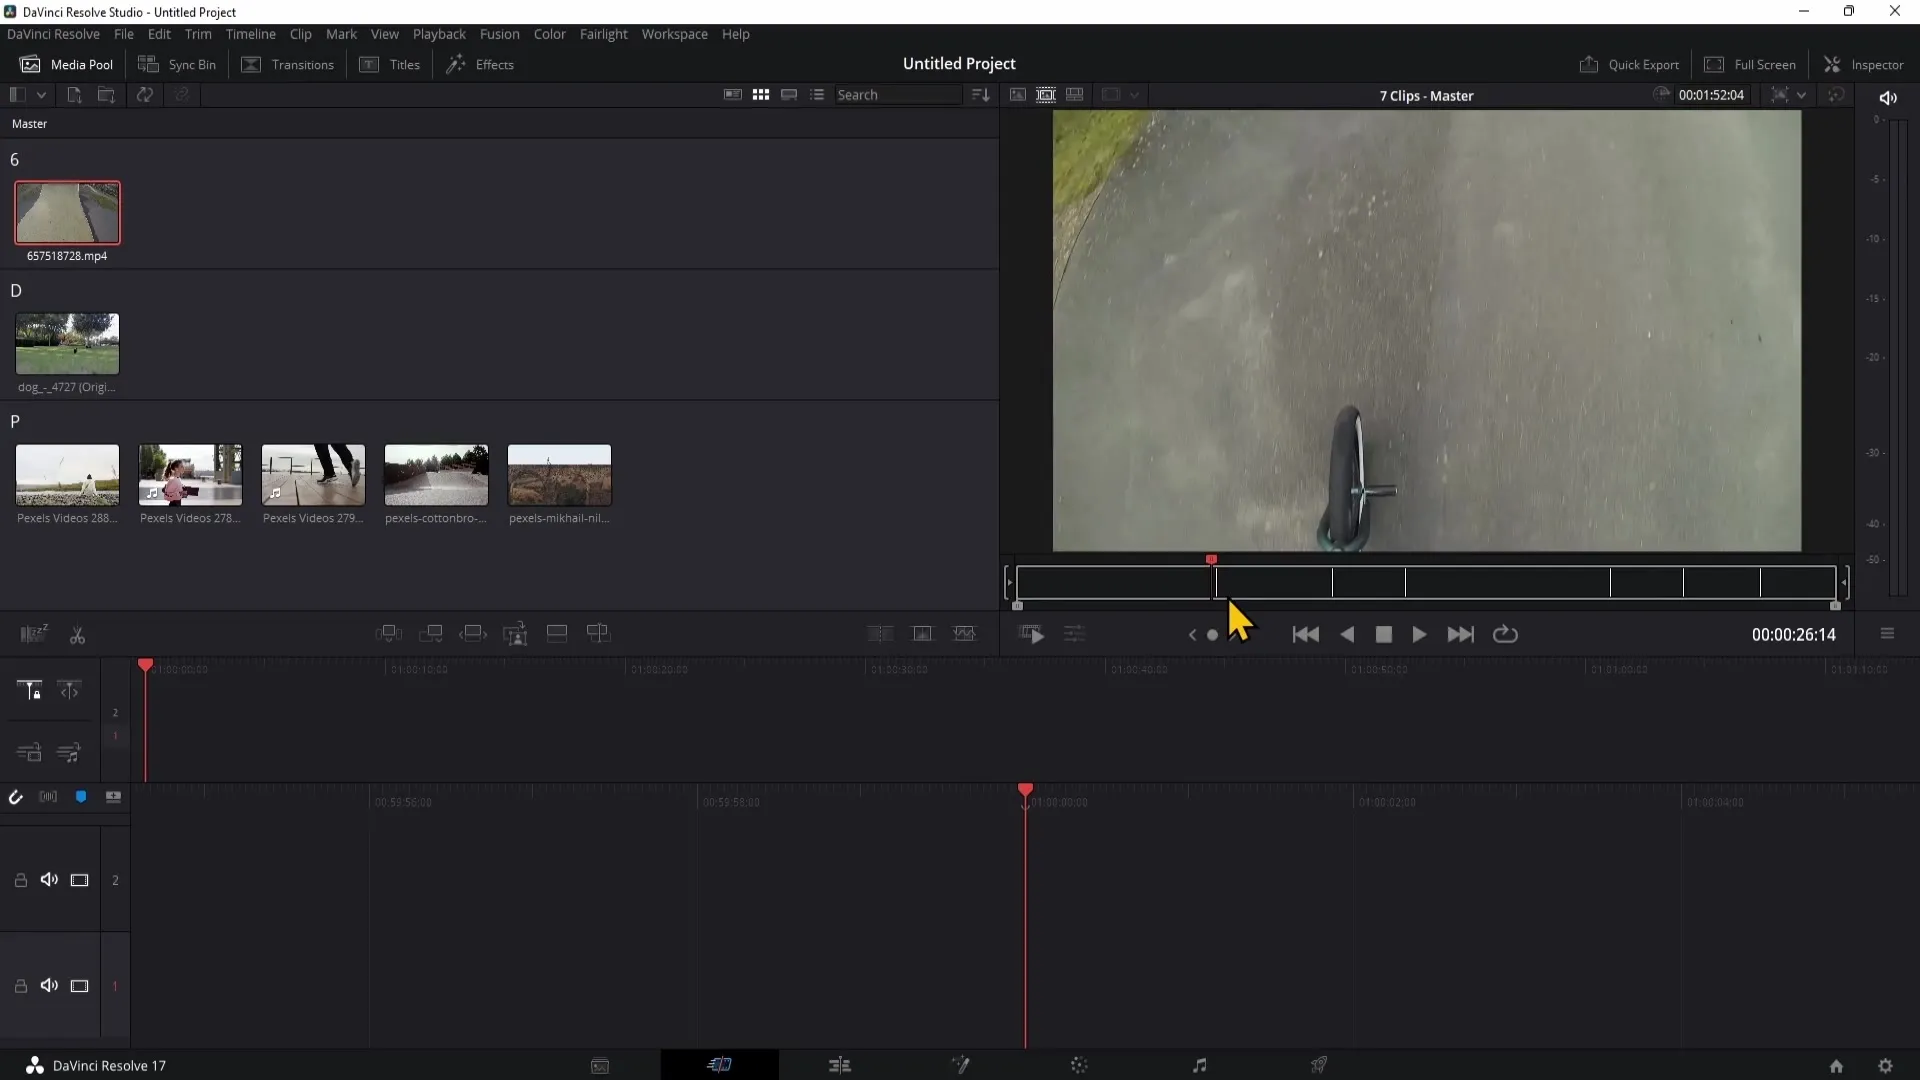
If you want to preview a clip without clicking on it, you can simply hover over the clip. Make sure the preview view is active.
The "Clip F" function allows you to play the clips easily without actively selecting them. This saves you time, especially when you have many clips.
5. Dragging Clips to the Timeline
To drag specific sections of a clip to the timeline, you can set in and out points. Use the "I" key for in and the "O" key for out to select the desired parts.
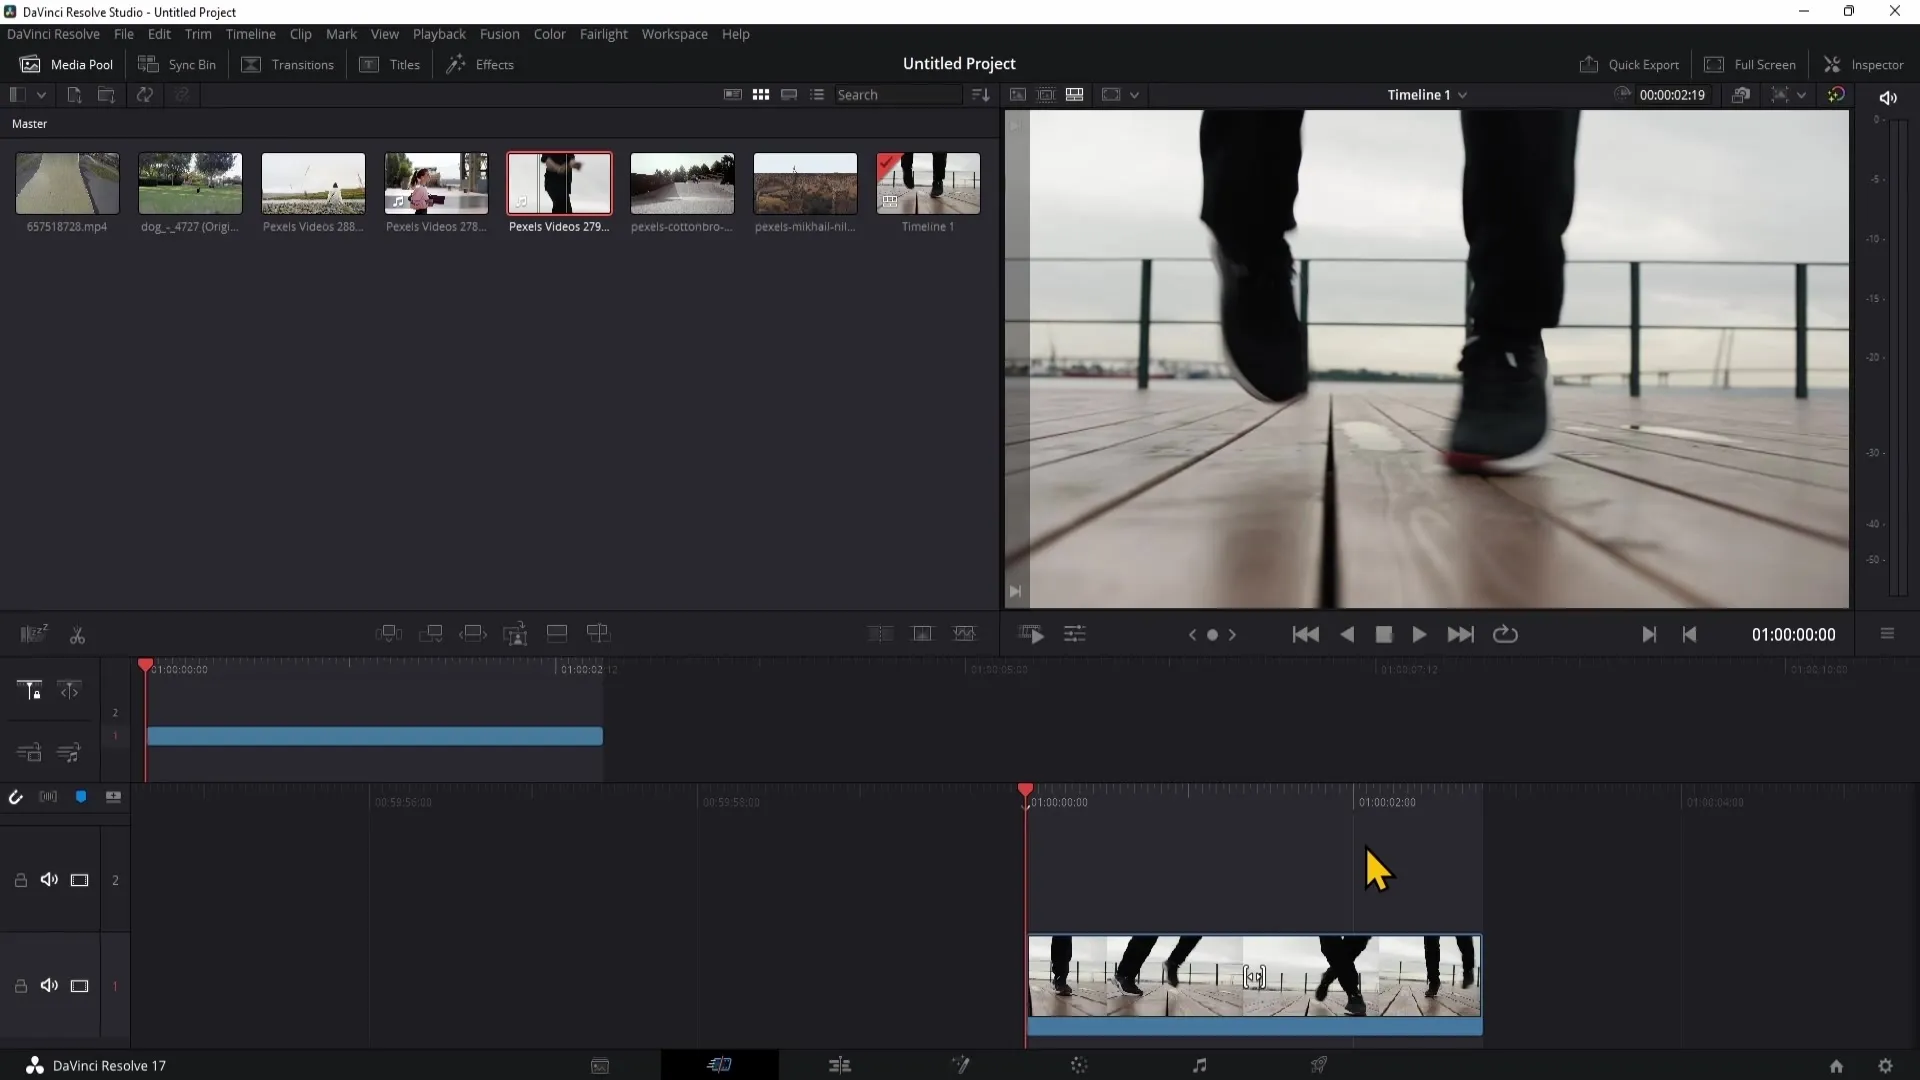
If you only want to drag the video or audio file of a clip to the timeline, use the special symbols to choose either "Video only" or "Audio only."
6. Adding Transitions and Titles
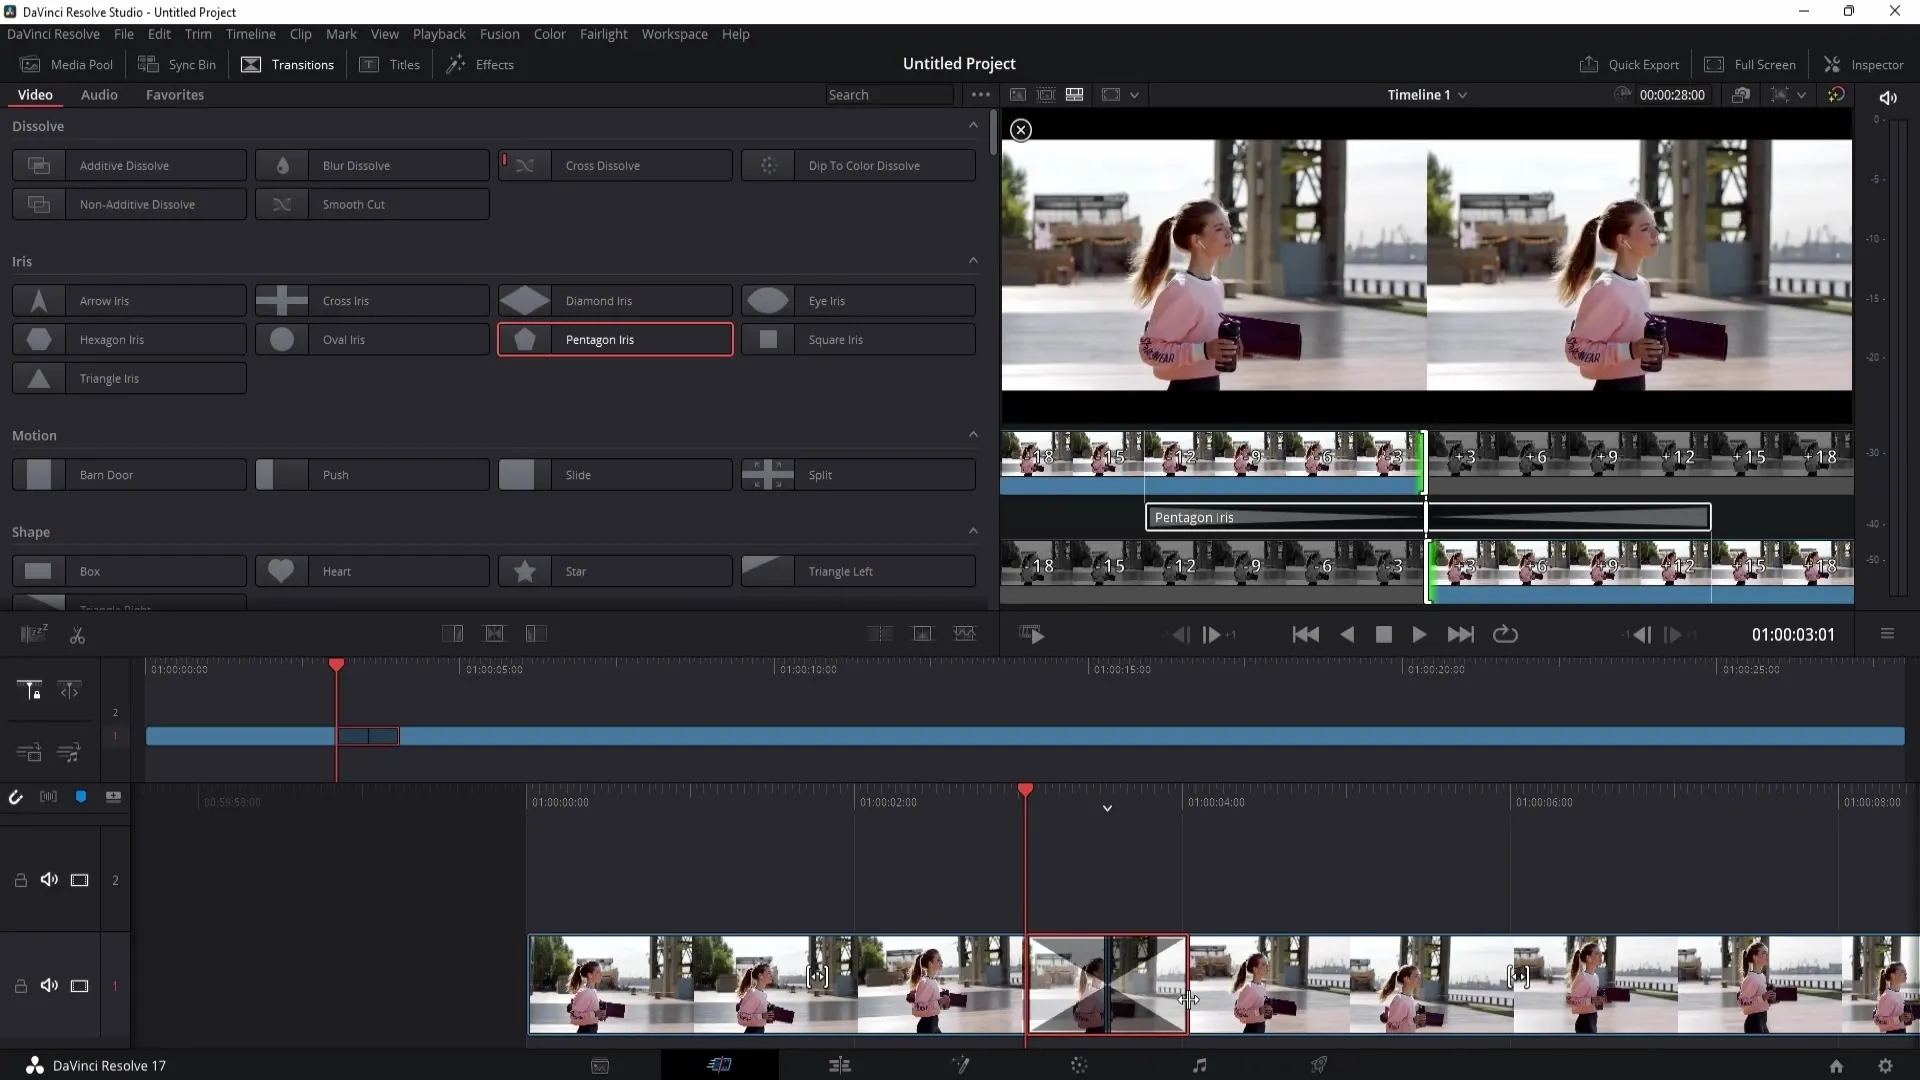
In the Effects menu, you can add transitions by simply dragging and dropping them into your timeline. Items like text and titles can also be quickly integrated to enhance your videos.
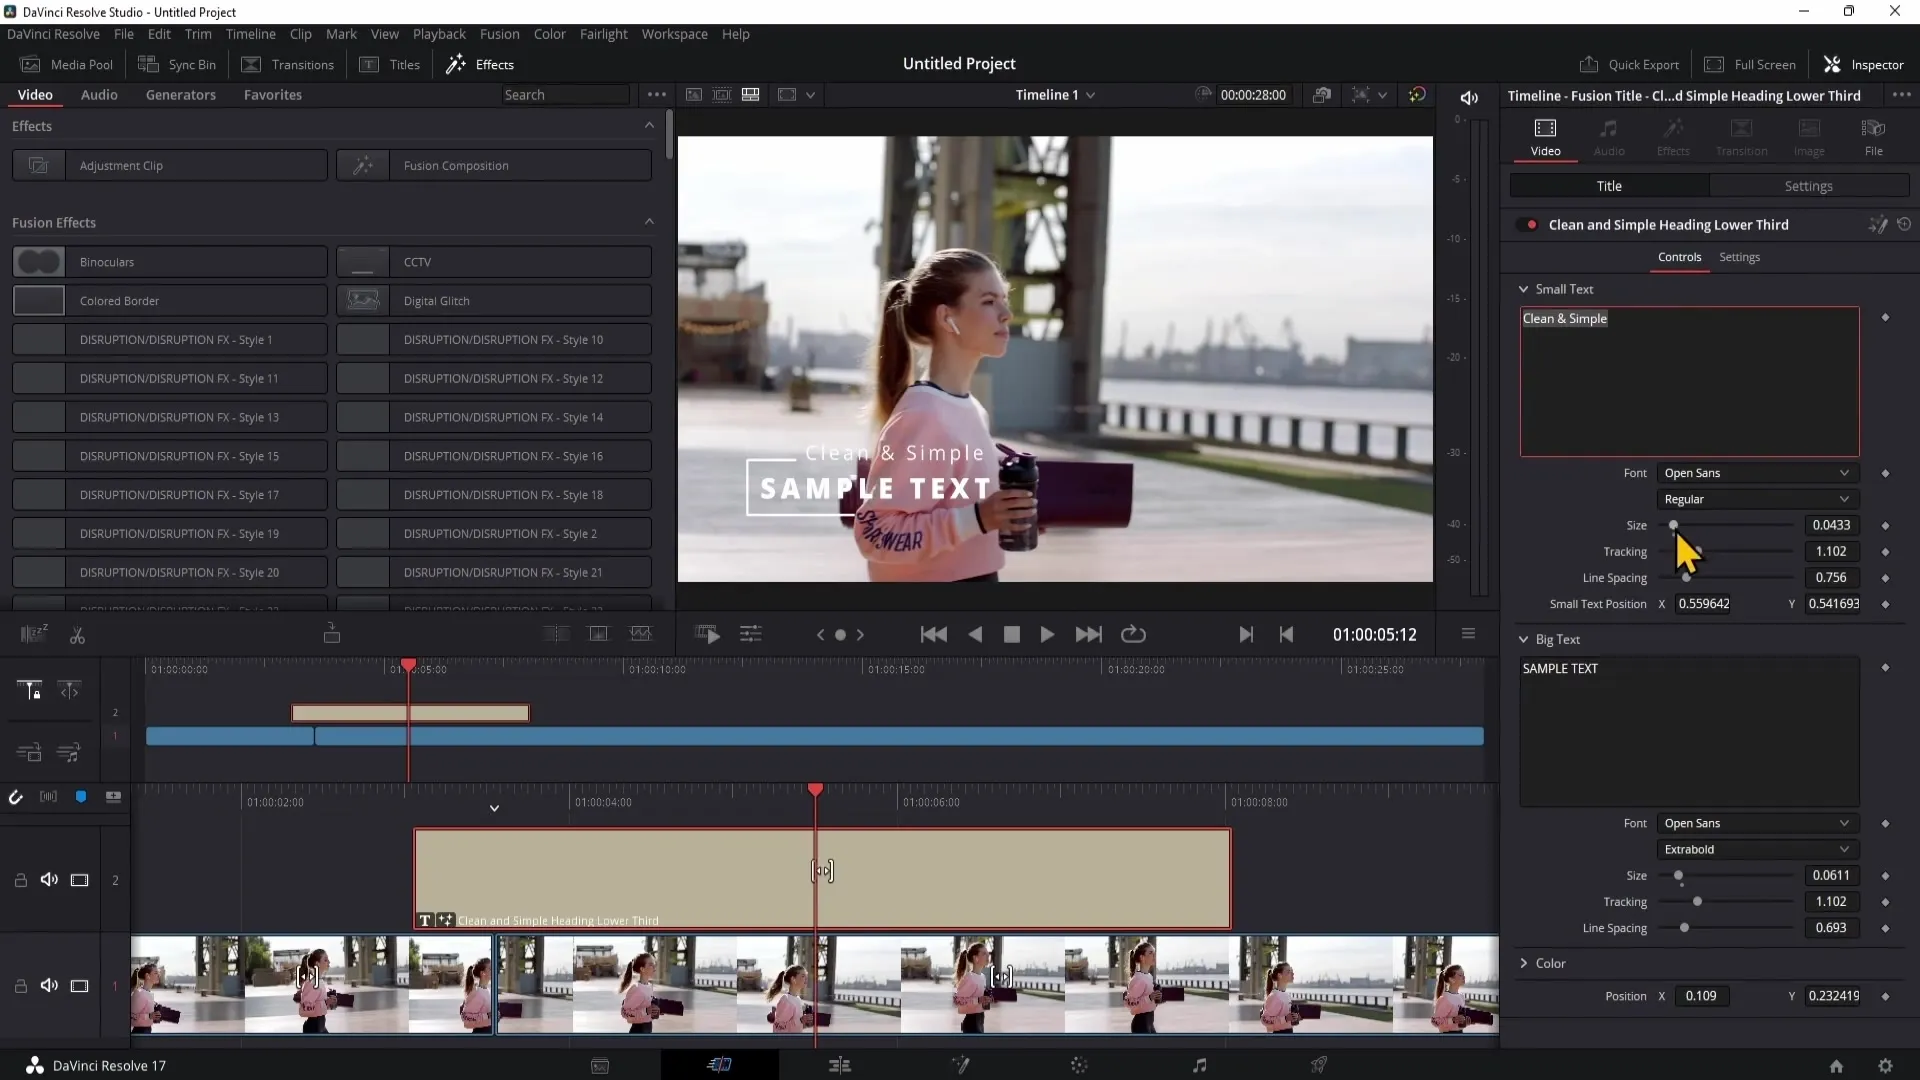
Use the inspector to edit and customize the text. Changes such as font, size, and color are quickly made here.
7. Additional important functions
There are various options for working with tracks such as lock and mute. With these functions, you can ensure that you do not accidentally edit important parts.
Another useful tool is the "Boring Detector", which helps you identify boring parts in your video and optimize your editing.
8. Clips preview
Use the "Fast Review" feature to quickly browse through your clips. It increases playback speed based on the clip's length, allowing you to browse your material in less time.
Summary
In this guide, you have learned how to effectively work with DaVinci Resolve's Cut Page. You have learned how to import materials, arrange clips, and use various functions to quickly and efficiently edit videos. The Cut Page is a powerful tool for anyone involved in video editing who wants to shorten production time.
Frequently Asked Questions
What are the advantages of the Cut Page over the Edit Page?The Cut Page offers easier navigation through two timelines displayed in parallel and faster media management.
How can I import material into DaVinci Resolve?You can import material by right-clicking in the Media Pool or using the import icon in the lower area of the Cut Page.
How do I change the arrangement of my clips?Select the desired sorting option in the Media Pool, such as by clip name or date.
How can I drag only a part of a clip into the timeline?Set in and out points using the "I" and "O" keys and then drag the marked part into the timeline.
Can I adjust the preview speed?Yes, the "Fast Review" feature allows you to play clips faster or slower.


