Welcome to this detailed guide where you will get to know Edit Page of DaVinci Resolve better. This page is not only the most commonly used, but also the most powerful when it comes to video editing and post-production. In this guide, I will walk you through the most important features and tools step by step, which will help you effectively edit your video material and bring your creative ideas to life.
Main Takeaways
- The Edit Page of DaVinci Resolve offers a variety of tools and functions that allow you to cut videos, add effects, and professionally design your projects.
Step-by-Step Guide
1. Accessing the Edit Page
To enter the Edit Page, you can simply click on the third icon in the bottom bar. Here, you will see the user interface specifically designed for video editing.
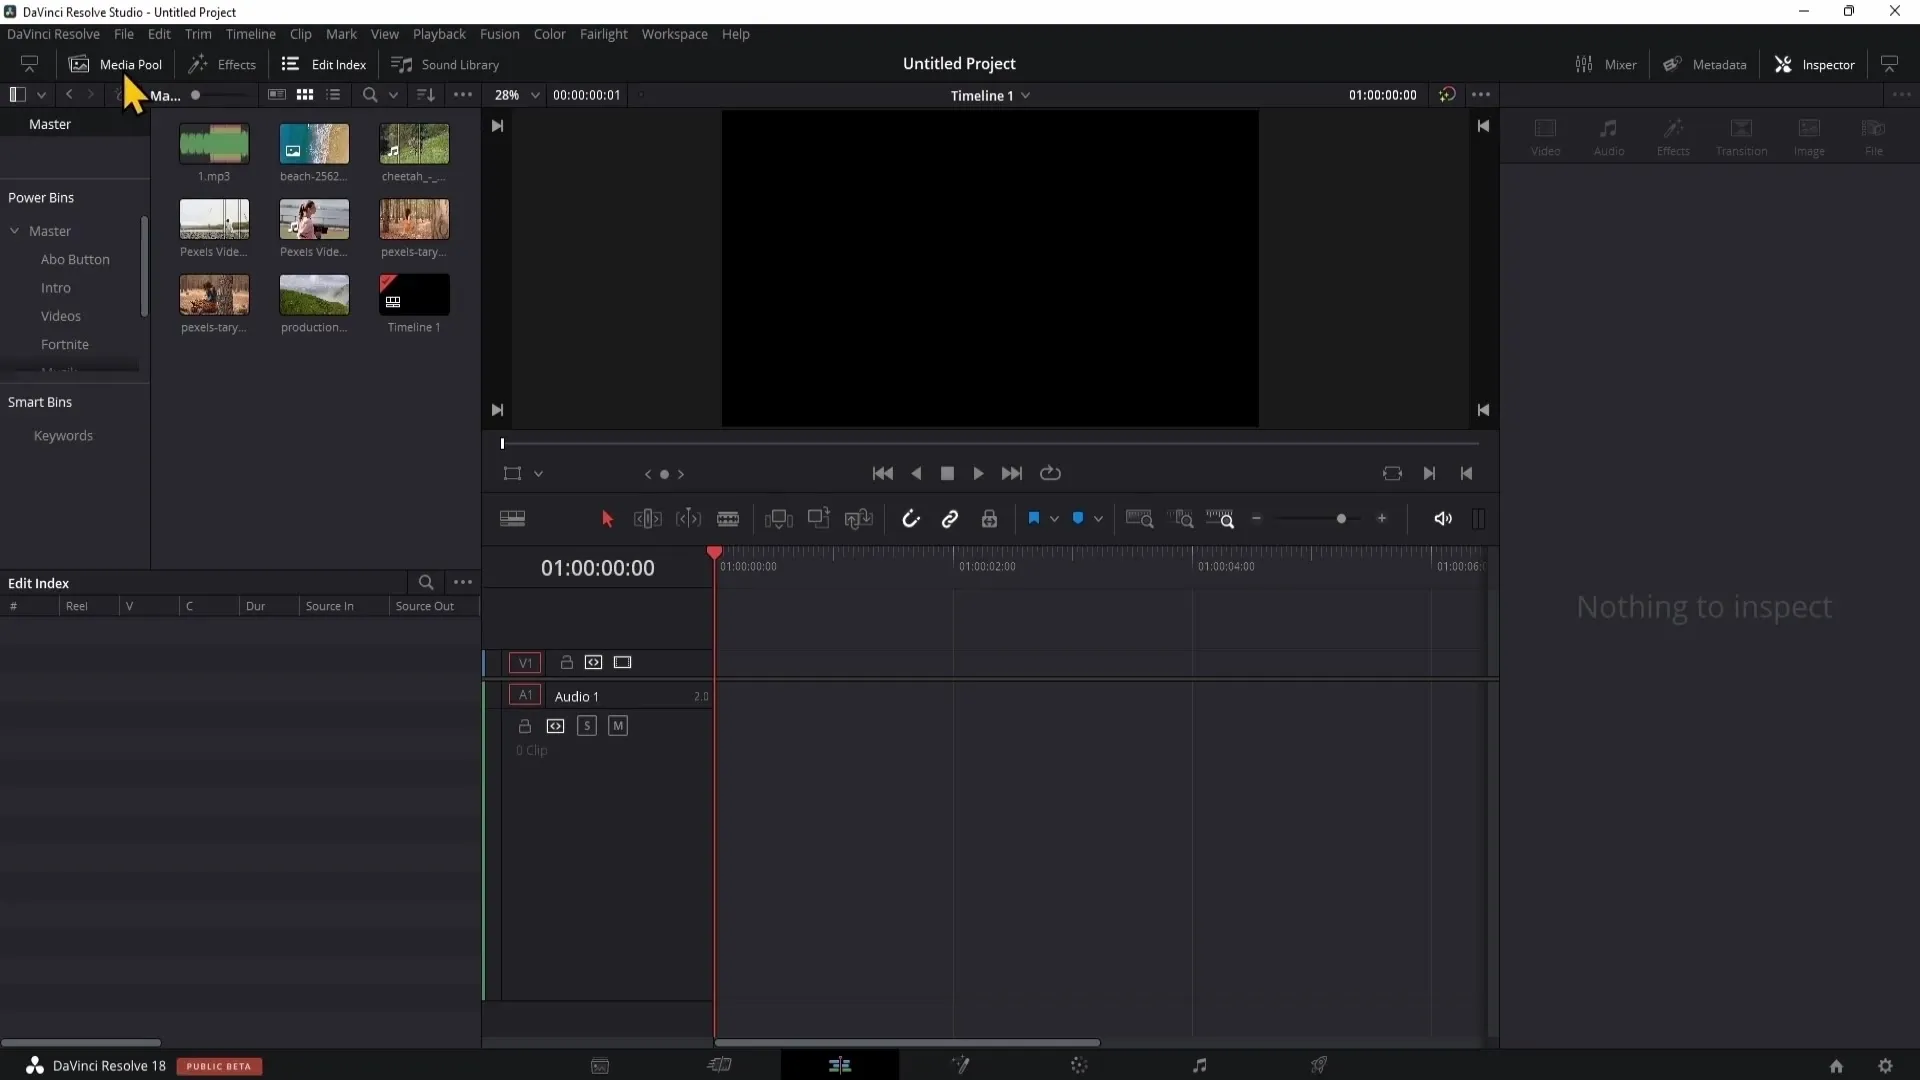
2. Mediapool: Importing Materials
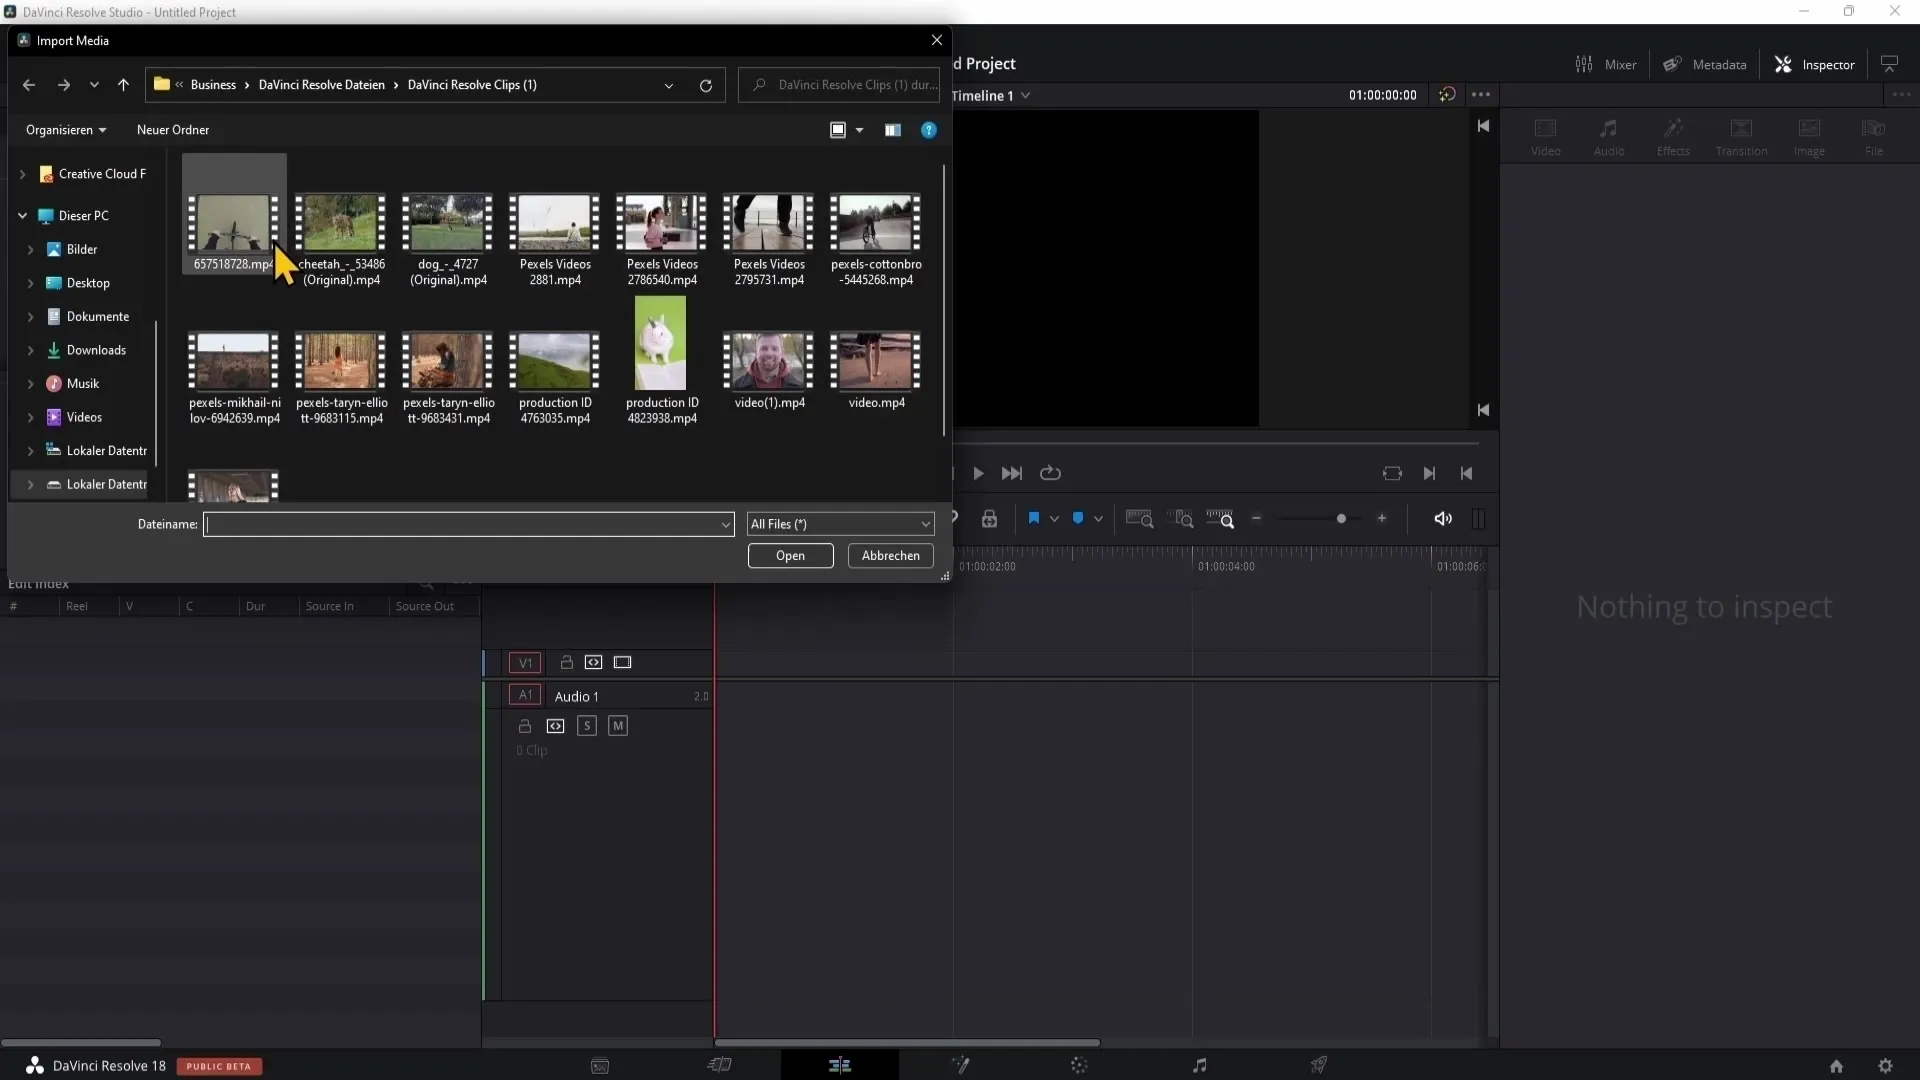
In the top left corner, you will find the Mediapool, where you can import your video material, audio files, and images. You can drag and drop files into the Mediapool or right-click and select "Import Media" to add them.
A quick tip: You don't have to import each file individually. Select multiple files by holding down the Shift or Control key, then click "Open" to add multiple clips at once.
3. Adjusting Timeline and User Interface
Once you have your clips in the Mediapool, you can drag them into the timeline. The Edit Page's user interface also allows you to show or hide various areas to make more space for your timeline.
To display both the Mediapool and the Inspector, you can adjust the windows to give more space for your timeline. Clicking on the corresponding icon in the upper left or right corner will open or close these windows.
4. Using Power Bins
The ability to create Power Bins is extremely useful, especially when you regularly use the same music or video files. Click on "View" and enable "Show Power Bins" to manage your own collection folders for music or effects.
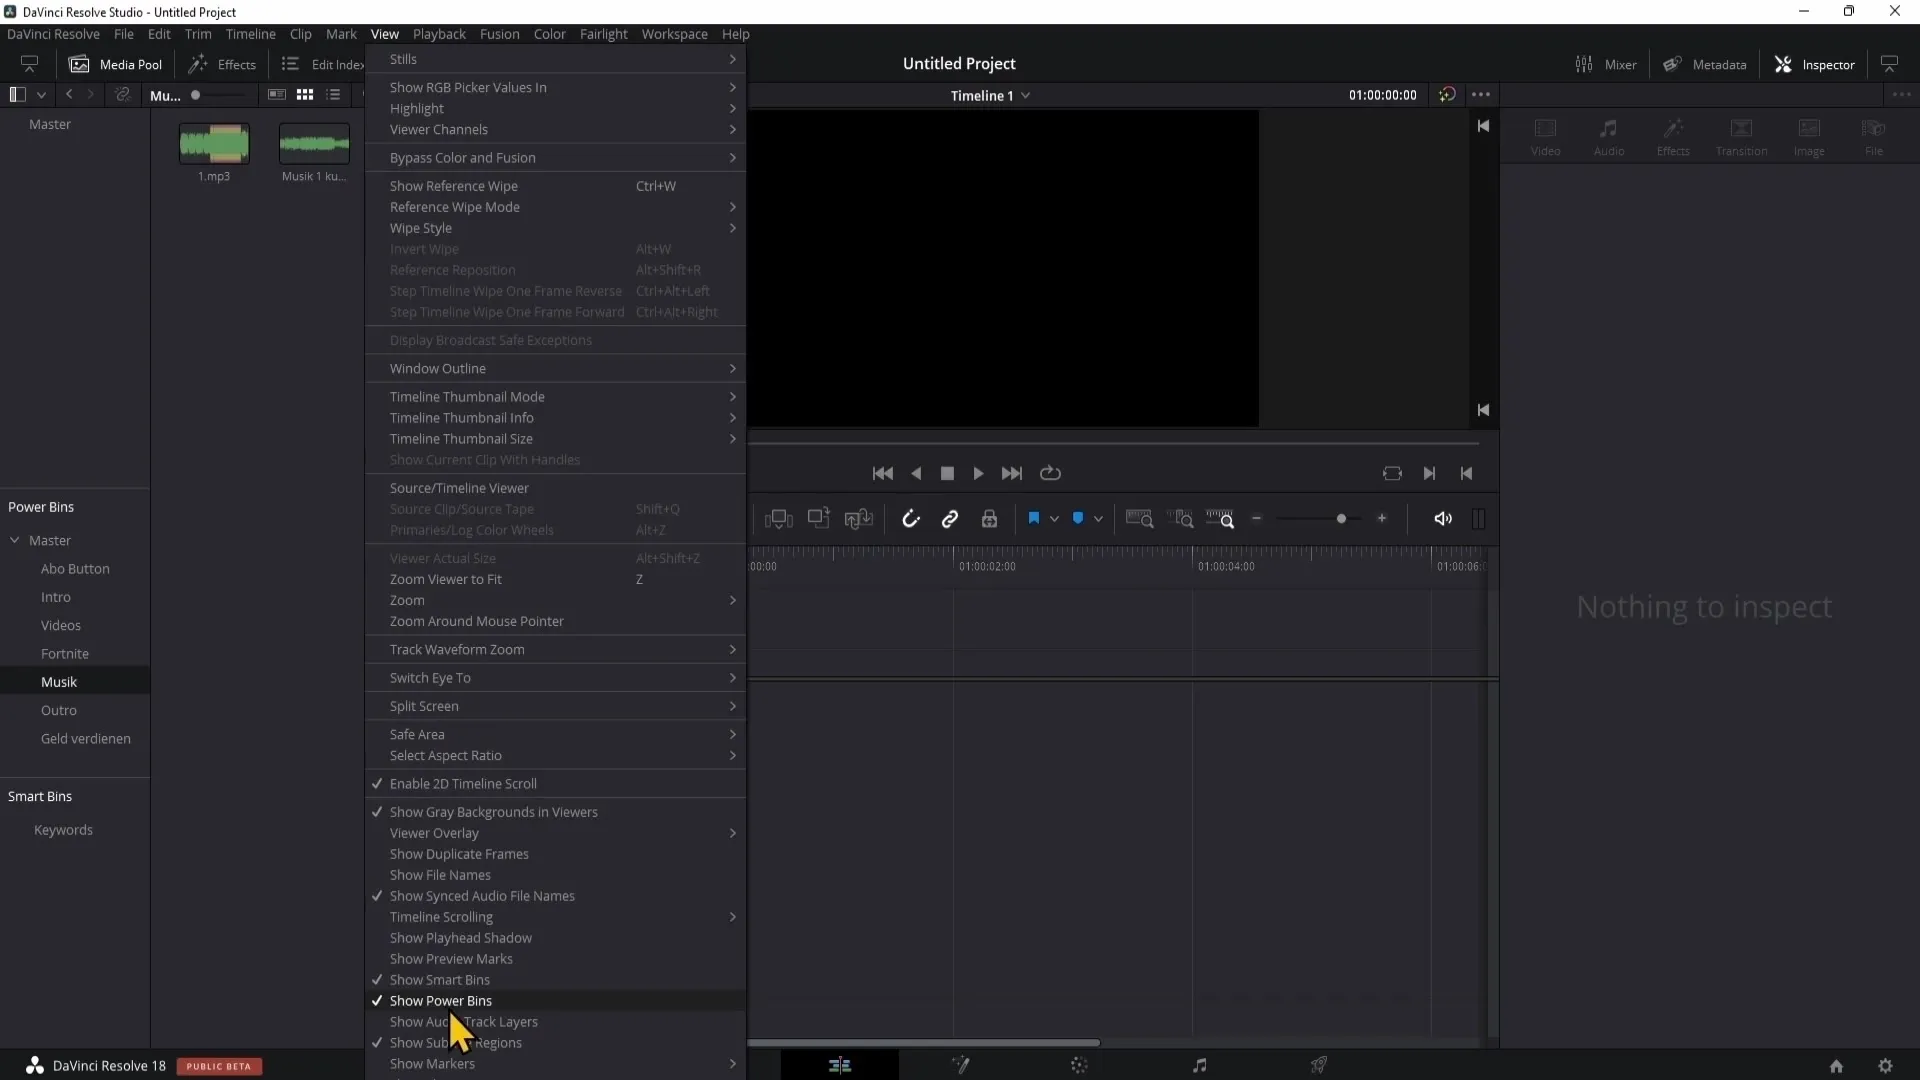
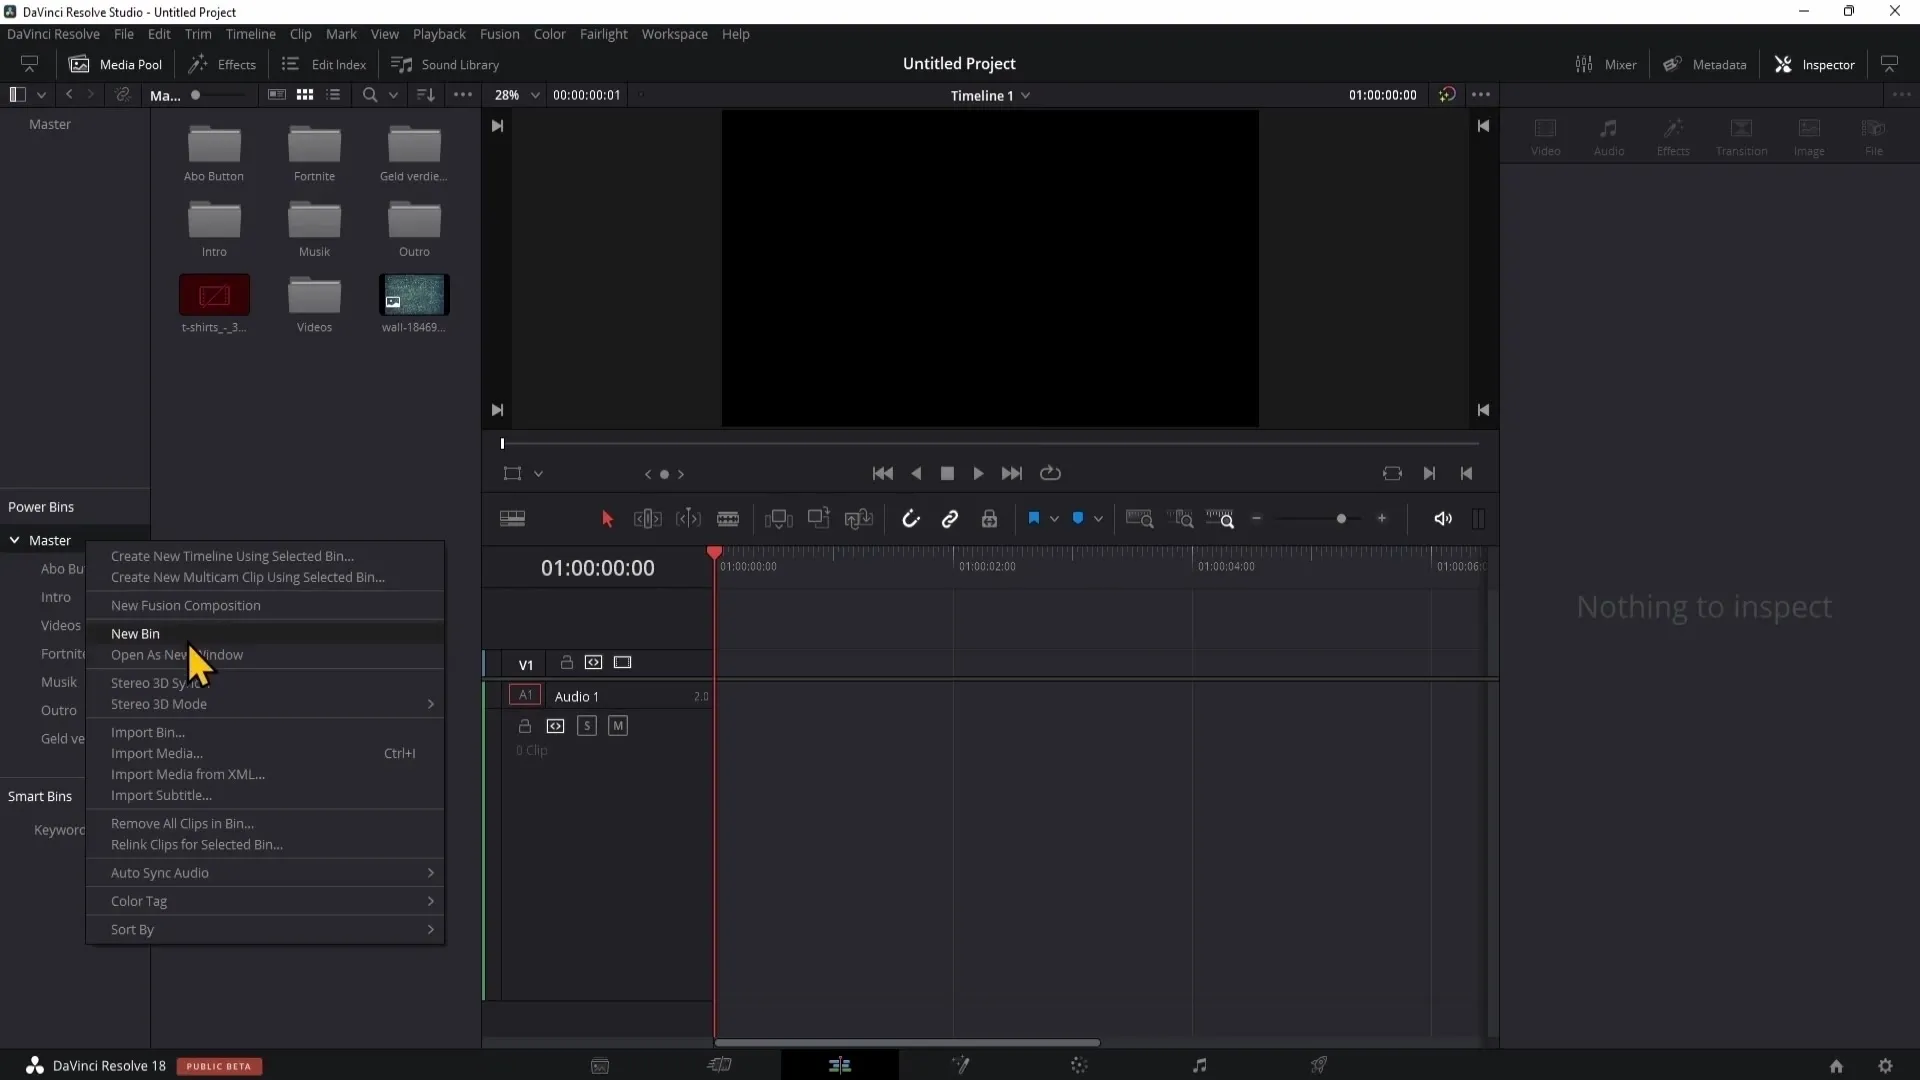
You can then right-click on "Master" to create a new folder to store your required files there. This saves time when working on future projects.
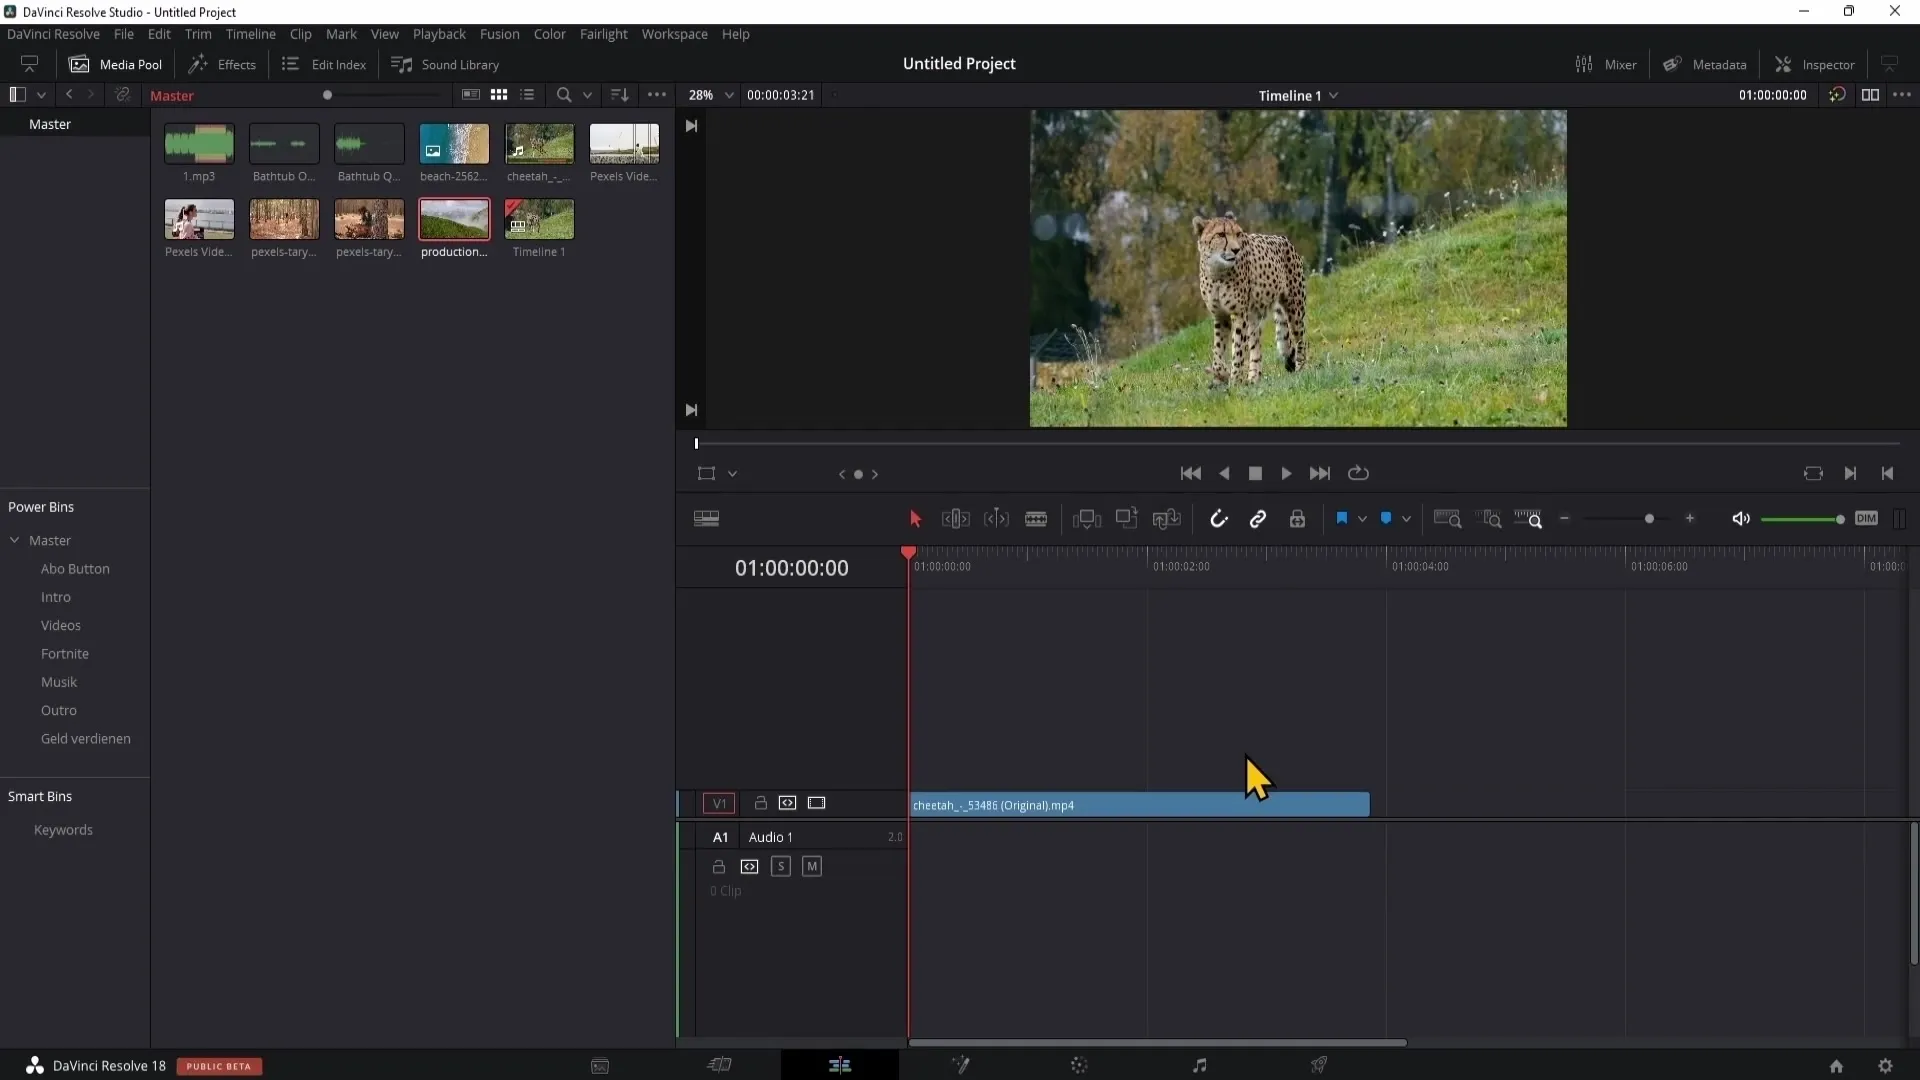
5. Dragging Clips into the Timeline
To integrate a clip into the timeline, simply drag it from your Mediapool to the desired position. You can also select specific parts of a clip by setting In and Out points.
Press the "I" key to set the In point and the "O" key to set the Out point. You can then choose to drag only the desired part into the timeline.
6. Organizing the Timeline
You can organize the clips in the timeline using different symbols. A useful tool is the razor tool, which allows you to make cuts at any point.
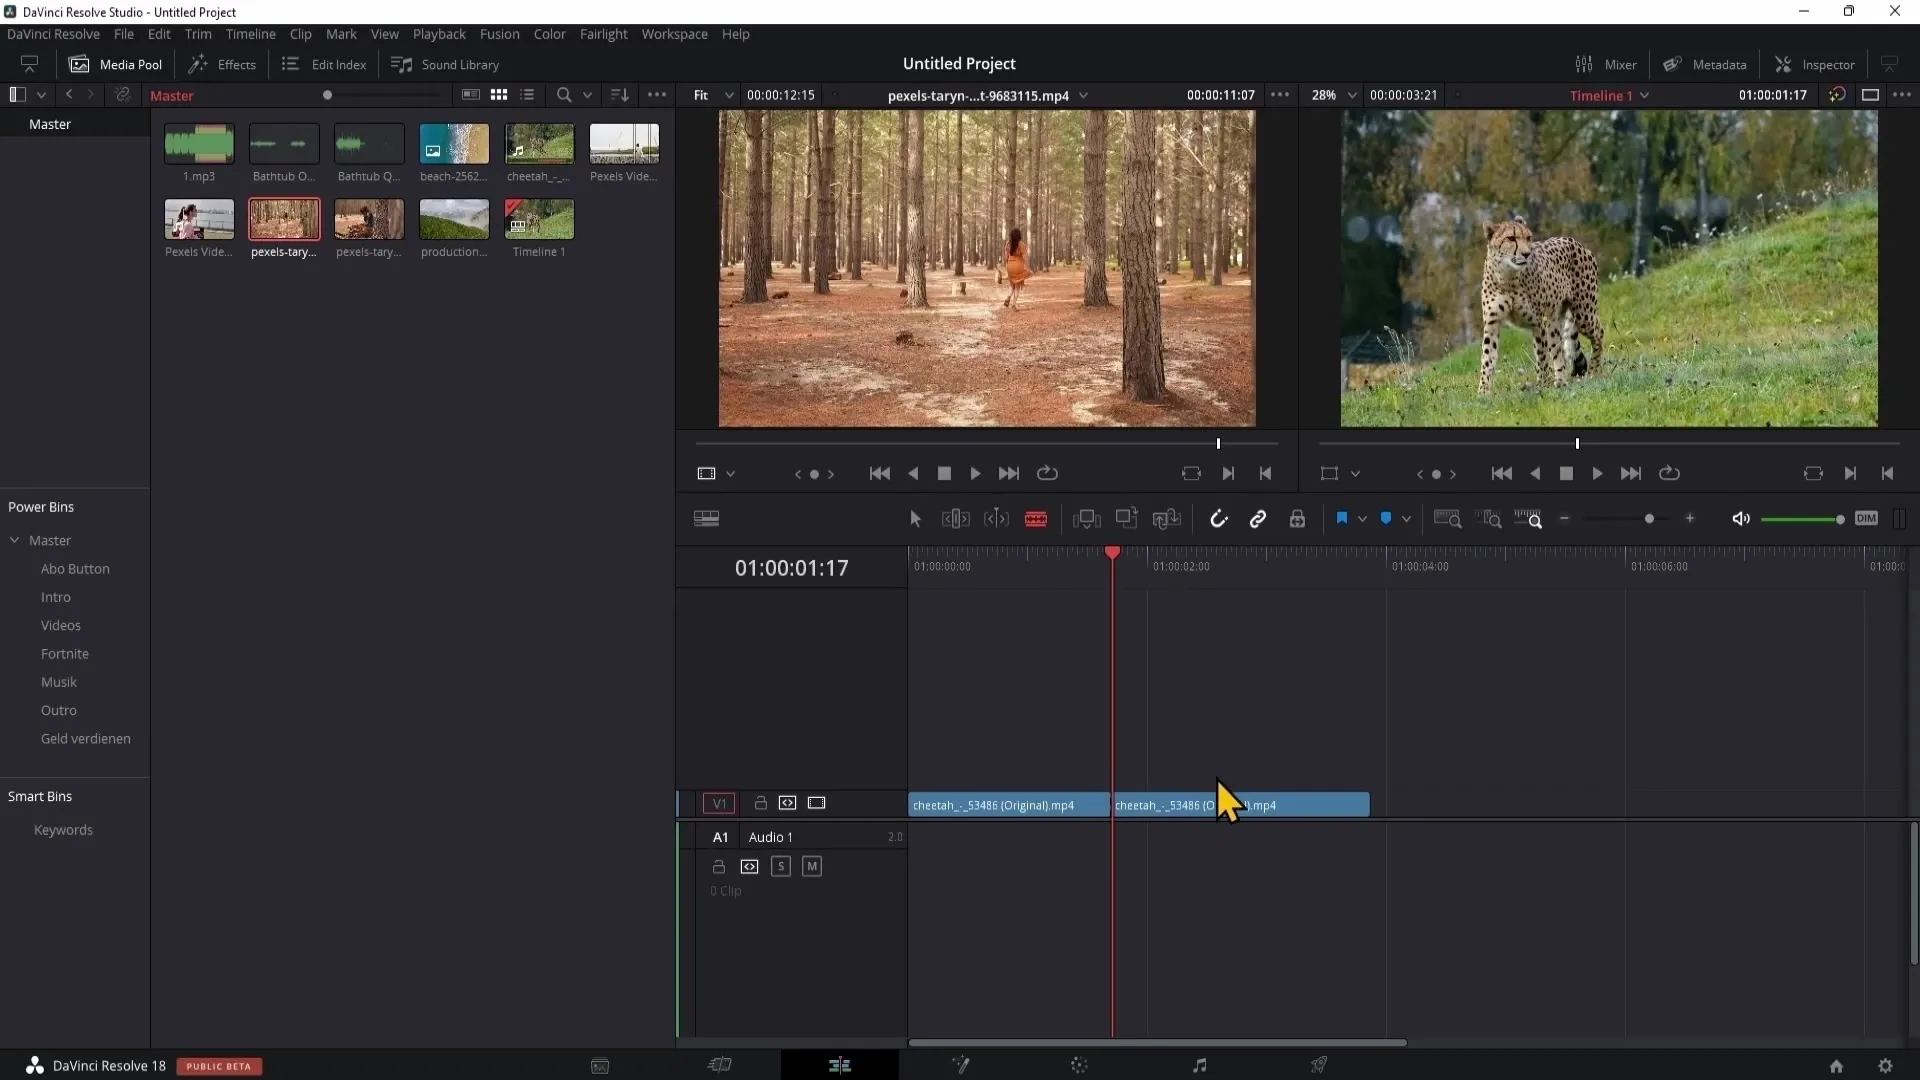
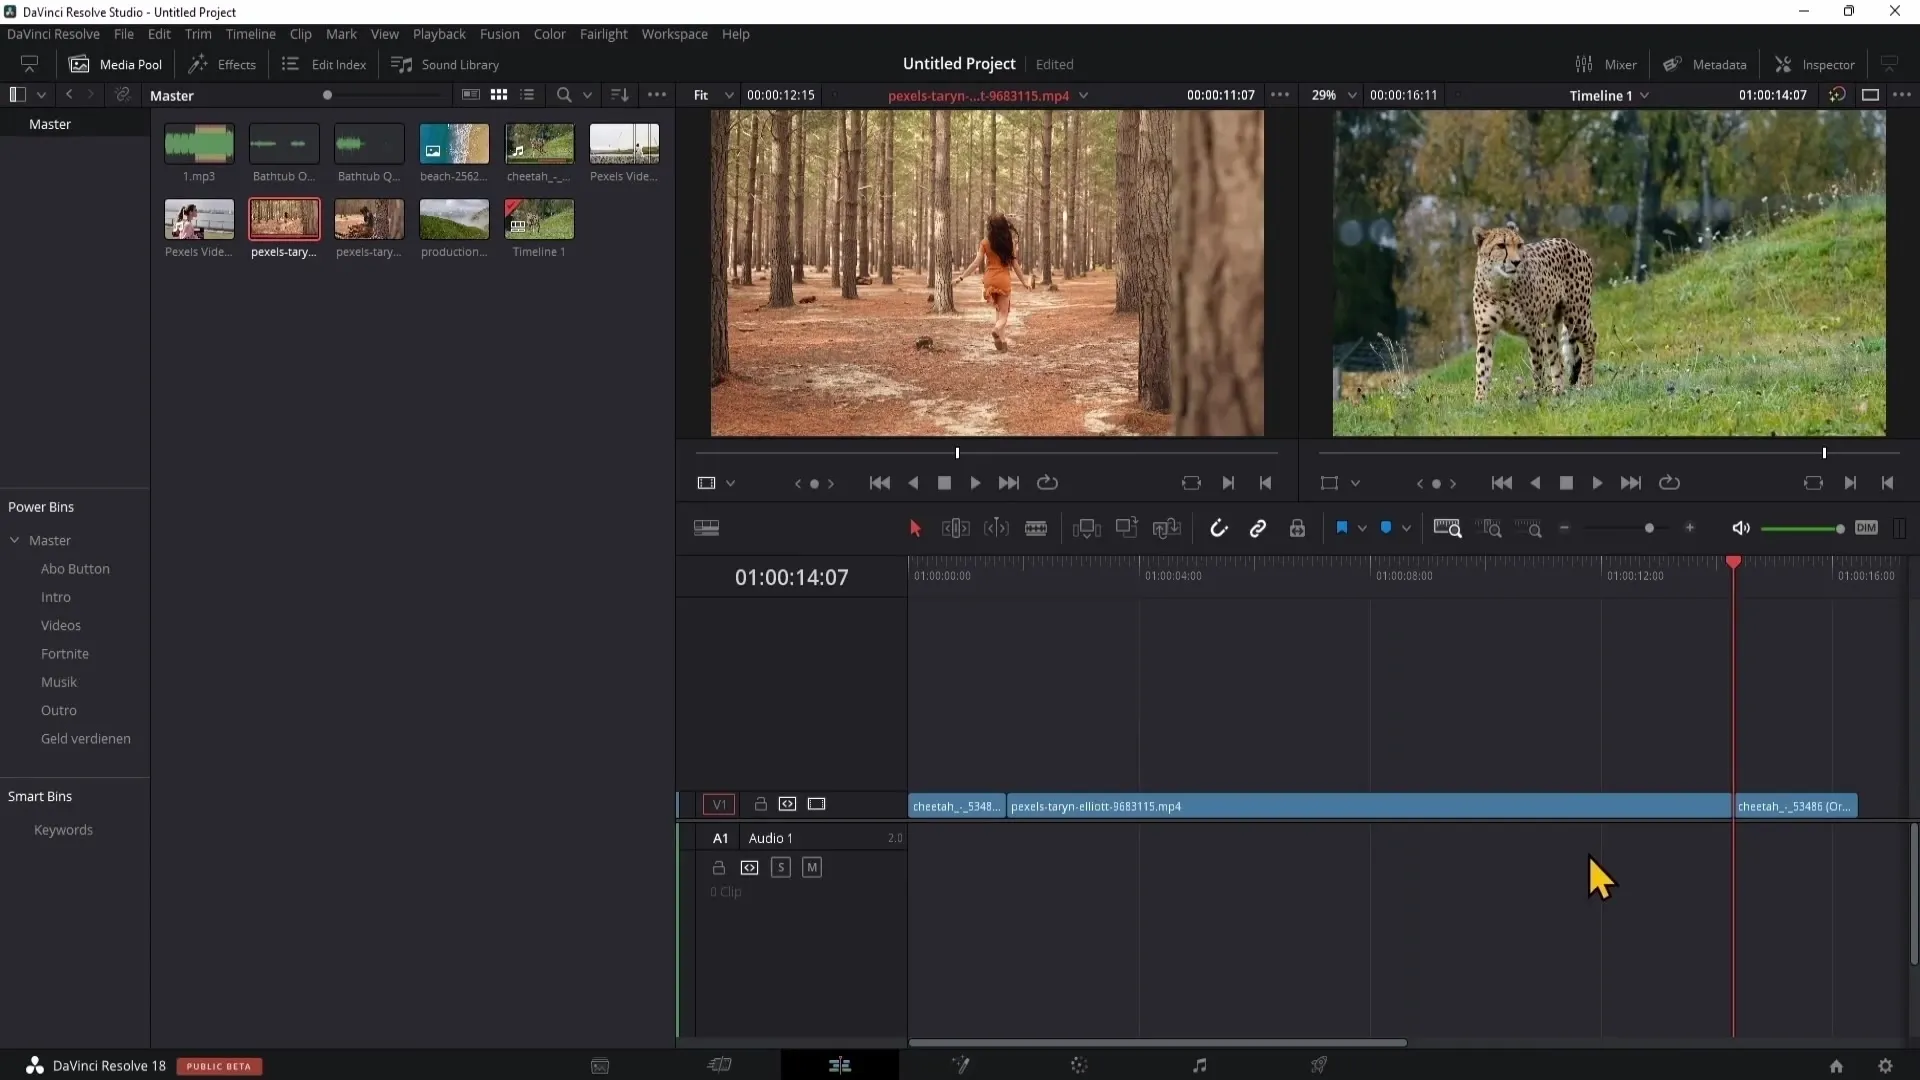
To insert clips between existing clips, make sure the playhead is at the desired cut point and use the Insert function to seamlessly add the clips.
7. Using the Audio Mixer and Inspector
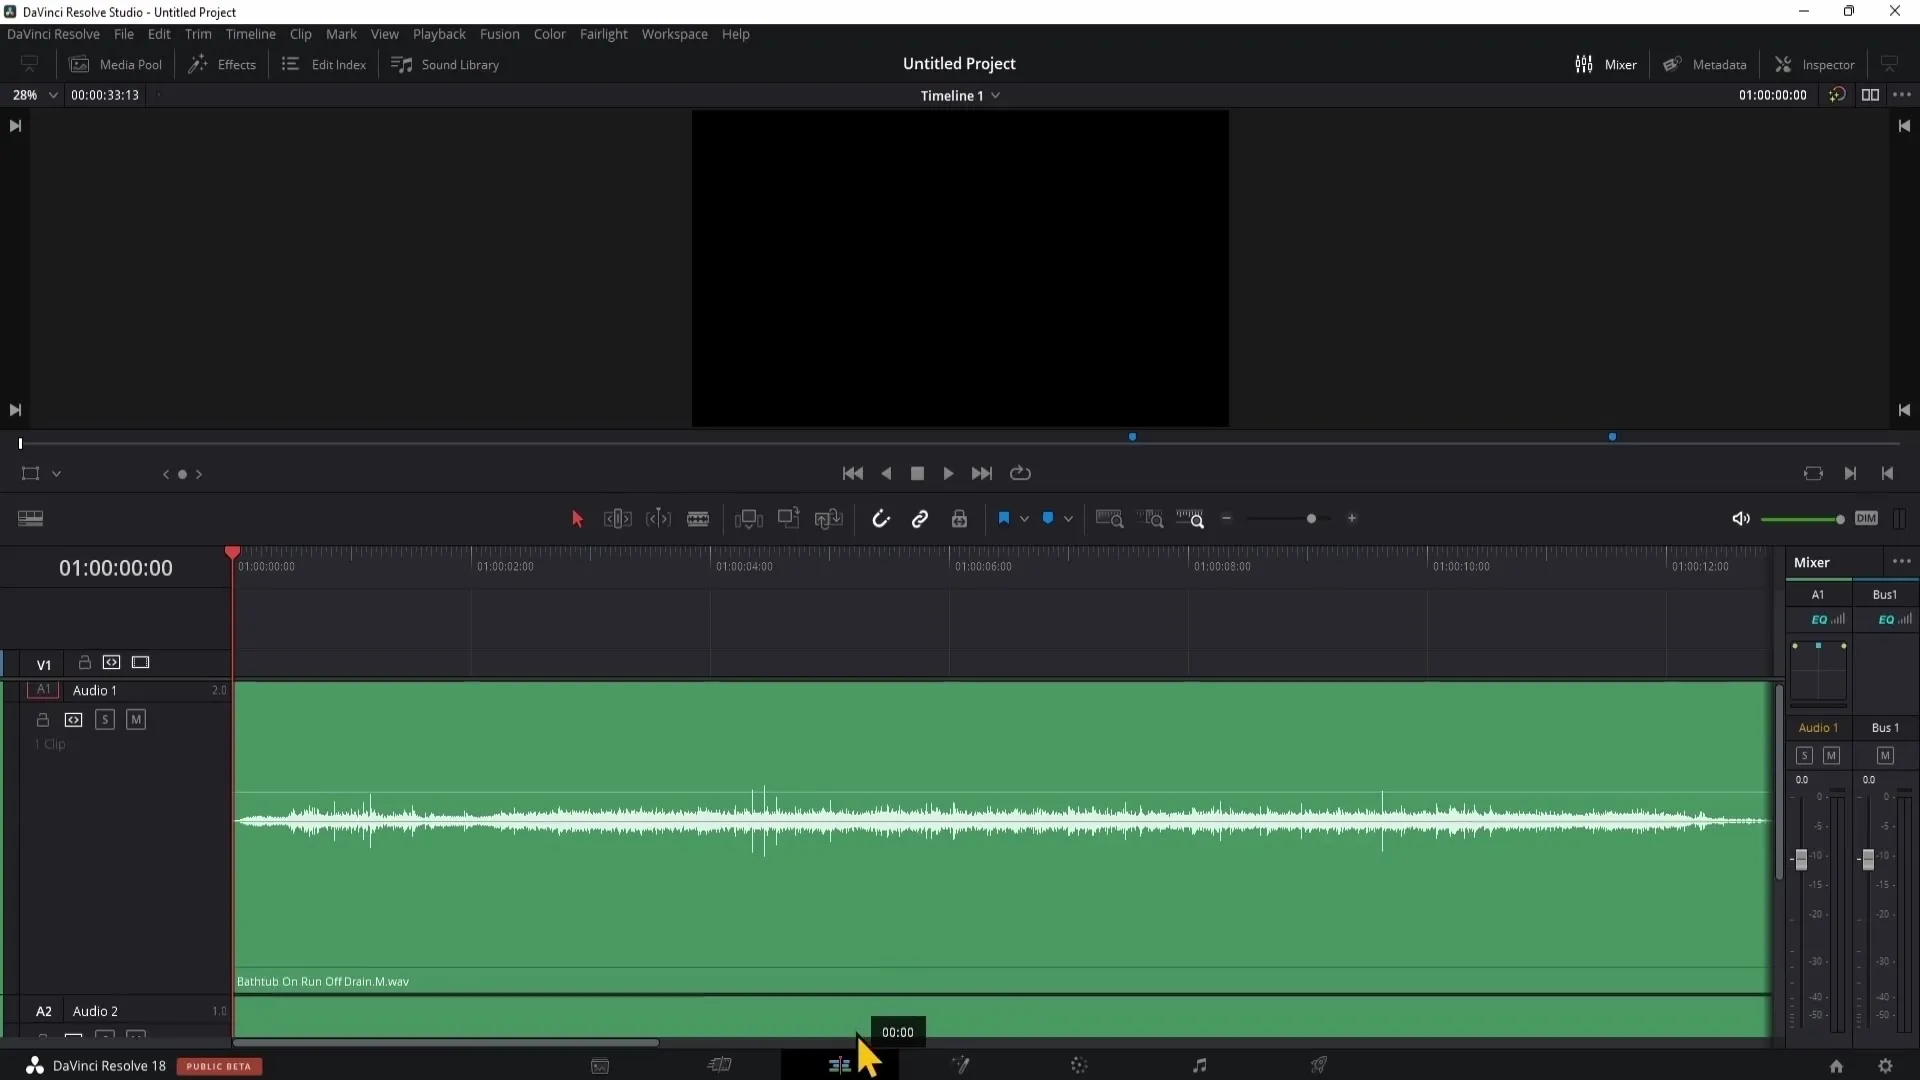
The Inspector offers you extensive options to edit your audio and video settings. Choose a clip and you can adjust the volume level, effects, and much more.
The Audio Mixer allows you to control different audio tracks. Mute or adjust the volume of individual tracks and keep an eye on the audio waveforms to make precise edits.
8. Effect and Transition Applications
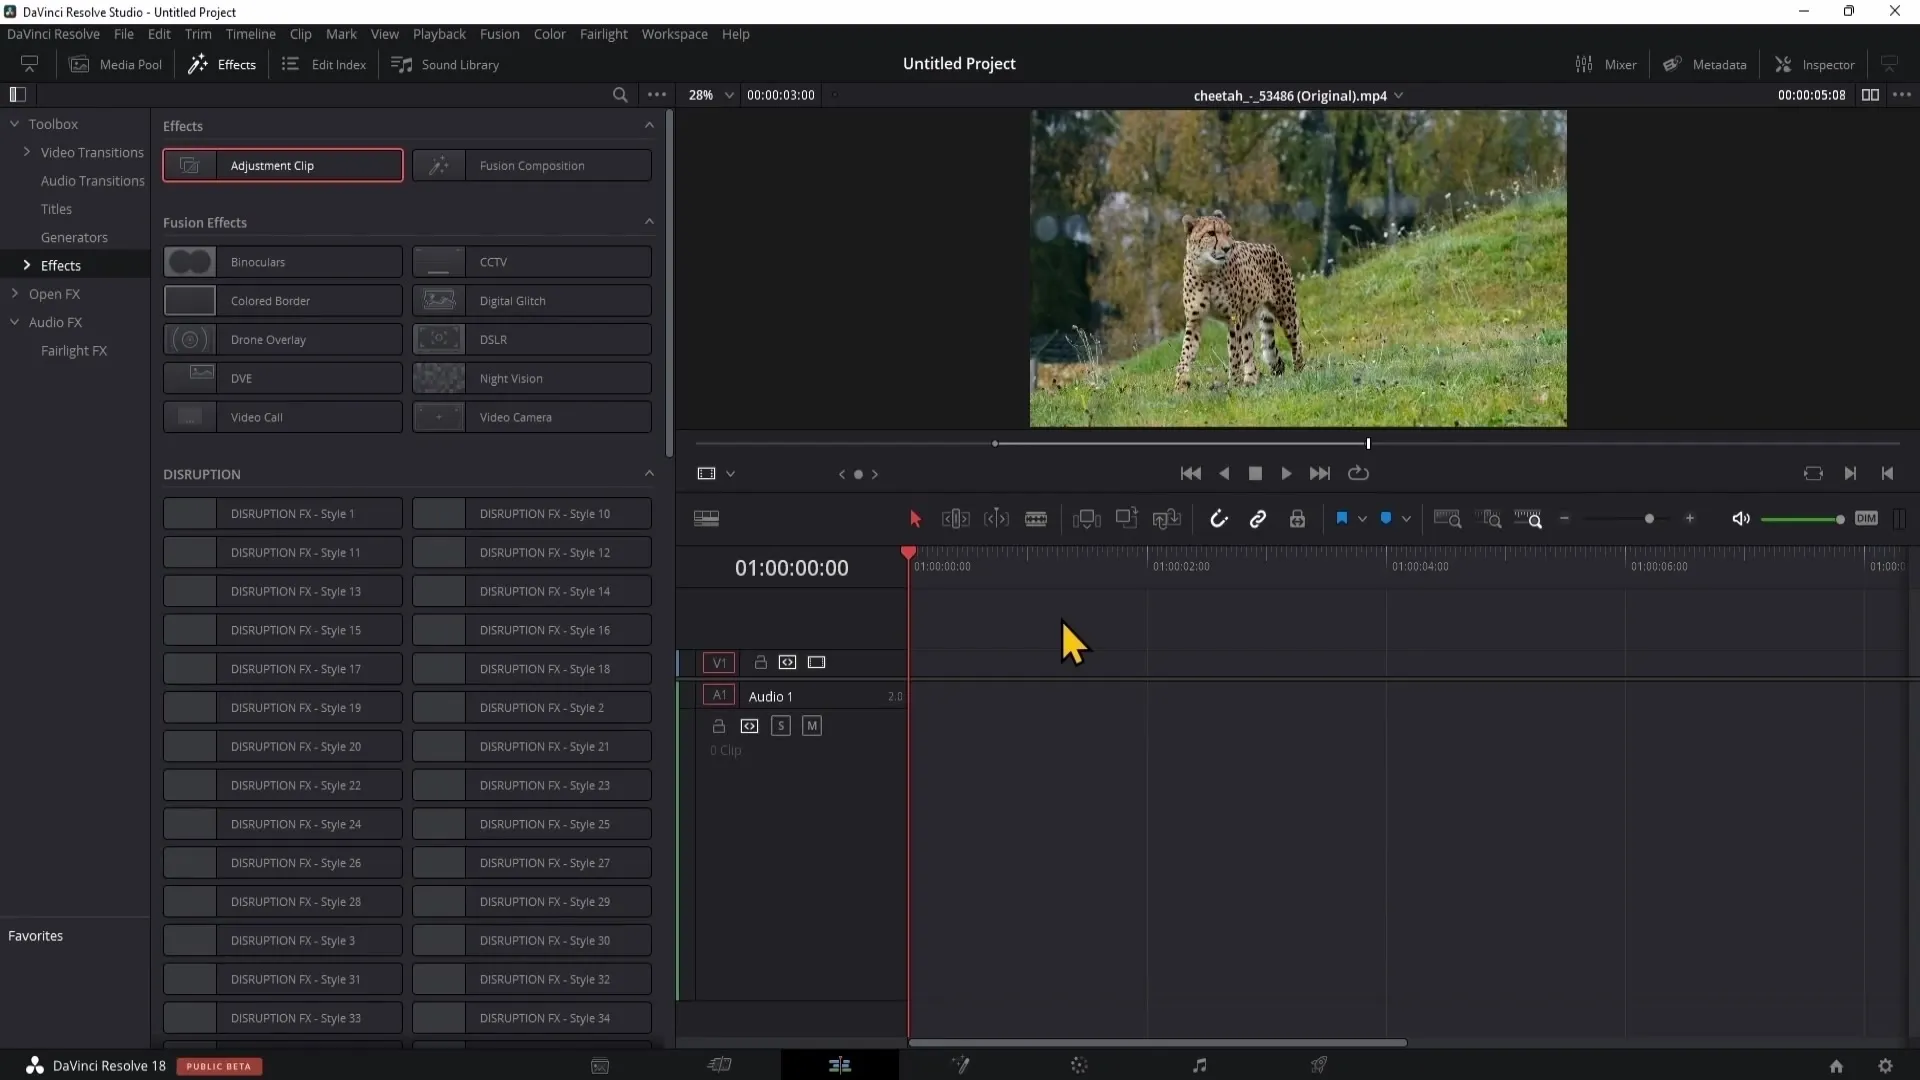
Adding effects is another quick way on the Edit Page. You can insert effects and transitions into your clips by dragging them directly from the effects library into your timeline. A variety of predefined effects are available for you to apply directly.
9. Working with Multiple Timelines
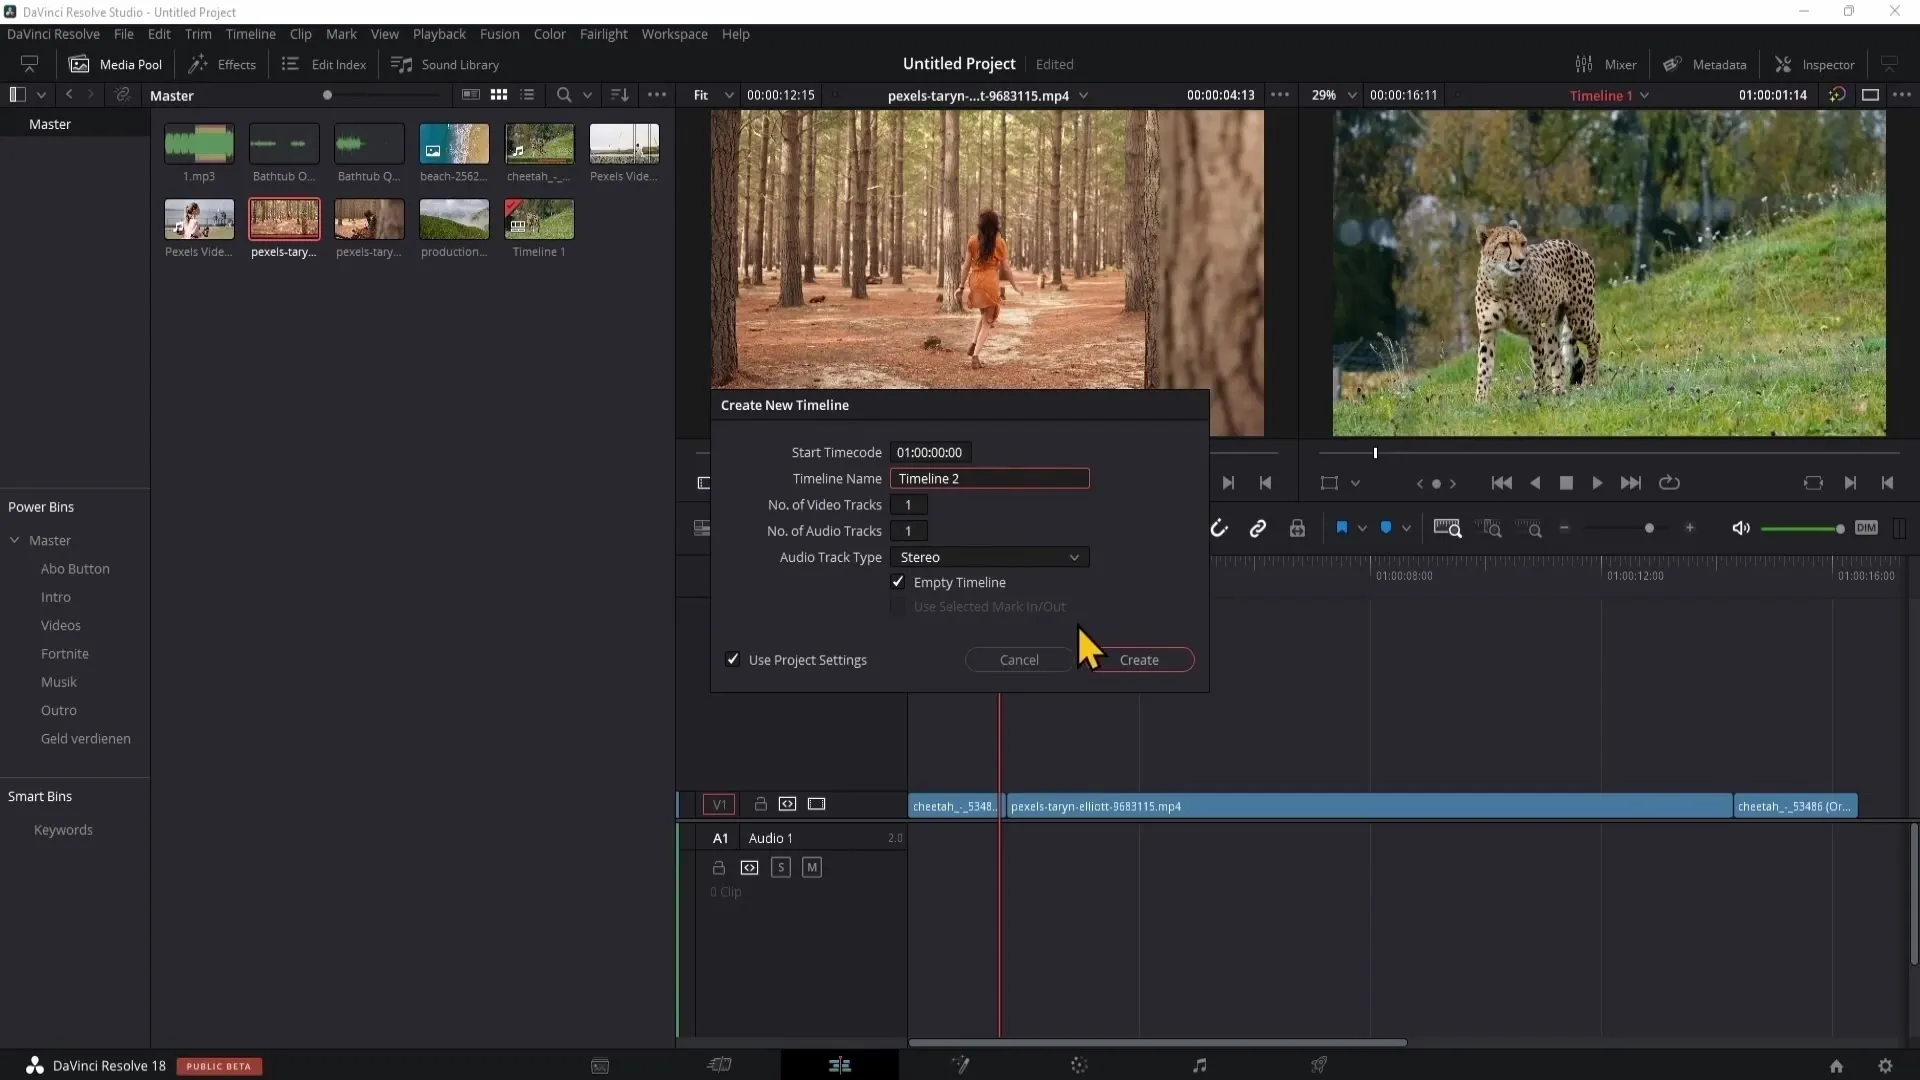
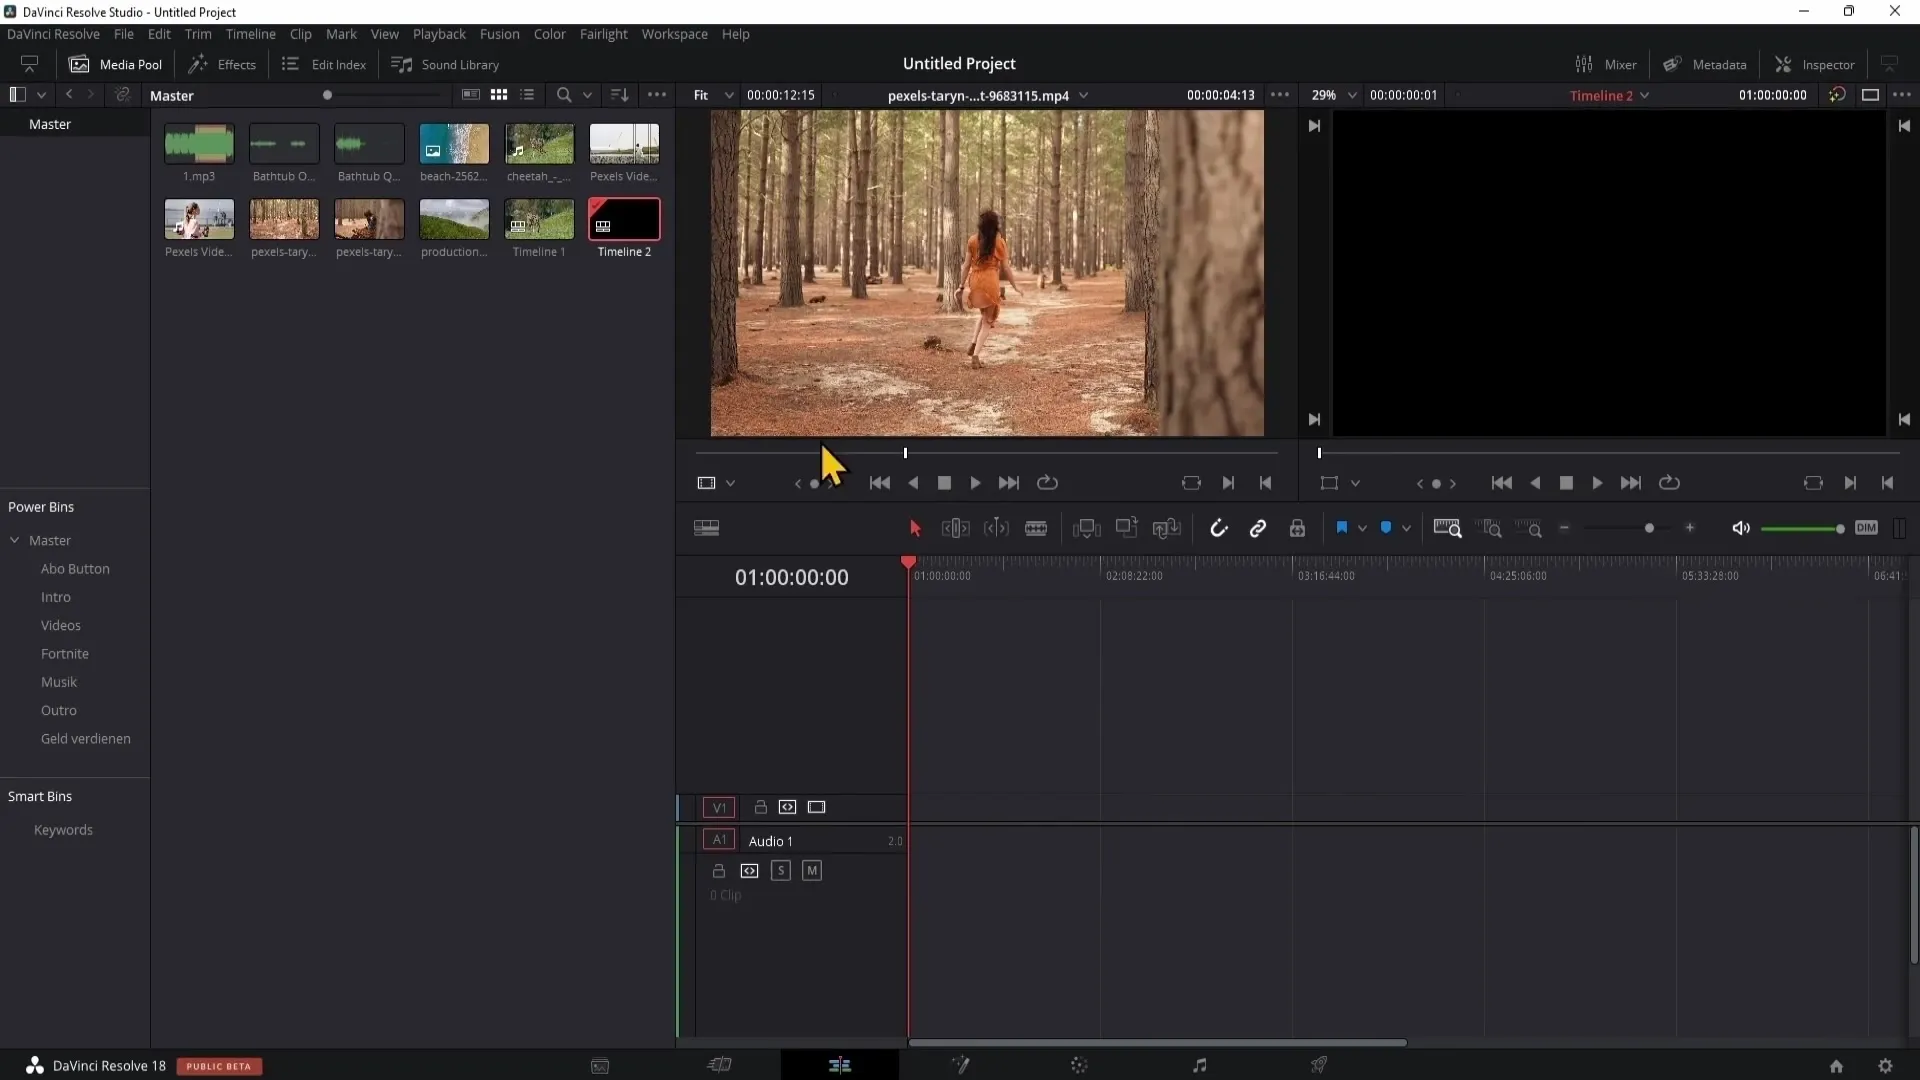
For large projects, it is often useful to work in multiple timelines. You can create new timelines and drag clips between them. With a right click in the right area and choosing "Create New Timeline," you can set this up quickly.
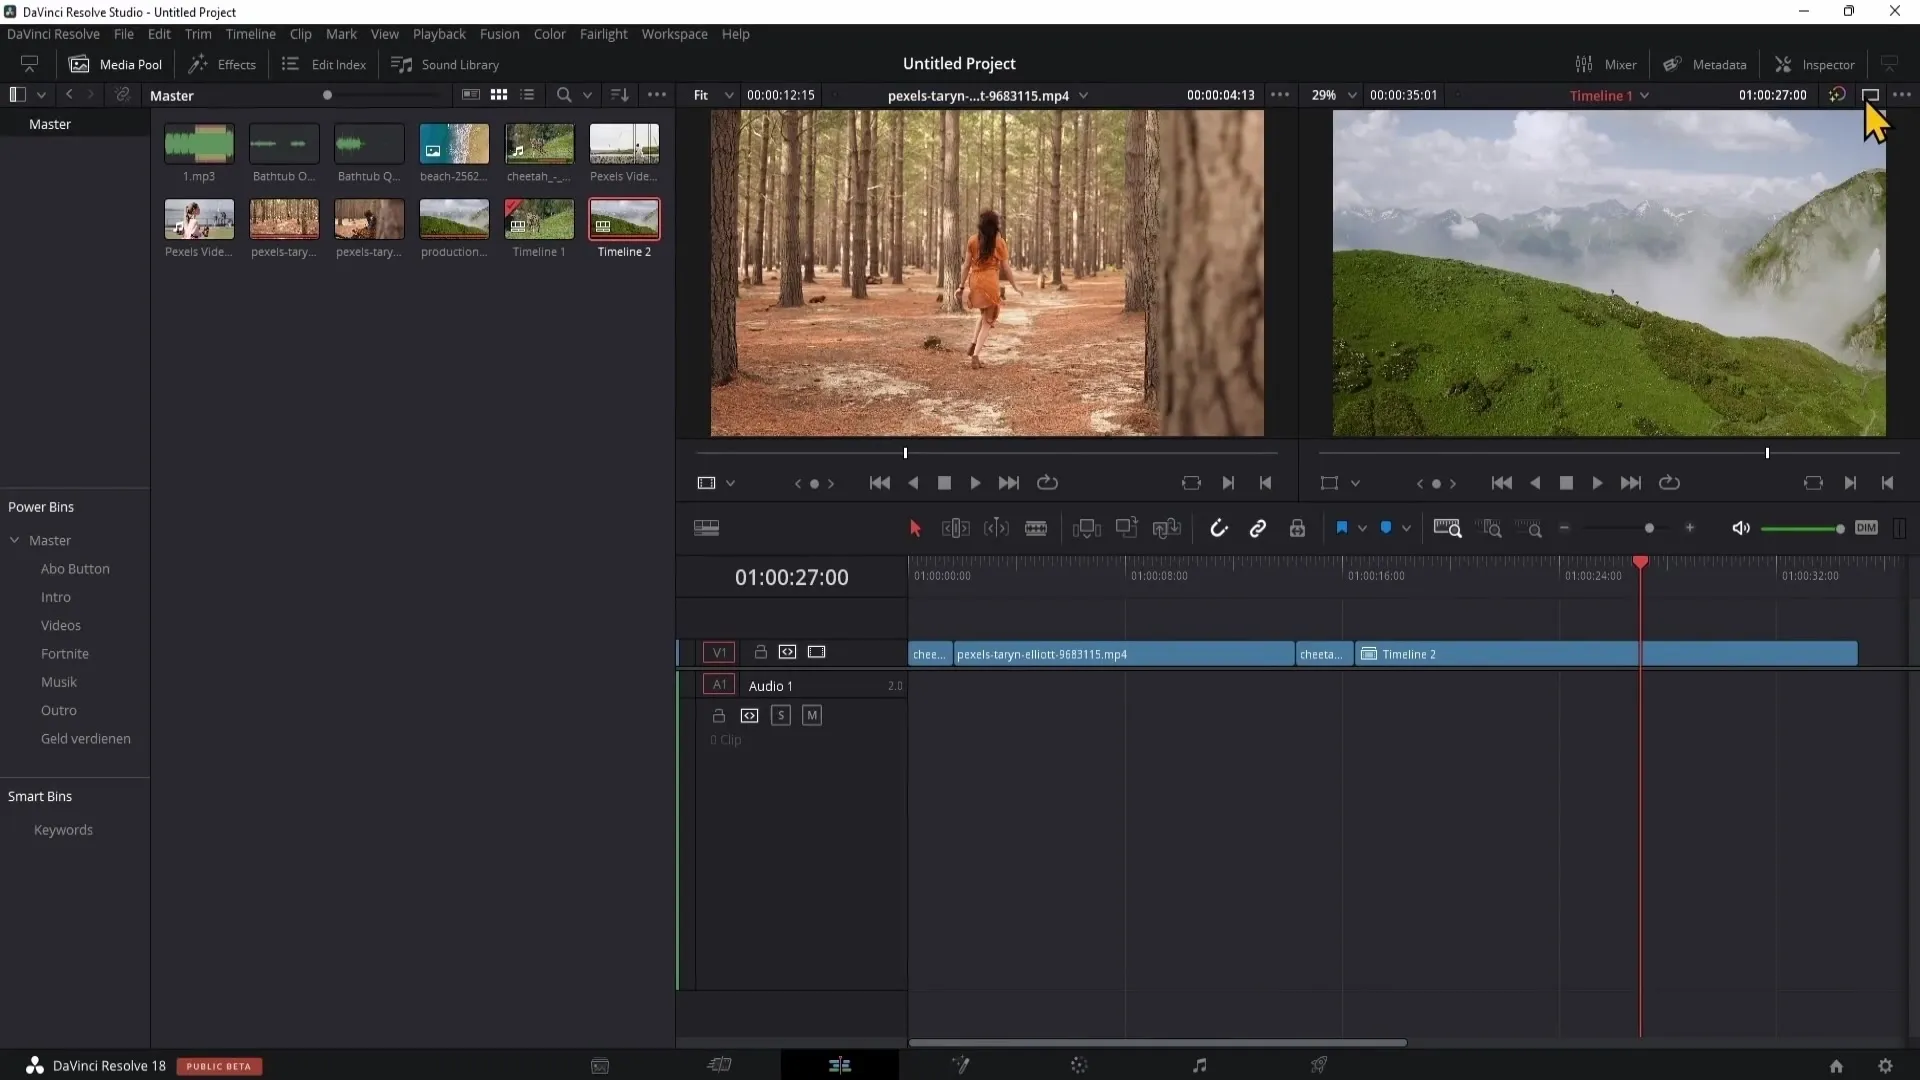
After editing your clips, you can merge them into a main timeline. Simply drag the second timeline into the first one.
10. Conclusion and Export
Once you have finished cutting and editing your timeline, the final step is to export your project. Simply go to the export options, select the desired settings, and start the export process to finalize your video.
Summary
In this guide, you have familiarized yourself with the basic functions of the Edit Page in DaVinci Resolve. From import options to editing clips, adding effects, and exporting your projects – you are now equipped with the tools you need to efficiently work in DaVinci Resolve.
Frequently Asked Questions
How do I import my files into DaVinci Resolve?You can drag your files into the Media Pool or add them by right-clicking and selecting "Import Media."
What are Power Bins and why are they useful?Power Bins allow you to organize and reuse files across projects, which is particularly efficient.
How do I set In and Out points for my clips?Place the Playhead at the desired position and press the "I" key (In-Point) and "O" key (Out-Point).
What options do I have for editing audio?You can adjust volume, effects, and more in the Inspector, as well as use the Audio Mixer to control different tracks.
How do I export my finished video?Go to the export options, select the desired settings, and start the export to complete your project.


