In this tutorial on the Edit Page of DaVinci Resolve, one of the leading video editing programs, you will learn how to efficiently utilize the various tools and functions to edit your videos. The Edit Page forms the core of the program, and in this section, you will learn practical tips and techniques that will help you optimize your workflow and create engaging videos.
Key Takeaways
- The Edit Page is the central tool for video and audio editing in DaVinci Resolve.
- Important tools like the mouse pointer, blade tool, and magnet are essential for precise work.
- Markers help to identify important points in the video.
- Effects and transitions are essential elements to enhance your videos.
- Using shortcuts can significantly boost your efficiency.
Step-by-Step Guide
Using the Tools
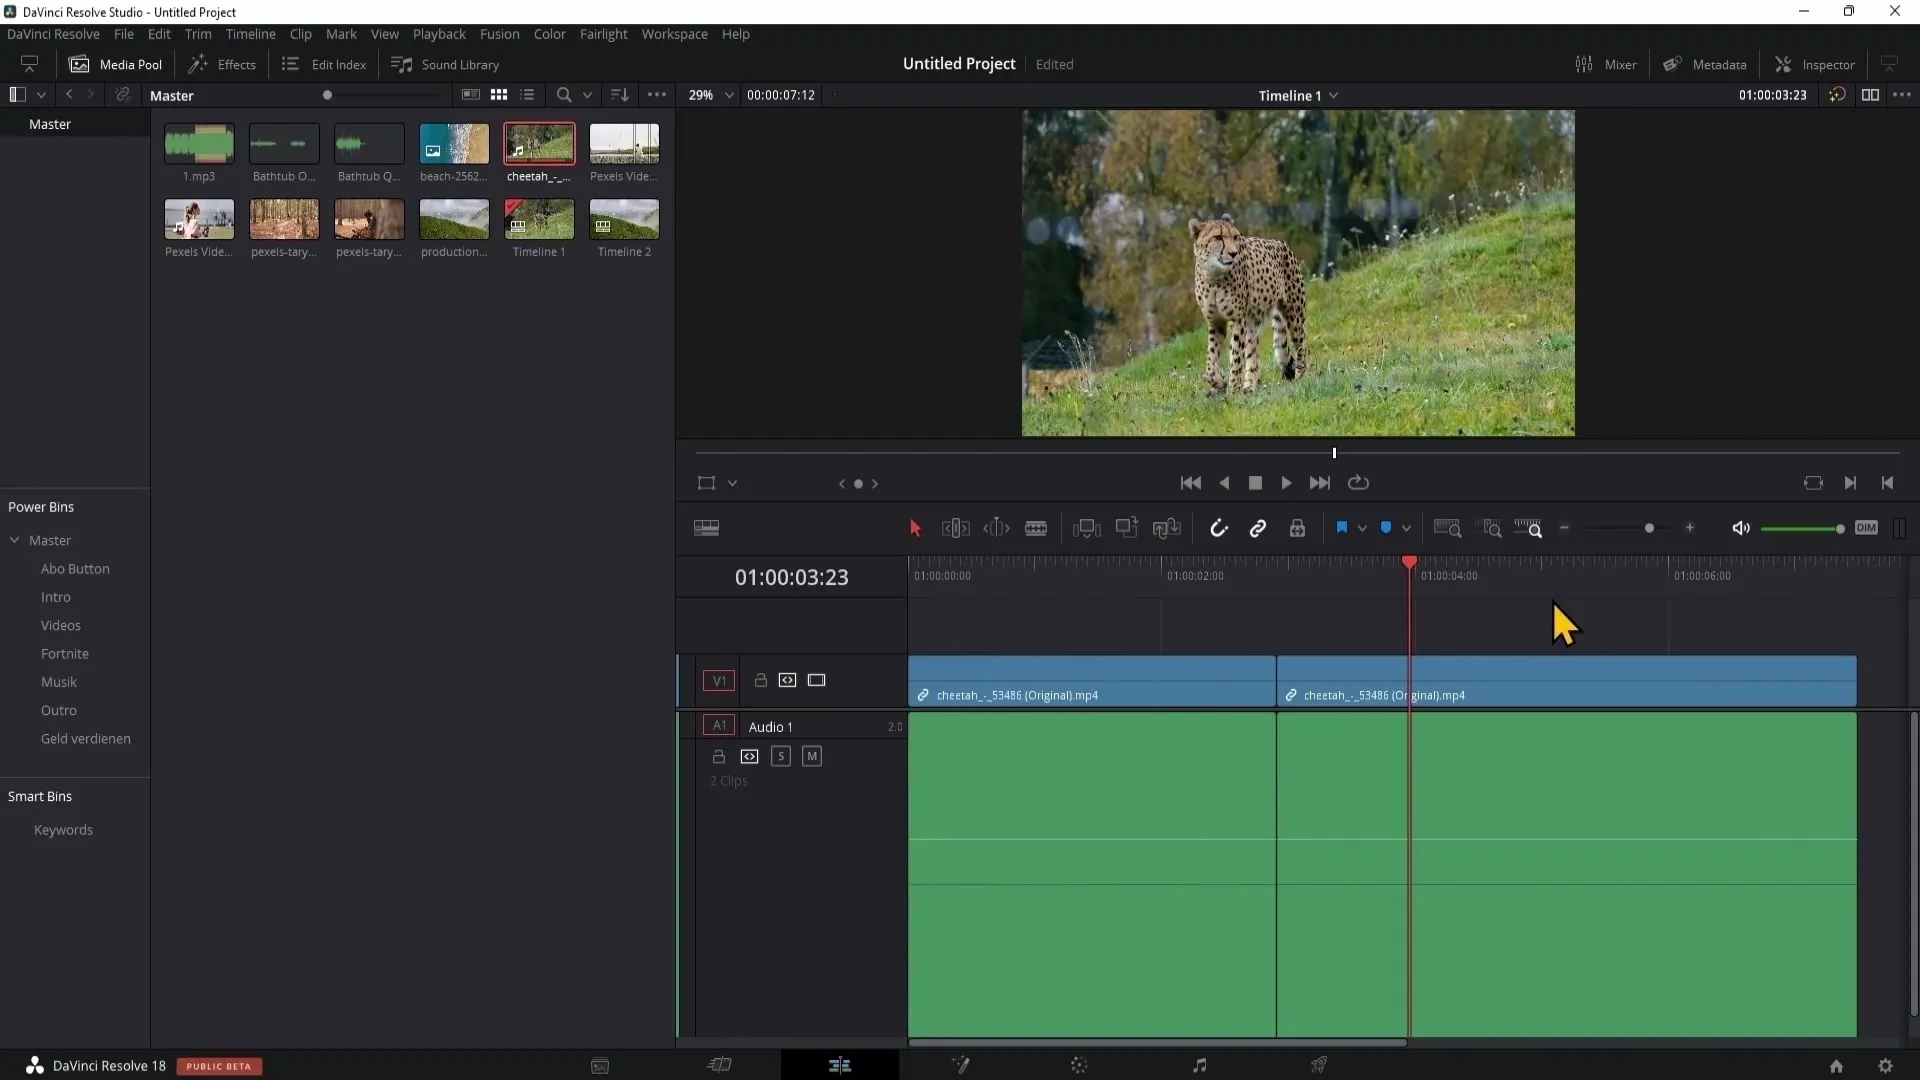
Start by familiarizing yourself with the basic tools on the Edit Page. You can move, adjust, and trim clips within the timeline using the mouse pointer. Simply drag the end of your clip with the mouse to trim it. Make sure the magnet (snap tool) is active so your clips seamlessly snap together.

The Blade Tool
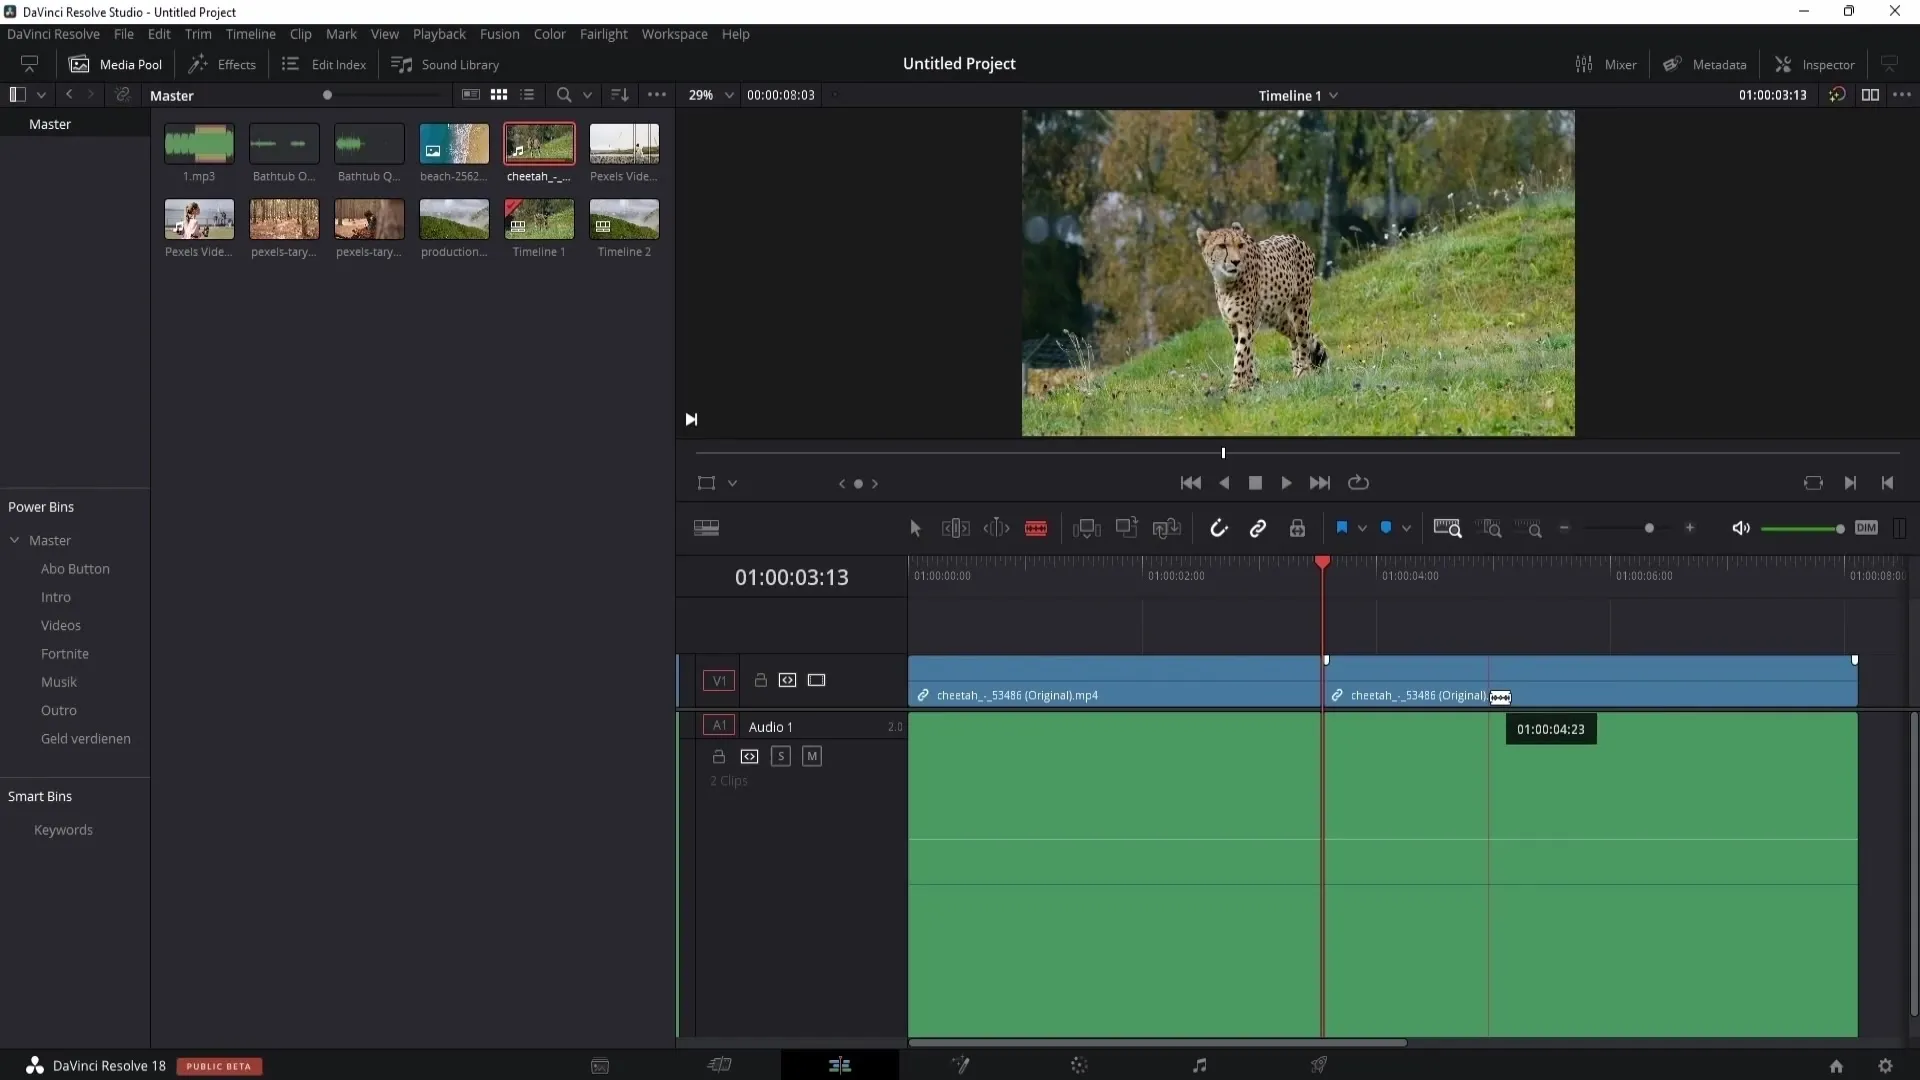
Another essential tool is the blade tool. With this tool, you can easily cut parts of your clips. Click on it and place the cutting point at the desired location. This works for both video and audio clips.
Working with Clips
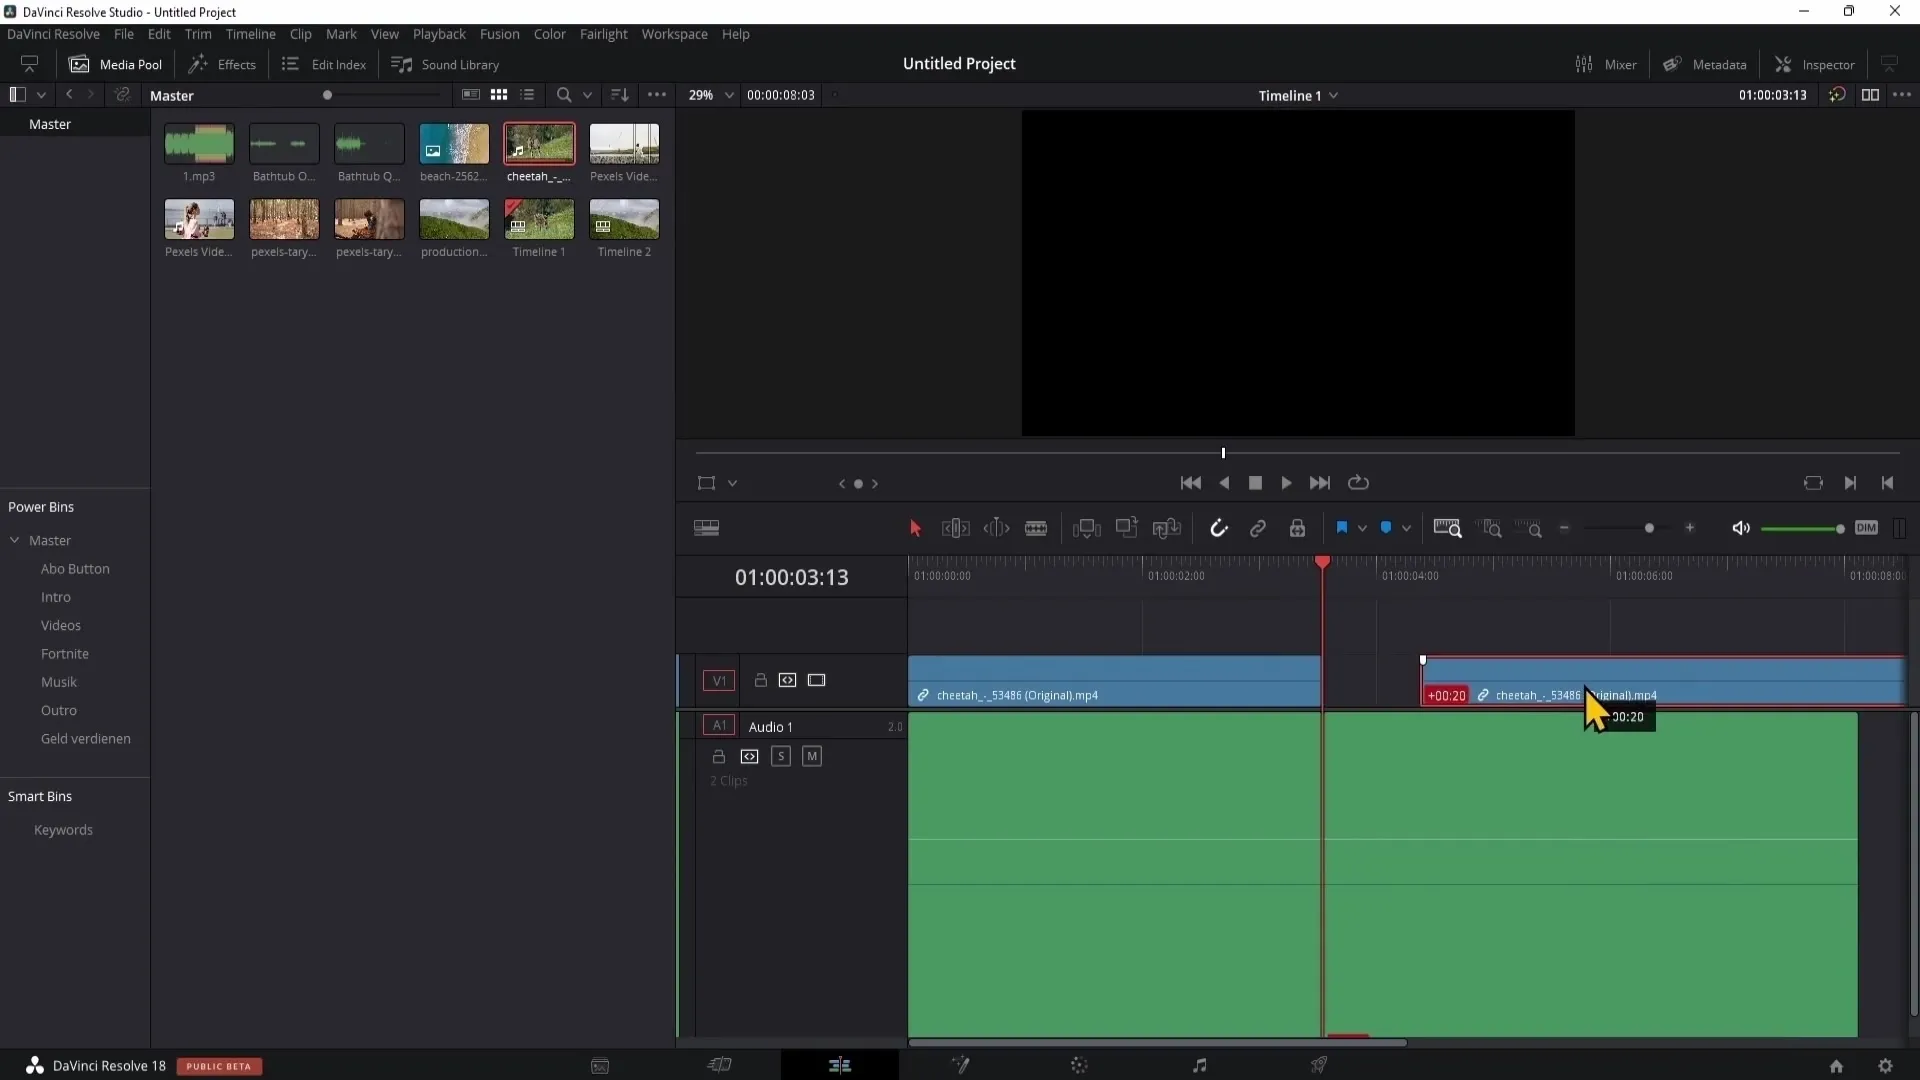
If you want to move clips independently, disable the link between video and audio. Hold down the Alt key to move or delete clips flexibly without affecting others.
Setting Markers
To leave concise notes in the video, set markers at relevant points. Press the M key to quickly set a marker. You can also add notes to each marker to quickly identify specific editing points later on.
Customizing Timeline View
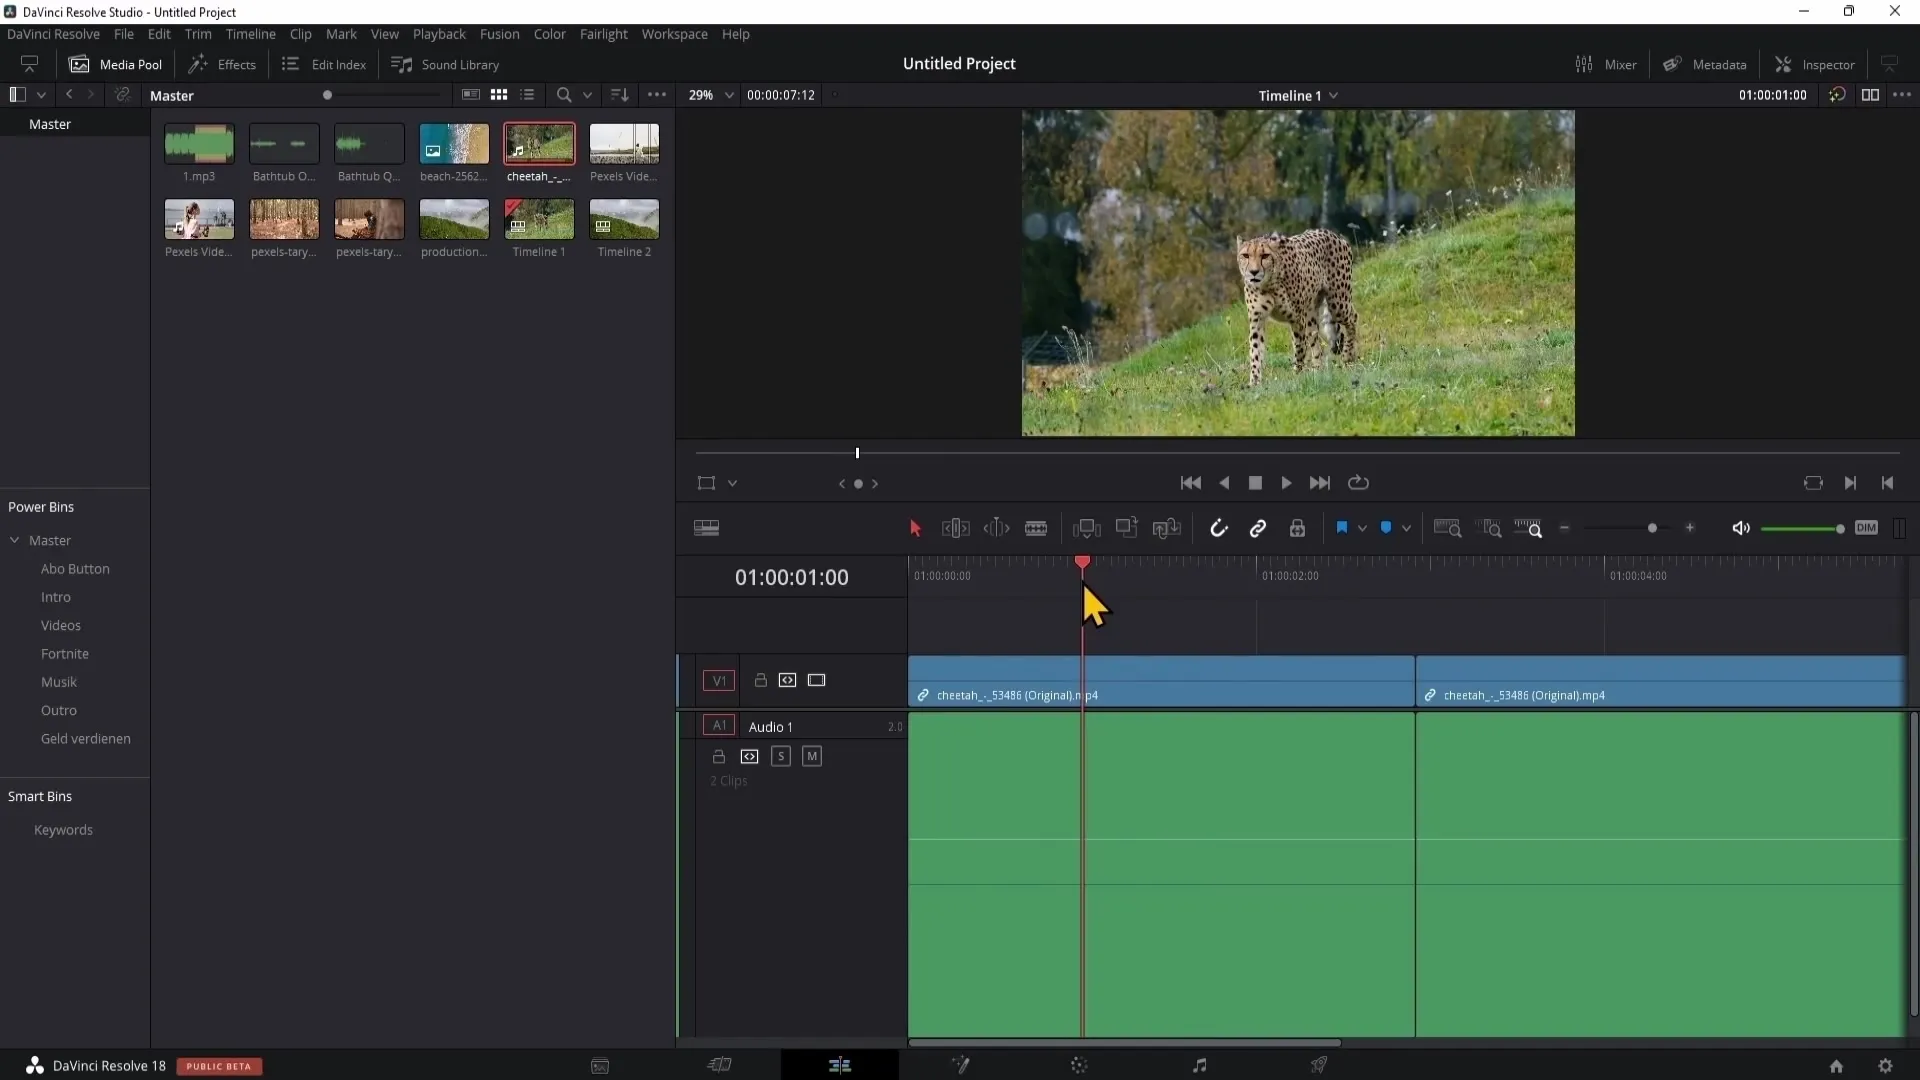
To adjust the view of your timeline, use the zoom functions. Experiment with the view setting to zoom in closer to the video material or have an overview of the entire timeline. Alternatively, you can hold the Alt key and scroll with the mouse wheel to quickly change the zoom level.
Using Shortcuts
To speed up your editing, learn useful keyboard shortcuts. Instead of constantly switching between tools, you can access these functionalities through shortcuts, saving you significant time.
The Inspector
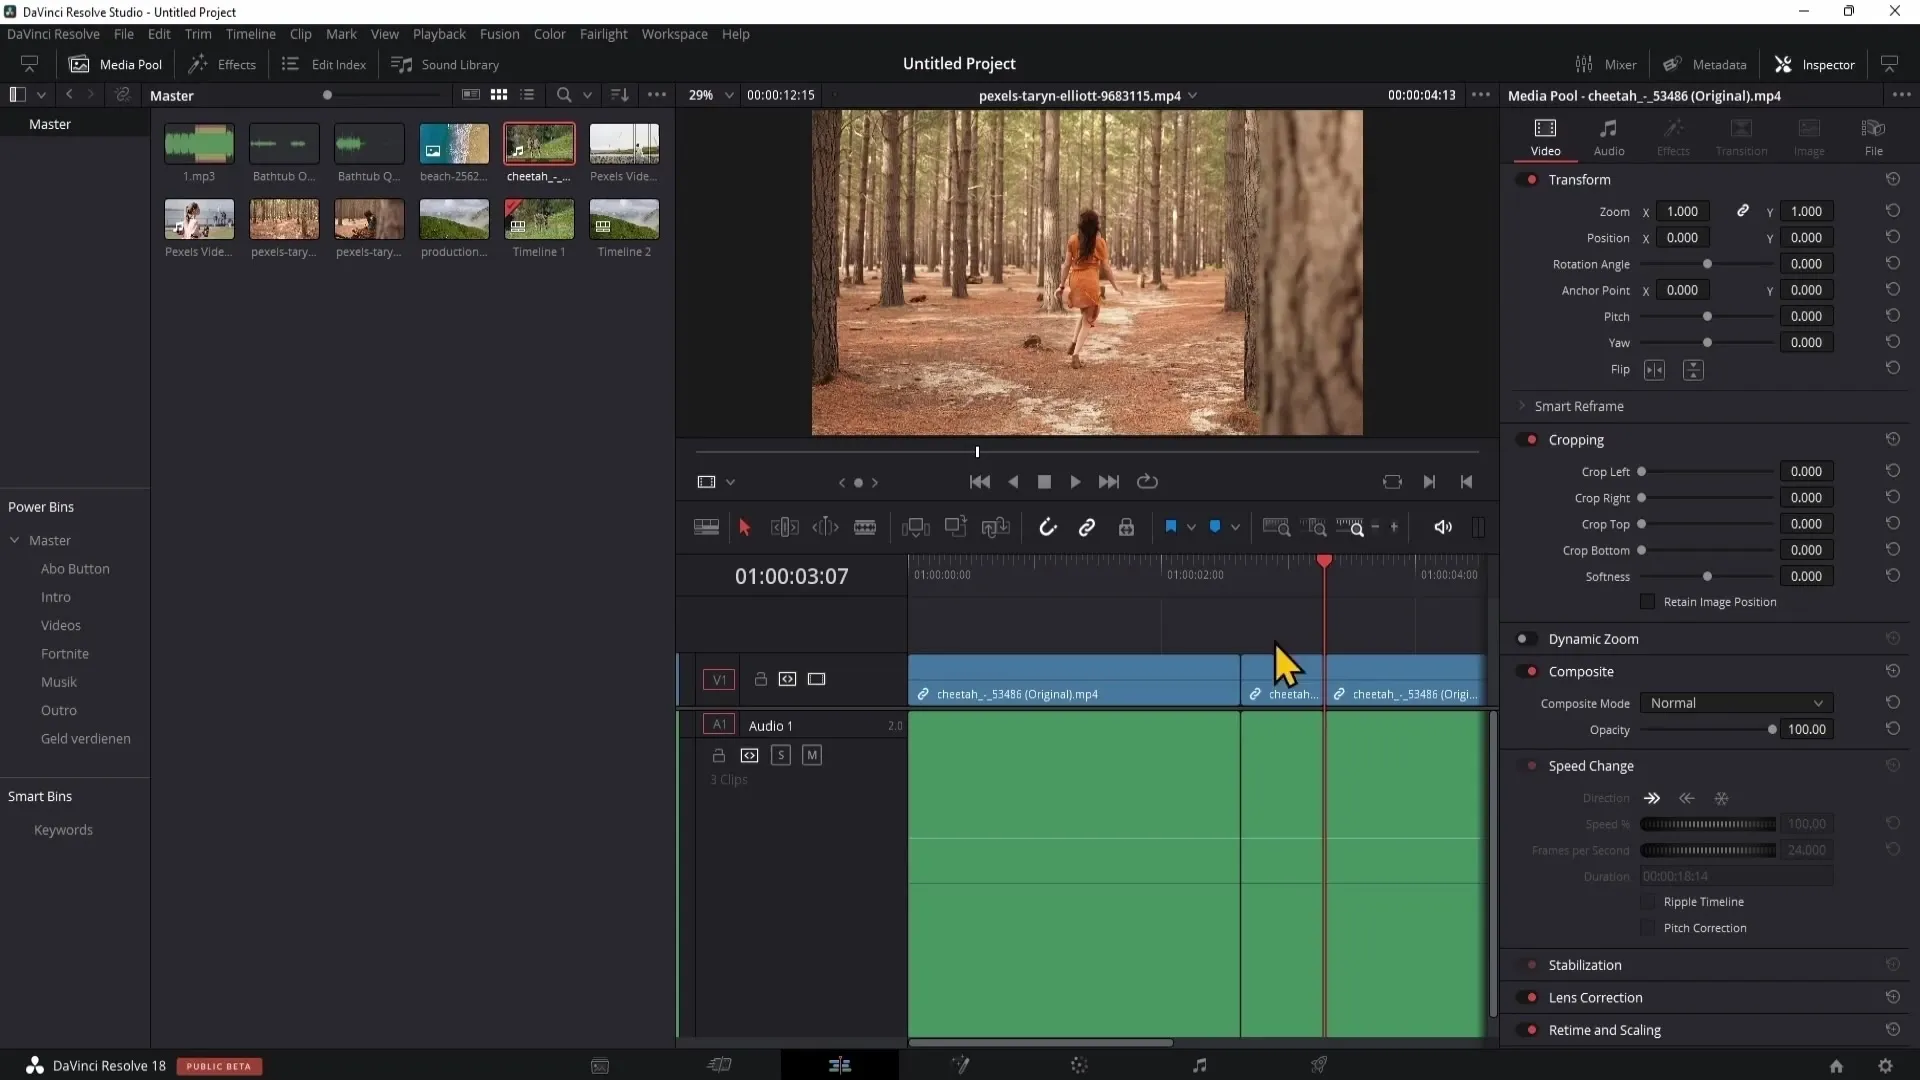
The Inspector provides access to many editing functions. Here, you can adjust video and audio settings, add various effects and transitions. When you select a clip, the Inspector displays all relevant information.
Animations with Keyframes
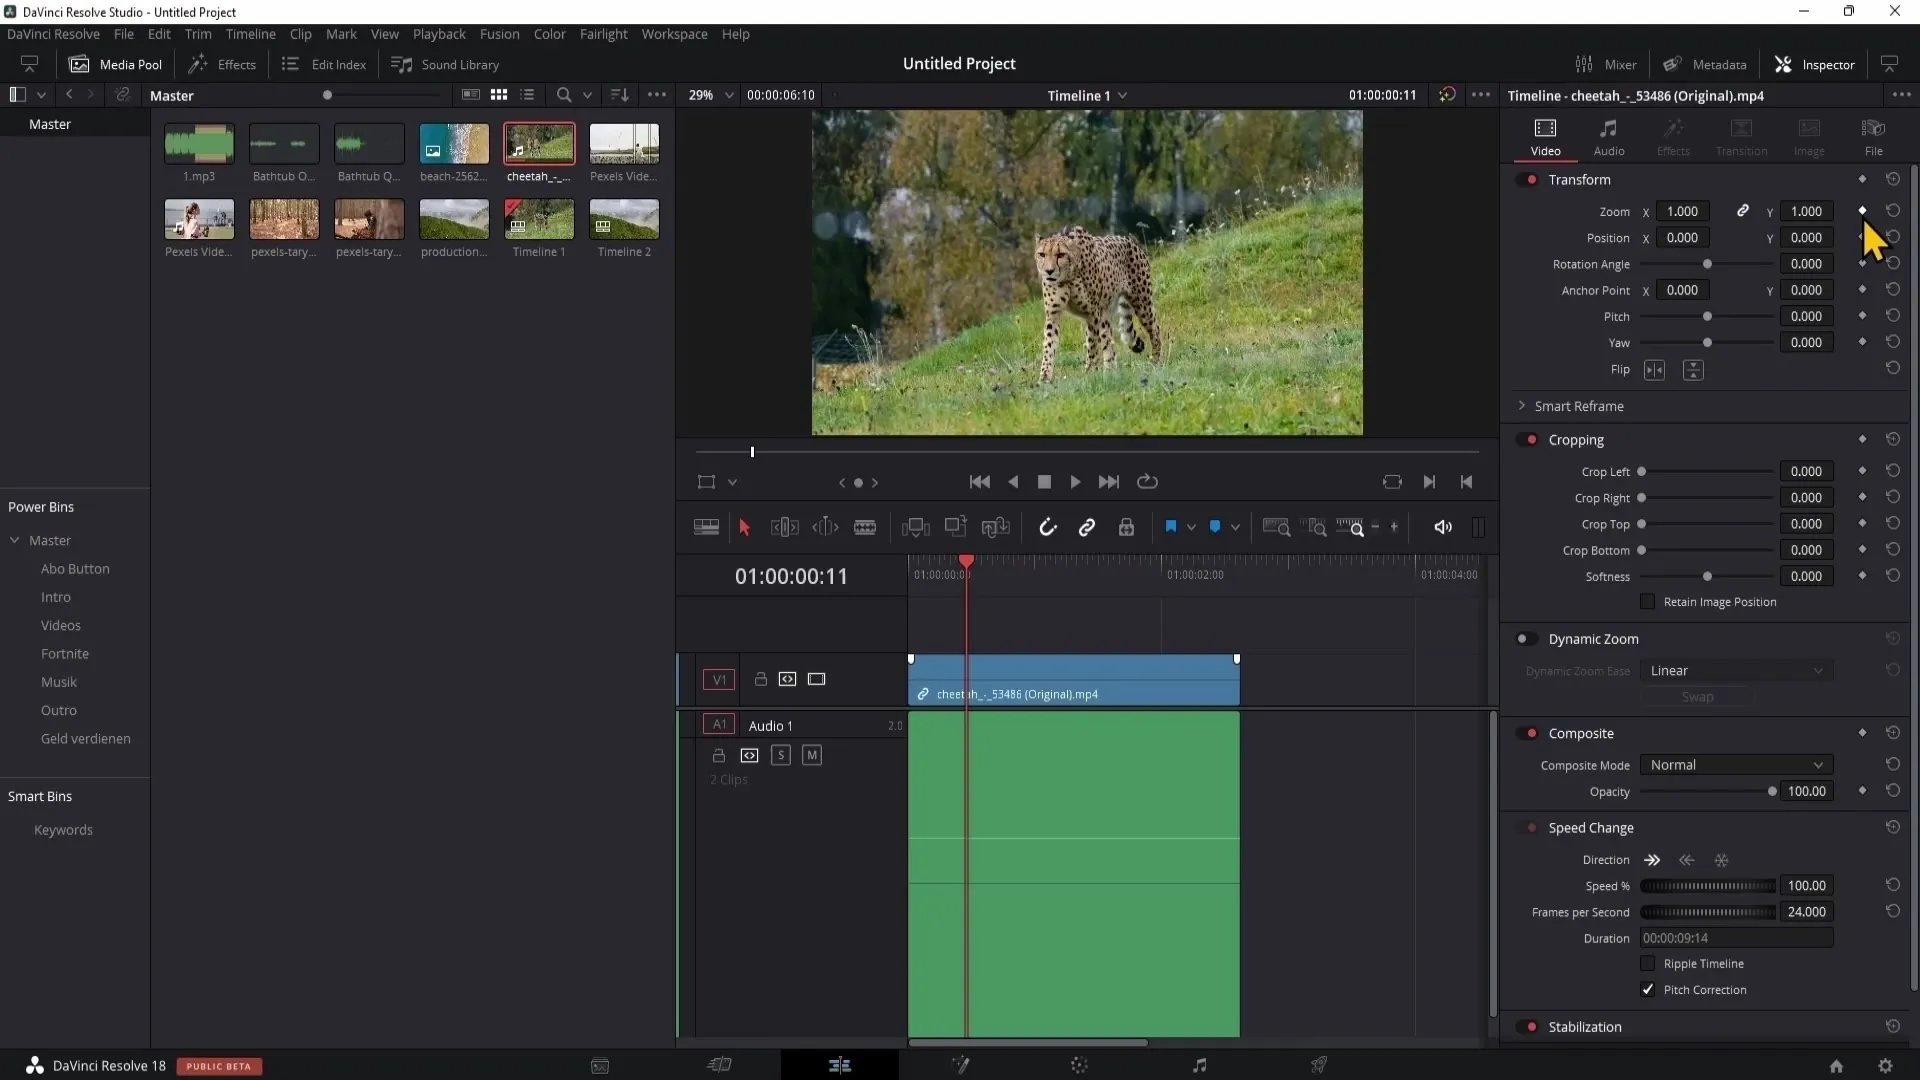
To bring your clips to life, use keyframes. This allows you to animate settings like position or zoom. Create a keyframe at the start and another at the end of the animation. This way, you can easily implement movements.
Effects and Transitions
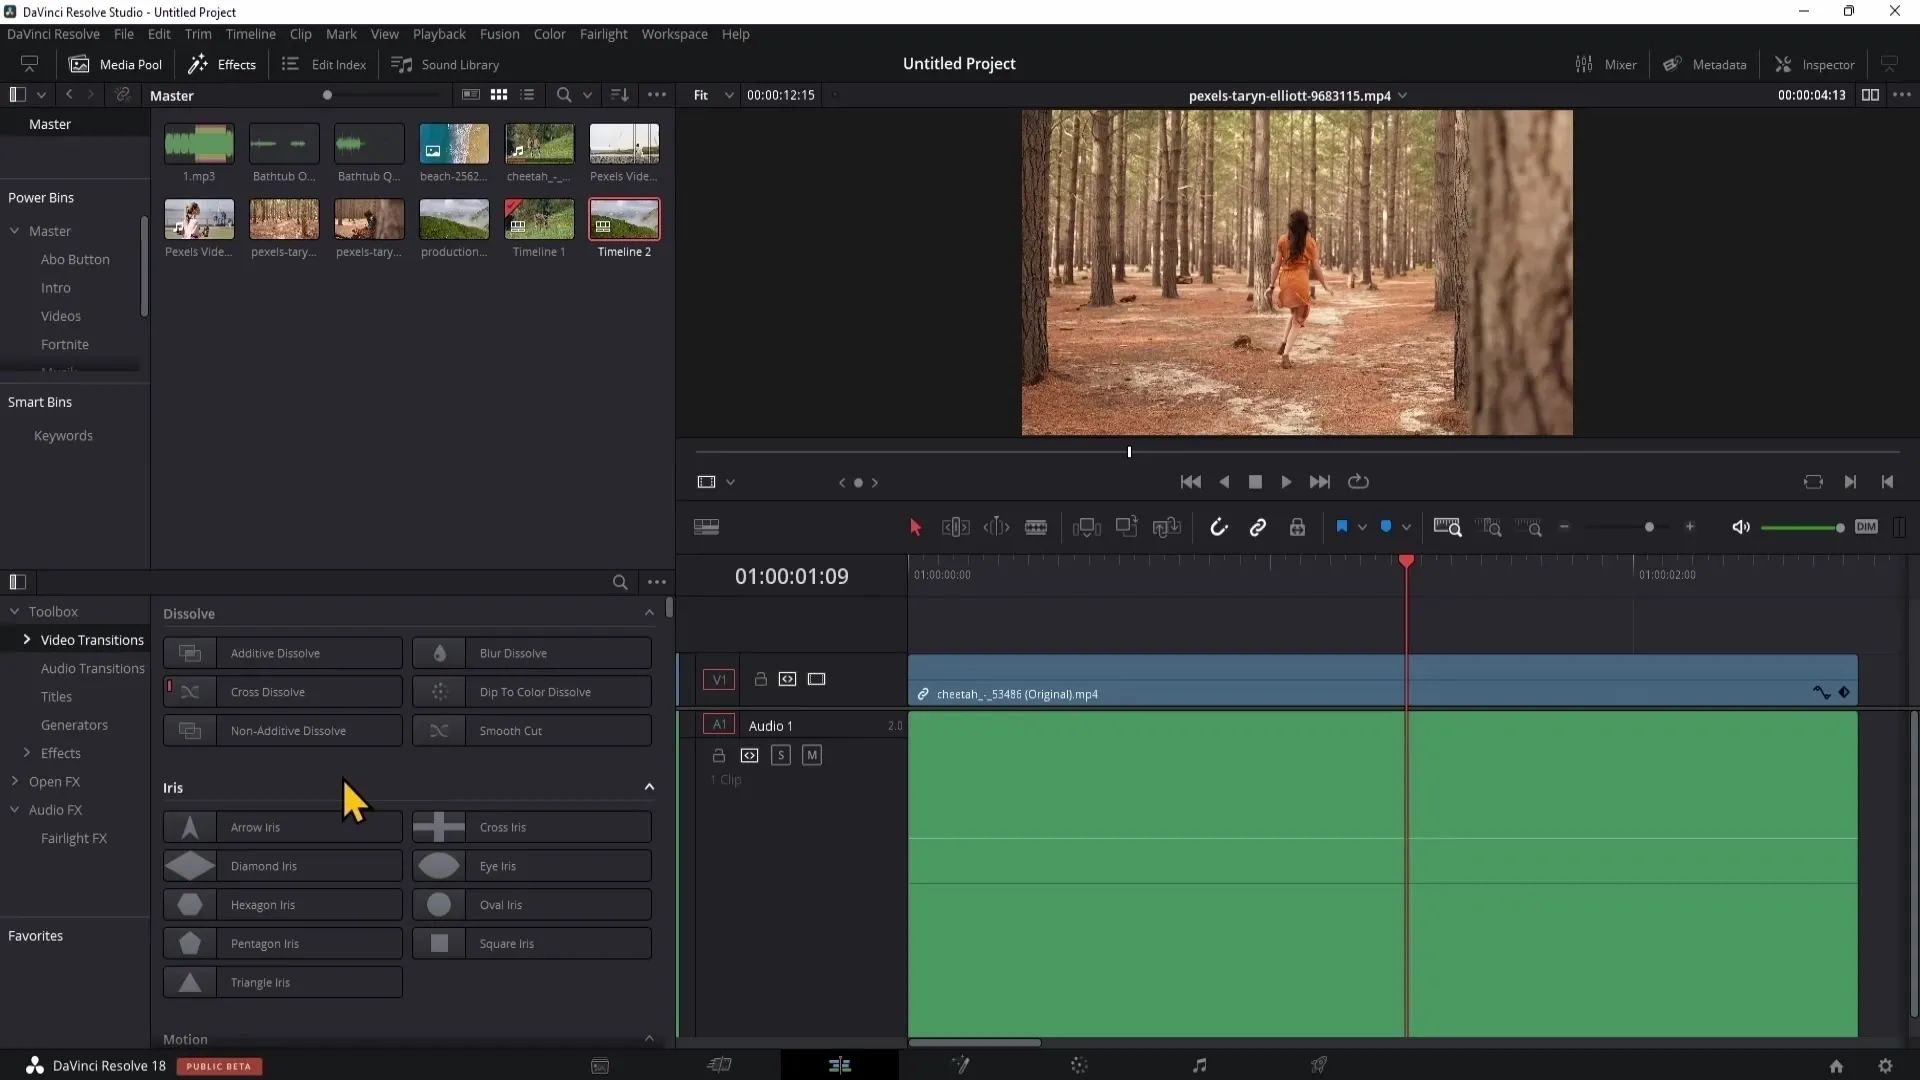
Go to the video transitions area and drag a desired transition between two clips. You can animate these pre-made transitions by simply changing the length of the transition. When combining clips, you can also create compound clips to insert transitions in the middle.
Audio Effects
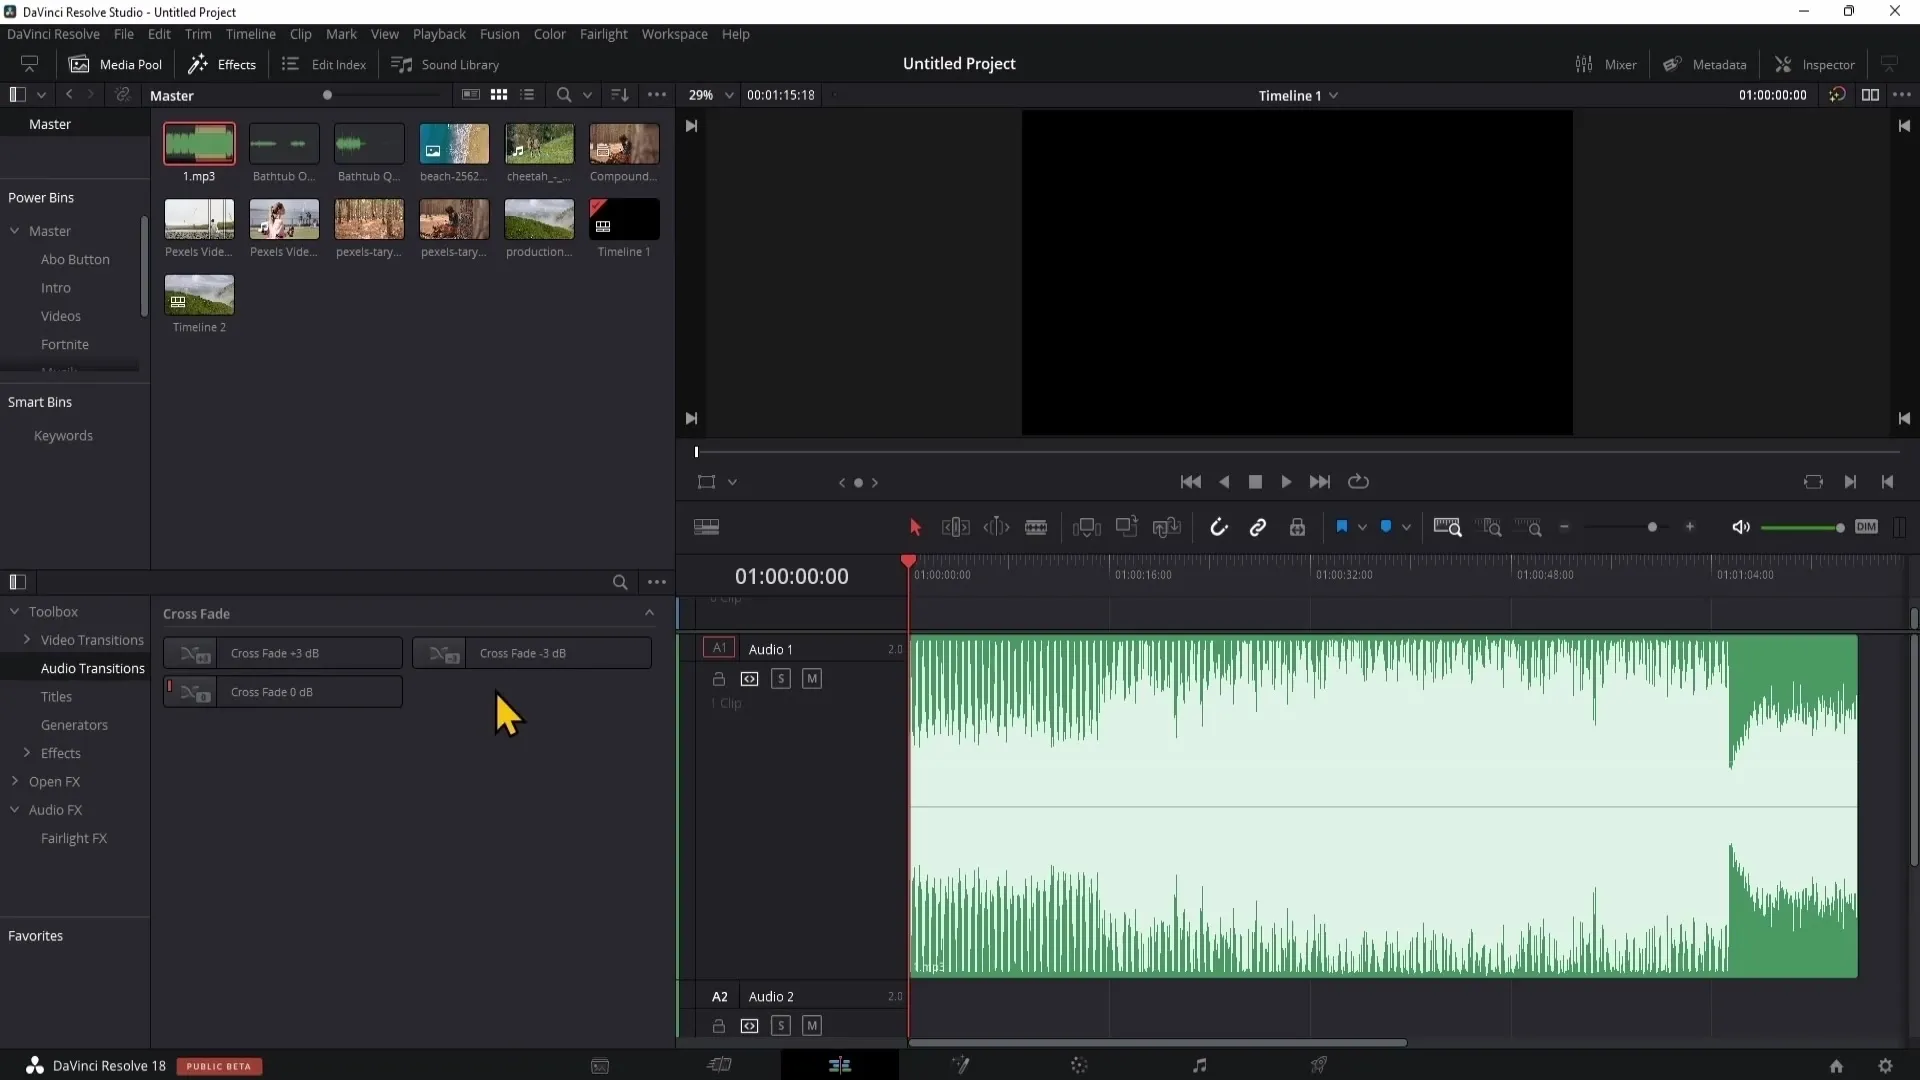
Audio effects are also crucial for video editing. For example, you can use the echo effect or the de-esser tool to reduce unpleasant sounds in conversations. Here you can also add effects to your audio using drag and drop.
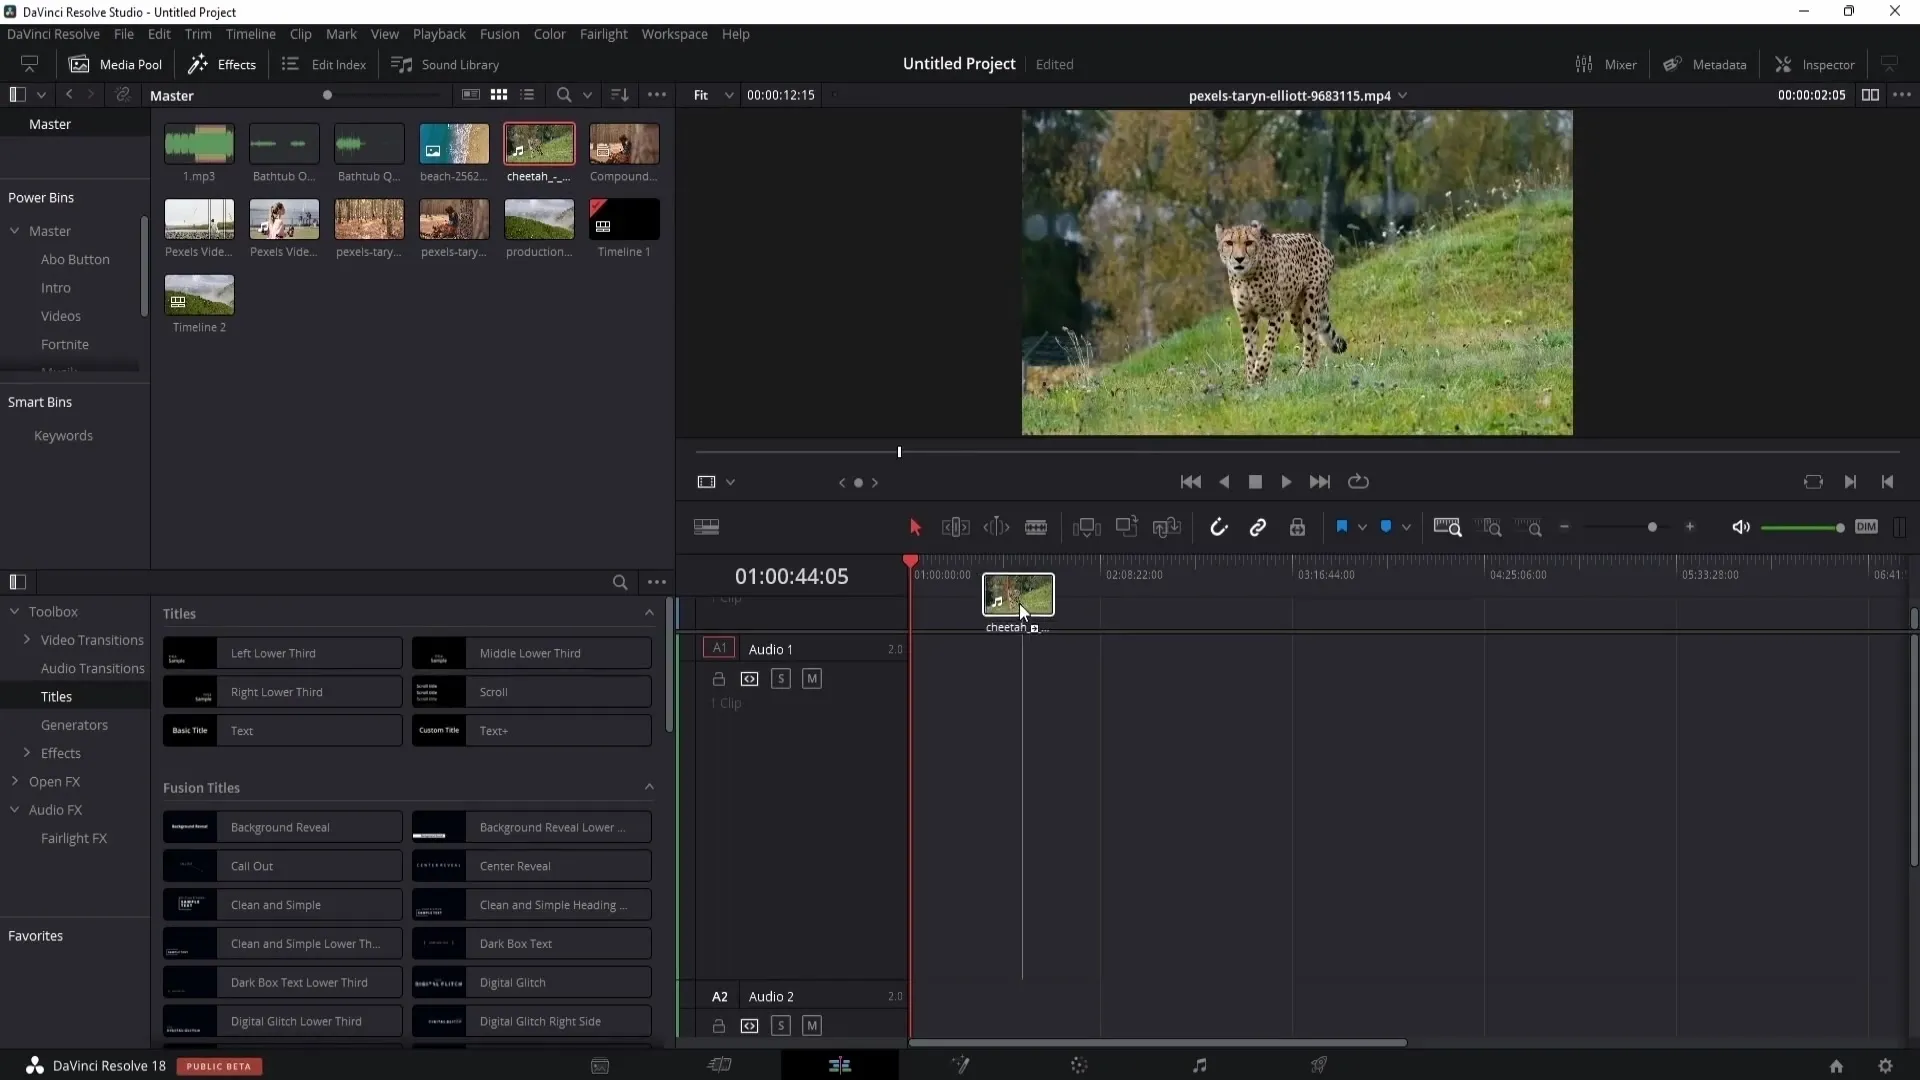
Integrating Titles
To insert titles into your video, you can use title templates that you simply drag into the timeline. You can customize fonts, colors, and animations in the inspector to achieve the desired look.
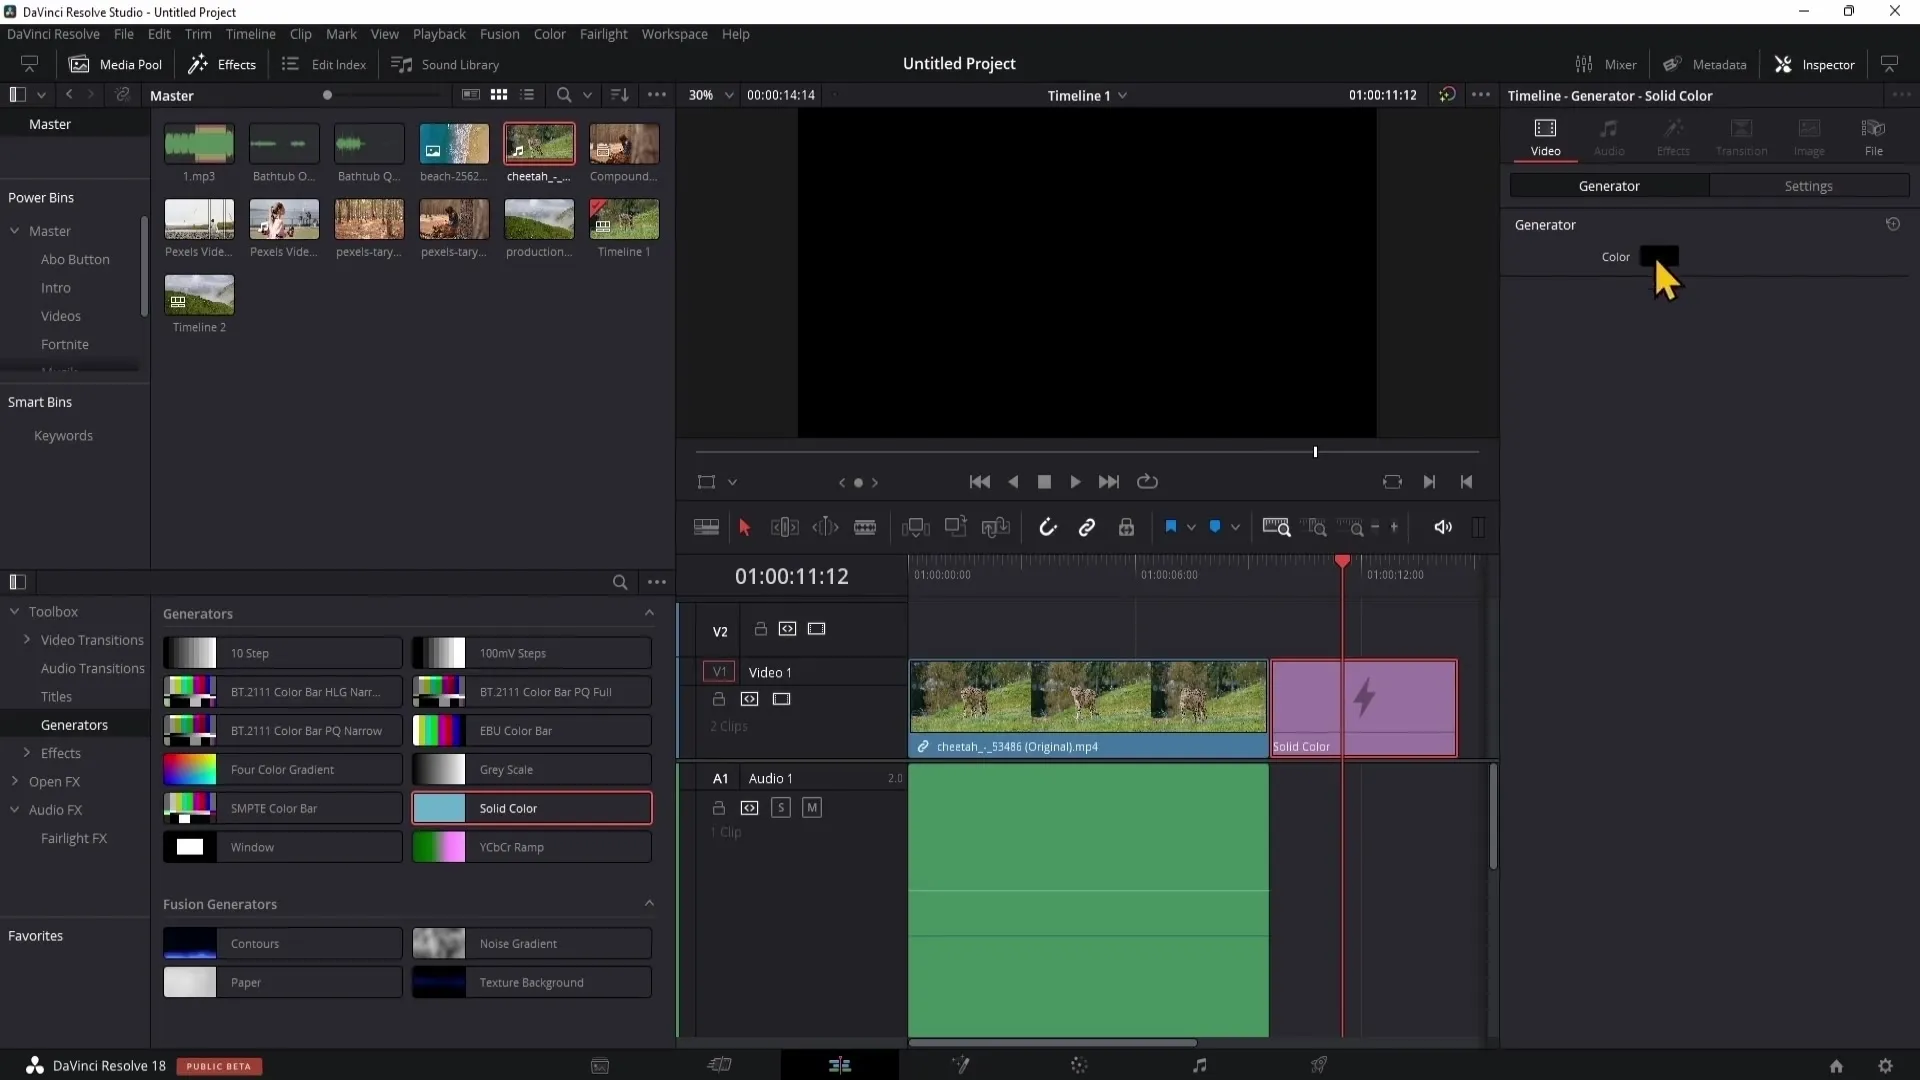
Using Generators
Generators allow you to create colored backgrounds or textures. You can then position these in your timeline and adjust their properties.
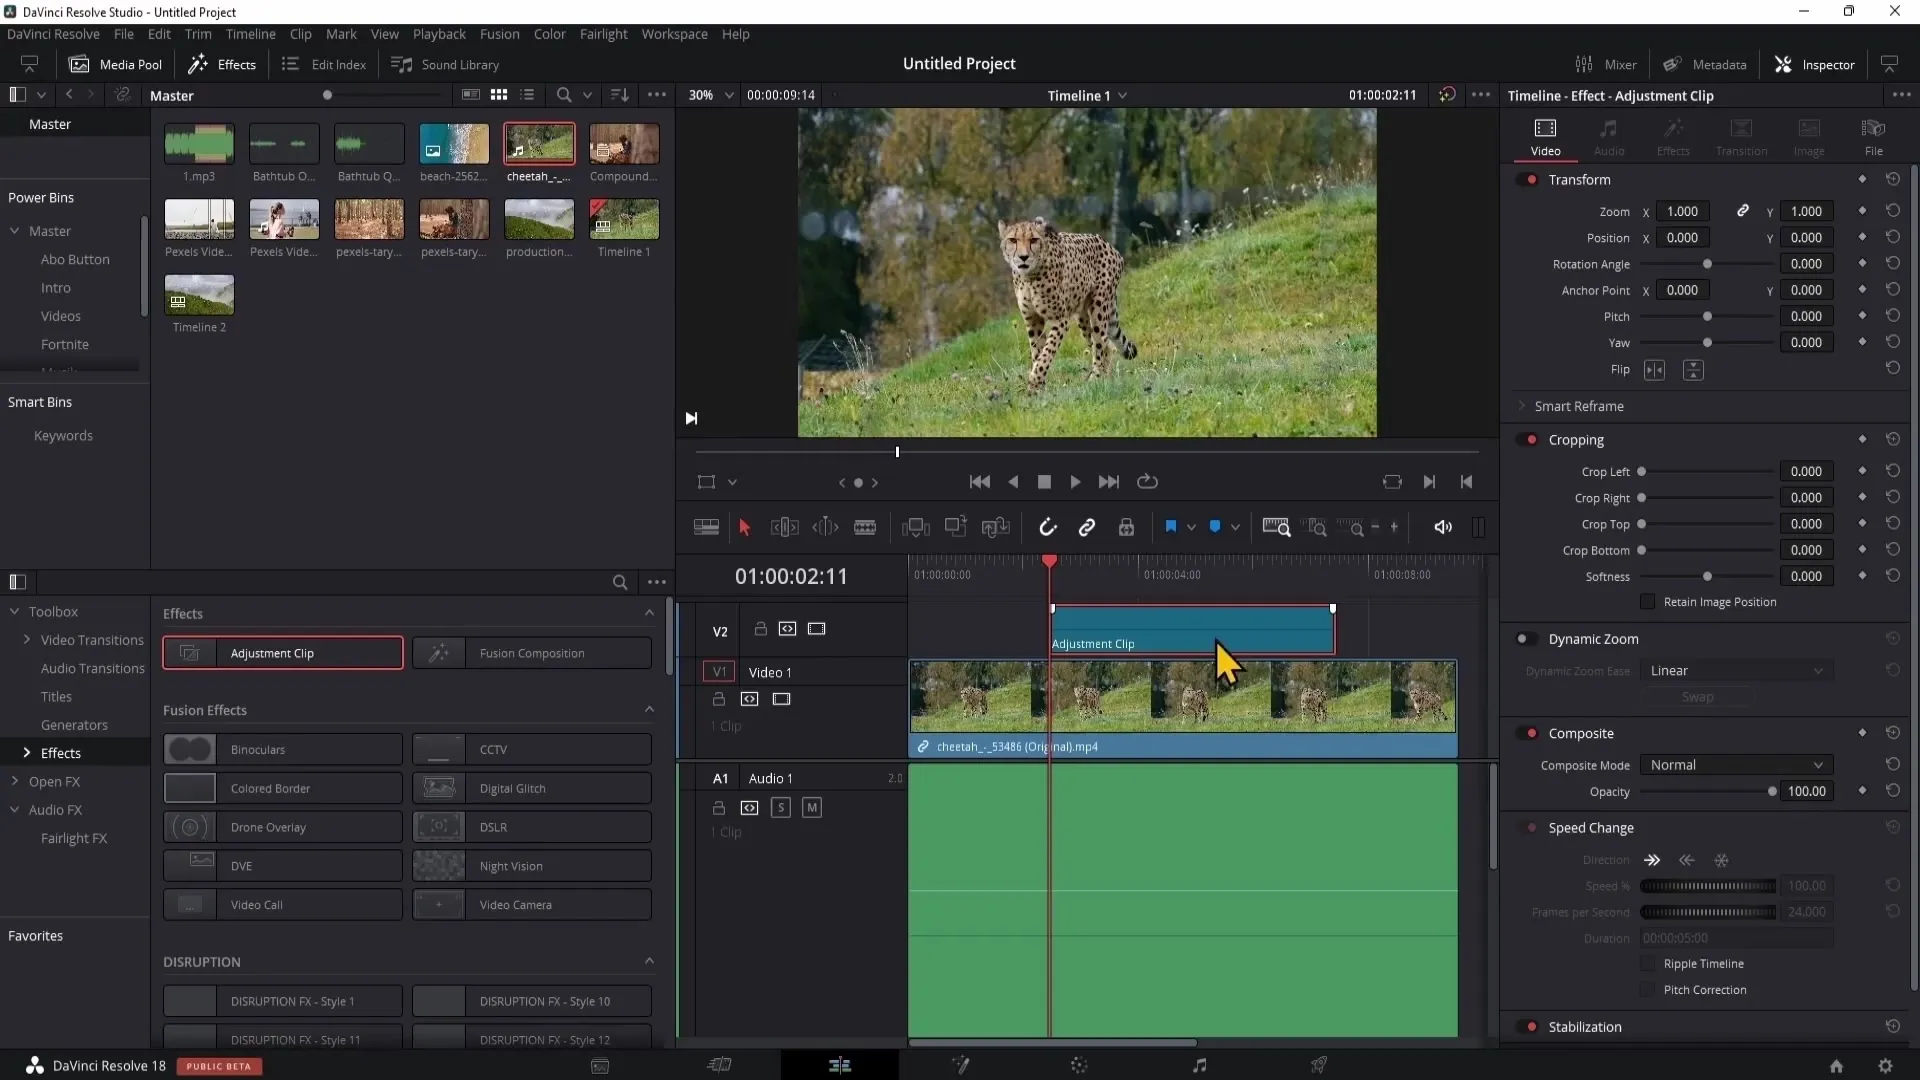
Adjustments with Adjustment Clips
An adjustment clip can be used to apply global effects across multiple clips. Drag this into the timeline and configure the desired effects in the inspector.
Fusion Composition
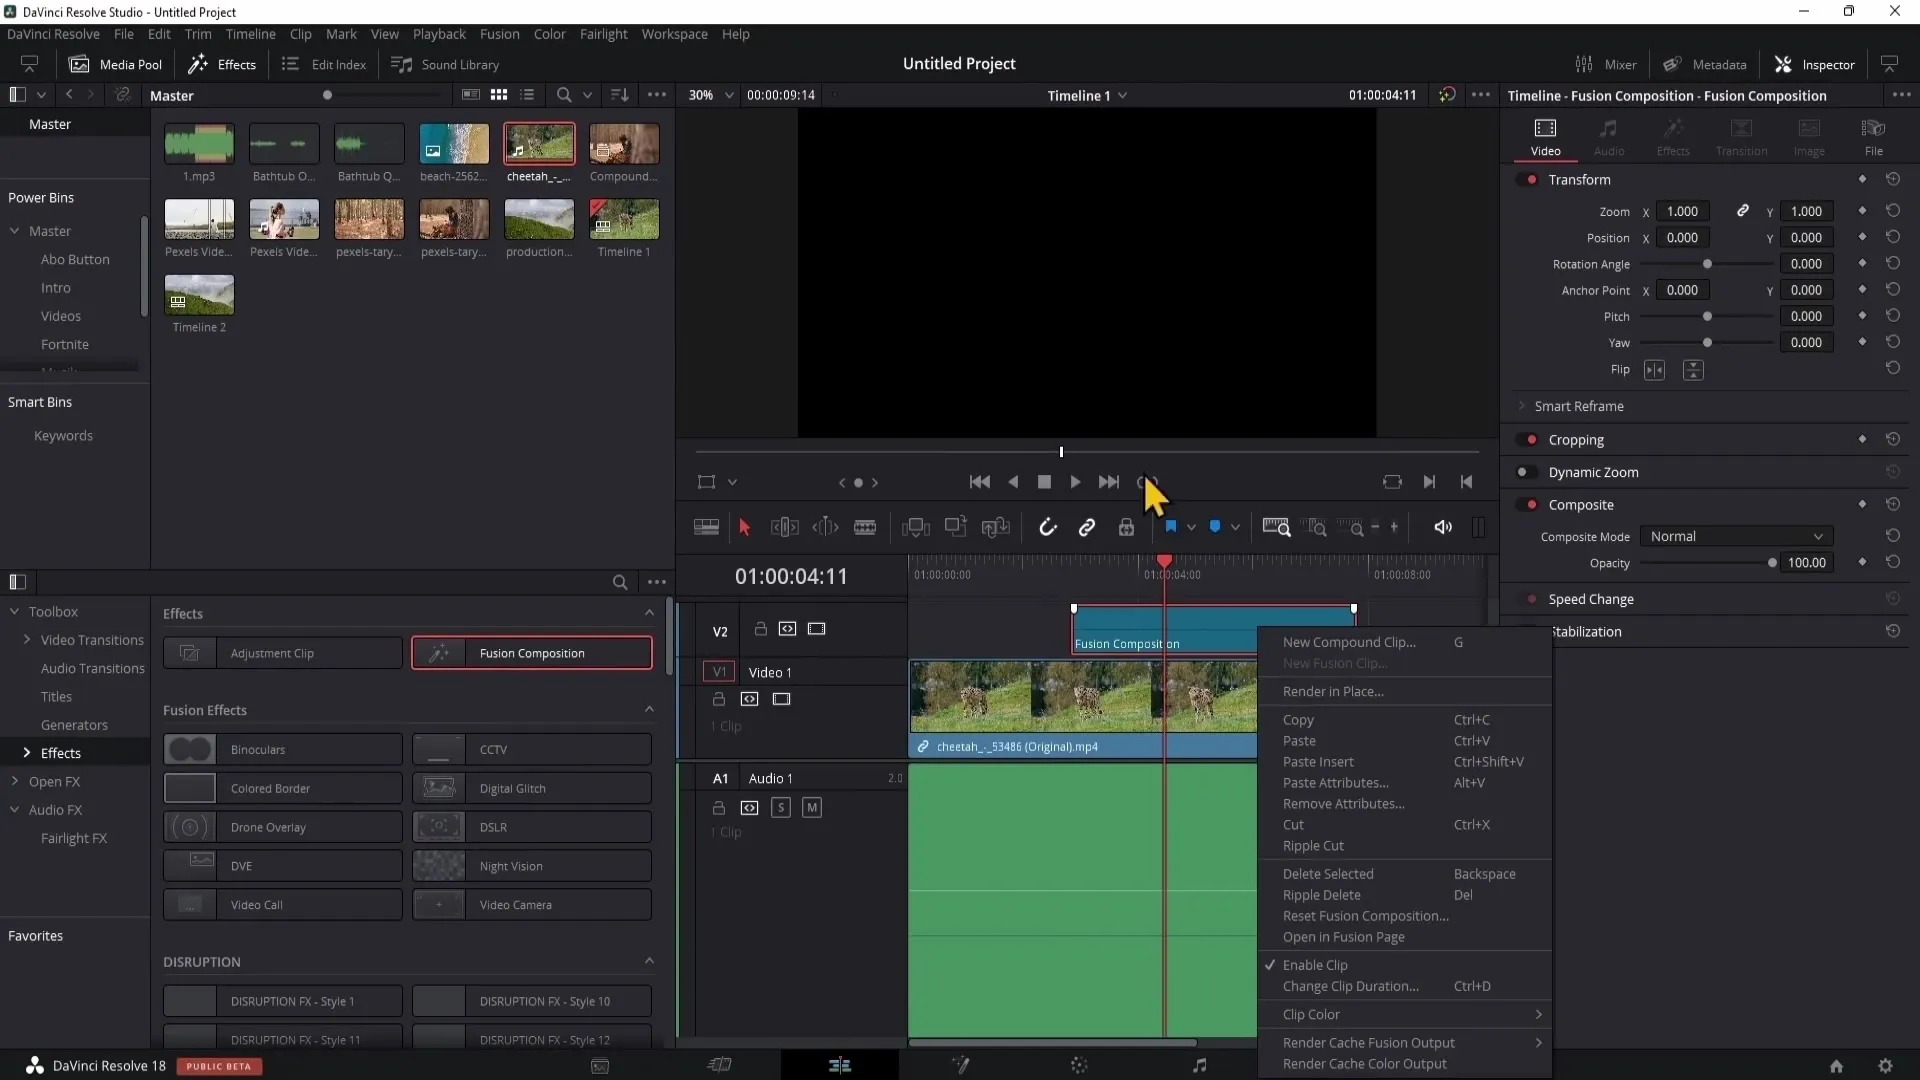
With Fusion Composition, you can create advanced effects and animations in a special area that offers detailed customization options. You can create complex visual effects, such as motion blur, and then reintegrate these effects back into the edit page.
Summary
In this tutorial, you have learned how to efficiently use the various tools in DaVinci Resolve to edit your videos. From basic functions to using effects and working with titles, you have gained valuable techniques that will significantly improve your workflow.
Frequently Asked Questions
What is the Edit Page in DaVinci Resolve?The Edit Page is the main area for editing video and audio material in DaVinci Resolve.
How can I move clips in the timeline?Click and drag the clips with the mouse cursor to move them to the desired position.
What are markers and how do I use them?Markers help you identify important points in the video. You can set them using the M key.
How can I add effects to my clips?Select the clip, go to the inspector, and drag the desired effect into the timeline.
What are shortcuts and why are they useful?Shortcuts are key combinations that help you work faster and more efficiently.
