In this tutorial on Color Grading with DaVinci Resolve, I will introduce you to the most important functions that allow you to make color adjustments in your videos. The color range in DaVinci Resolve is crucial for the creative editing of your projects. You will learn not only how to correct and adjust colors, but also how to save and reuse your looks. Let's dive right in and explore the powerful tools at your disposal.
Main Takeaways
- The color range is the central point for color adjustments in DaVinci Resolve.
- The gallery allows you to save and transfer looks between projects.
- LUTs (Lookup Tables) can be used to apply pre-made photo filters, and their opacity is adjustable.
- Nodes are crucial for structuring your color corrections.
- With the Color Wheels, you can adjust shadows, midtones, and highlights precisely.
Step-by-Step Guide
Accessing the Color Range
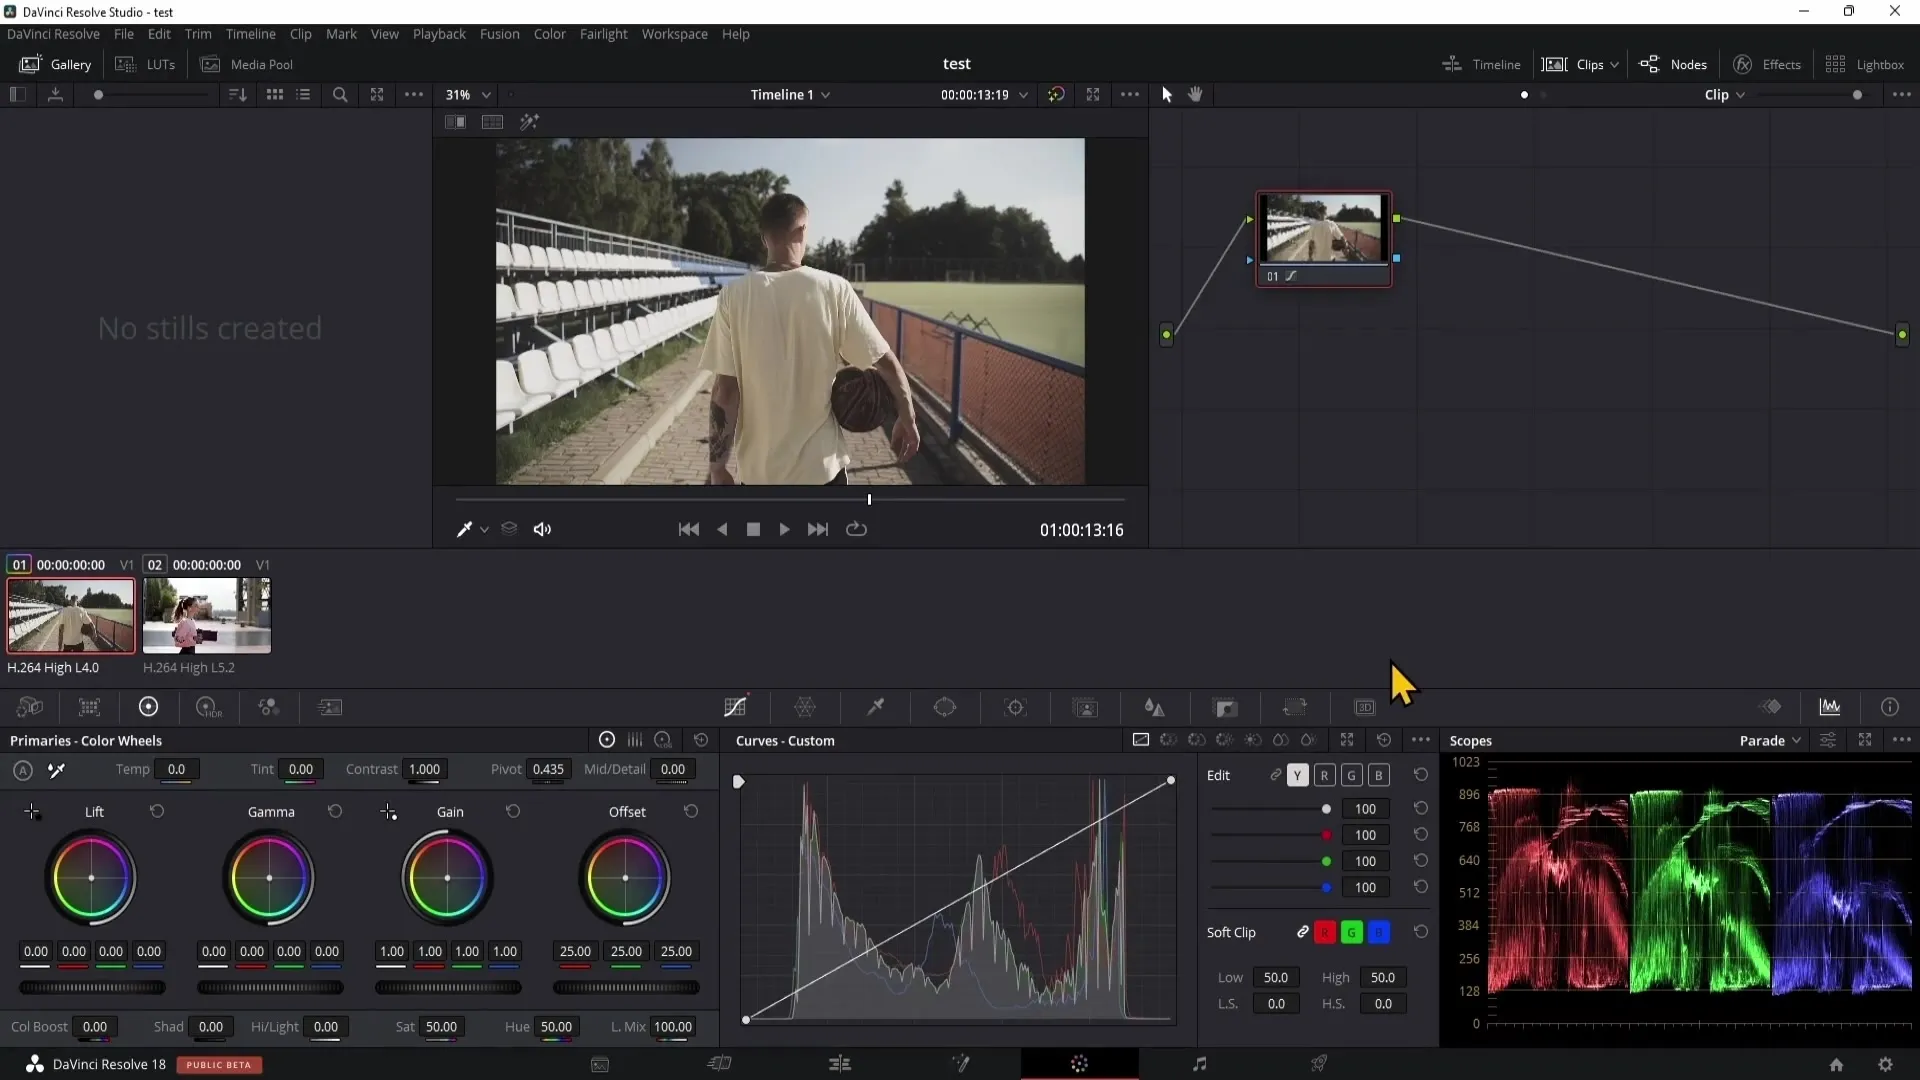
To start color grading, open DaVinci Resolve and navigate to the "Color Page." This platform is accessible via the color circle icon at the bottom of the screen. The color range is a comprehensive tool that provides a range of powerful features for color correction.
Using the Gallery
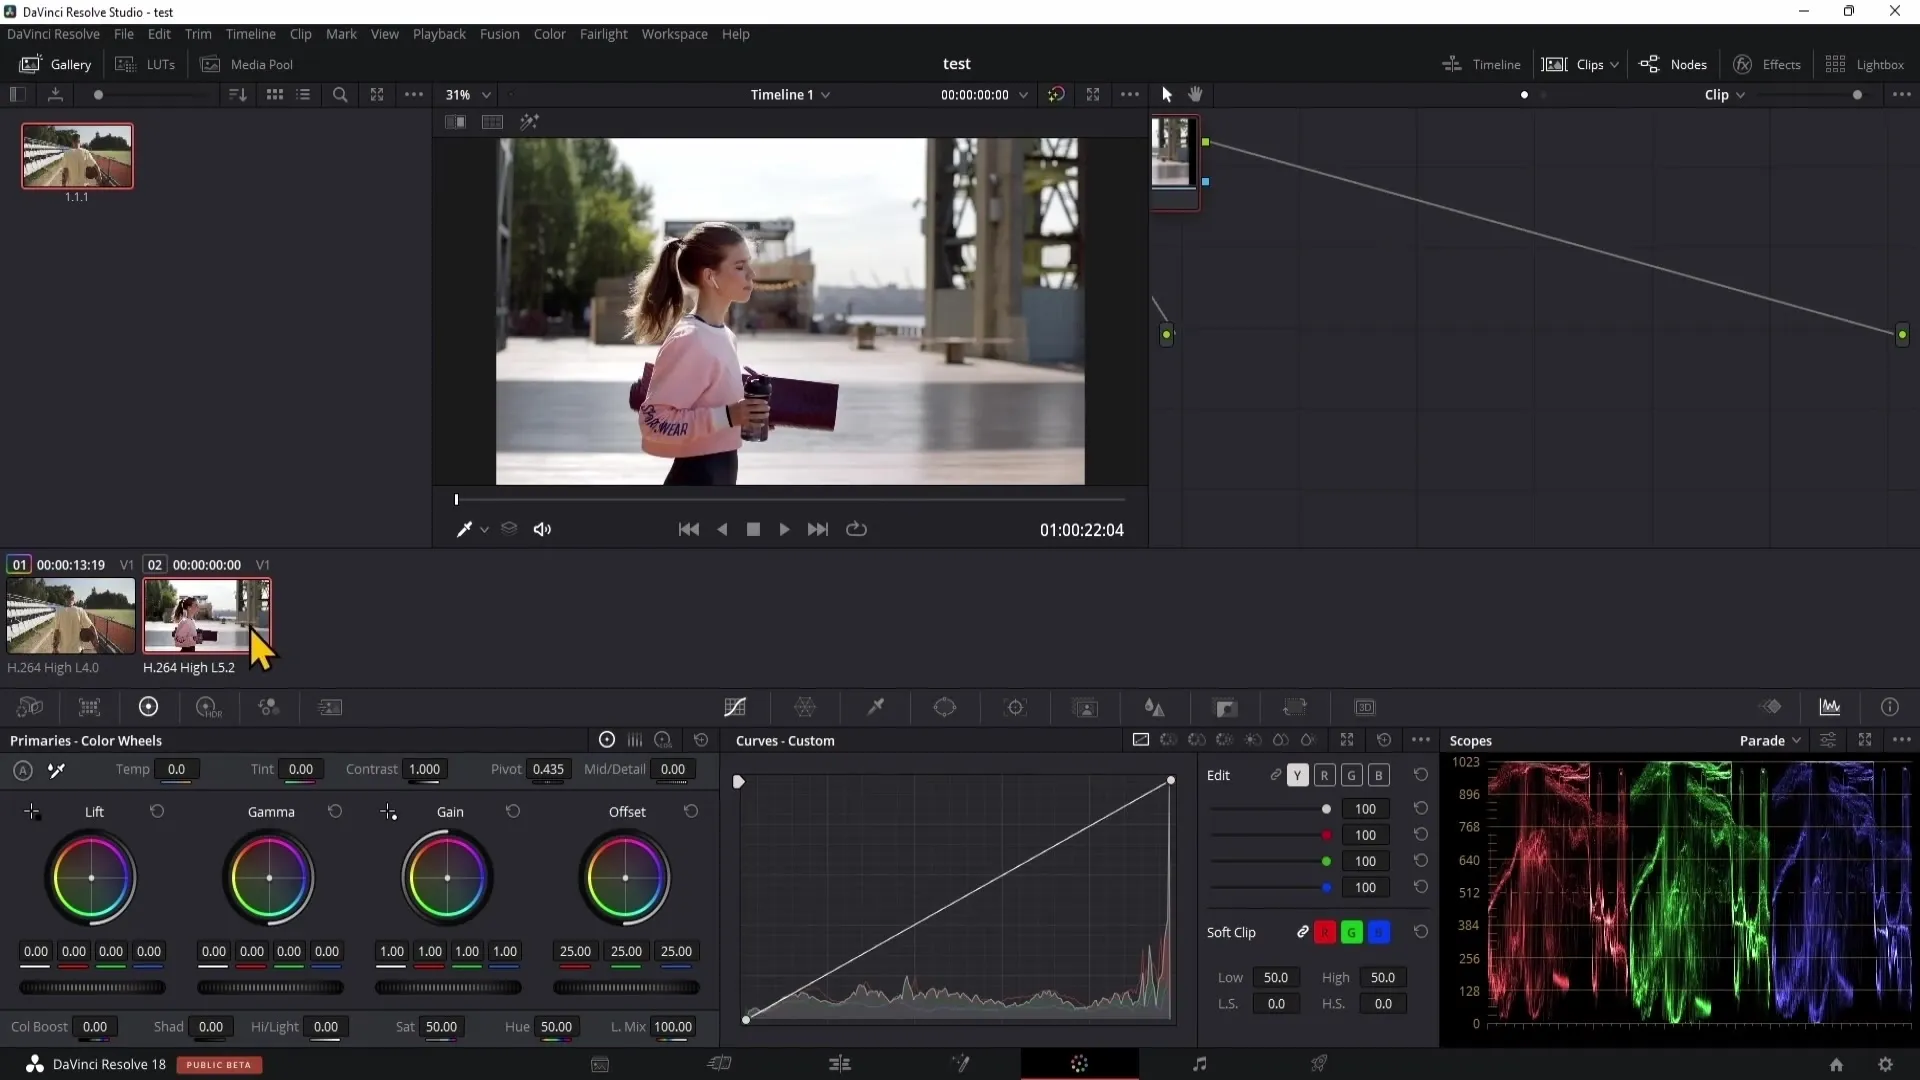
In the top left corner, you will find the gallery. Here, you can create a look and save it for your other projects. For example, if you have a clip that you want to increase the saturation of, adjust the saturation setting in the Color Wheel and then save the look by right-clicking on the preview image and selecting "Grab Still."
Applying Saved Looks
To apply this look to another clip, select the clip, go back to the gallery, and right-click. Choose "Apply Grade" to apply the look. Keep in mind that this look is only available in the current project; if you want to use it in other projects, use the "Power Grades" option.
Using Power Grades
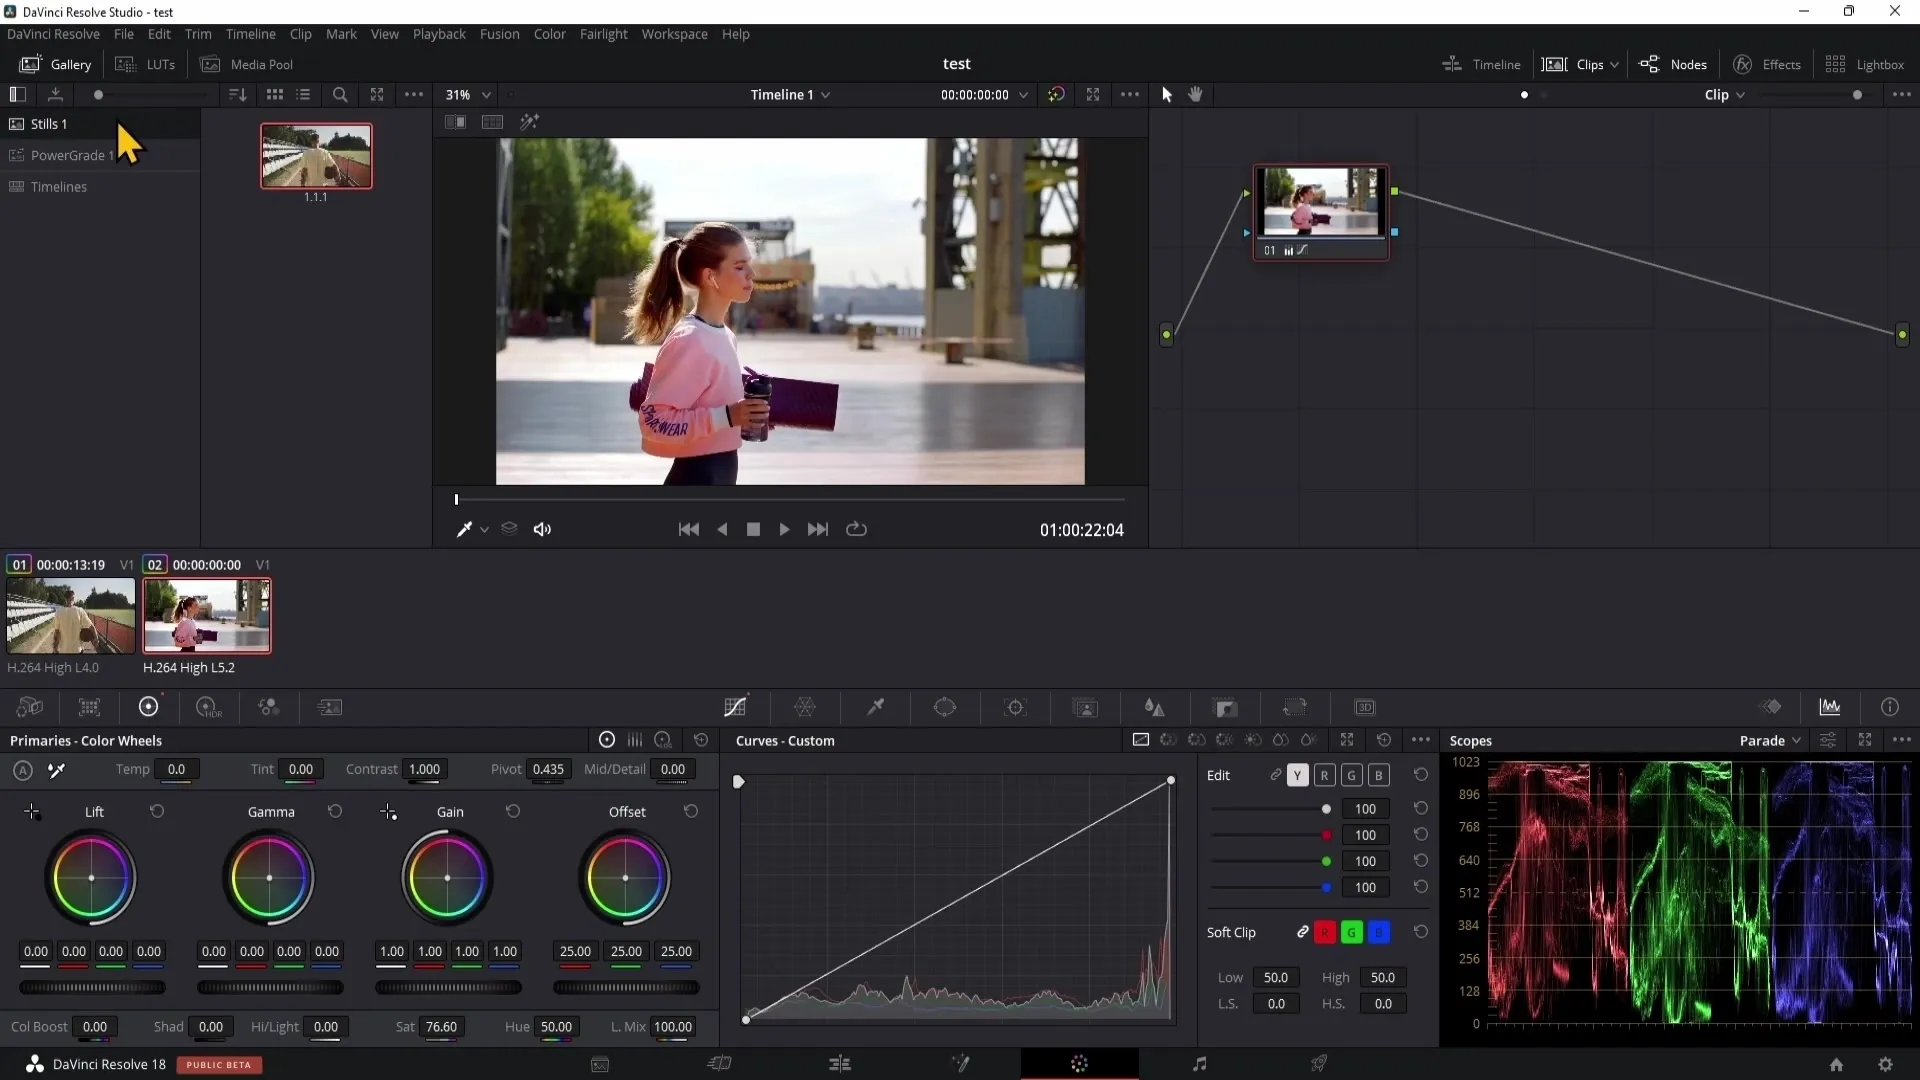
Power Grades are a convenient way to save looks across projects. Go to the Albums section in the gallery and find "Power Grades." When you save a look here, it will be available for all future projects. If you no longer need a look, you can simply delete it by right-clicking on it.
Applying LUTs
LUTs (Lookup Tables) are pre-made photo filters that can help you quickly transform your shots. To apply a LUT, first create a new node by pressing Alt + S. Then choose the desired LUT to enhance your second node.
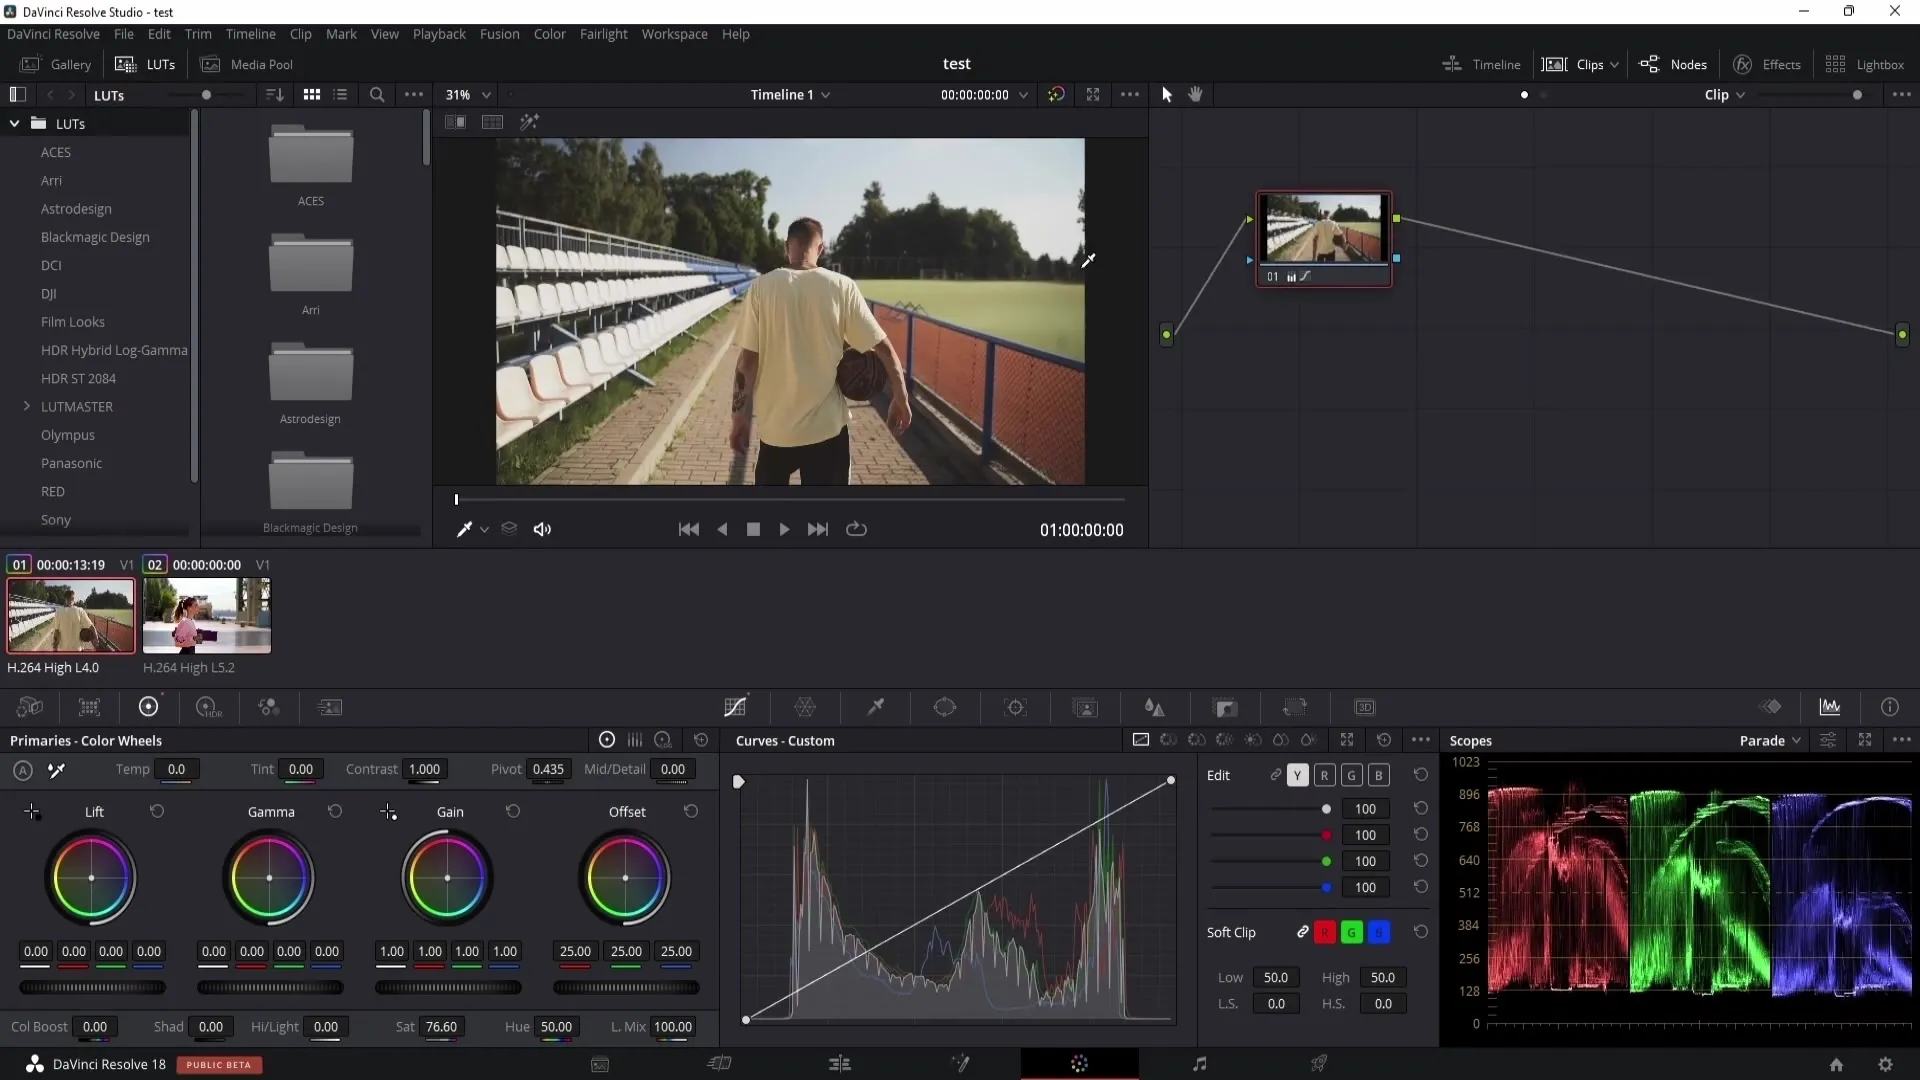
Adjusting LUT Opacity
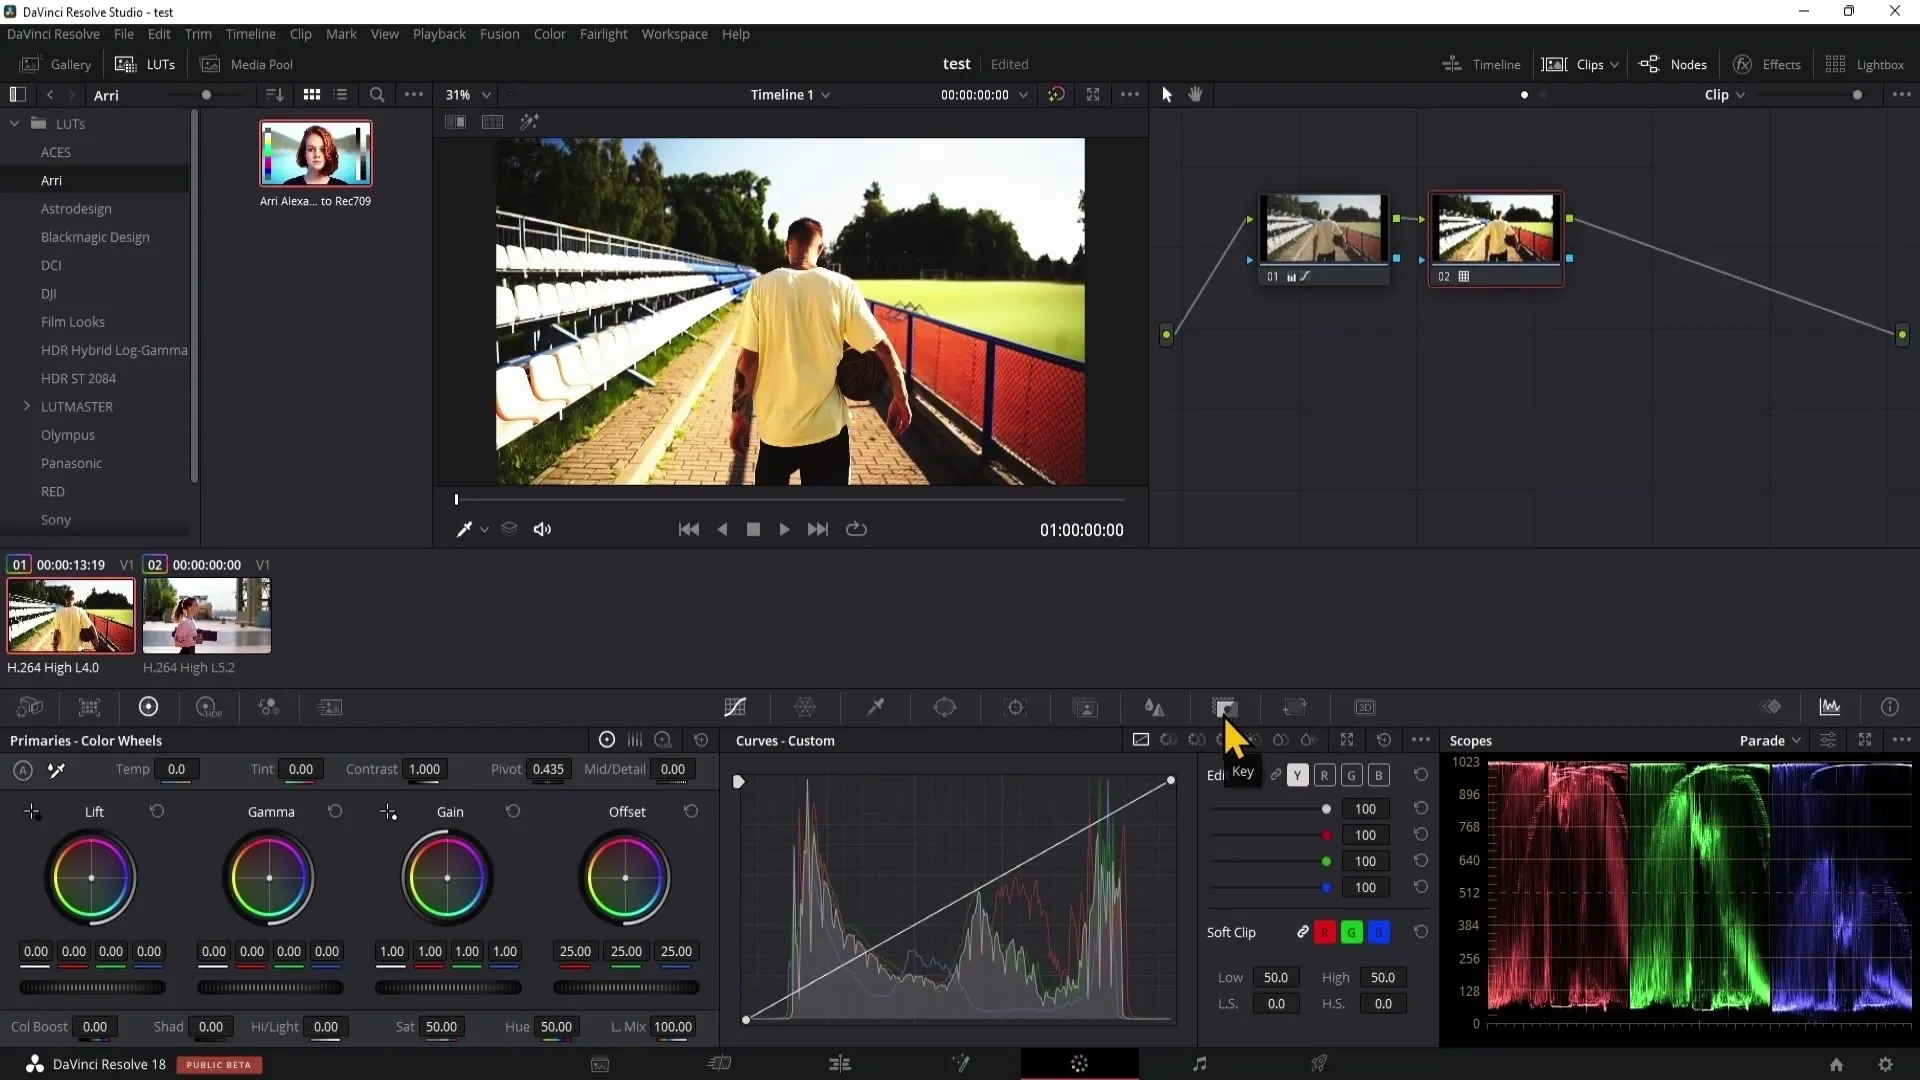
If the LUT is too strong, you can reduce the opacity. Go to the Key Output settings and adjust the gain to regulate the intensity of the LUT.
Working with Nodes
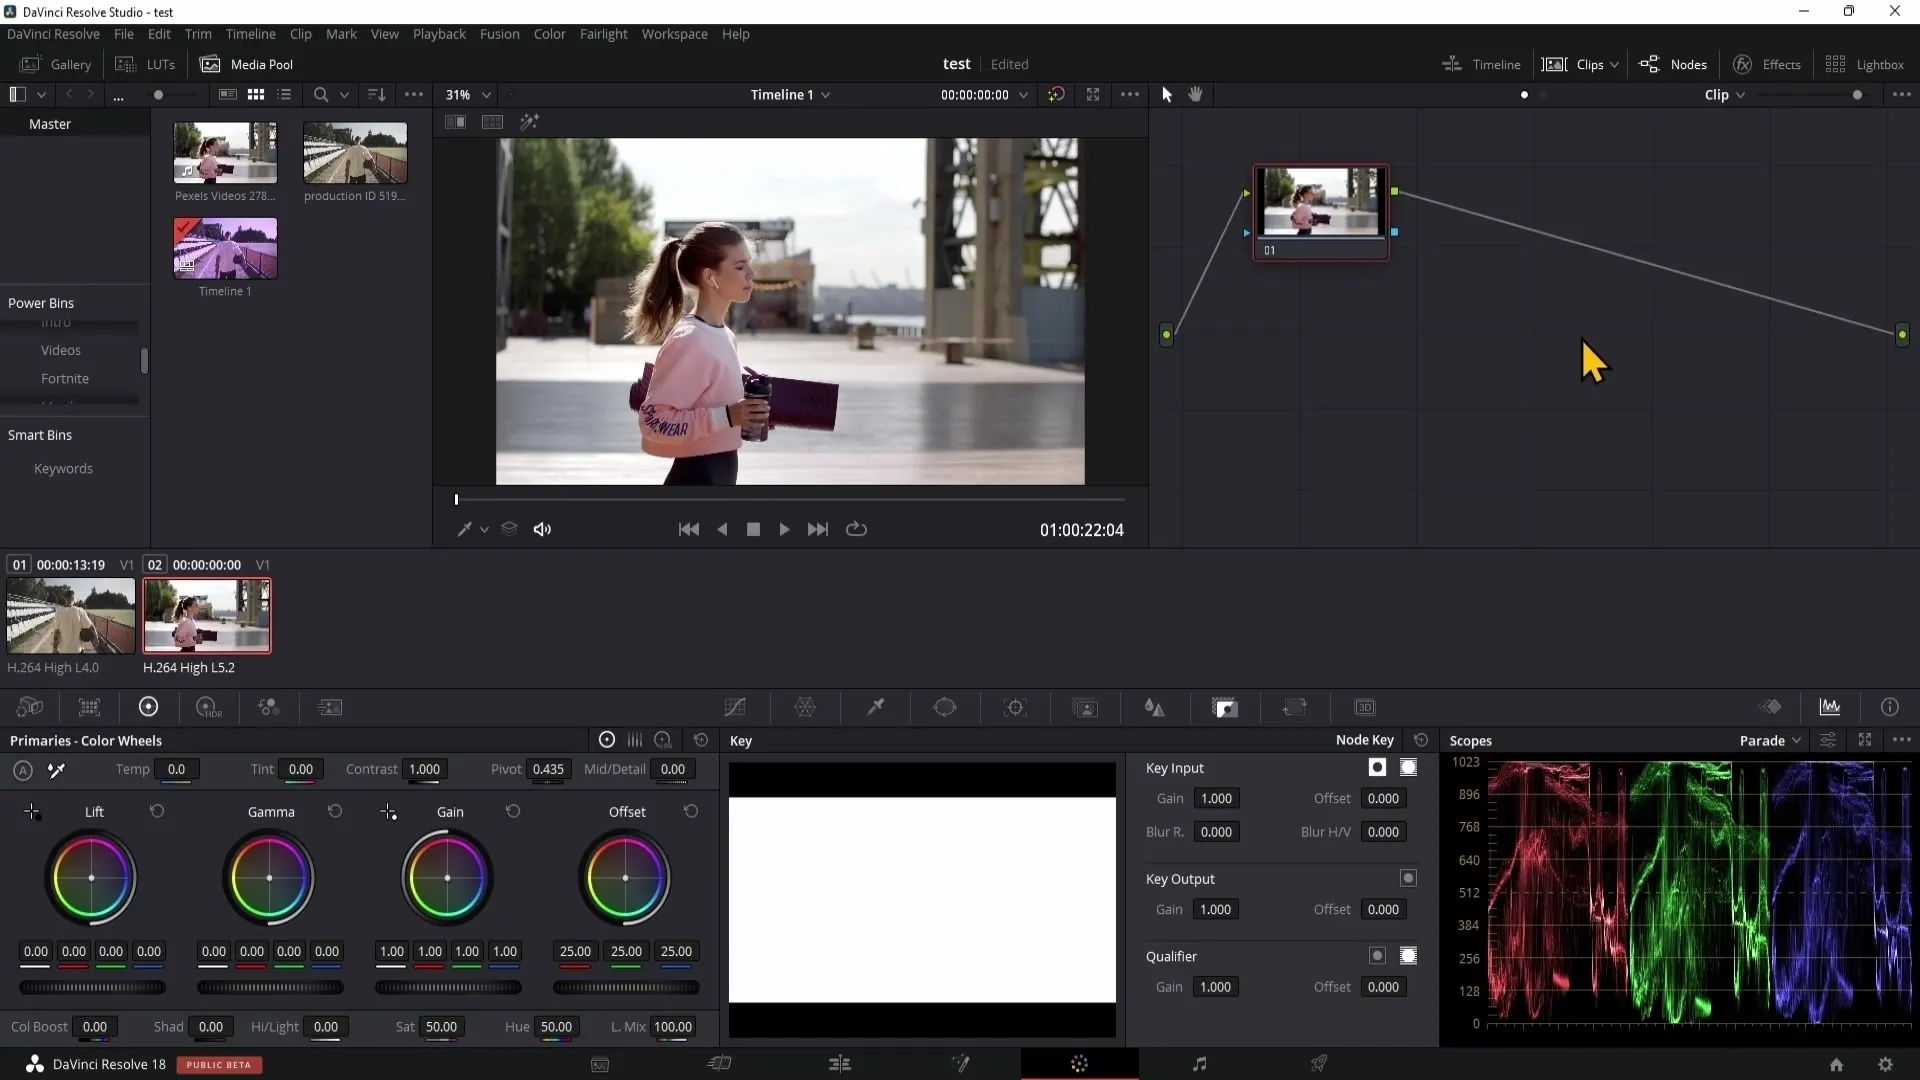
Nodes are like building blocks for your color corrections. Each node can represent a separate color adjustment. You can add more nodes or adjust existing ones via right-clicks. Note that the order of nodes affects the final result.
Using the Color Wheels
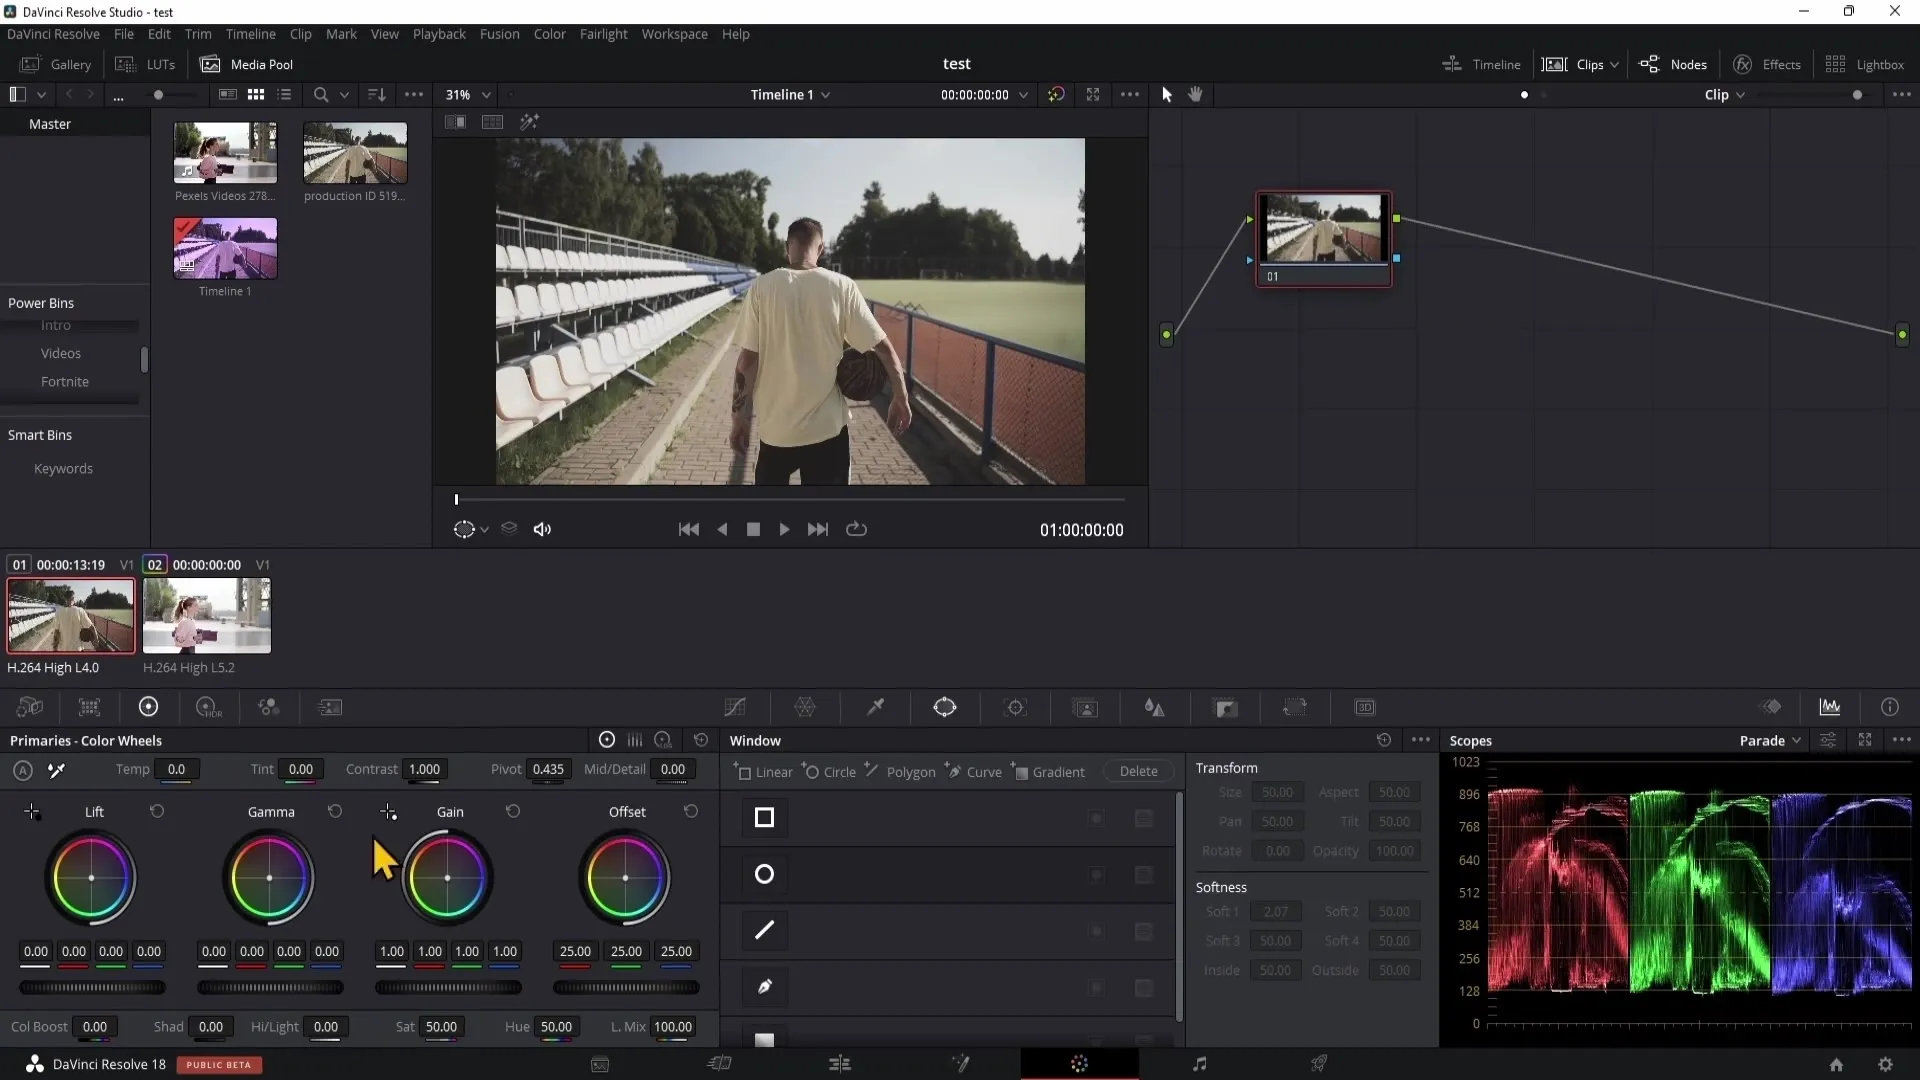
The Color Wheels are essential for your color corrections. Here, you can work with the Lift (dark tones), Gamma (midtones), and Gain (highlights) controls. These controls allow you to make fine adjustments to your color tones.
Using Curves
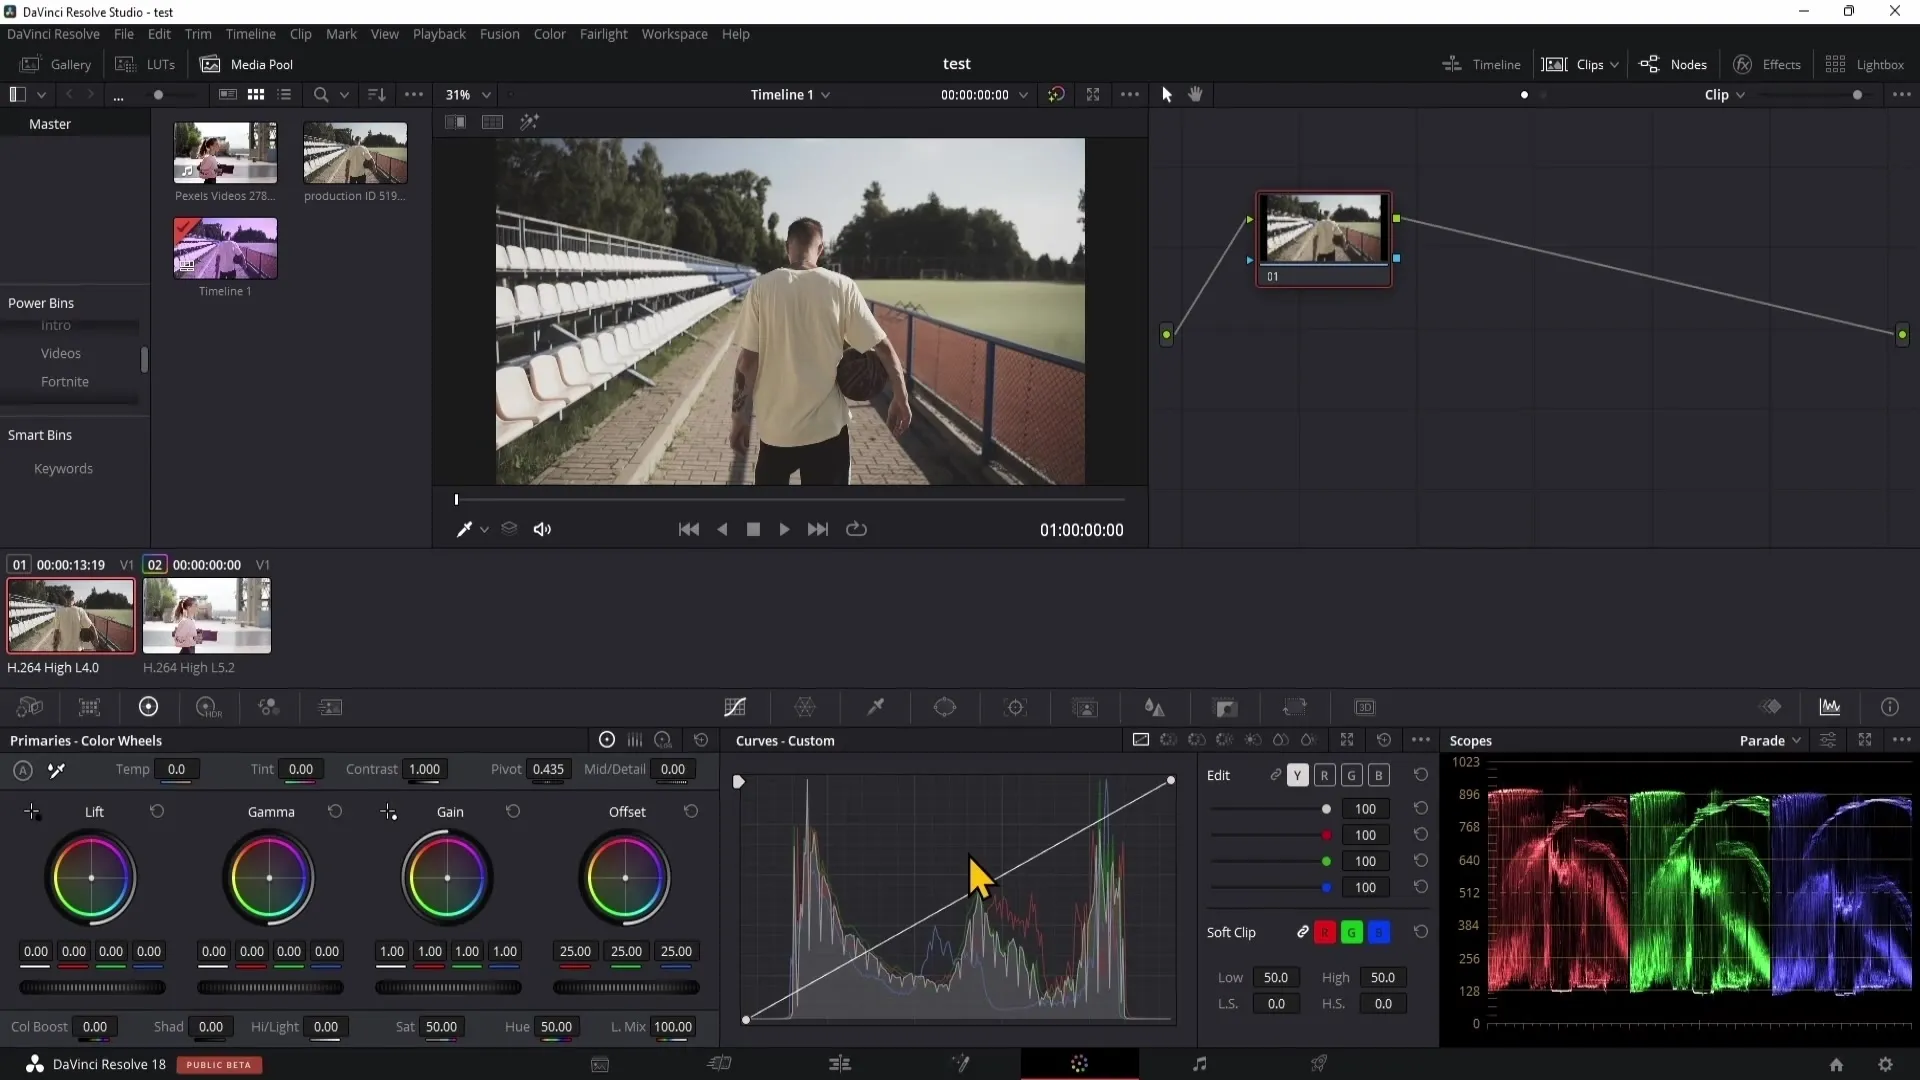
Curves are another way to make targeted color changes. Here you can adjust the highlights, midtones, and shadows separately to create the perfect mood for your video.
Managing Masks
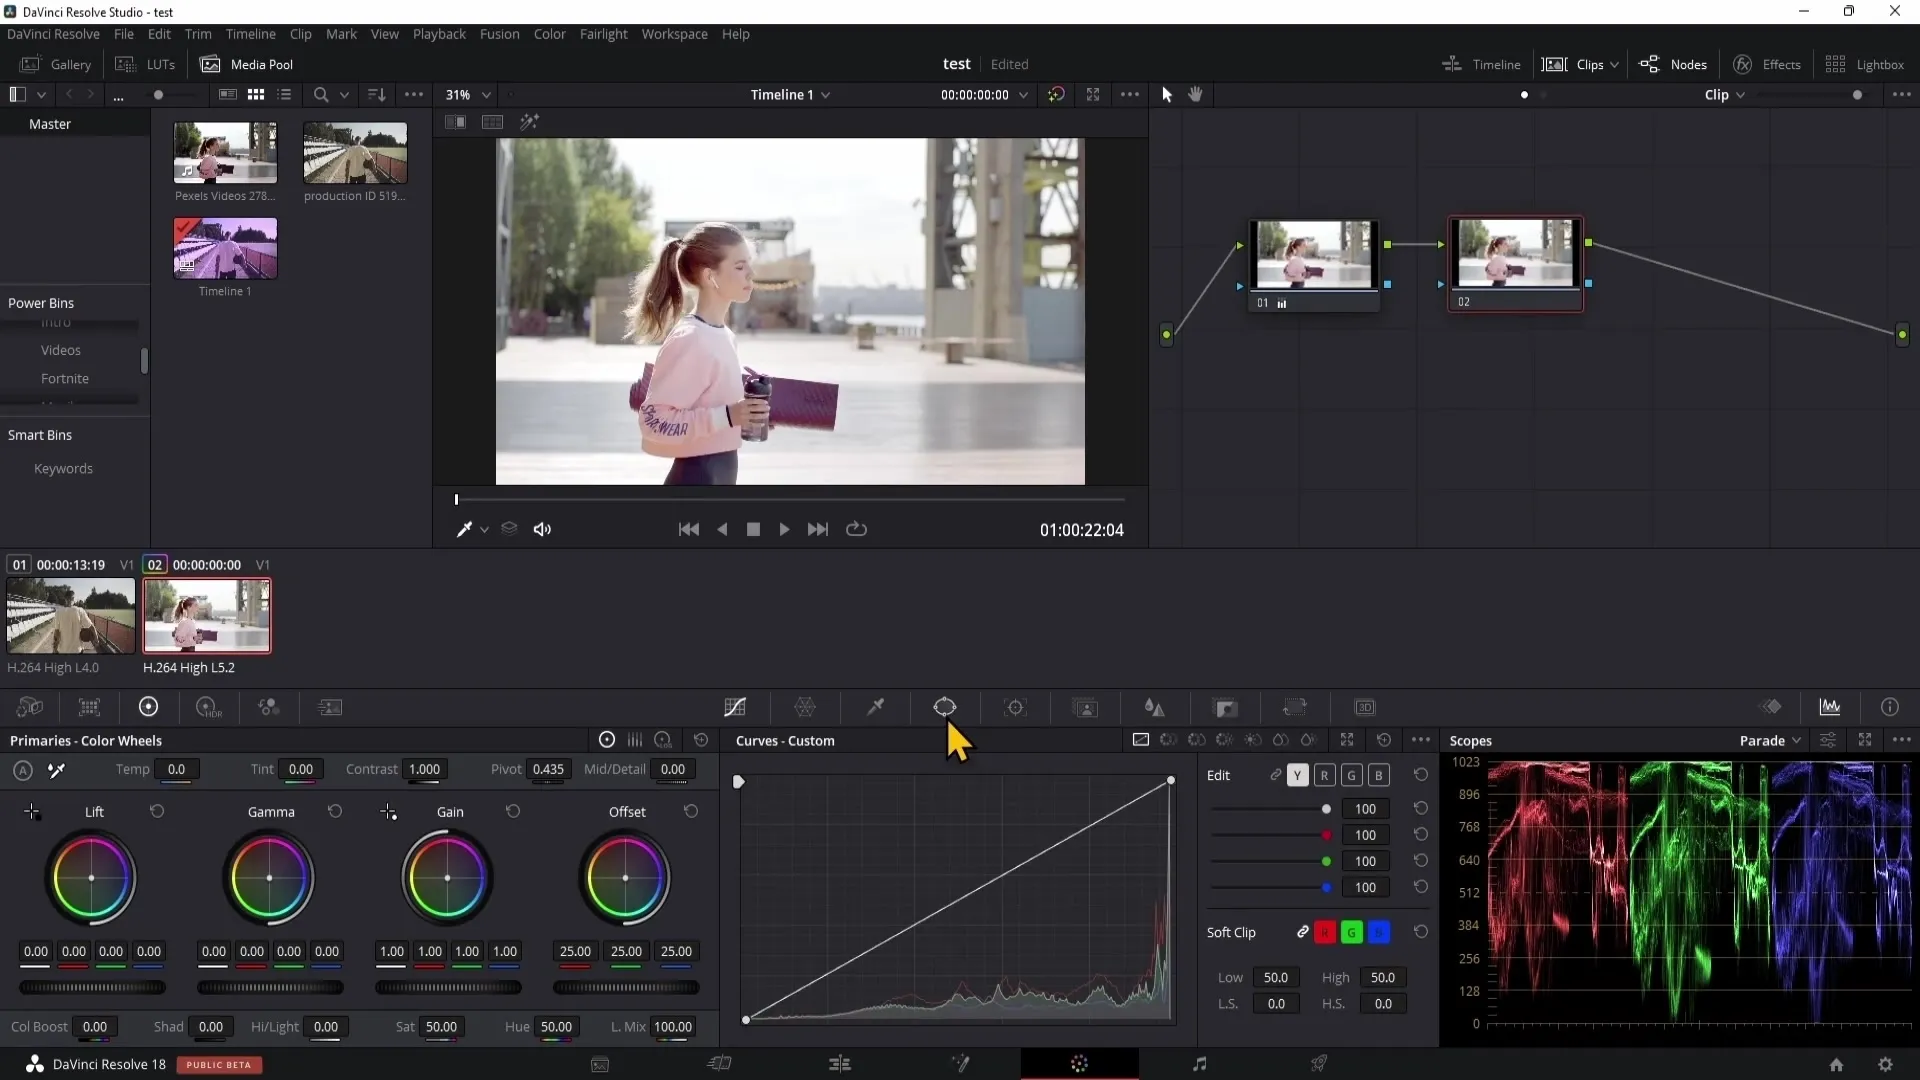
By using masks, you can make restricted changes in specific areas of your clips. Use the mask tools to select areas and make specific adjustments.
Fading In and Out Notes
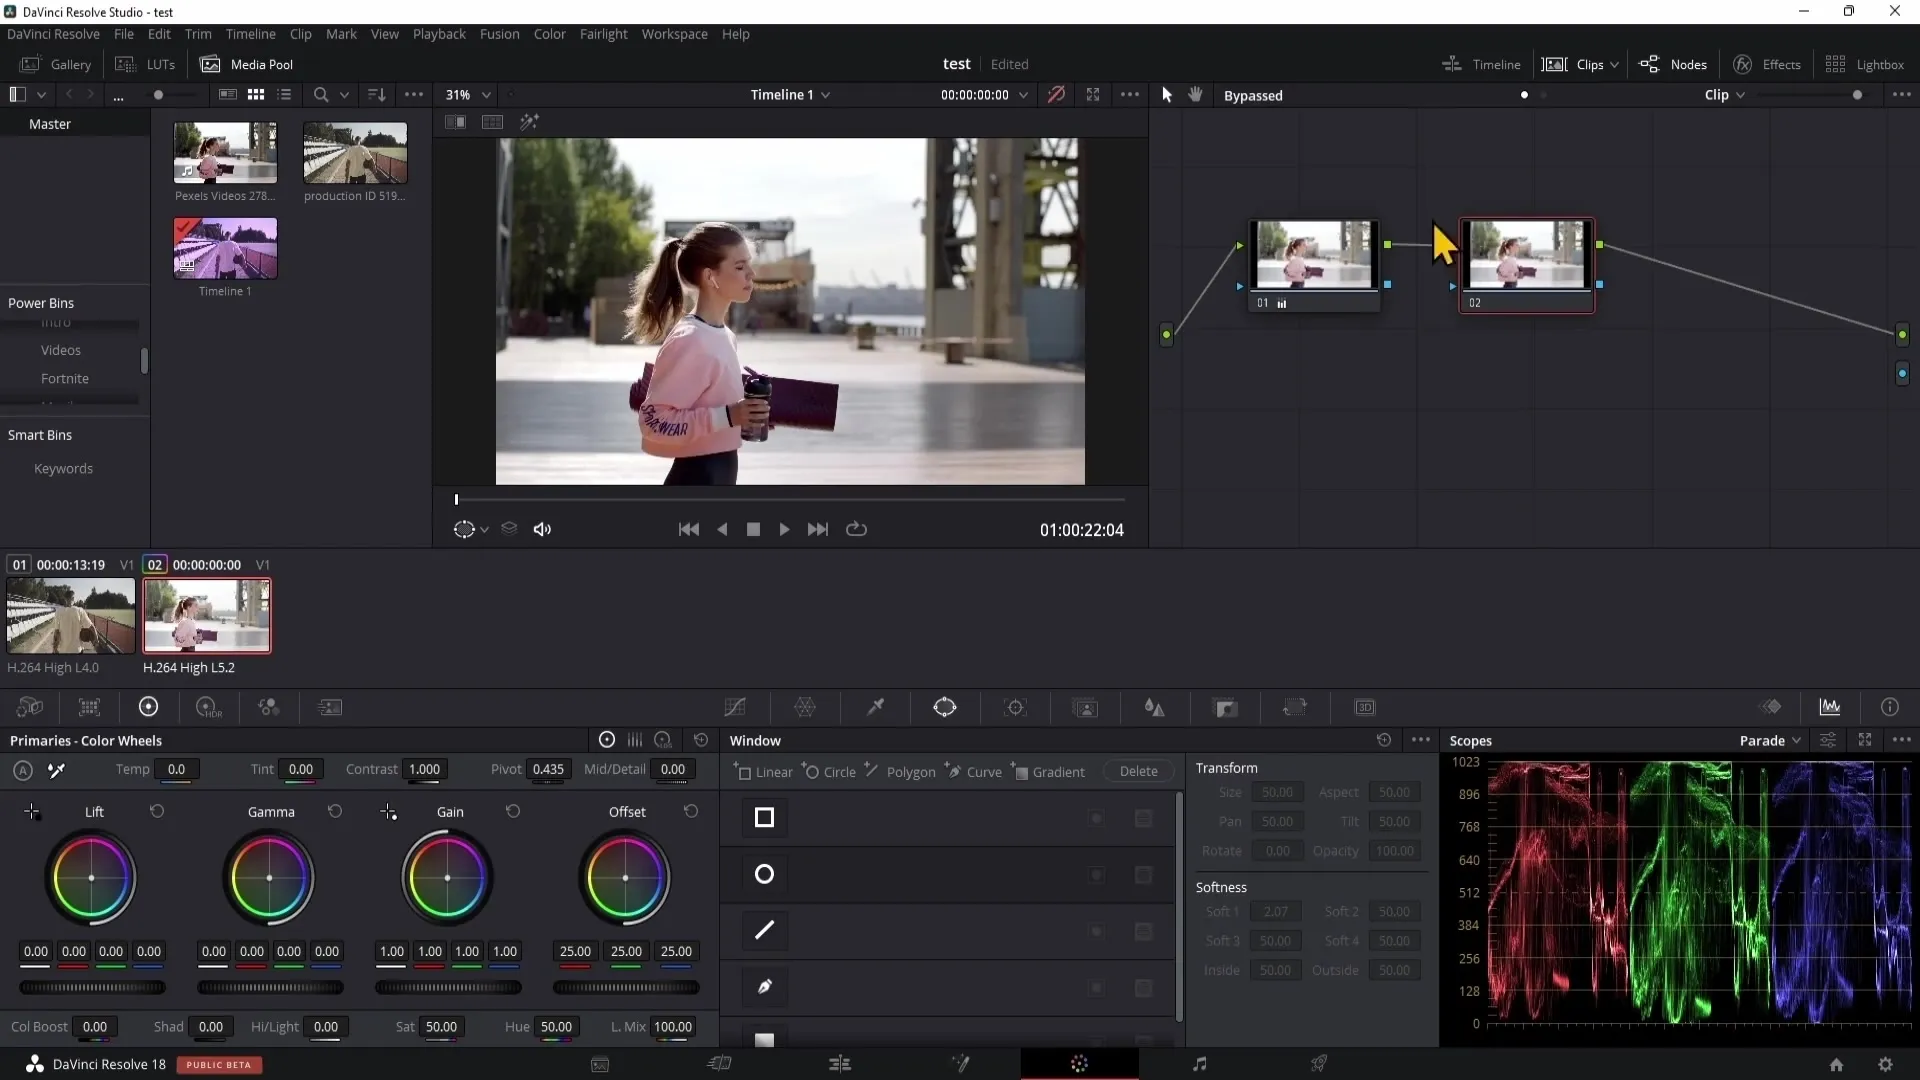
To better control changes, you can fade in or out notes. Clicking on the number next to the note allows you to quickly review the changes. To hide all notes, click on the colorful symbol in the preview window.
Advanced Features and Effects
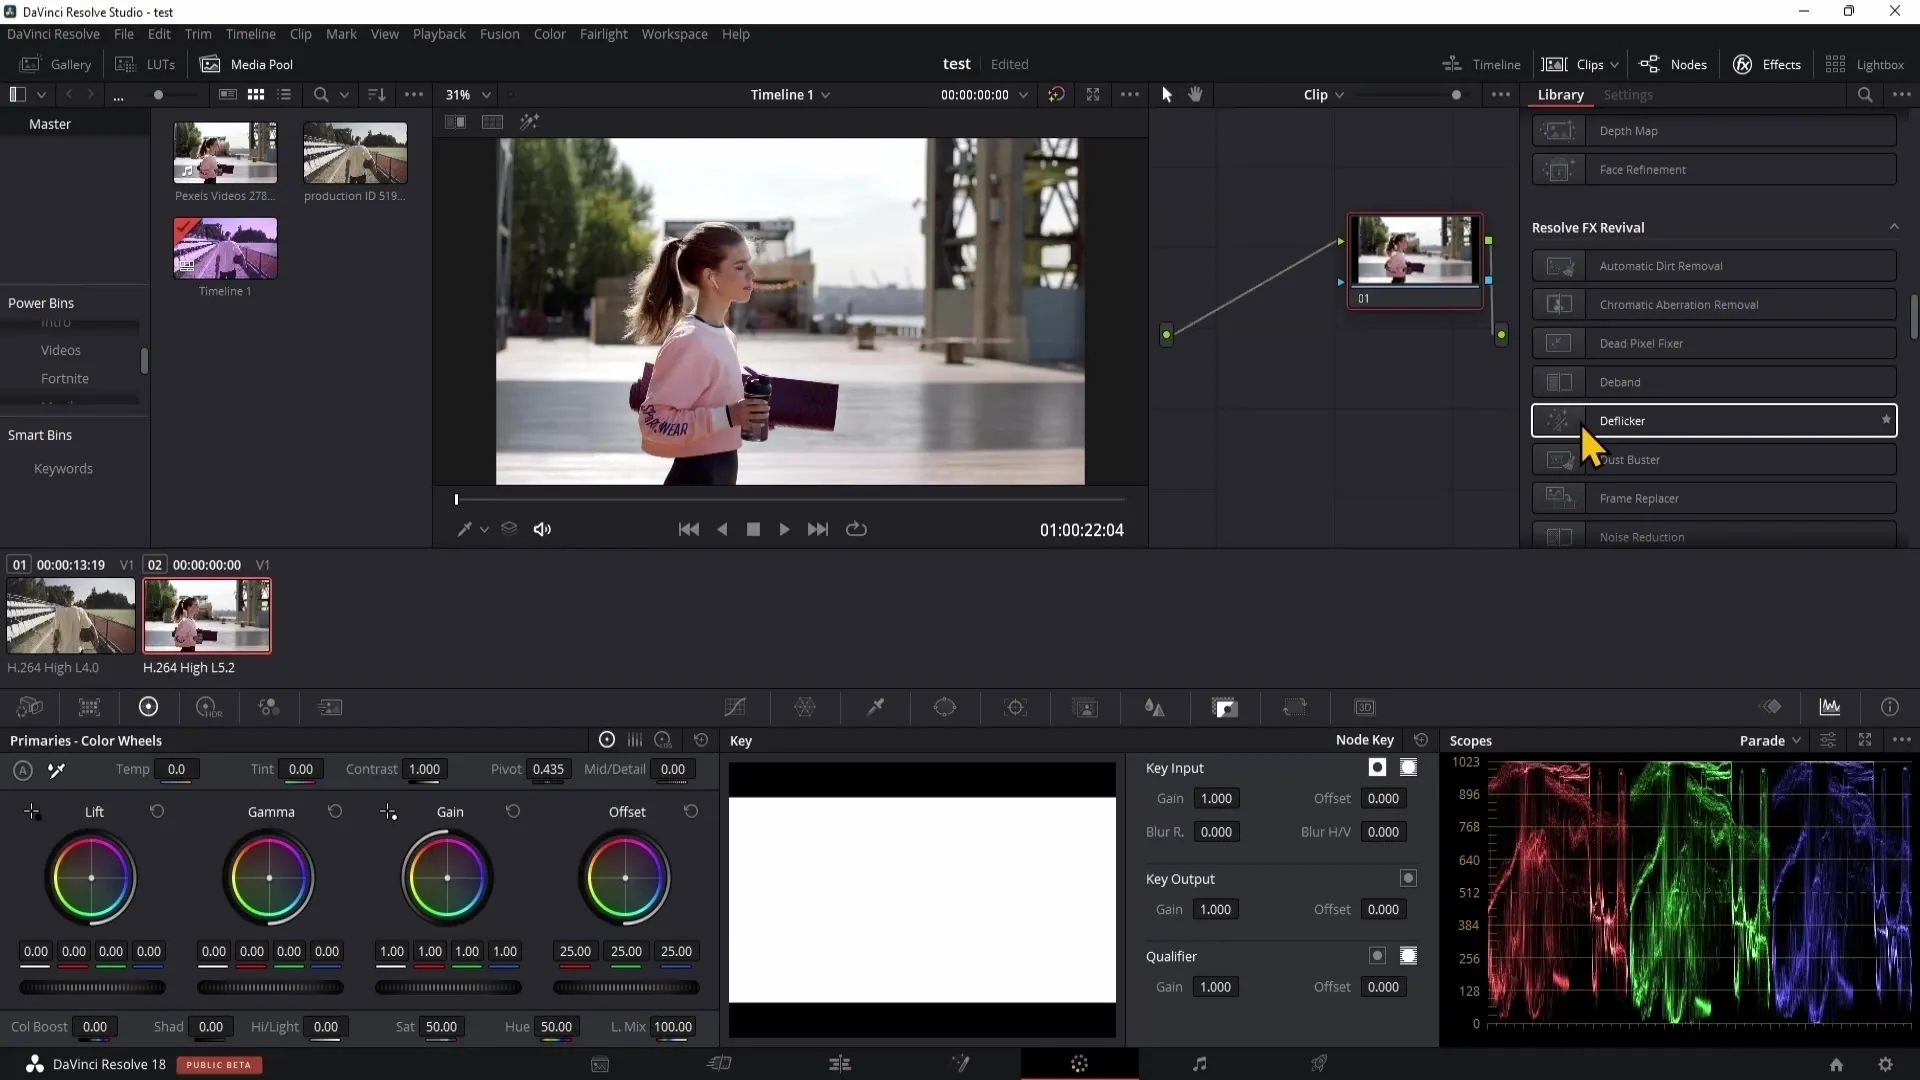
DaVinci Resolve offers many advanced features and effects, including noise reduction, beauty effects, and more. However, these tools are mainly available in the Studio version.
Summary
In this guide, you have learned how to effectively use the color range in DaVinci Resolve to edit your videos effectively. From using the gallery to save looks, applying LUTs, to effectively using notes - this tool selection gives you the freedom and creativity you need to shape your projects.
Frequently Asked Questions
What is the color range in DaVinci Resolve?The color range is the environment in which you make color adjustments to your clips.
How do I save a look?Use right-click in the gallery and select "Grab Still".
Can I transfer looks between projects?Yes, if you save them as Power Grades, they are available for all projects.
What are LUTs?LUTs are pre-made photo filters that can be applied to clips to change the color grading.
How can I adjust the strength of a LUT?You can adjust the opacity of the LUT using the gain in the key output section.
