In this tutorial, you will learn how to effectively make color corrections with the Qualifier in DaVinci Resolve. Color corrections are an essential part of the Color Grading process and help you highlight or adjust specific colors in the image. The Qualifier allows you to work selectively with colors and change their visibility in the image. This is particularly useful when you want to focus on specific elements.
Main Takeaways
- The Qualifier allows for the selection and adjustment of specific colors in the image.
- To make the selection visible, you need to correctly connect the Alpha Output.
- You can use the eyedropper to select and edit specific areas.
- The Tracker and Magic Mask assist in isolating moving objects.
- The Scopes help you analyze the color distribution in the image.
Step-by-Step Guide
The following section describes how to use the Qualifier in DaVinci Resolve to make professional color corrections.
To work with the Qualifier, start by selecting it. This is done in the Color Page, where you will find various tools for color correction.
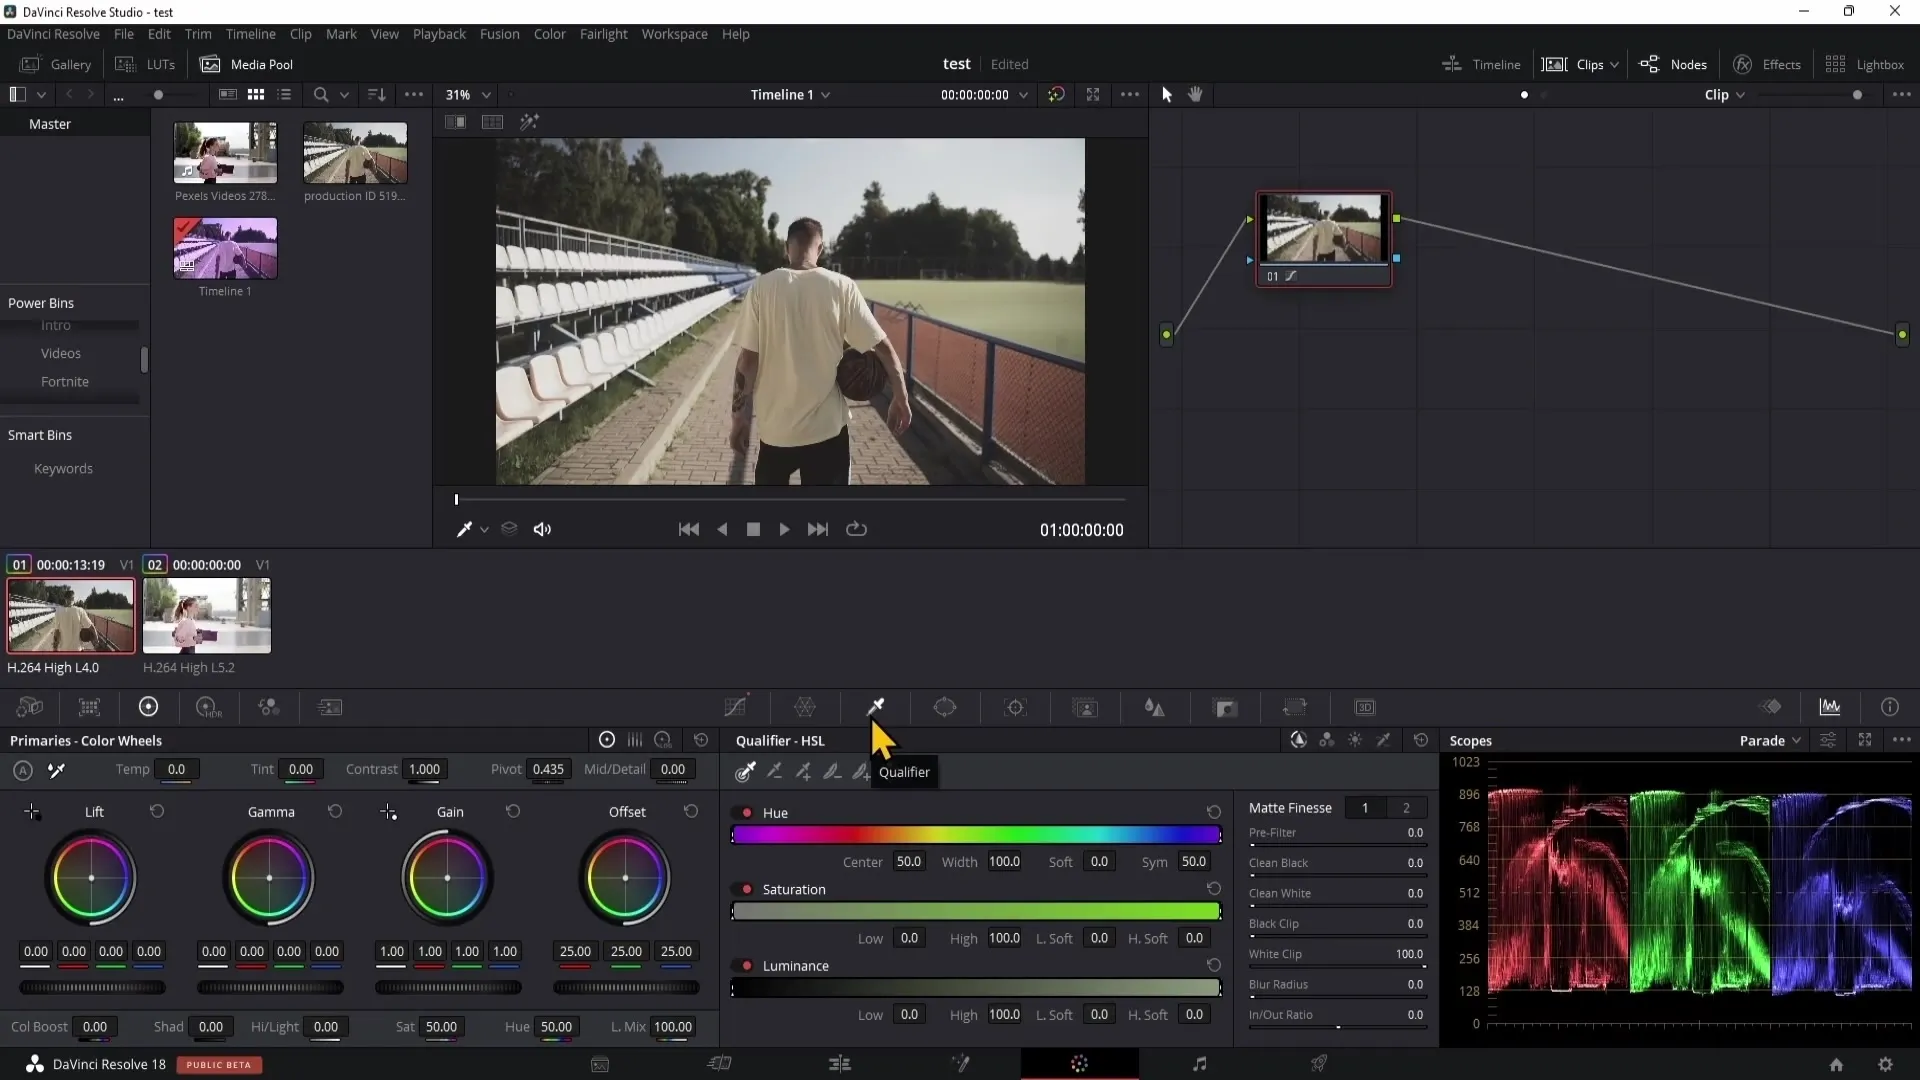
With the Qualifier's eyedropper, you can now select a specific color that you want to adjust. Move the cursor over the image and click on the desired color. For example, you select a vibrant blue from the sky.
After selecting this color, you may not see any changes at first. To make your selection visible, you need to right-click on the Alpha Output and connect it to the blue dot.
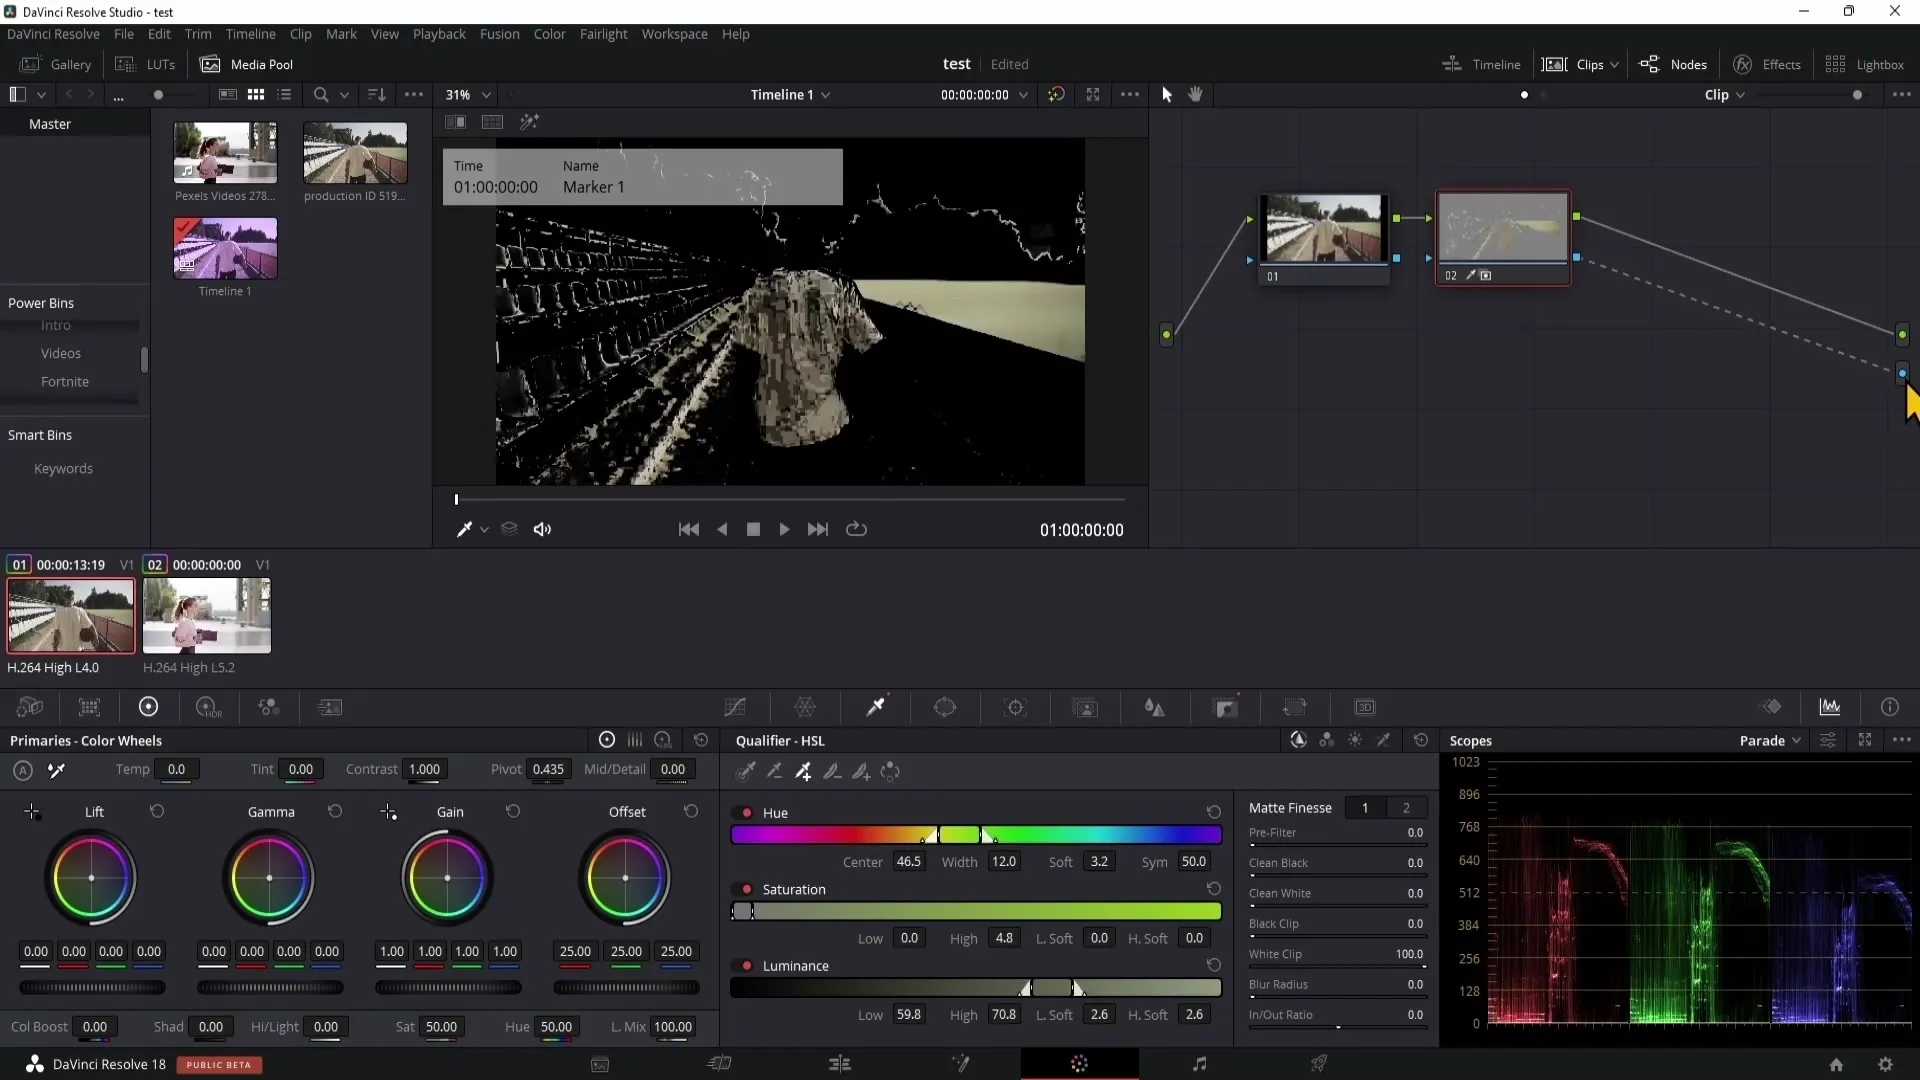
Once you have done that, the selected color should be highlighted in the visible area. All areas you have chosen are now color-adjusted, while anything that is black is not affected by the changes.
To select multiple color areas, you can use the eyedropper with a plus sign. Hover over the desired areas, and you can expand your selection. Conversely, you can also remove unwanted areas with the minus eyedropper.
If you want to refine your selection, pay particular attention to the prefilter settings. Here, you can further adjust the selection to define the desired areas more precisely.
An important setting is the Blur Radius. To avoid harsh edges and create a smooth transition, you should always adjust this. A value between 2 to 5 is a good starting point to soften the edges slightly.
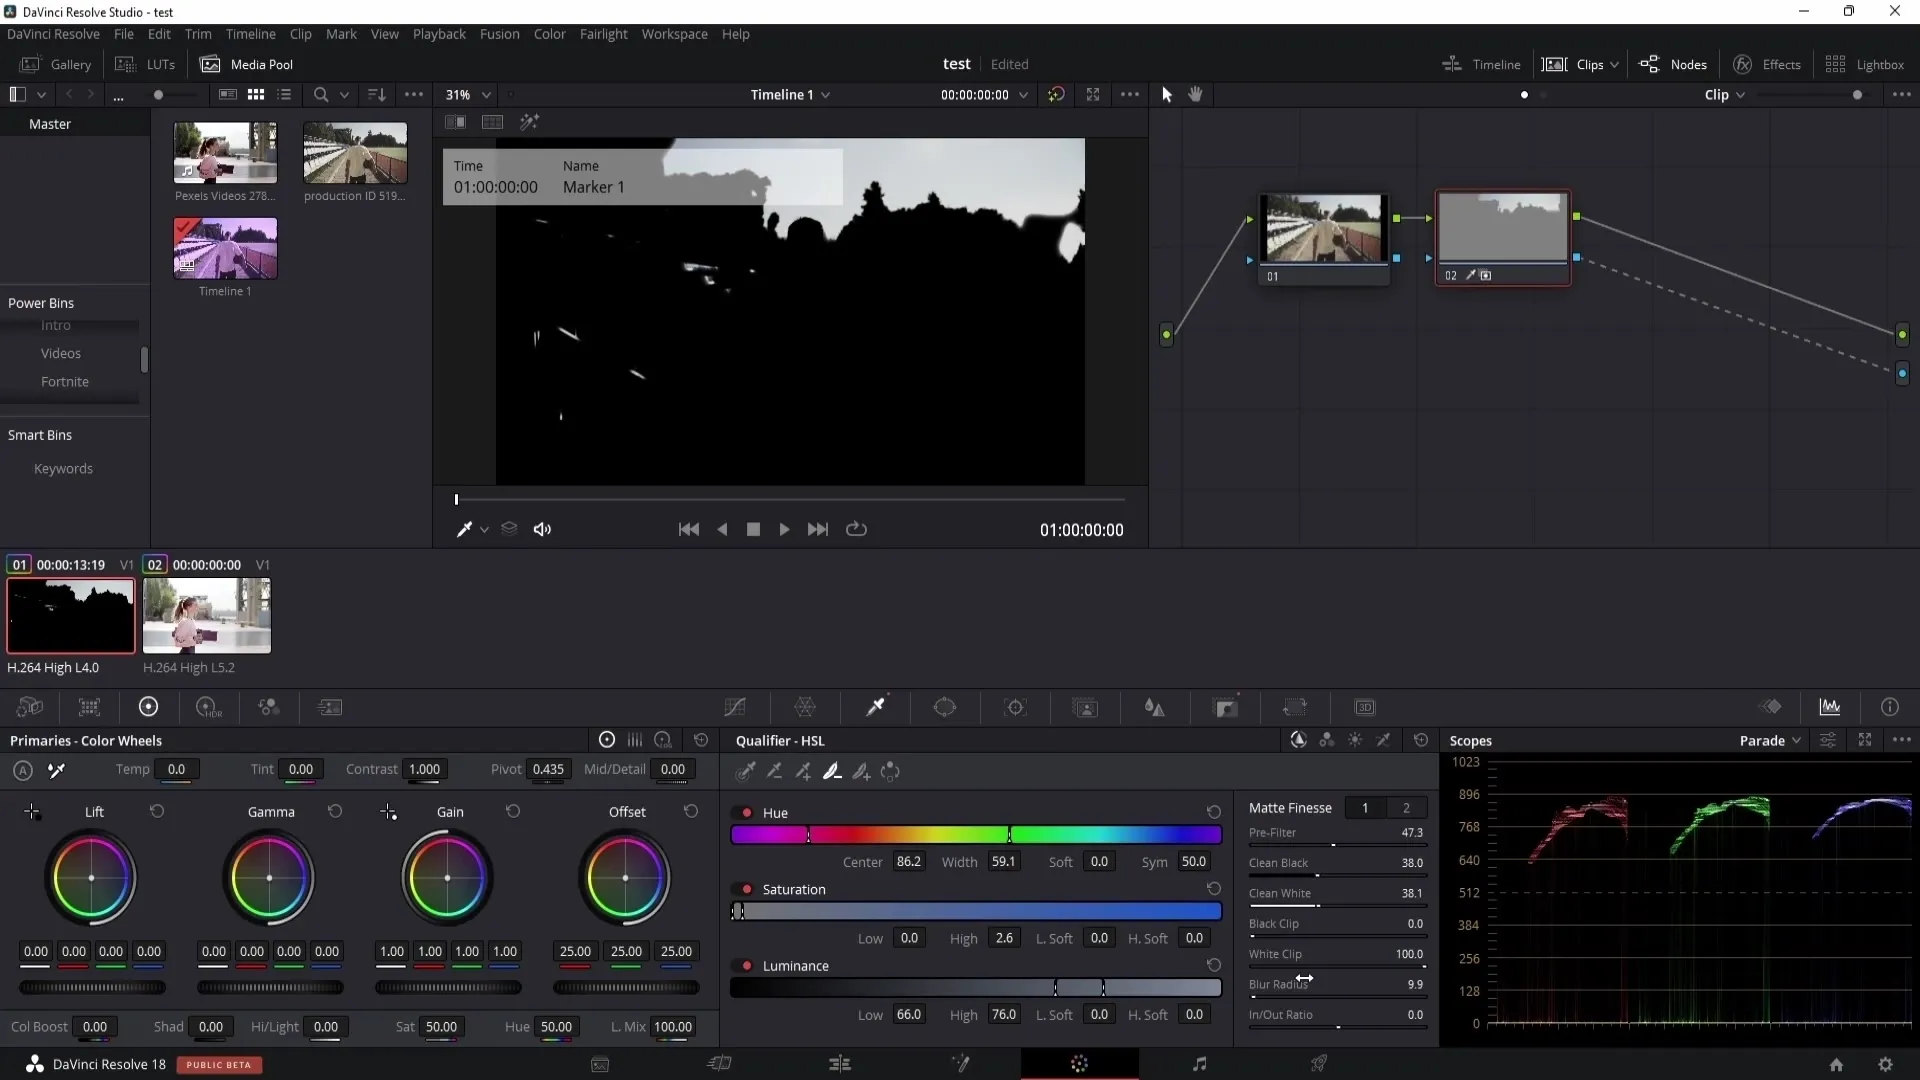
The In and Out Ratio is also useful for adjusting the size of your selection. With this slider, you can increase or decrease the selection to find the perfect setting.
Another helpful symbol is for inverting the selection. With a simple click, you can reverse the selection, allowing you to edit the unselected areas.
To make the selection visible, you can also use the highlight tool. By clicking on the corresponding button, your selection will be displayed, and you can see which areas you are editing.
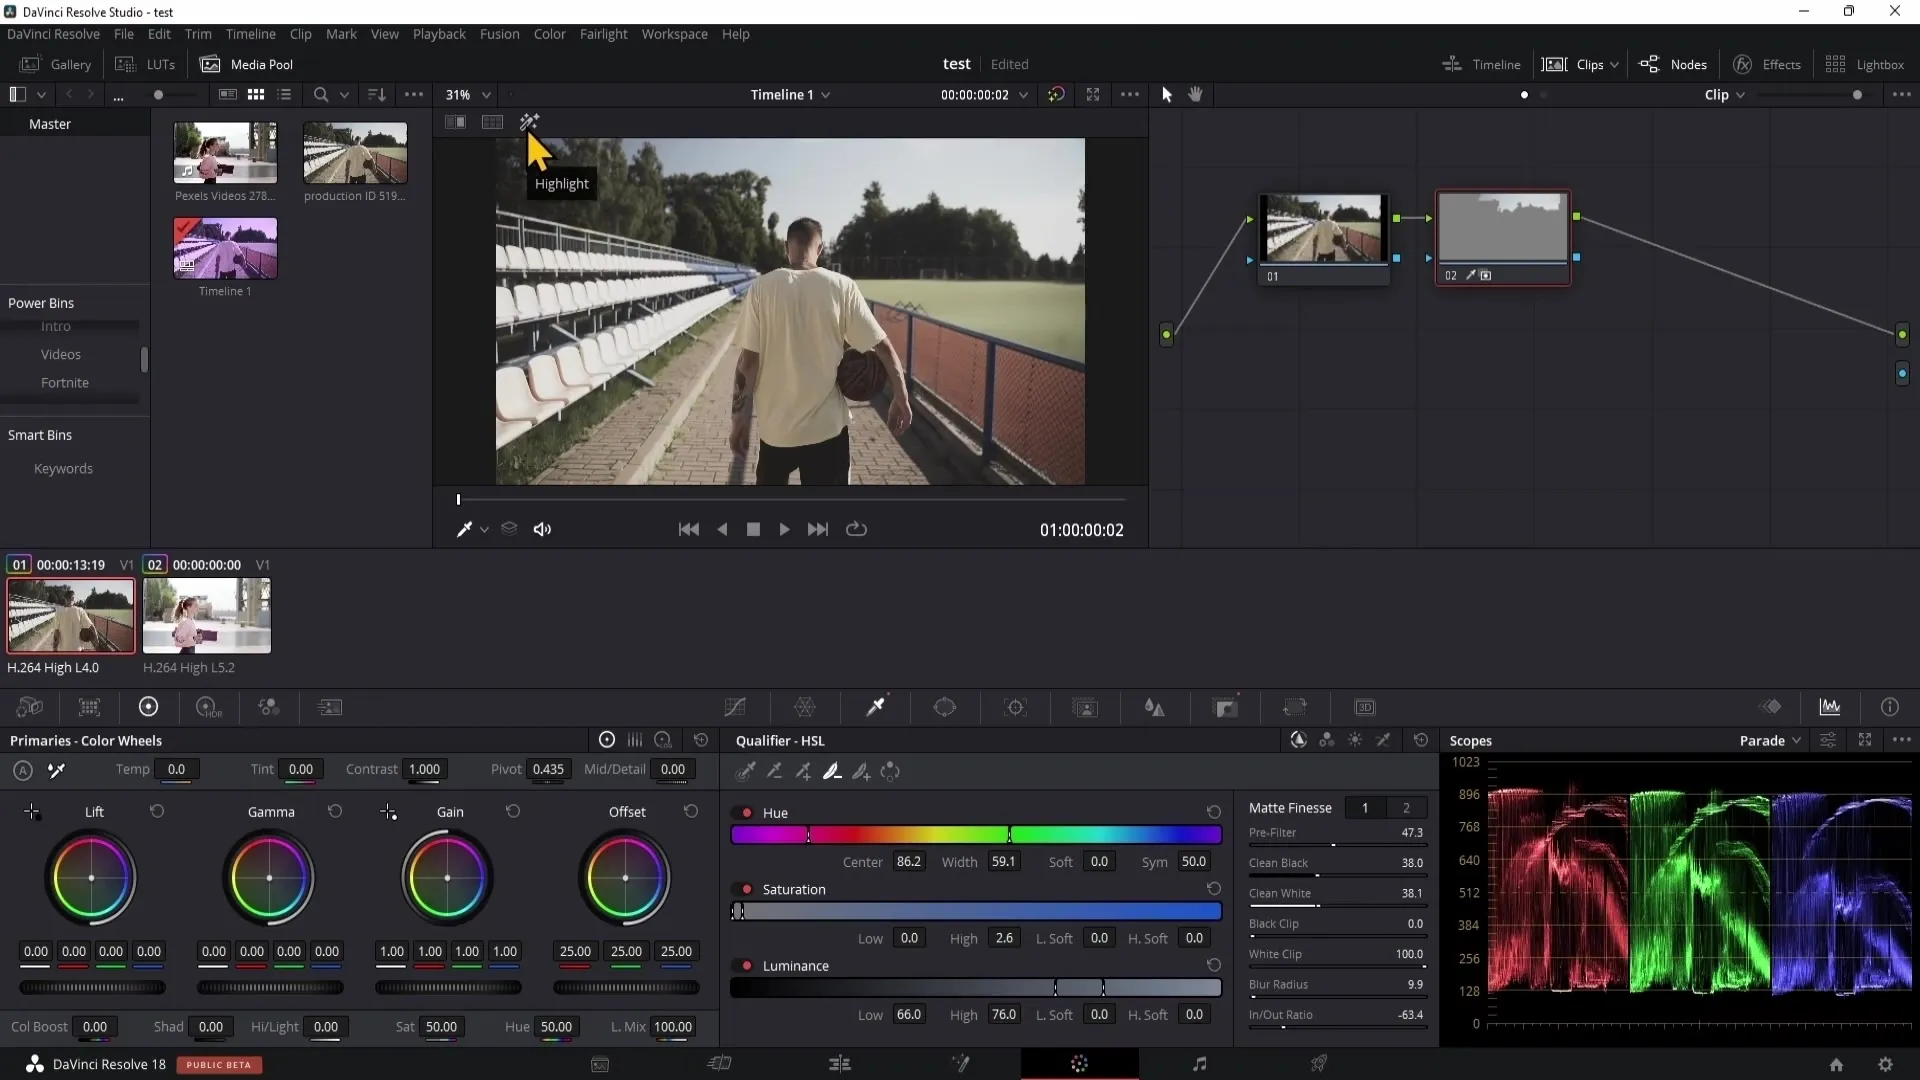
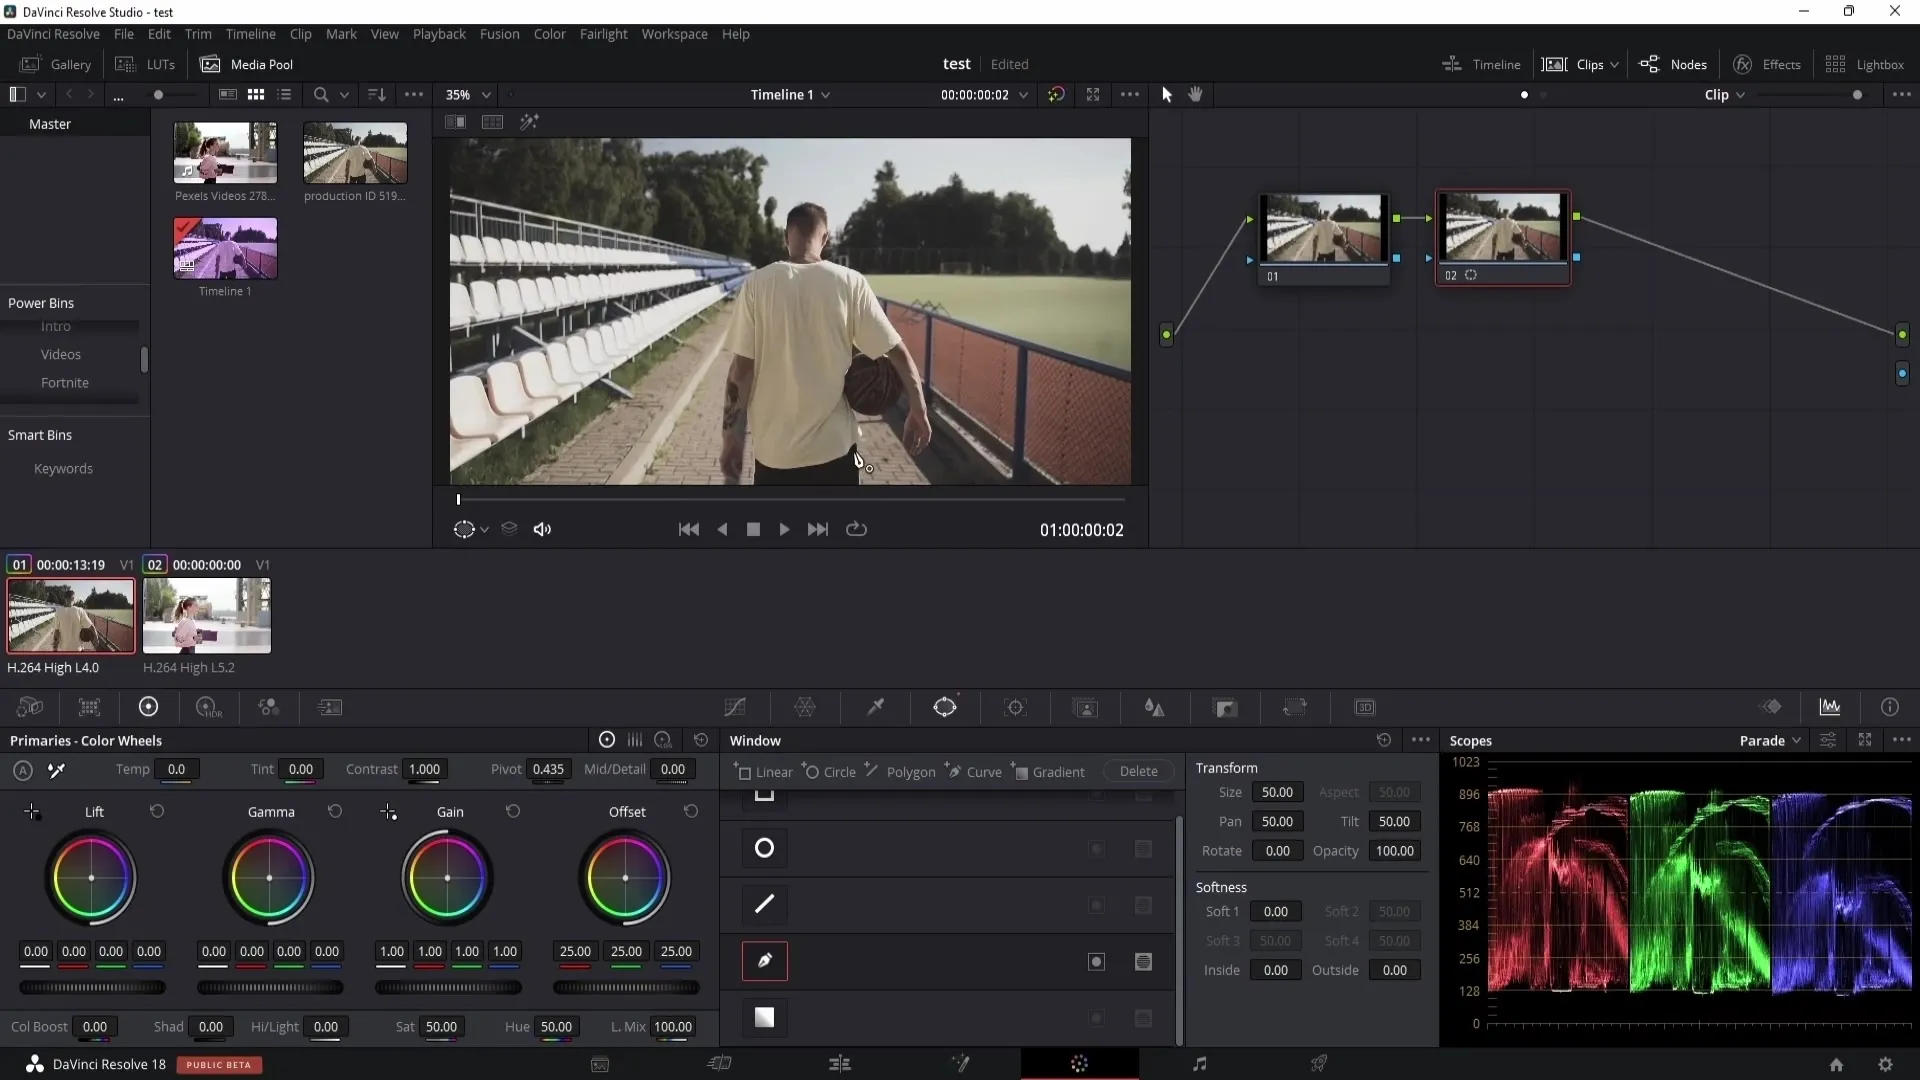
The Masks function in DaVinci Resolve contains various tools for precise selection. For example, you can use the pen manipulator to draw precise outlines around objects to isolate them.
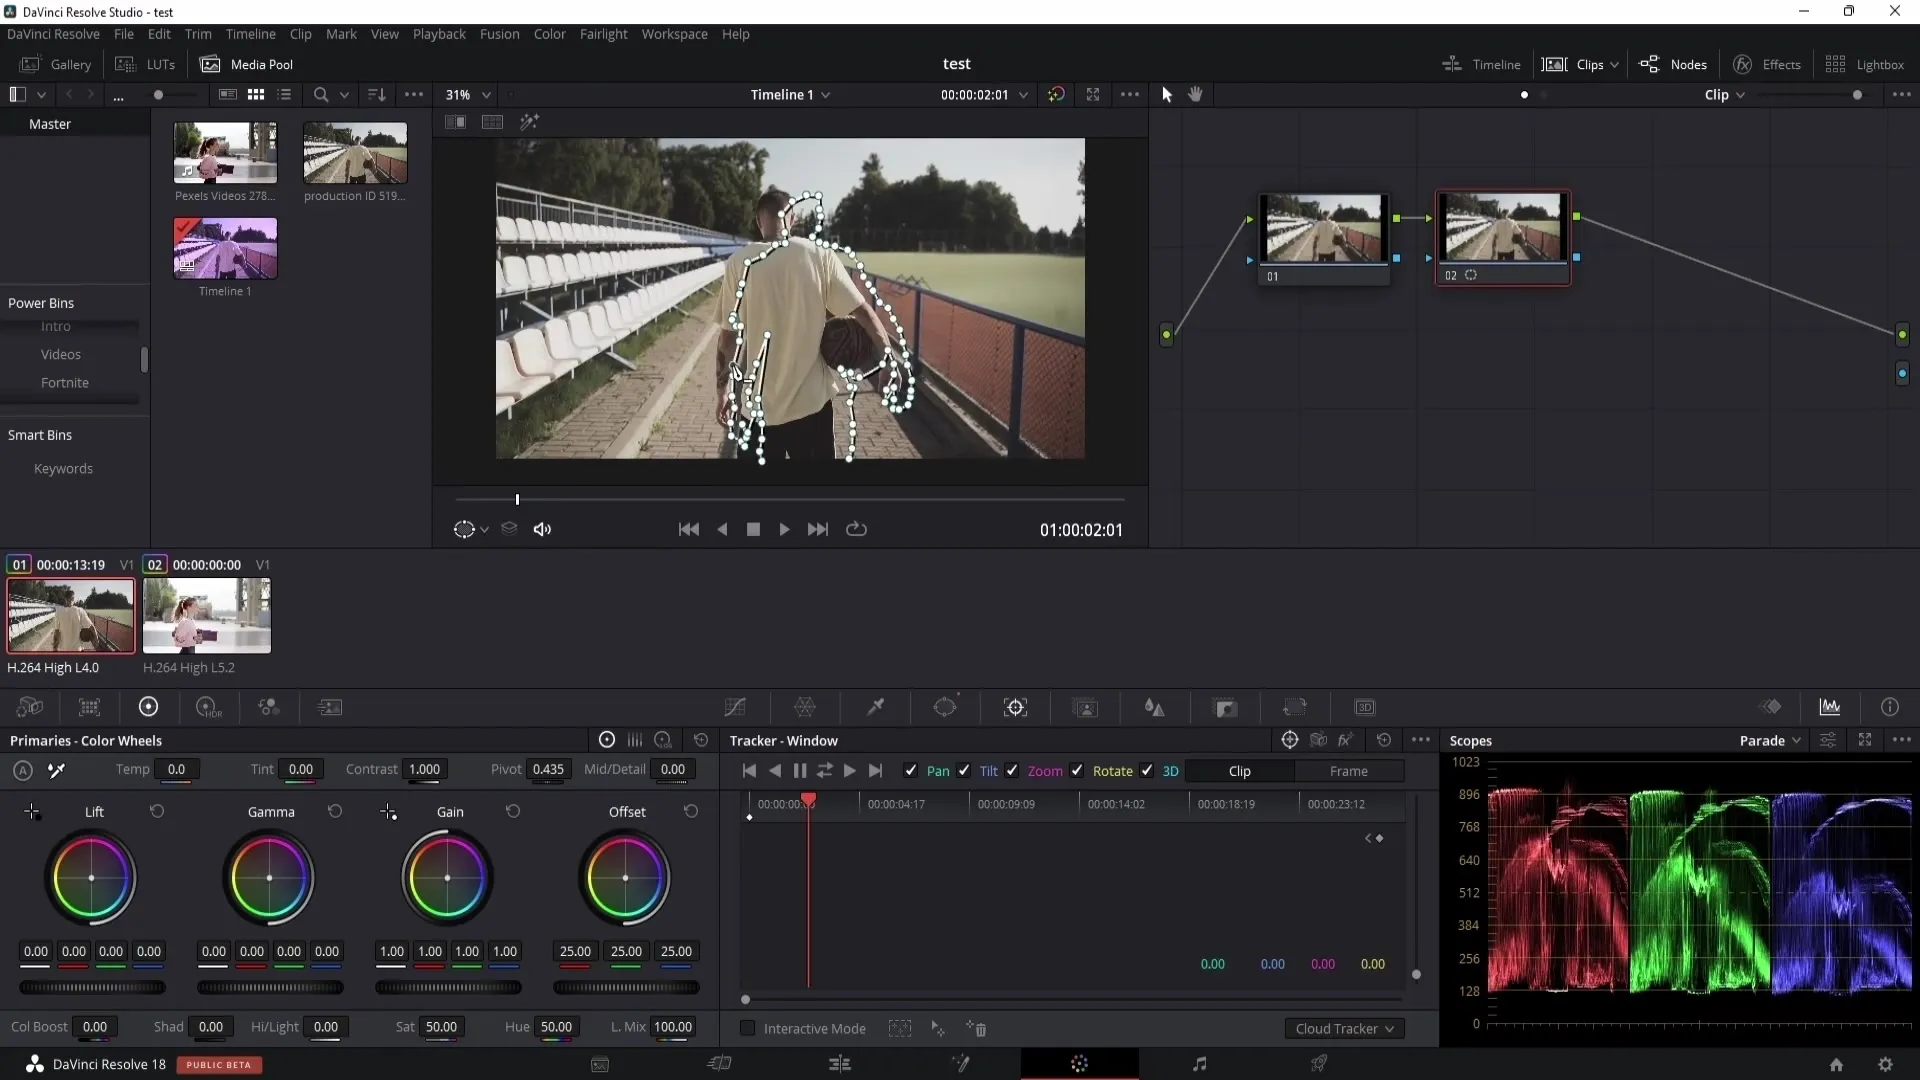
Once you have created the mask, you can use the tracking function to track the object as the video moves. However, ensure that the tracking is consistently traceable for optimal results.
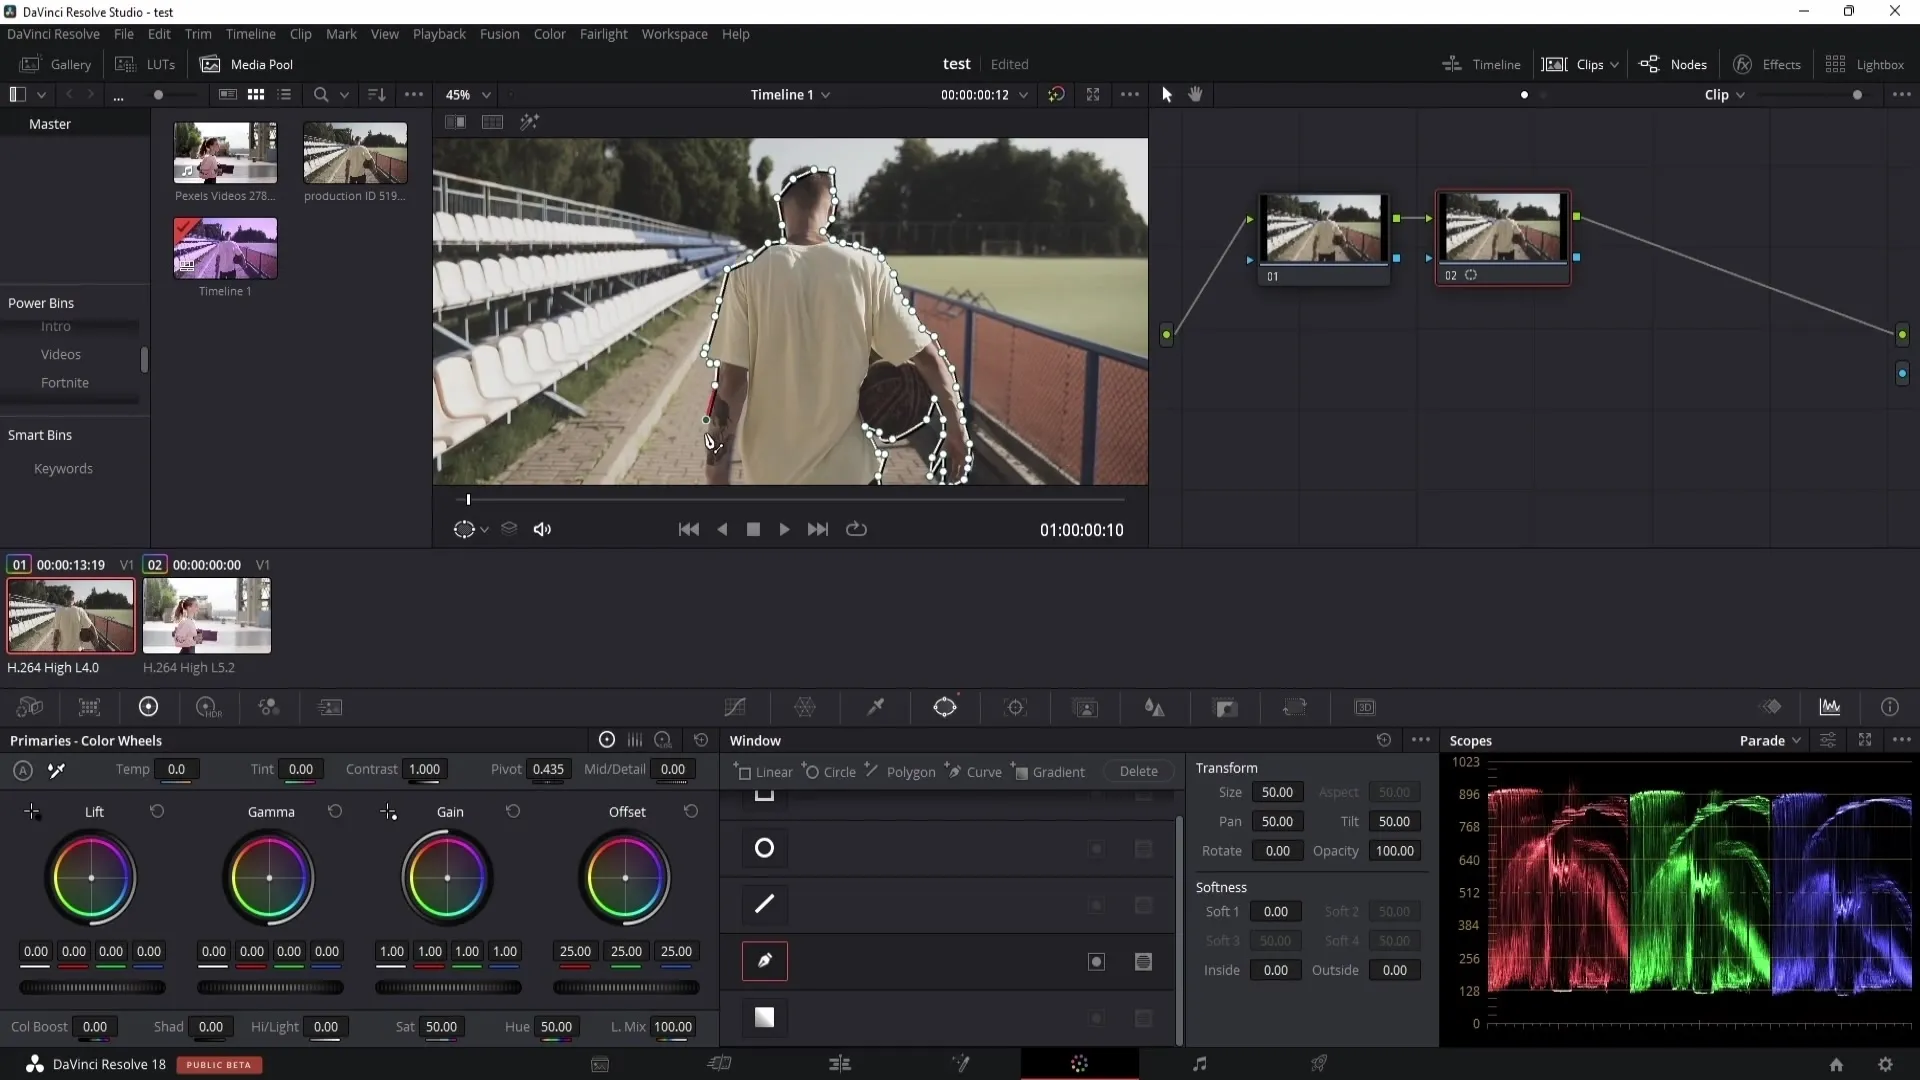
After tracking, you can adjust the mask points as needed. If the mask is not fitting perfectly, go through frame by frame and manually adjust the points.
Another option for color correction is the Magic Mask. With this tool, you can quickly separate objects or people from the background. This is a time-saving technique that can greatly help you when working with moving objects.
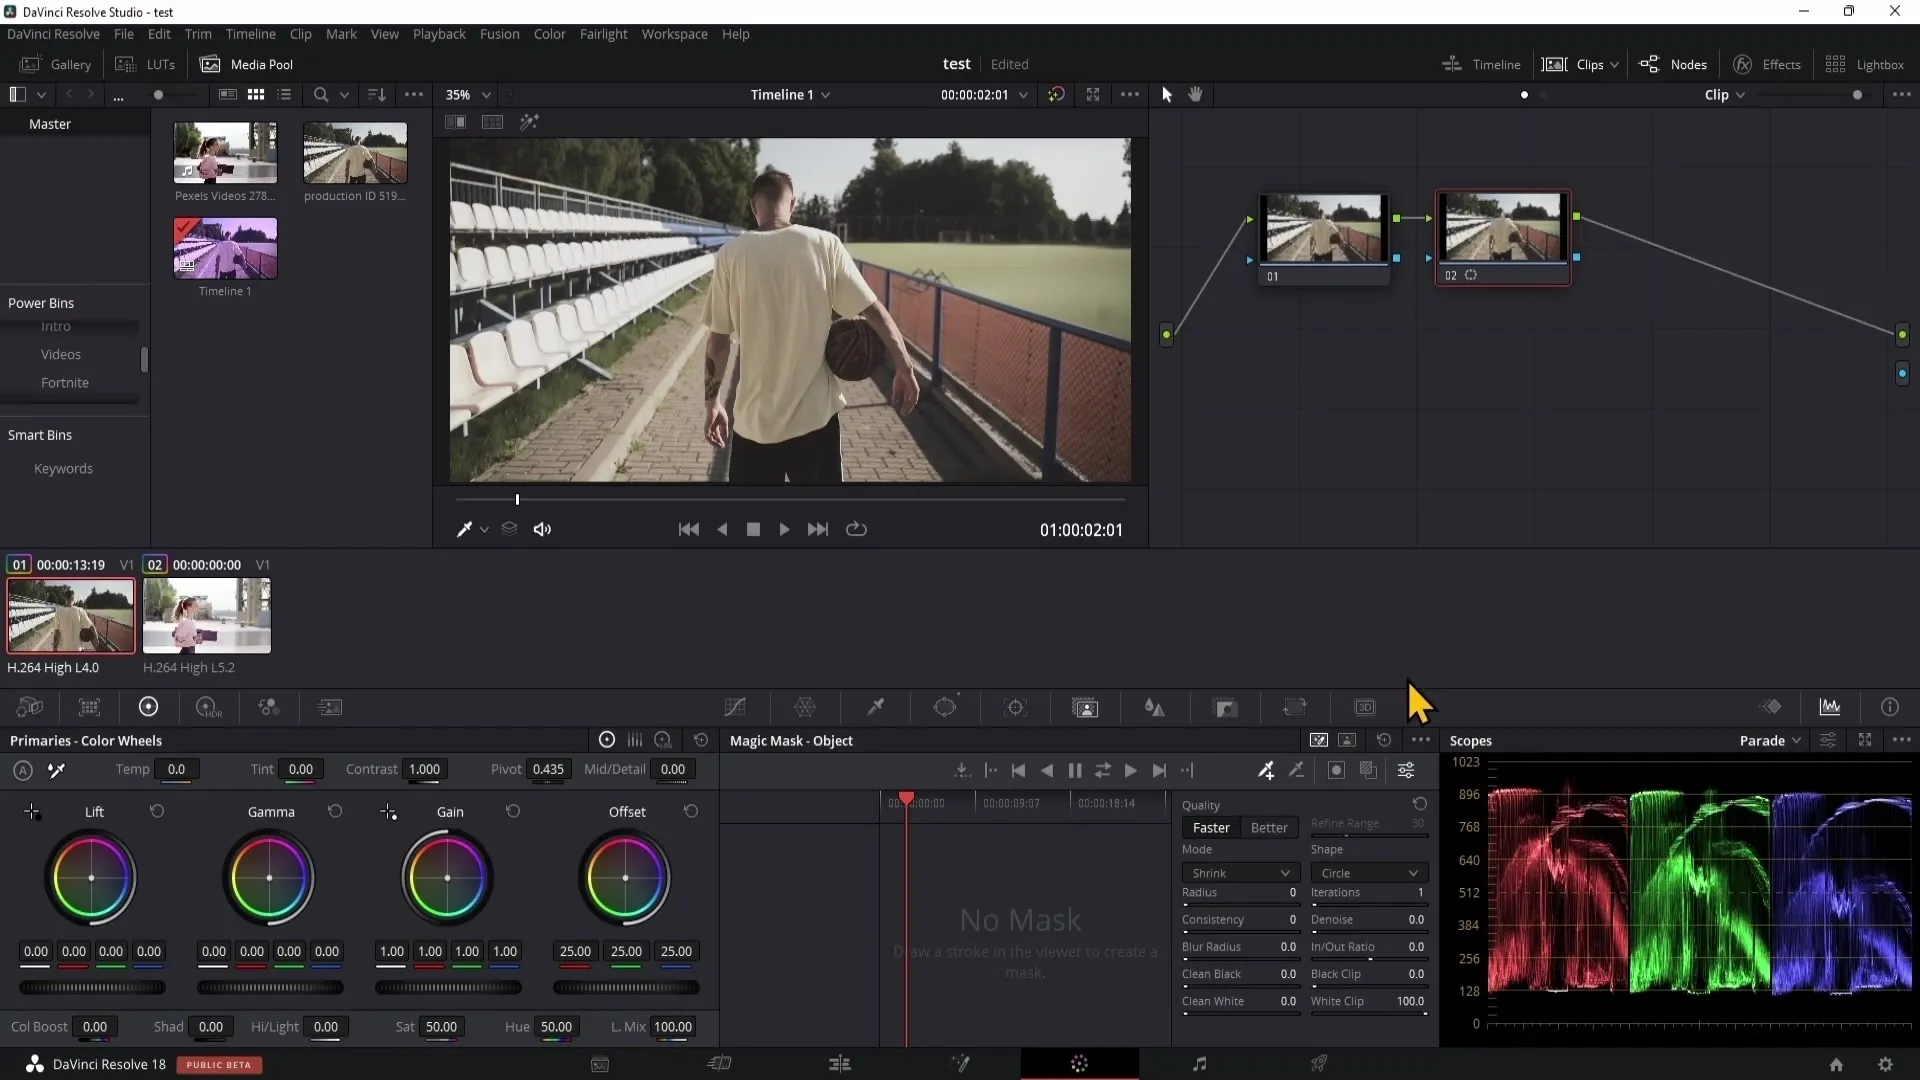
To further refine the image, you should consider the scopes that show the color and brightness distribution of your image. Pay attention to the color ranges and adjust the settings accordingly.
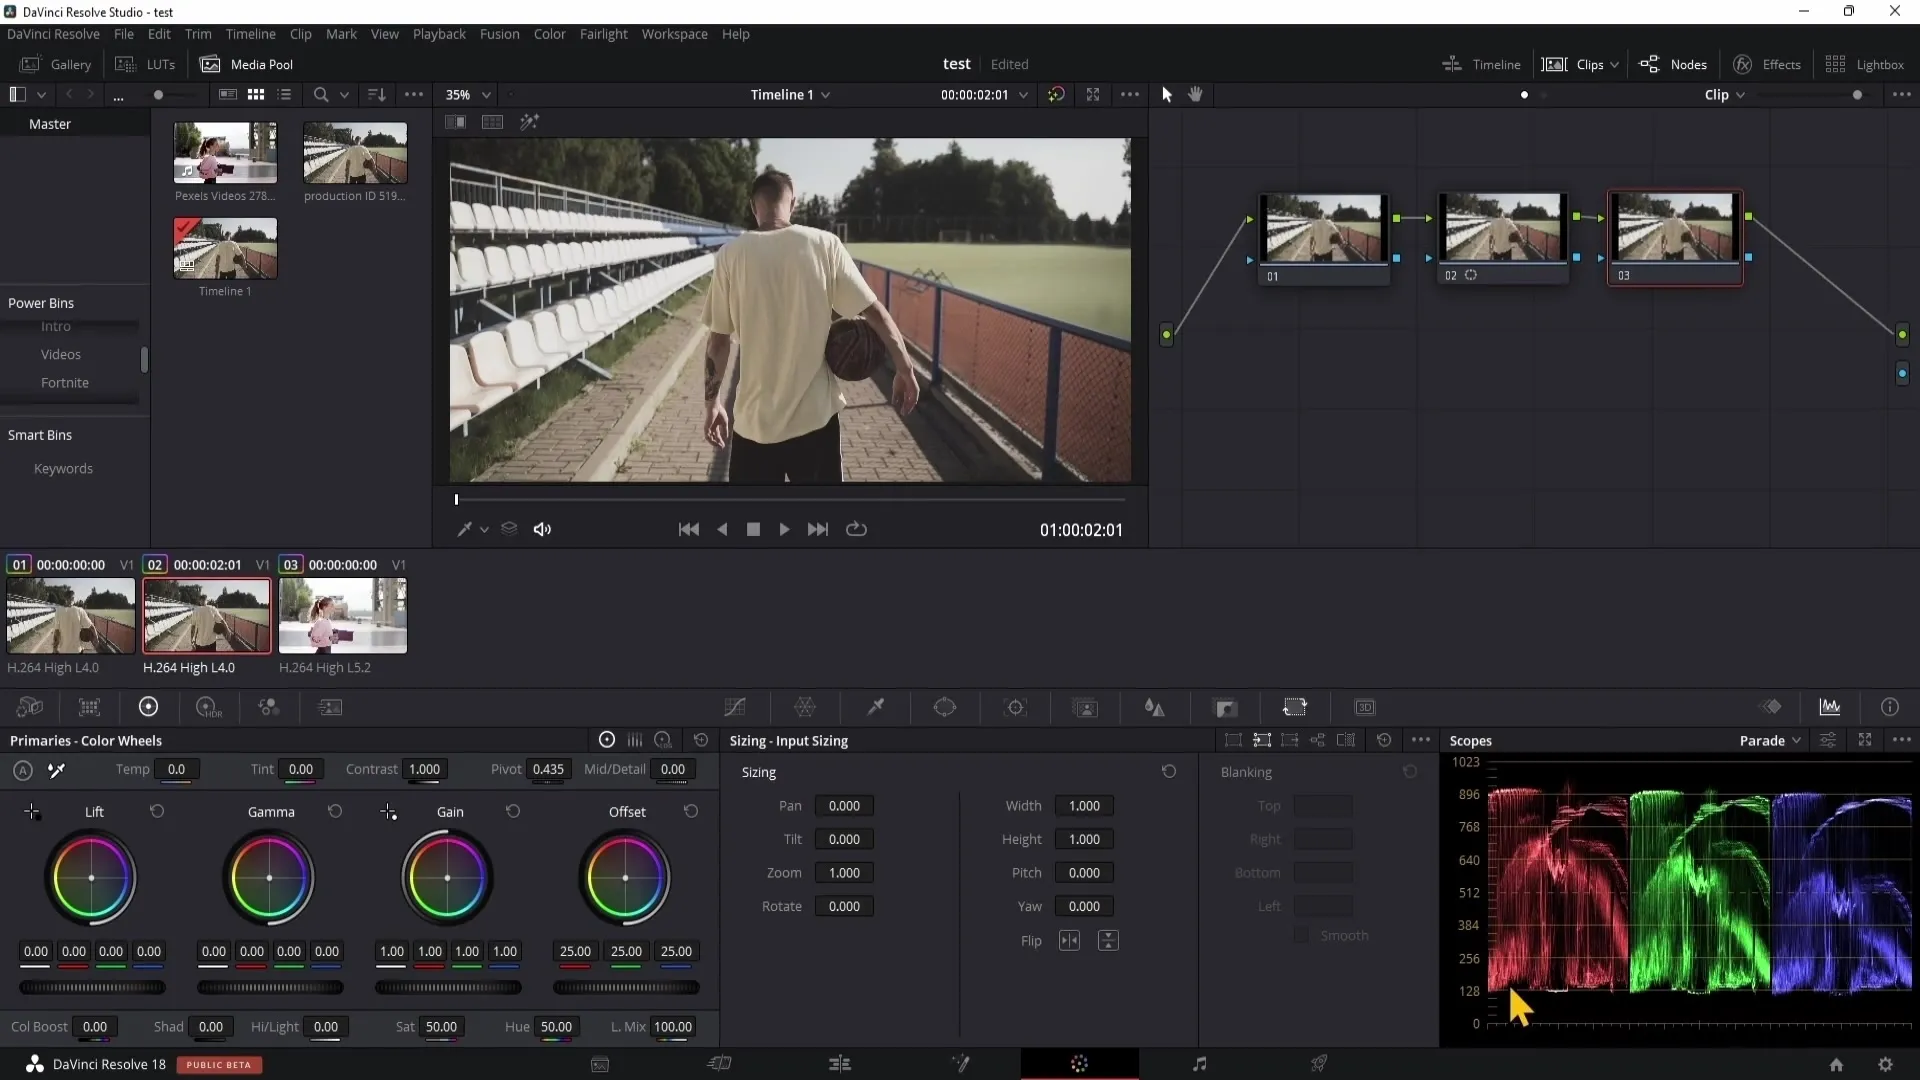
When you are ready to make your adjustments, start by adjusting the Lift, Gamma, and Gain controls. With these, you can optimize the shadows, midtones, and highlights in your image.
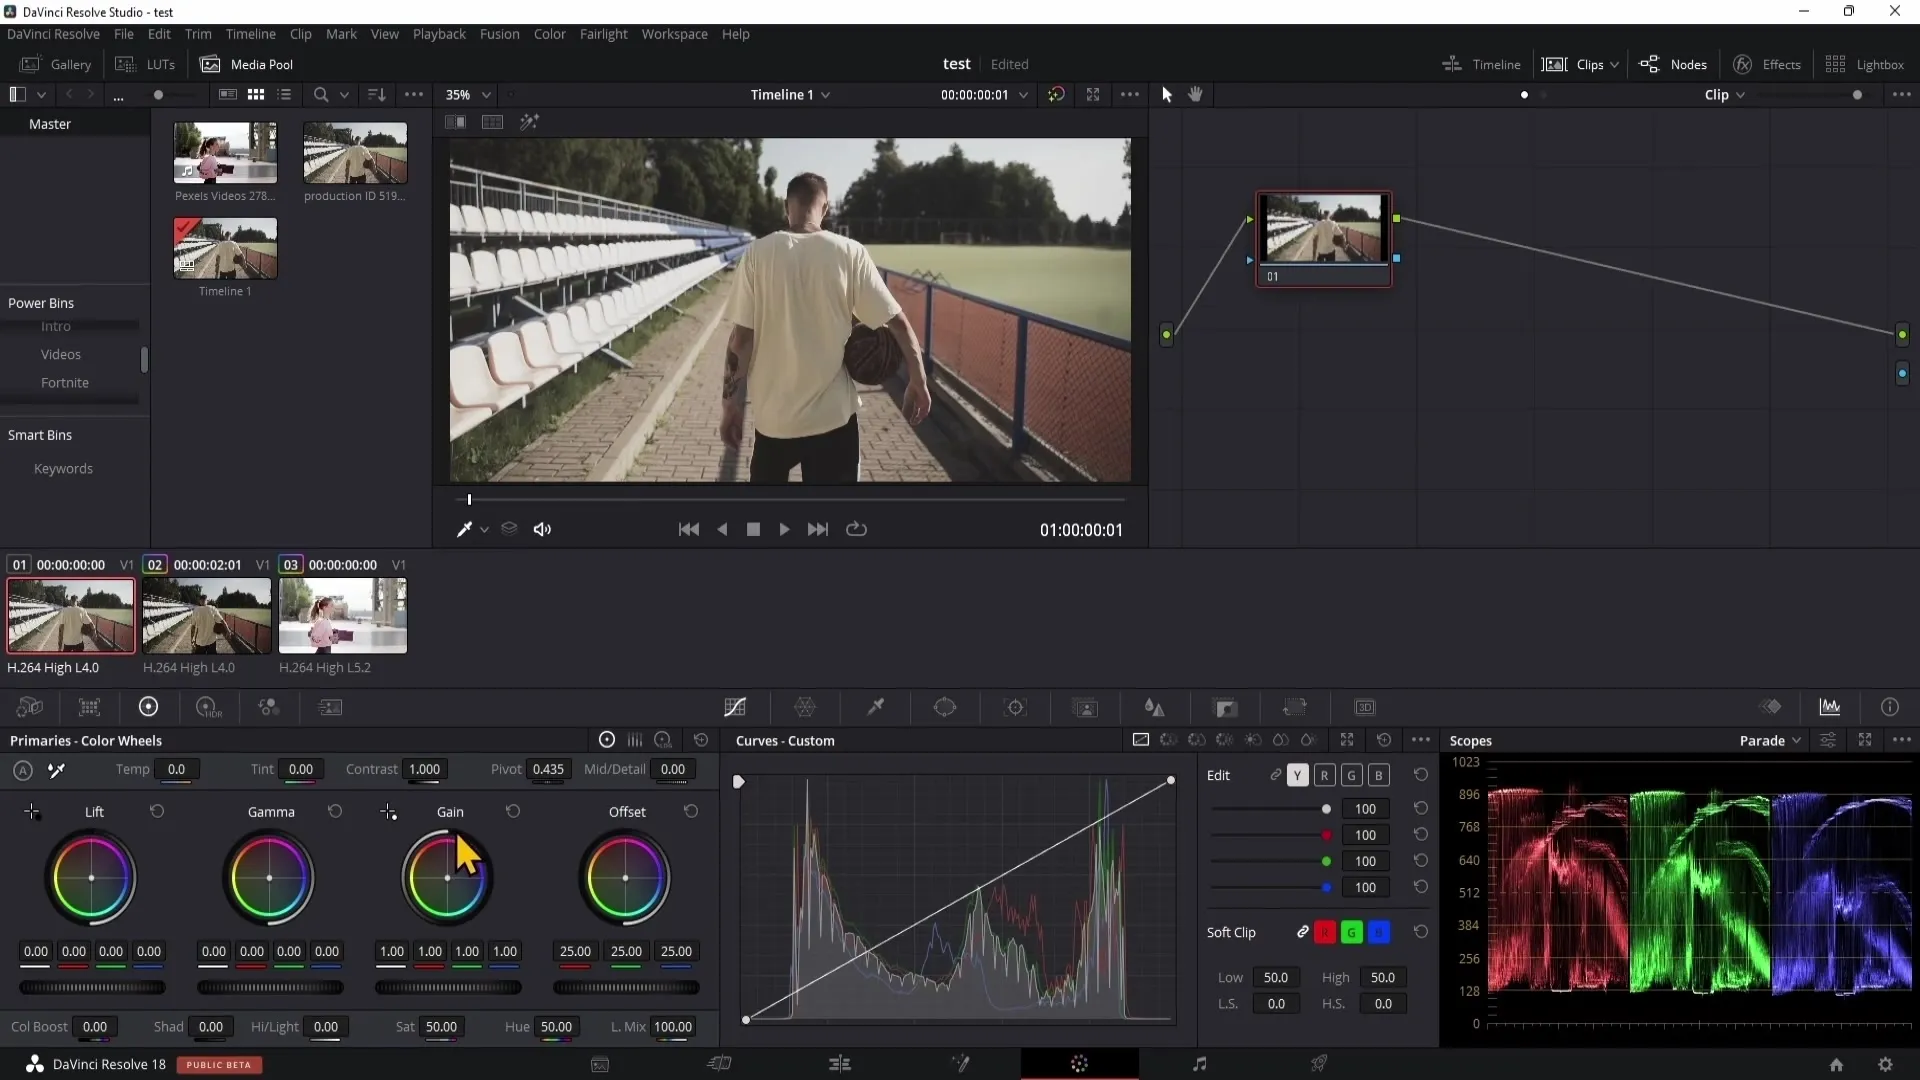
For a quick adjustment, you can also use the Color Boost to increase the color intensity in the image. Play around with the temperature and contrast settings to bring the entire image to a uniform result.
Summary
In this tutorial, you have learned how to make targeted color corrections with the Qualifier in DaVinci Resolve. You should now be able to precisely select and adjust colors in your footage, as well as effectively use masks and tracking tools. Experiment with the various features to improve your skills in color grading.
Frequently Asked Questions
How do I use the Qualifier?To use the Qualifier, select it in the Color Page and use the eyedropper to choose the color you want to adjust.
What do I need to do to make the mask visible?To make the mask visible, you need to right-click on the Alpha Output and connect it with the blue dot.
How can I refine the selection?You can refine the selection by using the eyedropper with the plus or minus sign to add more areas or remove unwanted ones.
What is the role of the Blur Radius?The Blur Radius helps to avoid hard edges by making the transitions between colors smoother.
What is the Magic Mask?The Magic Mask is a tool that allows you to quickly separate objects or people from the background, especially useful for moving content.
