Welcome to this Tutorial specifically focused on the Fairlight feature of DaVinci Resolve! This section is all about audio editing, which will allow you to optimize your audio content at a professional level. Whether you are a video producer or simply looking to enhance your own projects – the tools and techniques you will learn here are essential for audio editing in DaVinci Resolve. Let's get started!
Key Takeaways:
- Fairlight is a professional audio editing area in DaVinci Resolve.
- Adjustments and effects can be applied to both individual clips and entire audio tracks.
- Using presets and the mixer are essential for efficient editing workflows.
Step-by-Step Guide
Accessing the Fairlight Area
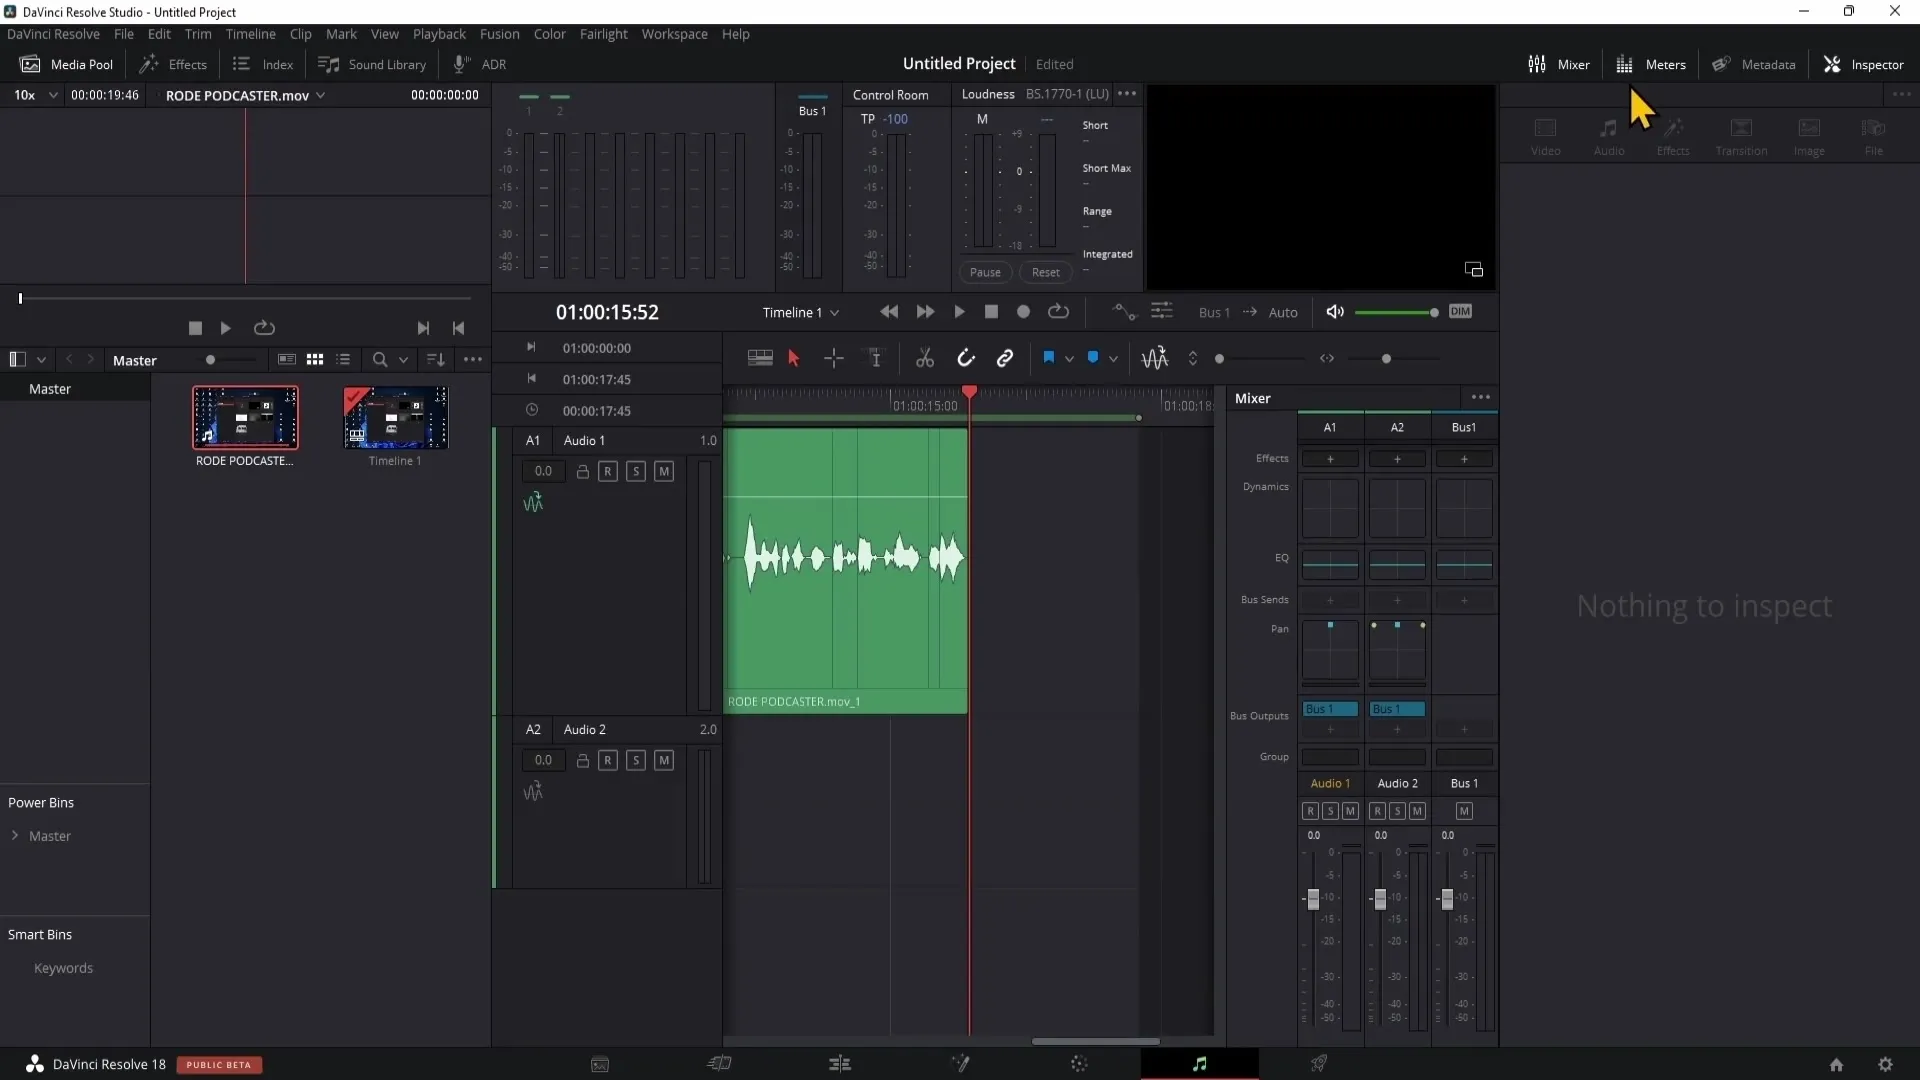
To access the Fairlight area, you need to open DaVinci Resolve and click on the music note icon in the lower right corner. This will take you to the section responsible for audio editing.
Overview of the Different Windows
Once you are in the Fairlight area, you will notice different windows and modules. You may already be familiar with the Media Pool from previous videos. In this area, you load video and image material.
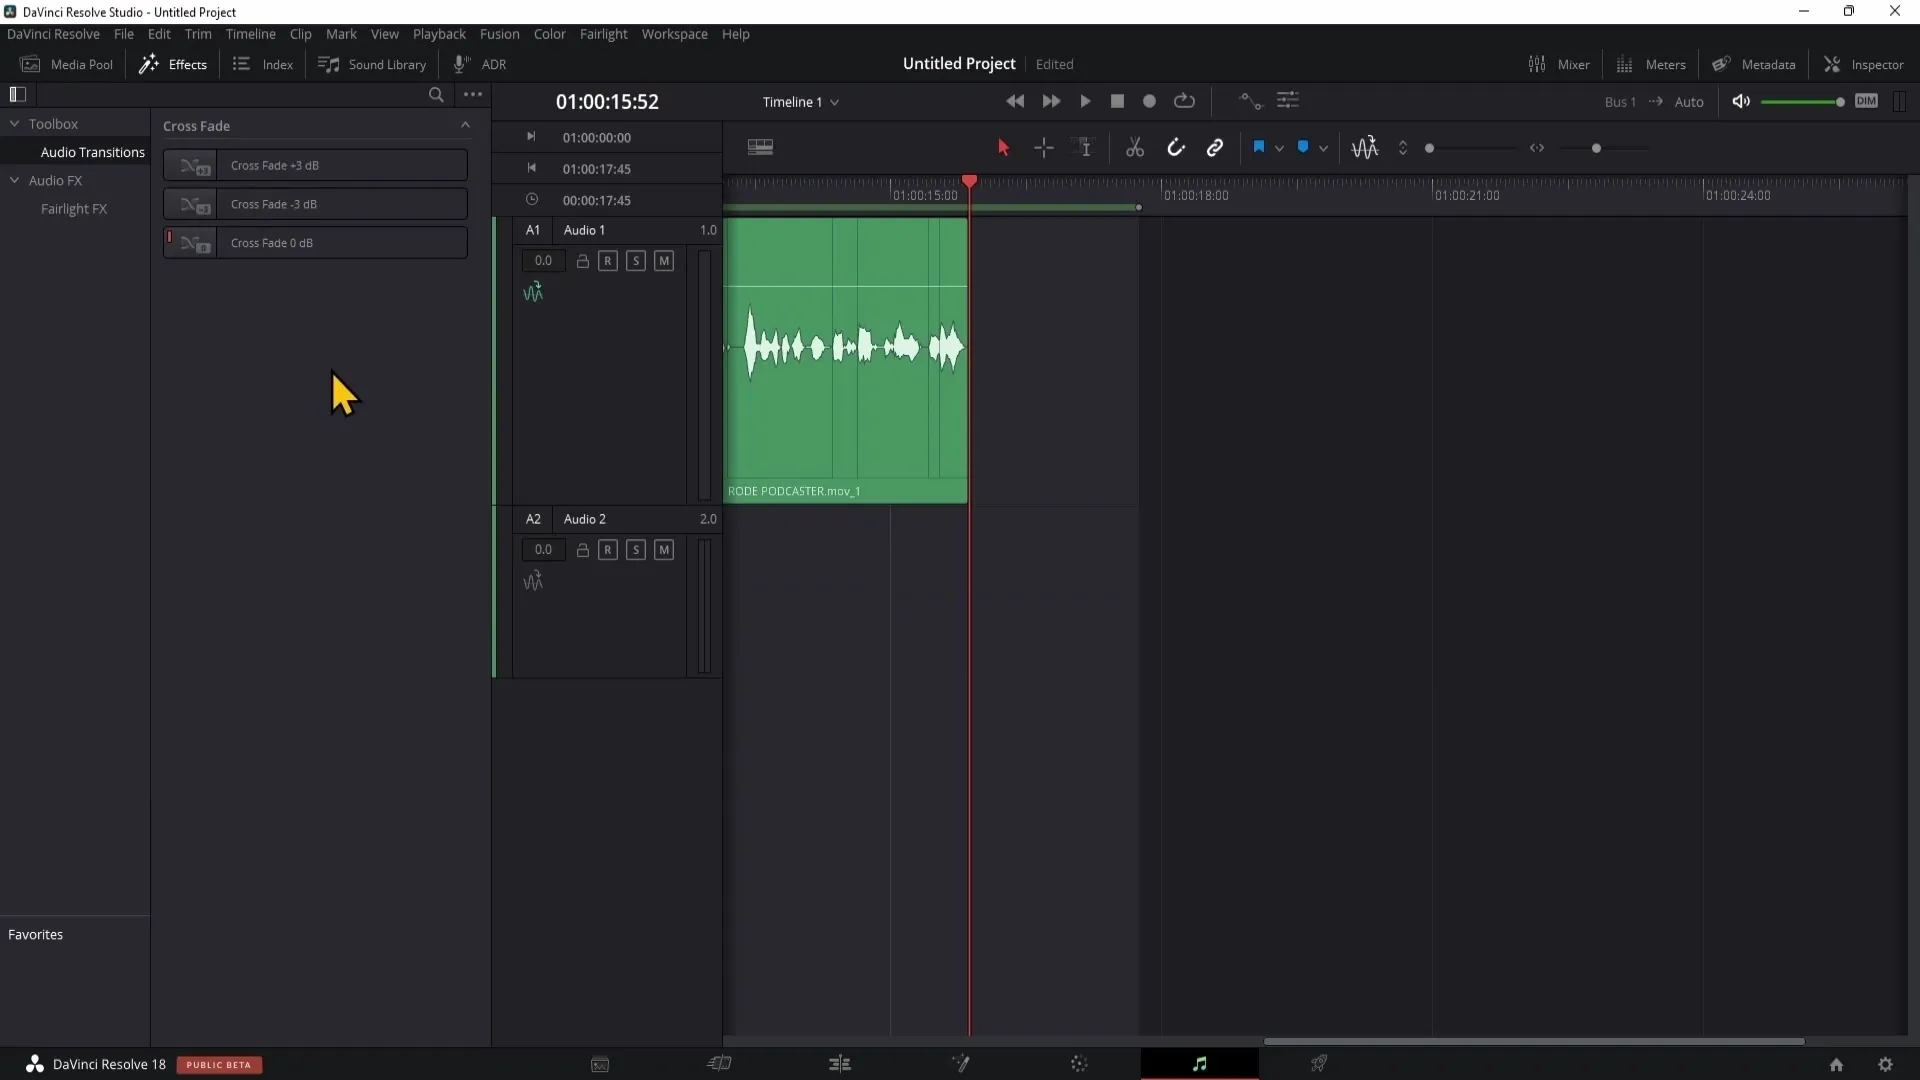
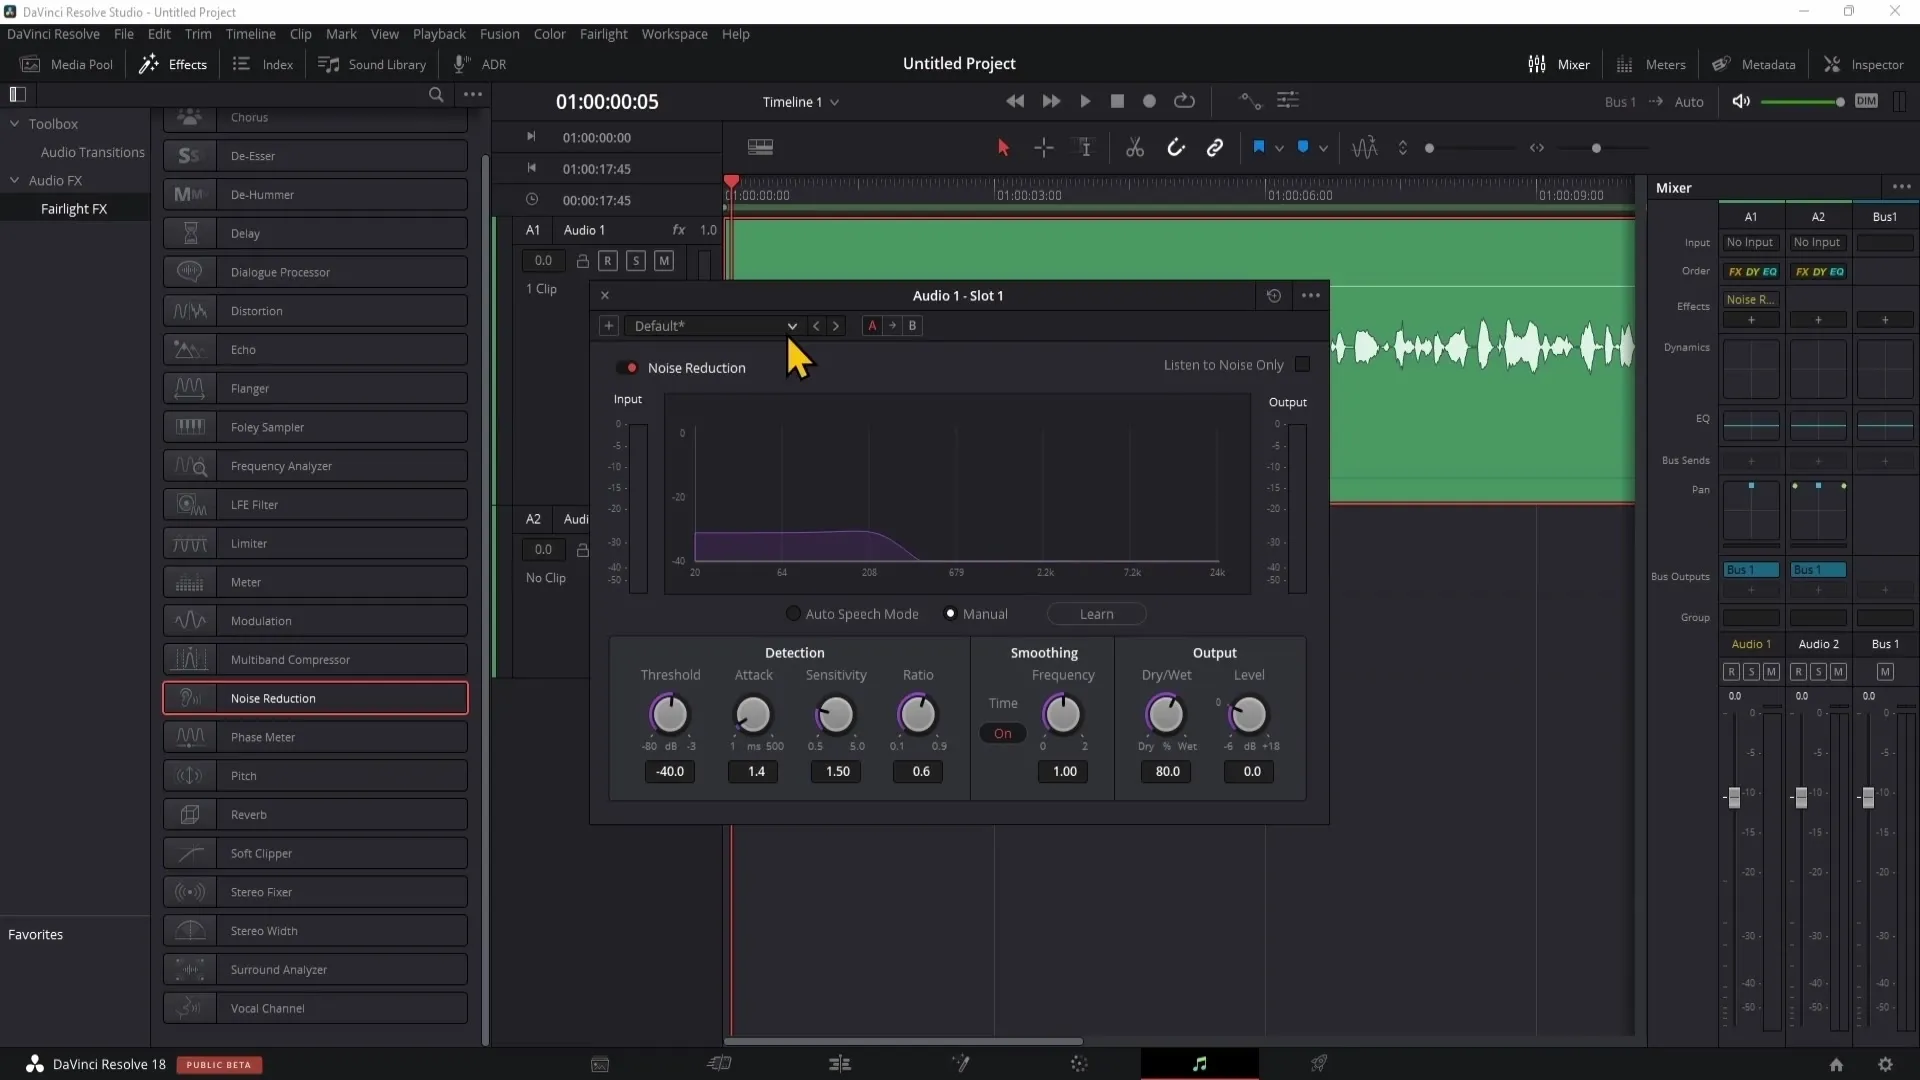
Another important window is the Effects window, where you can apply a variety of audio effects. You will use these effects on your audio tracks to improve sound quality or minimize unwanted noise.
Applying Audio Effects
An example of an audio effect is noise reduction. You can easily apply this effect to your audio track. Dragging the Noise Reduction onto a clip allows you to effectively minimize noise issues.
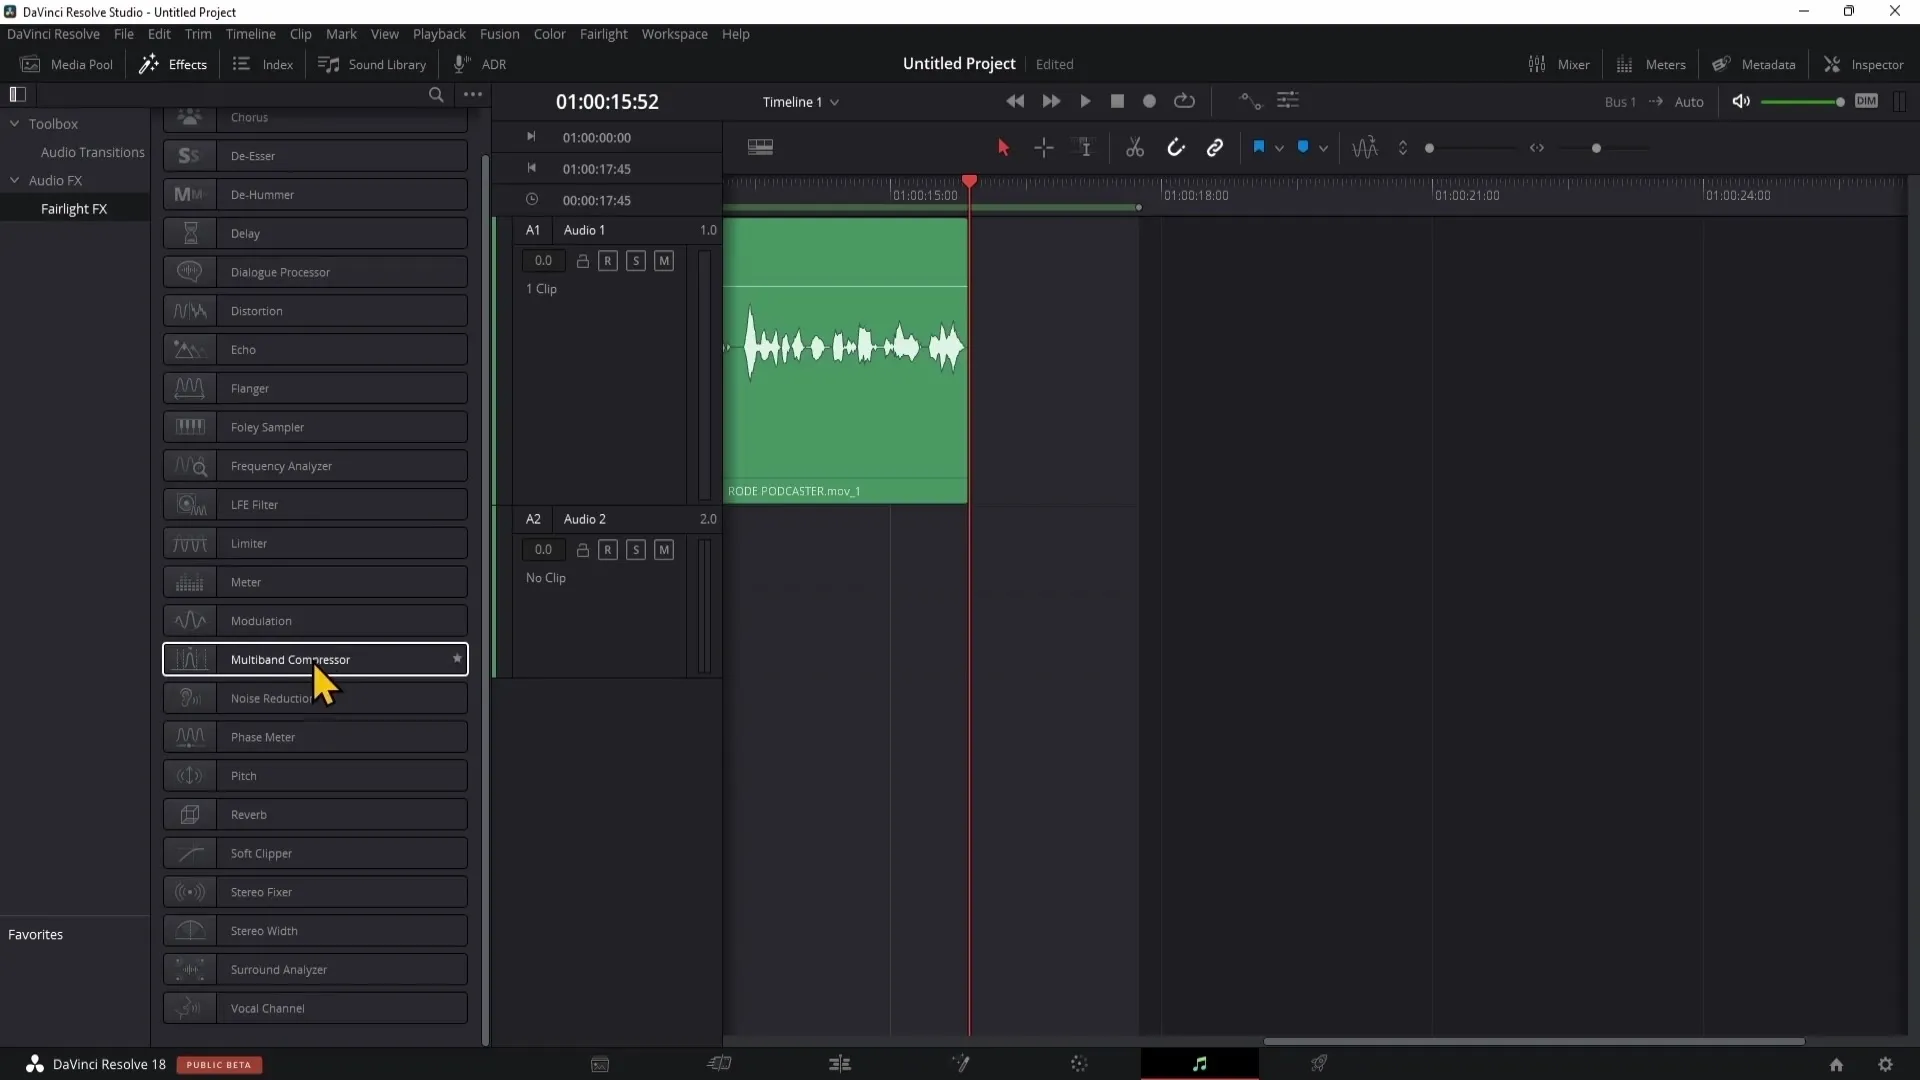
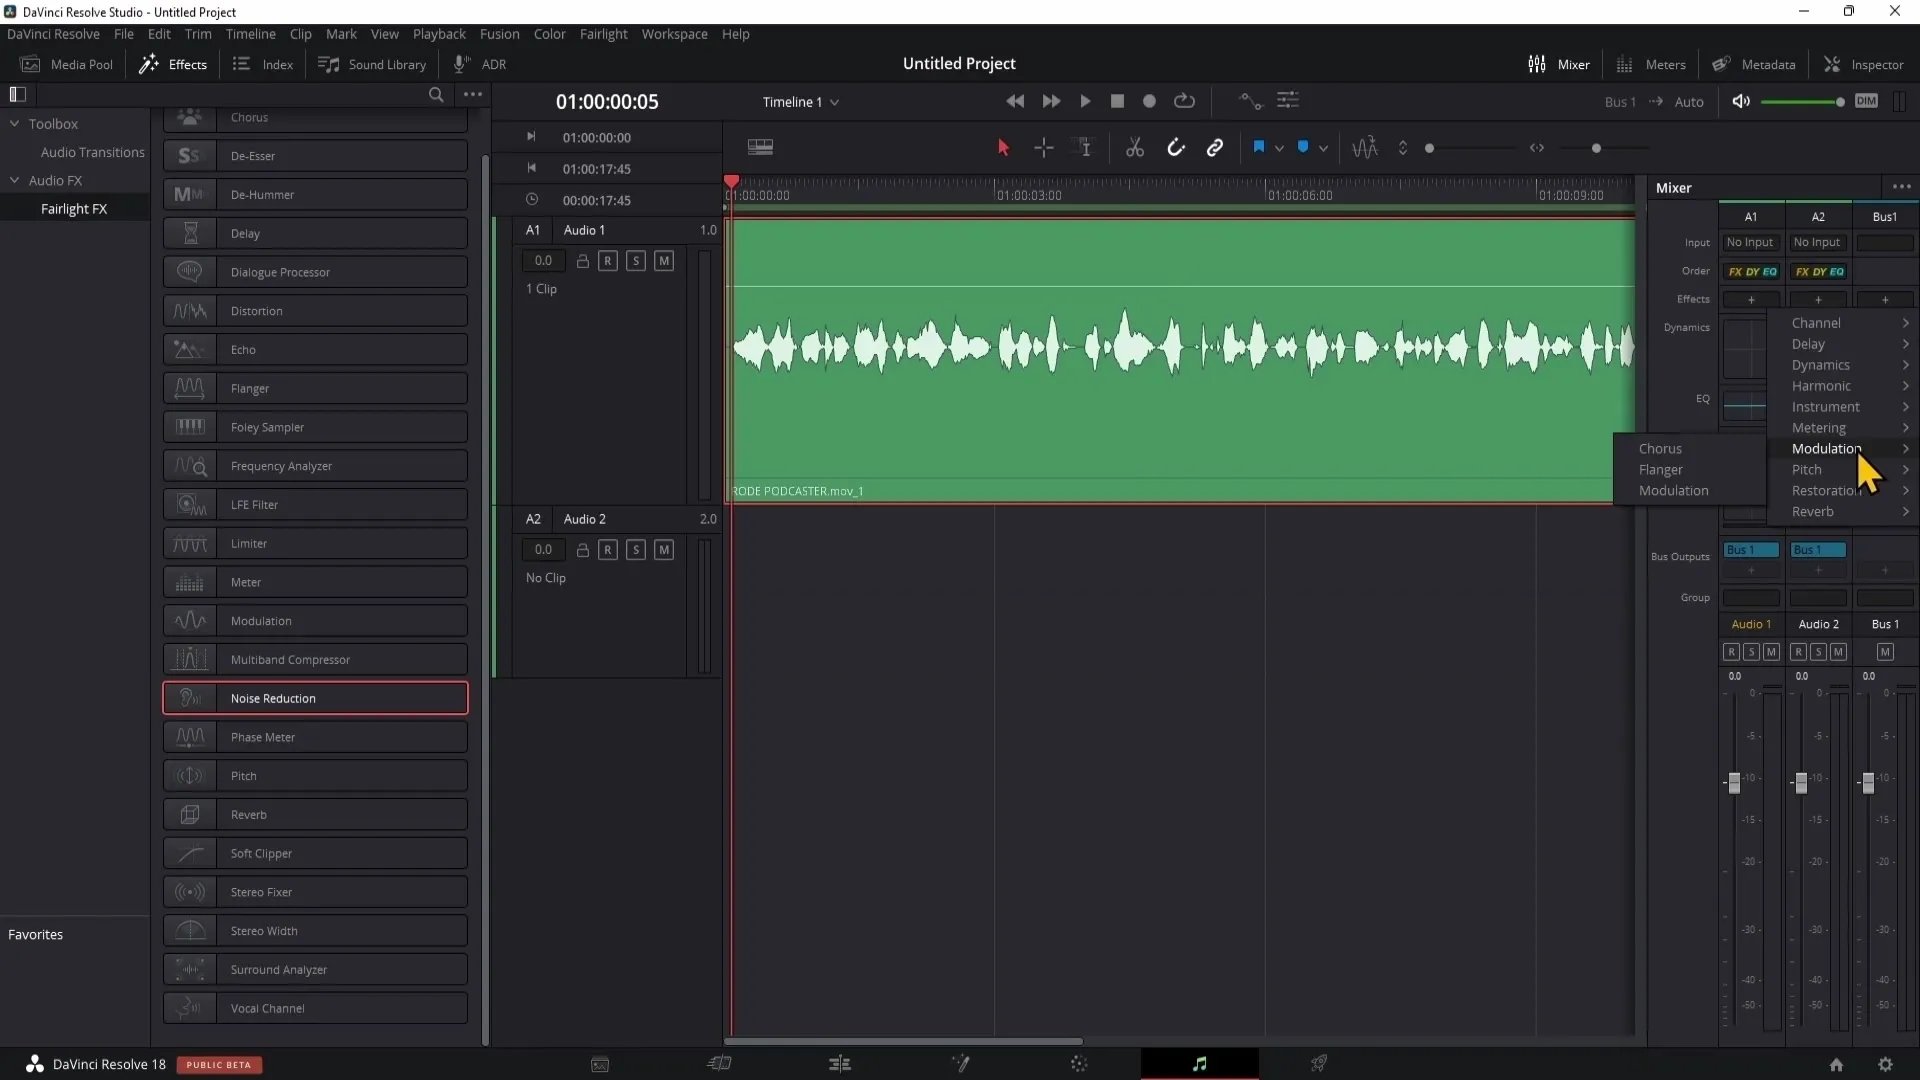
However, applying this effect to every single clip in a long audio track is laborious. Instead, you have the option to apply this effect to the entire track. To do this, you need to go to the mixer.
Volume Settings in the Mixer
In the mixer, you will see your audio tracks, referred to here as A1 (Audio Track 1). Any adjustments made in this row will be applied to the entire audio track. You can easily add effects here by clicking on the plus sign and selecting the desired effect.
Saving Presets
If you want to save a specific setting for Noise Reduction for future projects, simply click on the plus sign in the top left corner and name your preset. This allows you to use the same settings in other projects without having to manually set them again.
Working with Audio Transitions
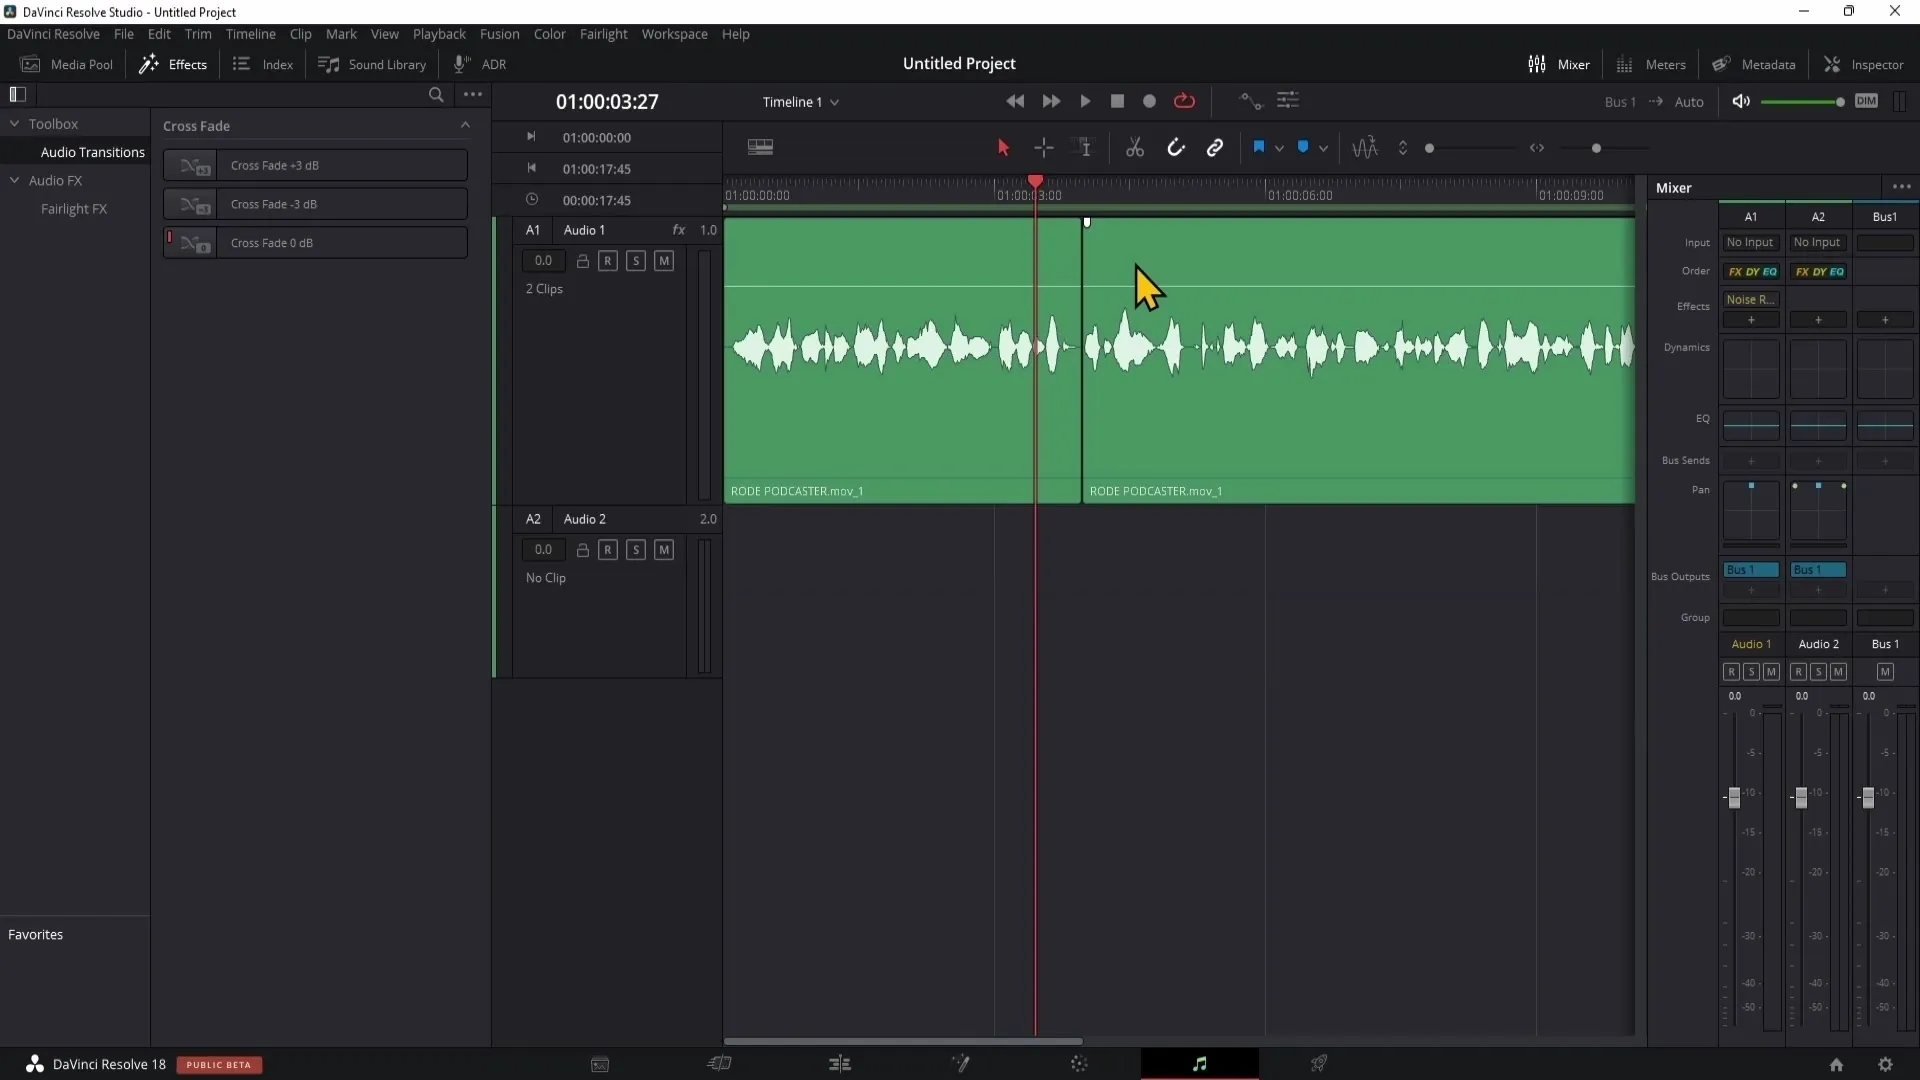
An important technique in audio editing is using audio transitions. For example, with a crossfade, you can make the transition between two clips smoother, creating seamless and harmonious audio transitions.
Indexes and Sound Library
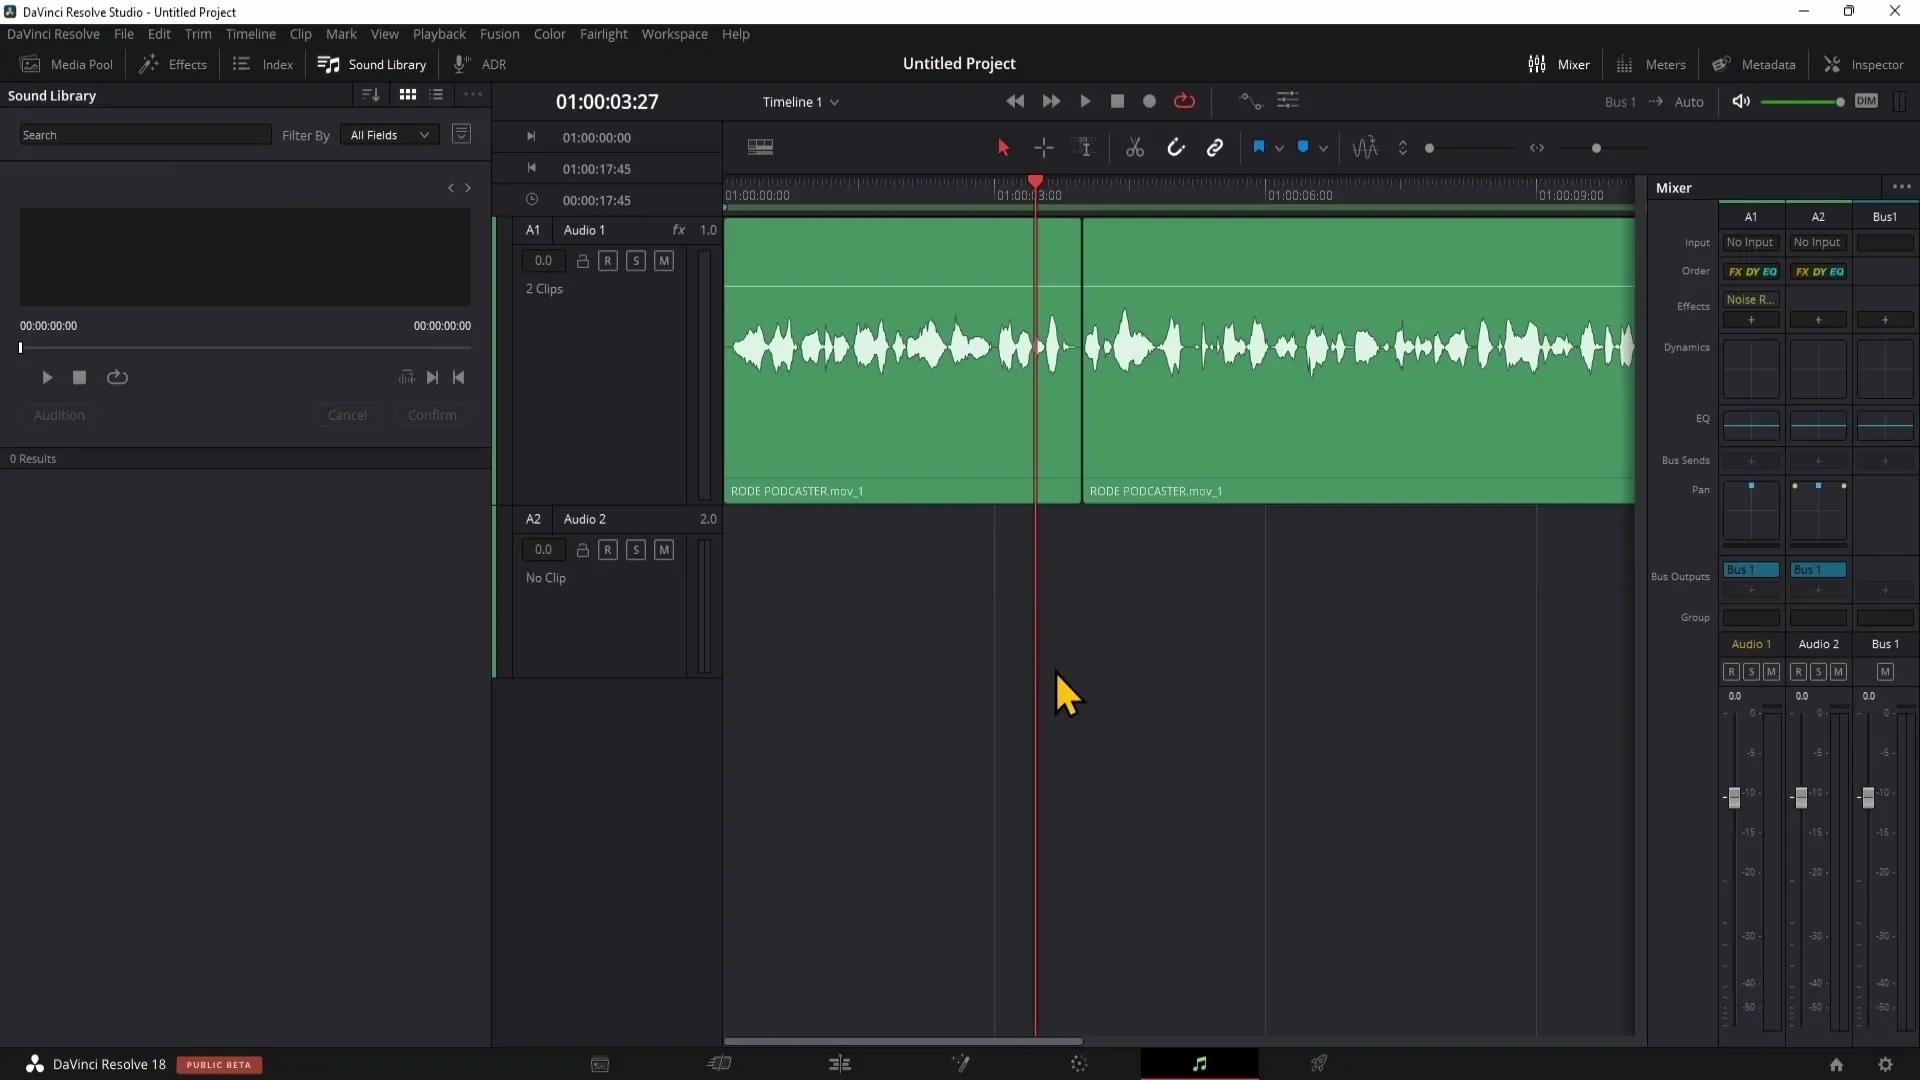
The index provides important information about your clips, which can be useful in large projects, while DaVinci Resolve's Sound Library gives you access to a variety of free sounds that you can directly integrate into your projects.
Recording Dialogues
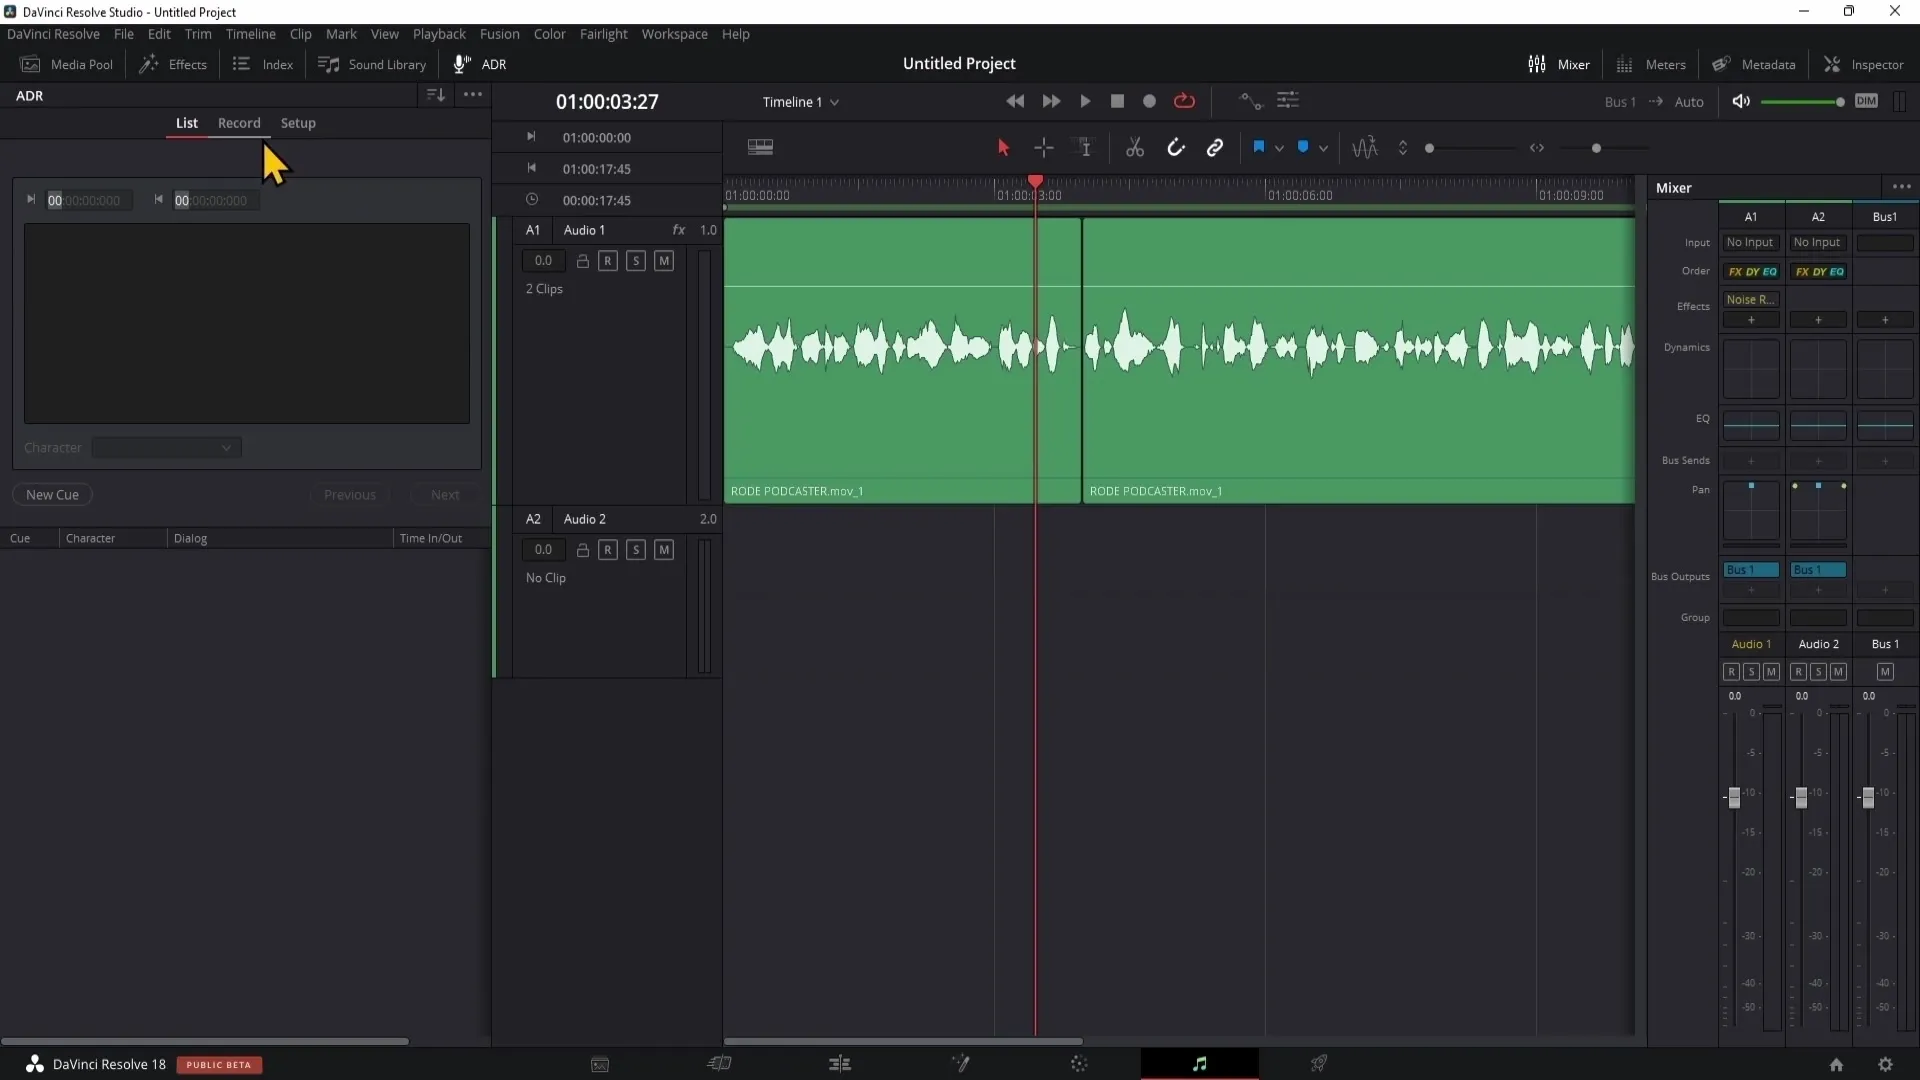
If you need dialogues in your project, you can directly perform an ADR (Automated Dialog Replacement) in the Fairlight area by recording your voice and then integrating it into your audio track.
The Mixer: A central component of audio editing
The mixer is essential for adjustments to the audio tracks. You should explore the functions of the mixer to make various edits to your tracks. These include the equalizer, compressors, and limiter.
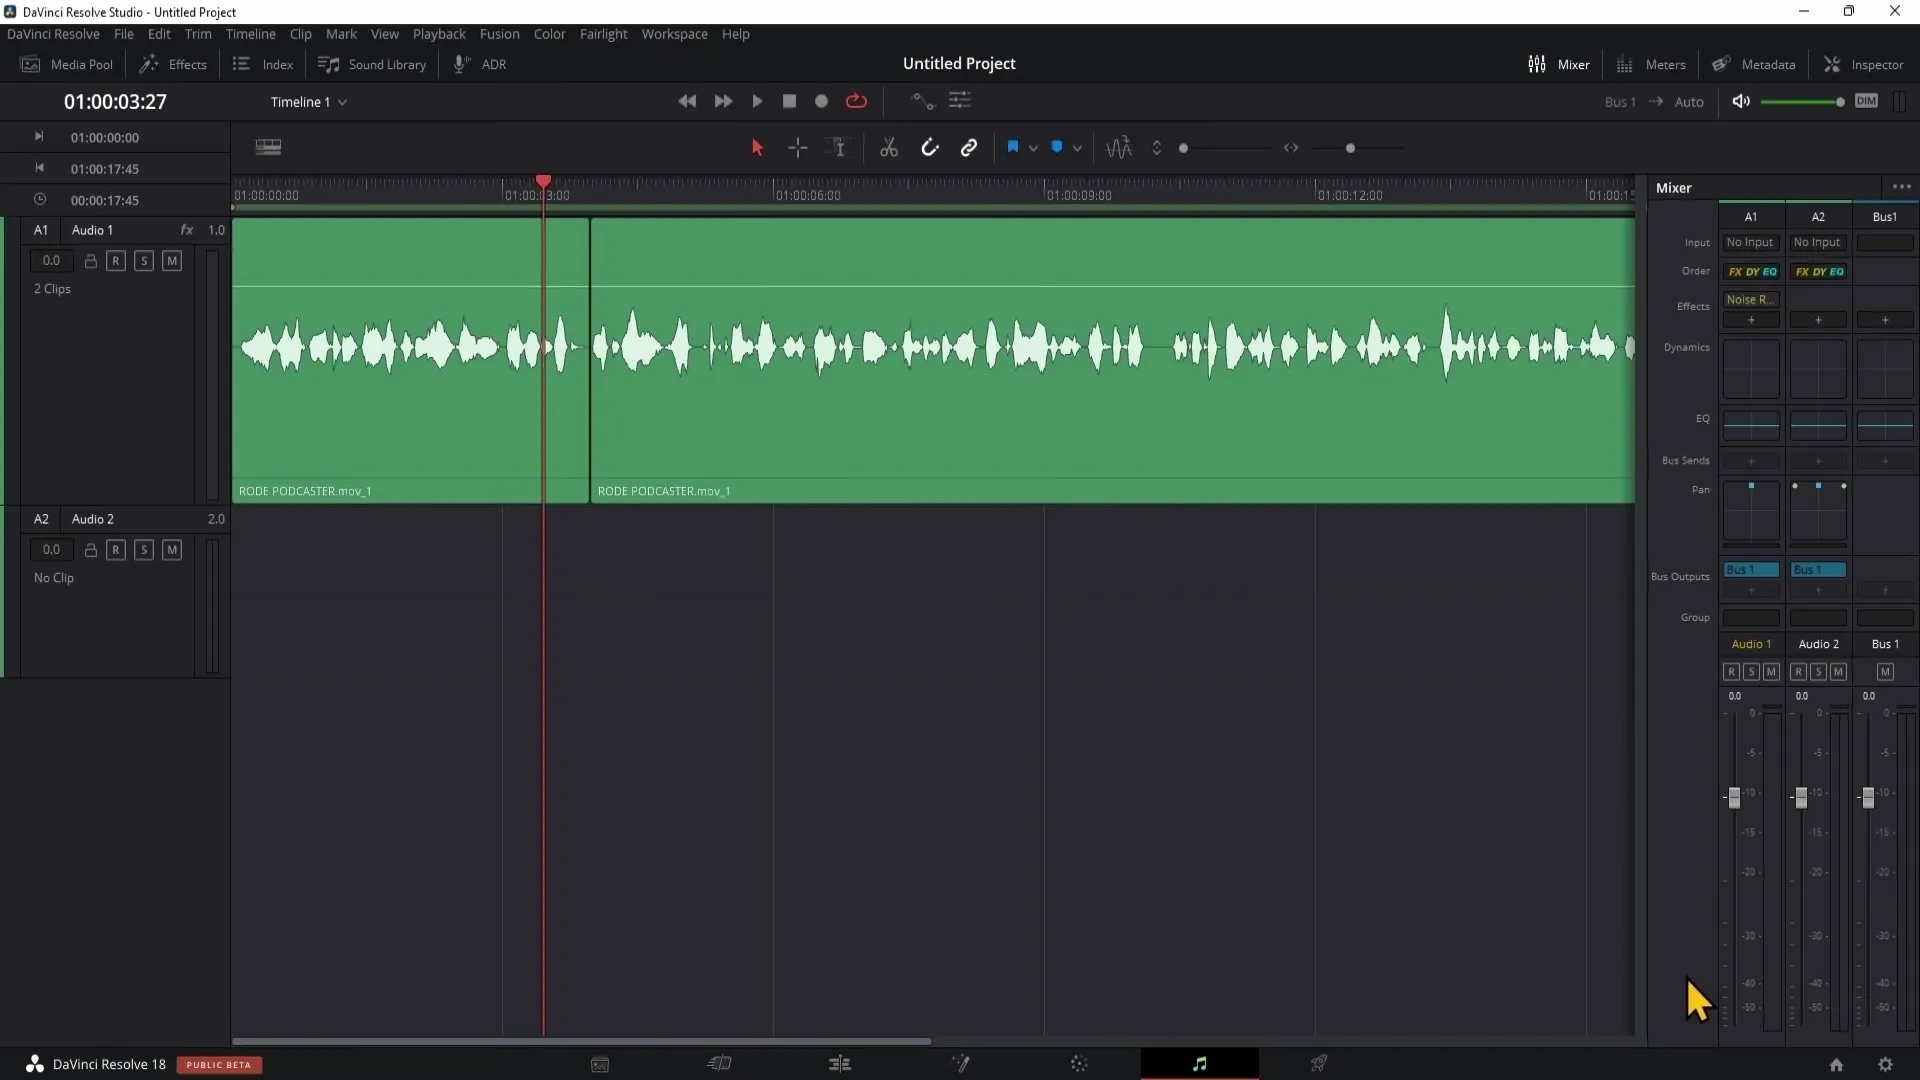
Useful tools in the Fairlight area
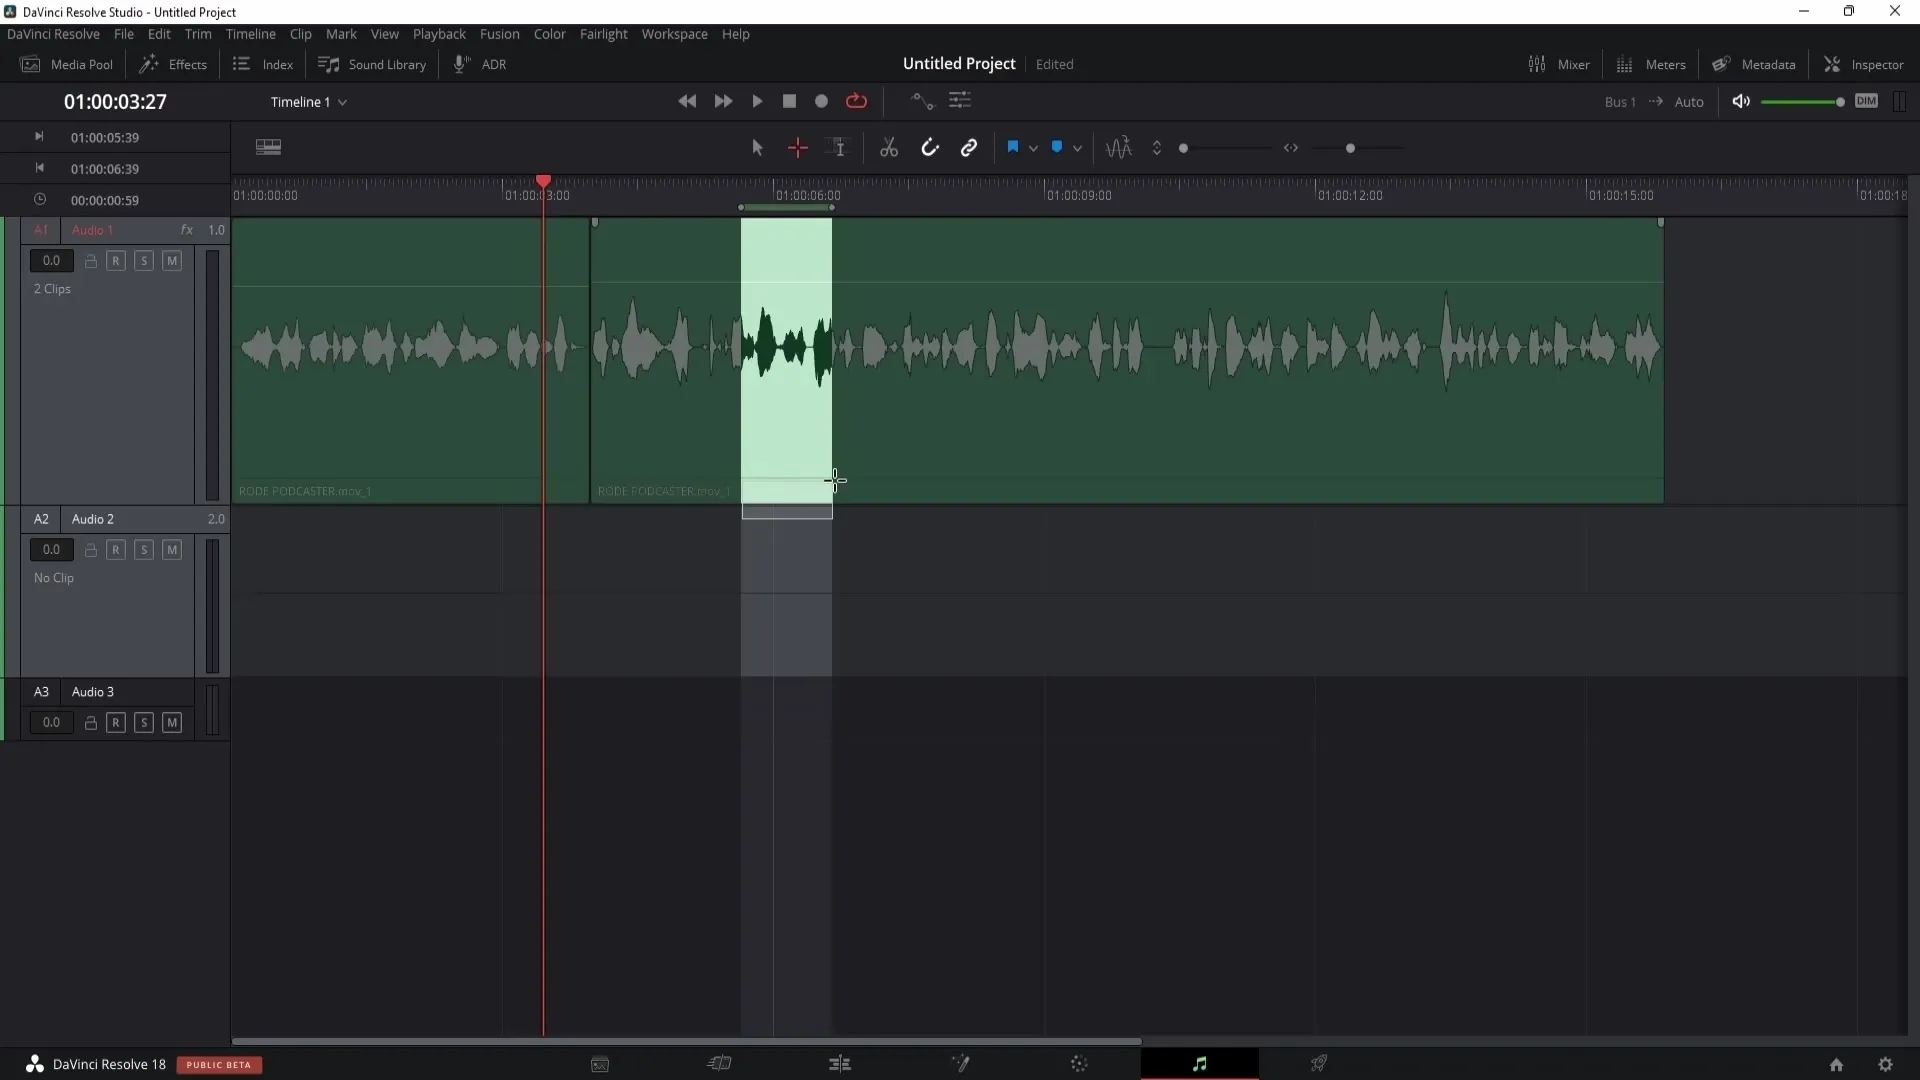
In the Fairlight area, you have access to various tools, including range selection and edit selection, which allow you to select and edit specific sections of your audio track.
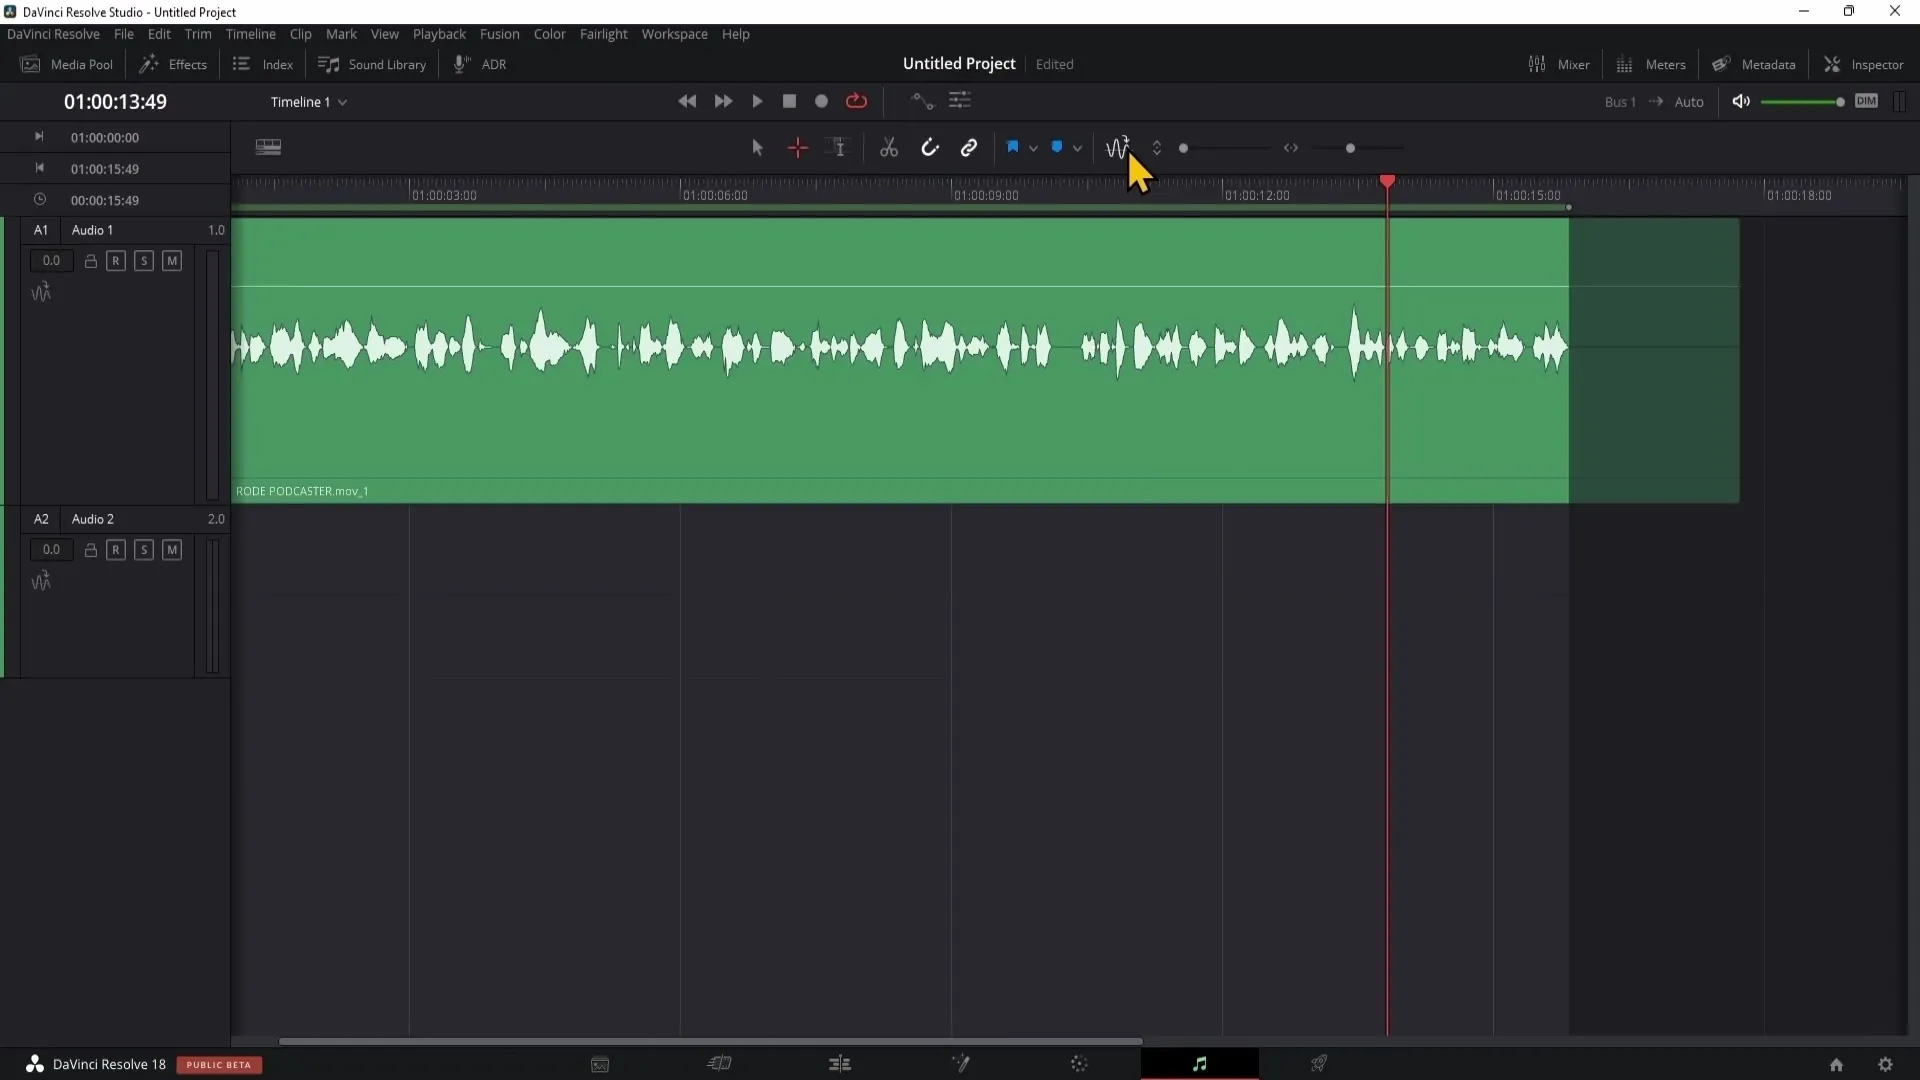
Transient Detection
A useful tool is transient detection, which helps you identify different sound sources in a mix. You can use it to visually locate specific instruments and adjust them accordingly.
Volume control
To adjust the volume of your audio recordings, you can use the inspector. Here, you can easily raise or lower the volume by moving the corresponding sliders.
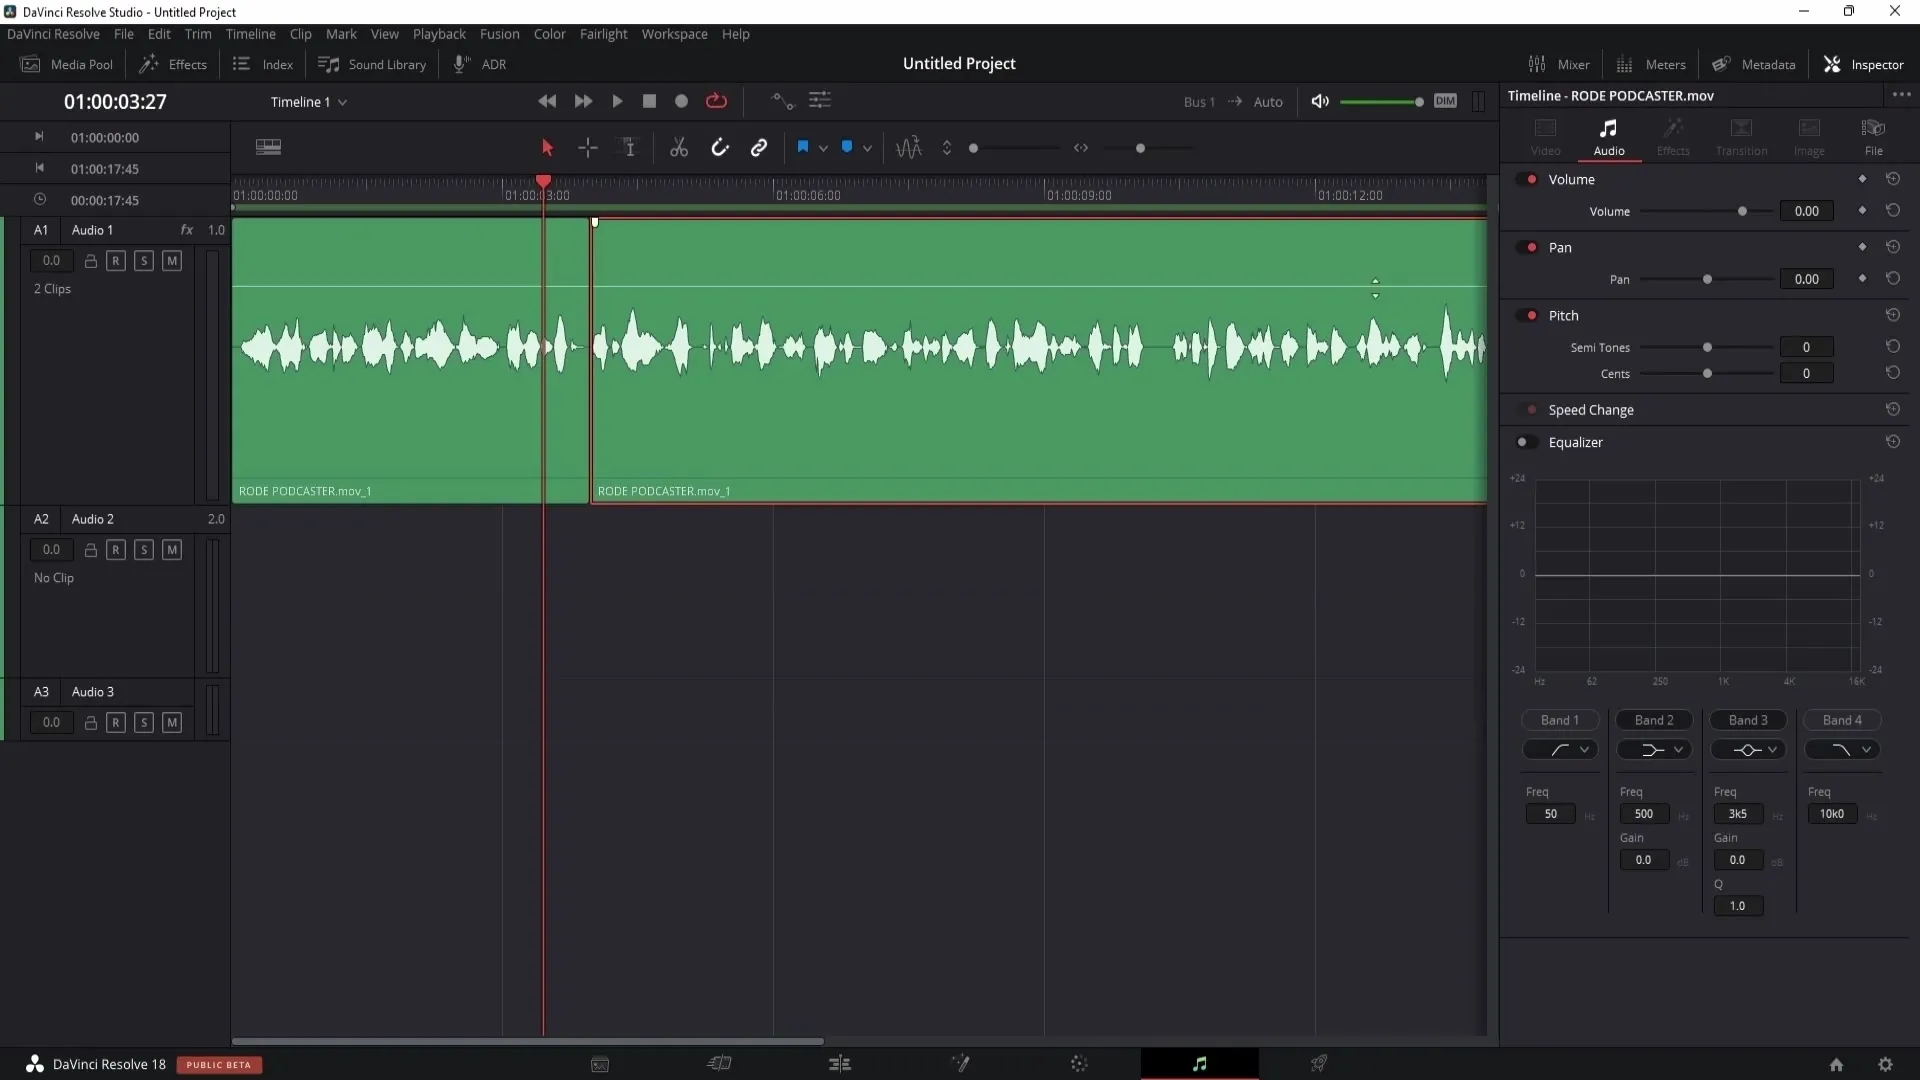
Equalizer: Fine-tuning the sound
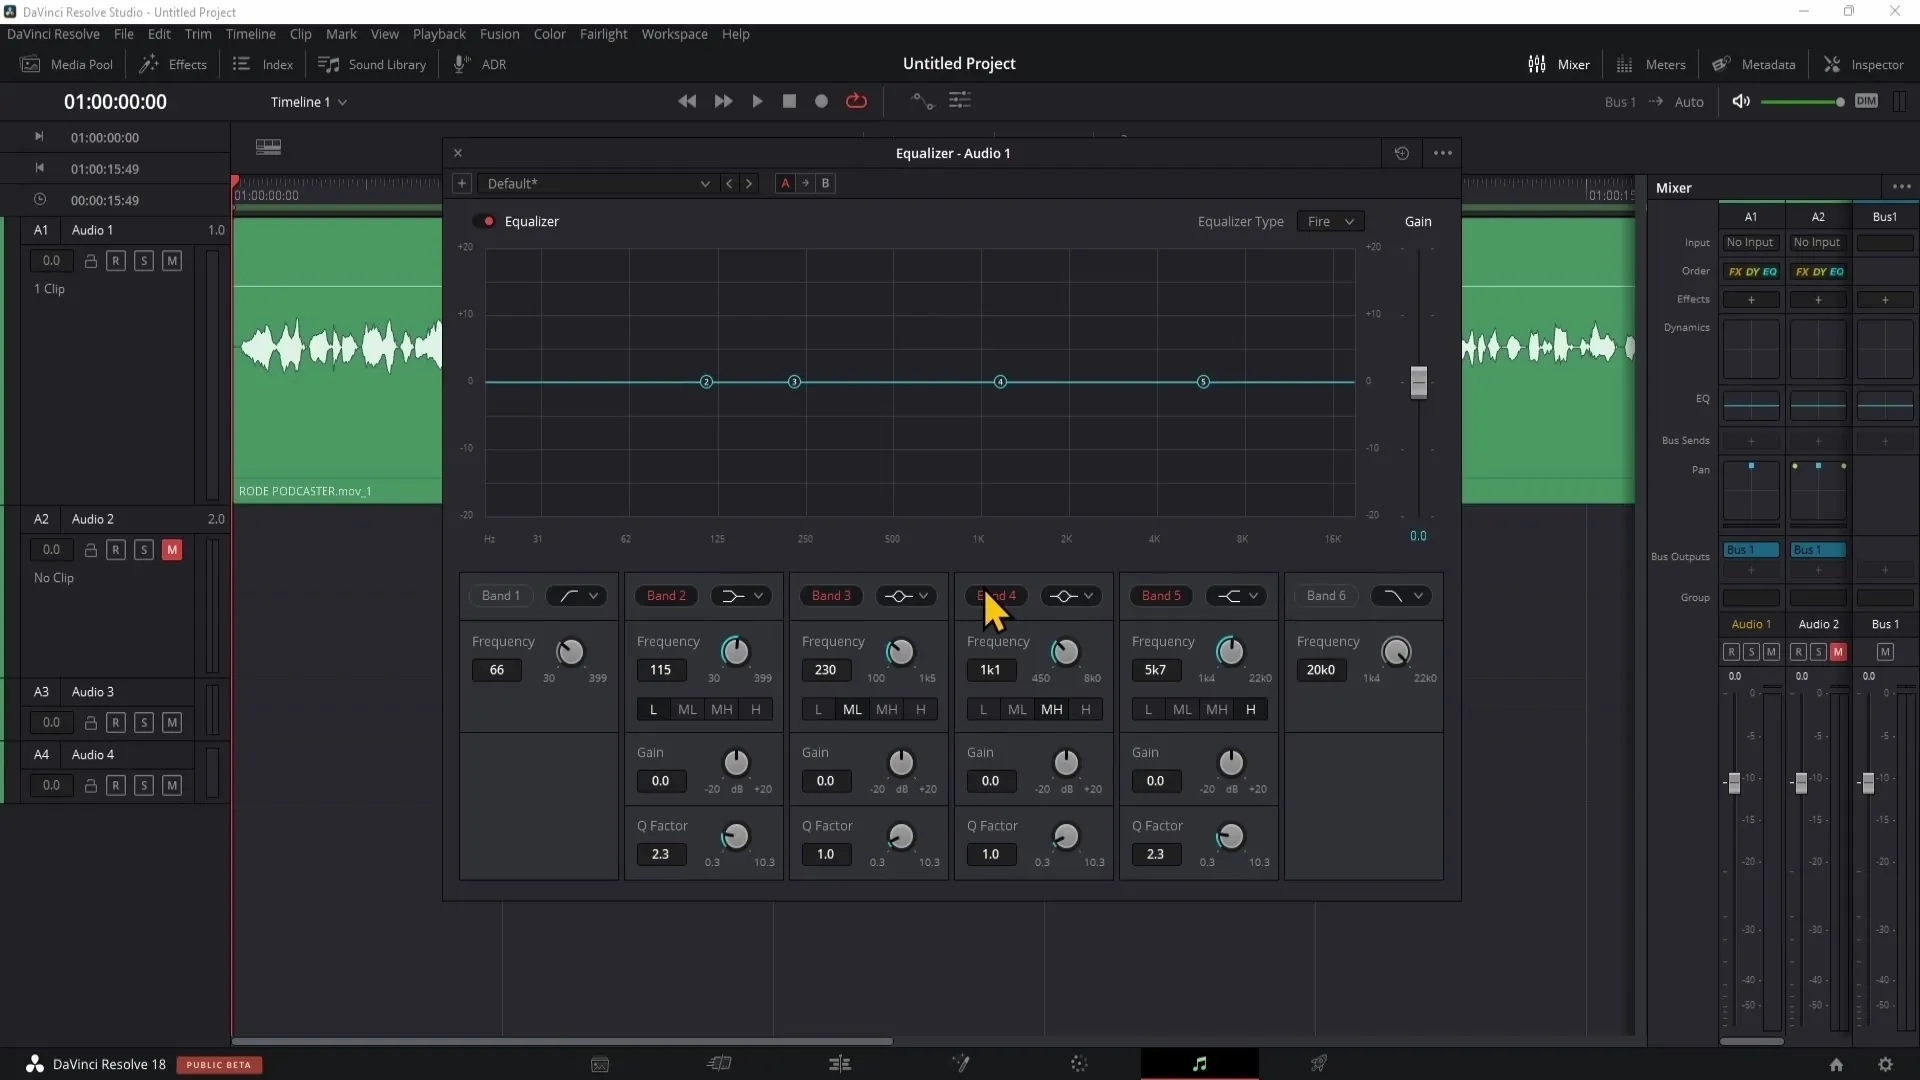
An especially important tool for audio editing is the equalizer. With it, you can adjust different frequencies to, for example, reduce too loud noises or emphasize certain frequencies in your voice.
Dynamics processing with compressor and limiter
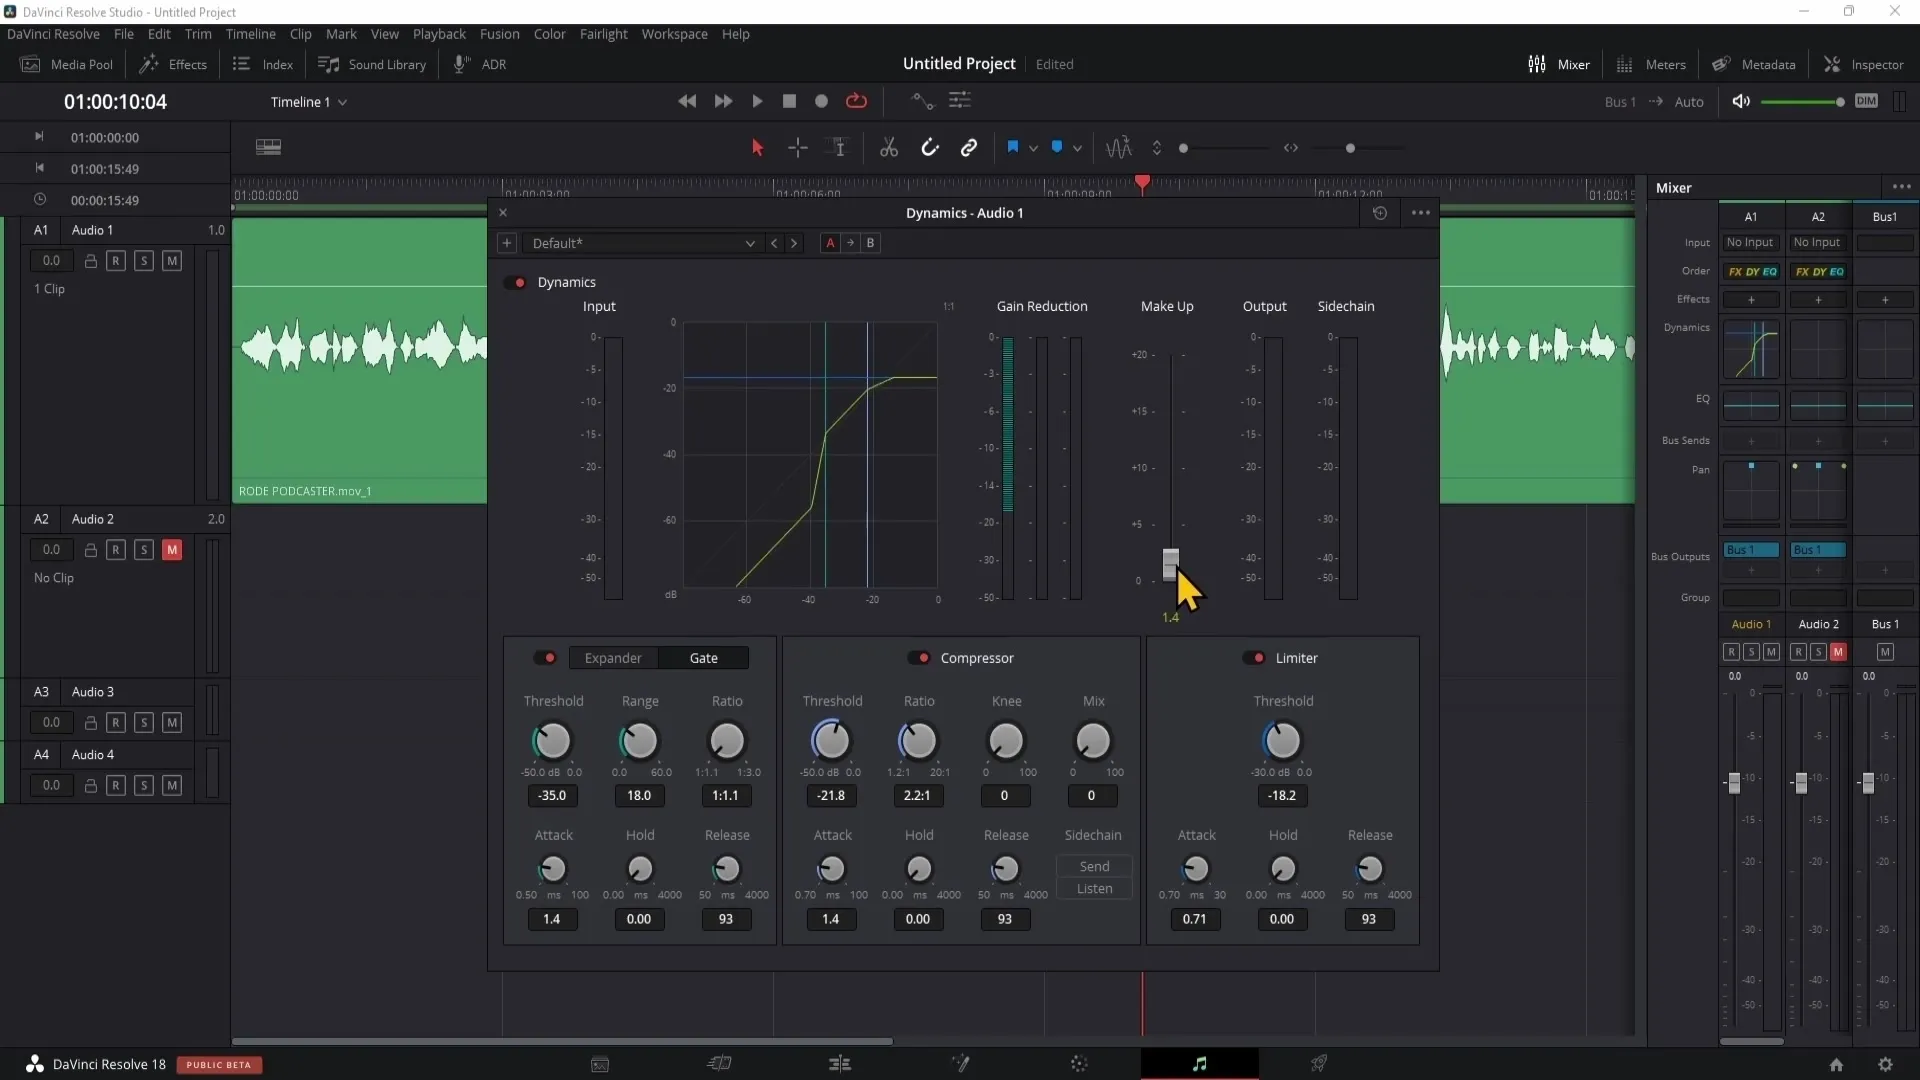
To regulate the dynamics of your audio track, compressors and limiters are helpful. These tools help you balance too loud and too soft passages so that your audio quality is consistently well-balanced.
Adjusting volume dynamically
You have the option to use the makeup gain of the respective track to increase the overall volume of your audio sources after editing. This is particularly useful if the volume was lowered during editing.
Summary
In this tutorial, you have learned the basics of audio editing in the Fairlight area of DaVinci Resolve. You now know how to make effective audio adjustments, apply effects, and optimize your audio material. The techniques you have learned will help you take your audio content to a new level.
Frequently Asked Questions
What is Fairlight in DaVinci Resolve?Fairlight is the professional audio editing area in DaVinci Resolve that allows users to edit and enhance audio.
How can I apply audio effects to an entire track?You can click on the audio track in the mixer and then drag and drop the desired effect to apply it all over the track.
Can I save my own settings as presets?Yes, you can save your settings for audio effects by clicking on the plus sign and giving the preset a name.
How can I improve my audio quality?By using the functions of the equalizer, compressor, and limiter in the mixer, you can significantly improve your audio quality.
What are the benefits of transient detection?Transient detection allows you to easily identify different sound sources in your mix and access them selectively.


