In this comprehensive guide, you will learn everything about the Deliver section of DaVinci Resolve. The Deliver section is crucial when it comes to properly exporting your projects. Whether you are preparing your videos for YouTube, Social Media, or other platforms, the Deliver section offers you numerous options to customize your exports. Let's go through each step together and get to know the key features.
Main Takeaways
- The Deliver section of DaVinci Resolve allows you to customize export settings such as format, codec, and resolution.
- You can choose between different render options that optimize your project for various platforms.
- Additionally, you can create your own presets and manage the render queue.
Step-by-Step Guide
1. Accessing the Deliver Section
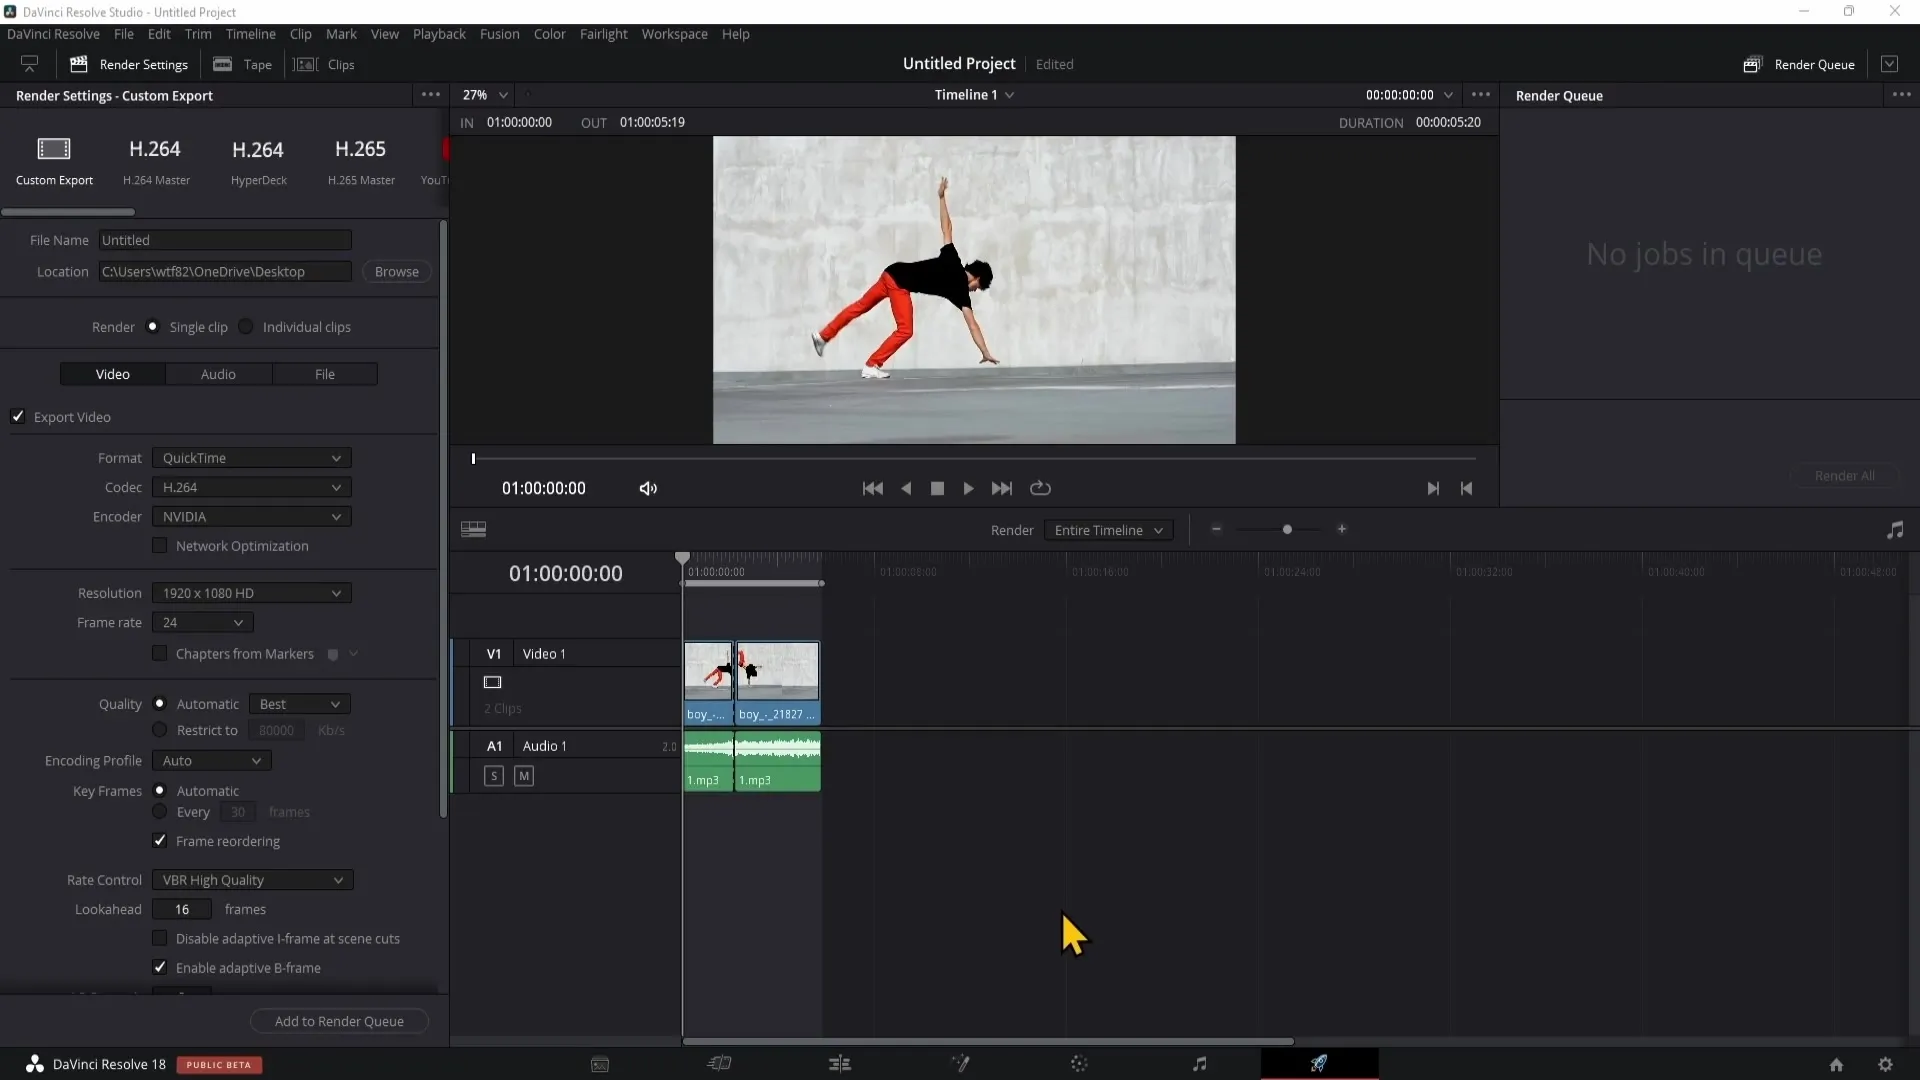
After you have edited your project, the next step is to switch to the Deliver section. In the bottom right corner, you will see an icon in the shape of a rocket. Click on it to open the Deliver section. Here, you can make all the necessary settings for exporting your video.
2. Understanding Render Settings
At the top of the Deliver section, you will find the Render Settings, which represent the central window where you can set all the export settings for your video. Here, you can choose the desired format, codecs, and various other options before starting your export.
3. Selecting Clips
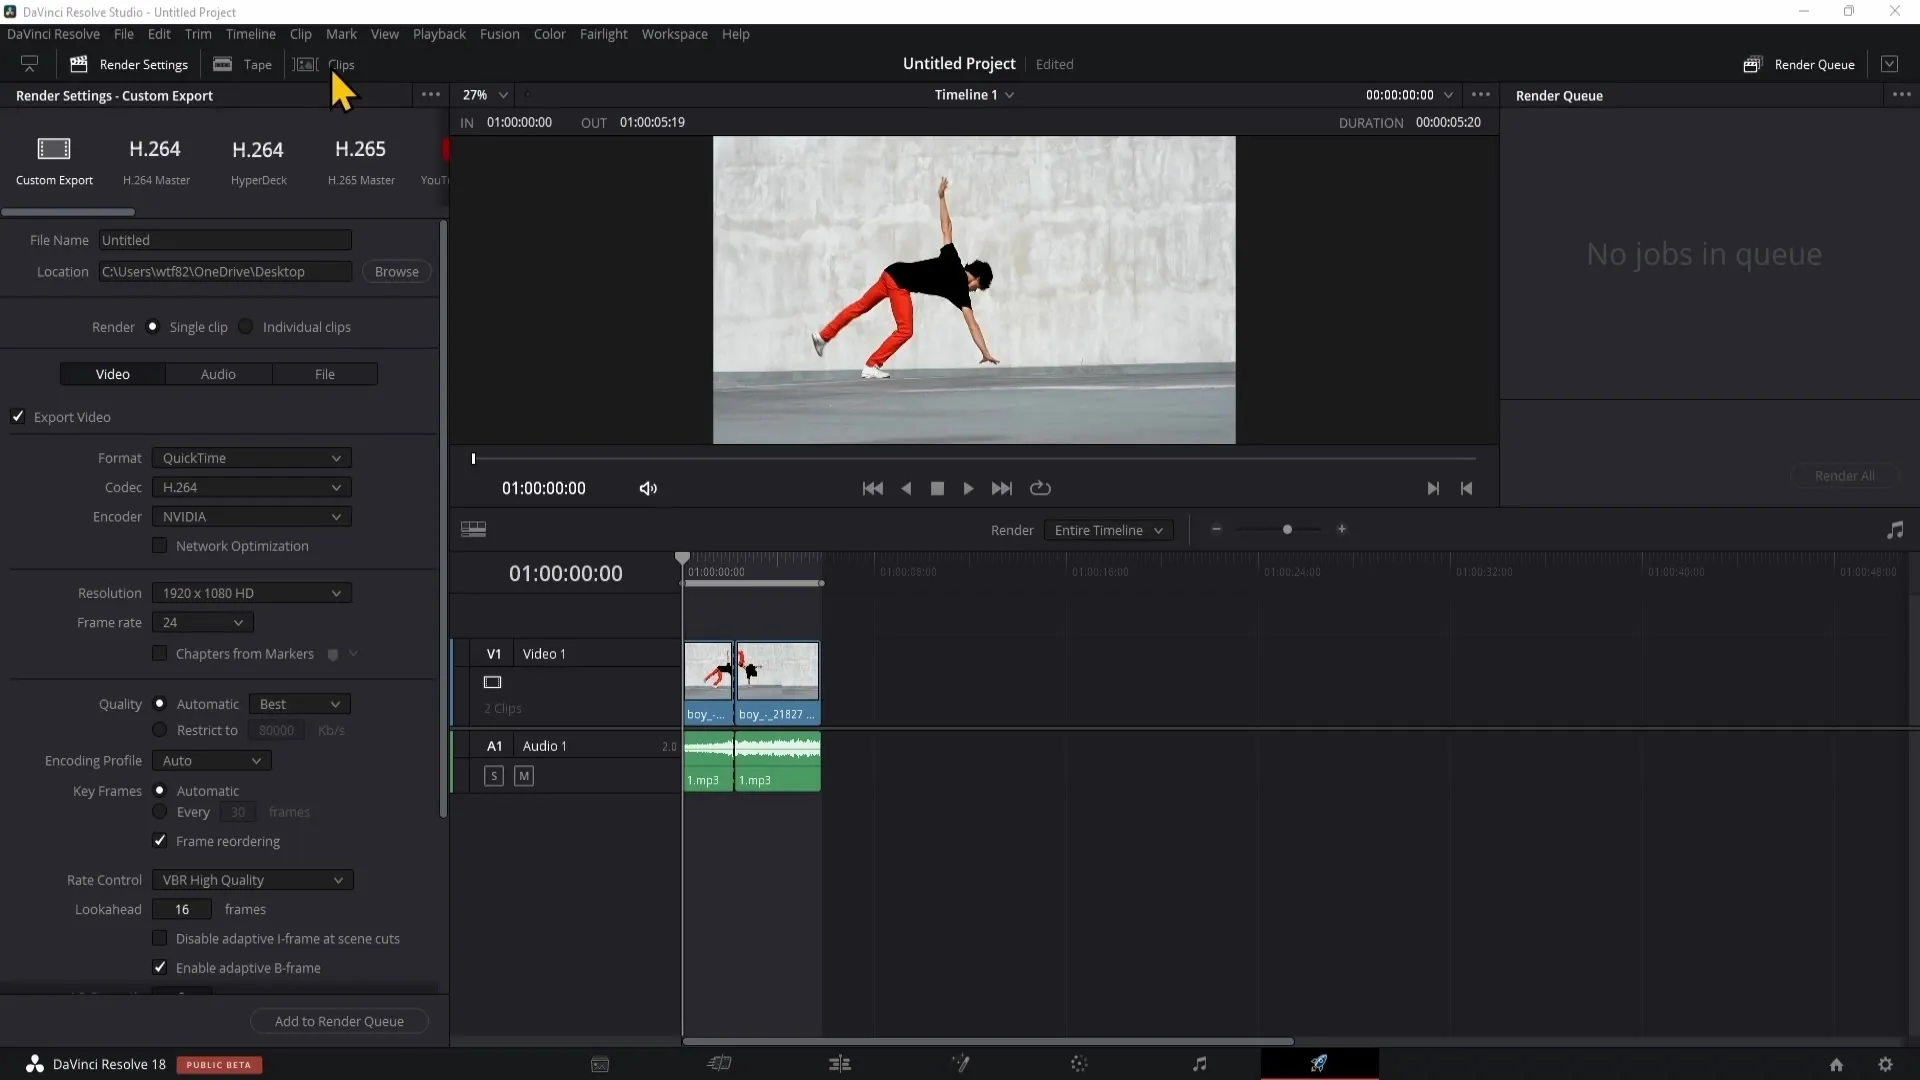
To the right of the Render Settings, you will see the "Clip" section. Here, all the clips that you can export from your timeline are displayed. You can choose whether you want to export the entire timeline or only specific parts.
4. Adding Clip to Render Queue
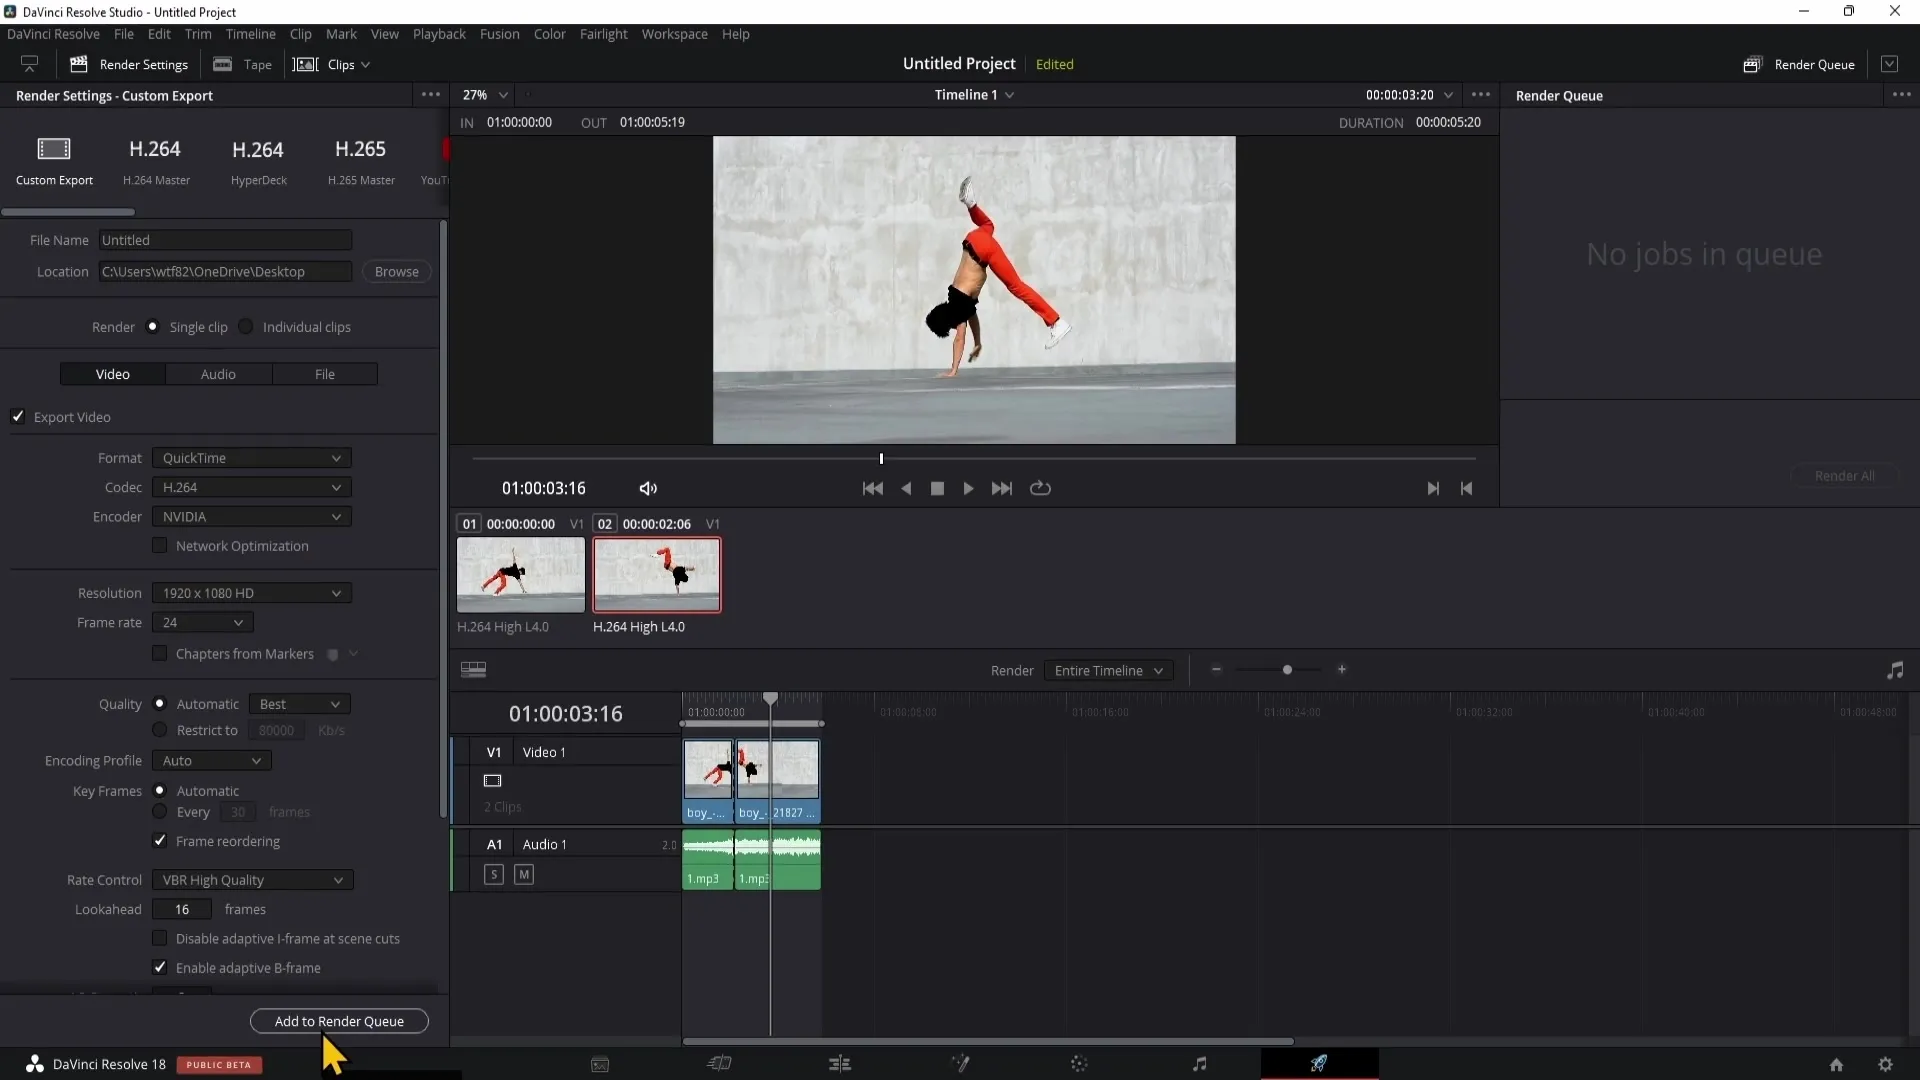
To add a clip to the Render Queue, click on the "Add to Render Queue" button located at the bottom left of the window. This step is crucial to start the export process.
5. Starting the Render
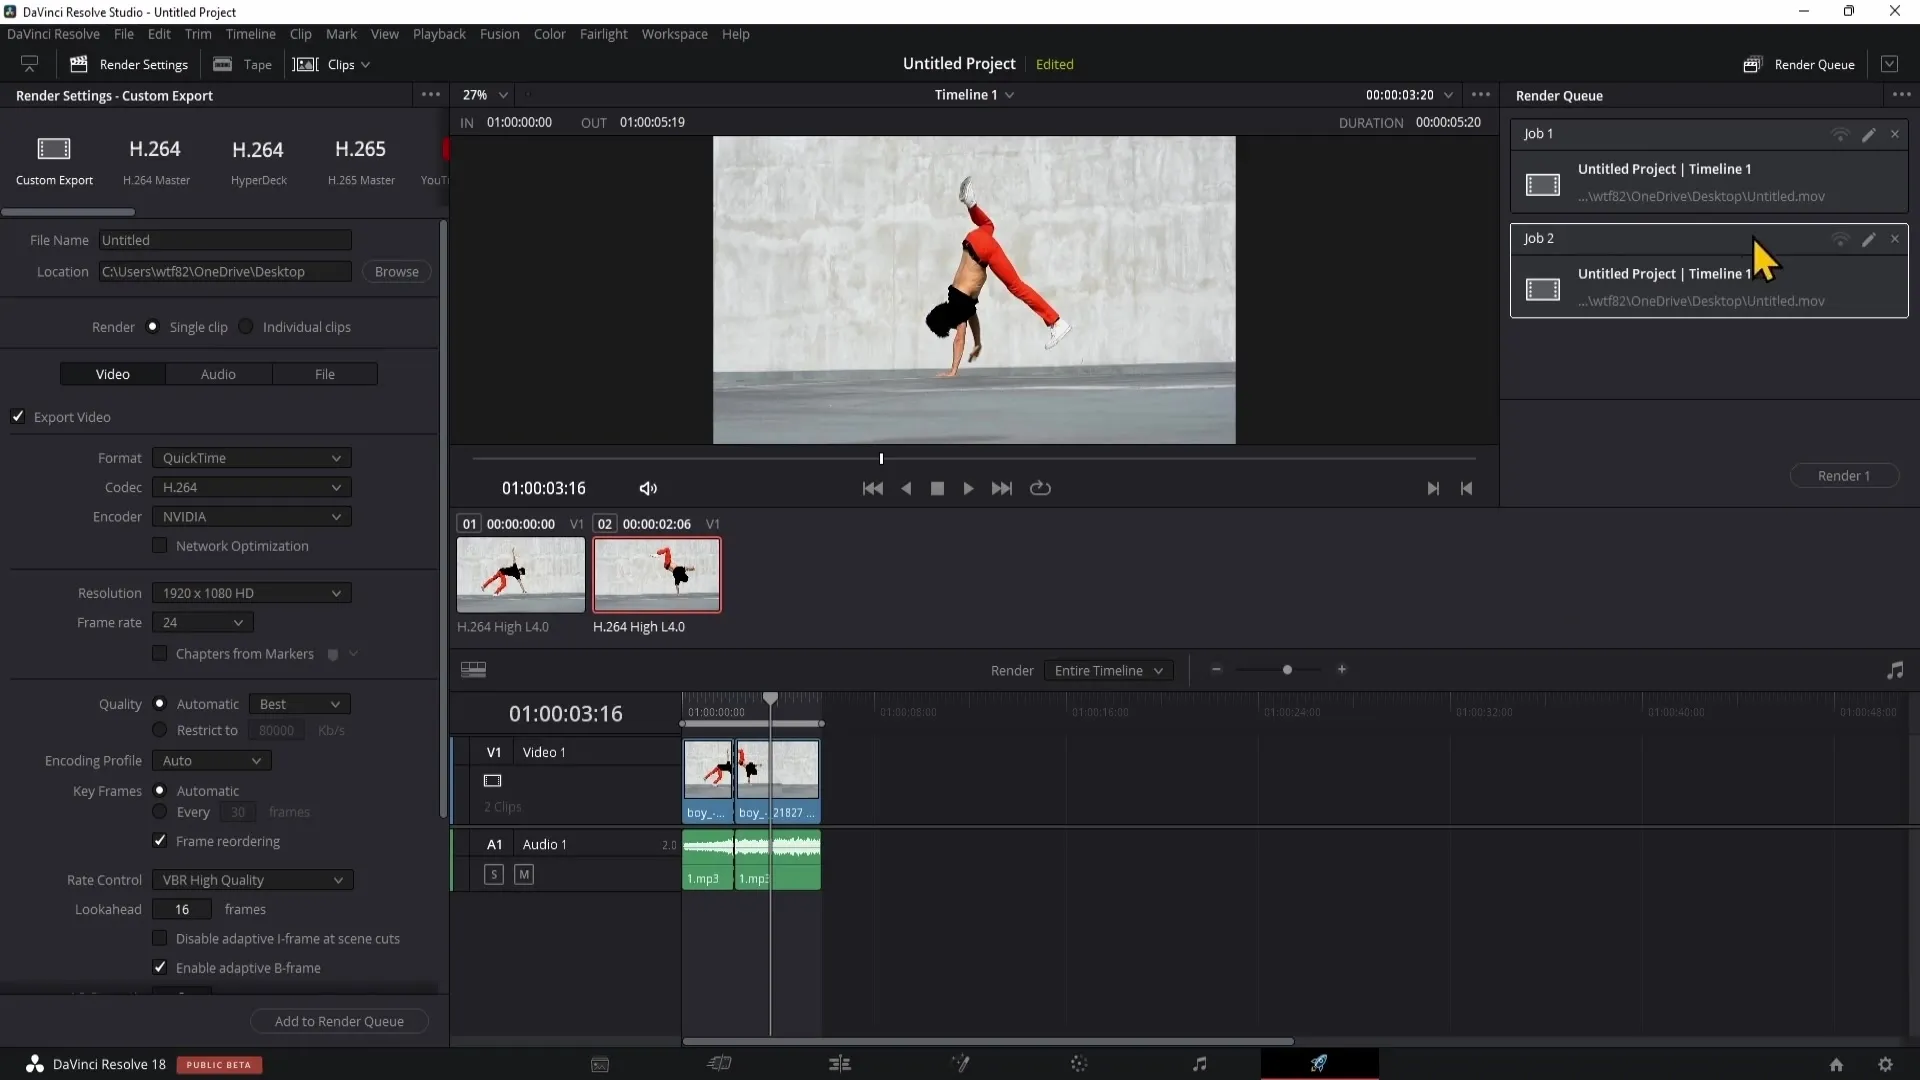
To start the rendering process, select the video you want to export and click on "Render". During rendering, you will see at the top right how much percentage of the video has already been rendered.
6. Understanding Error Messages
If the rendering was not successful, you will see an error message with further information. You need to check this error message to find out what went wrong and take necessary actions to resolve the issue.
7. Resetting Render Status
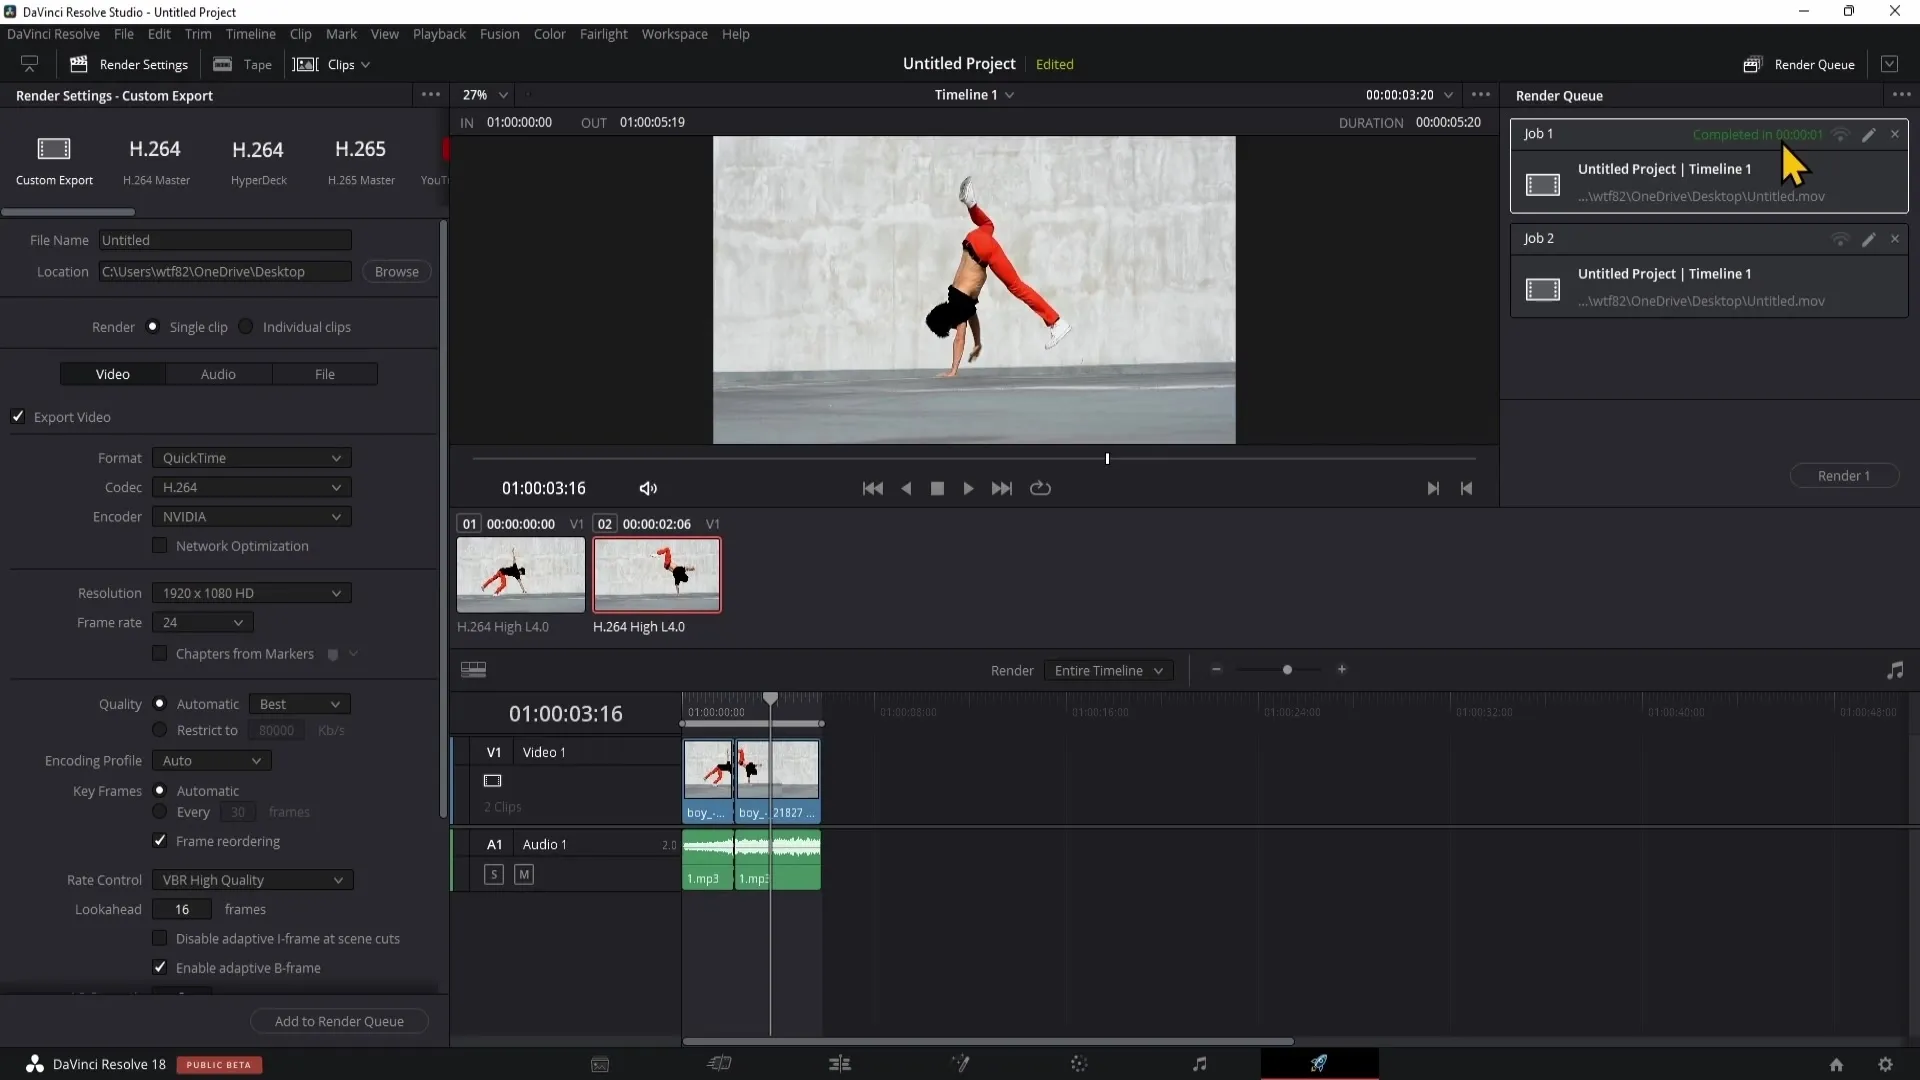
If you want to render a clip again, you don't need to remove it from the queue. You can simply right-click on the clip and select "Clear Render Status". This will reset the status and allow you to start the render process again.
8. Opening the File Location
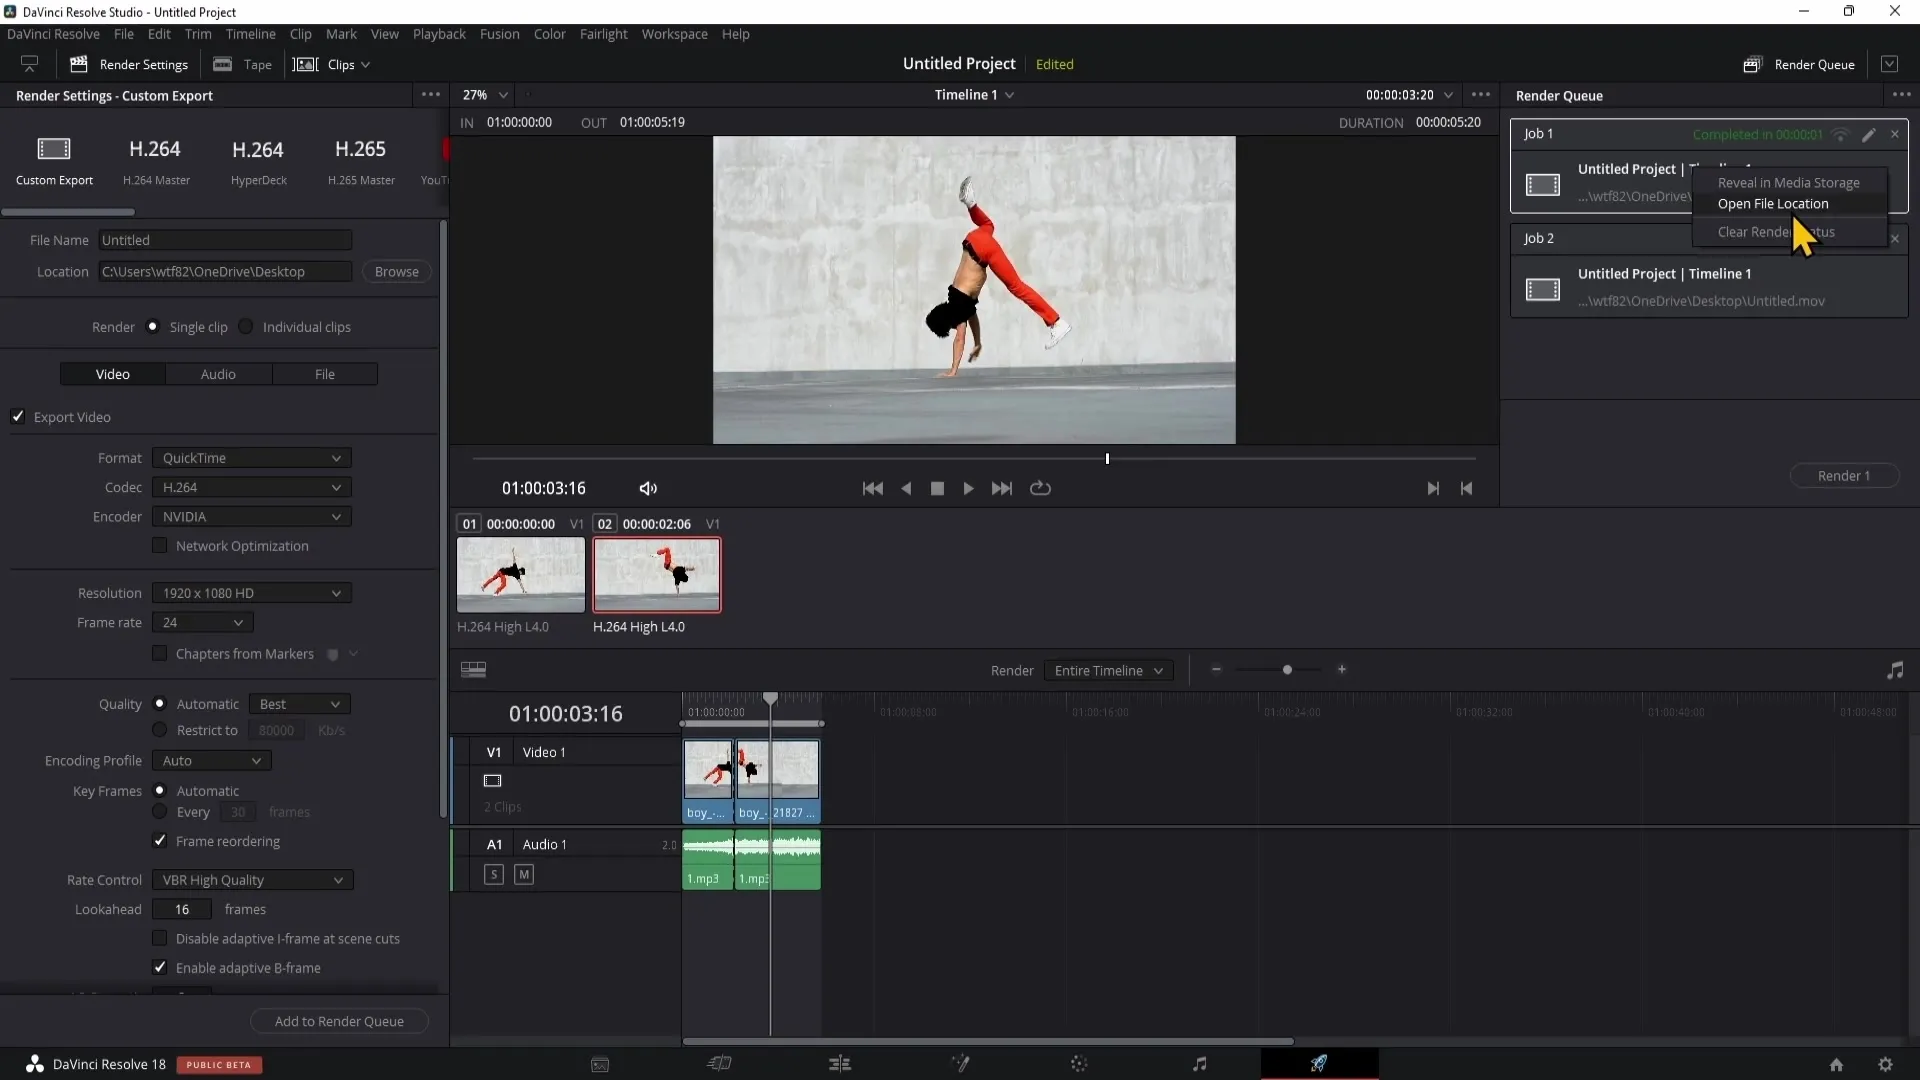
After a successful render, you can open the file location of the video directly in DaVinci Resolve. Right-click on the rendered video in the Render Queue and select "Open File Location".
9. Managing the Render Queue
In the top right corner, you will see three dots offering additional options for managing the Render Queue. Here, you have the option to delete all clips or reset the render status.
10. Choosing Between Entire Timeline or In/Out Points
You can choose whether you want to render the entire timeline or only specific parts (In/Out Points). You can set the In/Out Points using the 'I' (In) and 'O' (Out) keys. Once set, the "Render In/Out Range" option will be automatically selected.
11. Check audio levels
On the right side of the window, you have the option to view the audio levels. Here you can check how loud the music in your clip is. This feature is useful to ensure that the audio quality is suitable during export.
12. Adjust render settings
Now let's move on to the actual render settings. You will find a variety of options, but simply leave most settings at their default values. For example, if you want to export a video for YouTube, simply choose the corresponding preset.
13. Select the video format
You can choose the format for your export, e.g. MP4 (H264 or H265). For YouTube, I recommend using the H264 codec as it is compatible with most media players.
14. Set storage location and file name
Above, you can set the name of your video and the storage location. Establish a meaningful structure here so that you can easily find your videos later on.
15. Define quality settings
In the video quality settings, you can either choose automatic settings or manually adjust the bitrate. I recommend leaving the bitrate on "automatic" or adjusting it according to YouTube guidelines.
16. Export subtitles
If your video has subtitles, you can also export them. Go to the subtitle settings and choose the desired format, usually SRT.
17. Save custom presets
If you often use the same export settings, you can create your own preset. In the top right corner of the window, click on the three dots and select "Save as New Preset". Name it as you wish and click "OK".
18. Delete presets
If you no longer need a preset, you can delete it. Select the preset, click on the three dots, and then on "Delete Current Preset".
Summary
In this guide, you have learned how to effectively use the Deliver panel in DaVinci Resolve. From selecting clips to adjusting export settings and saving custom presets – this area is essential for the final export of your videos.
Frequently Asked Questions
What is the Deliver panel in DaVinci Resolve?The Deliver panel is where you can export your videos and set render settings.
Which formats can I choose for export?You can select various formats such as MP4, QuickTime, and many more formats, depending on your needs.
How can I save my own export settings?You can save your own export settings by creating a new preset in the Deliver panel and giving it a name.
Which codec should I use for YouTube?For YouTube, I recommend using the H264 codec as it is supported by most media players and offers a good balance between quality and file size.
