In this tutorial, we delve into the world of Composite Modes in Davinci Resolve. These blending modes allow you to combine different layers of videos and images to create stunning visual effects. You will learn how to use overlays effectively and receive valuable tips for realistic application. Let's dive in so you can better understand and creatively utilize the functions!
Main Takeaways
- Composite Modes are indispensable tools in post-production to visually combine different elements.
- Each blending mode has a specific effect on the layers you are working with.
- The terms 100% White, 100% Black, and 50% Gray are fundamental to better understand the functioning of blending modes.
Step-by-Step Guide
1. Getting Started with Composite Modes
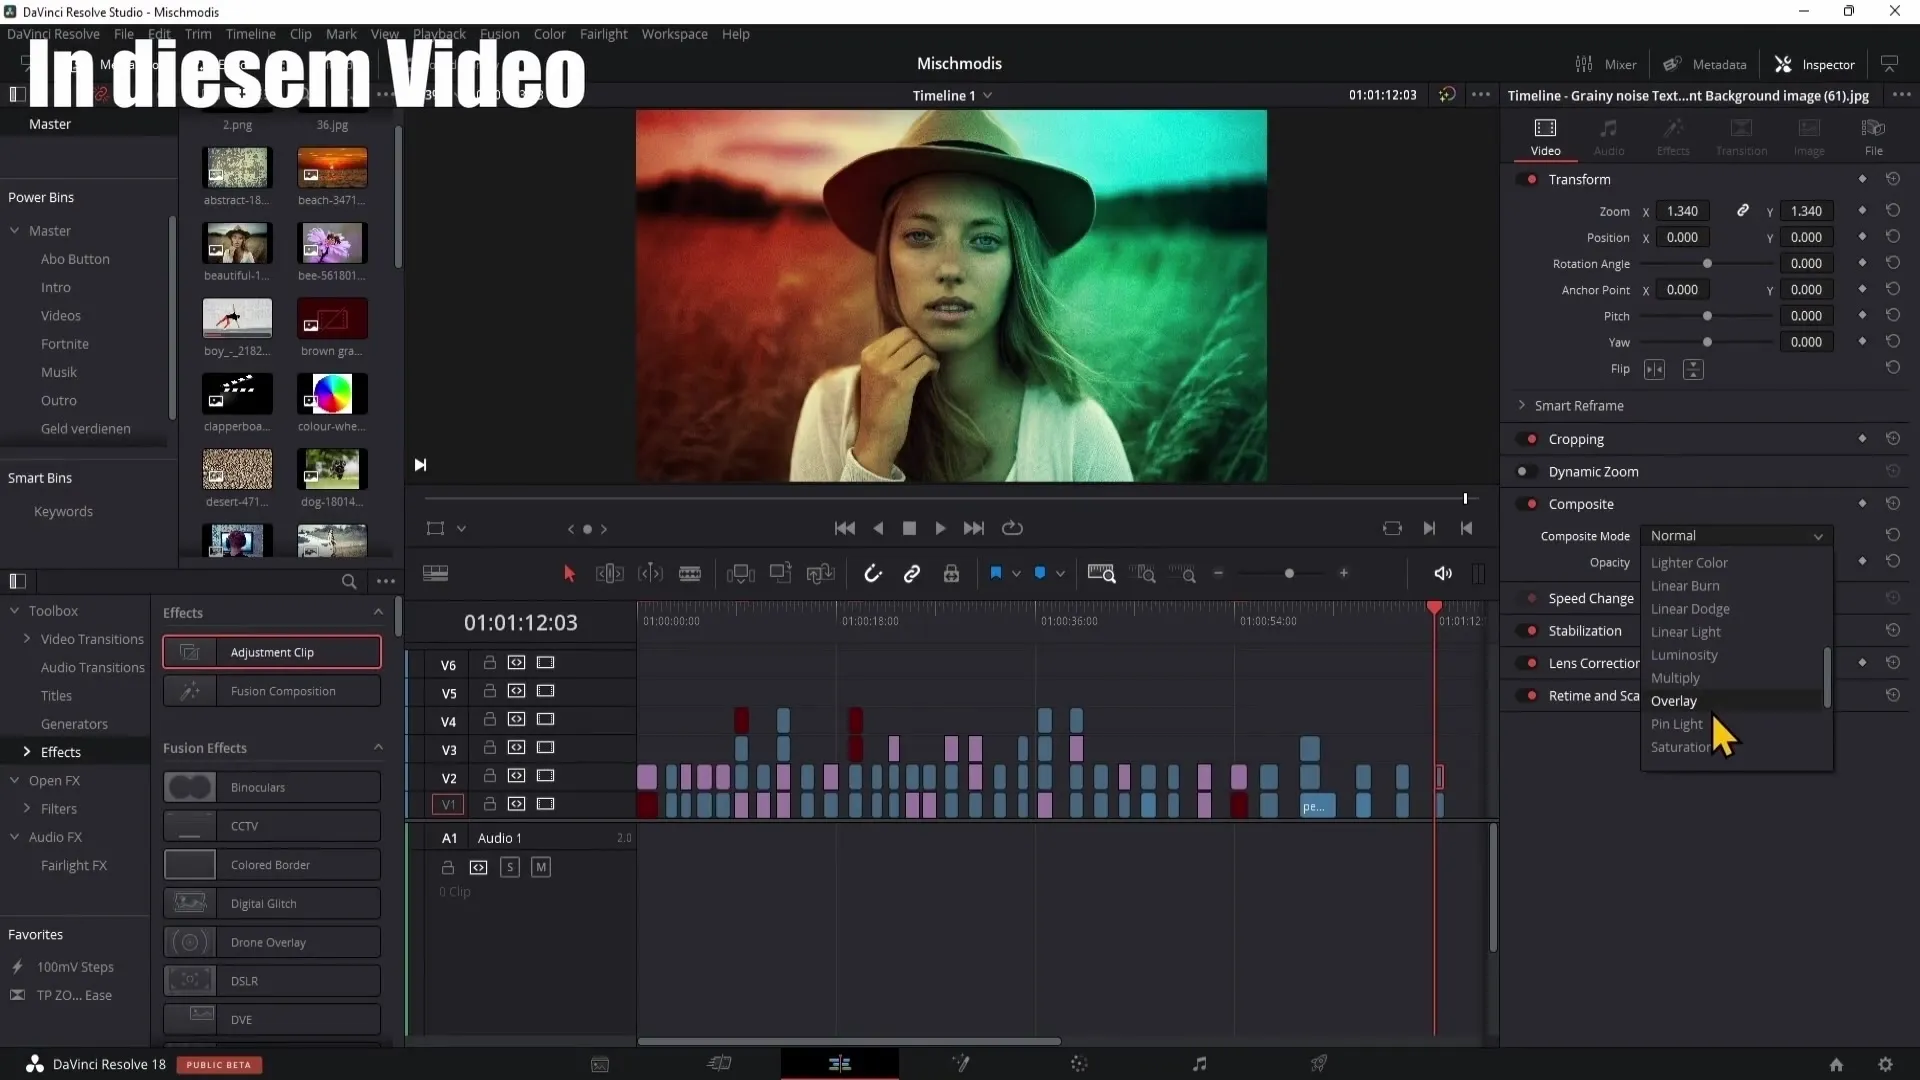
Start in Davinci Resolve and go to the Edit section. On the right side of the screen below the Inspector, you will find the settings for Composite Modes. The default mode is set to "Normal," meaning the upper layer simply covers the one below it without any color mixing taking place.
2. Representing Transparencies
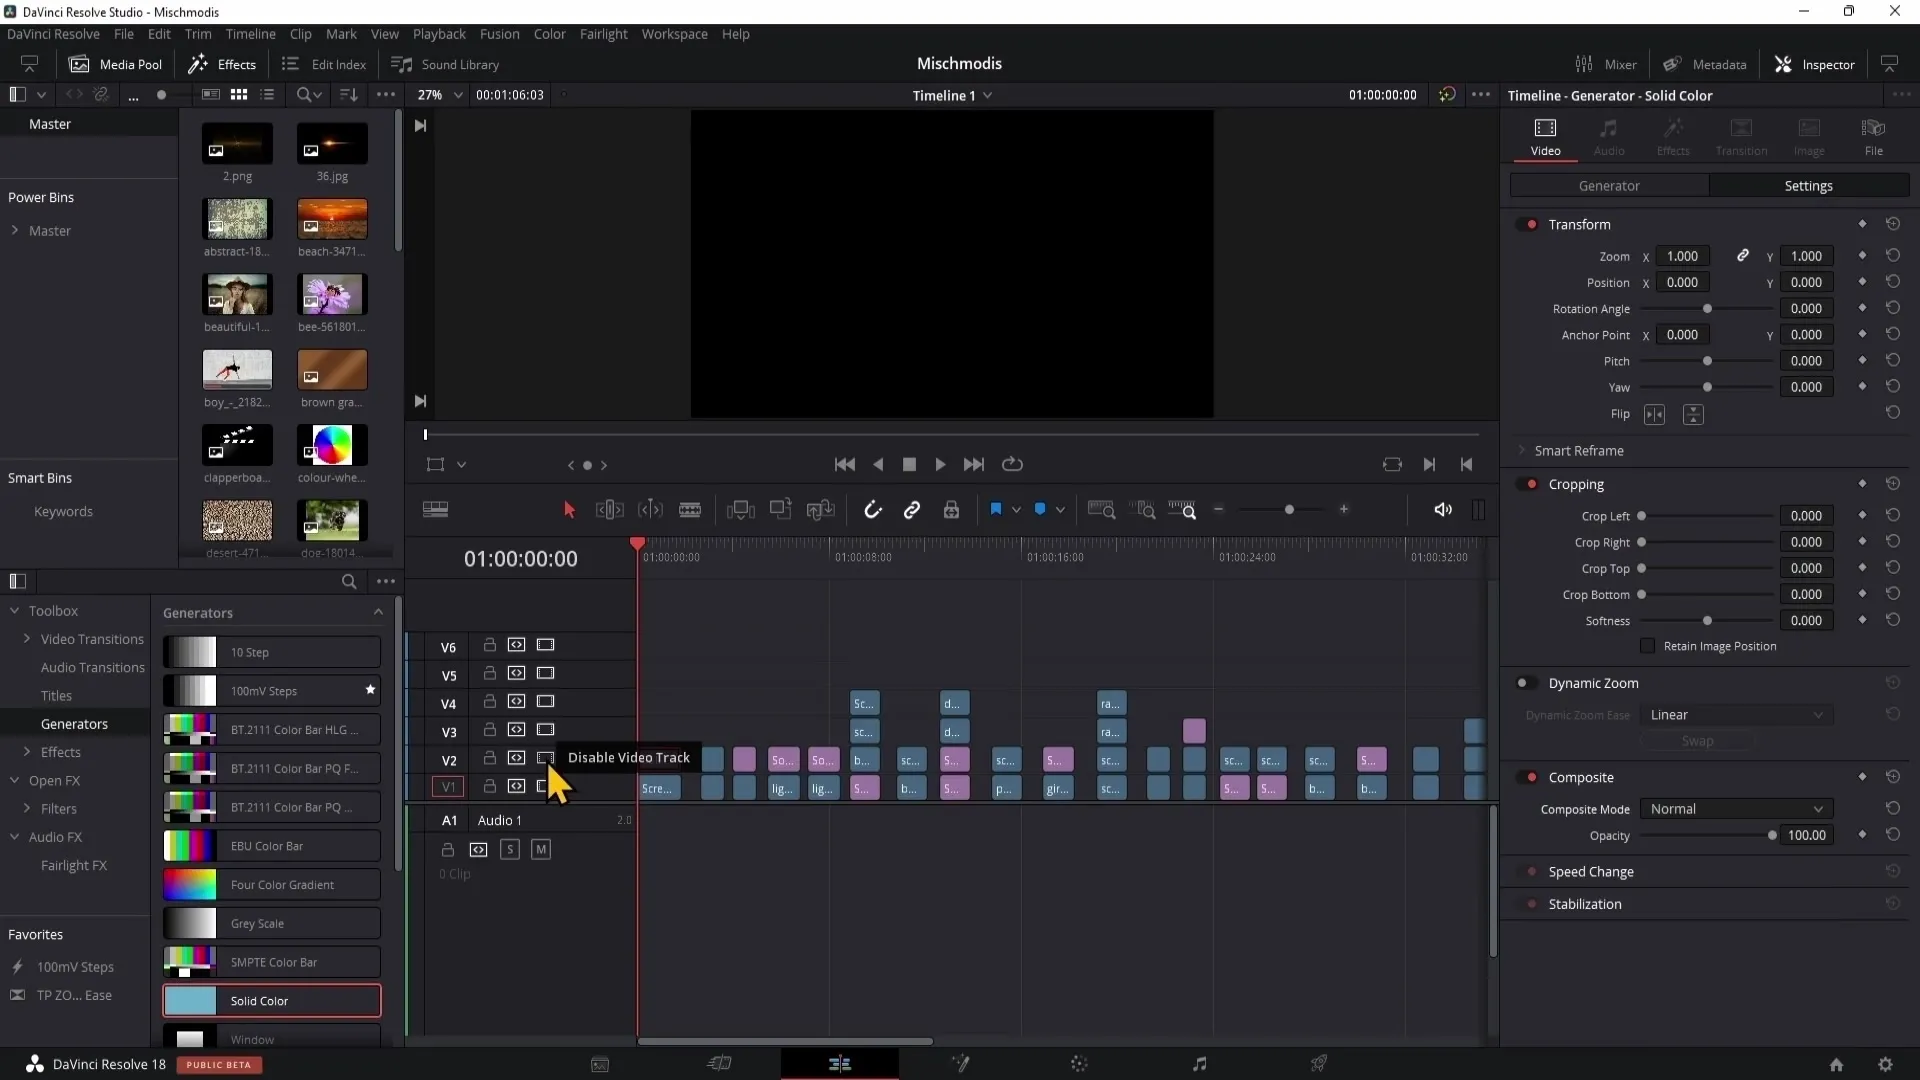
To better understand how Composite Modes work, it is important to know the concepts of 100% White, 50% Gray, and 100% Black. These will be frequently used in the examples later on. In a graphical representation, you will see that 100% White is the brightest and 100% Black is the darkest. All the gray tones in between affect the visibility of the underlying layers.
3. Using Opacity
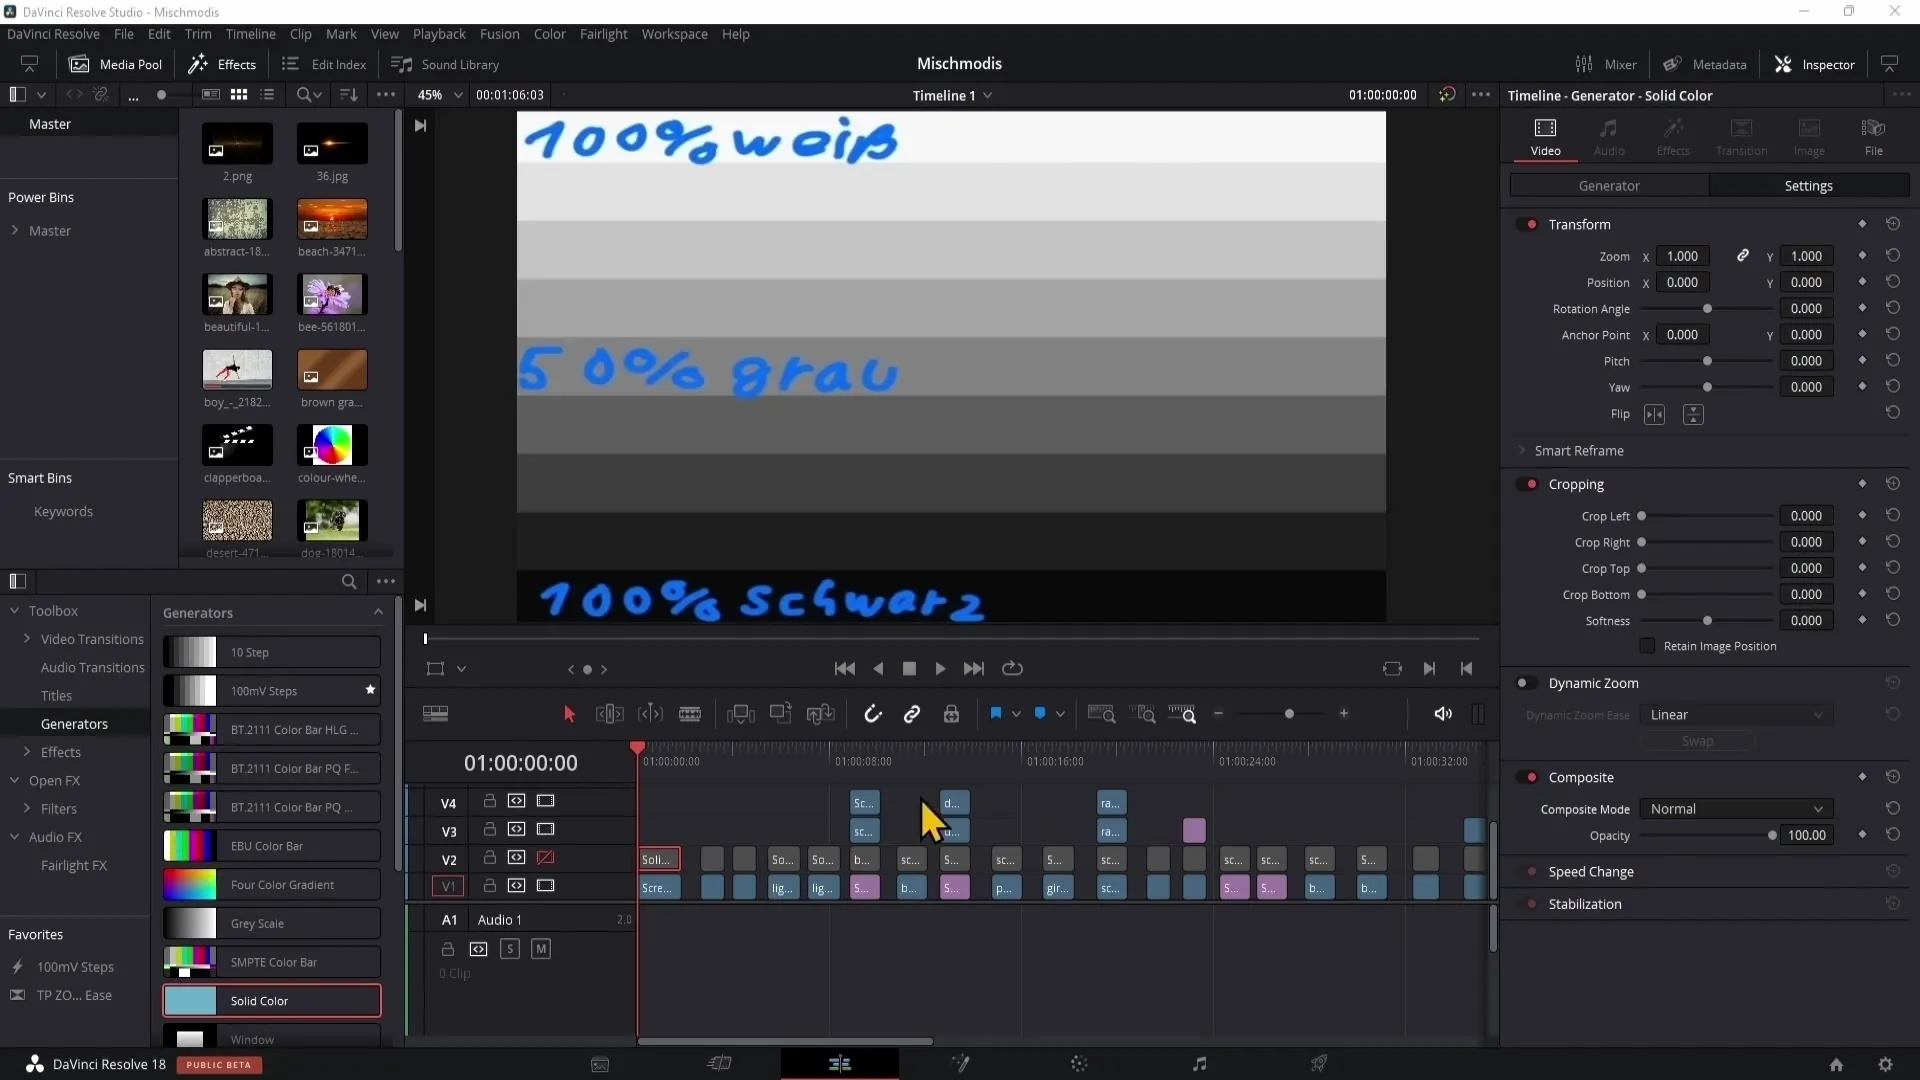
In addition to the Composite Modes, there is also the "Opacity" slider under the Composite control, which controls the opacity of the upper layer. A 100% opacity means full visibility, while 0% makes the upper layer completely invisible. This allows you to create elegant transitions and overlays.
4. Introduction to Blending Modes: Add
The first blending mode I want to introduce is "Add." When you activate this mode, the upper layer is combined with the underlying image. Areas that are white will brighten up, while darker areas will be less affected. This is ideal for creating brightness effects, such as sunsets.
5. The Color Mode
The next blending mode to explore is the "Color Mode." With this, you can change the colors in your image. This mode becomes particularly useful when working with black and white images and want to give them a new color tone.
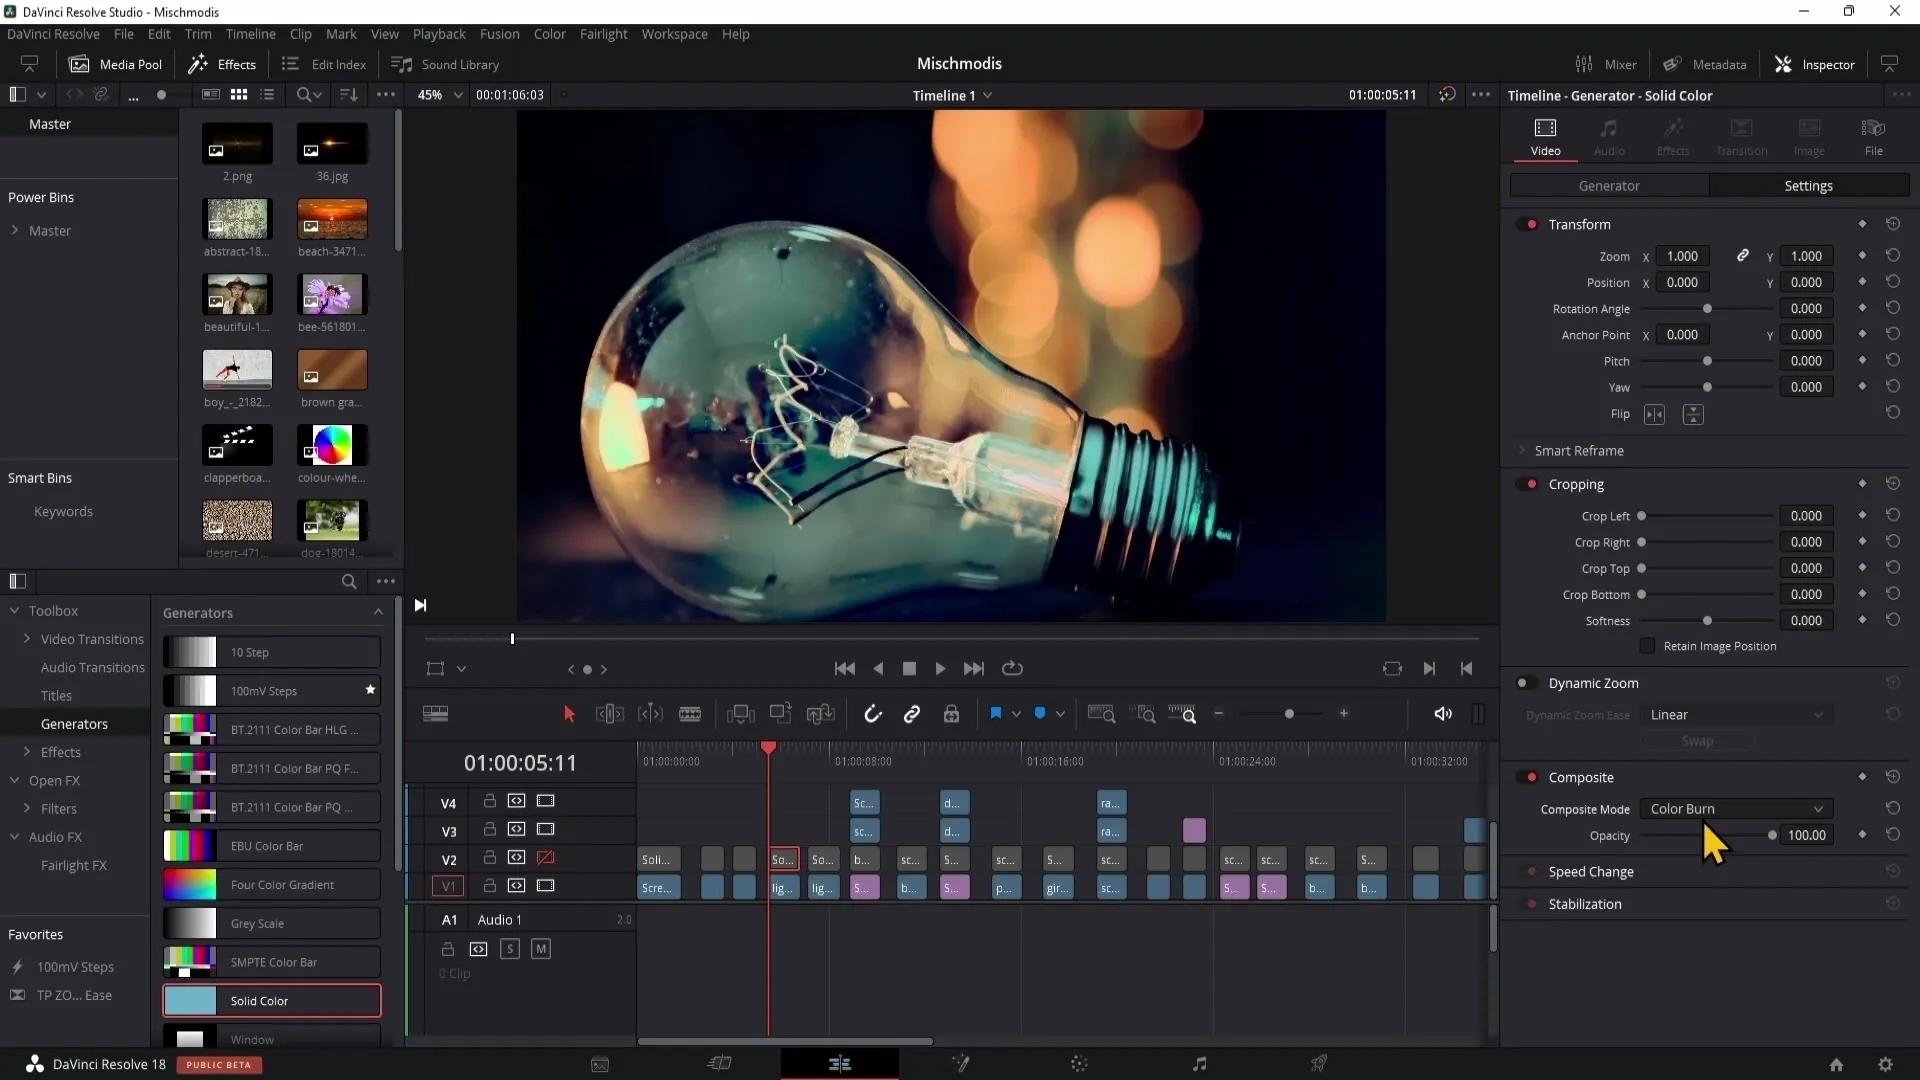
6. Color Burn
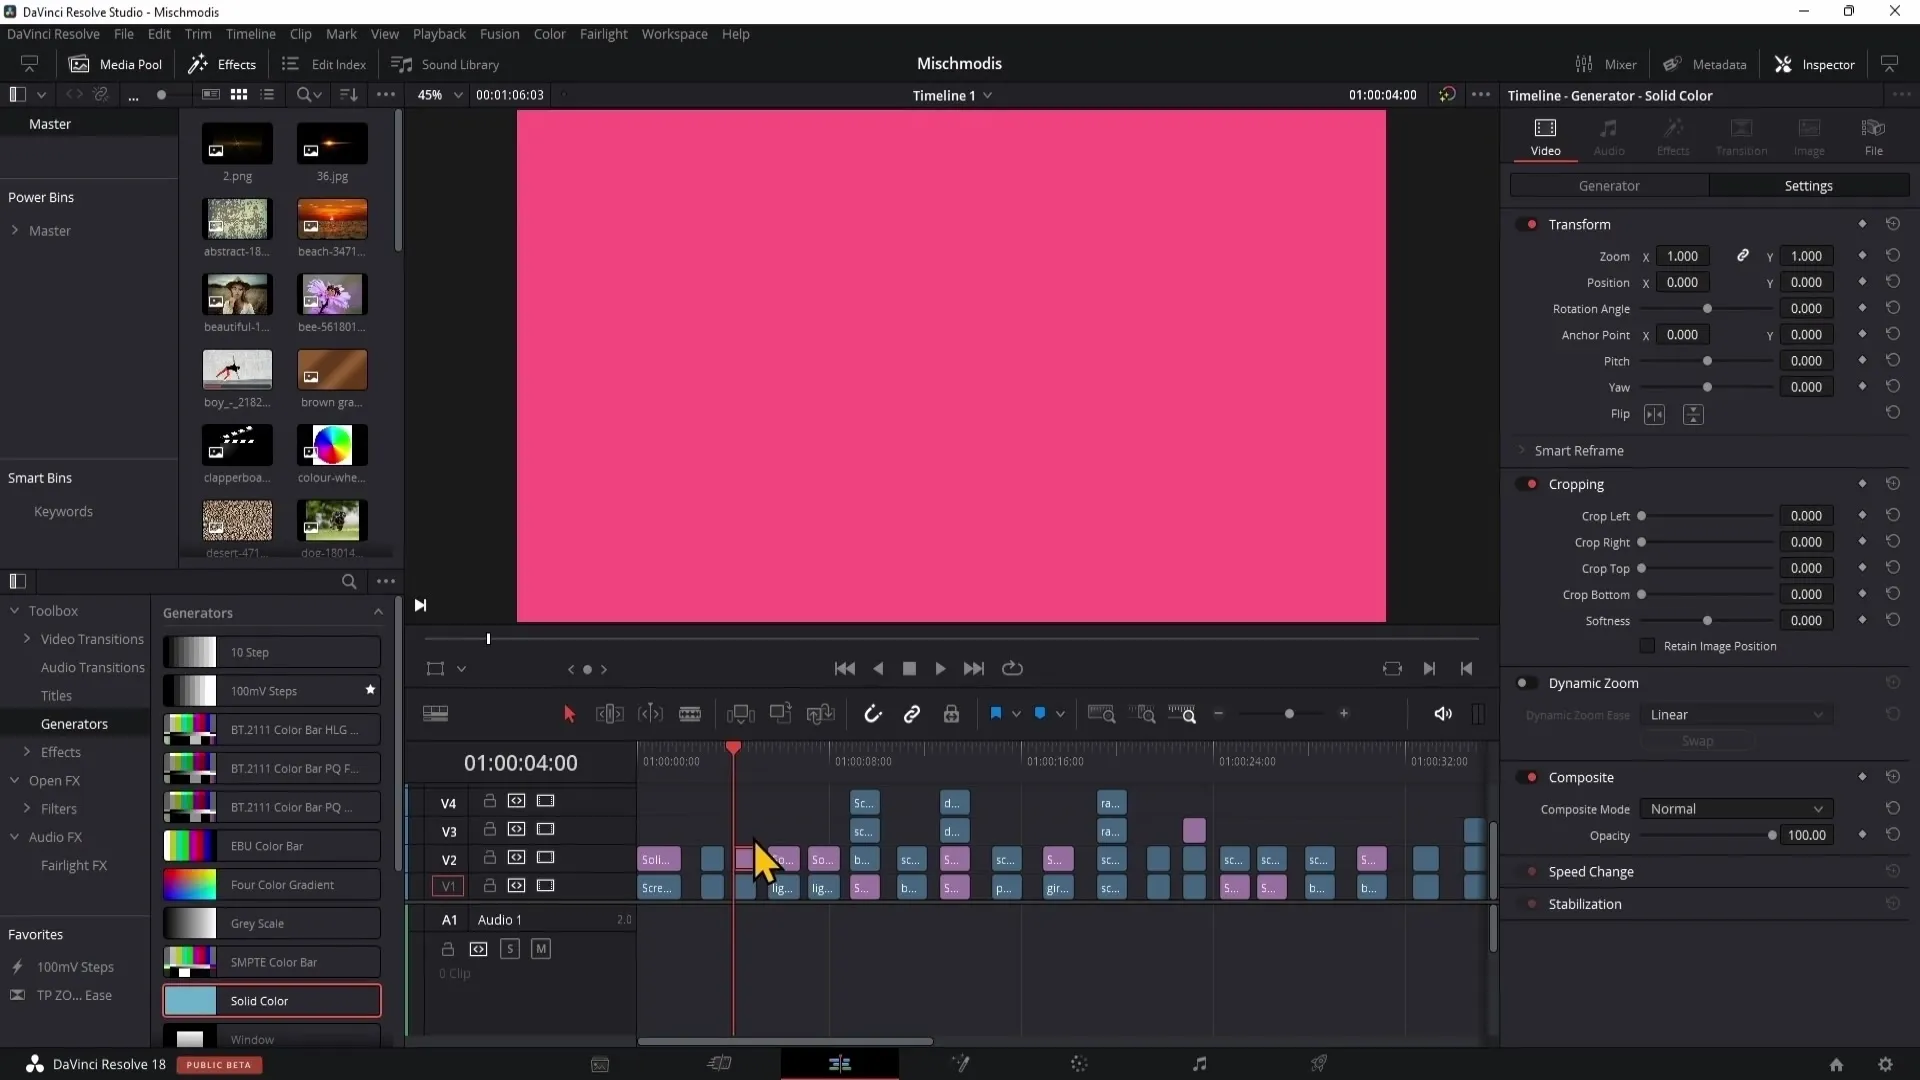
The "Color Burn" mode allows you to darken the underlying colors while utilizing the color tones of the upper layer. 100% White remains unchanged in this mode, making it particularly powerful for creating deep, rich colors.
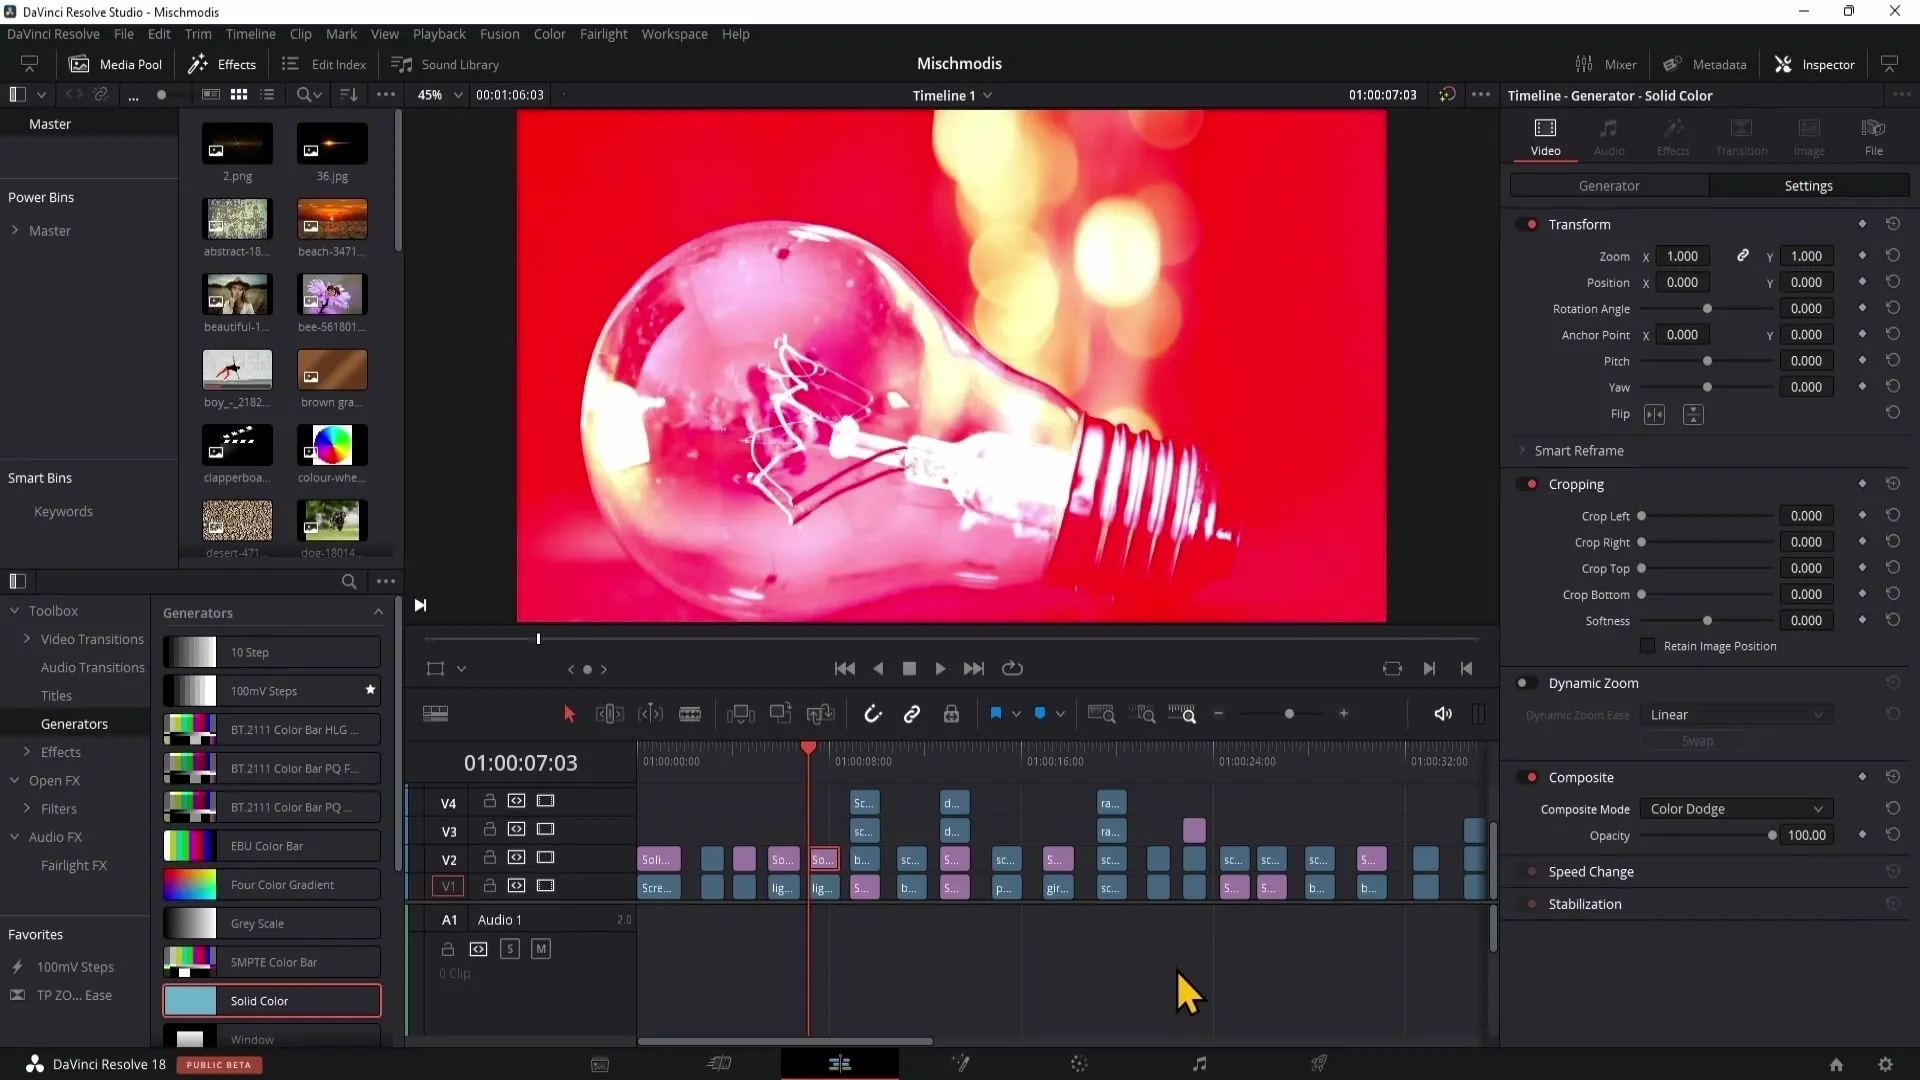
7. Color Dodge
In contrast to "Color Burn," the "Color Dodge" mode brightens the colors of the underlying layer. This creates a brighter, more vivid look. There are, however, many variations of these blending modes that can be used in different scenarios.
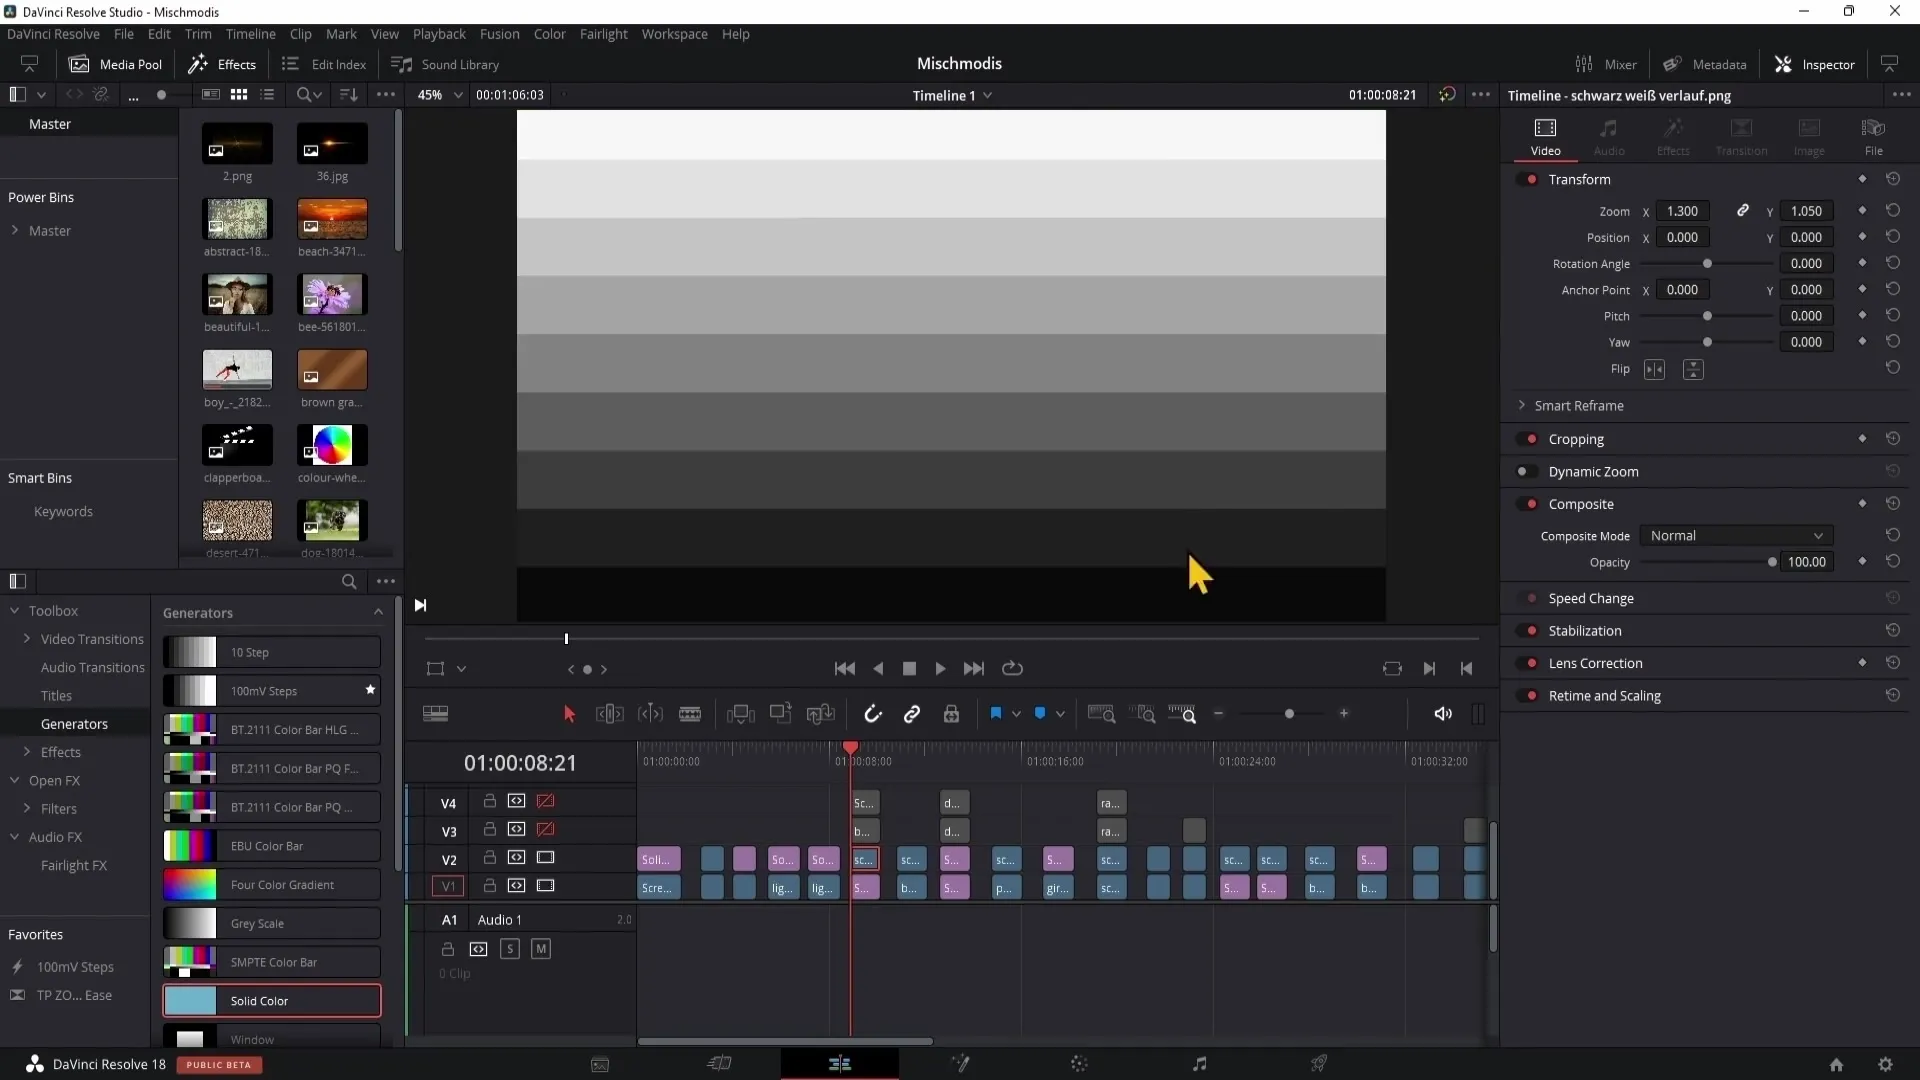
8. Darken Mode
The "Darken" blending mode hides everything that is brighter than the underlying layer. This allows you to create targeted highlights, which can be particularly helpful in nature or portrait photography.
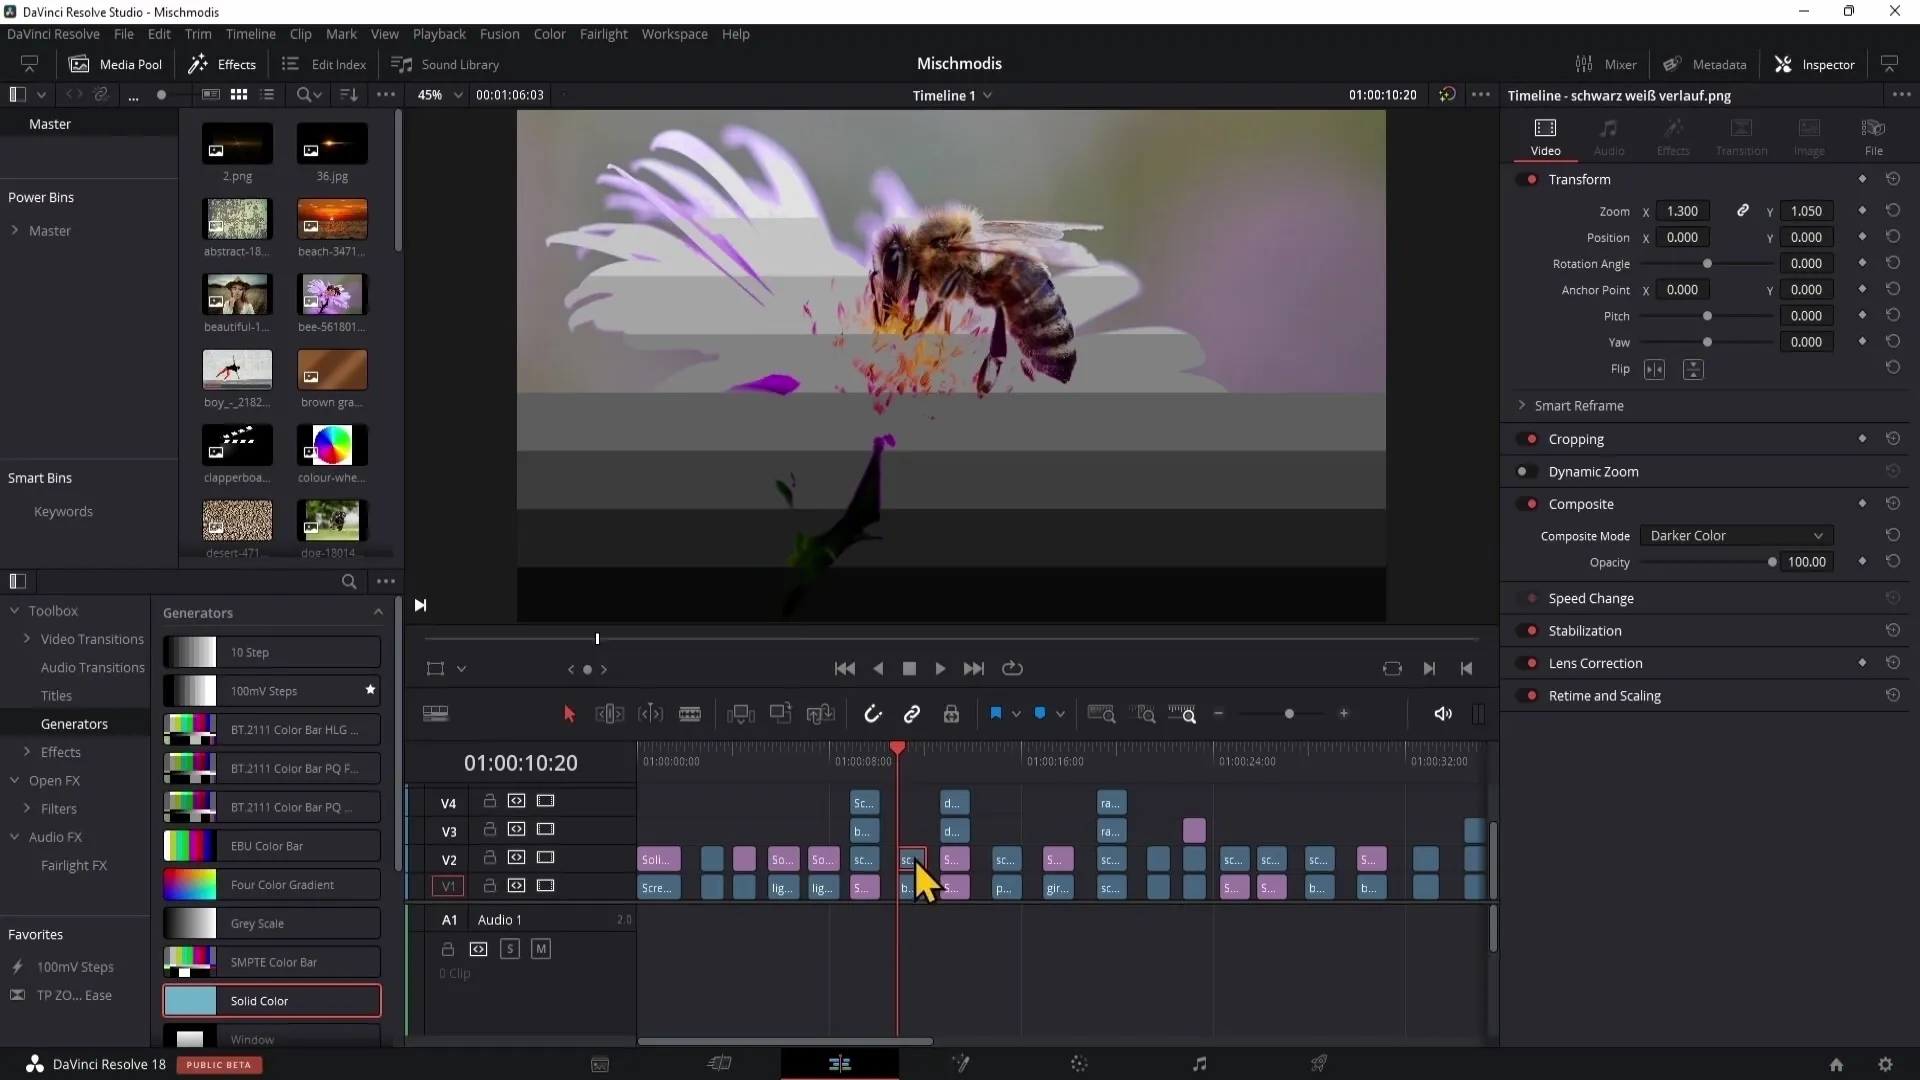
9. Darker Color
The "Darker Color" mode filters out everything except the deepest black values of the underlying layer. It only displays the darkest areas of the lower layer and can be used for interesting visual effects, although it is less versatile.
10. Difference
The "Difference" mode allows you to combine two layers and display their differences. This can help you determine the exact position and overlap of two images, which is useful when you want to make precise adjustments.
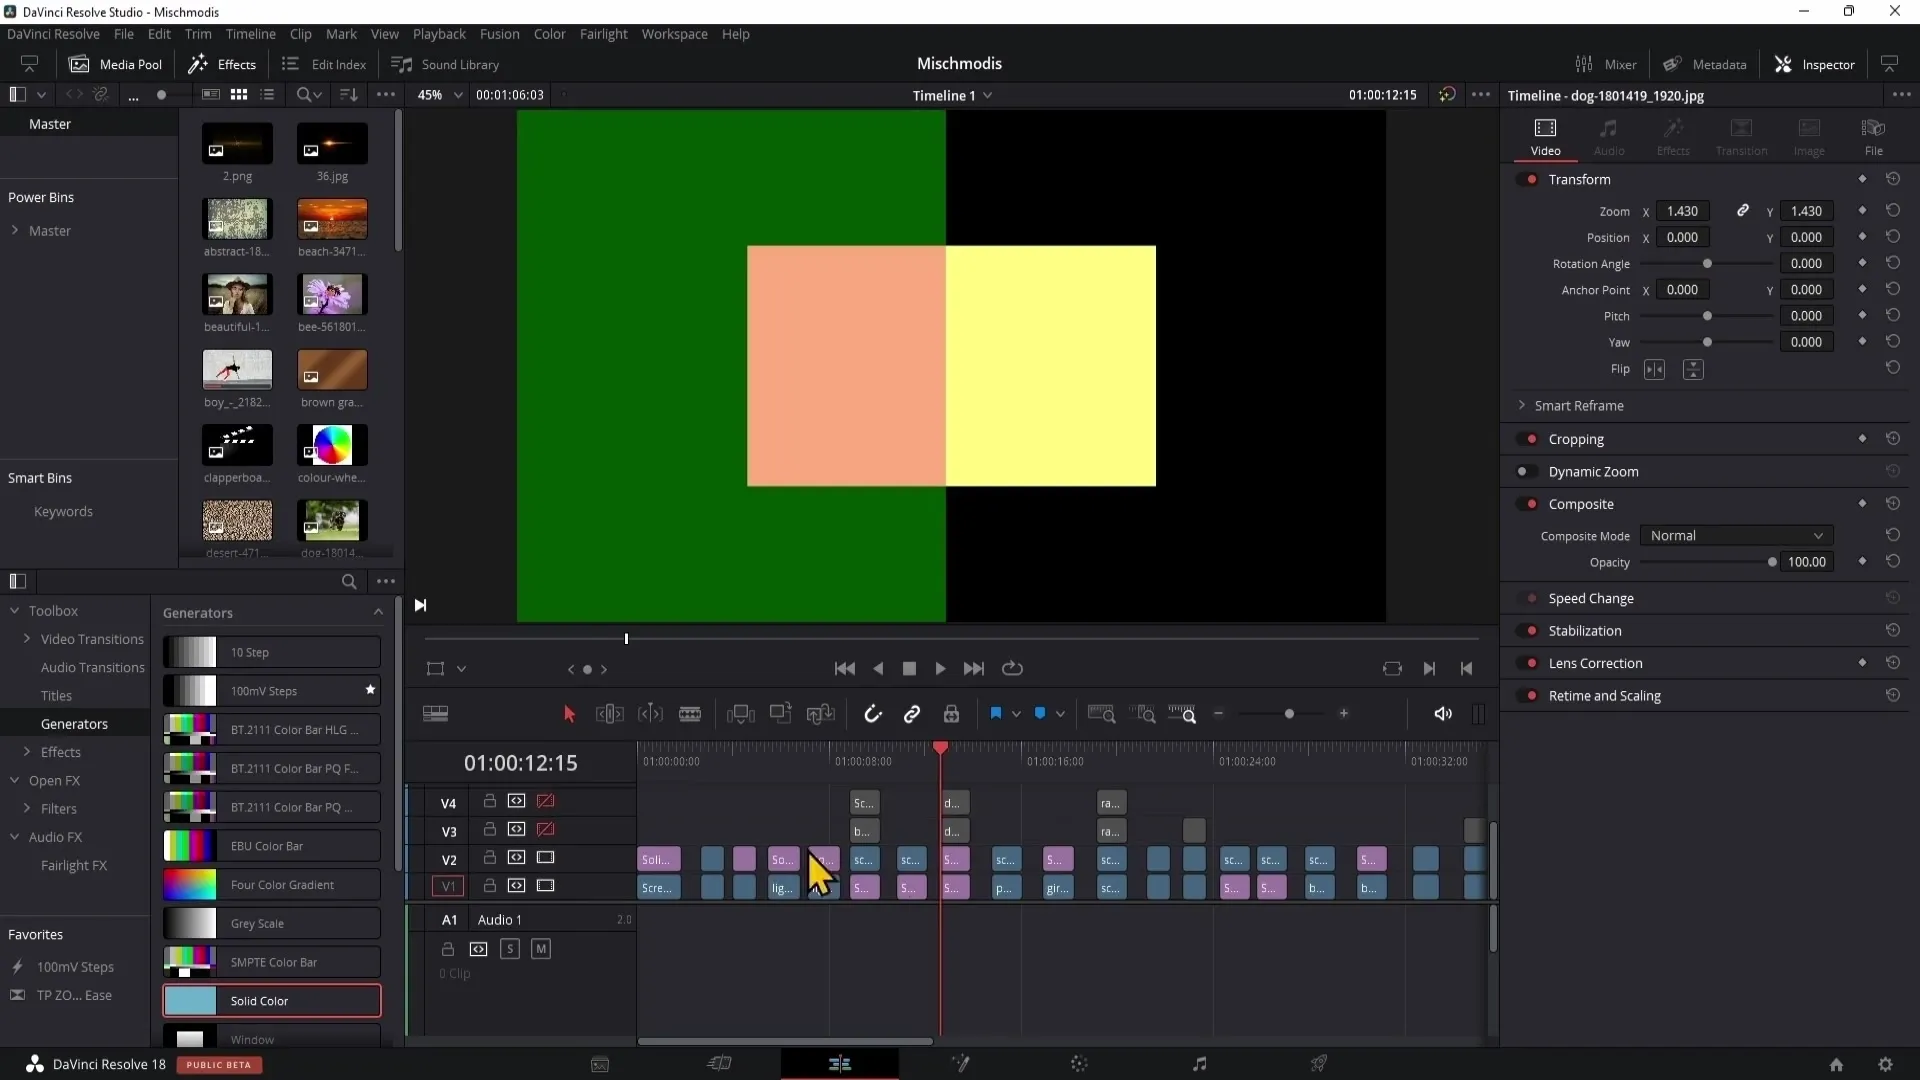
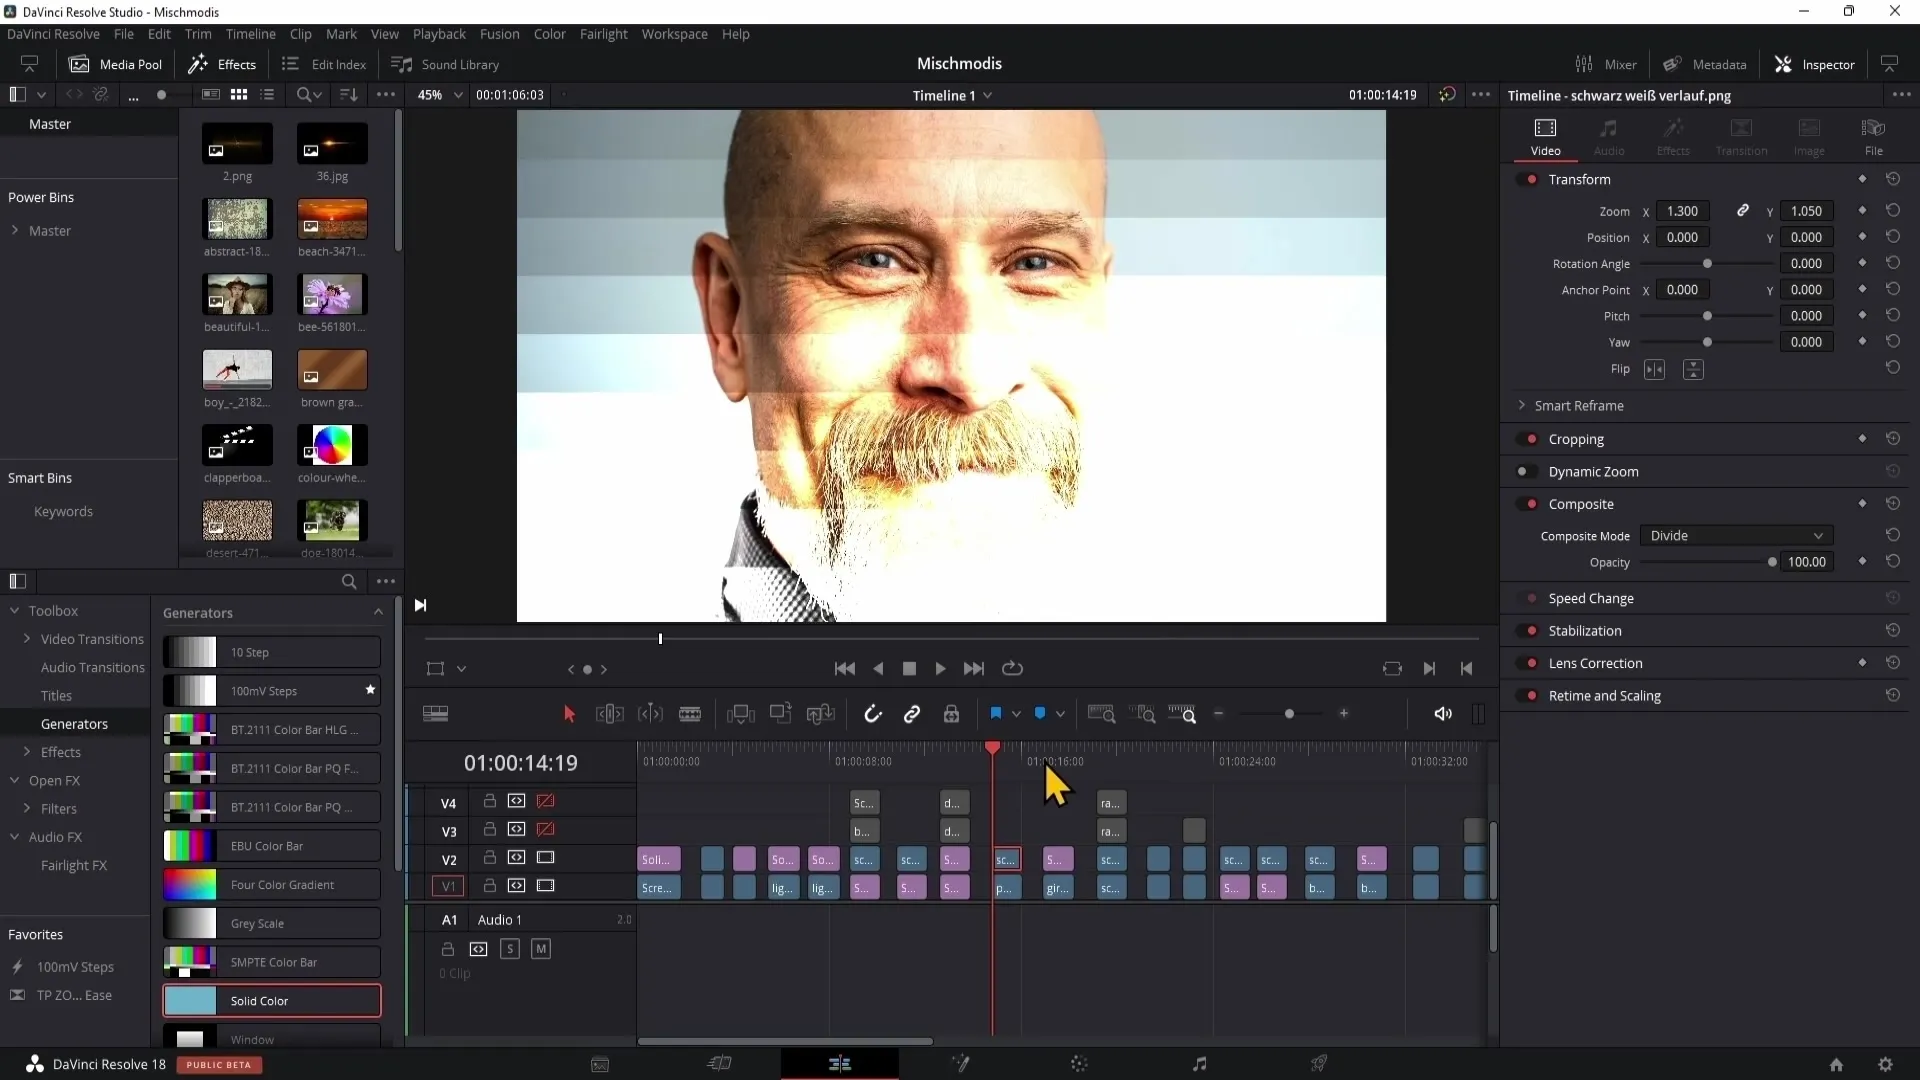
11. Divide
The "Divide" blending mode is rarely used in practice as it divides the color values of the upper layer. 100% white remains unchanged and 100% black is greatly lightened.
Summary
In this first part of the tutorial on Composite Modes in DaVinci Resolve, you have learned the basics and some important blending modes. You now know how to combine different layers to achieve interesting visual effects and control their properties in post-production.
Frequently Asked Questions
What are Composite Modes in DaVinci Resolve?Composite Modes are special settings that allow you to combine different layers of images and videos to achieve various visual effects.
How does the Opacity slider work?The Opacity slider controls the visibility of the upper layer. At 100%, the layer is fully visible, while at 0% it becomes completely invisible.
Which Composite Mode is best for sunsets?The "Add" blending mode is excellent for increasing brightness in sunset scenes and creating the impression of sun rays.
Are the Composite Modes the same as in Photoshop?Many Composite Modes in DaVinci Resolve have the same or similar functions as those in Photoshop, but the exact names and handling may vary.
Can I undo the Composite Modes?Yes, in DaVinci Resolve you can always undo your changes and revert to previous settings.


