In this guide, we focus on the different blending modes in DaVinci Resolve, which were covered in the second part of the tutorial. Blending modes are fundamental tools in color correction and editing that help you achieve creative effects and make your images more appealing. We systematically go through the main blending modes, explain how they work, and show you how to effectively use them.
Key Takeaways
- Blending modes influence how layers interact with each other.
- The rules of color mixing are based on the color model (RGB, CMY).
- Blending modes like "Exclusion", "Hard Mix", and "Multiply" are particularly useful in practice.
- You can create interesting visual effects by experimenting with different settings and combinations.
Step-by-Step Guide
Exclusion
First, let's take a look at the "Exclusion" blending mode. This blending mode is easy to understand and offers some creative possibilities. Exclusion works similarly to the Difference mode, but here the mid-tones are reversed.
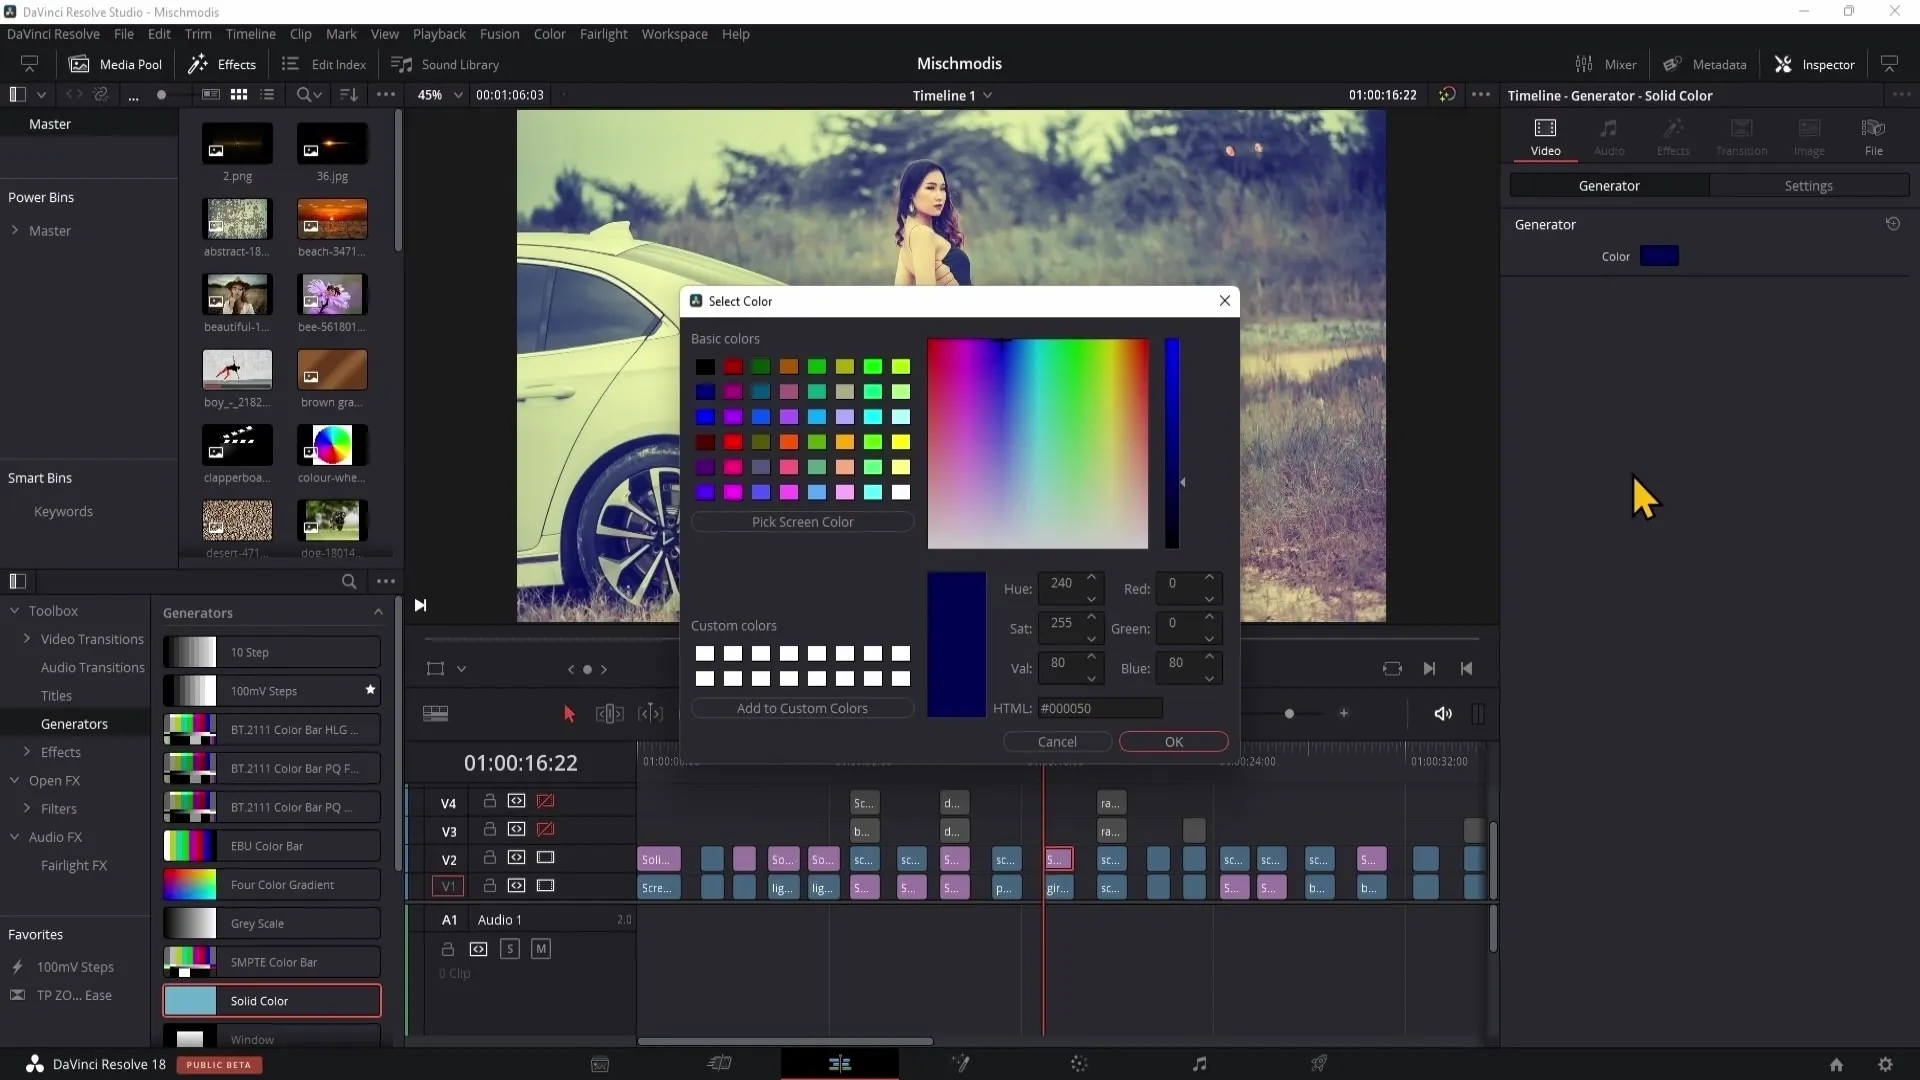
In one example, we show that dark blue tones are replaced by yellow light tones. So if you have a dark blue color and load an image with bright and dark areas underneath, you will notice that the deep blues and the highlights appear in yellow-gray.
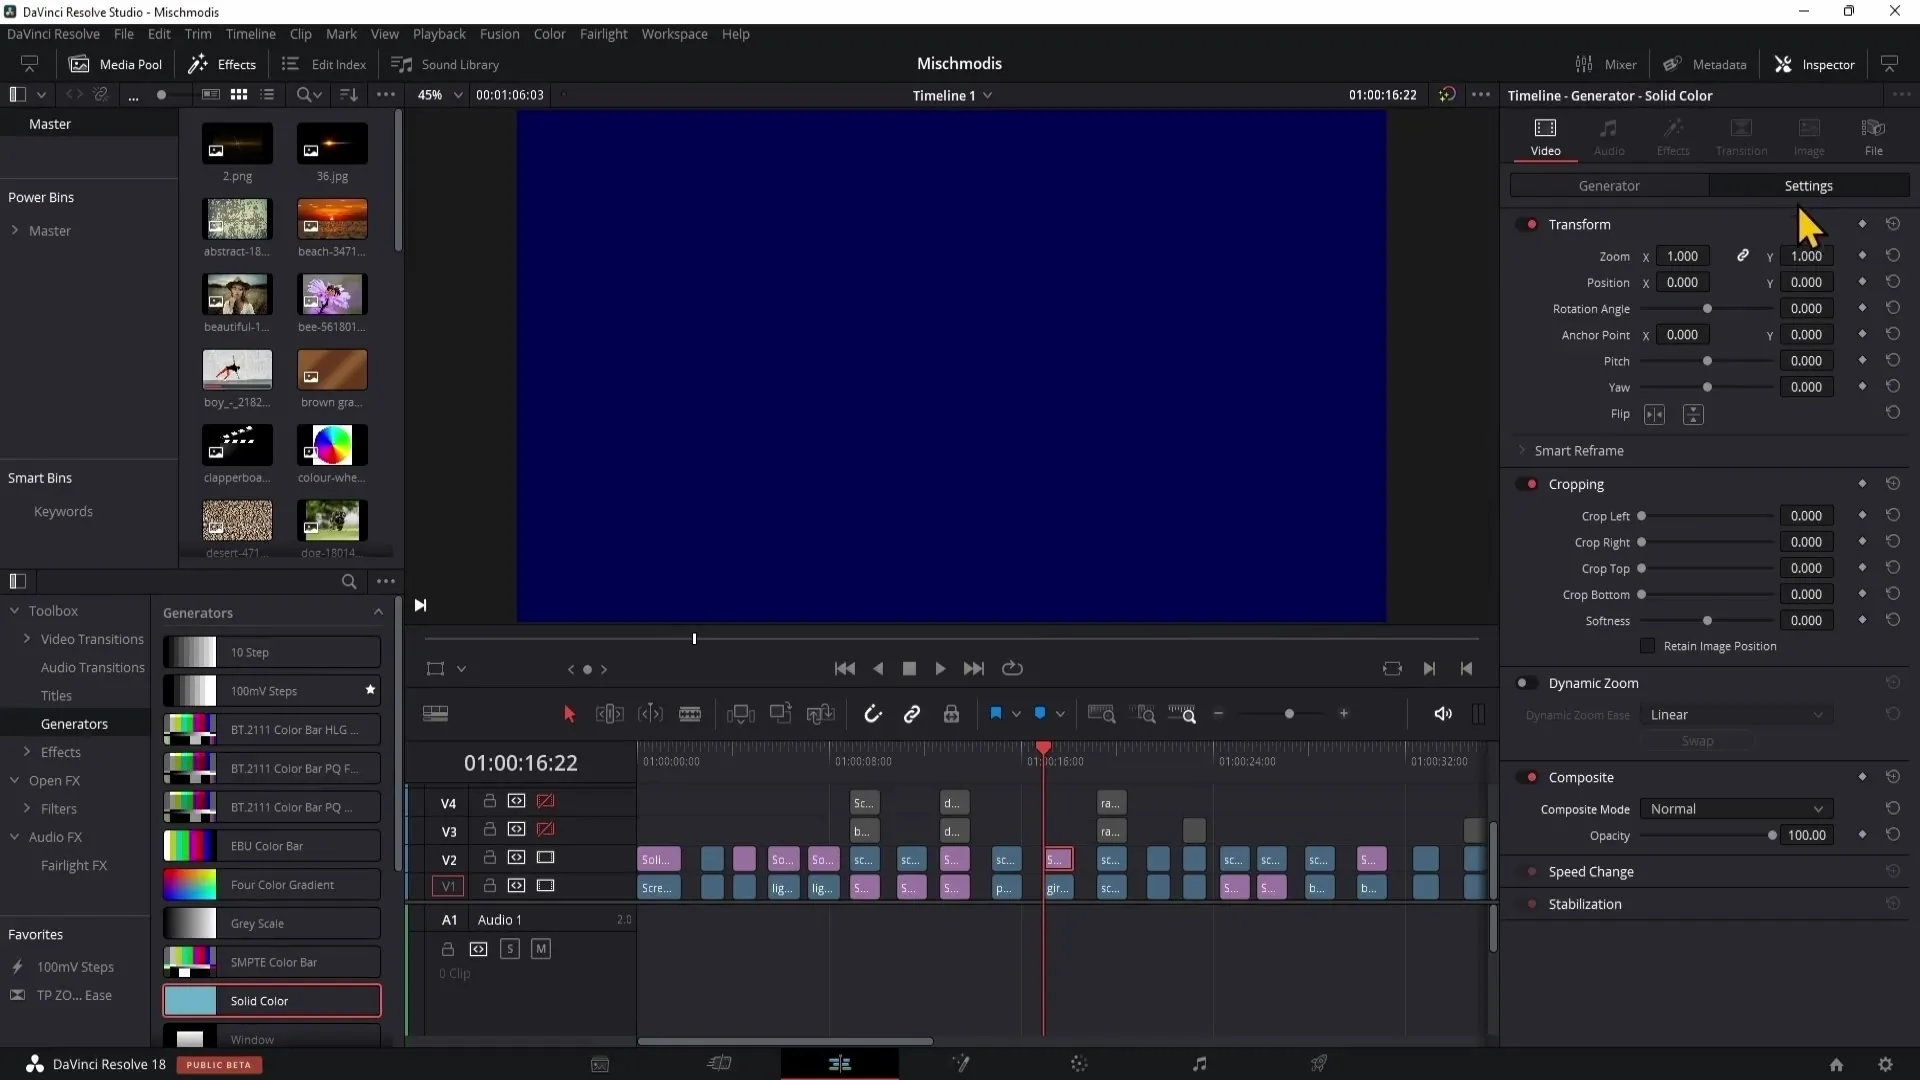
The RGB and CMY channels are crucial. The opposite of blue is yellow, which explains these color shifts. You can also try this with other colors, such as dark red, which shows how the shadows and highlights are represented in different hues.
Hard Mix
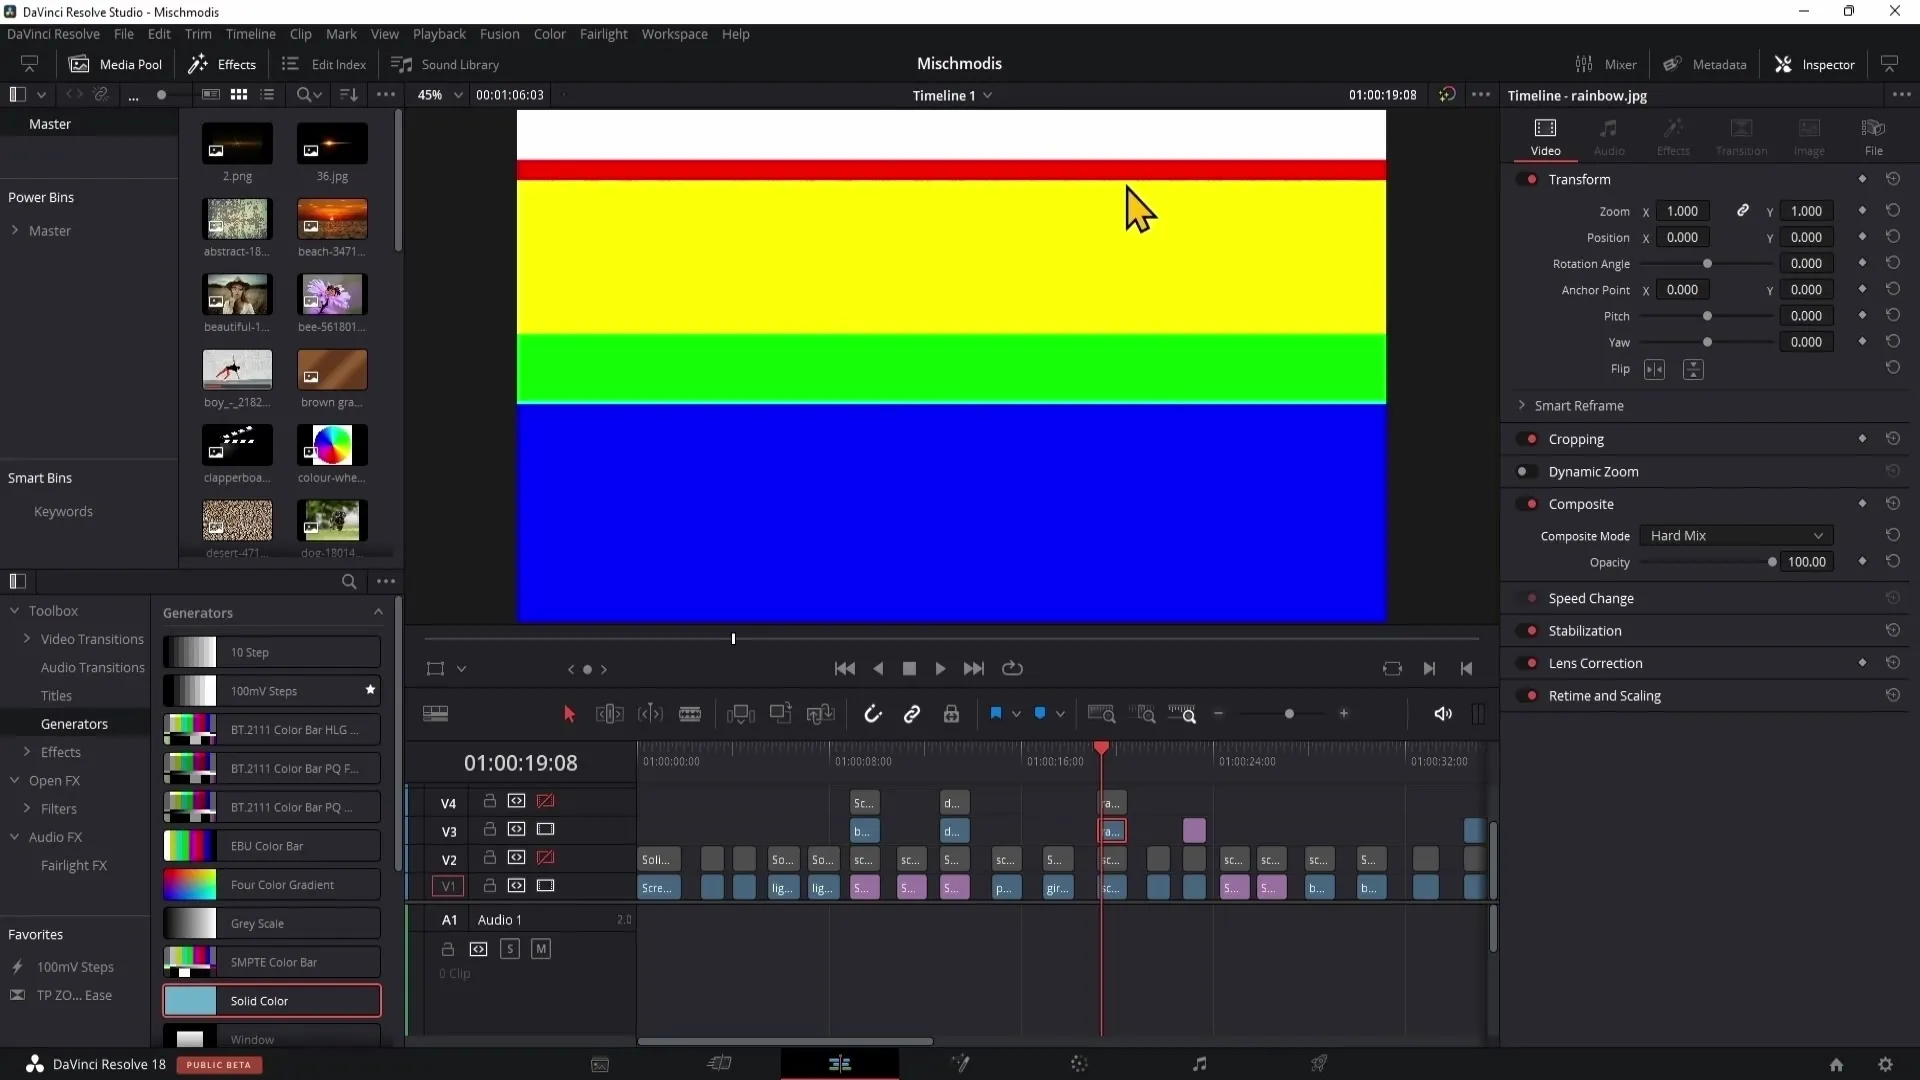
The next blending mode is called "Hard Mix". Here, gray tones are converted to black or white. The result is a very strong contrast adjustment, which is often used in graphic designs and less in videos.
If you use a rainbow gradient and set the blending mode to "Hard Mix," you can observe the colors that are reduced to 100% black and 100% white. Intermediate colors like brown or purple completely disappear.
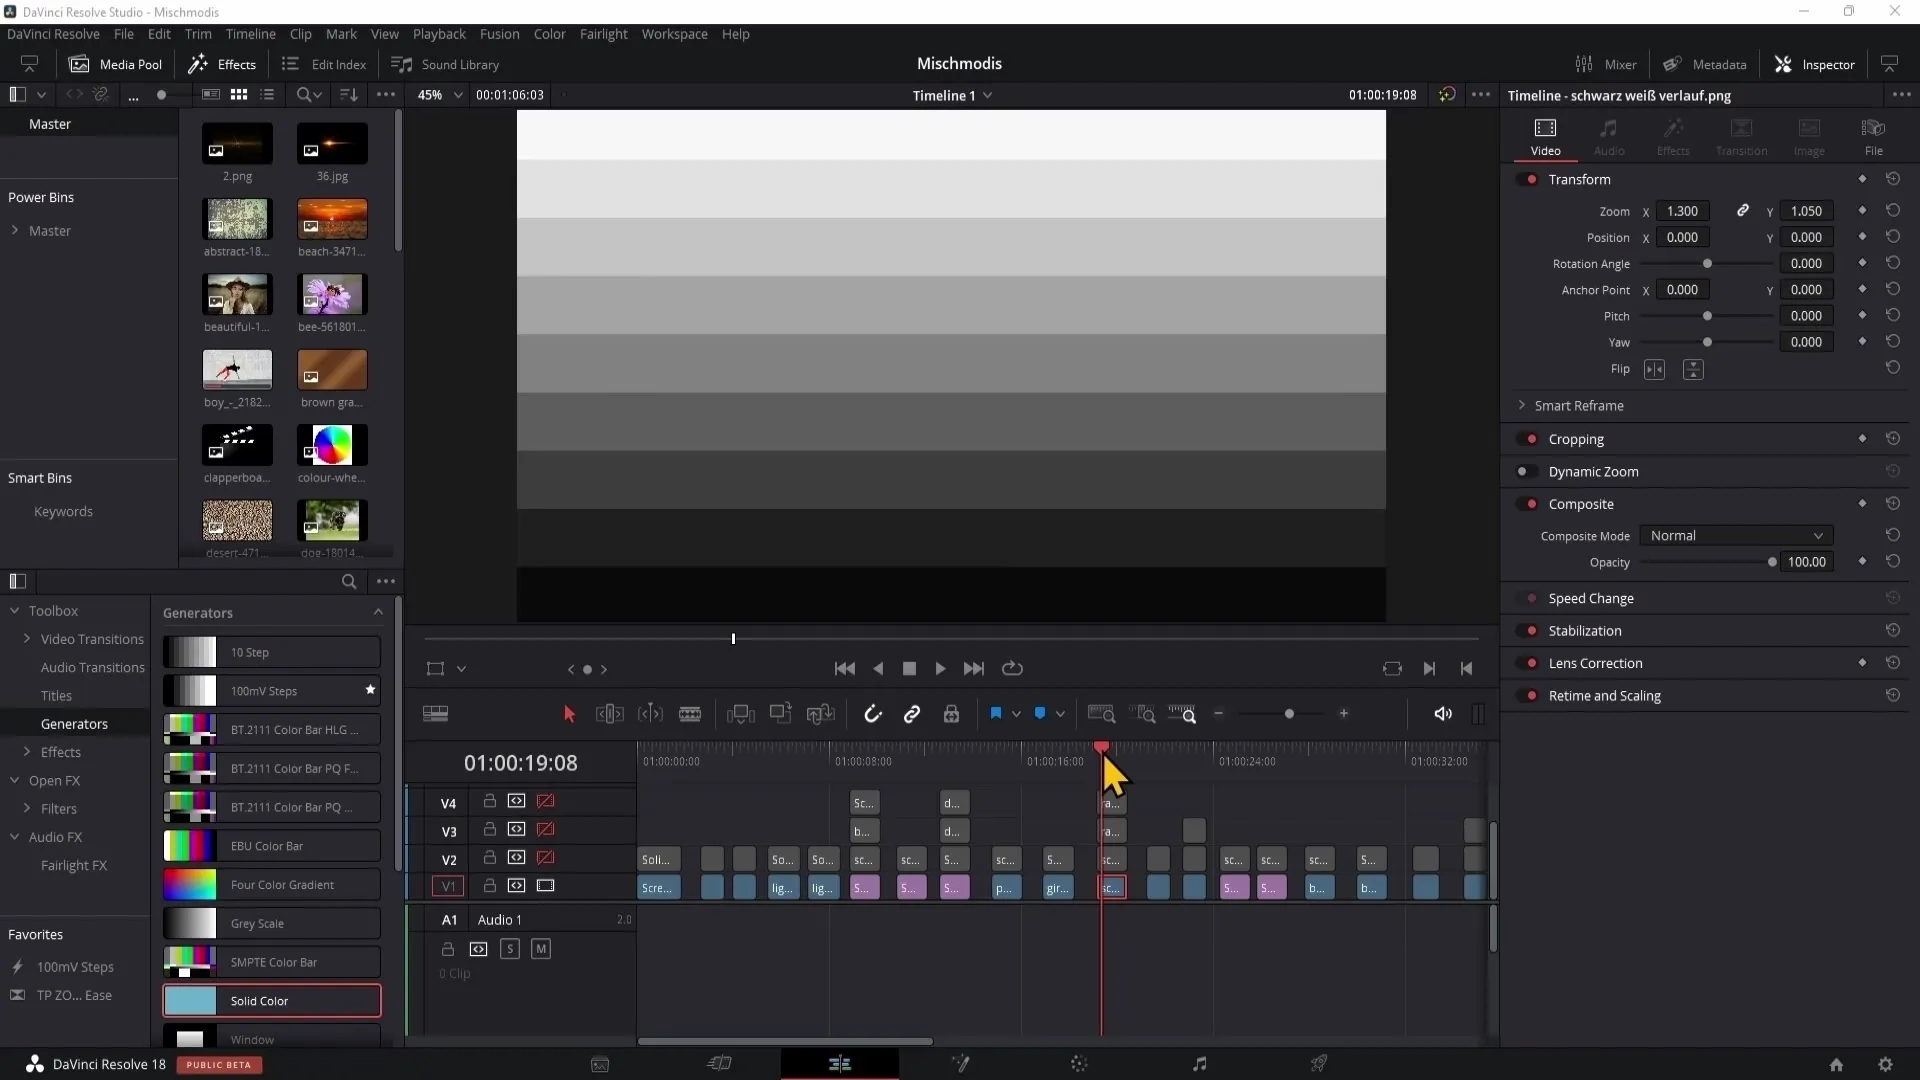
Although this blending mode is not optimally used in DaVinci Resolve, you can achieve great effects in Photoshop by, for example, reducing the area.
Hard Light
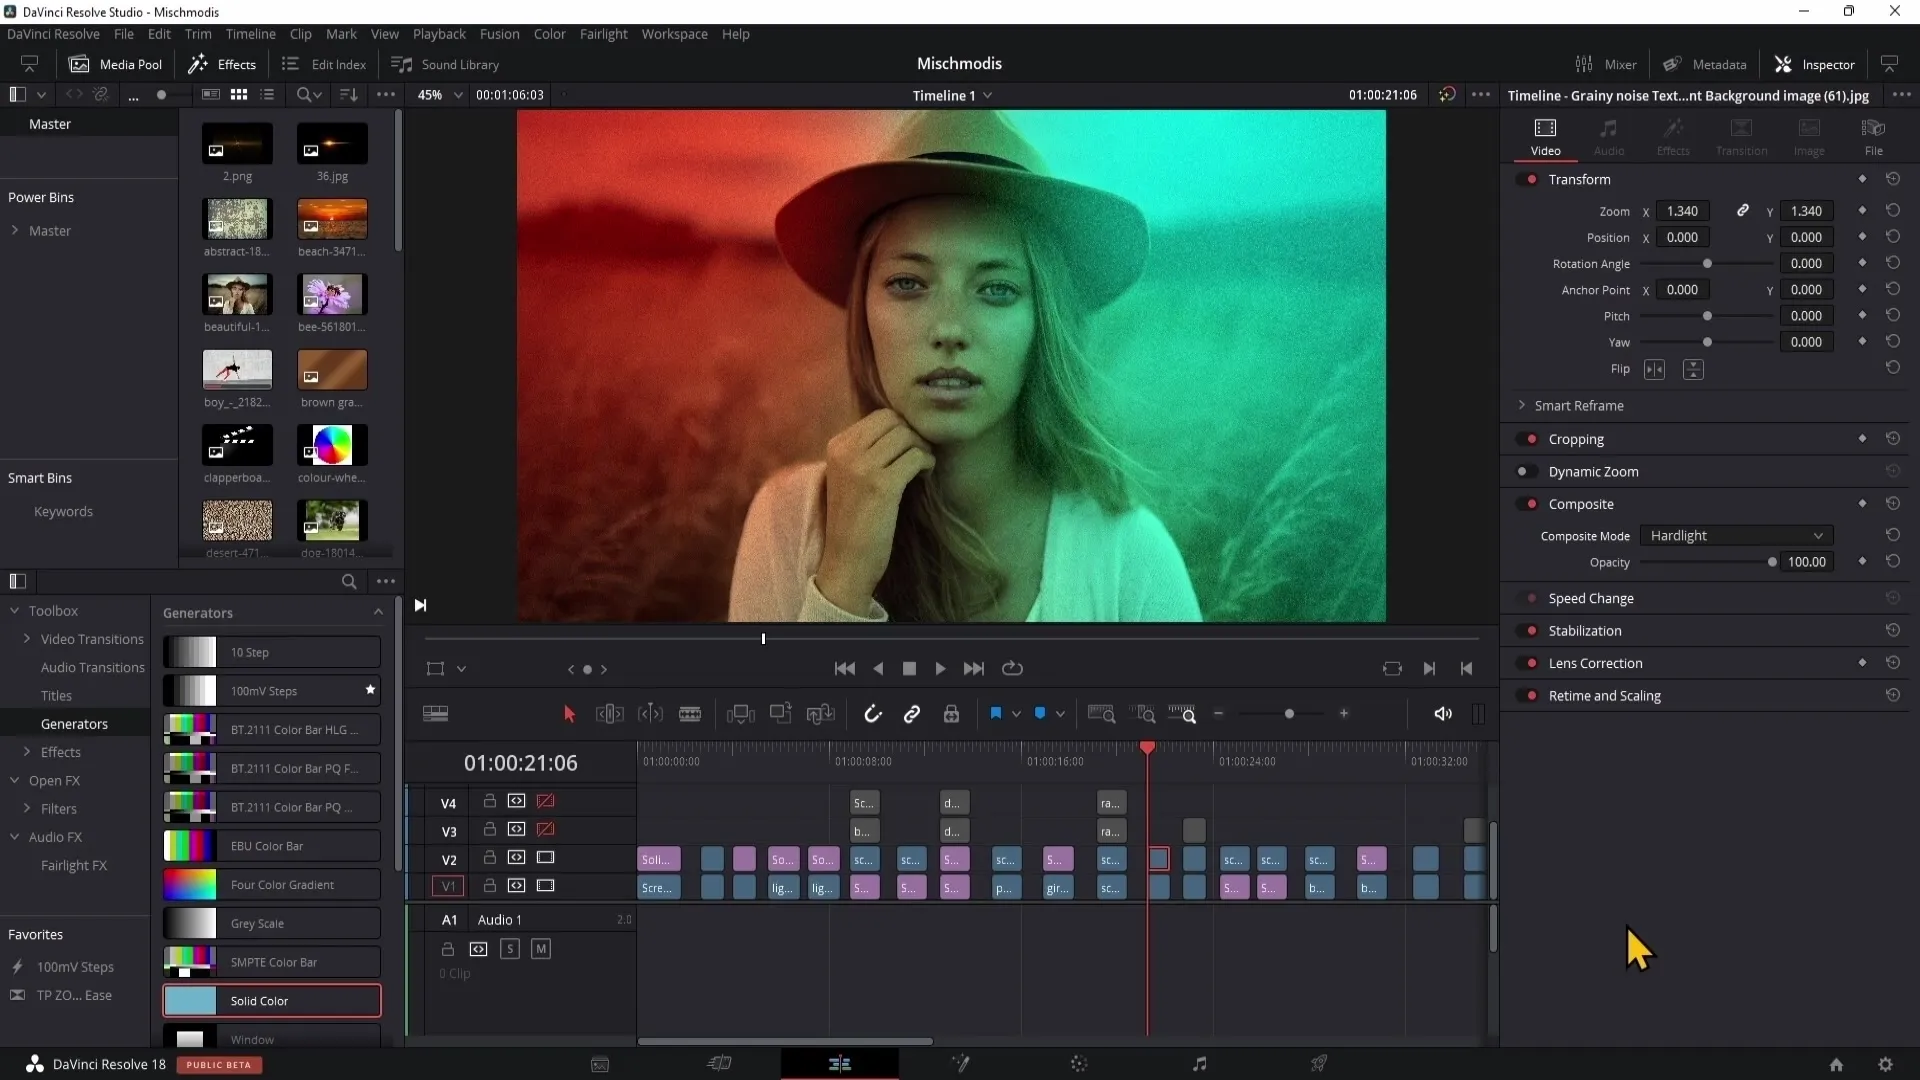
Next up is "Hard Light." With this mode, you can create exciting looks by blending the texture of an upper image with an underlying image. Anything brighter than 50% gray becomes lighter, while anything darker gets darker.
The mid-tones are integrated into the final image using this technique, which can lead to higher contrast. Unlike the previous blending modes, here a slightly faded contrast is created.
Hue
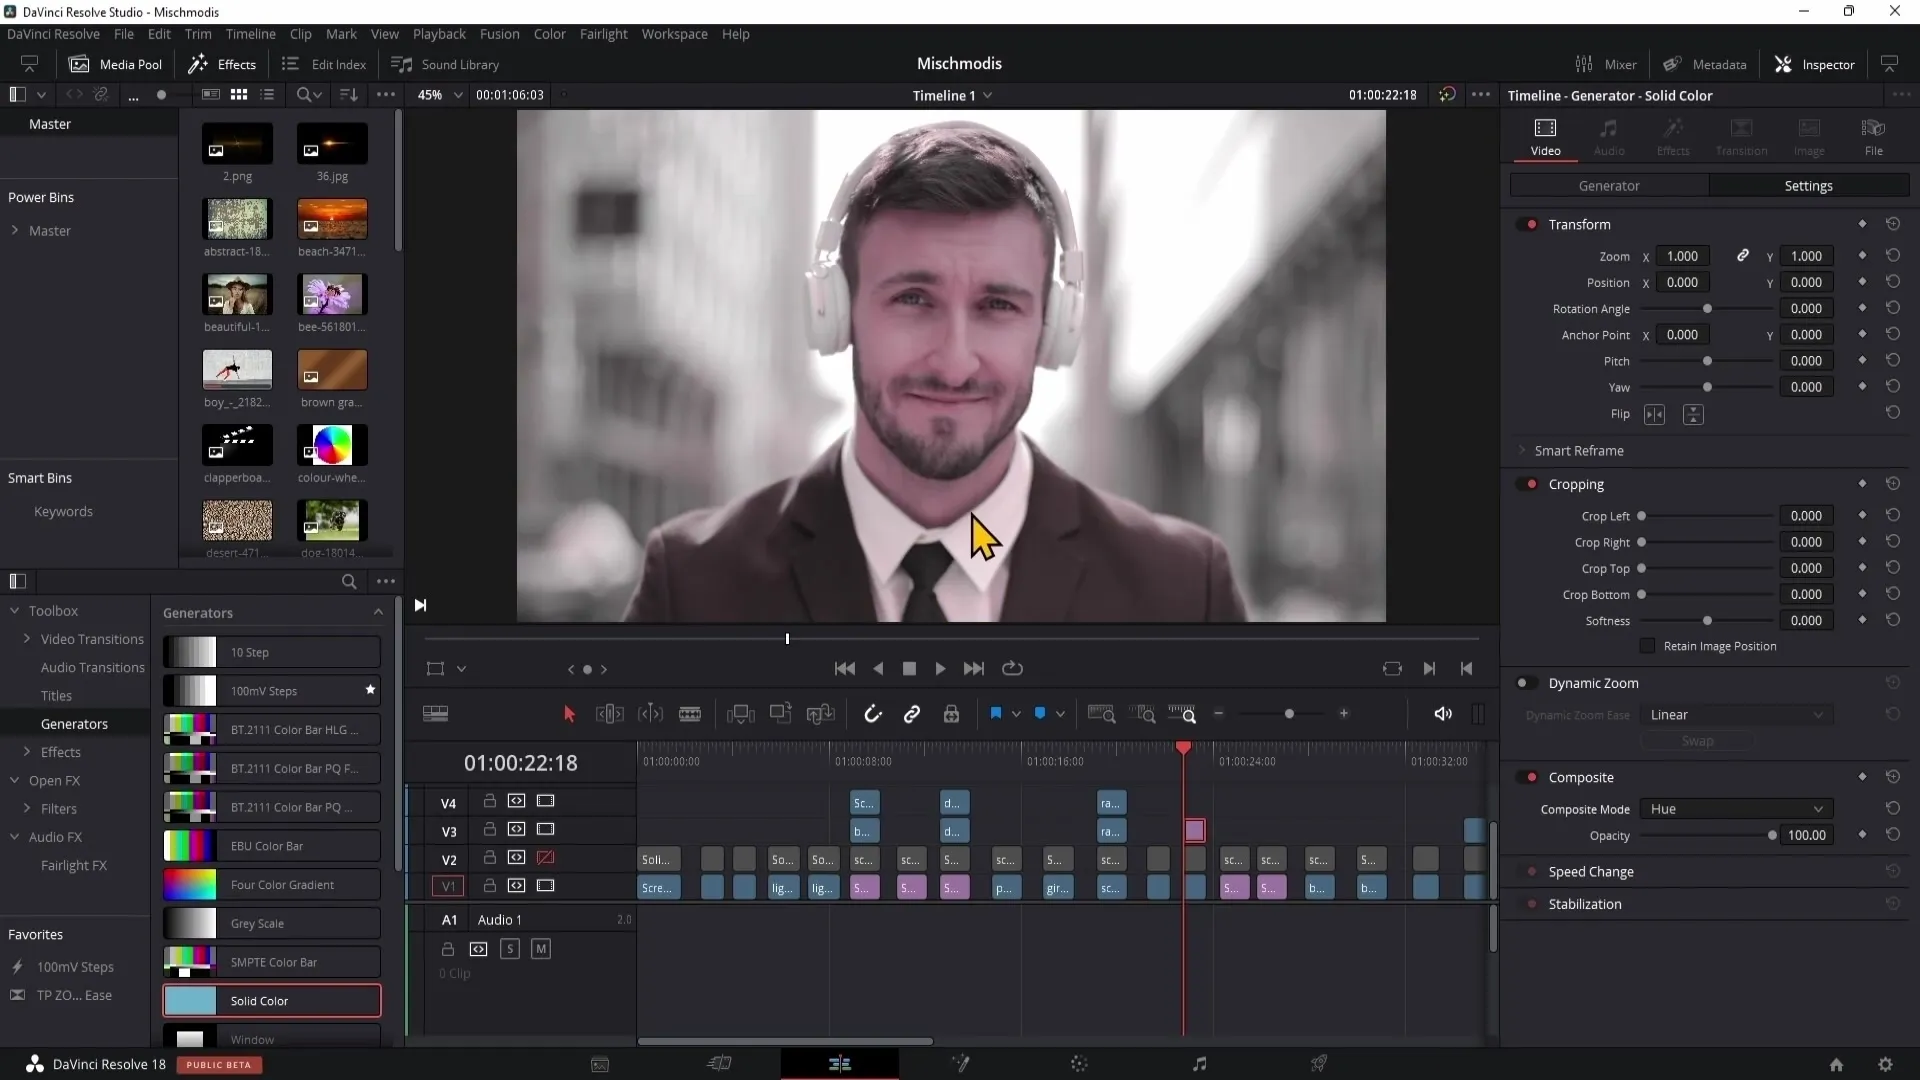
The "Hue" blending mode only changes the hue of the image, similar to the "Color" mode. However, there is a crucial difference: while the Color mode can also colorize black and white images, here everything in black and white remains untouched.
This means that gray areas can only be slightly colored, but they are not fully tinted. The coat or headphones are hardly affected by this hue adjustment.
Lighten
The "Lighten" blending mode highlights lighter areas. The principle is simple: it keeps everything brighter than the underlying image visible. This mode is not used very often, but it remains a useful option.
Lighter Color and Darker Color
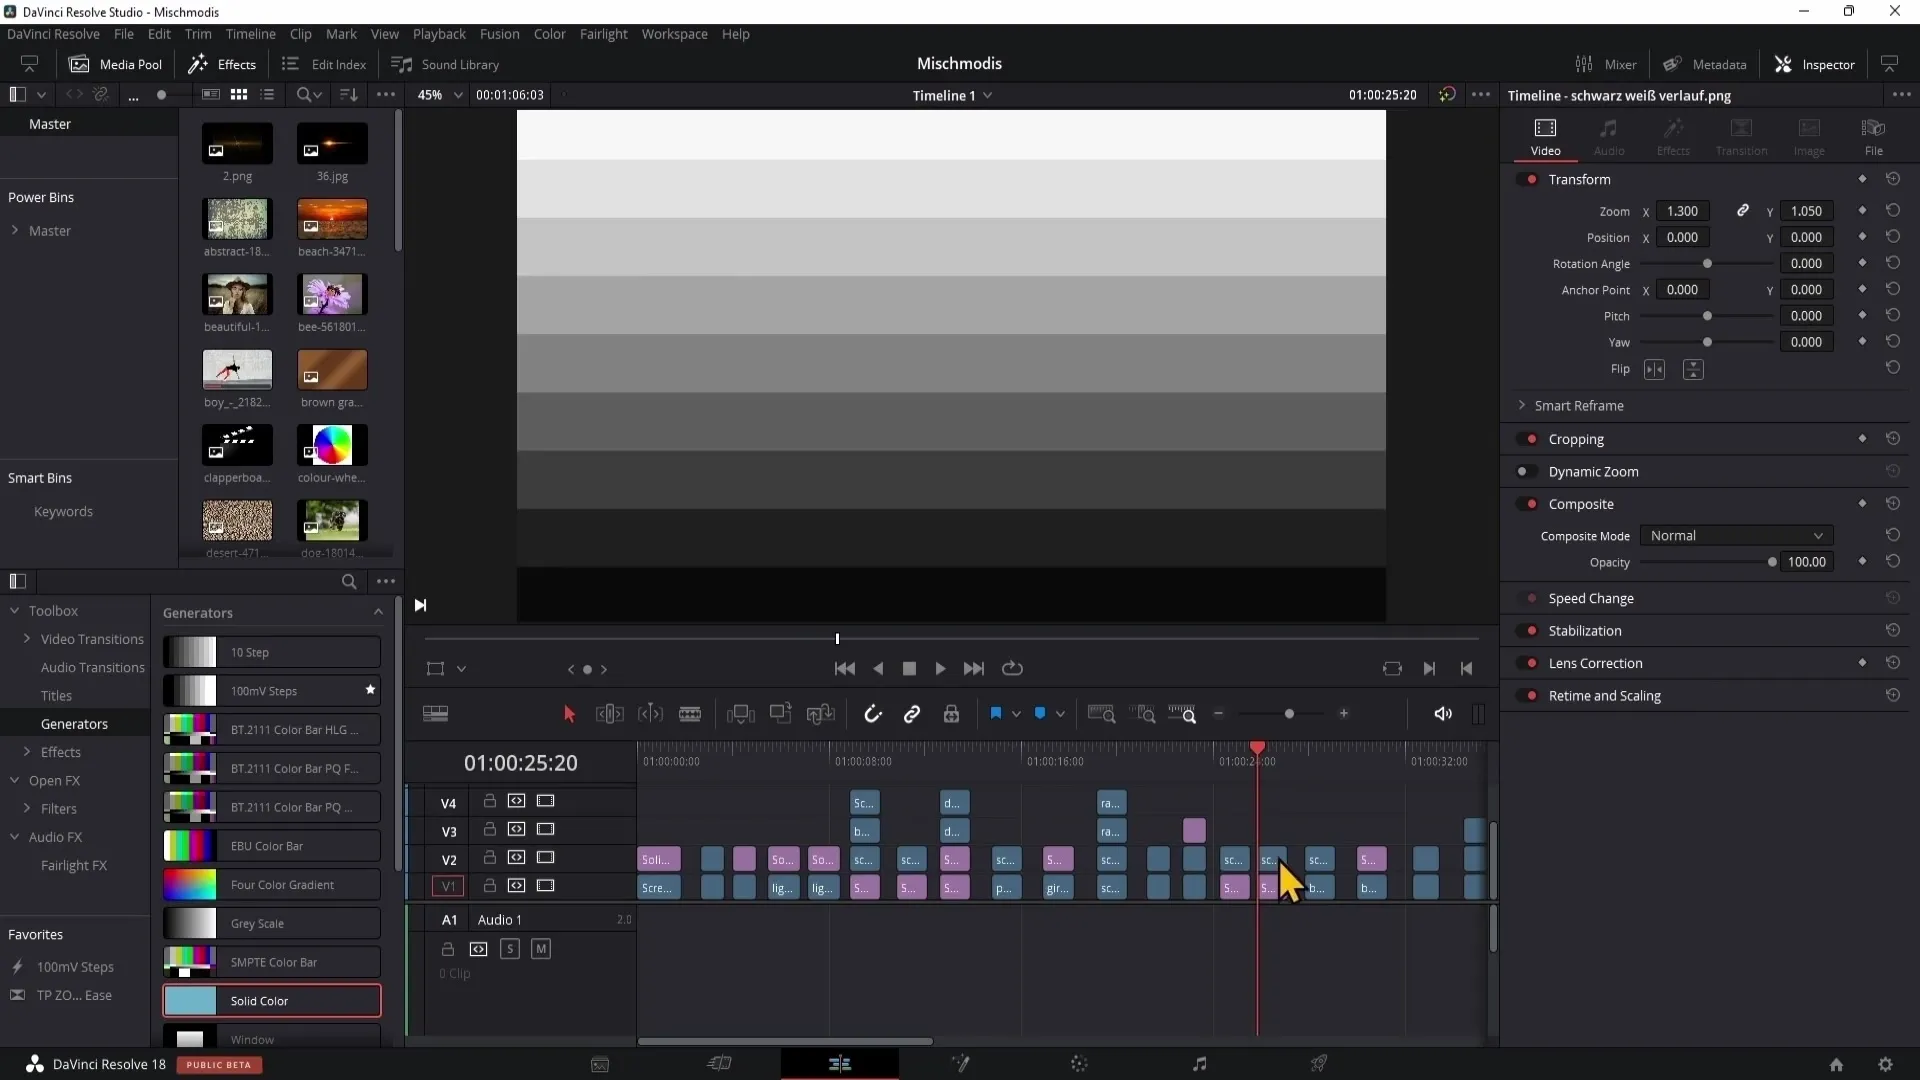
"Lighter Color" and "Darker Color" are specific variants that completely invert the lighter and darker parts of the image. Similar to "Lighten," the "Lighter Color" mode shows the light areas, while "Darker Color" reverses the effect.
Linear Dodge and Linear Burn
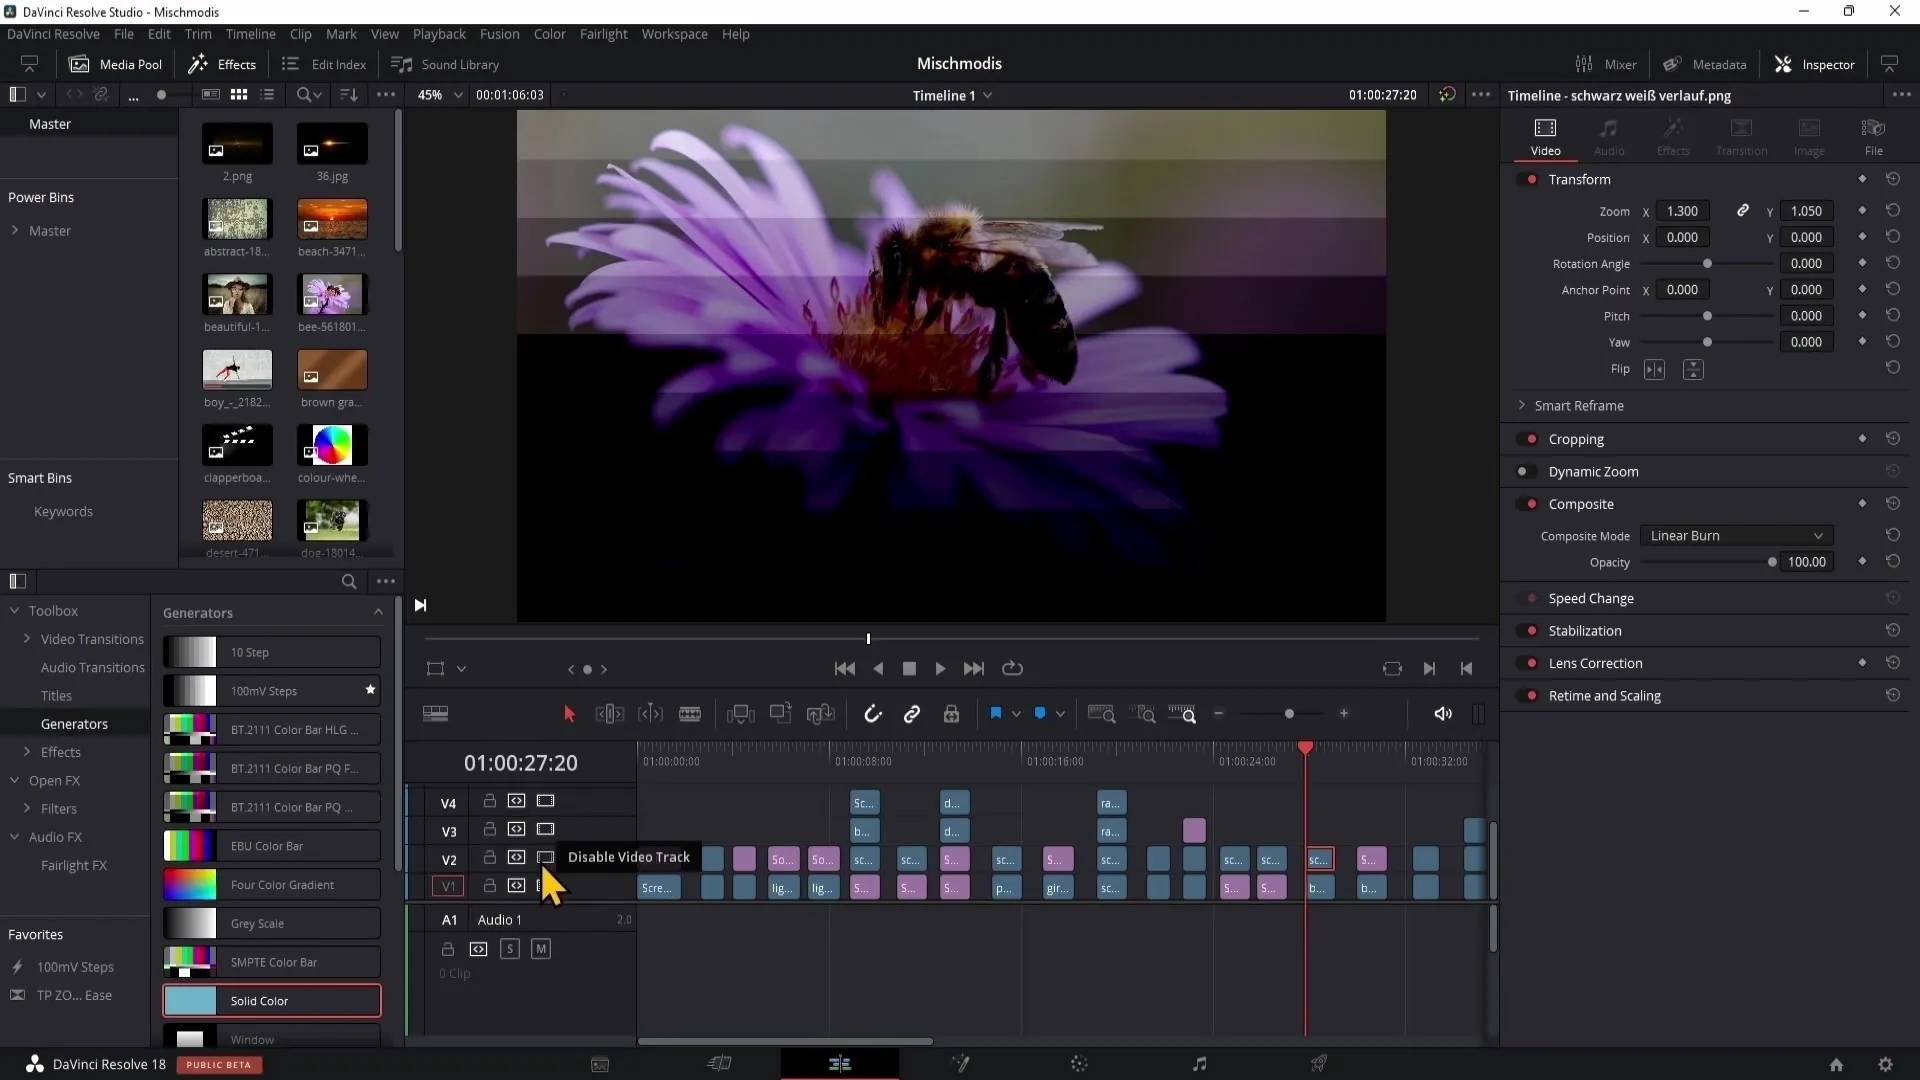
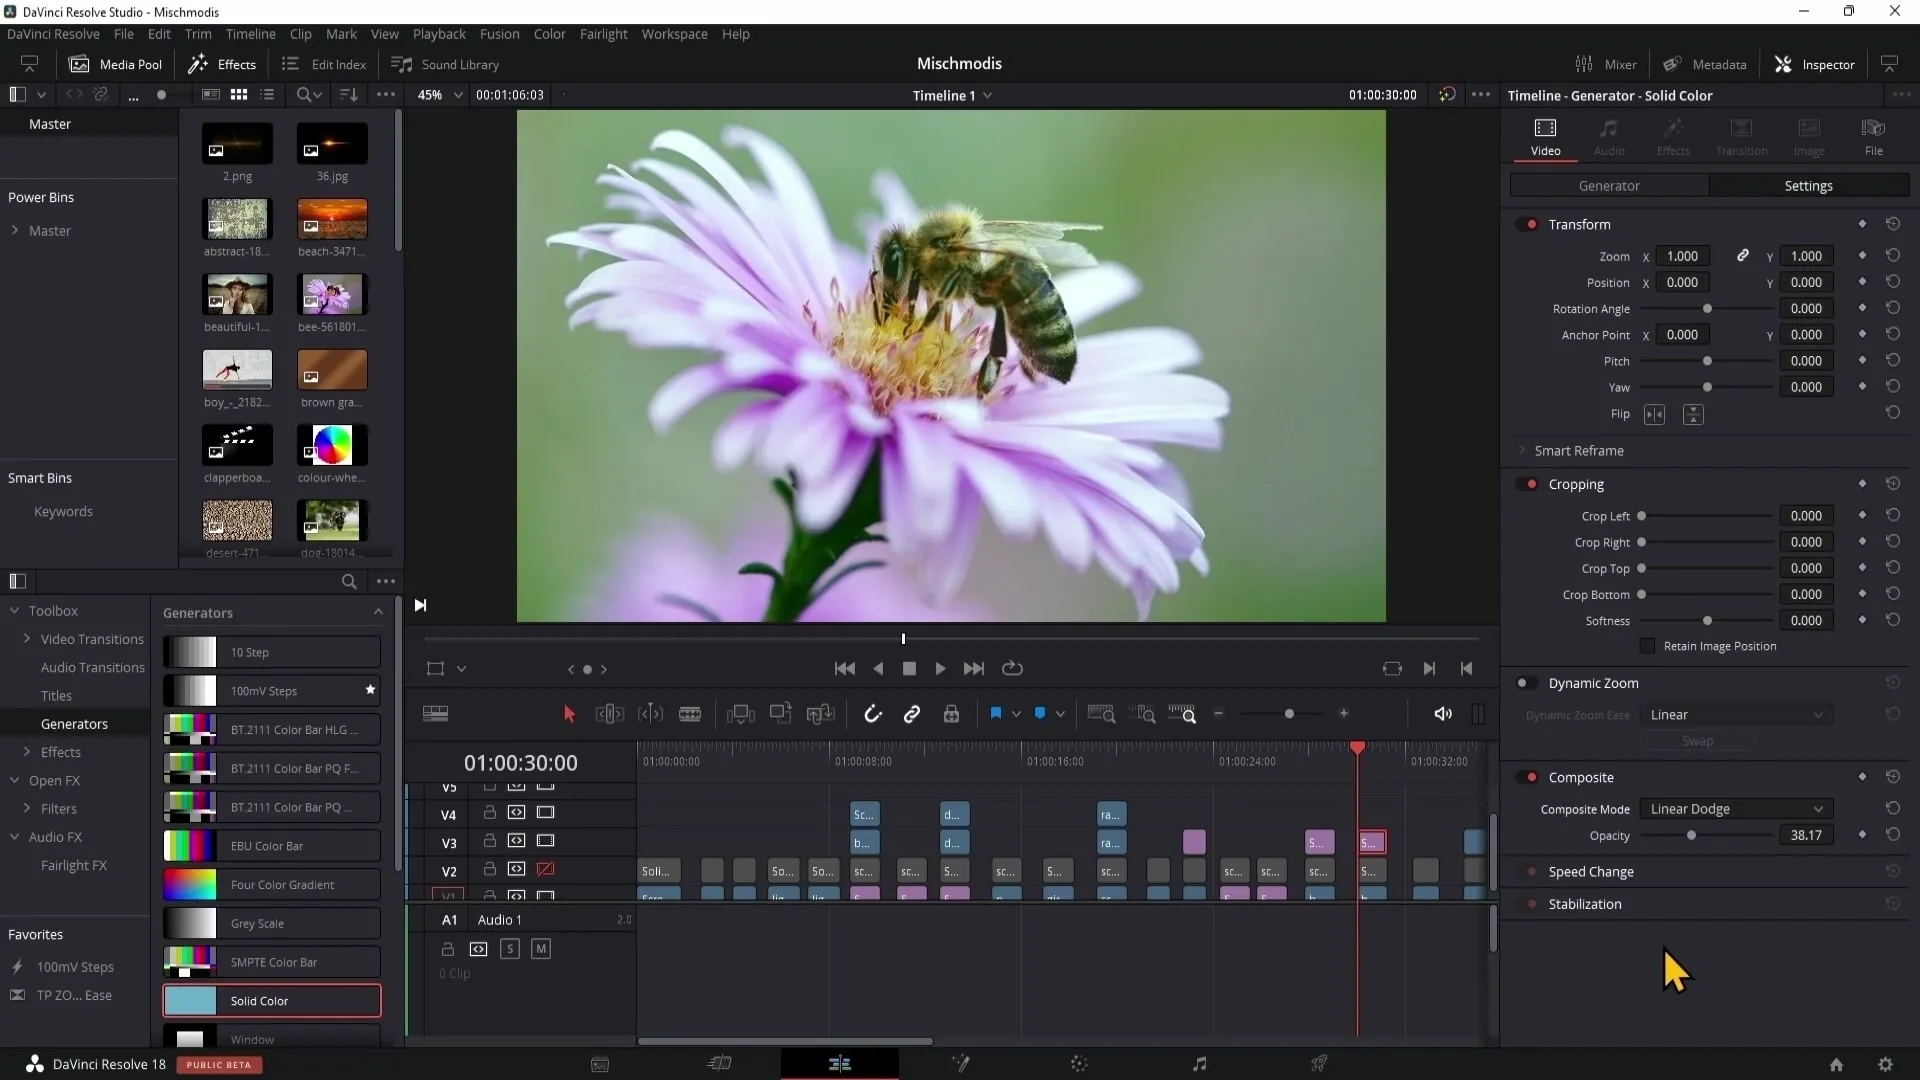
The next blending modes are "Linear Dodge" and "Linear Burn." These two are opposite and offer specific adjustments. While the Dodge mode adds some color depth, in "Linear Burn" the black areas remain unchanged.
This means that the Dodge mode affects color depth and deepens images by adding color to dark areas. Depending on the background, this can have a significant impact on the overall image.
Linear Light
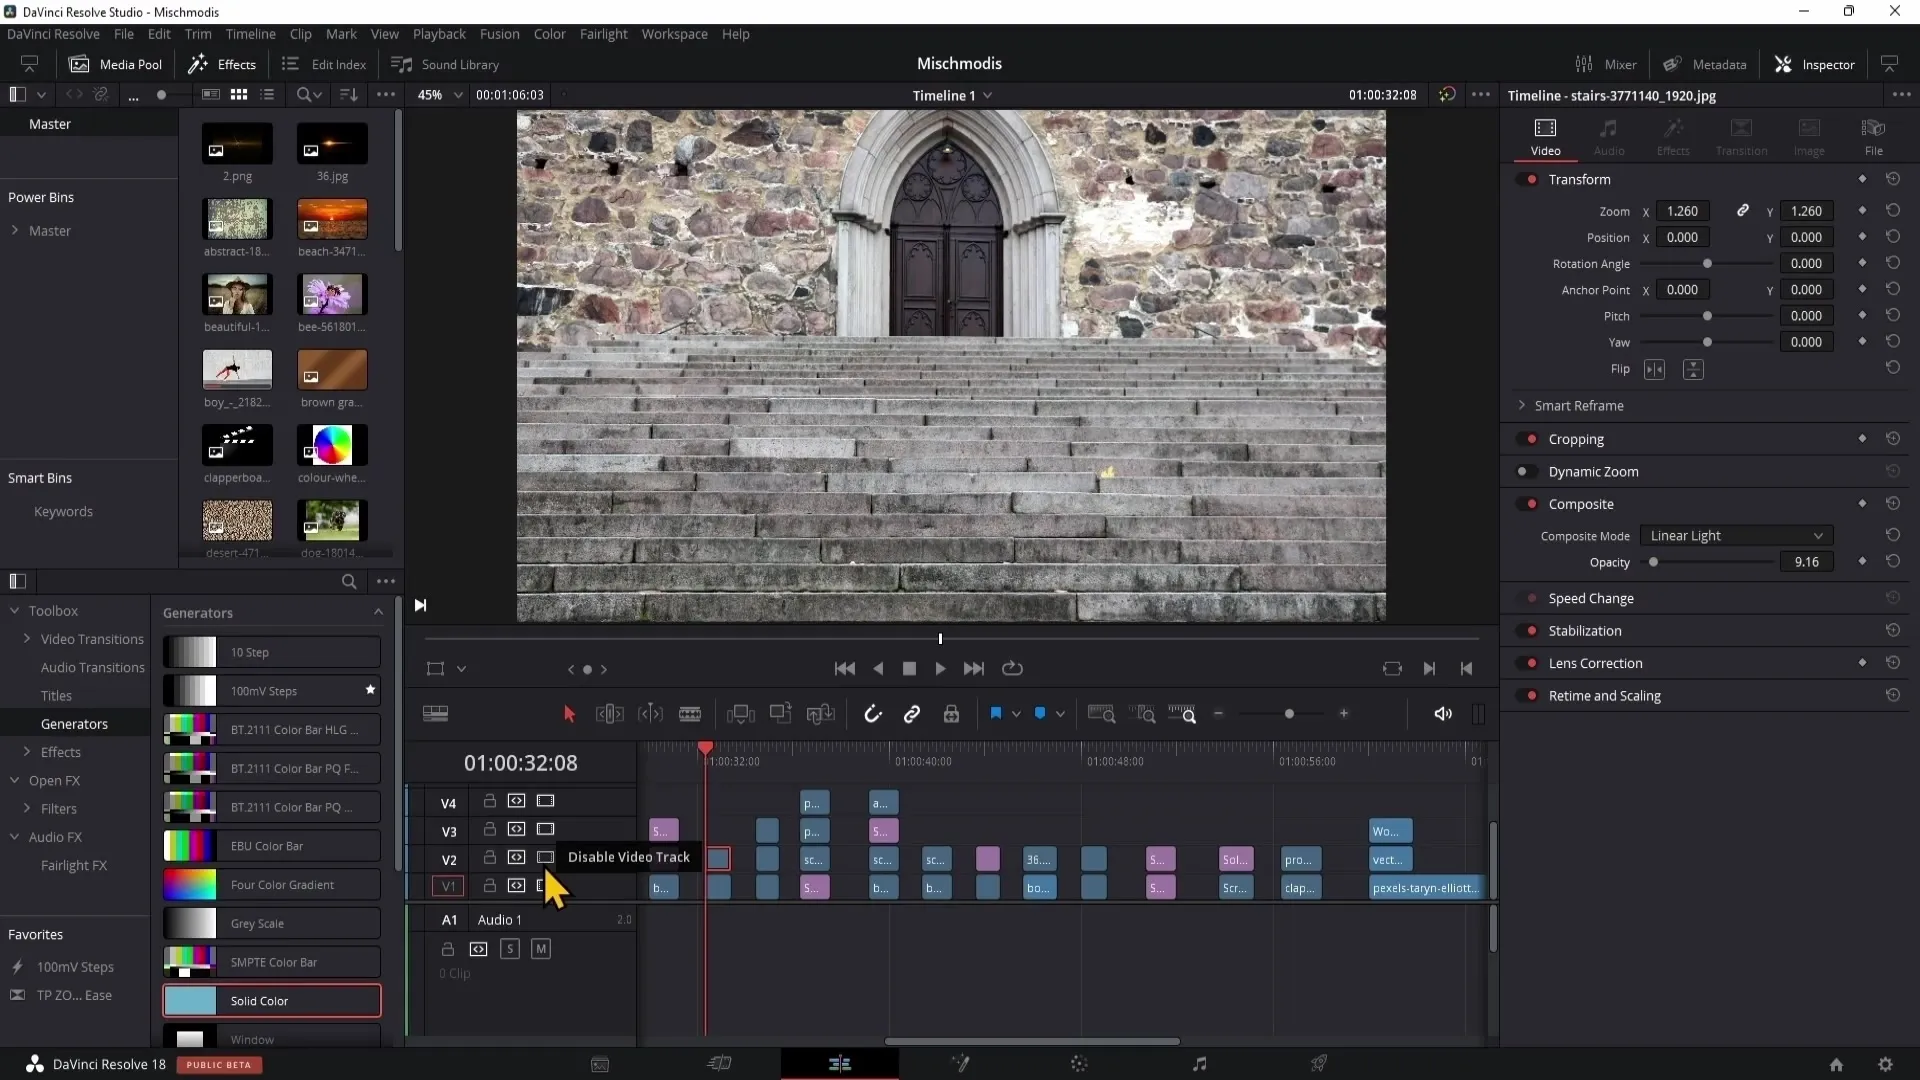
The blending mode "Linear Light" creates an extremely high-contrast display. This can be used to create dramatic and striking effects, which is why this mode is often used, especially for enhancing high-resolution images.
By adjusting the opacity downwards, you can achieve a balanced mix of contrast and image depth, which looks very appealing.
Luminosity
Lastly, there is the blending mode "Luminosity." This adjusts only the brightness, while the colors remain the same. This means that saturation and hue are not affected, only the brightness values of an image.
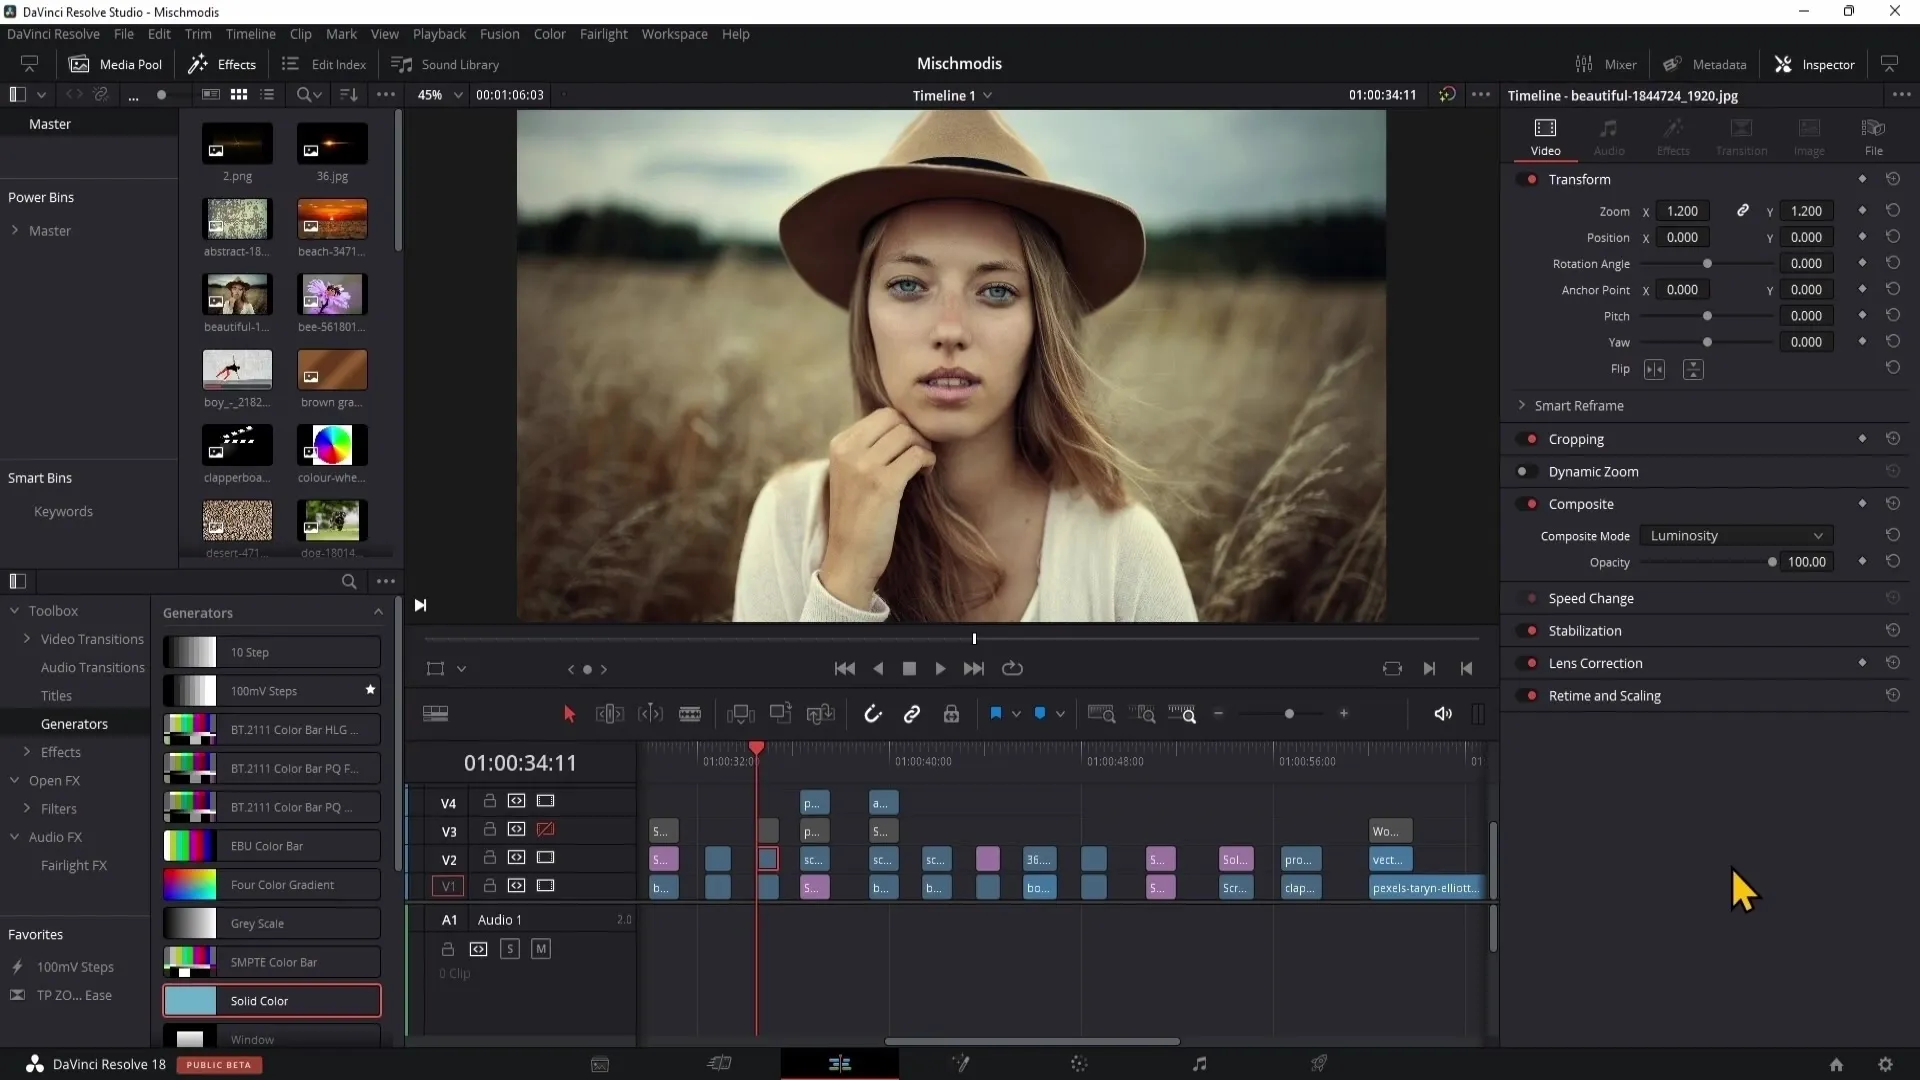
These adjustments allow you to have more detailed control over the image while maintaining the original colors.
Multiply
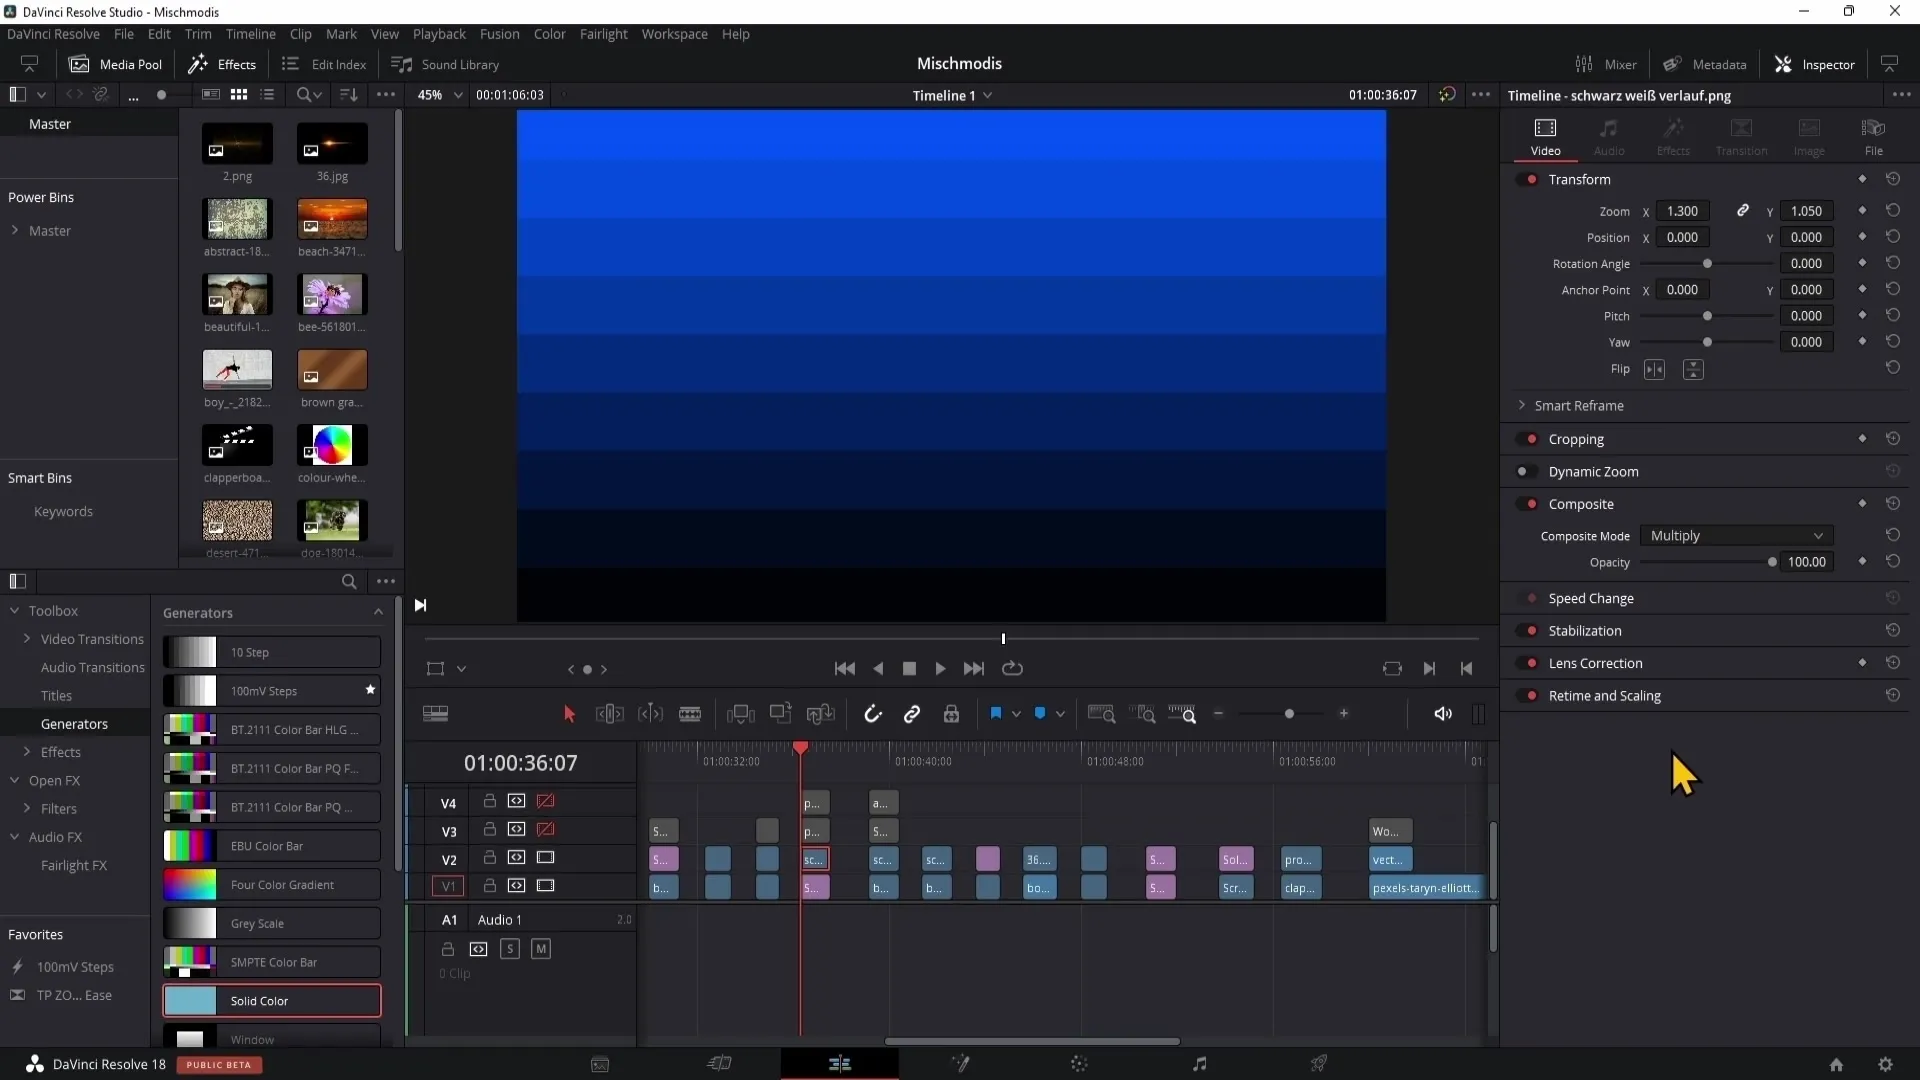
The blending mode "Multiply" is one of the most important and commonly used blending modes in image editing. With this mode, you can eliminate 100% white, meaning that the underlying color tones actually shine through.
When you apply this mode, the underlying colors become darker, giving you a lot of room for creative solutions.
Summary
In this part of the tutorial, we analyzed the different blending modes in DaVinci Resolve. Each mode has its own function and offers various creative possibilities for editing your videos and images. Understanding these blending modes allows you to apply your color corrections and effects purposefully to achieve impressive results.
FAQ
How do I use the "Exclusion" blending mode?The "Exclusion" blending mode changes the colors in an image by inverting the midtones and offers many creative possibilities.
When should I use "Hard Mix"?"Hard Mix" is ideally used for graphics where strong contrast is desired.
How does the "Multiply" blending mode work?"Multiply" eliminates 100% white and makes the colors underneath appear darker, enabling many creative effects.
What does the "Luminosity" blending mode do?"Luminosity" only adjusts the brightness of the colors, while keeping the color values the same.
Are all blending modes suitable for video?Some blending modes like "Hard Mix" are more suited for graphic design; others, such as "Multiply" or "Exclusion," work excellently for video editing.


