In this tutorial, we delve deeply into the different blend modes (Composite Modes) in DaVinci Resolve, one of the most powerful software solutions for video and color correction. Blend modes allow you to control how layers interact with each other. In this third part of our tutorial, we focus on a detailed analysis of the key blend modes and their application to maximize the potential of your projects.
Main Insights
- Blend modes alter the interaction between different layers and give your videos creative effects.
- The difference between various blend modes, such as Overlay, Pinlight, and Soft Light, is crucial for the resulting image qualities.
- The correct application of blend modes can significantly enhance the contrast, saturation, and aesthetic appeal of your visuals.
Step-by-Step Guide
Overlay
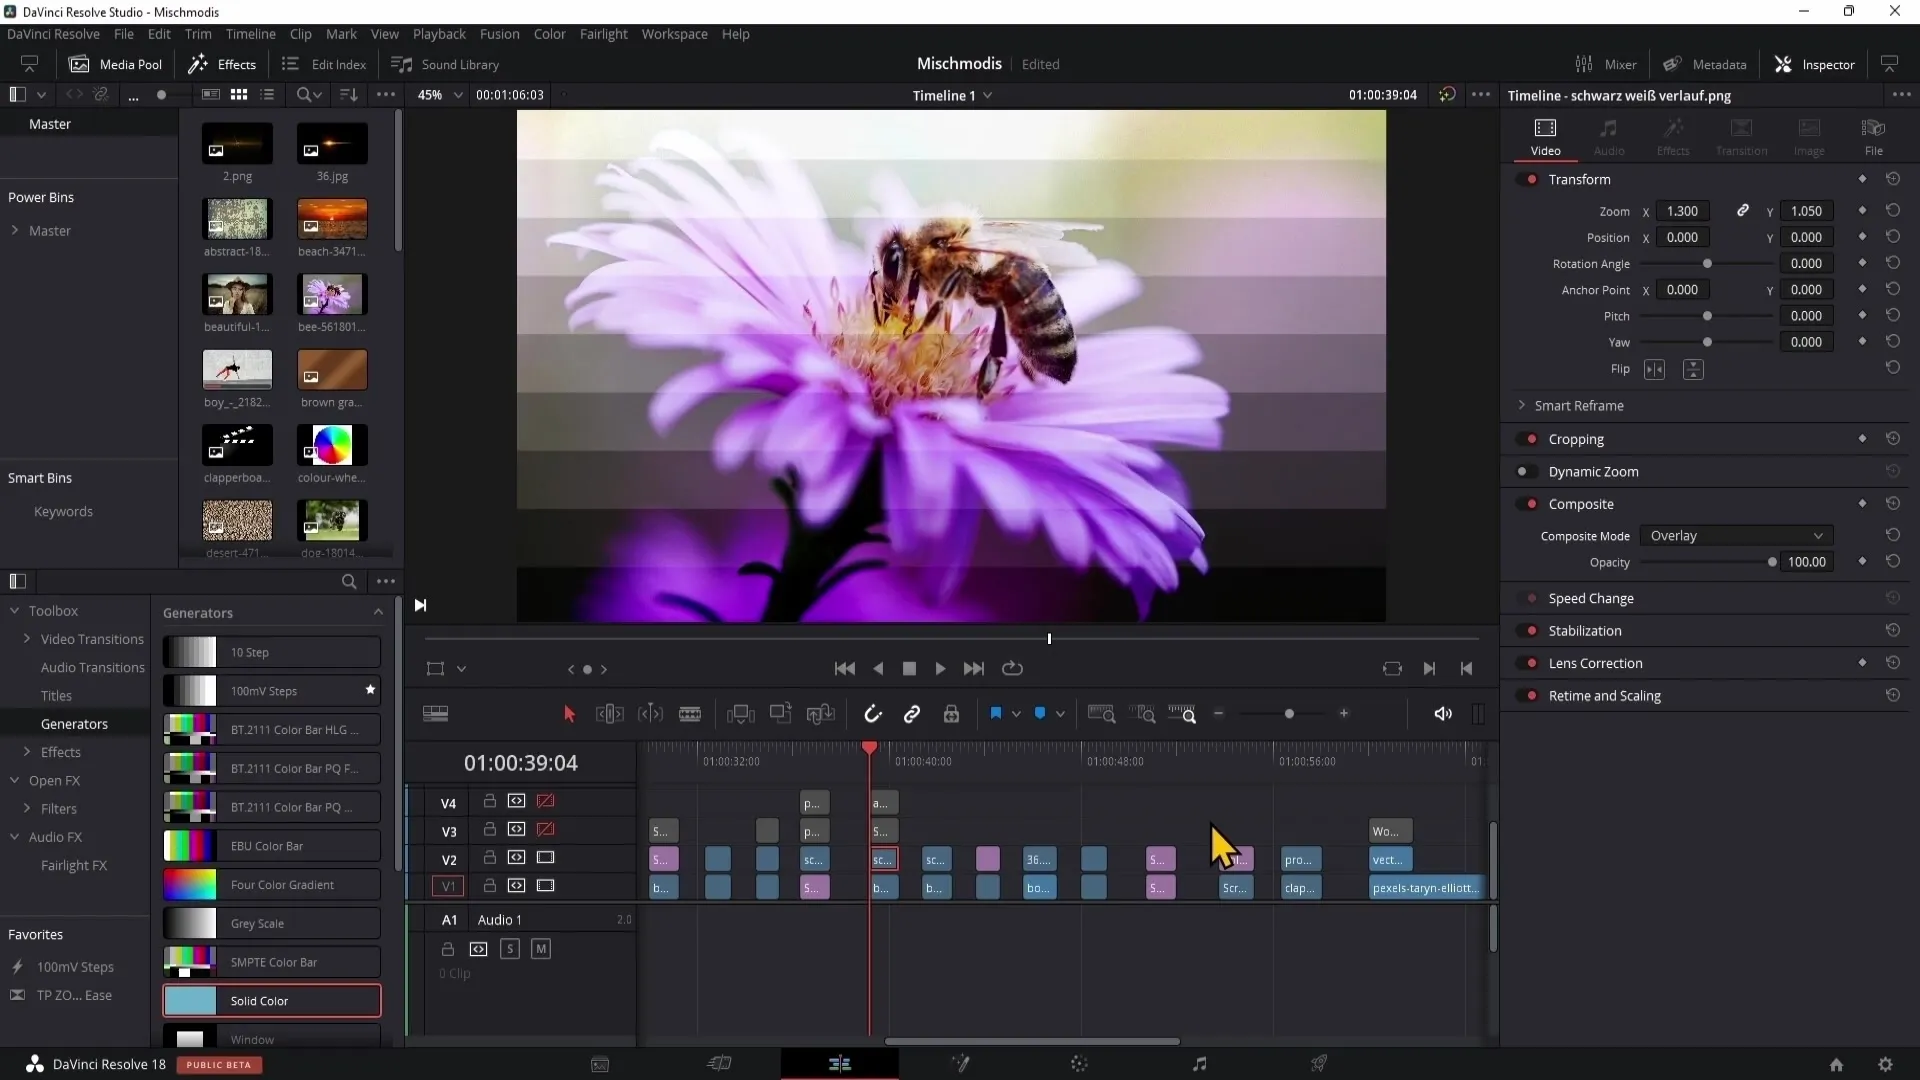
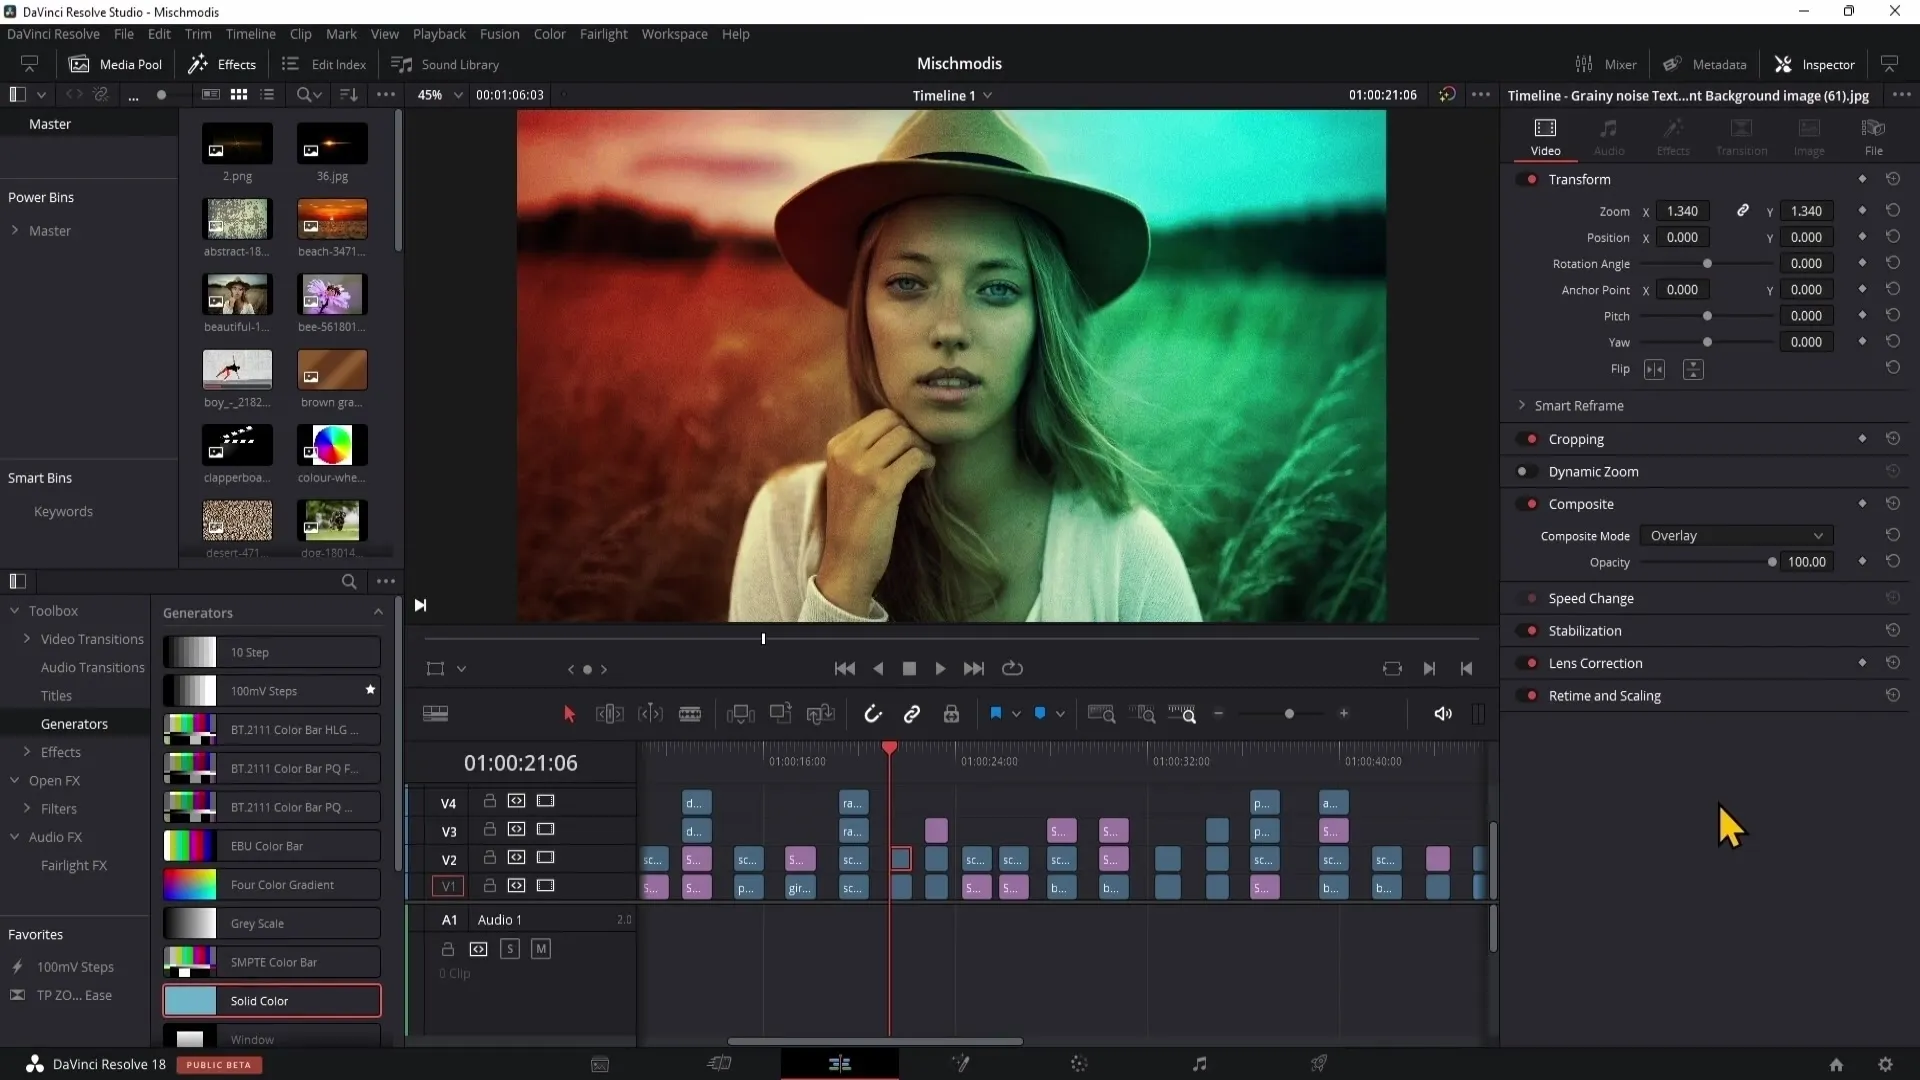
First, let's look at the "Overlay" blend mode. This blend mode functions similarly to "Hard Light," but the key difference is that the contrast does not fade. "Overlay" highlights everything brighter than 50% gray and darkens everything that is darker, while 50% gray is completely hidden.
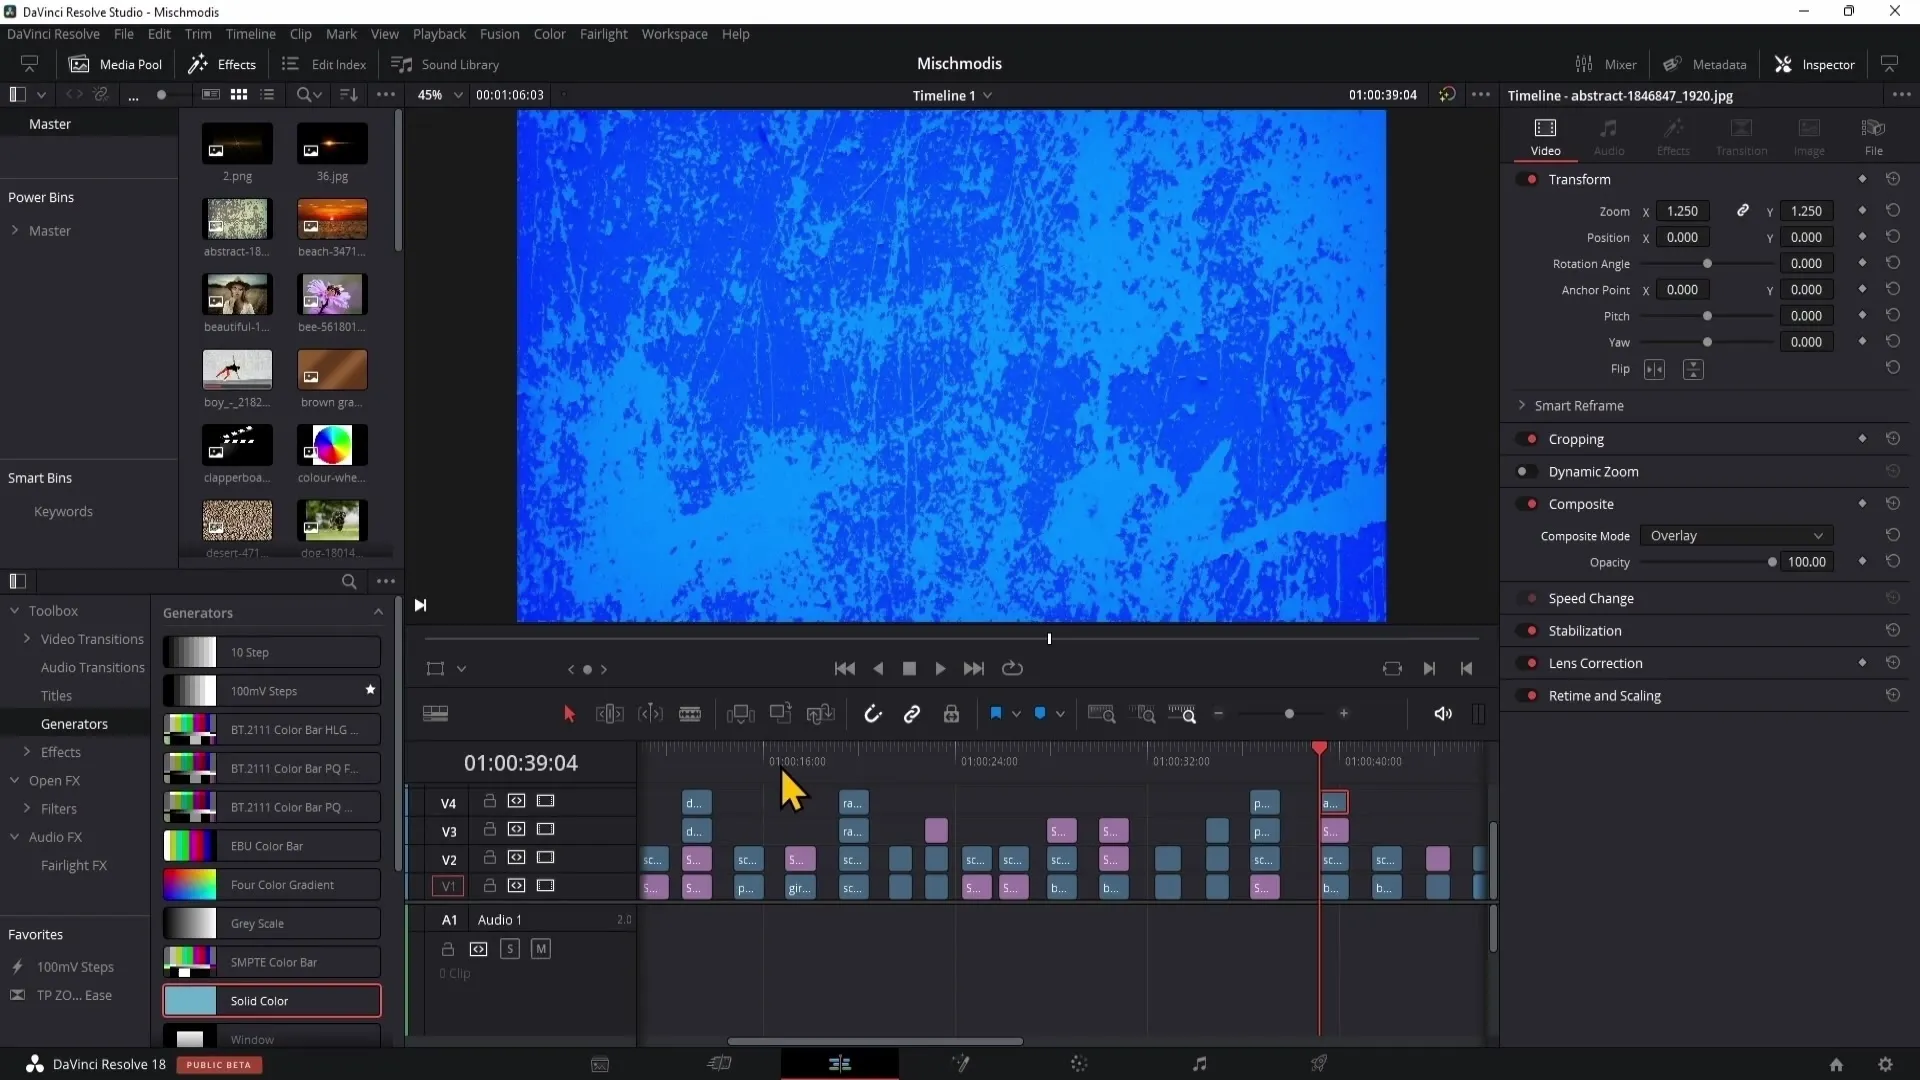
To apply the Overlay mode, select the respective layer and set it to "Overlay." Let's consider an example now. If you have a texture you want to apply to a blue background, go to the blend modes and set your layer to Overlay.
You can see how this texture blends perfectly with the background, creating the desired contrast. In comparison to the "Hard Light" blend mode, the contrast here is much stronger and less faded.
Pinlight
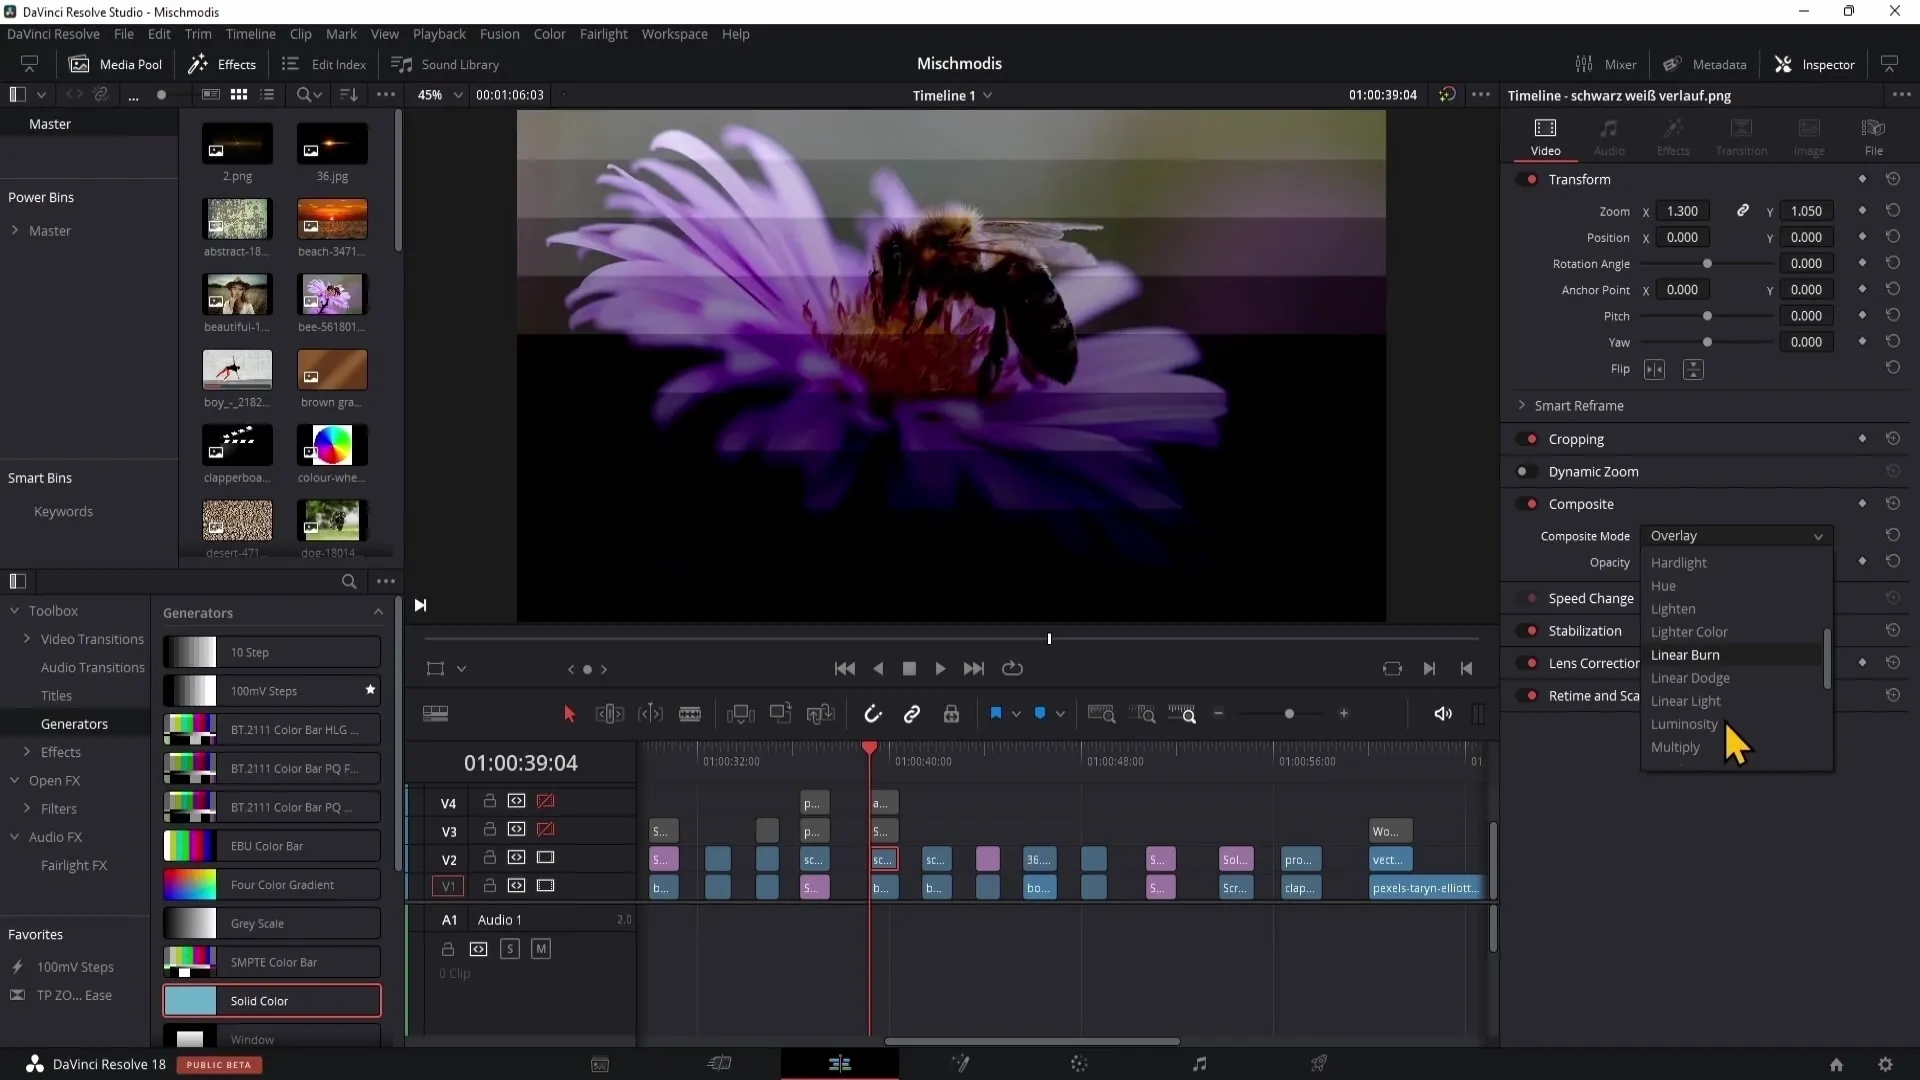
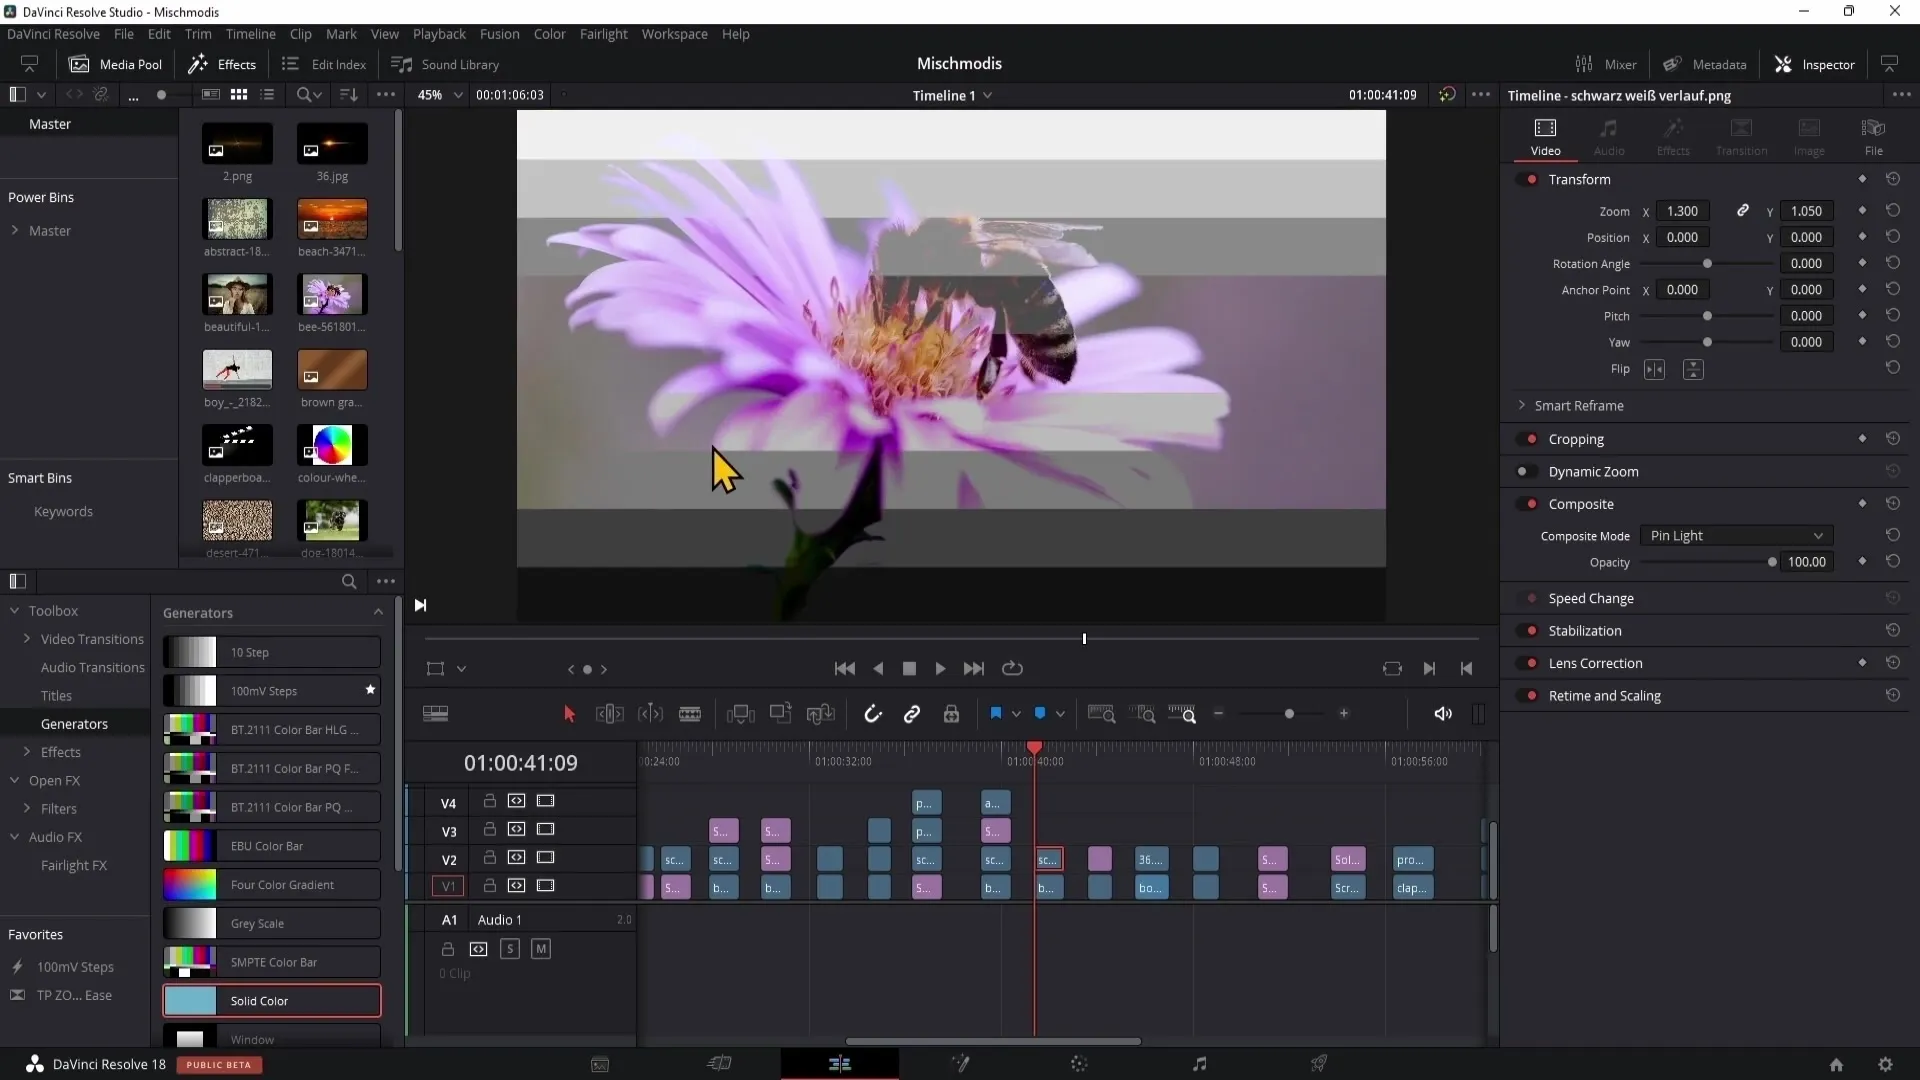
The next blend mode we will look at is "Pinlight" or Point Light. It is a combination of the blend modes "Lighten" and "Darken." The brighter the top layer is, the brighter it becomes, and the darker it is, the darker it becomes.
Although I personally rarely use this blend mode, it is important to know it as it can be useful in certain situations. You can activate Pinlight and see how it affects the existing colors of the image.
Saturation
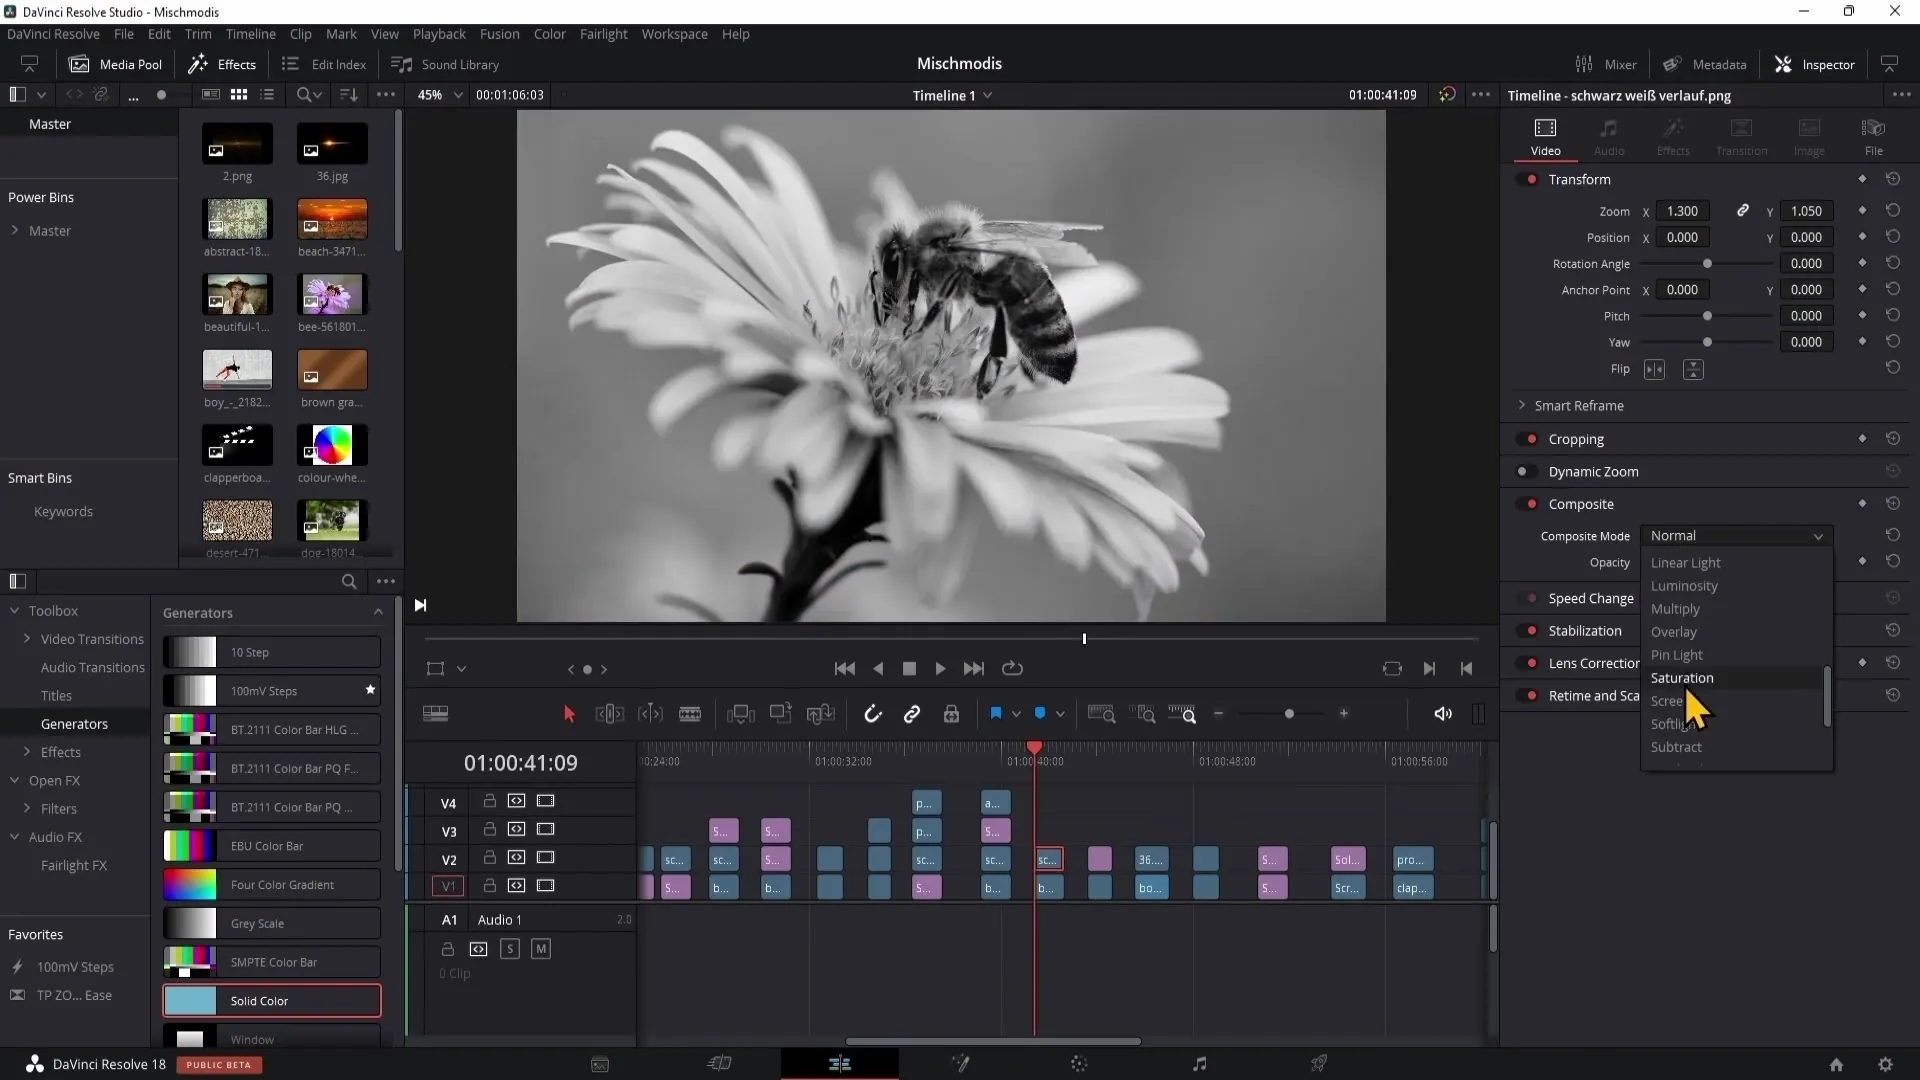
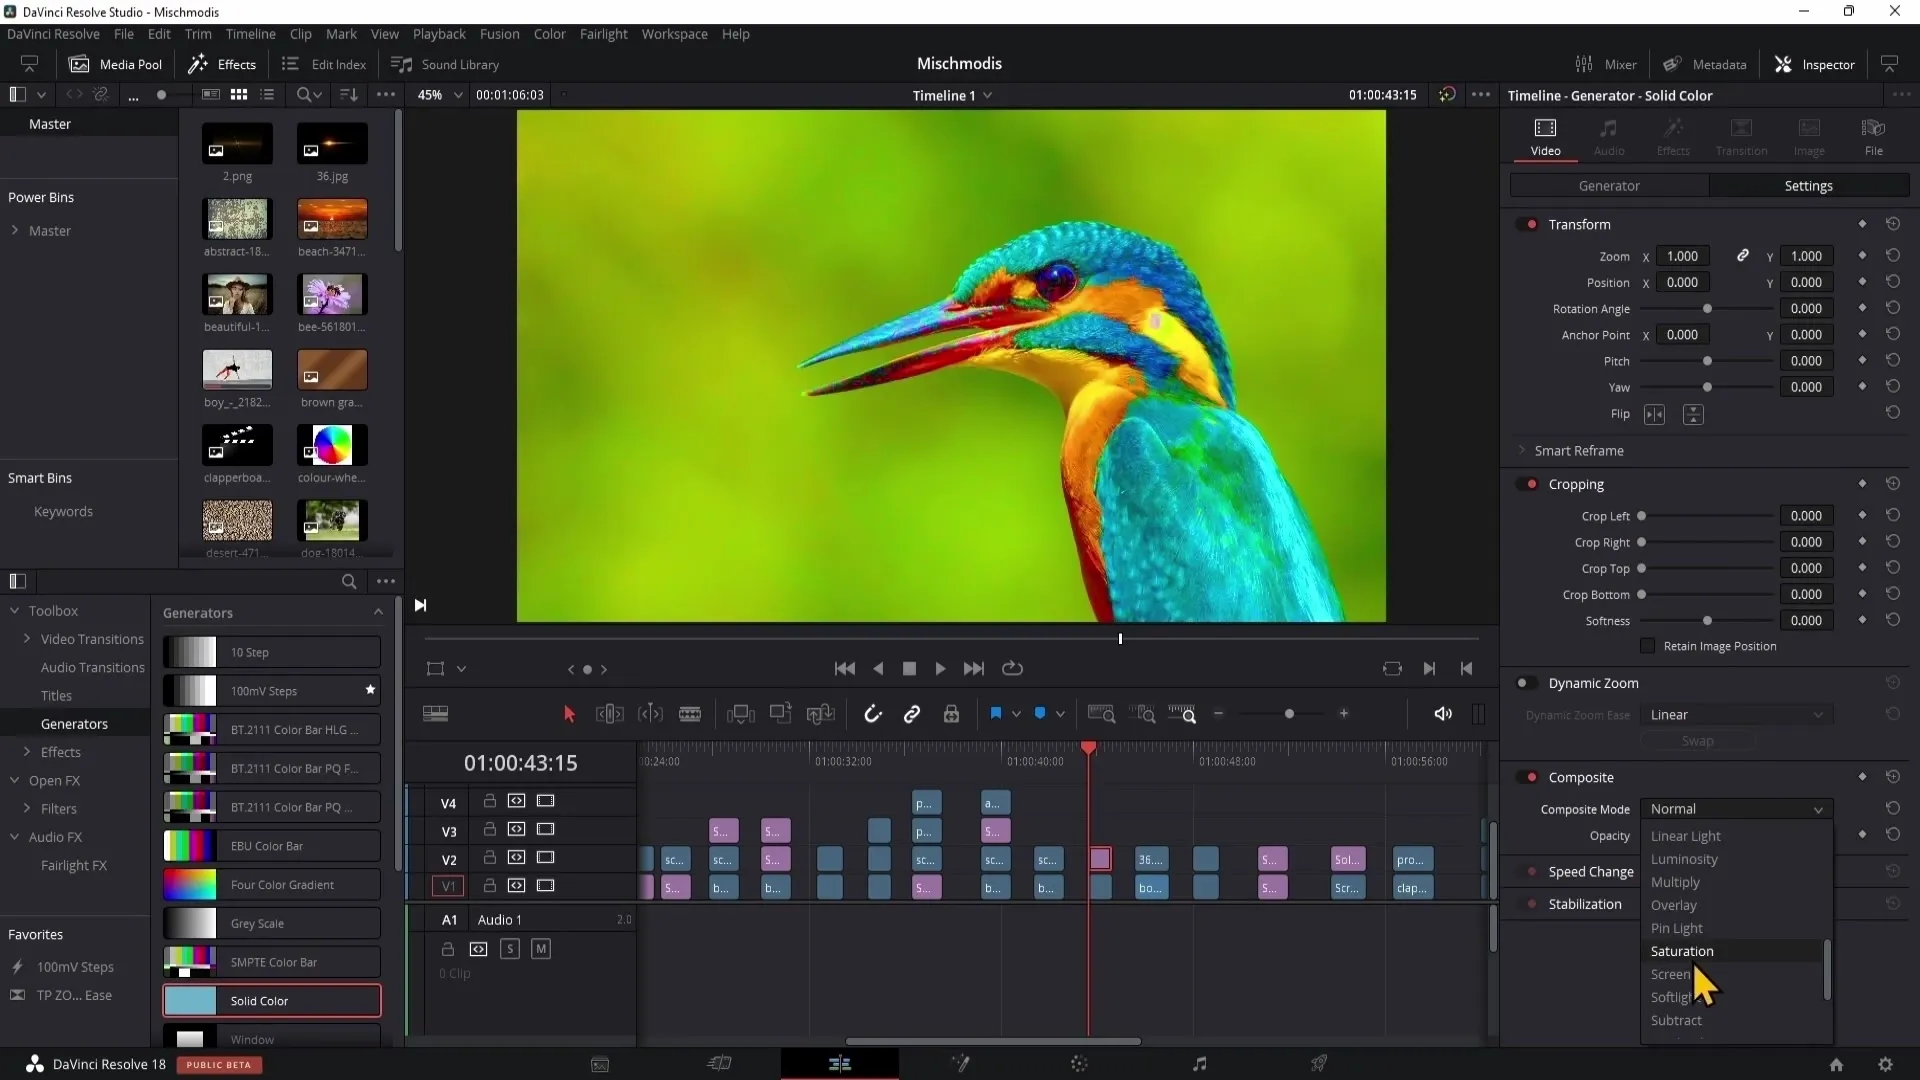
Let's now talk about Saturation. This blend mode allows you to adjust the color intensity of the image while keeping color and brightness the same. By increasing saturation, you can achieve a more vivid representation of your colors.
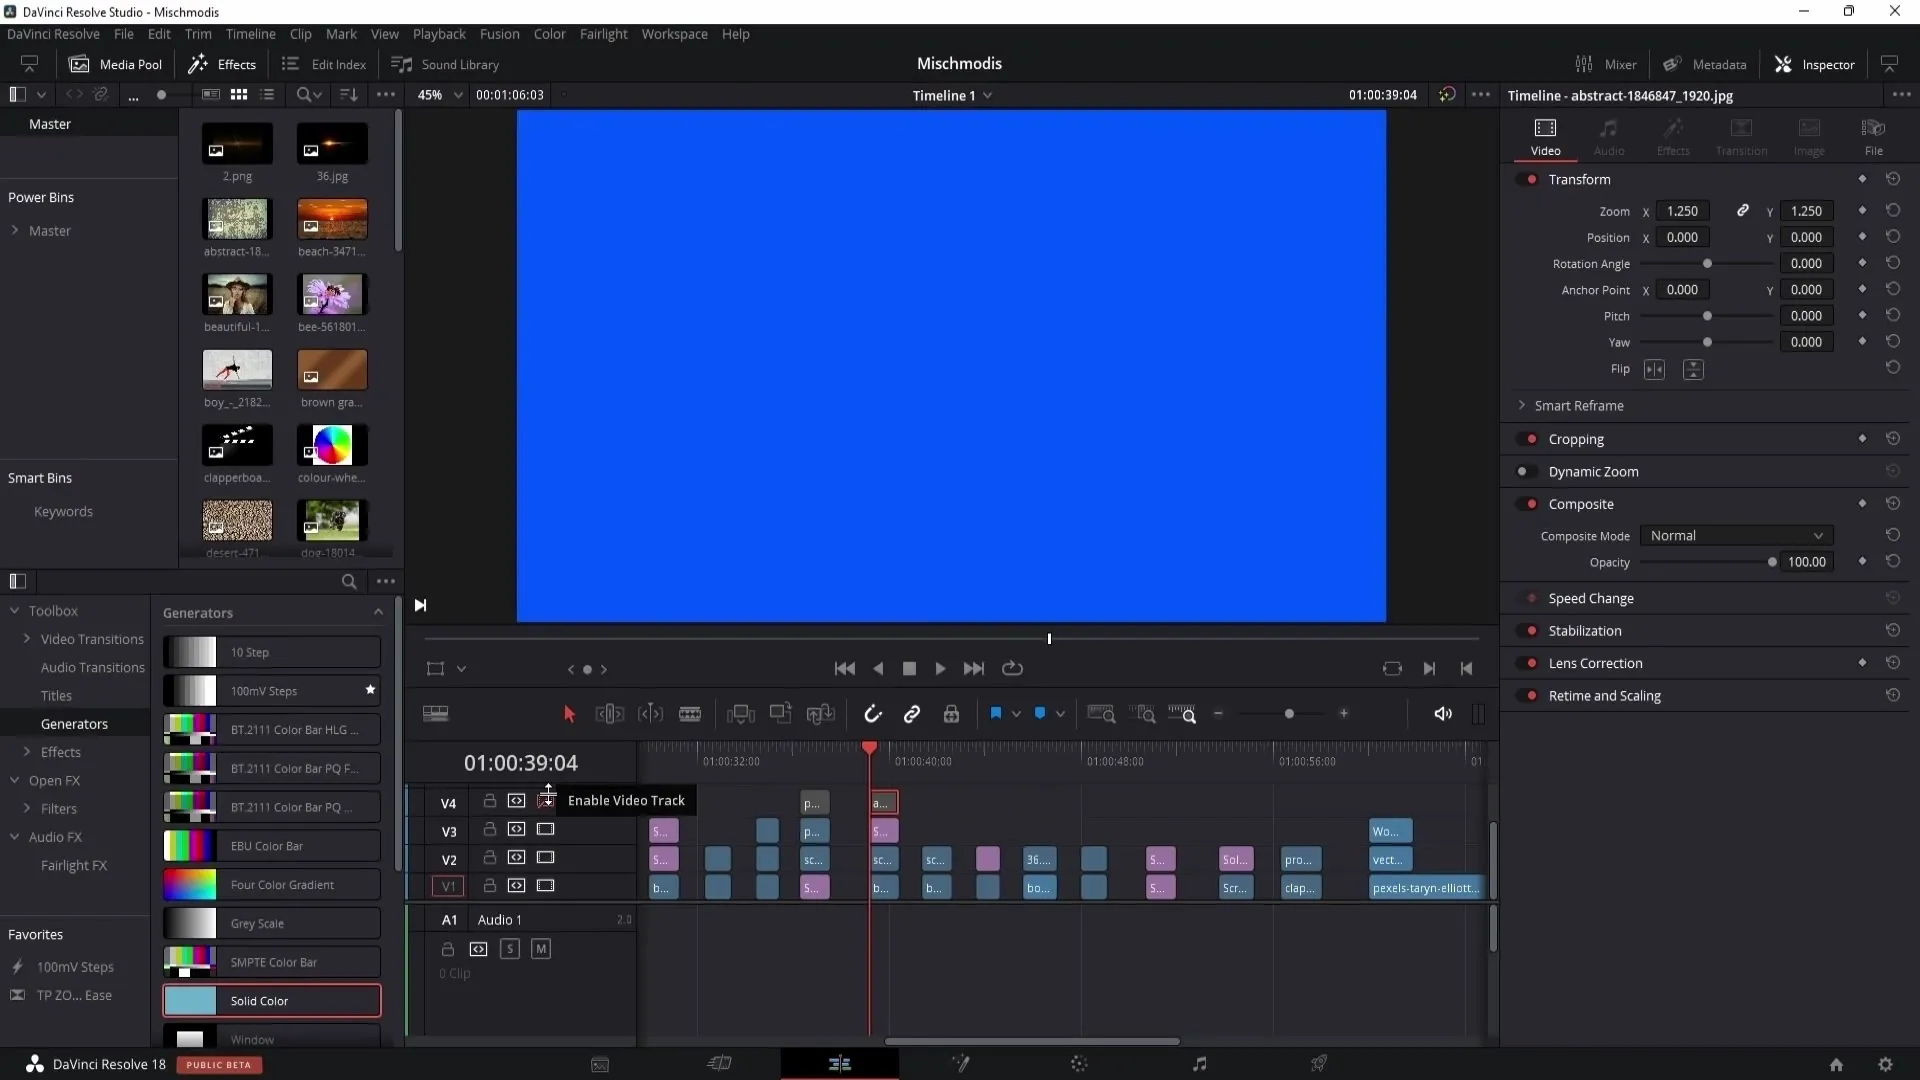
If you find it getting a bit too extreme, you can adjust the opacity to achieve a smoother effect. This way, you have more control over the intensity of colors in your image.
Screen
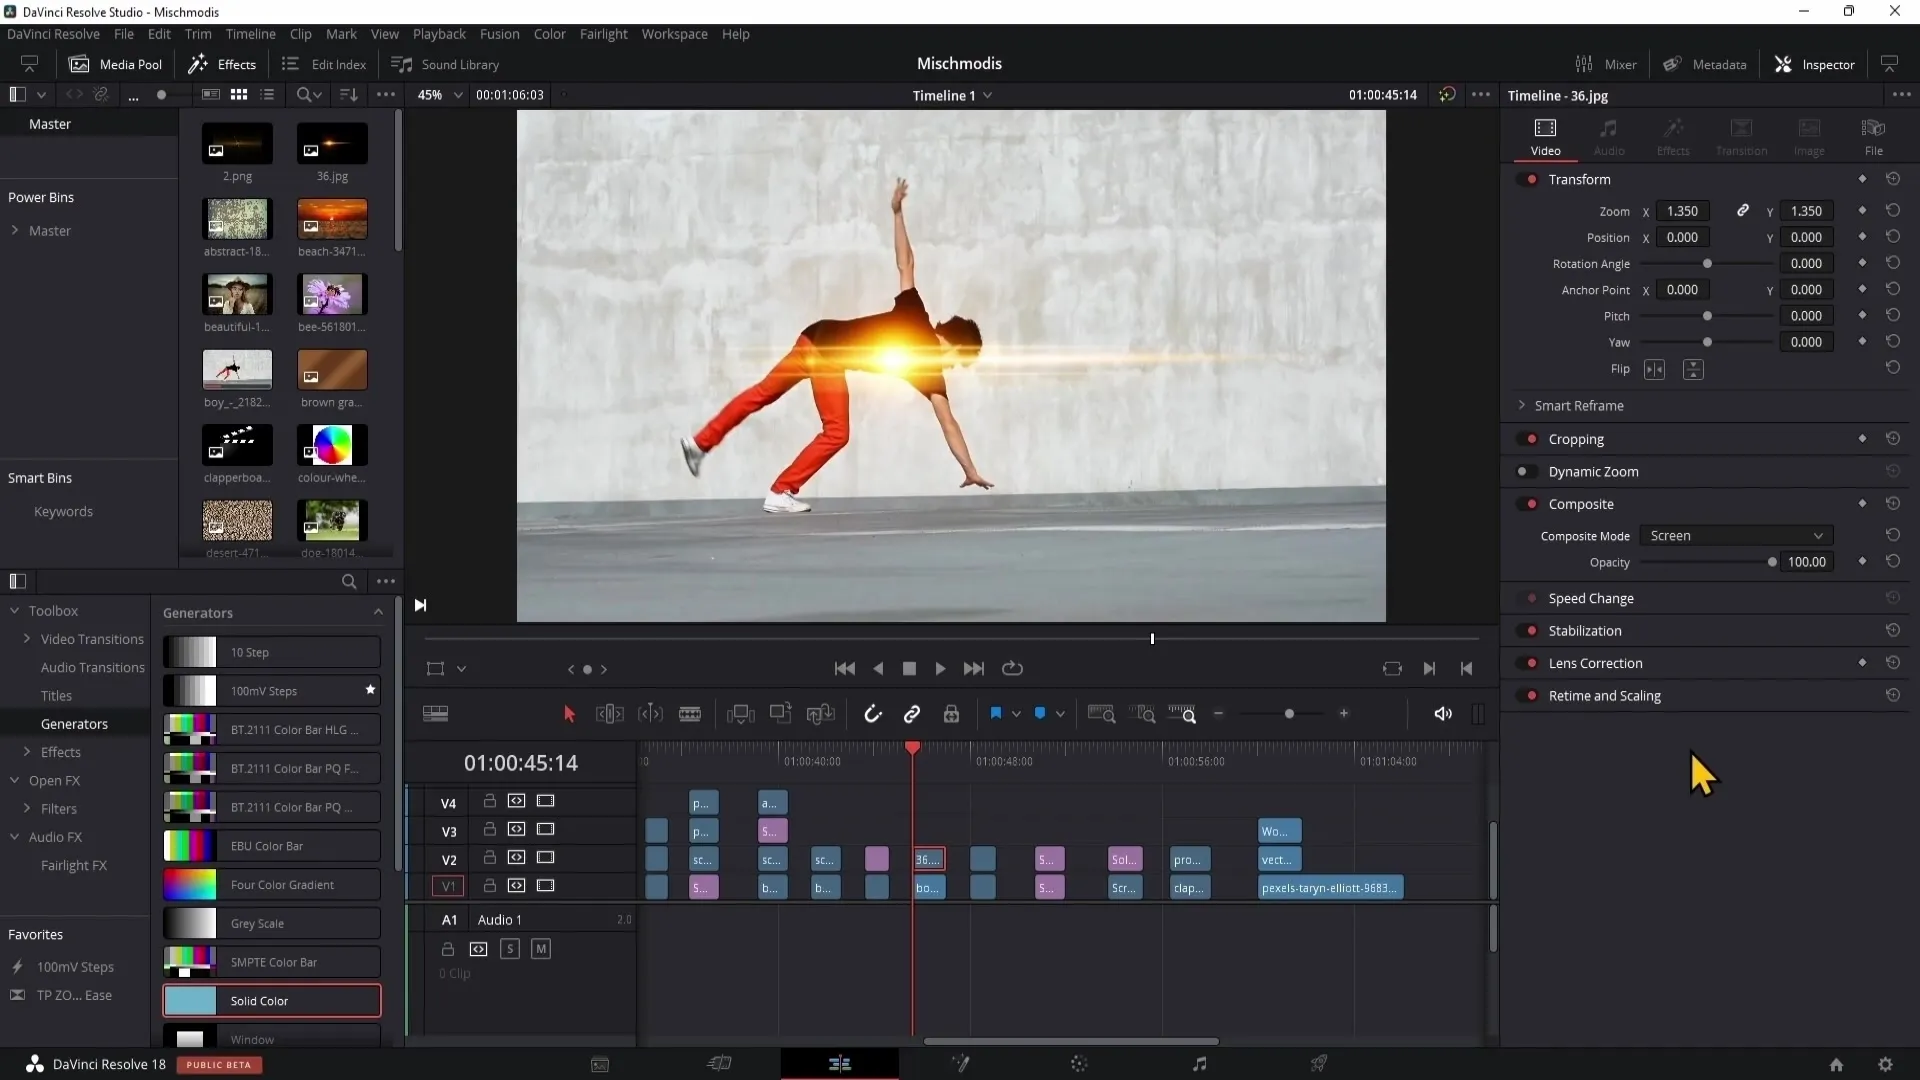
The "Screen" mode is the opposite of "Multiply." While "Multiply" darkens the light parts of the image, "Screen" eliminates everything with 100% black and highlights the colors. This is ideal for overlays like snow or rain.
You can see how the black background of our texture is completely removed, and only the light reflections remain visible.
Soft Light
The "Soft Light" blend mode is a gentle version of "Overlay." The contrast is less pronounced, barely noticeable, but still present. It creates a softer and more pleasant look.
When you switch from "Soft Light" back to "Overlay," you can immediately see the distinct difference in intensity and contrast between these two modes.
Subtract
Next, we have the blending mode "Subtract". Here, the color information of the upper layer is subtracted from the lower layer. When working with these values, make sure that negative results are set to 0.
To achieve this effect, note down the RGB values and subtract the lower from the upper. If you encounter negative numbers, set them to 0.
Vivid Light
"Vivid Light" is another interesting blending mode that recolors bright and dark tones without changing 100% black or white. This leads to vibrant and dynamic graphics that can be appealing in many projects.
Foreground and Alpha
Now we move on to the blending modes "Foreground" and "Alpha". "Foreground" brings a layer to the foreground, while "Alpha" is used to make parts of a layer transparent.
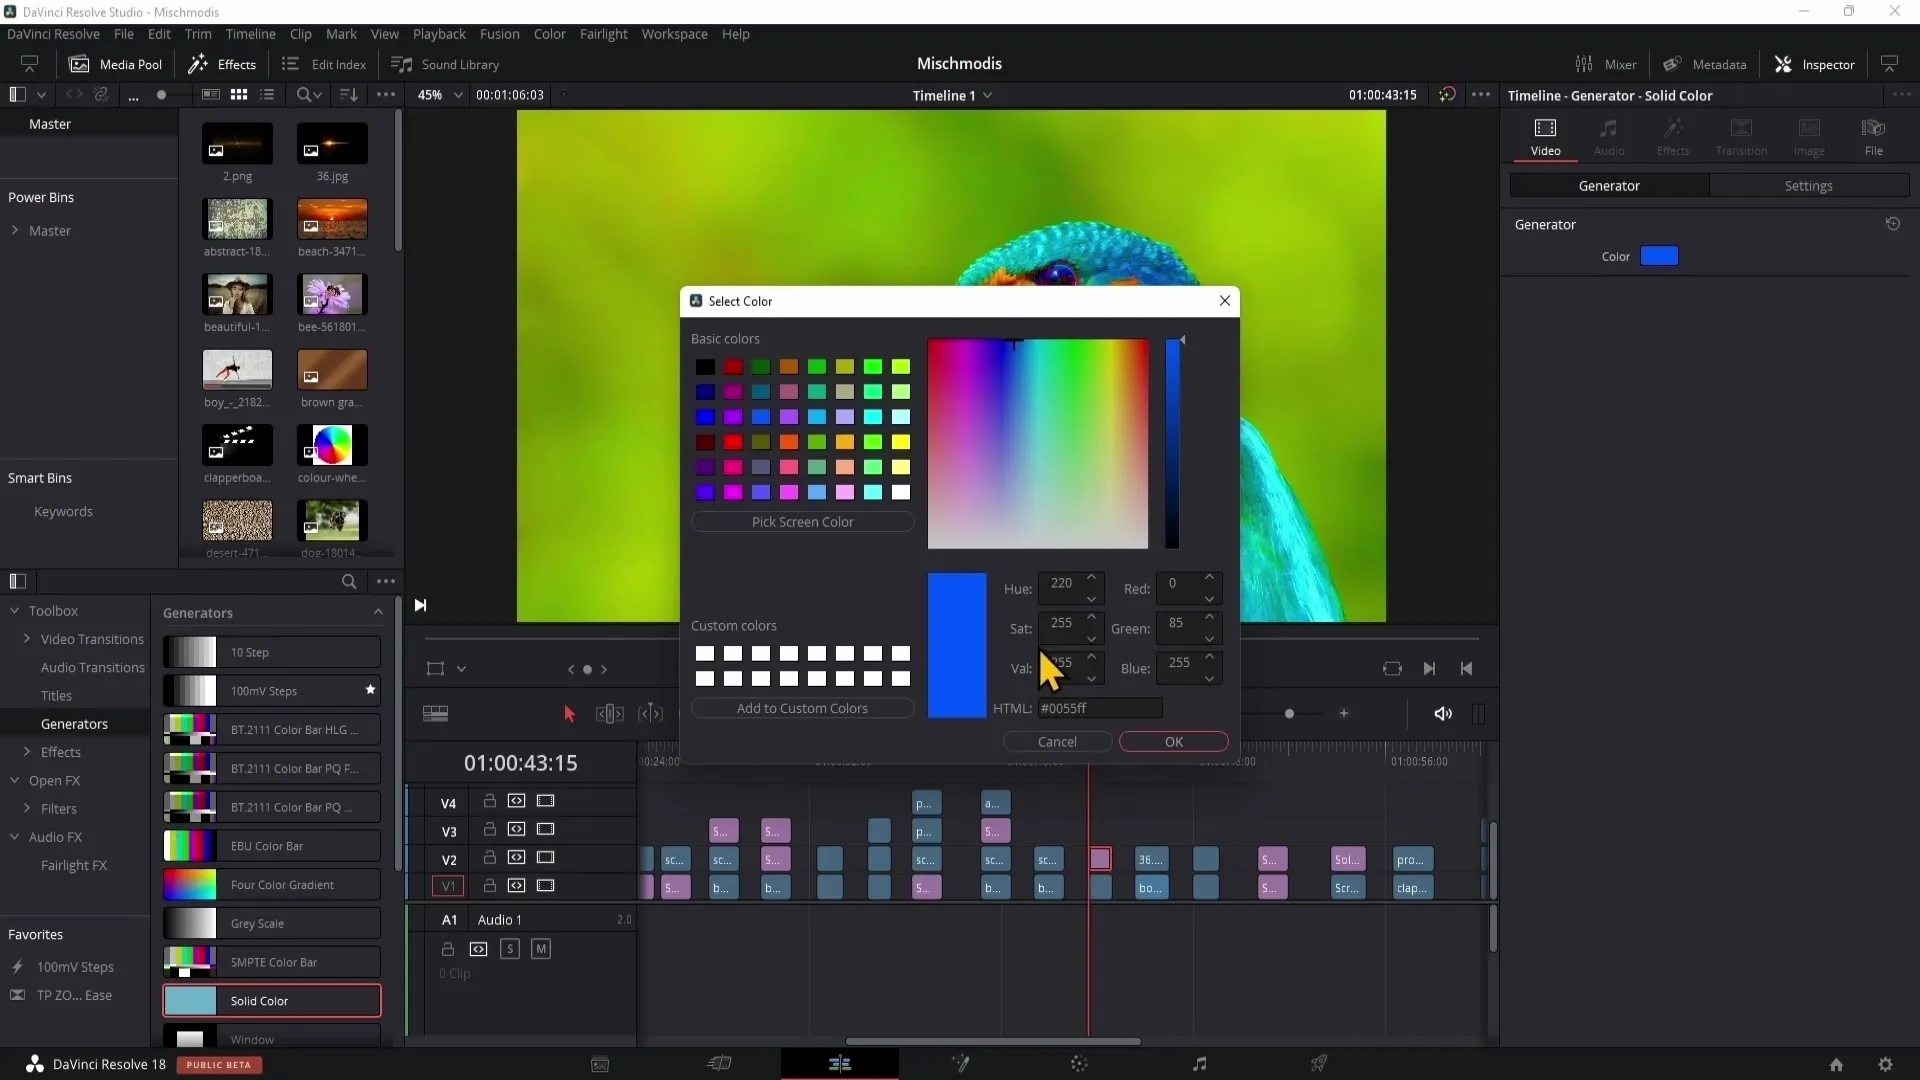
You can combine these modes to, for example, overlay a video on top of a logo or image, thus achieving interesting visual effects.
Lum and Inverted Lum
Lastly, we explore the blending modes "Lum" and "Inverted Lum". "Lum" uses luminance to create transitions, while "Inverted Lum" reverses them.
Switching between these two modes can generate dynamic transitions in your videos that are visually appealing.
Summary
In this tutorial, you learned how to apply the various blending modes in DaVinci Resolve to achieve creative effects. You now understand the importance of blending modes in improving the quality of your videos, whether through changing colors, contrasts, or different effect layers. Experiment with the different modes to find the style that suits your project.
Frequently Asked Questions
What are blending modes in DaVinci Resolve?Blending modes determine how layers interact with each other to create visual effects.
How can I apply the overlay mode?Select the layer and set the blending mode to "Overlay".
What does the Pinlight blending mode do?The Pinlight blending mode affects both bright and dark areas of the lower layer and subtracts them.
Why should I use the Saturation mode?The Saturation mode allows you to adjust the intensity of colors in your image without affecting brightness or hue.
What is the difference between Lum and Inverted Lum?"Lum" works with luminance, while "Inverted Lum" reverses the luminance to create different transitions.


