When working with DaVinci Resolve, it is essential to regularly create backups of your data. The loss of important files can have catastrophic consequences for your projects, especially when working on larger video edits. In this guide, I will show you step by step how to create a backup of your files using the integrated Clone Tool in DaVinci Resolve.
Main Takeaways
- Backups are important to prevent the loss of important data.
- The Clone Tool in DaVinci Resolve allows you to easily and quickly create a backup.
- Adjust the source and destination directories for your backup according to your folder structure.
Step-by-Step Guide
First, you need to open DaVinci Resolve and switch to the Media Page. This is typically done by clicking on the Media symbol in the lower left corner of the user interface.
Once you are on the Media Page, you will see the window for the Clone Tool on the left side. Click on it to activate the tool.
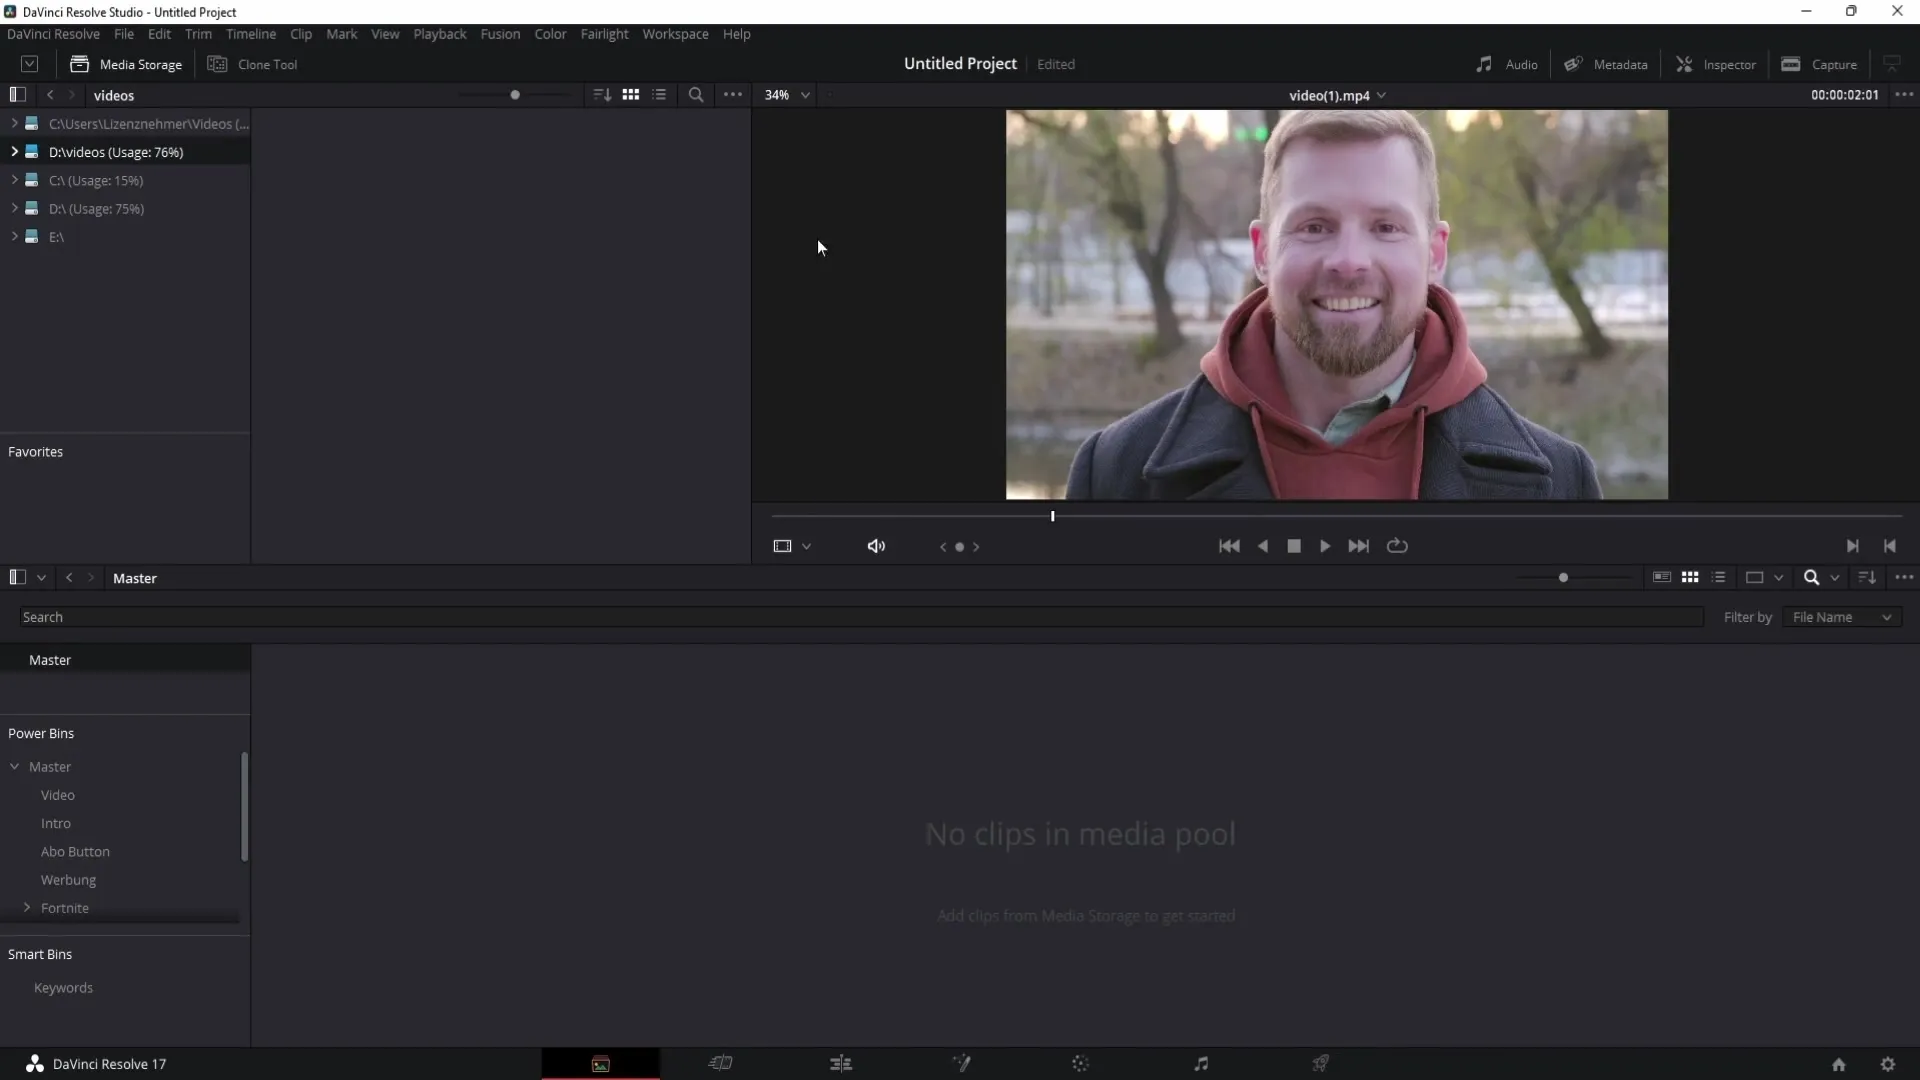
Once the Clone Tool is open, you have the option to add a new job. Click on the "Add Job" button to configure your backup settings.
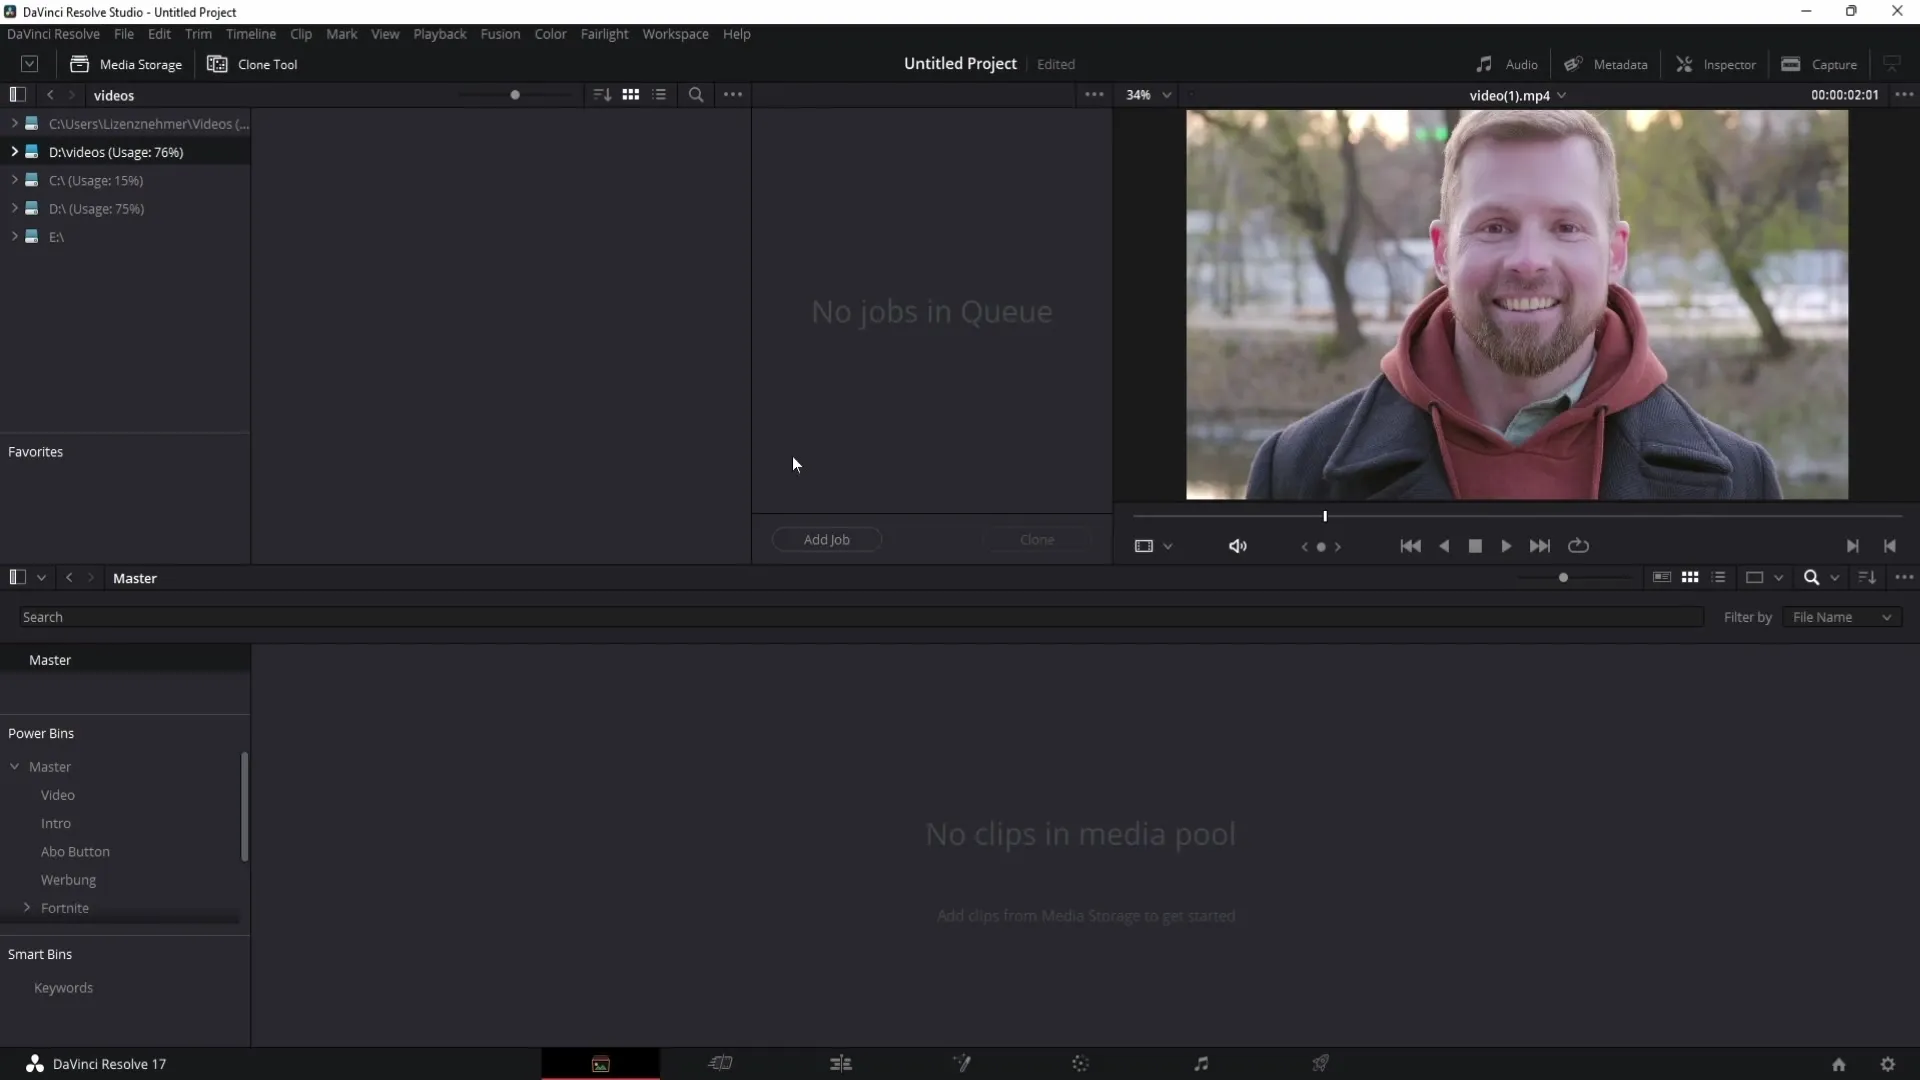
In the next step, you will choose the location of your source. This is where the files you want to back up are located. Simply drag the desired folder with the original data into the Source field.
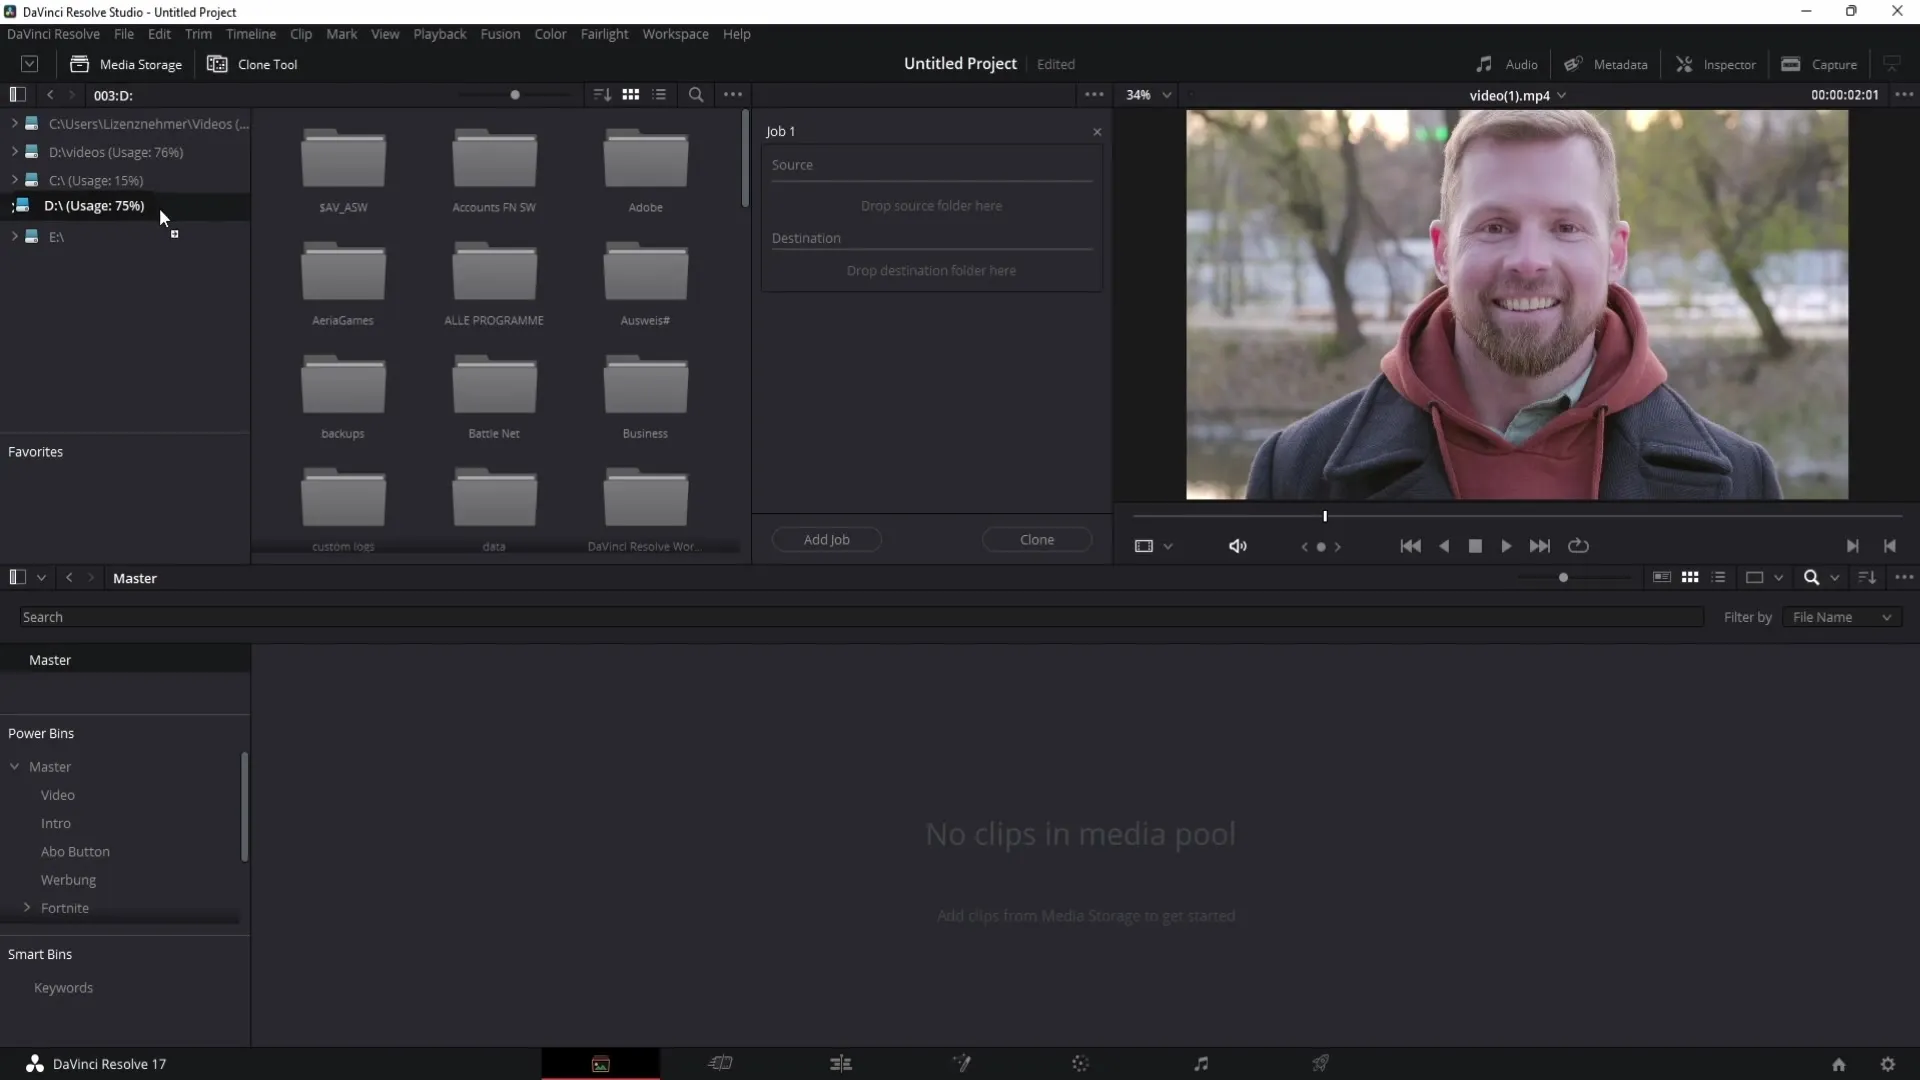
Now it's about selecting the destination. Here you will specify where the backup should be saved. Again, drag the target folders into the corresponding field.
A good example would be if you select the subfolders "Photos" and "Videos" in the "Business" folder. These are the files you want to back up for quick access in your project.
Remember that the loss of original data can be a huge problem. Especially for larger projects, it makes sense to always have a backup copy available.
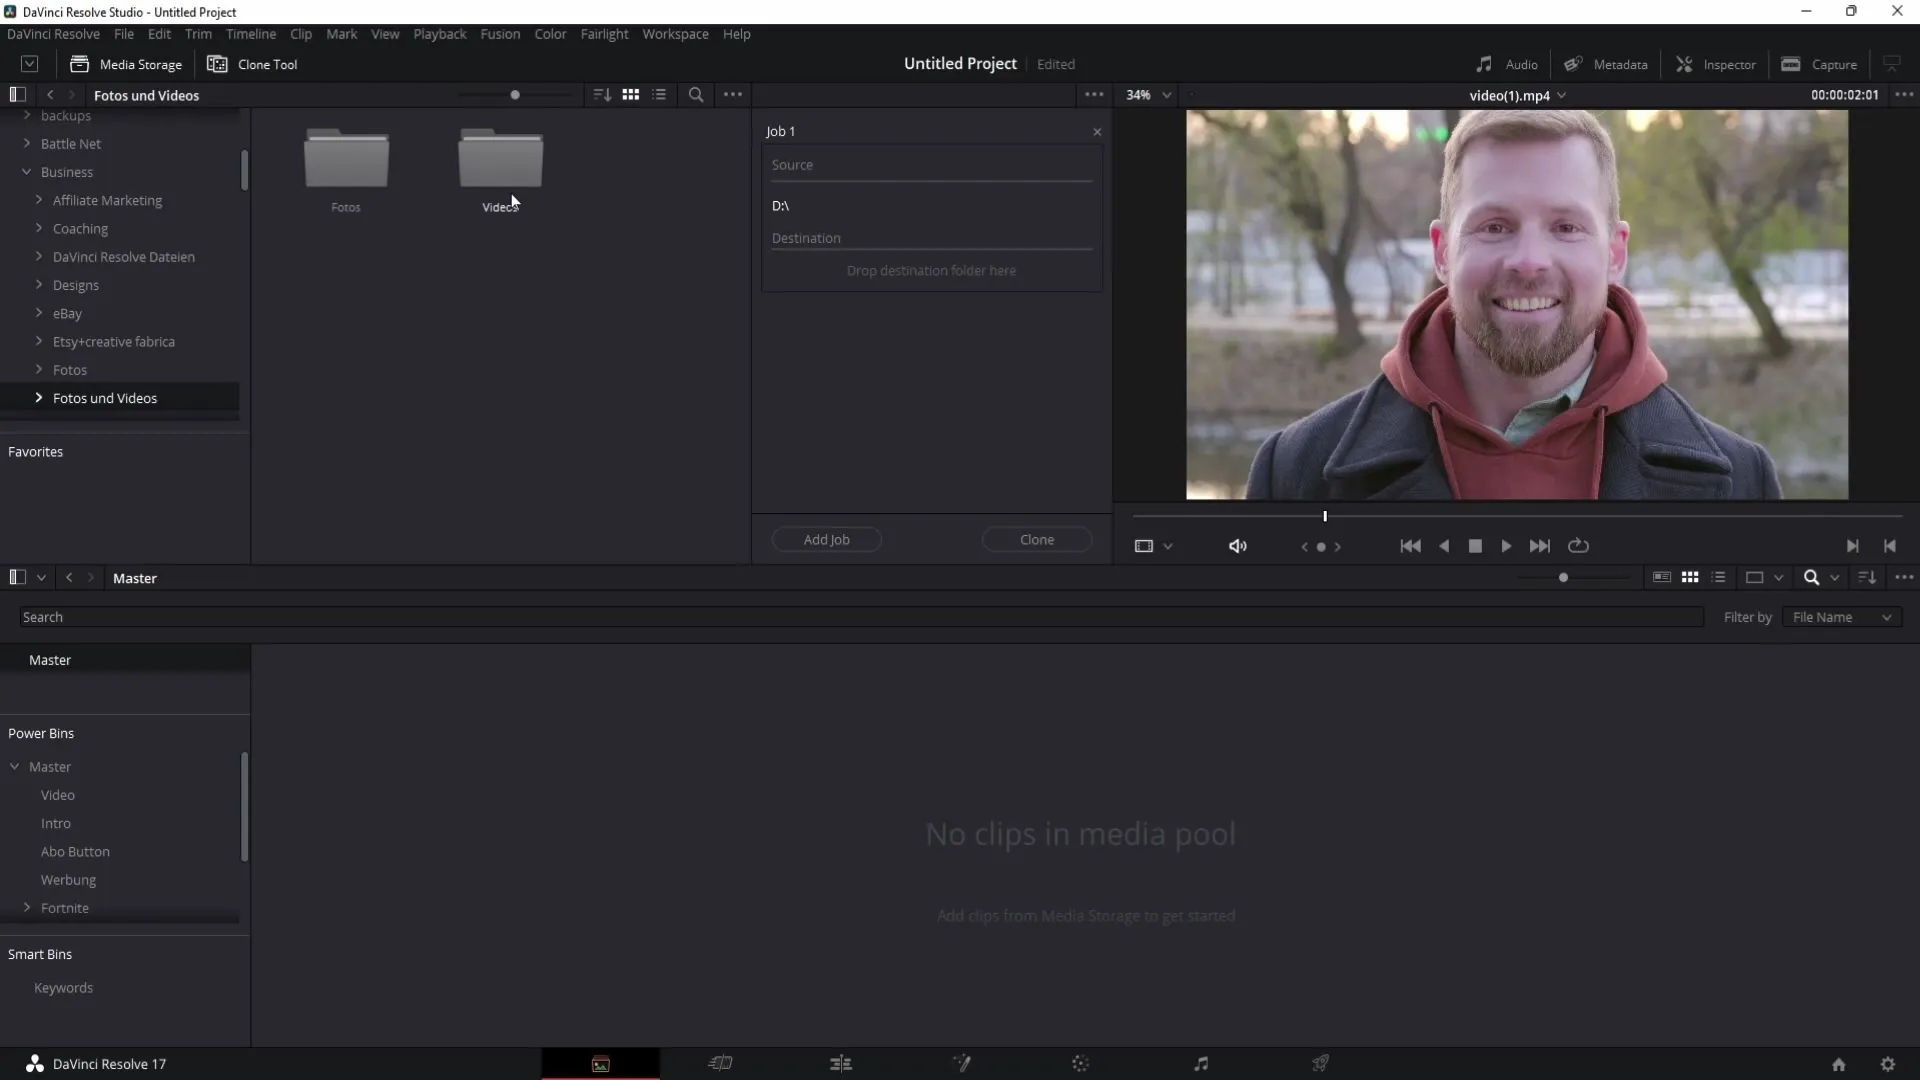
Now, as described, drag the "Videos" folder and the "Photos" into the Clone Tool to create a backup of these folders.
Once all folders are correctly placed, simply click on the "Clone" button in the lower right corner of the window. This will start the backup process.
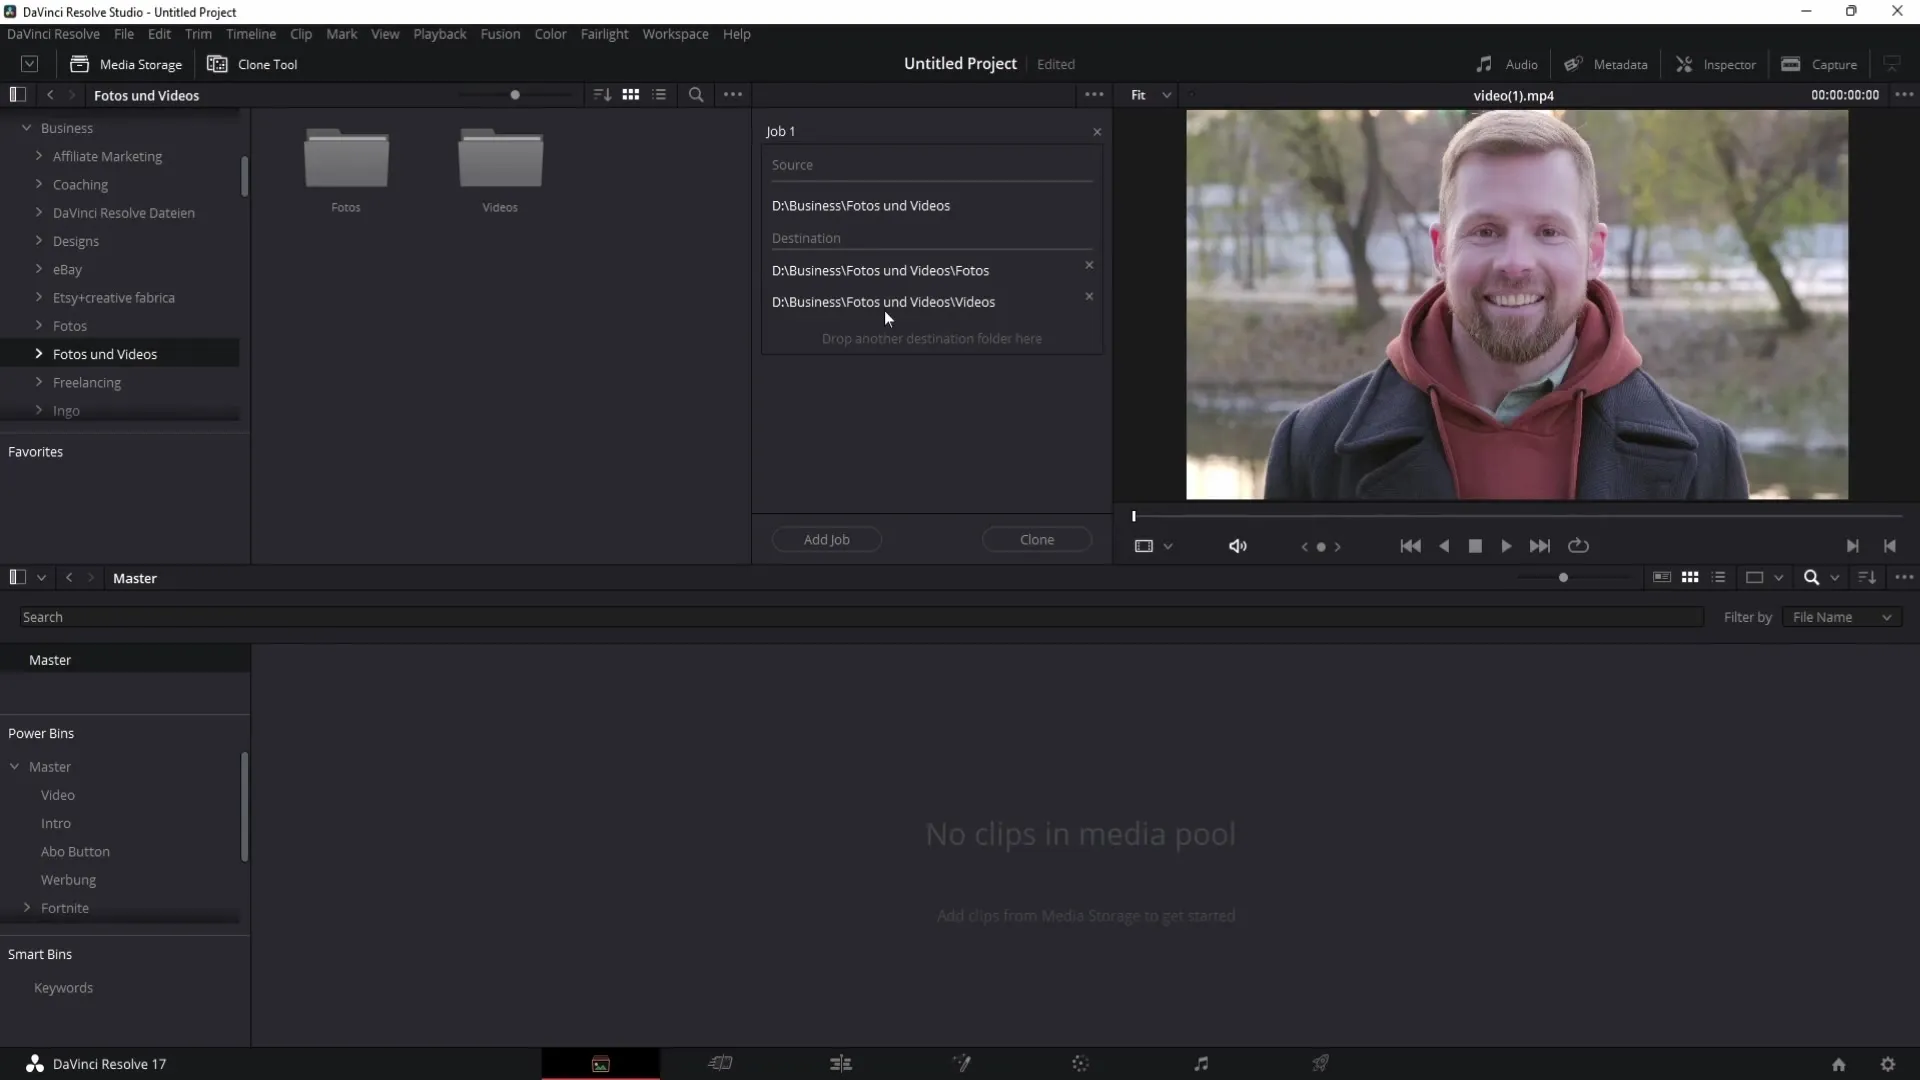
After a short time, the backups of the folders you added will appear at the destination you specified. You can now be sure that your data is safely backed up for future edits.
Summary
In this guide, you have learned how to quickly and efficiently create backups of important files using the Clone Tool in DaVinci Resolve. The tool offers you a user-friendly way to secure your data and prevent file loss. By regularly backing up your data, you ensure that you can always access your original files in critical situations.
Frequently Asked Questions
How do I create a backup in DaVinci Resolve?You open the Media Page, select the Clone Tool, drag your folders into the Source and Destination fields, and click on the Clone button.
Why are backups important?Backups protect your data from loss, especially in larger projects. Without them, you could lose important files.
What can I do if my backup fails?Check if the source and destination are correctly selected and ensure you have enough storage space.


