In this guide, I will show you the basic functions and possibilities of the Timeline in DaVinci Resolve. The Timeline is a central element in the video editing process, and I will help you make the most of it. Whether you are new to video editing or have experience, this explanation will give you valuable insights.
Main Takeaways
- You will learn how to import media, create new timelines, switch between timelines, add and edit tracks, and customize the view and overview of the Timeline.
Step-by-Step Guide
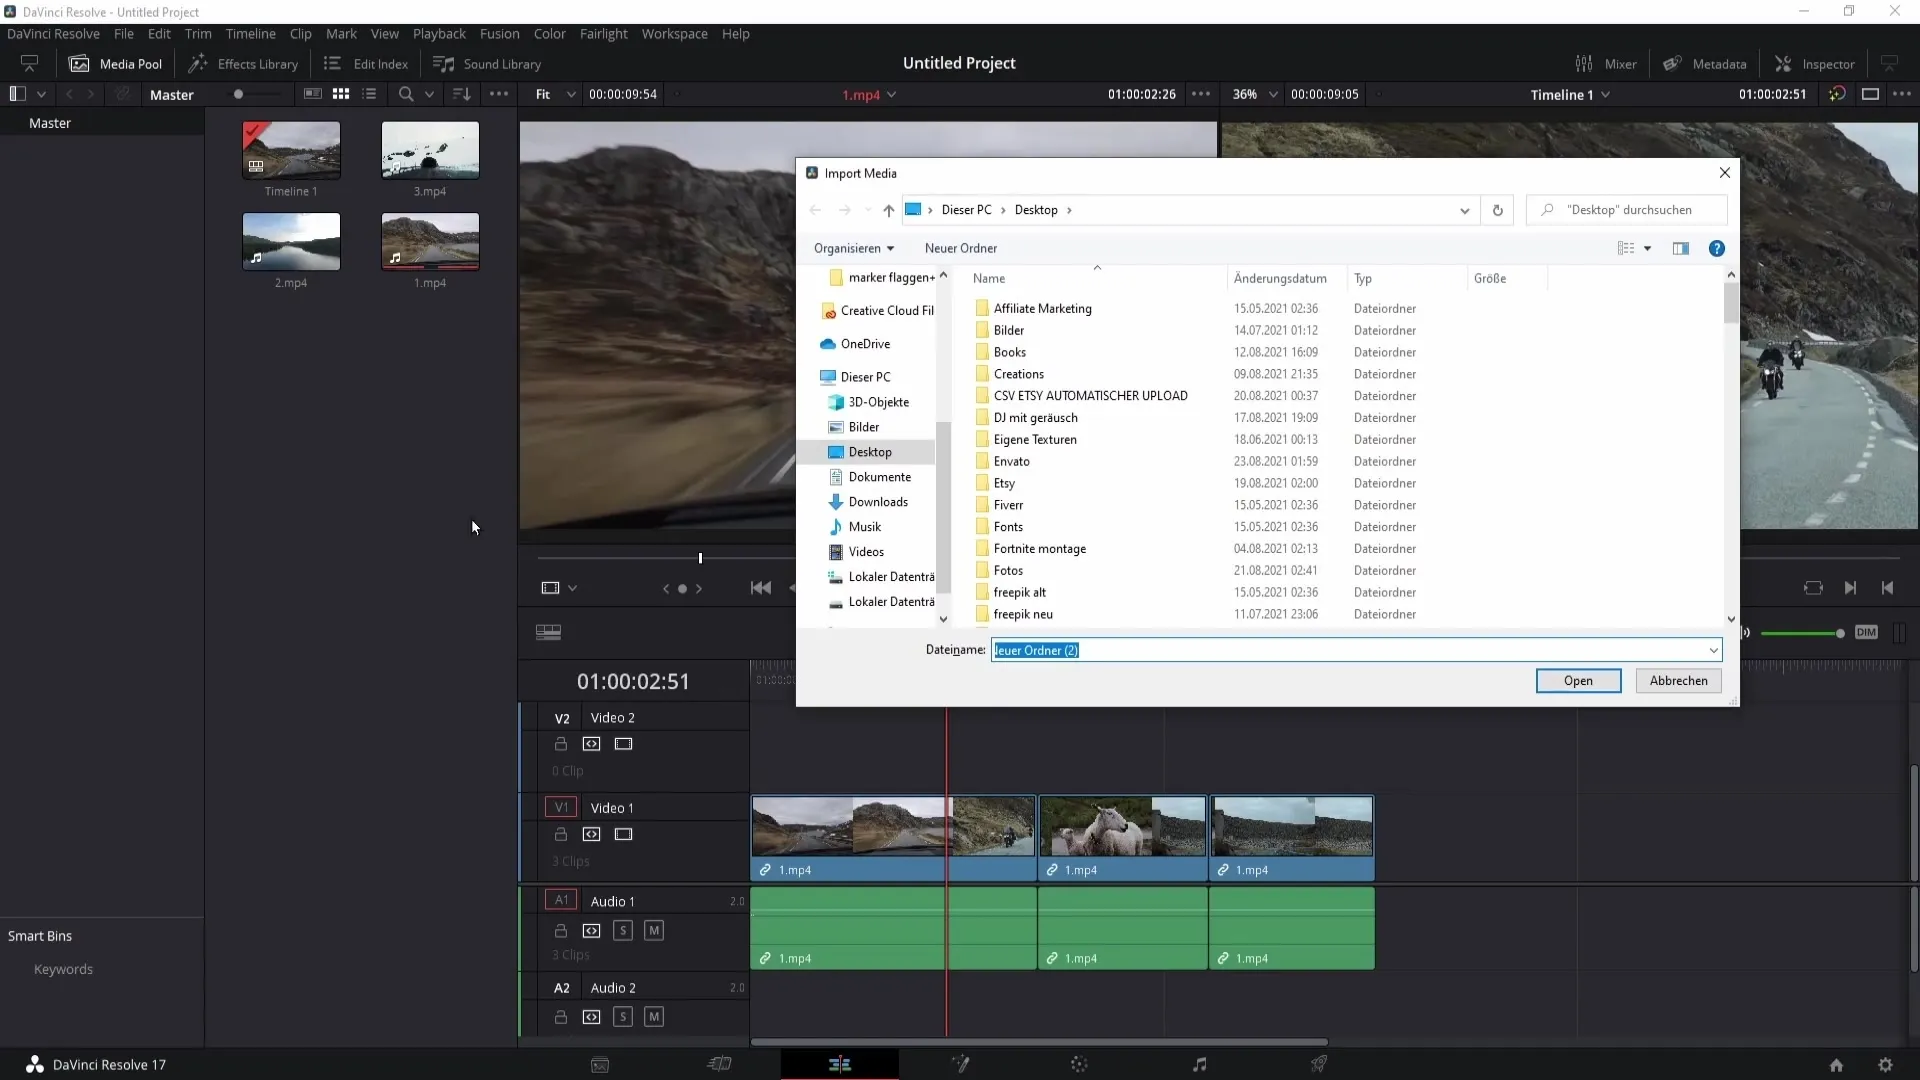
To start with DaVinci Resolve, you need to make sure to import your video files. To do this, press the Control + I keys (on Mac: Command + I) to open an import window. Select the file you want to add to your project and confirm this with a double-click. This will display the clip in the Media Pool on the left side.
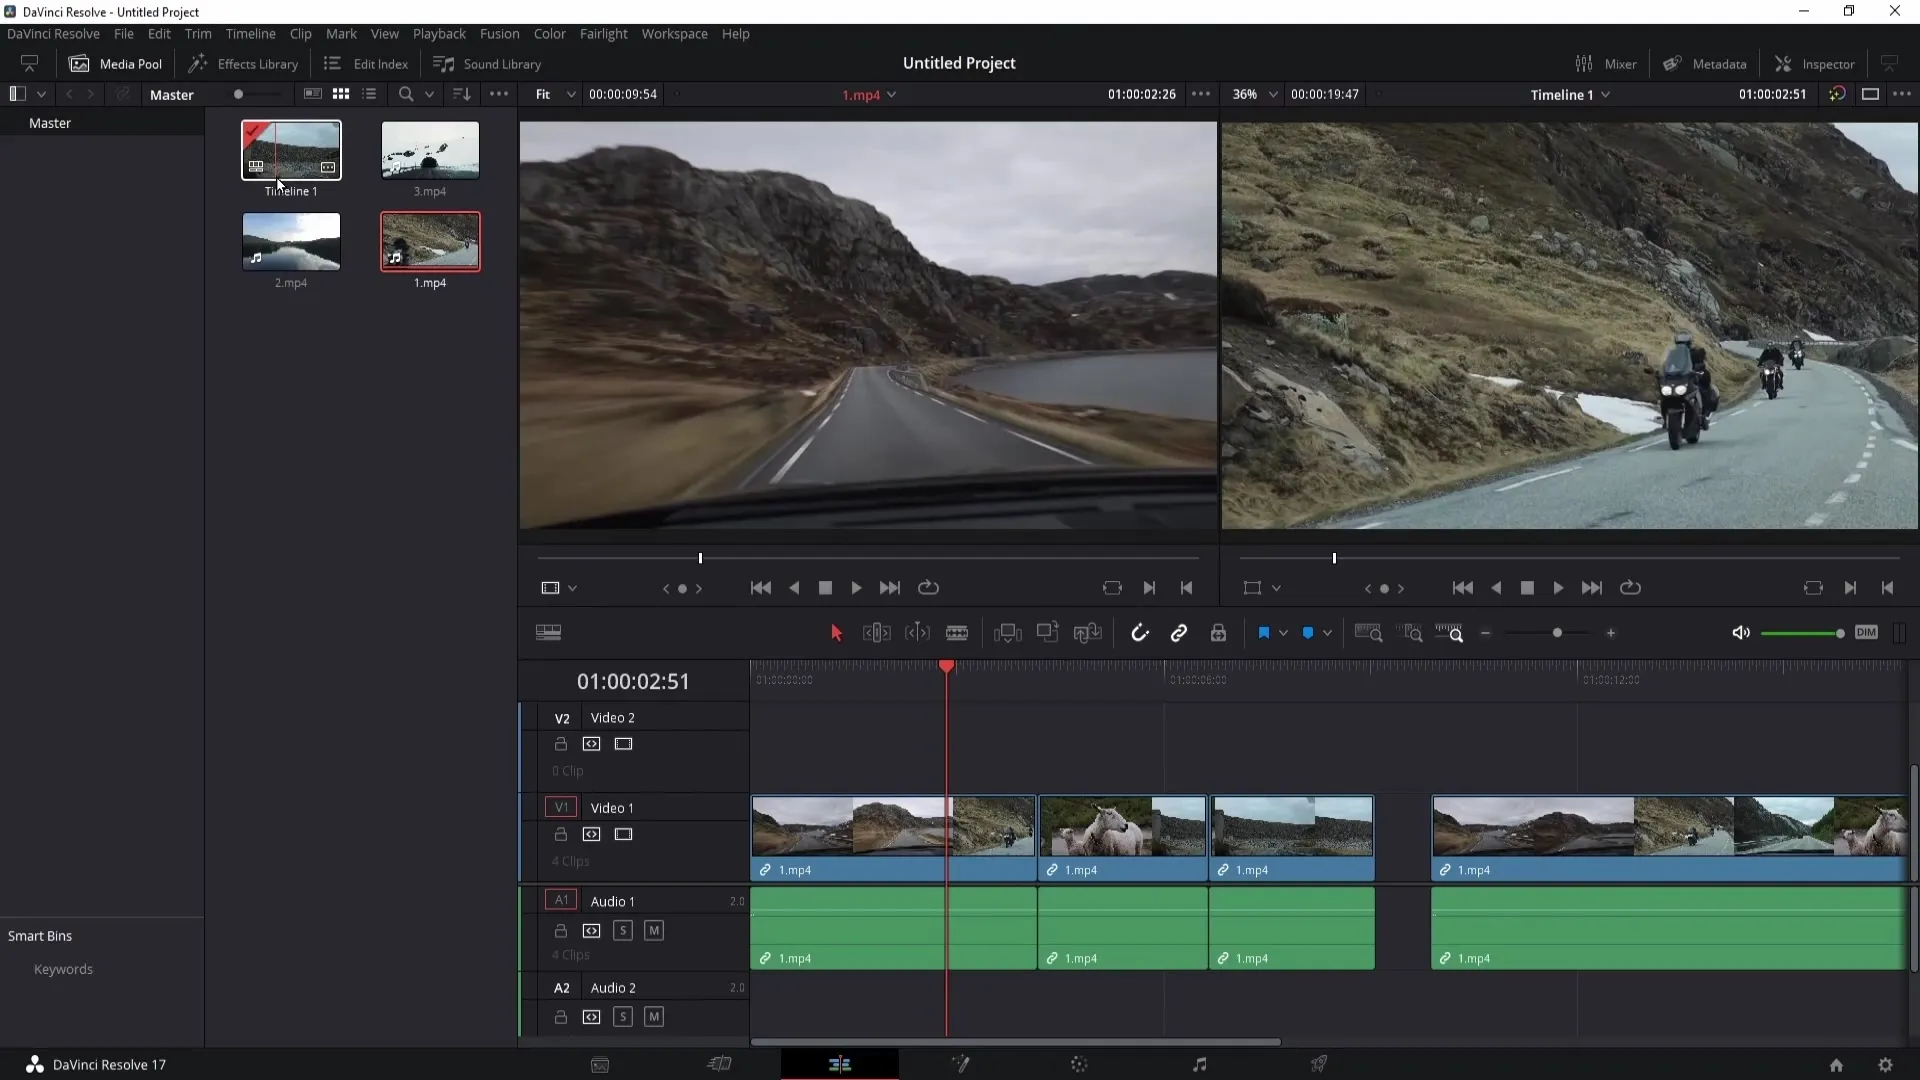
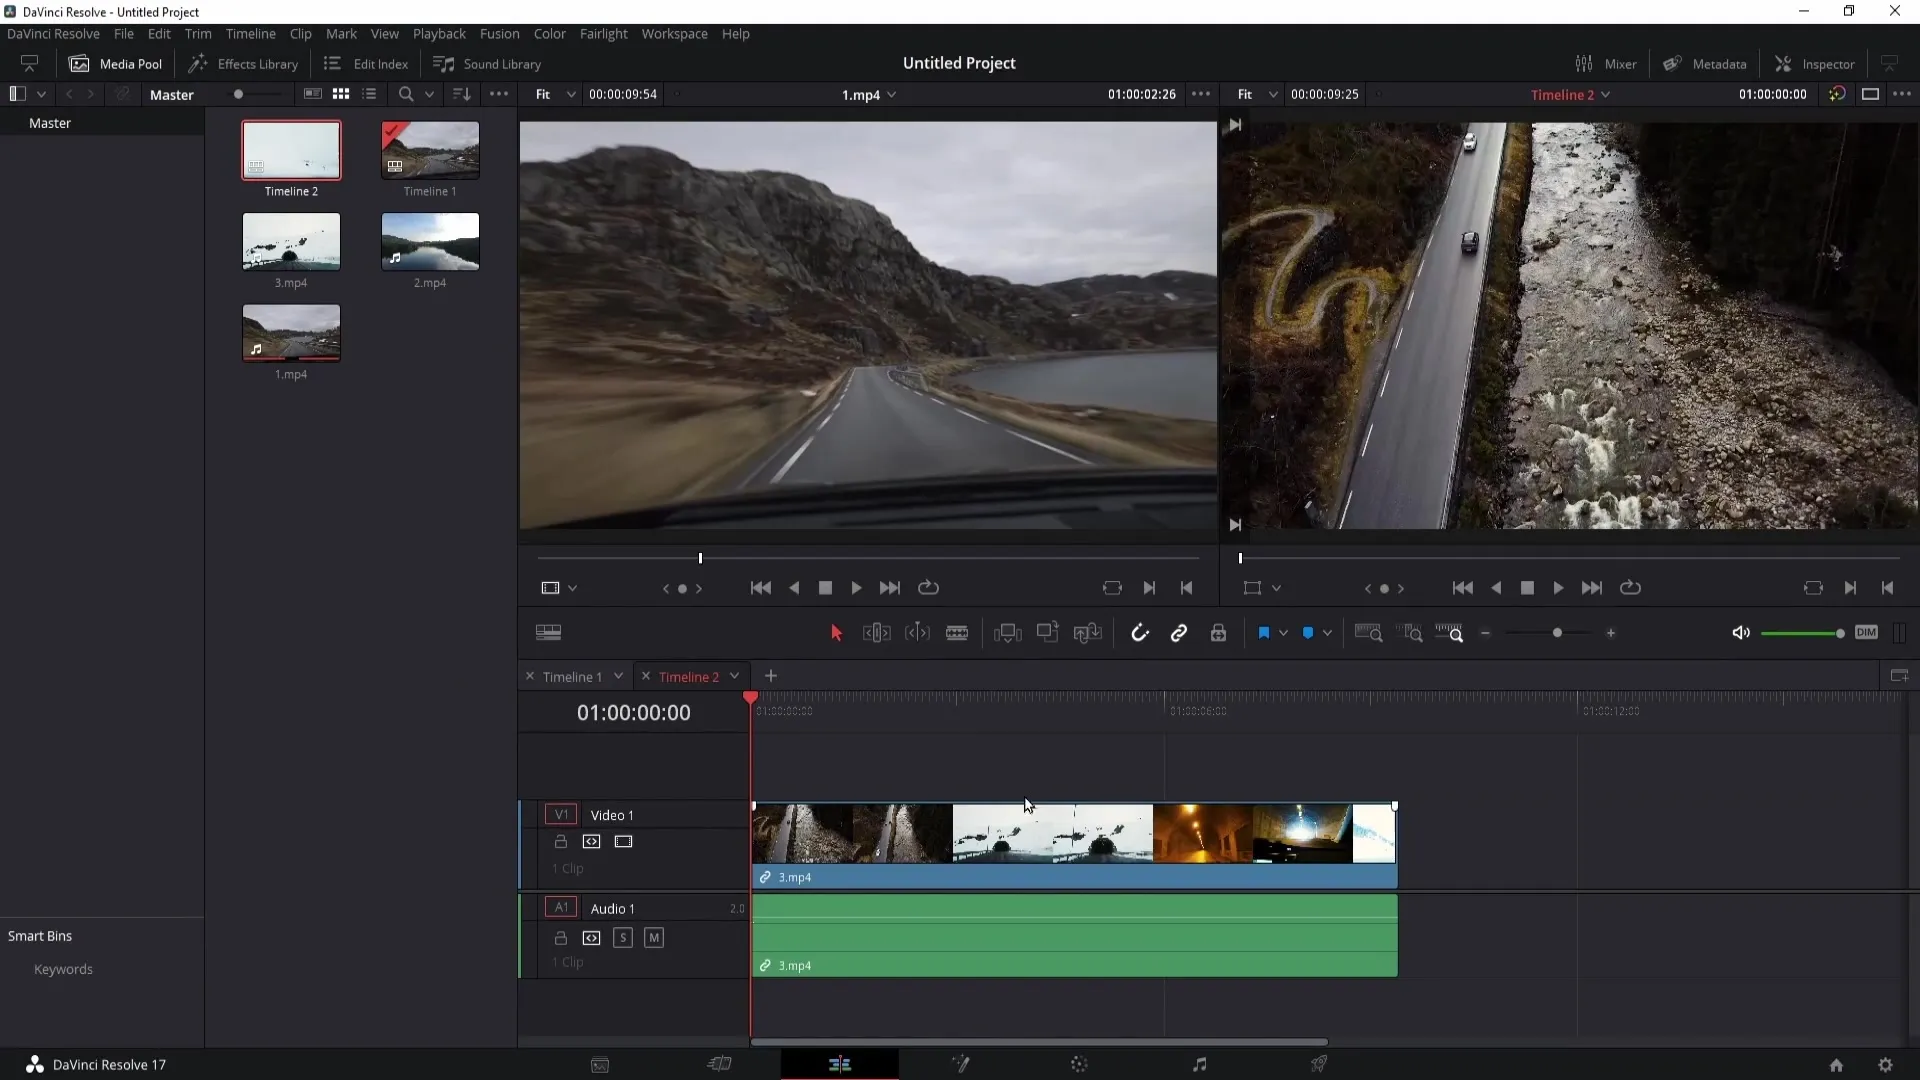
Once the clip is in the Media Pool, drag it into the Timeline using the left mouse button. This will automatically create a Timeline. You can repeat this anytime to have multiple timelines that you can edit separately.
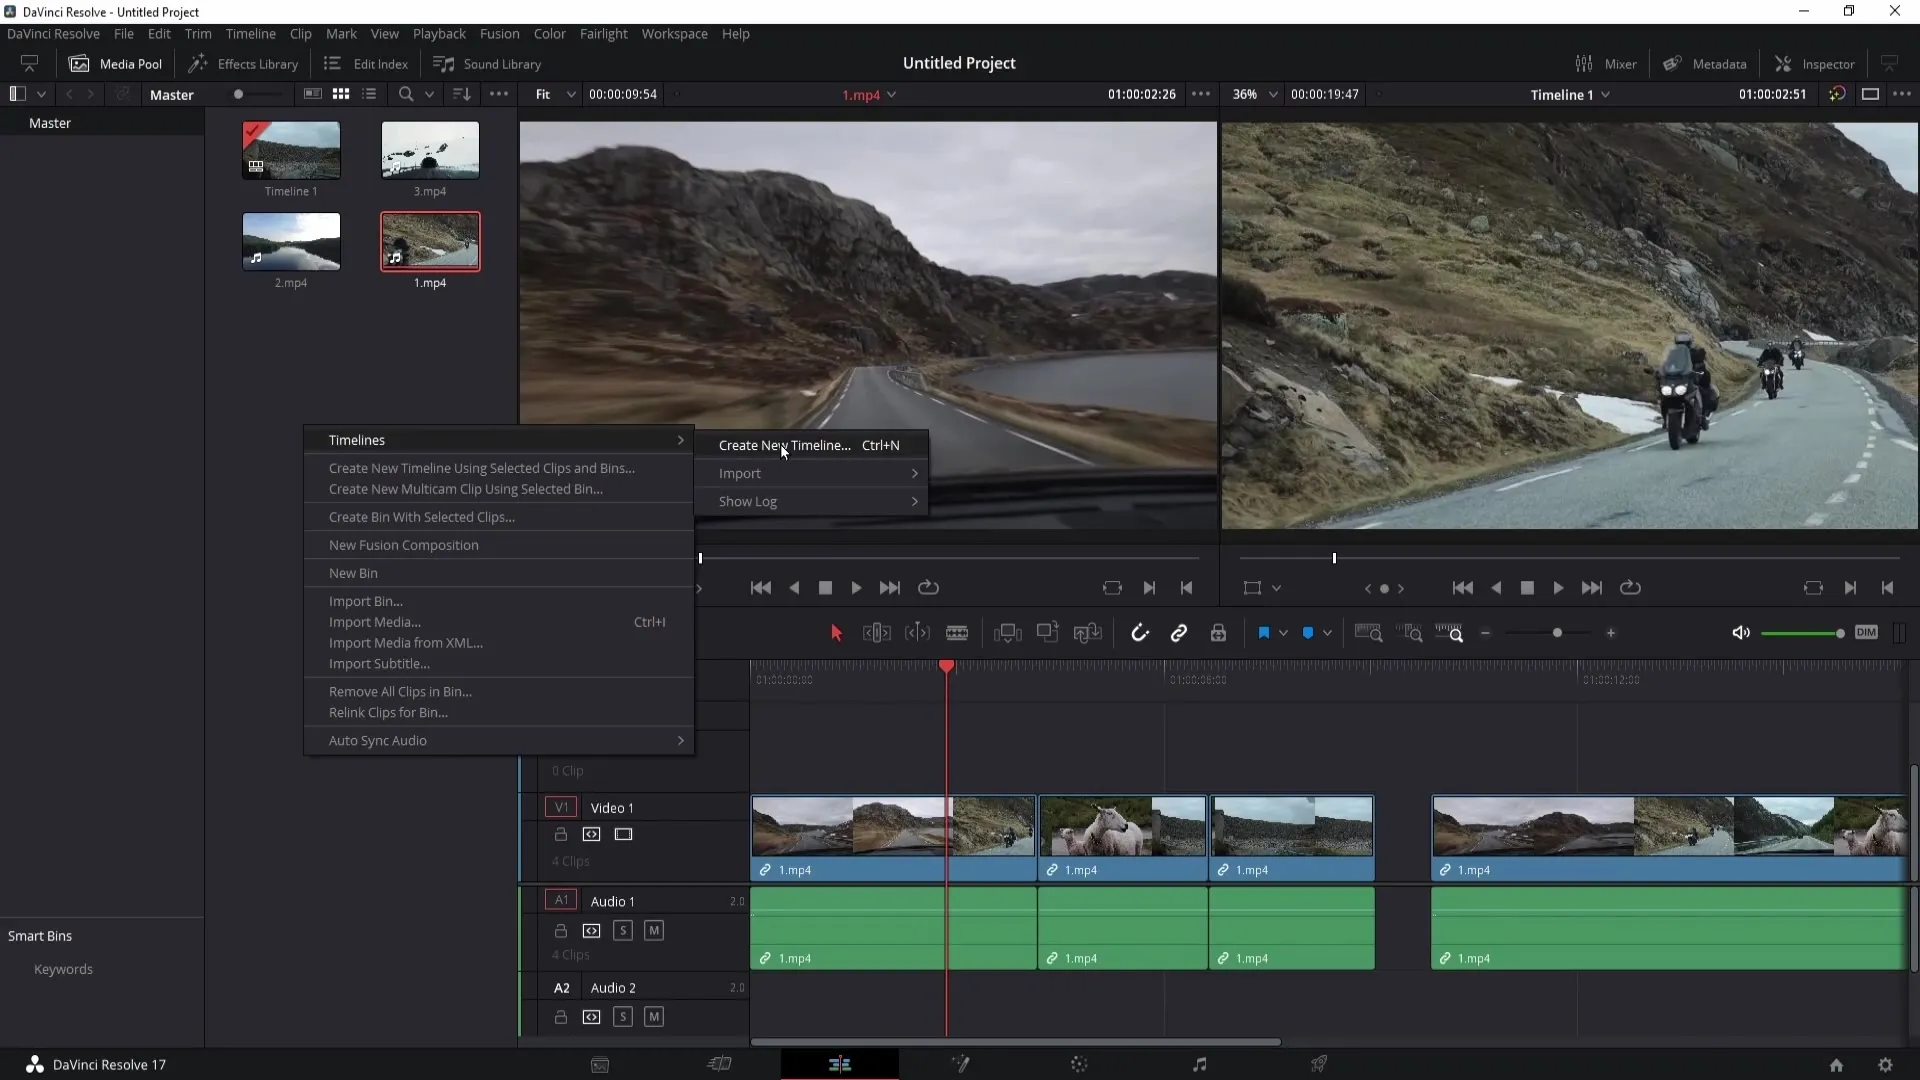
To manually create a new Timeline, right-click in the Media Pool on the "Timelines" option and choose "Create New Timeline". Alternatively, you can use the Control + N shortcut. Then give your new Timeline a name, for example, "Timeline 2". If you uncheck "Use Project Settings", you can customize your own settings before clicking on "Create".
Once you have created multiple Timelines, you can easily switch between them. Double-clicking on the speed or the Timeline will switch you from one to another. This is particularly useful as you can efficiently divide your project into multiple parts, which can increase work speed.
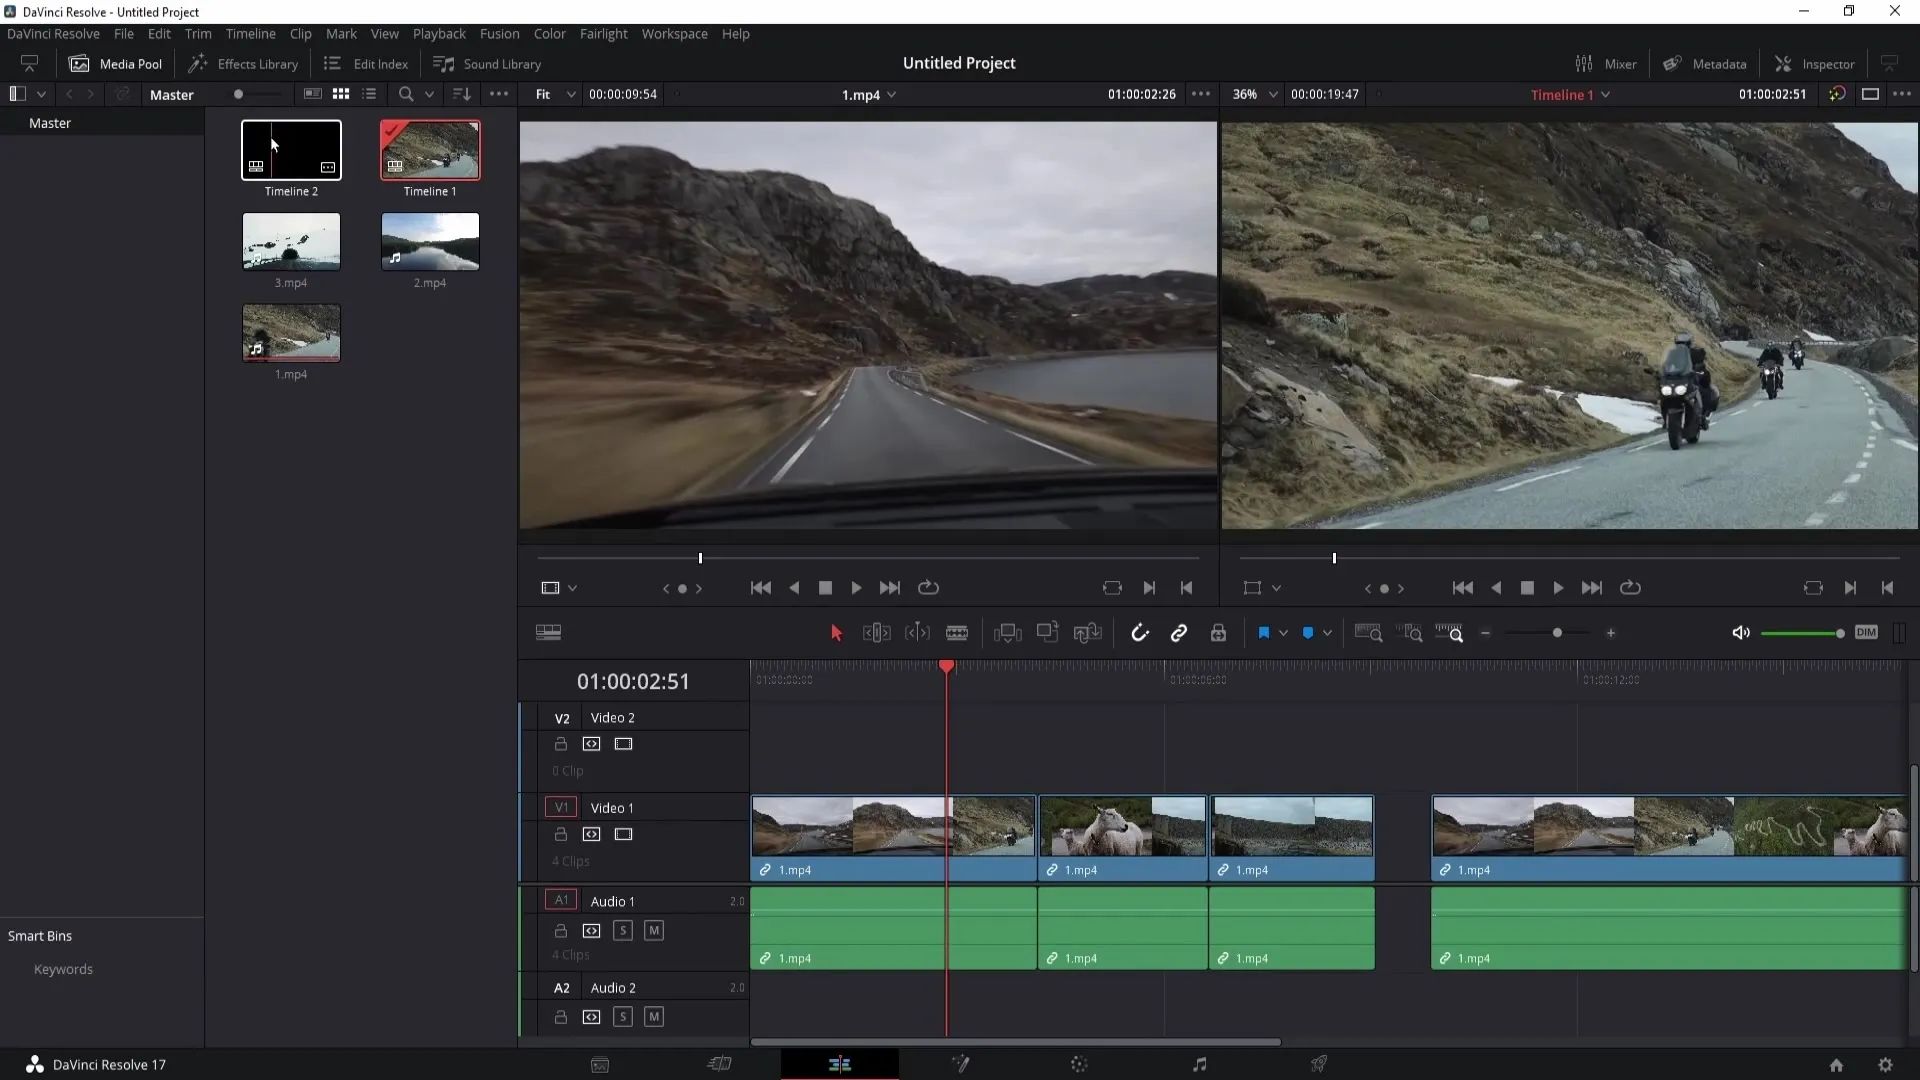
Another advantage is that you can merge the edited Timelines into a single Timeline at the end. Simply drag the clips from the second Timeline into the first one.
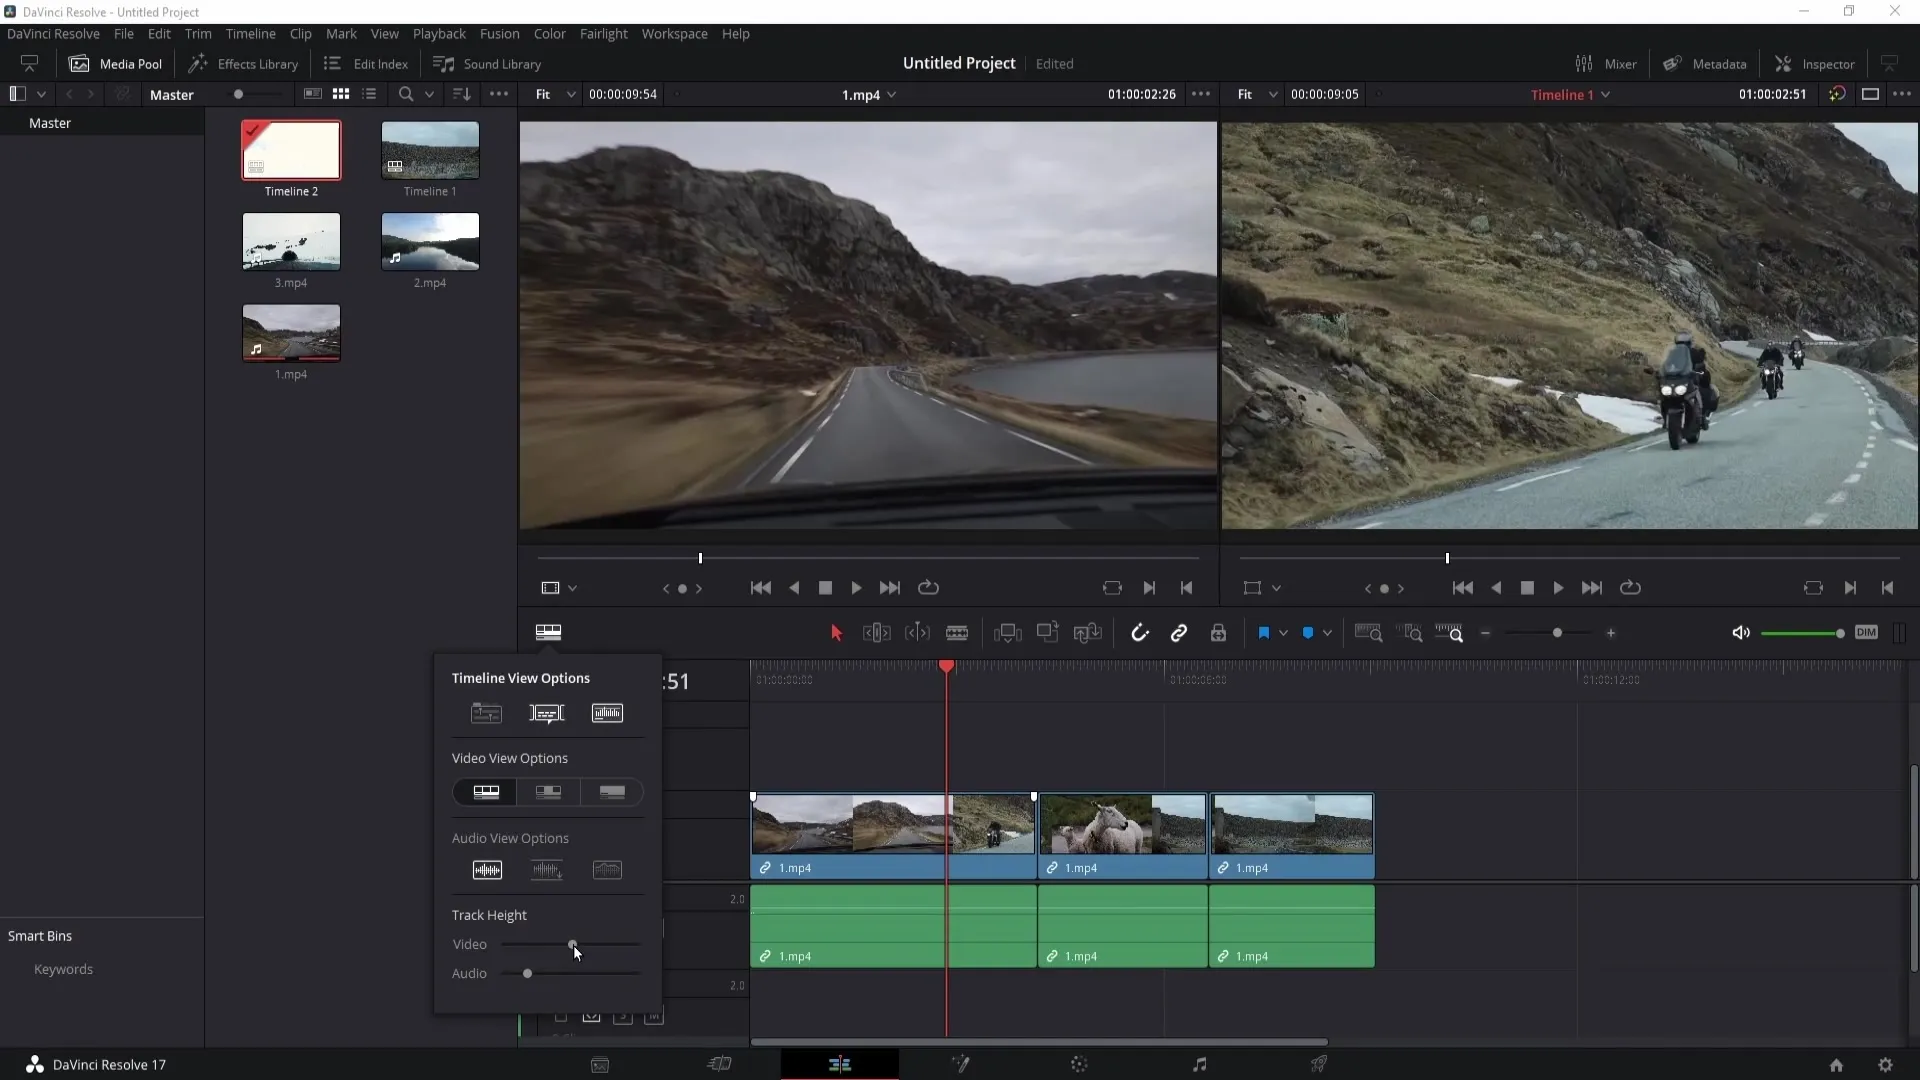
In addition to functionality, having an overview of your Timeline is also important. In the toolbar, you'll find different views. You have the option to optimize the views. When you activate the Timeline view icon, you will see all your Timelines at a glance and can quickly switch between them.
Furthermore, you can also adjust the height of video and audio tracks by sliding the slider left or right. This is particularly useful when working with multiple tracks and wanting a better overview.
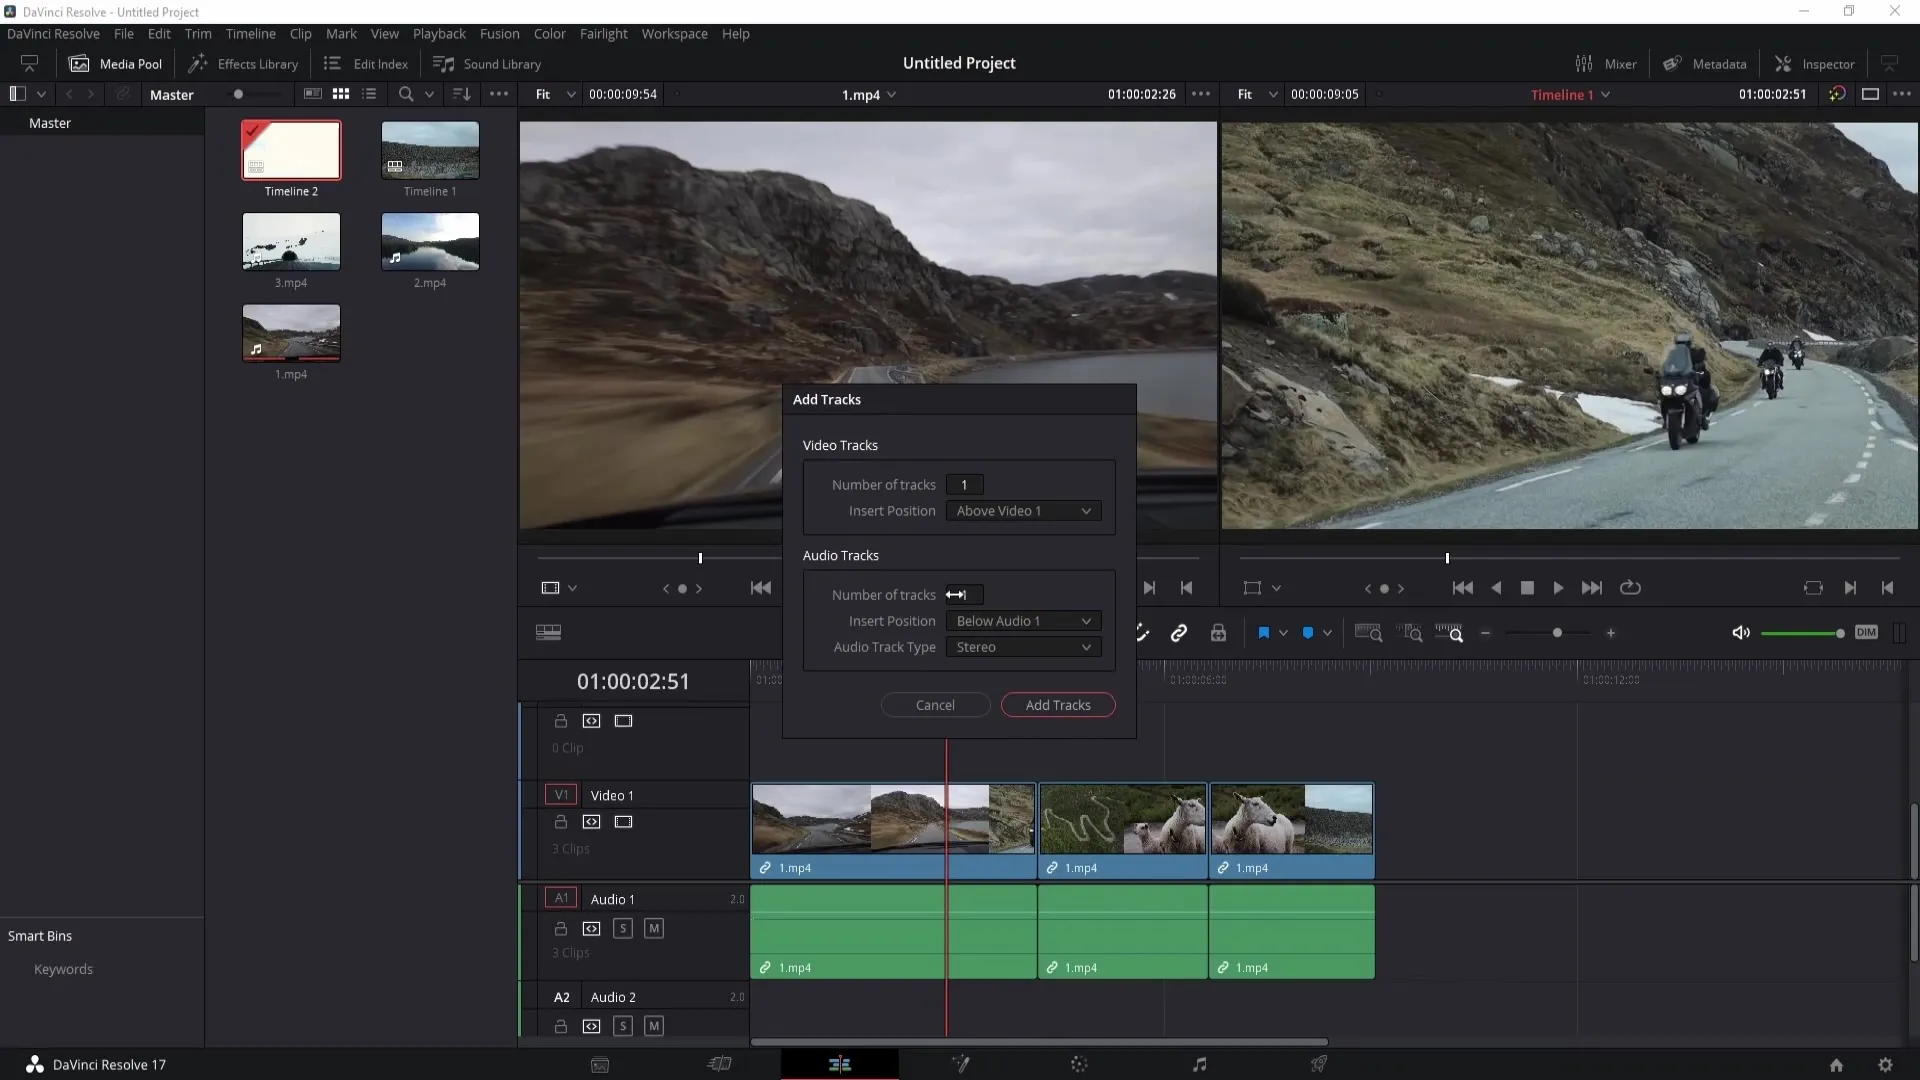
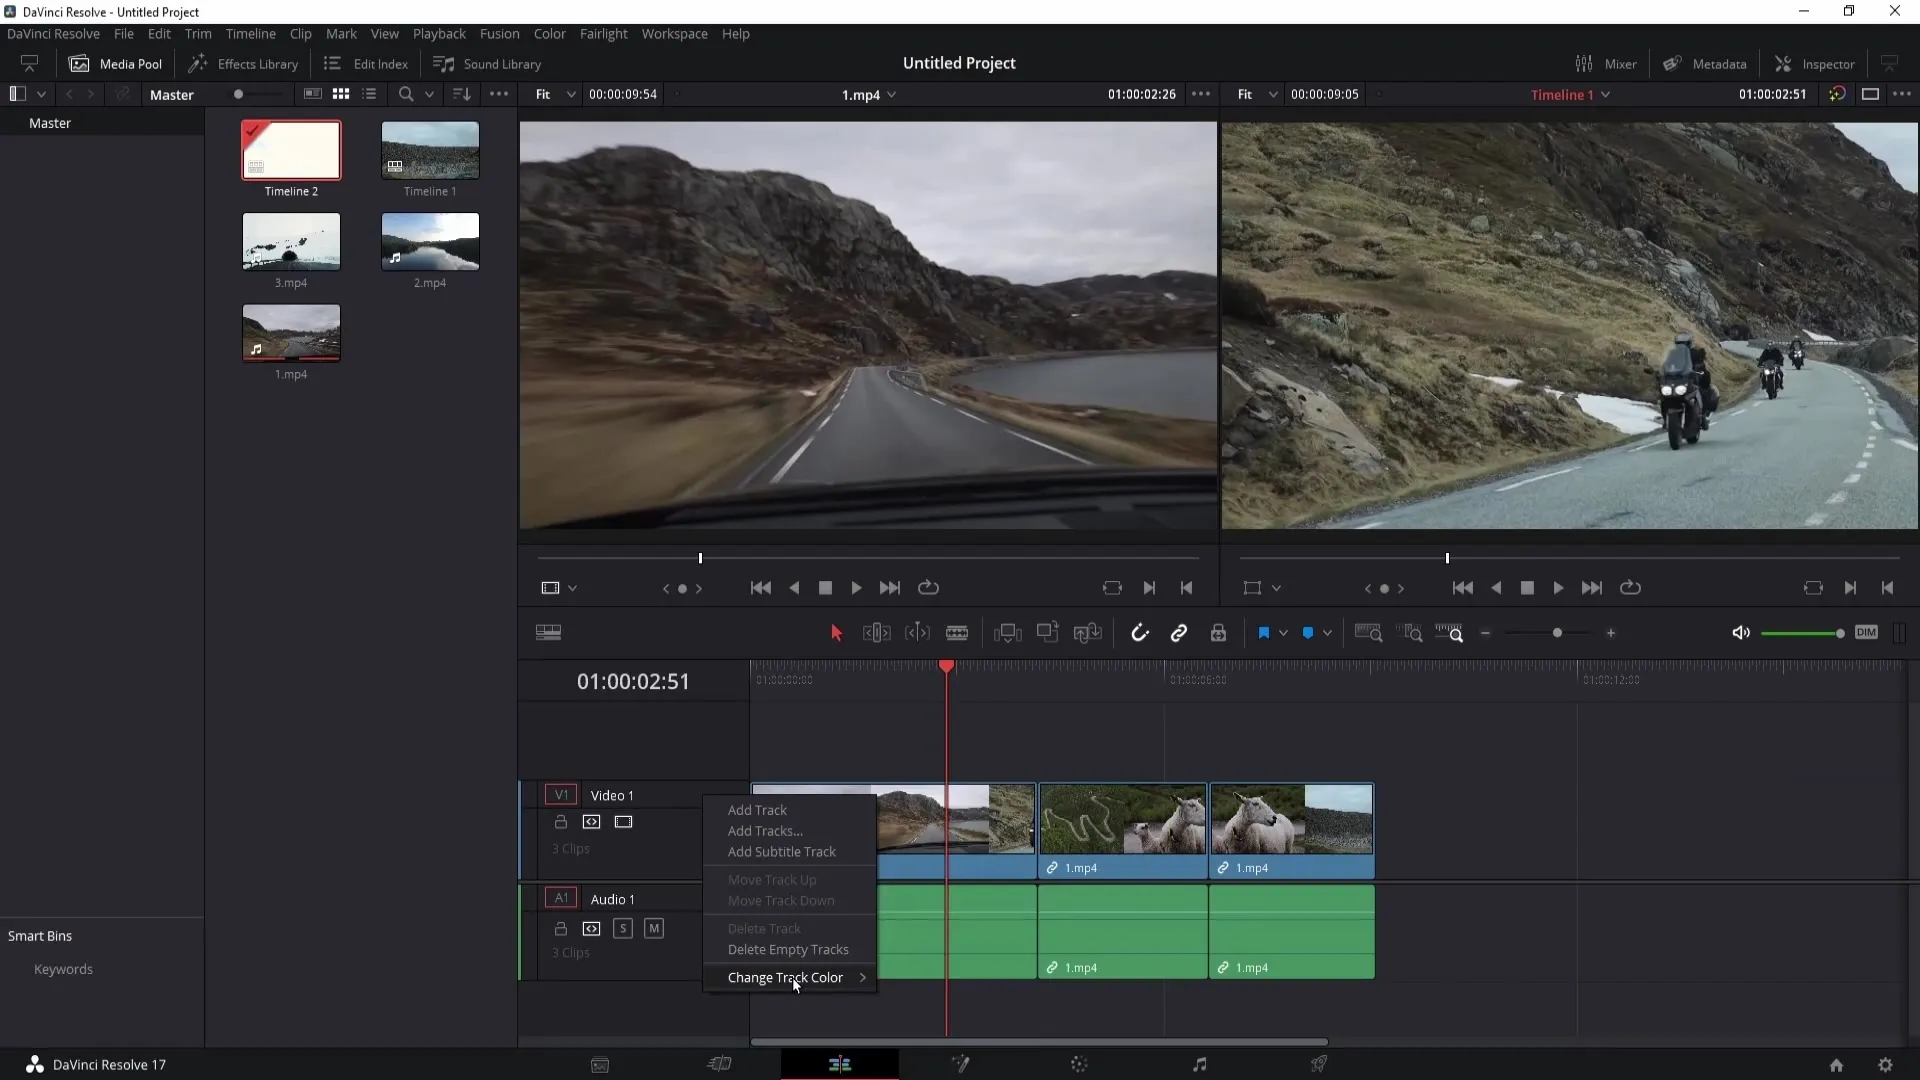
To add new tracks, right-click on an existing video track and select "Add Track". Here, you can create either a new video track or an audio track. Another option is to add Subtitle Tracks.
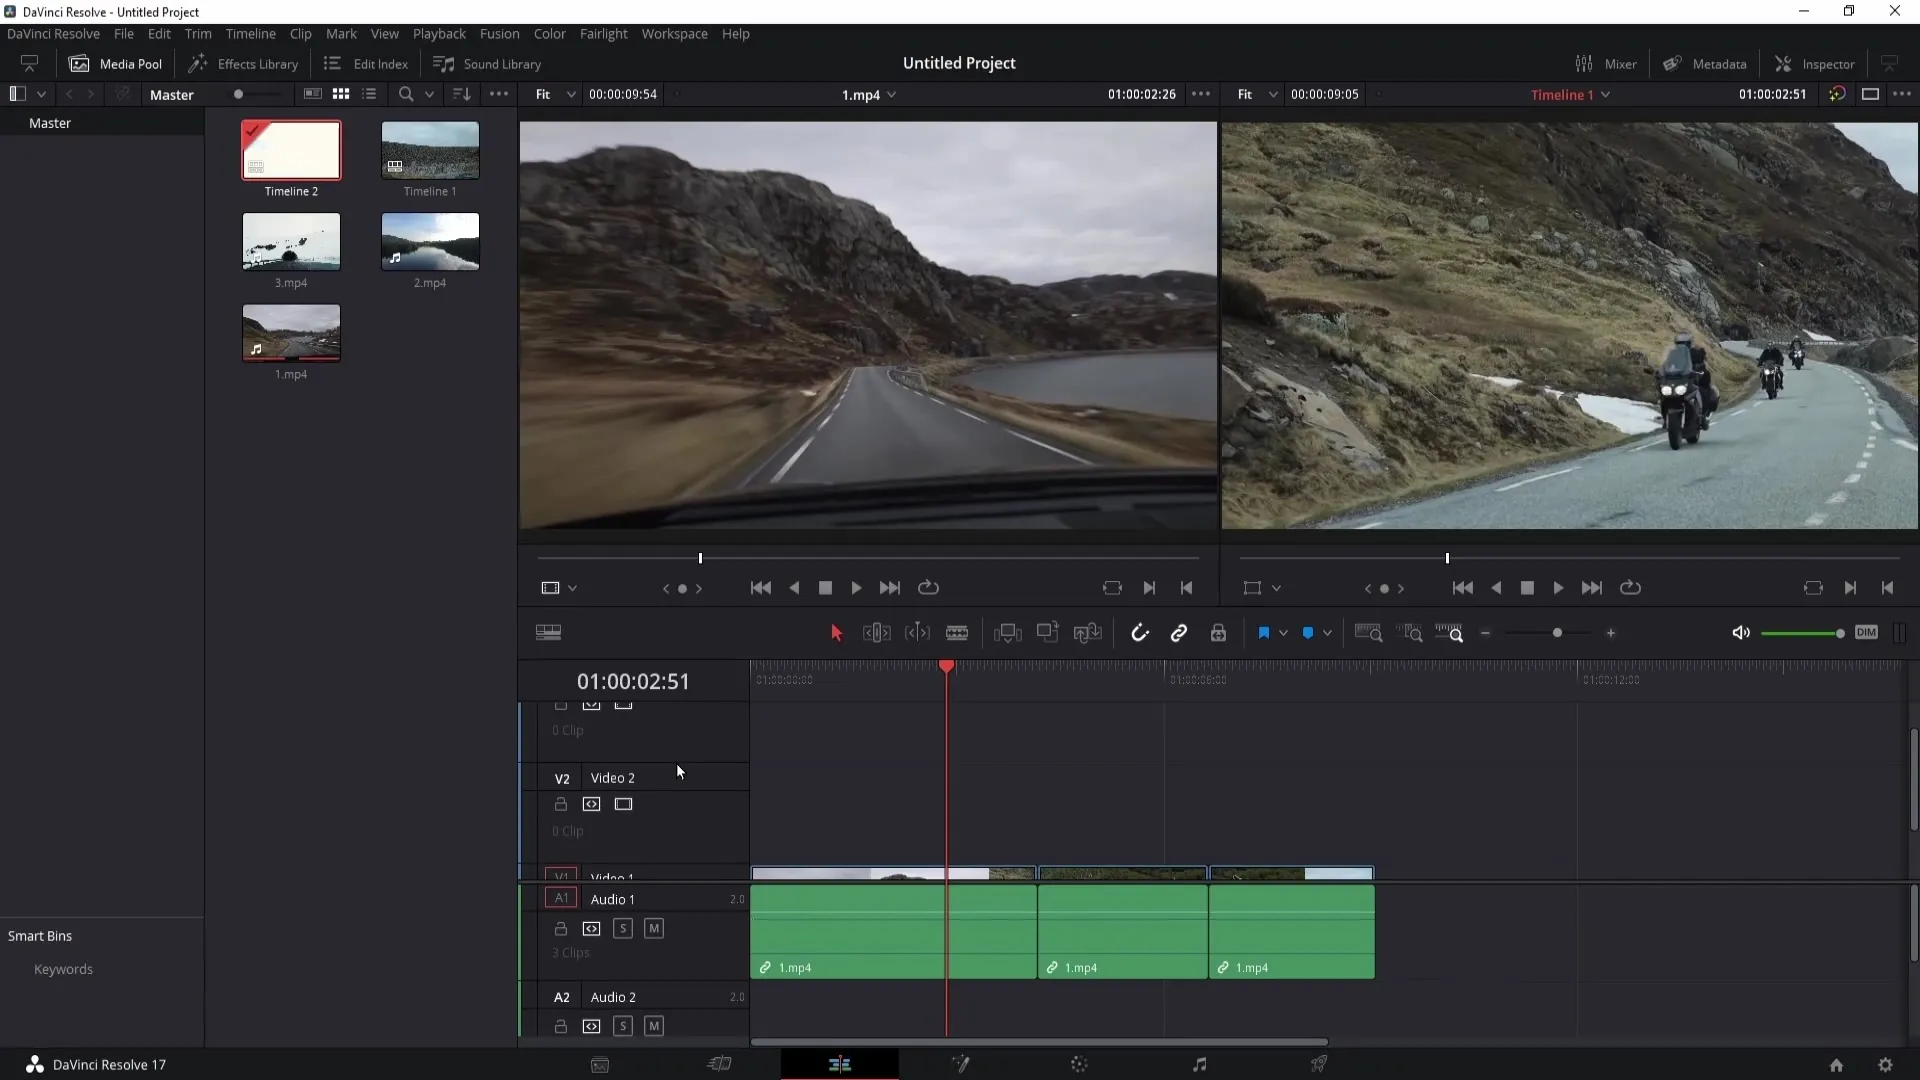
If you want to move a track, simply drag it up or down. If you want to delete a track, you can also remove it by right-clicking. You can also remove empty tracks by using the "Delete Empty Tracks" option to enhance the clarity of your Timeline.
A useful feature is the ability to color code clips by right-clicking on the track and choosing "Change Track Color". This way, you can keep track of different clips and their categories.
Among the audio options, it is also possible to set different tracks as mono or stereo. However, when working with multiple tracks, you can also link them as "Convert to Linked Group" to be able to edit them more coordinatedly.
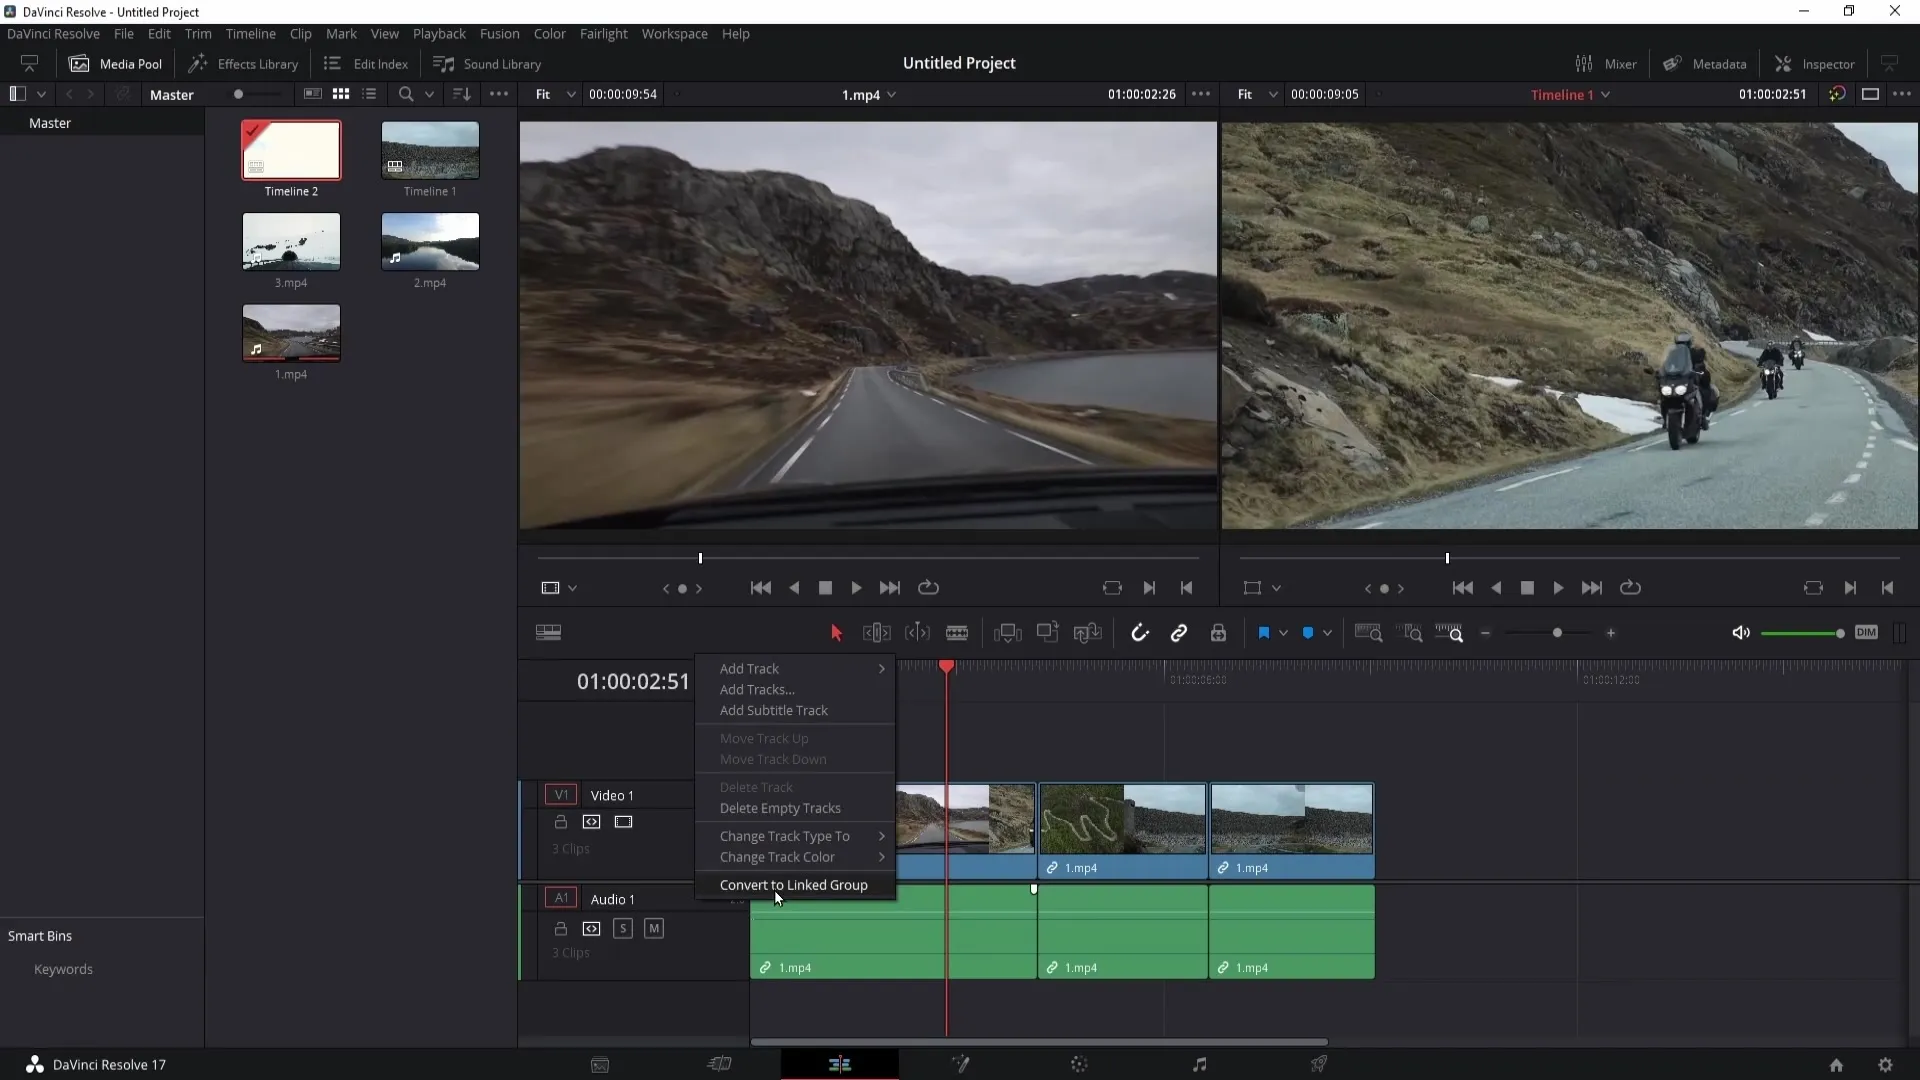
If you have clips that are connected and you want to be able to edit them separately, simply right-click on the clip and choose "Link Clips". This way, the audio and video connection will be maintained or released according to your needs.
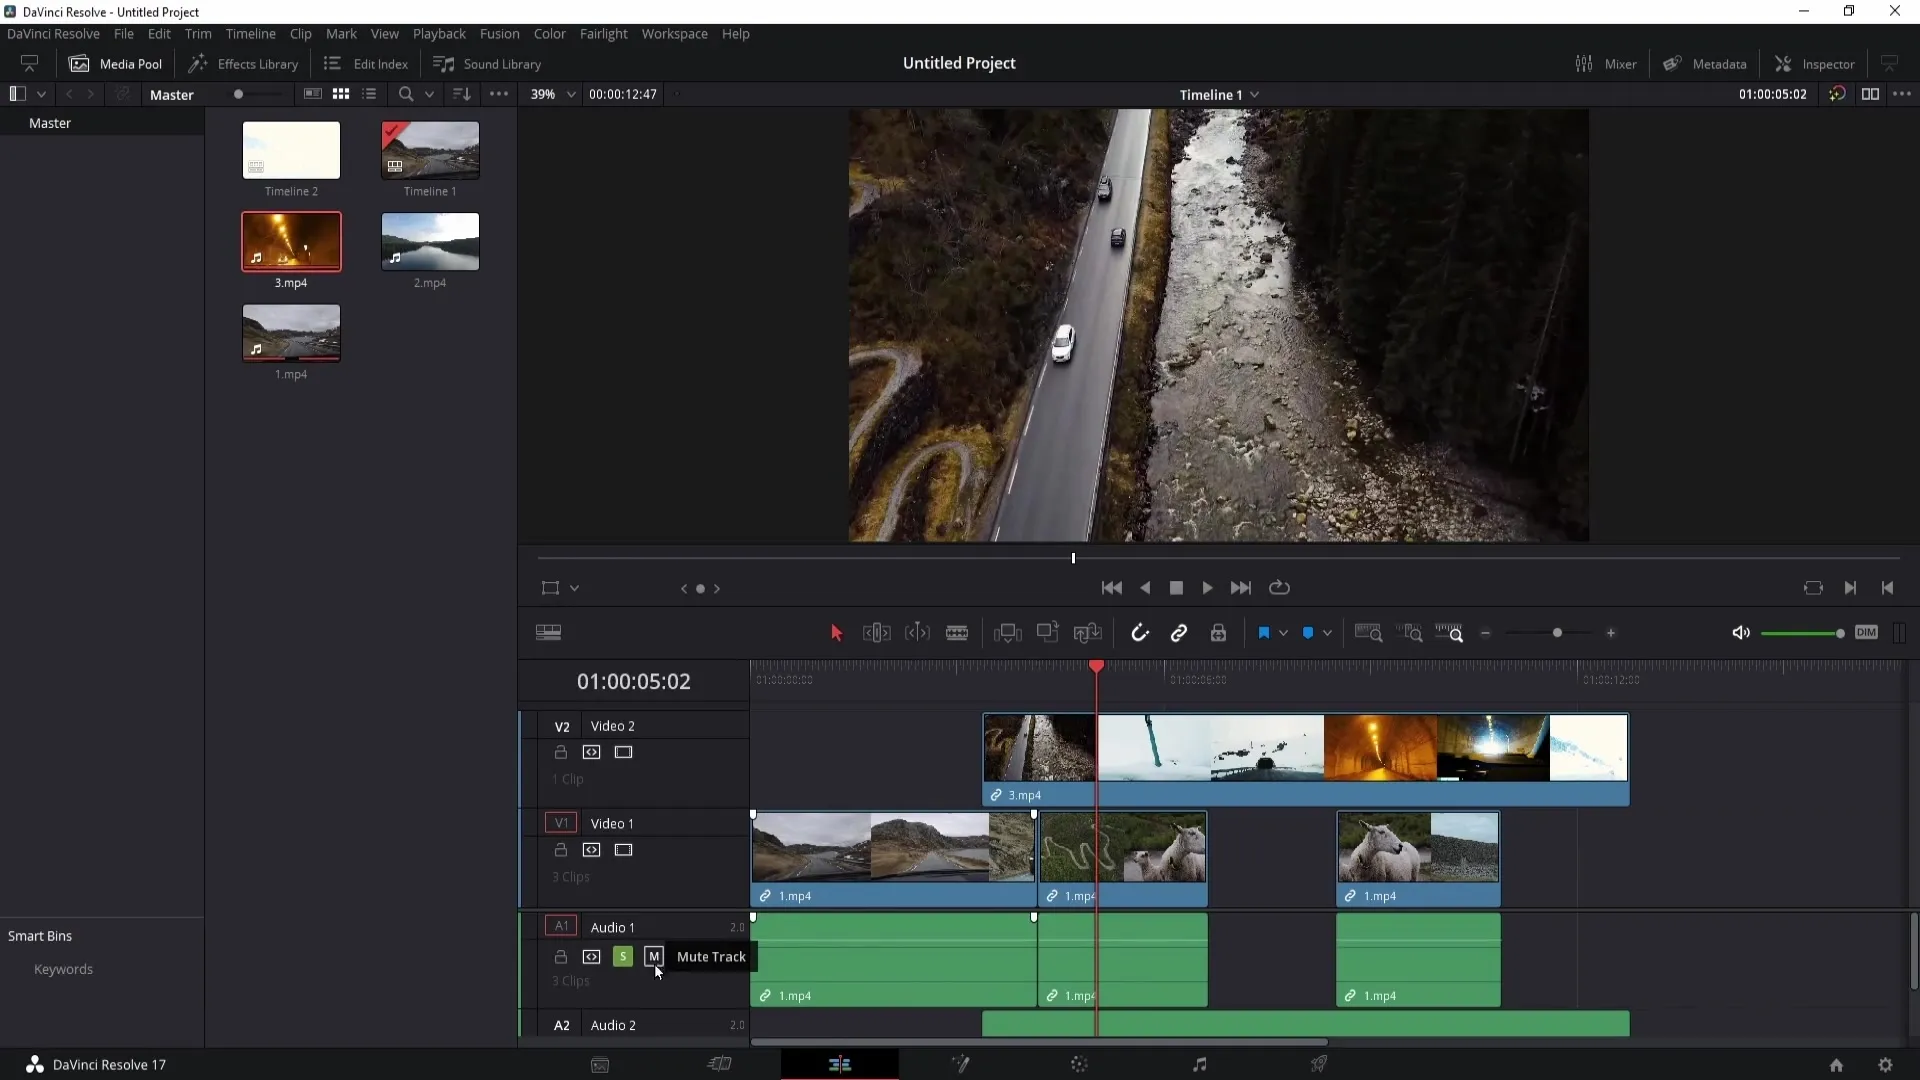
Regarding the audio effects, there is also the possibility to mute tracks or only activate certain audio units to have better control during editing.
Summary
In this guide, you have learned how to efficiently use your timeline in DaVinci Resolve. You know how to import clips, create timelines, add new tracks, and customize the view to edit your video projects more effectively.
Frequently Asked Questions
How do I import media into DaVinci Resolve?Press Control + I or Command + I to open the import window and select your file.
How do I create a new timeline?Right-click in the Media Pool, go to "Timelines," and select "Create New Timeline," or use the shortcut Control + N.
How can I add or delete tracks?Right-click on a track to choose "Add Track" for new tracks or select "Delete Track" to delete existing tracks.
Can I adjust the height of the tracks?Yes, you can adjust the track height by moving the slider in the toolbar left or right.
How can I color code clips?Right-click on the track and select "Change Track Color" to mark the clips with color.


