In this tutorial, I will introduce you to the various tools of Edit Page in DaVinci Resolve and show you how to efficiently insert clips. DaVinci Resolve is a powerful video editing software that offers numerous functions to creatively design your projects. Whether you want to tackle a simple video editing project or a complex film production, the correct use of the tools is essential for a smooth workflow. Let's get started!
Key Takeaways
You will learn:
- How to import clips and insert them into the timeline.
- The various tools of the Edit Page and their functions.
- Tips and tricks for efficient use of the tools.
Step-by-Step Guide
Basics of Clip Import
Before you start using the tools, it is important to know how to import clips. Click on "Import" on the left side in the media pool. You can easily initiate this by pressing the key combination Control + I (or Command + I on Mac). A window will open where you can select the files you want to import.
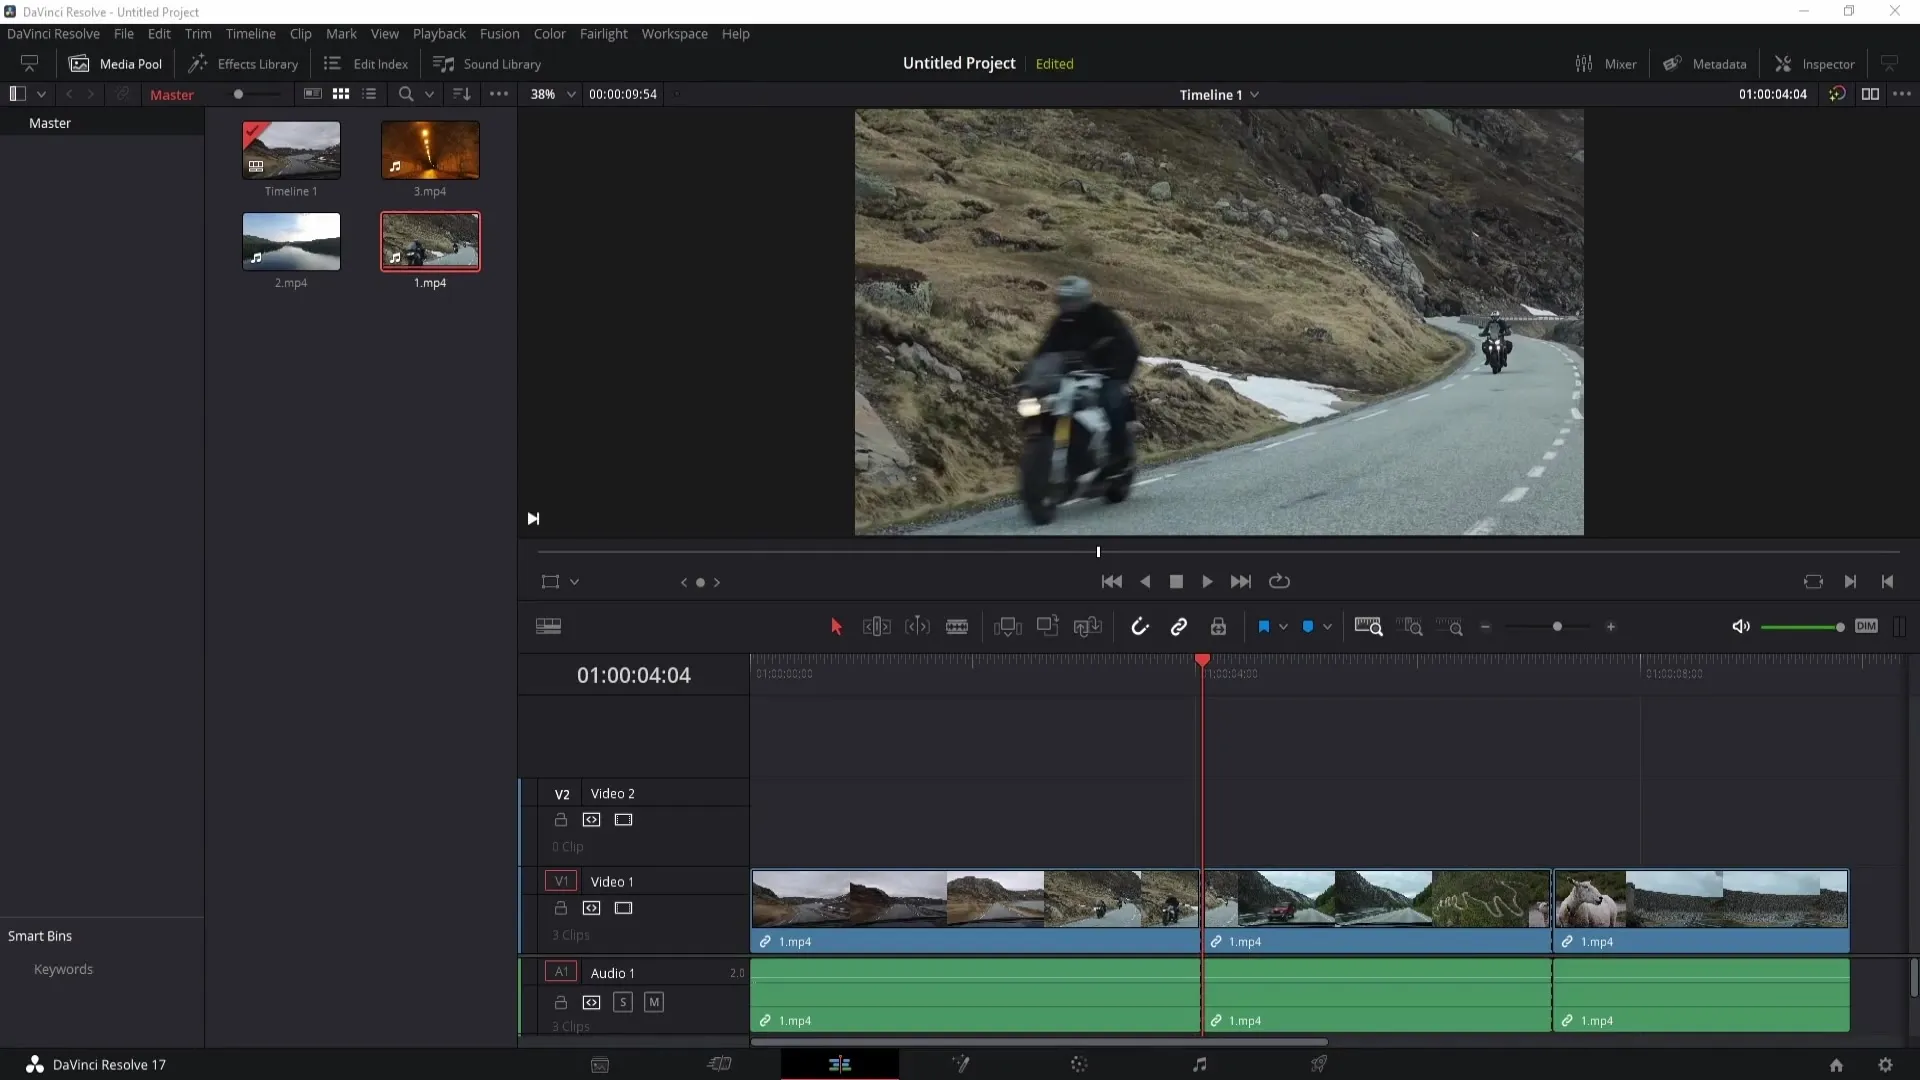
Once you have imported your desired clips, you can add them to the timeline by selecting the clip and simply dragging it into the timeline window.
Mouse Pointer Tool
The first tool we will cover is the Mouse Pointer Tool. With this tool, you can move clips back and forth and trim them easily. If you want to trim the video at the end, simply drag the end of the clip inwards. If you want to select multiple clips, hold down the Control key (or Command on Mac) and click on the clips. The selection will be indicated by a red outline.
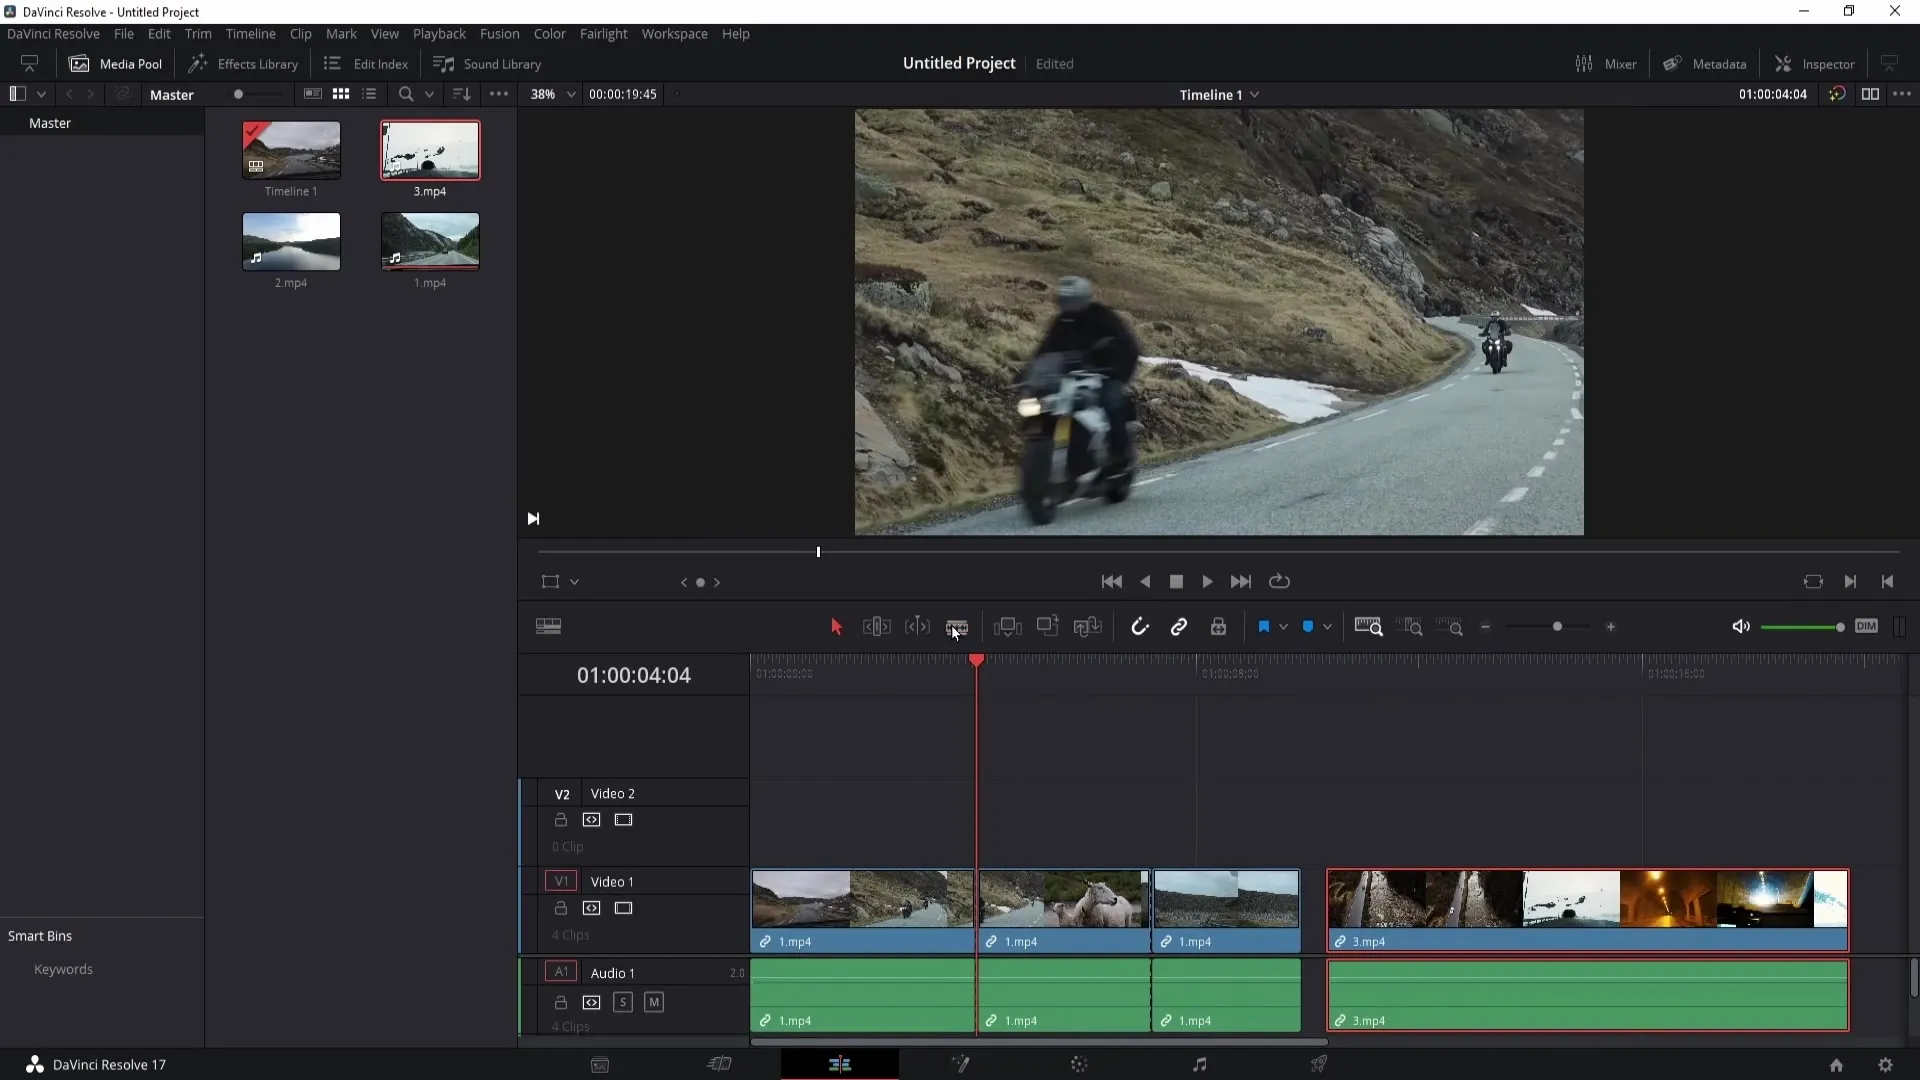
Additionally, you can use the Alt key to duplicate clips by simply dragging the clip while holding down the Alt key. You can use this function for both video and audio clips.
Trim Edit Mod Tool
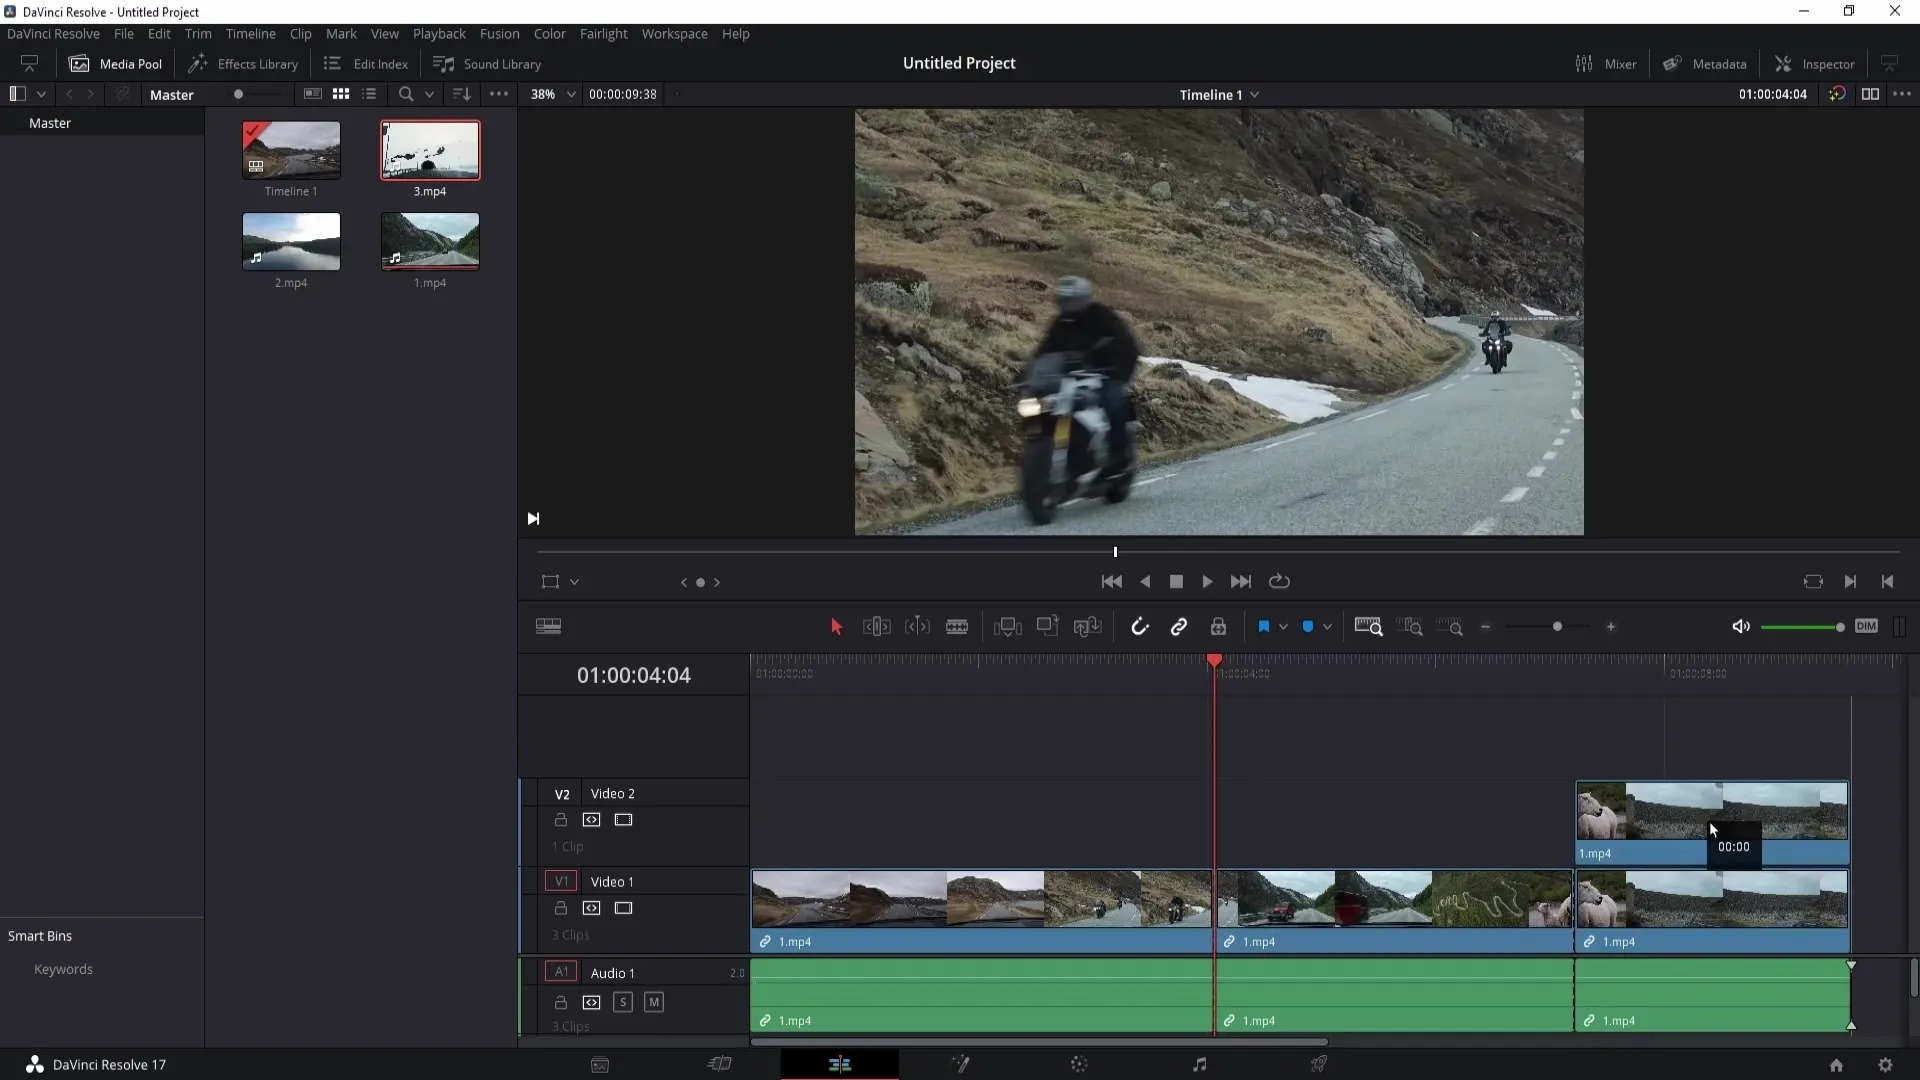
The next tool you should know is the Trim Edit Mod Tool. To activate it, either click directly on the tool or press the T key. You can now click on an edit point and move it left or right. A little trick: Hold down the Period or Comma key to move the edit point by one frame.
There are also the functions "Slip" and "Slide". With the Slip function, you move the content within a clip without changing its total length. With the Slide function, you move the entire clip while keeping the contents of adjacent clips intact.
Razor Blade Tool
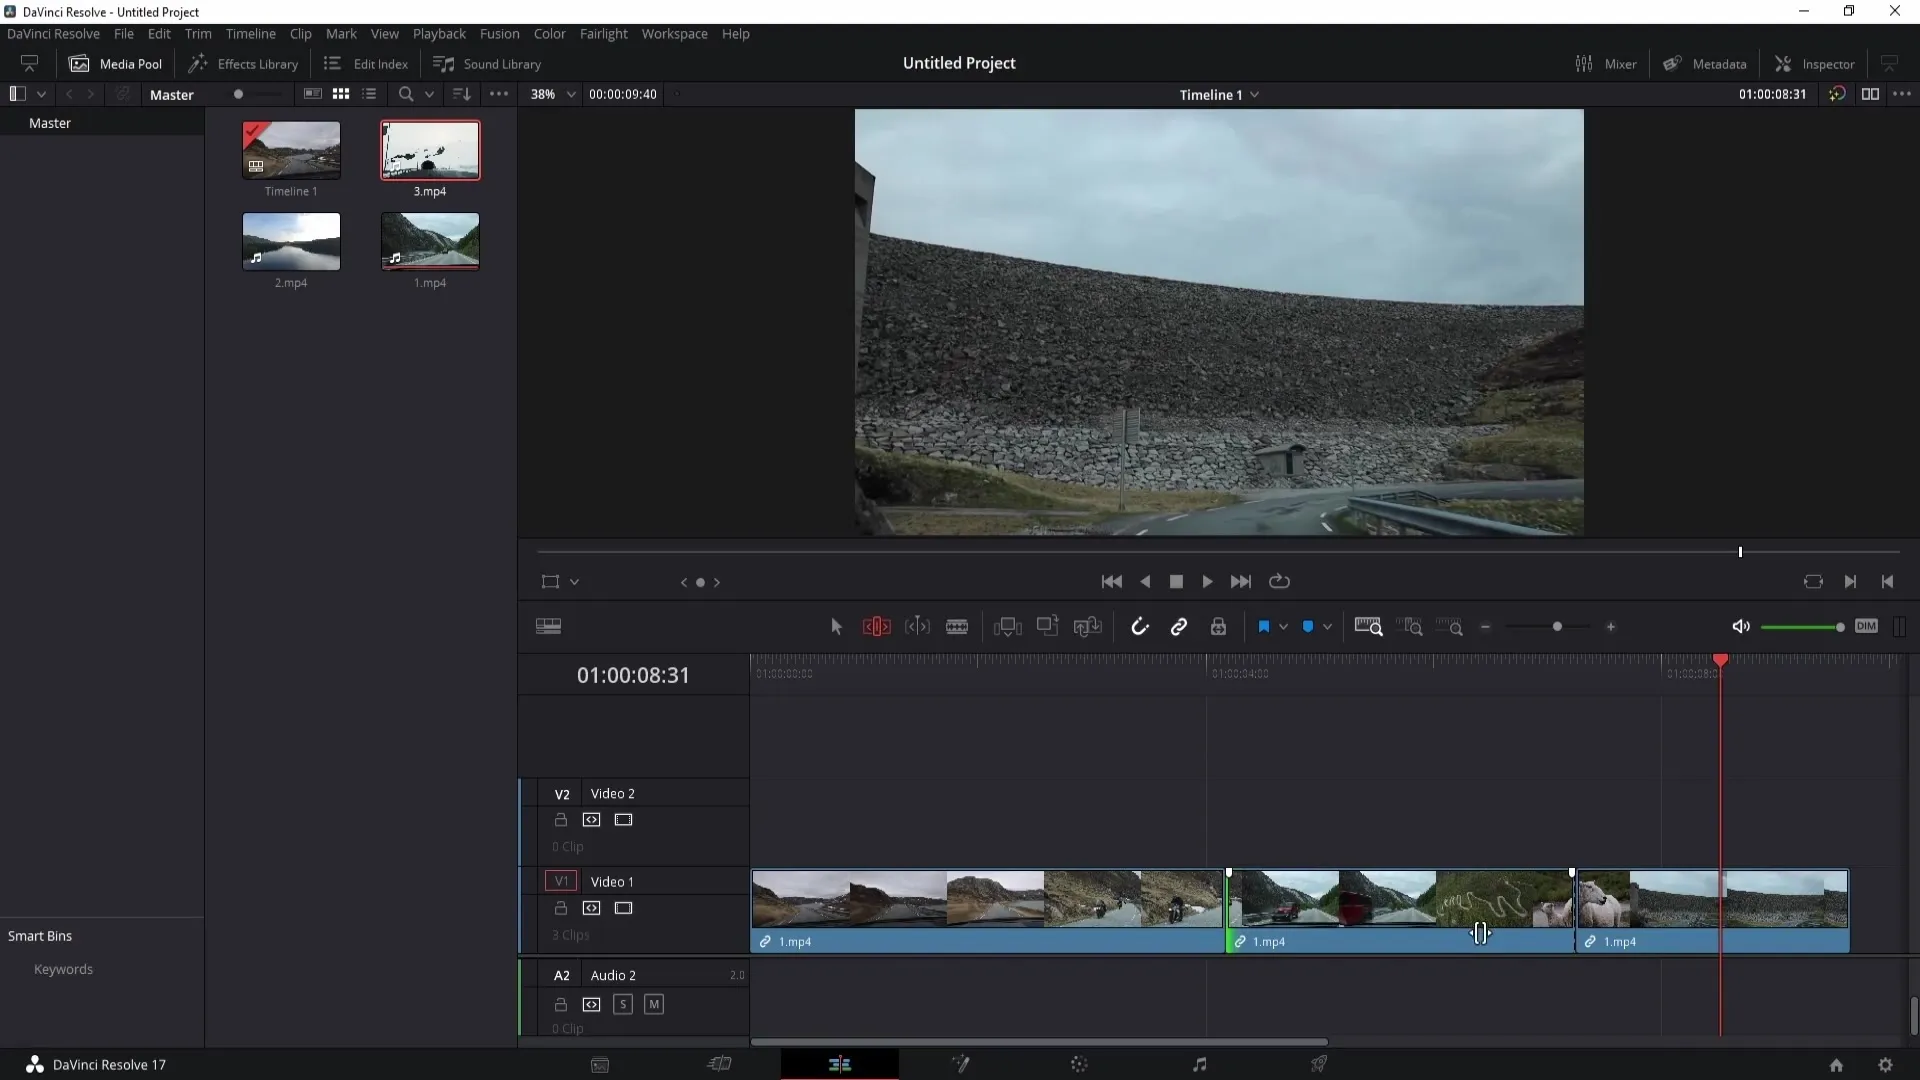
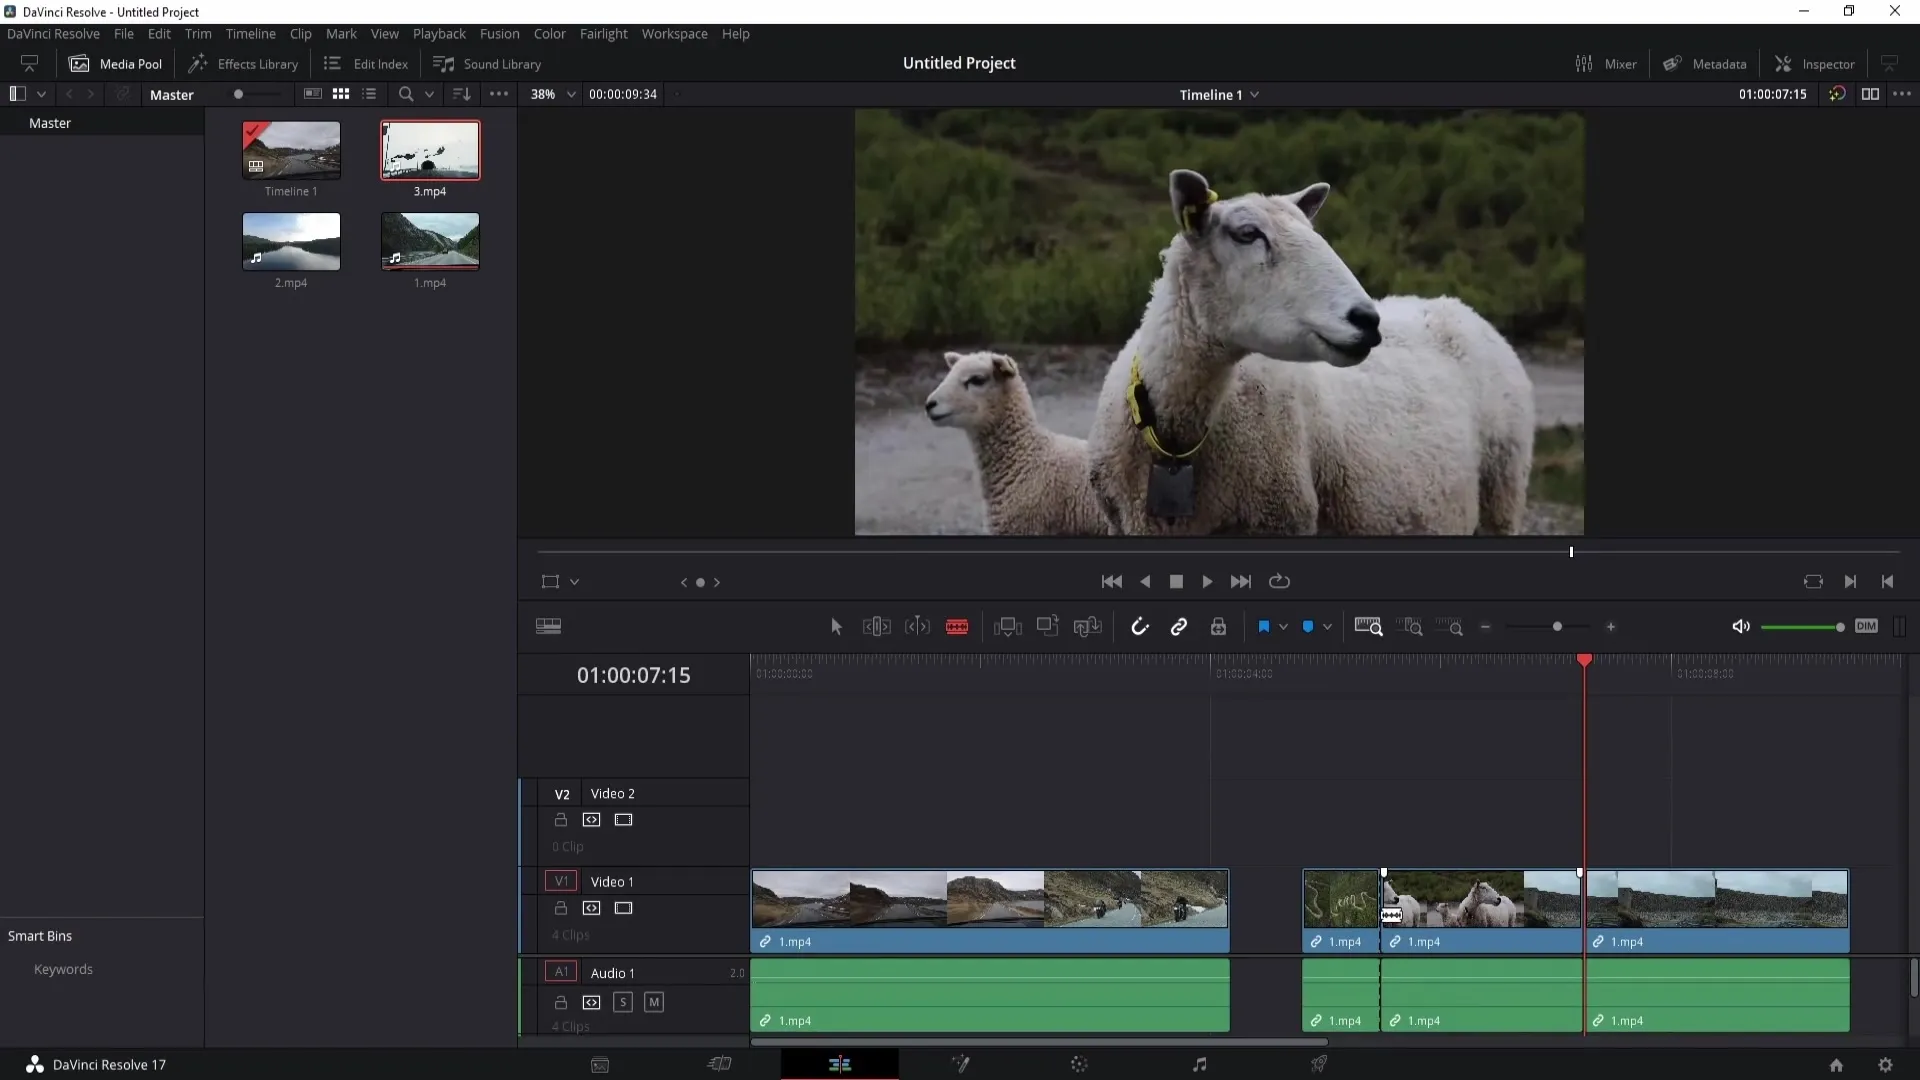
For making cuts, you use the Razor Blade Tool. Click on it or press B to activate it. When you click on a clip, a cut will automatically be made. You can also make a cut using the shortcuts Control + Backslash (or Command + B for Mac) without manually selecting the tool.
Inserting Clips
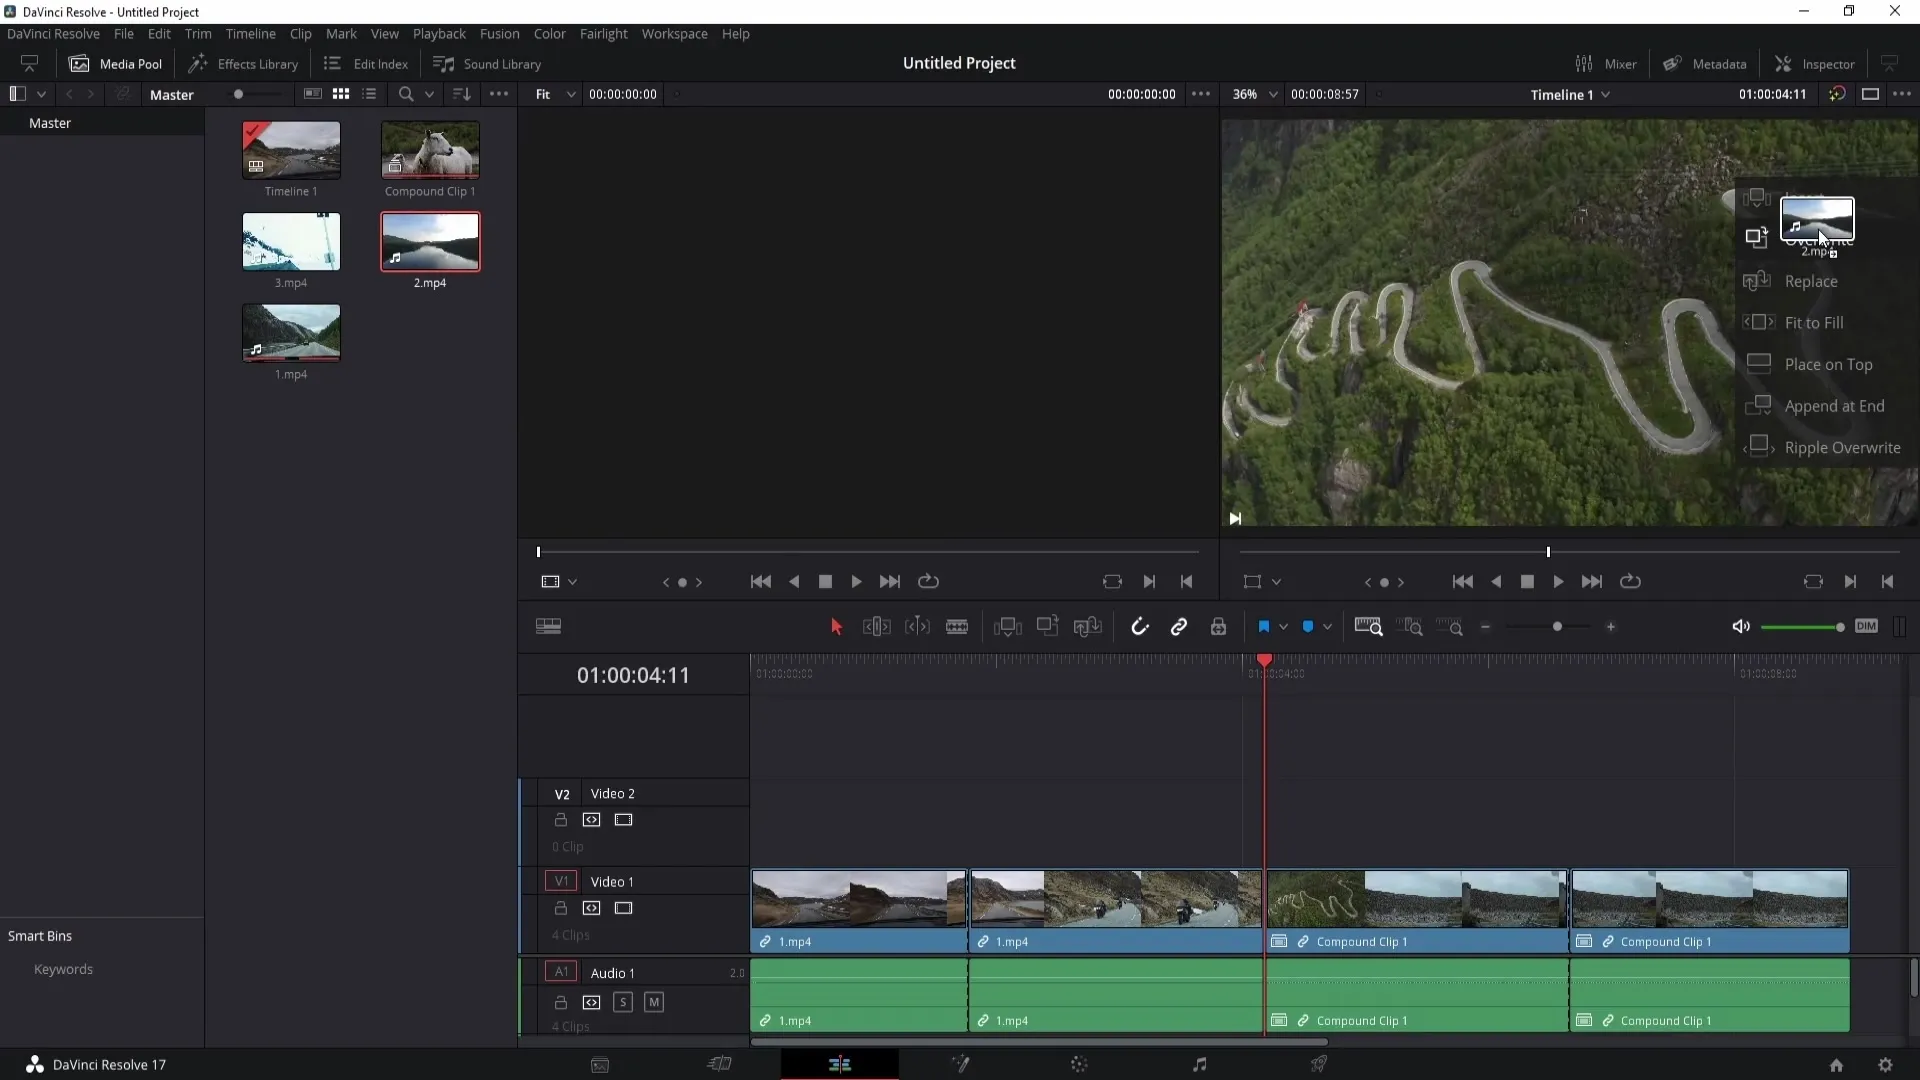
Now that you know the tools, let's learn how to insert clips. There are various ways to do this. Drag a clip into the preview and you will see several options on the right side like Insert, Override, and others. If you choose "Insert", the clip will be added between the existing clips.
When you apply "Override", everything after the playhead will be replaced. Be aware that existing clips will be lost in this process.
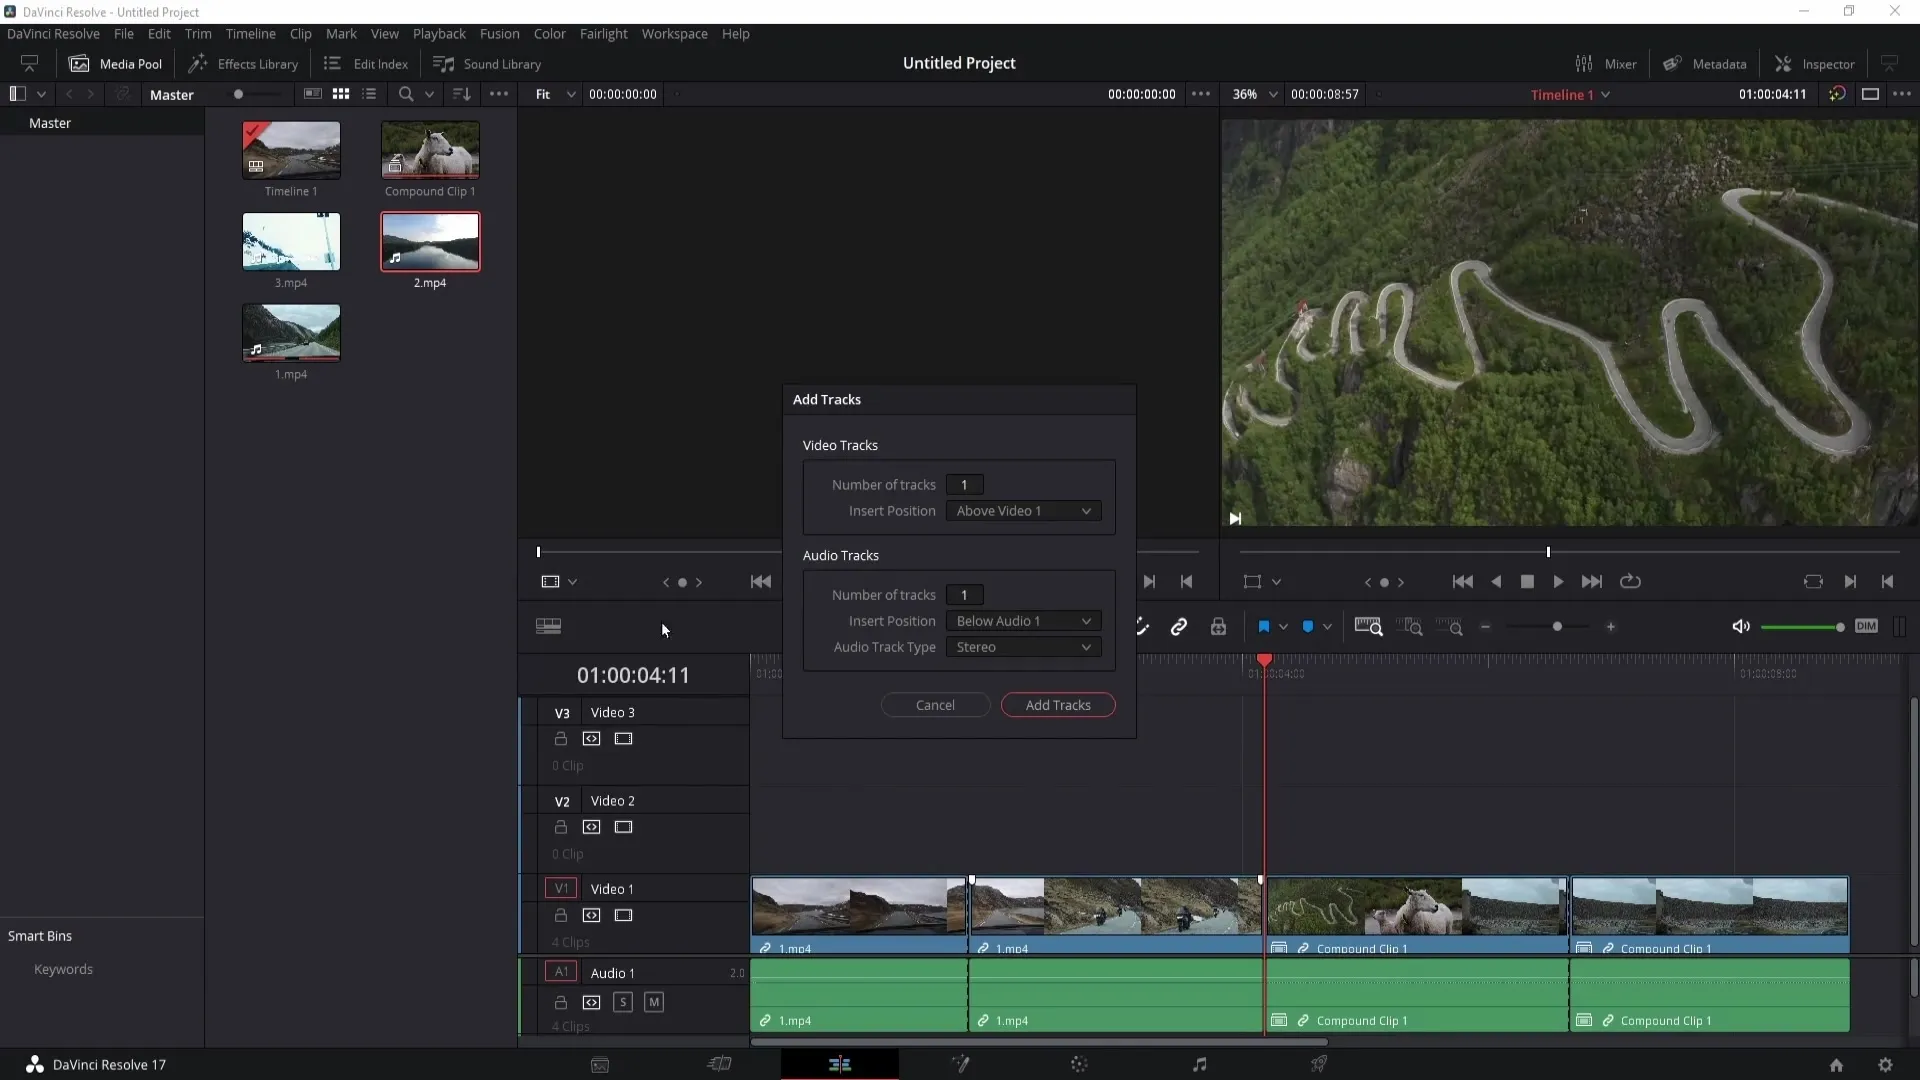
You can also add a new video track by right-clicking in the timeline area and selecting the option "Add Track". When you then insert clips into the new track, everything will be placed there after the playhead.
Functions to Fill Gaps
A useful function is Fit to Fill. When you expand clips, you can use this clip to fill the gap between two clips. The next functions are Place on Top and Append at End. With Place on Top, the clip is automatically placed over another clip, while Append at End adds the clip to the end of the timeline.
Magnetic and Linking Functions
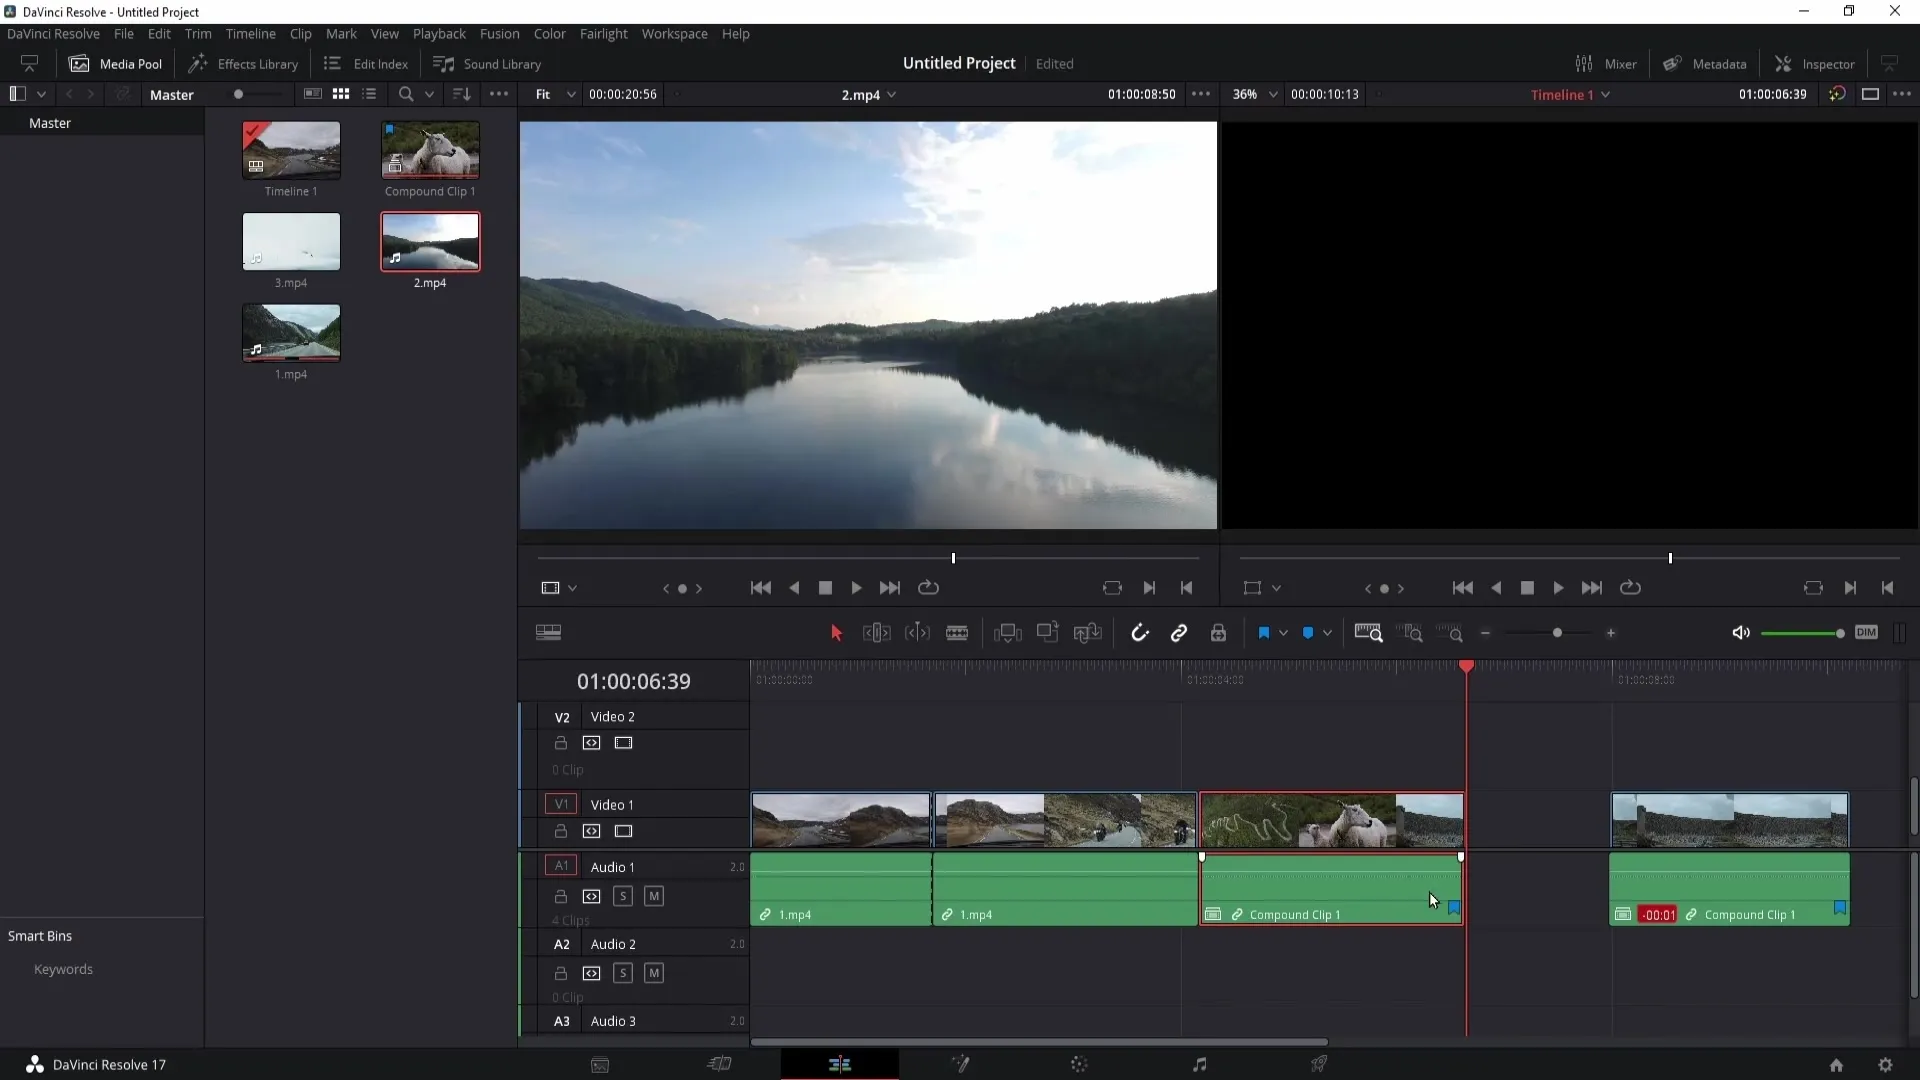
The magnetic tool helps you to precisely align clips with each other. When activated, clips will snap together when aligned. You should also be familiar with linking audio and video tracks. When the chain is active, video and audio will adjust together, which is very useful for ensuring synchronicity.
Flags and Markers
You can also mark clips with a flag to organize them better. This is useful when you have clips from different videos or takes. Markers, on the other hand, allow you to mark specific points in the timeline for easy identification of certain scenes. Use the M key to set markers.
Customizing Viewing Options
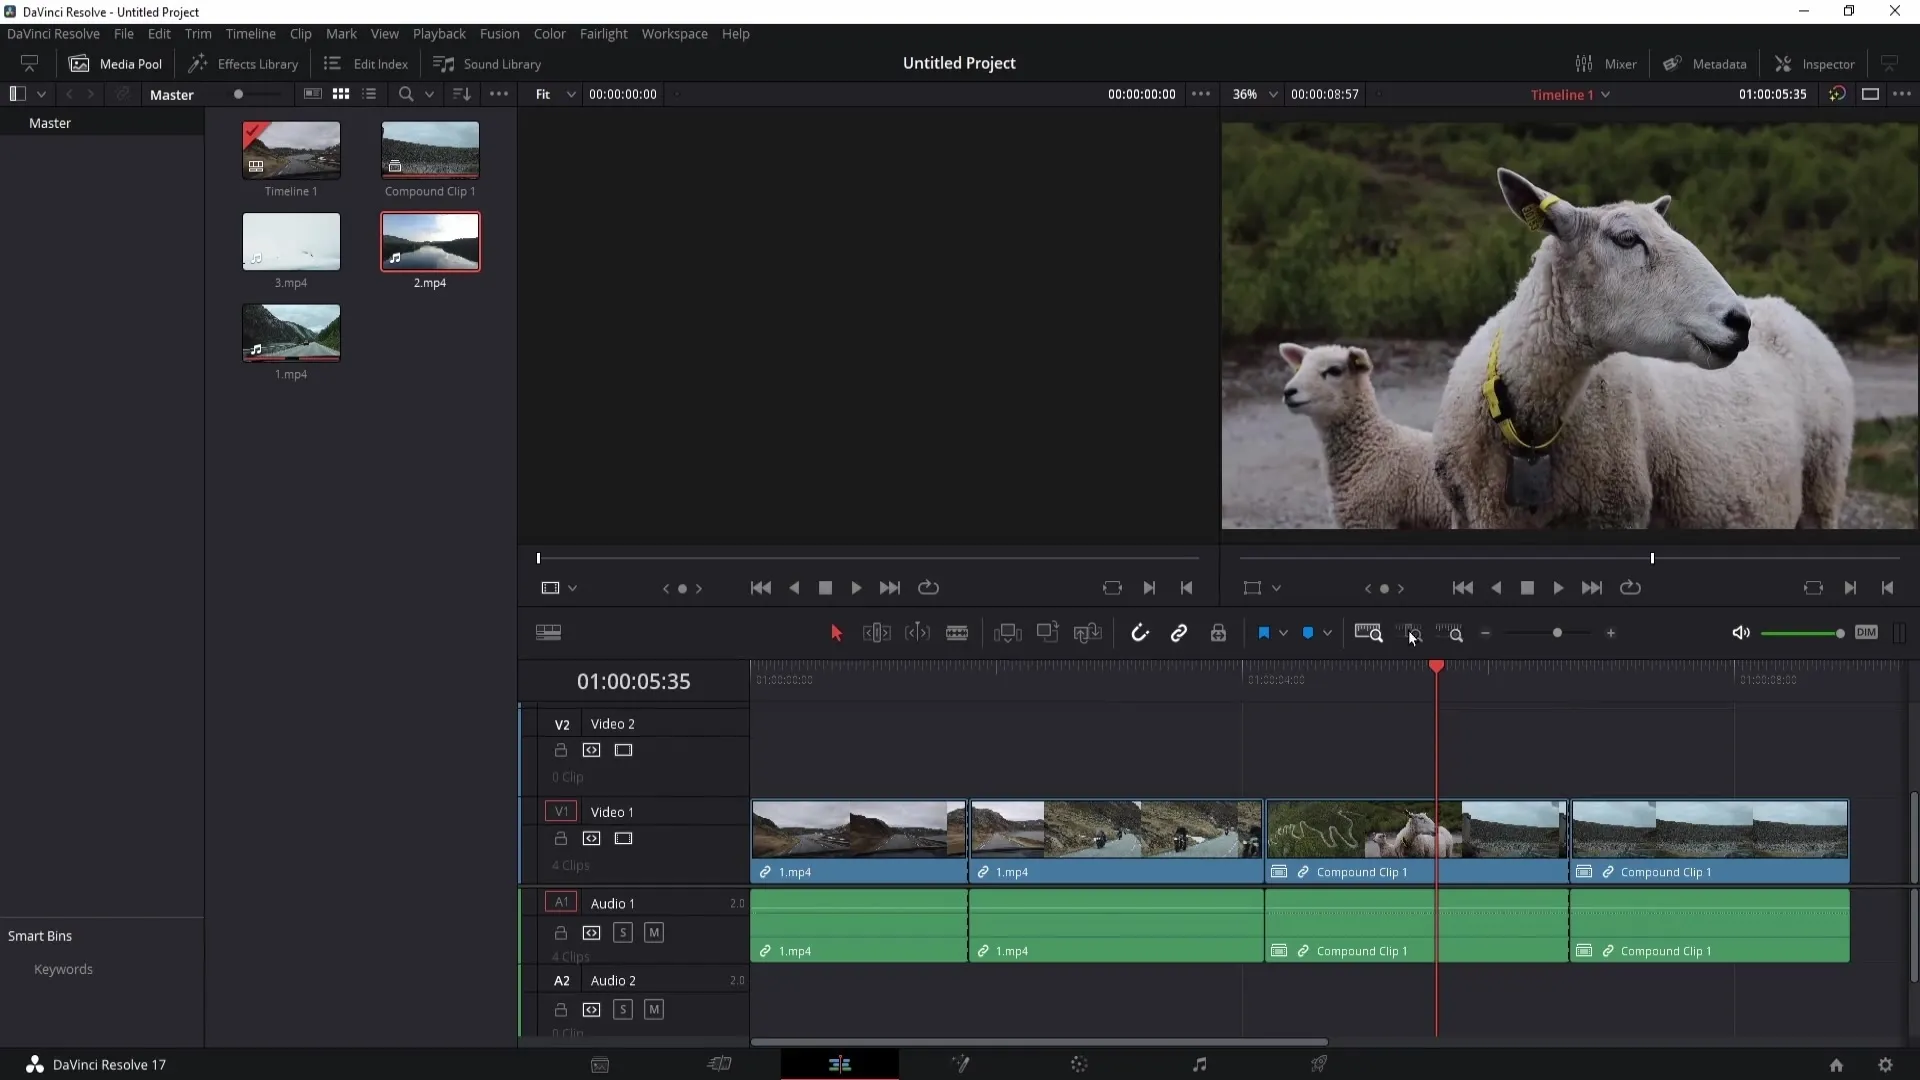
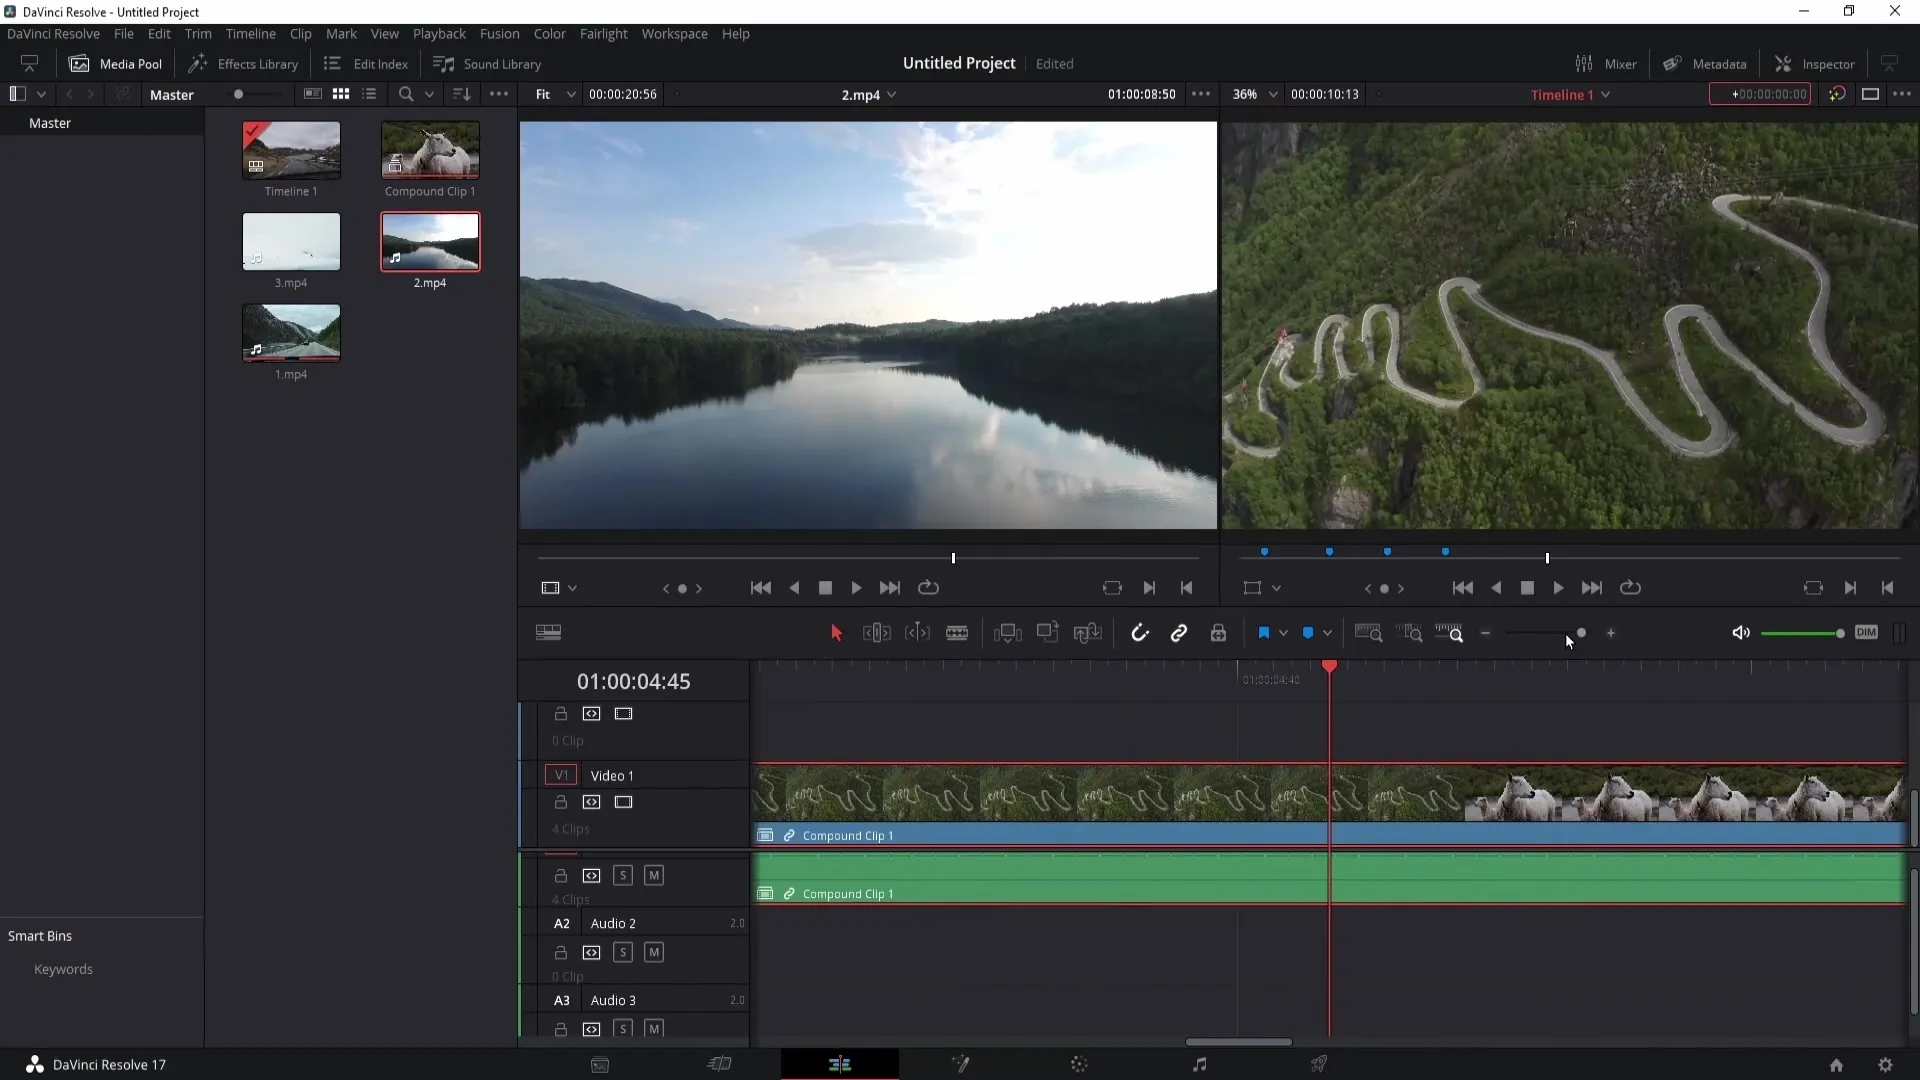
Finally, there are various viewing settings for your timeline. You can switch between close, medium, and wide zoom to make editing easier. Additionally, you can easily zoom in or out using Control + Plus and Control + Minus.
Summary
In this guide, you have learned about the key tools of the Edit Page in DaVinci Resolve. From clip import function to various tool applications and efficient clip insertion, you now have the knowledge to professionally edit your projects. Experiment with these functions and find out which workflows suit you best.
Frequently Asked Questions
How do I import media into DaVinci Resolve?Press Control + I (or Command + I on Mac) and select your files.
How do I insert clips into the timeline?Simply drag the clip into the timeline or use functions like Insert or Override.
What is the difference between Slip and Slide?With Slip, you change the content of a clip, with Slide, you move the clip as a whole.
How do I make a cut in my video?Activate the Razor tool or press Control + Backslash (Command + B).
Can I mark clips?Yes, you can mark clips with flags to differentiate and organize them more easily.


