In this guide, you will learn how to set In and Out Points in DaVinci Resolve and what they mean for your video editing. In and Out Points allow you to select specific segments of a clip that you want to insert or export into your timeline. This increases efficiency in editing and gives you more precise control over your projects. Let's walk through this process step by step.
Key Takeaways
- In and Out Points help you select segments of clips.
- You can copy clips with In and Out Points and paste them elsewhere.
- These points can also be used when exporting videos.
Step-by-Step Guide
Setting In and Out Points
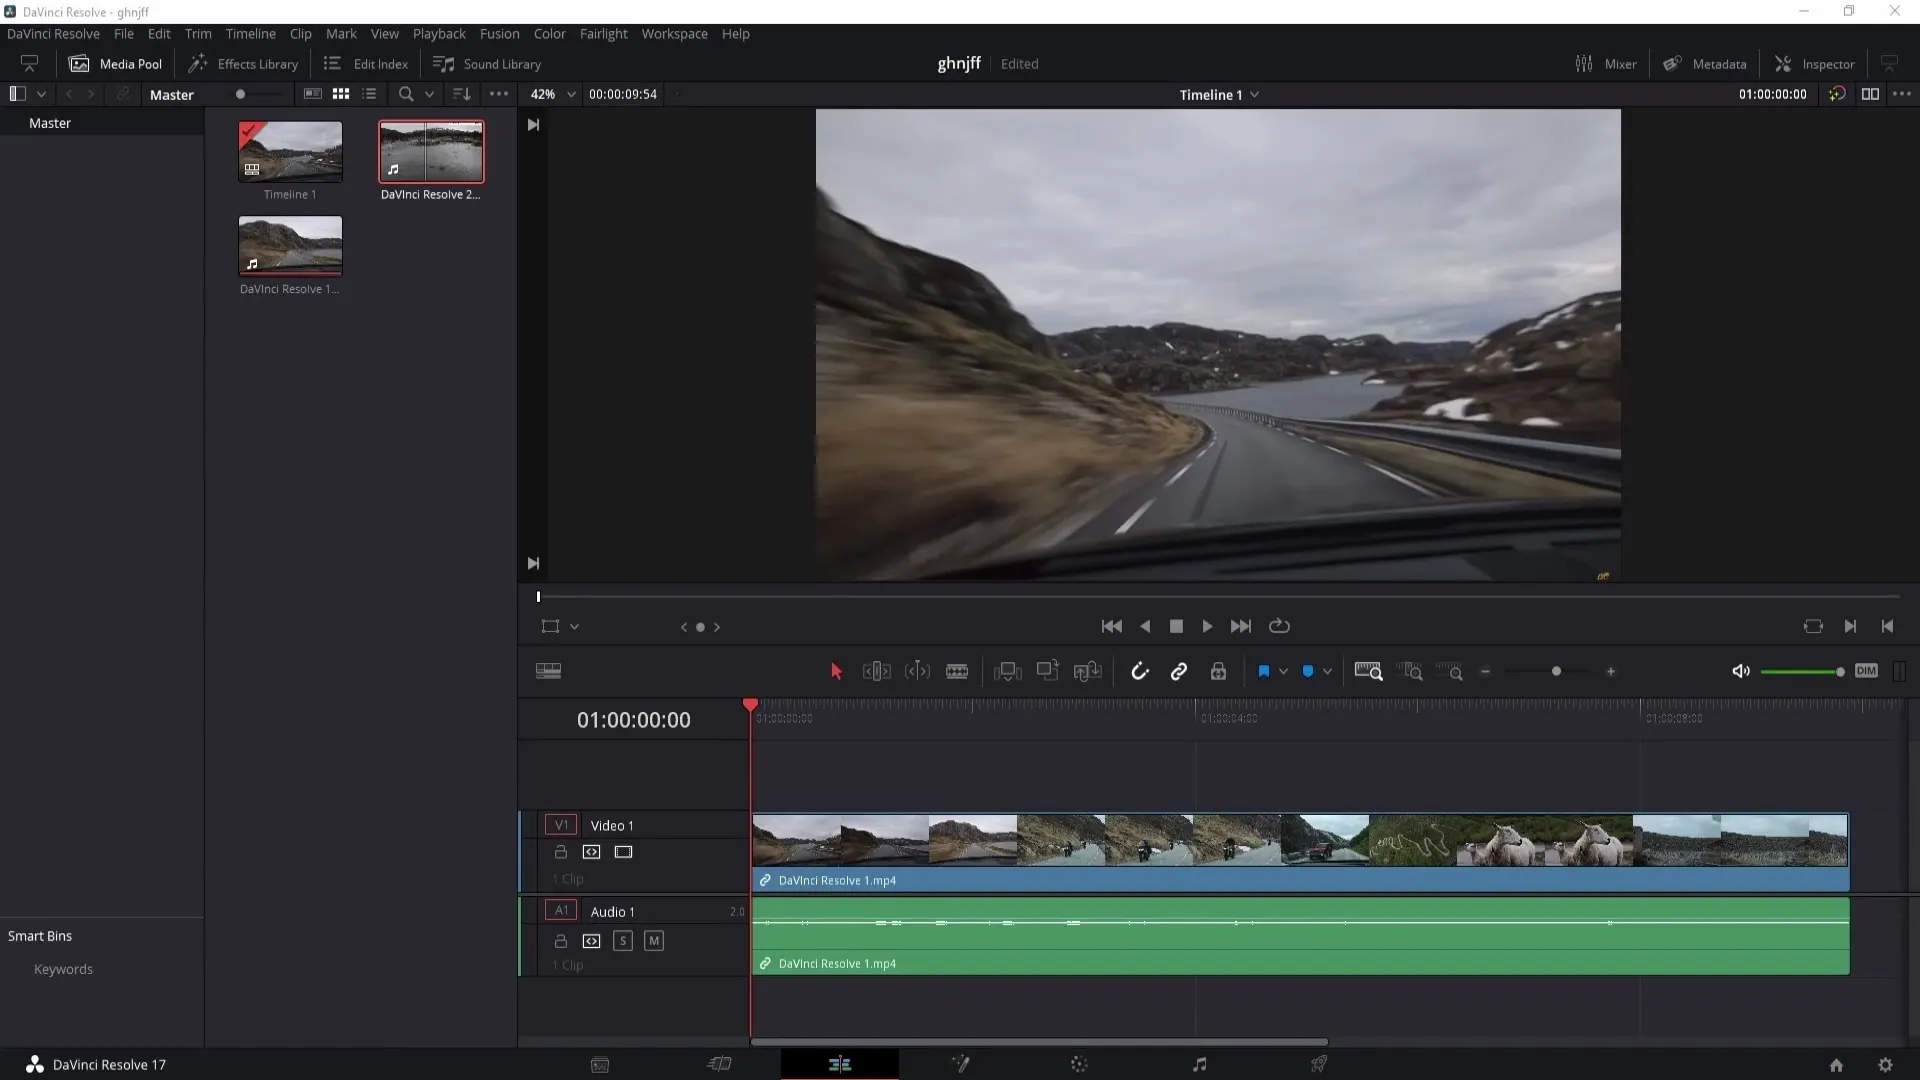
To set an In and Out Point, you need to navigate to a specific point in your video. You can set the In Point by pressing the i key. To set the Out Point, simply press the o key.
Adjusting the Points
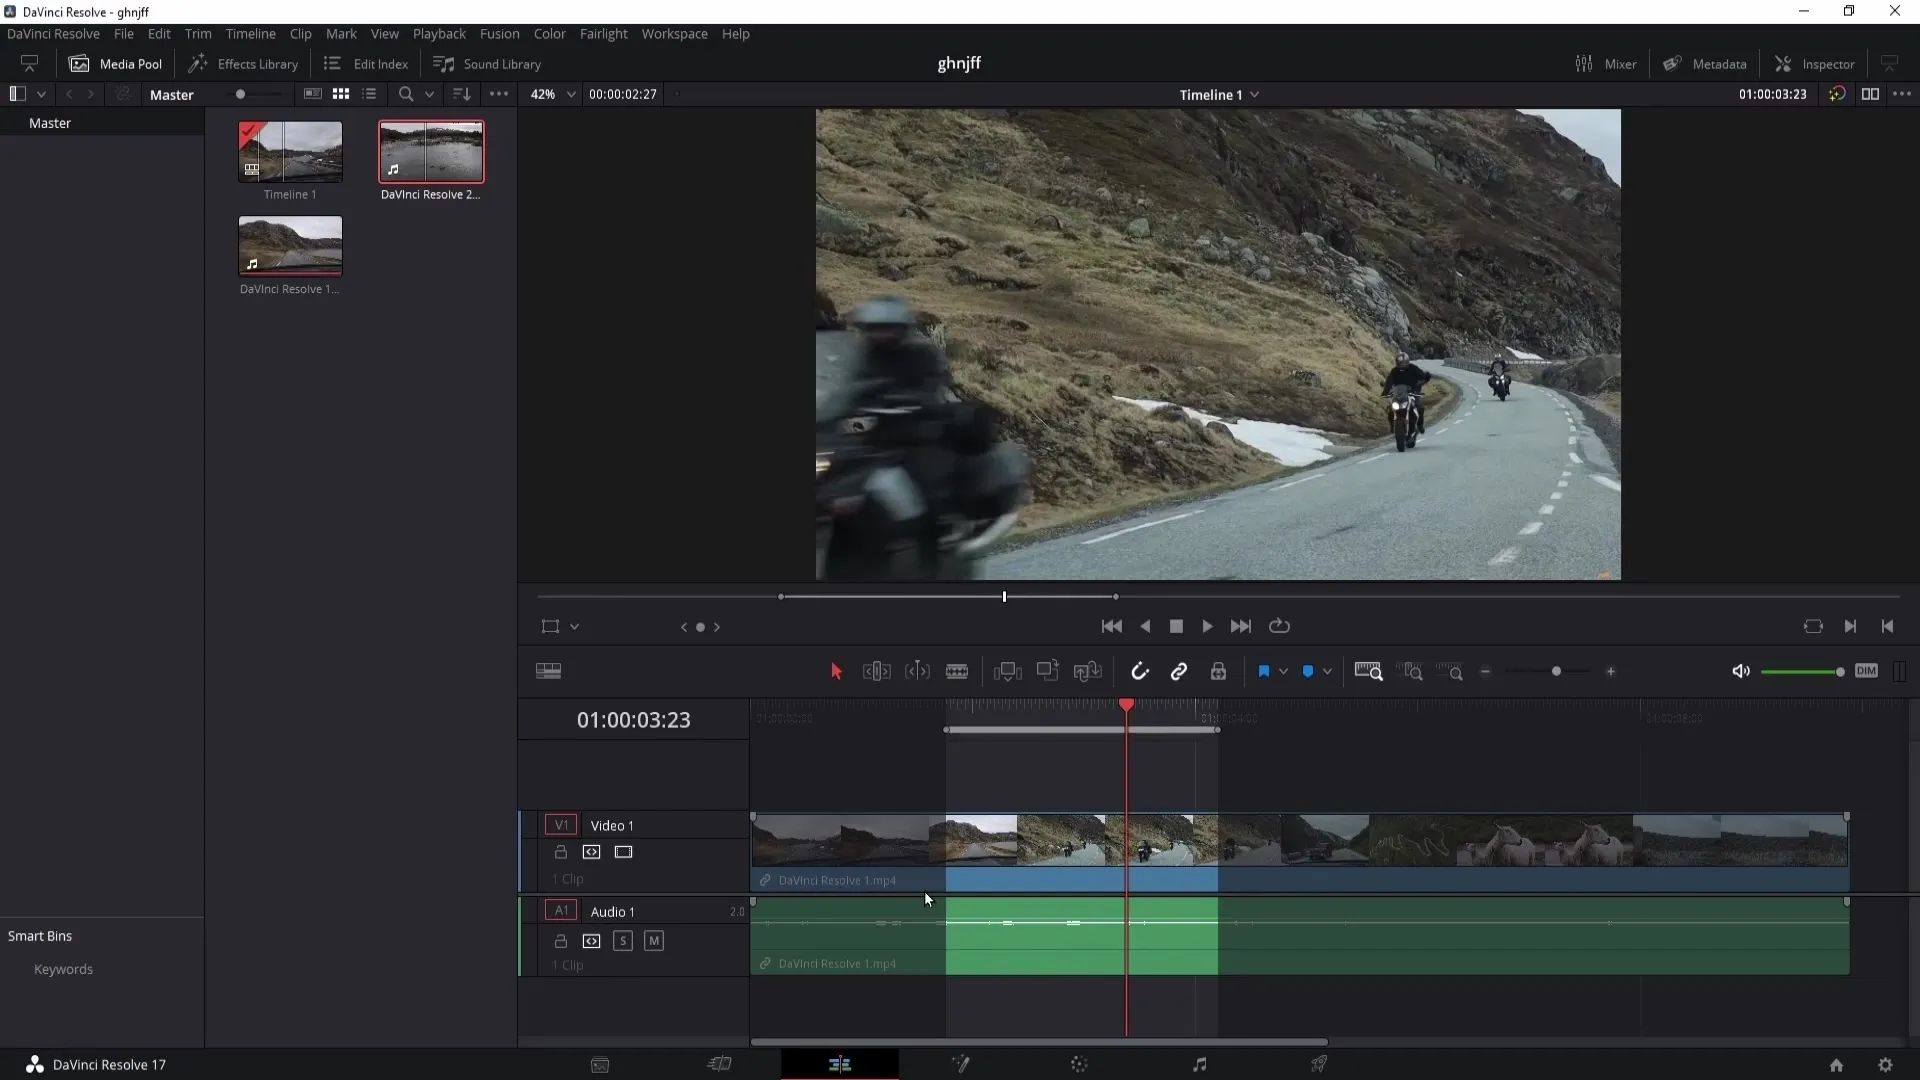
Once you have set your points, it is possible to move or expand them. You can adjust the In Point in your timeline as needed to select the exact section you want.
Copying and Pasting
With the set In and Out Points, you can copy the selected parts of your clip. To do this, press Ctrl + C to copy the selection. To remove the points, use the key combination Alt + X. Then you can move to the desired location in the video. With Ctrl + V, you paste the copied selection in the new location.
Exporting Clips
If you have set the In and Out Points and want to export the clip, select the "Deliver" option. This way, only the area between your set points will be exported. Anything outside the defined points will not be exported.
Resetting the Points
If you want to reset your In or Out Points, you can use the key combination Alt + O to reset the Out Point to the end of the clip. Similarly, you can bring the In Point back to the beginning with Alt + E.
Using the Dual-Screen
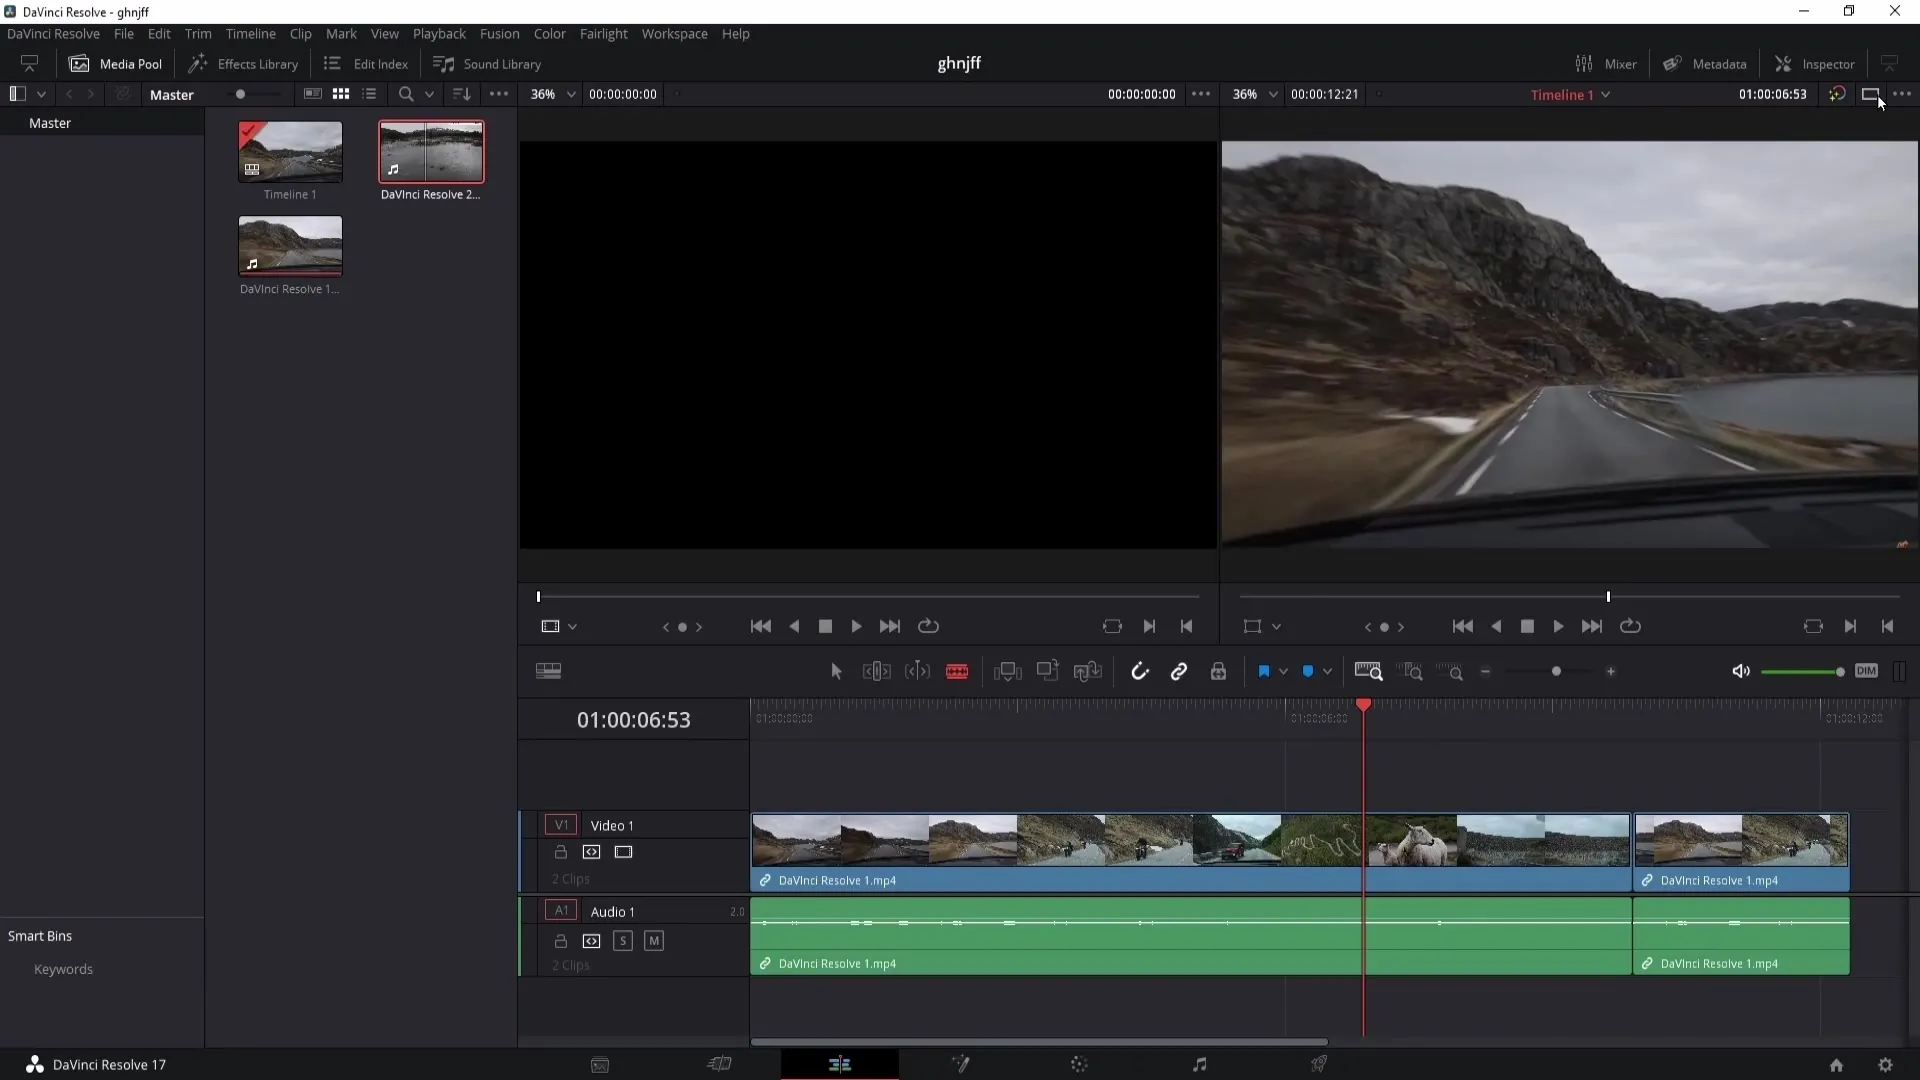
Another useful feature is the dual-screen. When you activate the dual-screen, you can view clip previews in a larger format. Click on the three dots in the upper right corner to activate the dual-screen.
Activate Live Media Preview
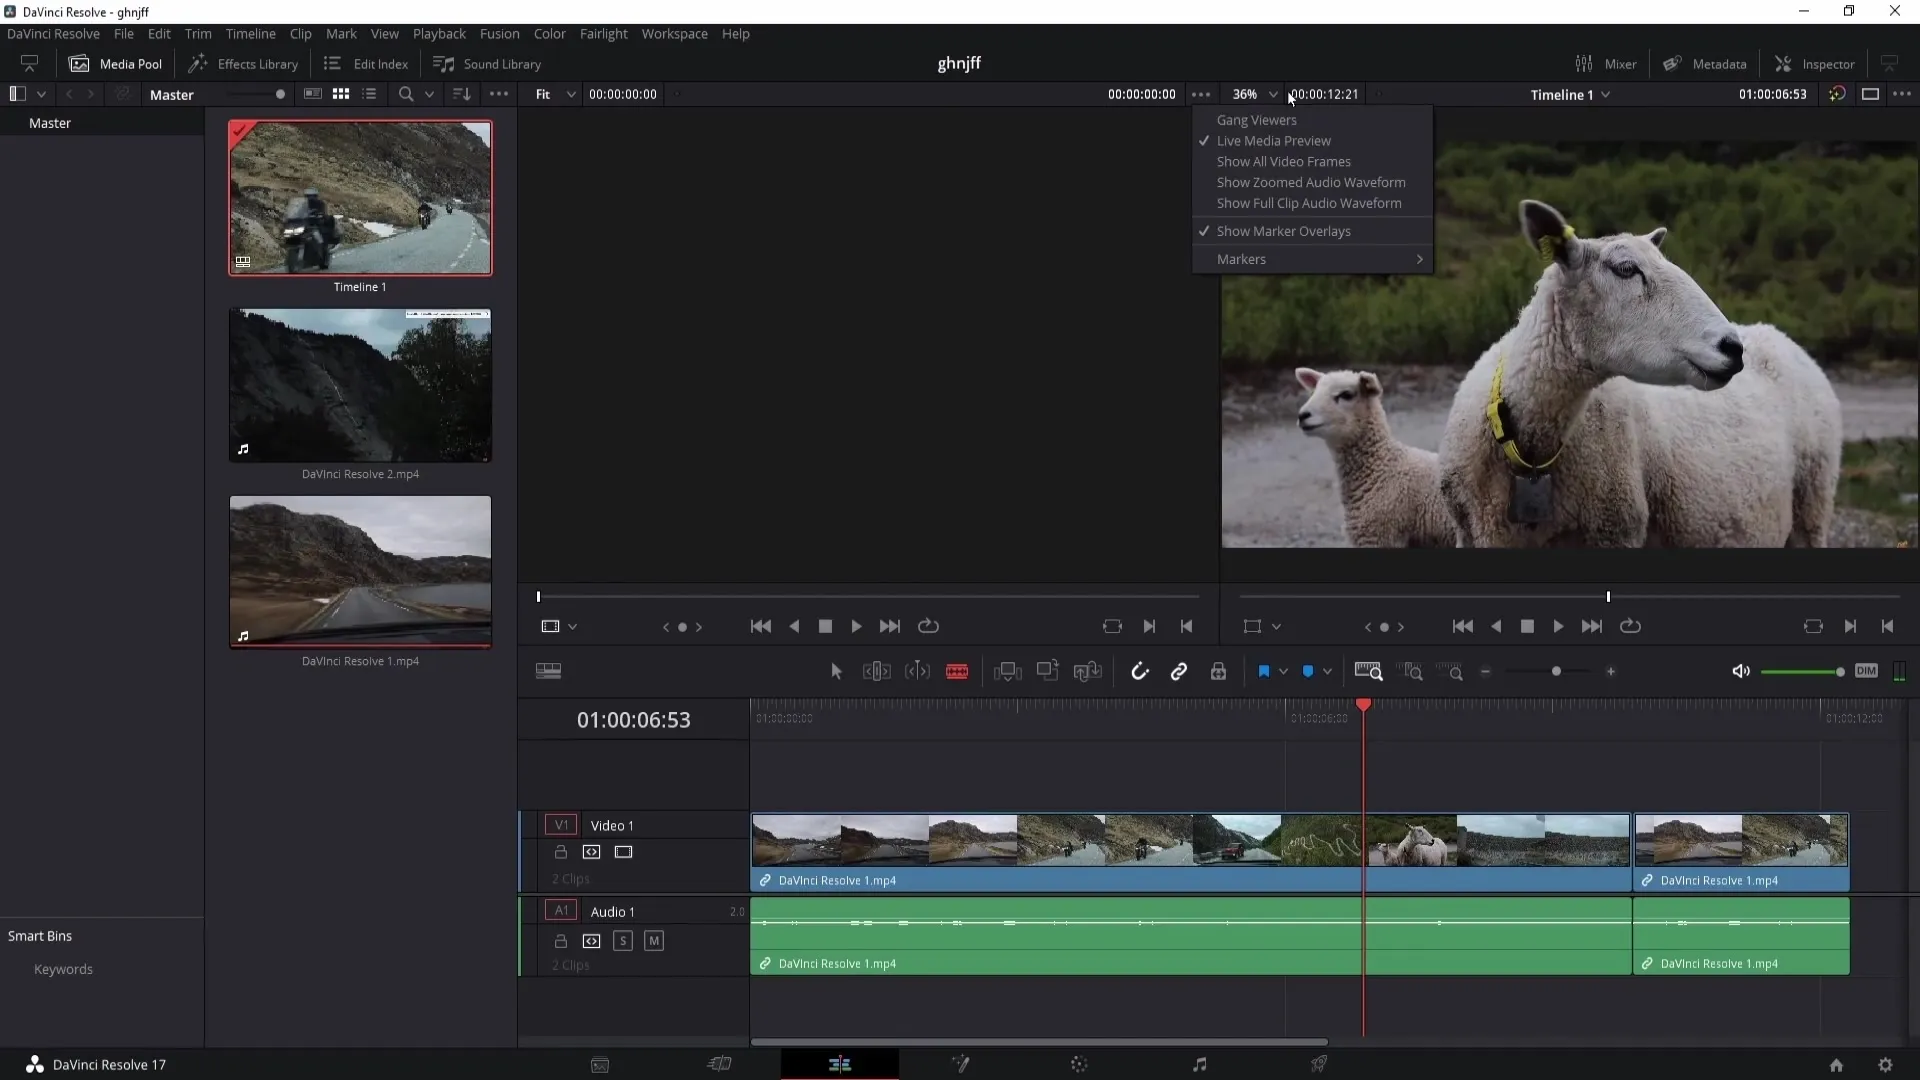
If you can't see the clips' preview with the mouse, go to settings, click on the three dots, and enable "Live Media Preview." This way, you will get a preview when you hover over the clips with the mouse.
Selecting Clips from the Media Pool
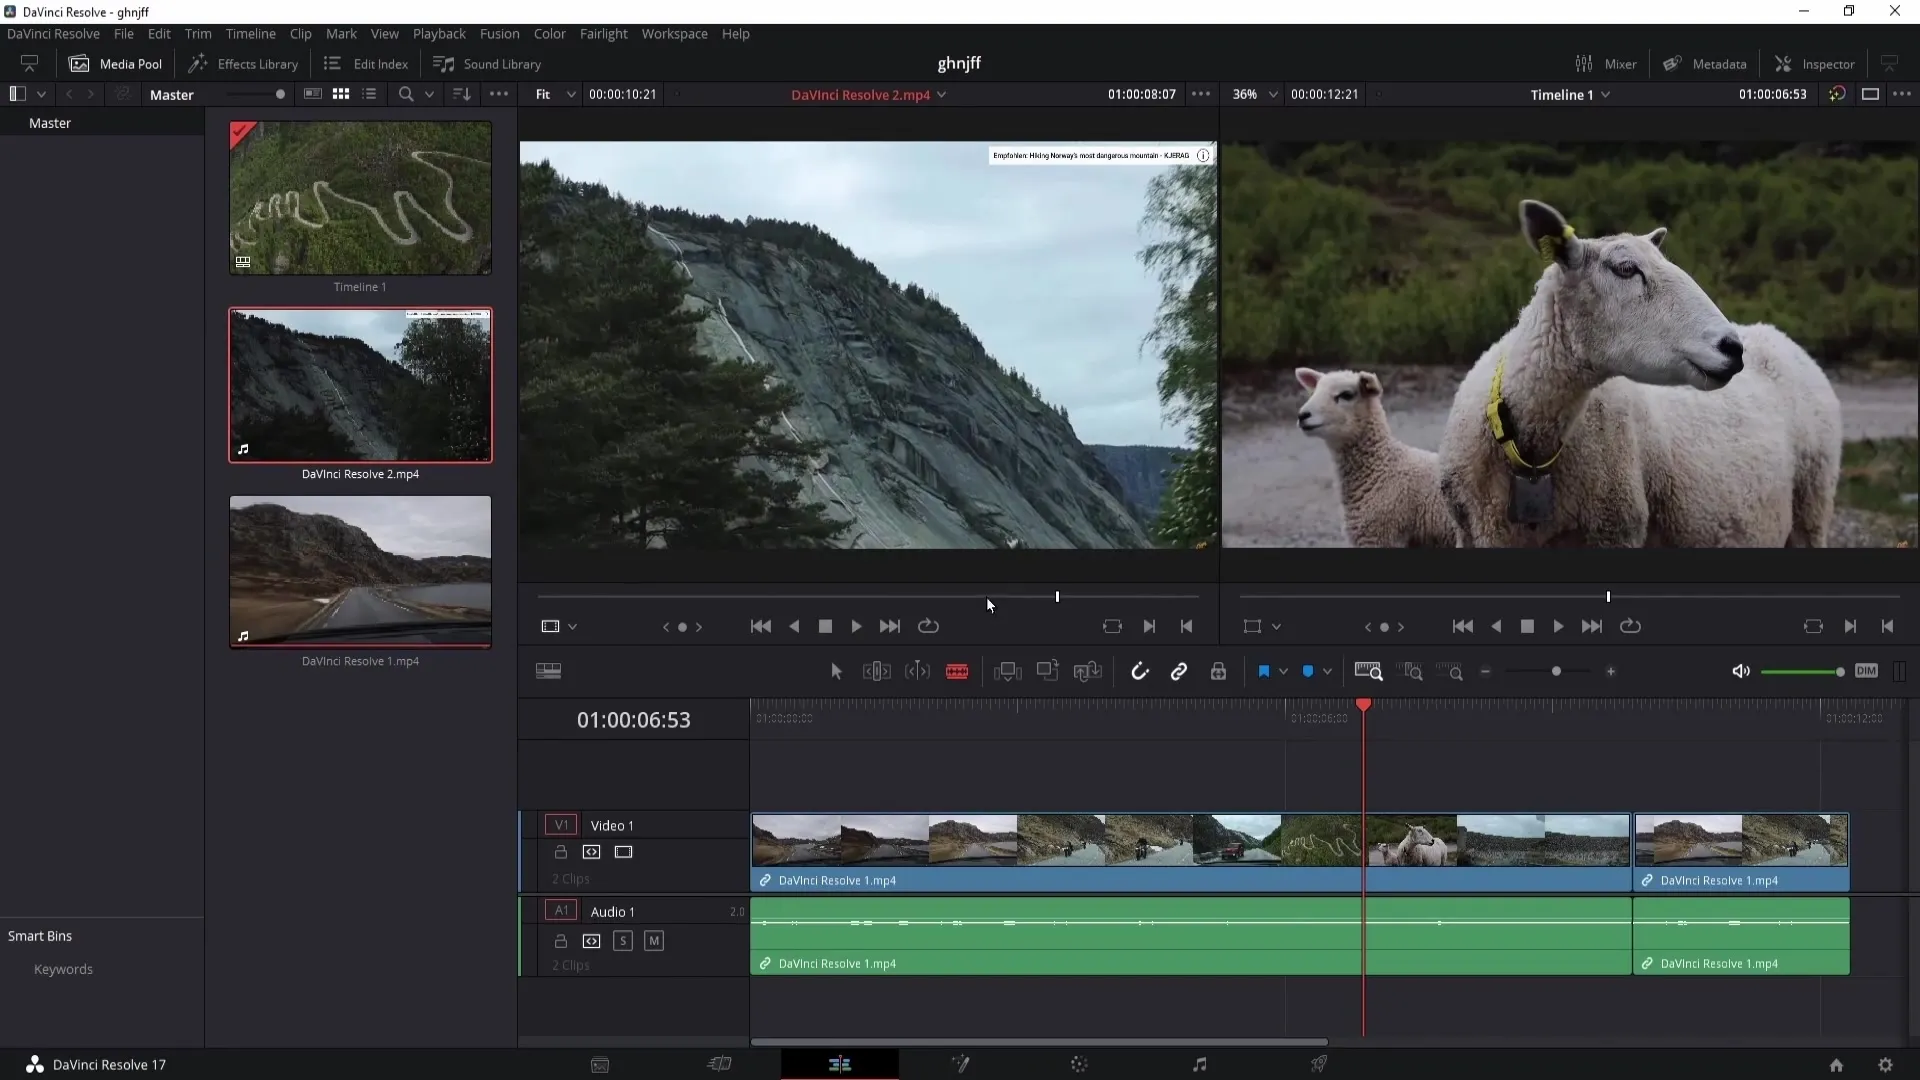
You can also select clips directly from the media pool. When you select a clip and open it with a double click, you can then set In and Out Points here as well to directly insert specific sections into your timeline.
Inserting Clips into the Timeline
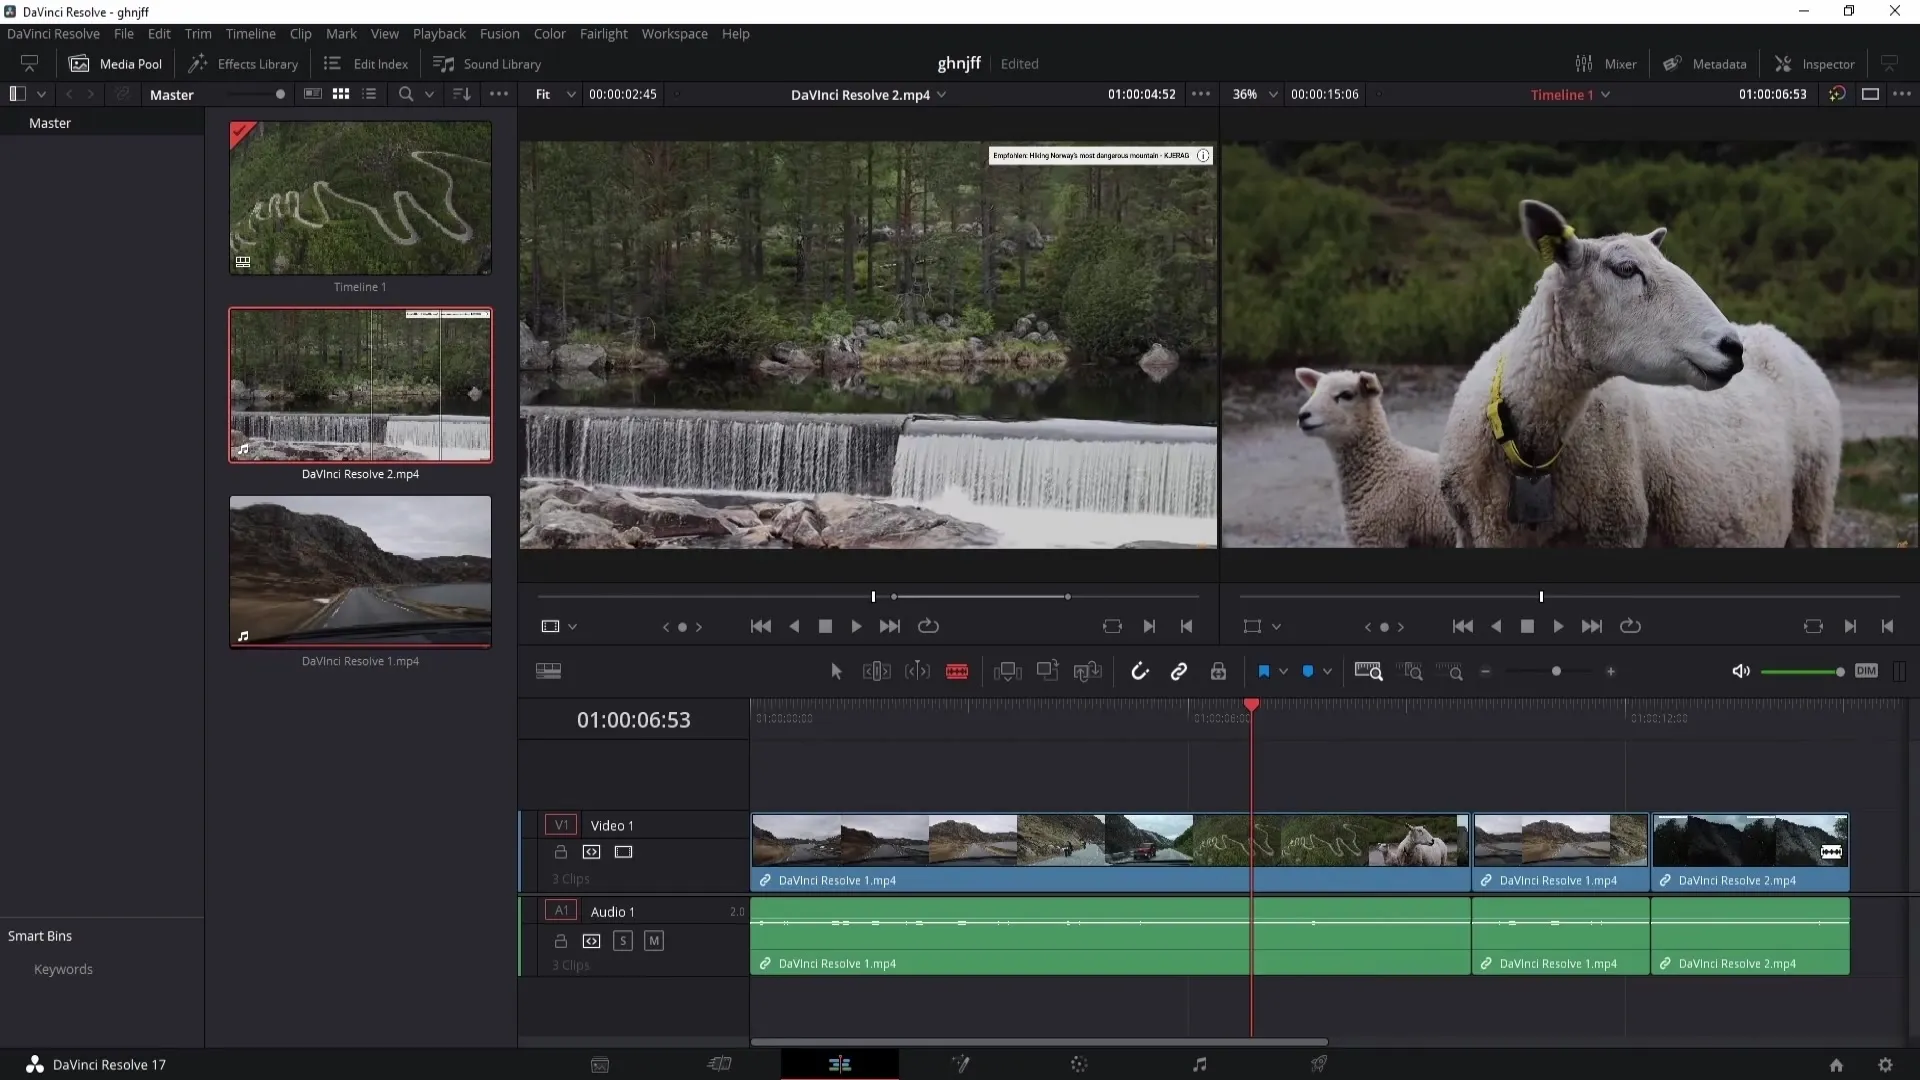
To insert the clip selected with In and Out Points into your timeline, simply drag it with the left mouse button to the desired location in the timeline. Only the desired sections will be transferred.
Adding Tracks
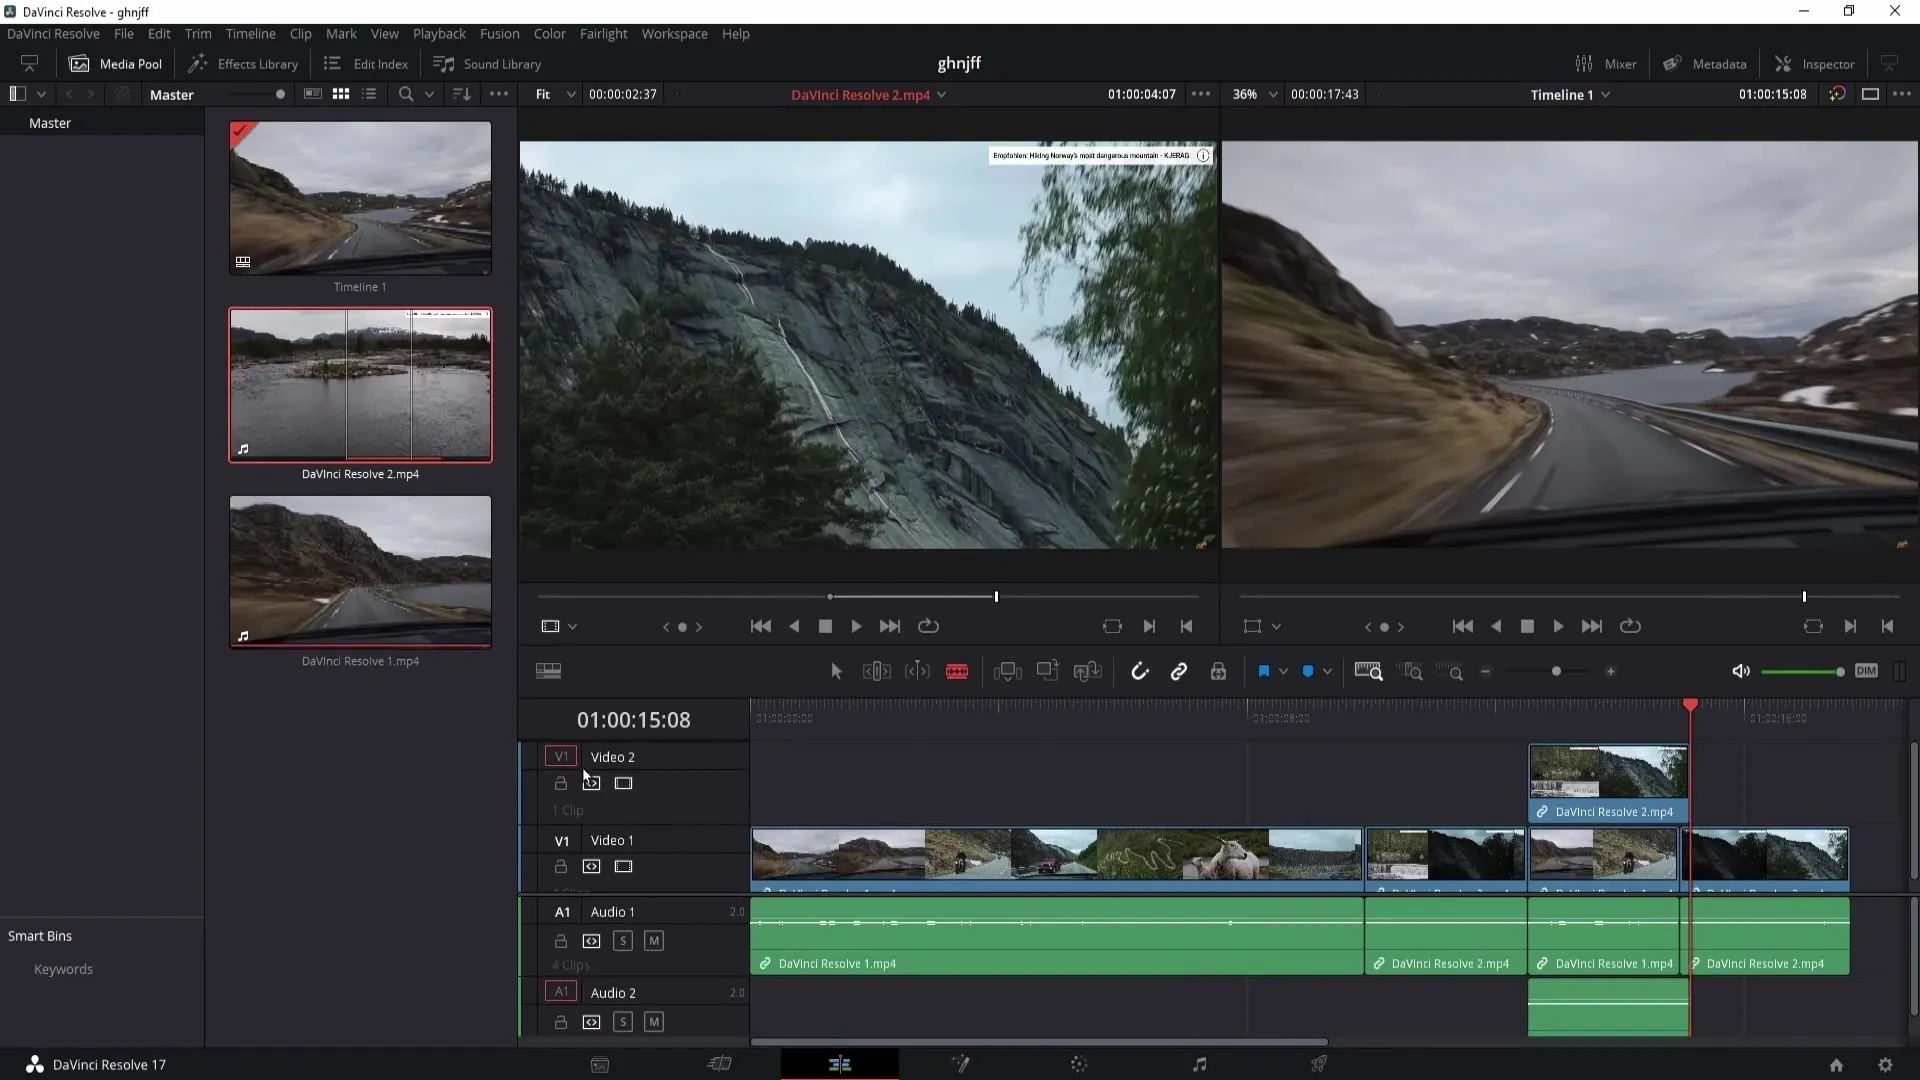
If you need more tracks, right-click on the video timeline and choose "Add Tracks". This allows you to add new video and audio tracks.
Inserting into Newly Created Tracks
When inserting a clip into a new track, you can directly insert it into the selected tracks by using the "Override" option. This enables precise editing when multiple tracks are involved.
Summary
In this guide, you have learned many important aspects of working with in and out points in DaVinci Resolve. You can now edit, select, and export clips more efficiently. With these skills, you will significantly improve your video editing.
Frequently Asked Questions
How do I set an In-Point?You can set the in-point by pressing the i key while you are at the desired location in the video.
How do I set an Out-Point?The out-point is set by pressing the o key, also at the desired location in the video.
When should In and Out-Points be used?They should be used when you want to select or export specific segments of a clip.
Can I adjust my In and Out-Points?Yes, you can move or reset the points as needed.
How do I insert clips into my timeline?Simply drag the clip from your media pool into the timeline while you have set the desired in and out points.


