In this tutorial, you will learn everything you need to know about the Fusion effects in DaVinci Resolve. The Fusion effects offer you a variety of options to integrate creative effects into your videos. Especially in the paid Studio version, these effects are a powerful tool to enhance the visual quality of your projects. So let's dive right in and explore the various Fusion effects.
Main Insights
- Fusion effects are pre-built effects in the DaVinci Resolve Studio version.
- You can find the effects on the Edit page under "Effects".
- You can easily add and customize effects to your timeline through drag-and-drop.
- Each effect can be further edited, its settings reset, or deleted.
Step-by-Step Guide
Step 1: Accessing the Fusion Effects
To find the Fusion effects in DaVinci Resolve, you first need to switch to the Edit page. Click on the Edit page at the bottom of the user interface. In the top left corner, under the "Effects" tab, you can display the predefined effects.
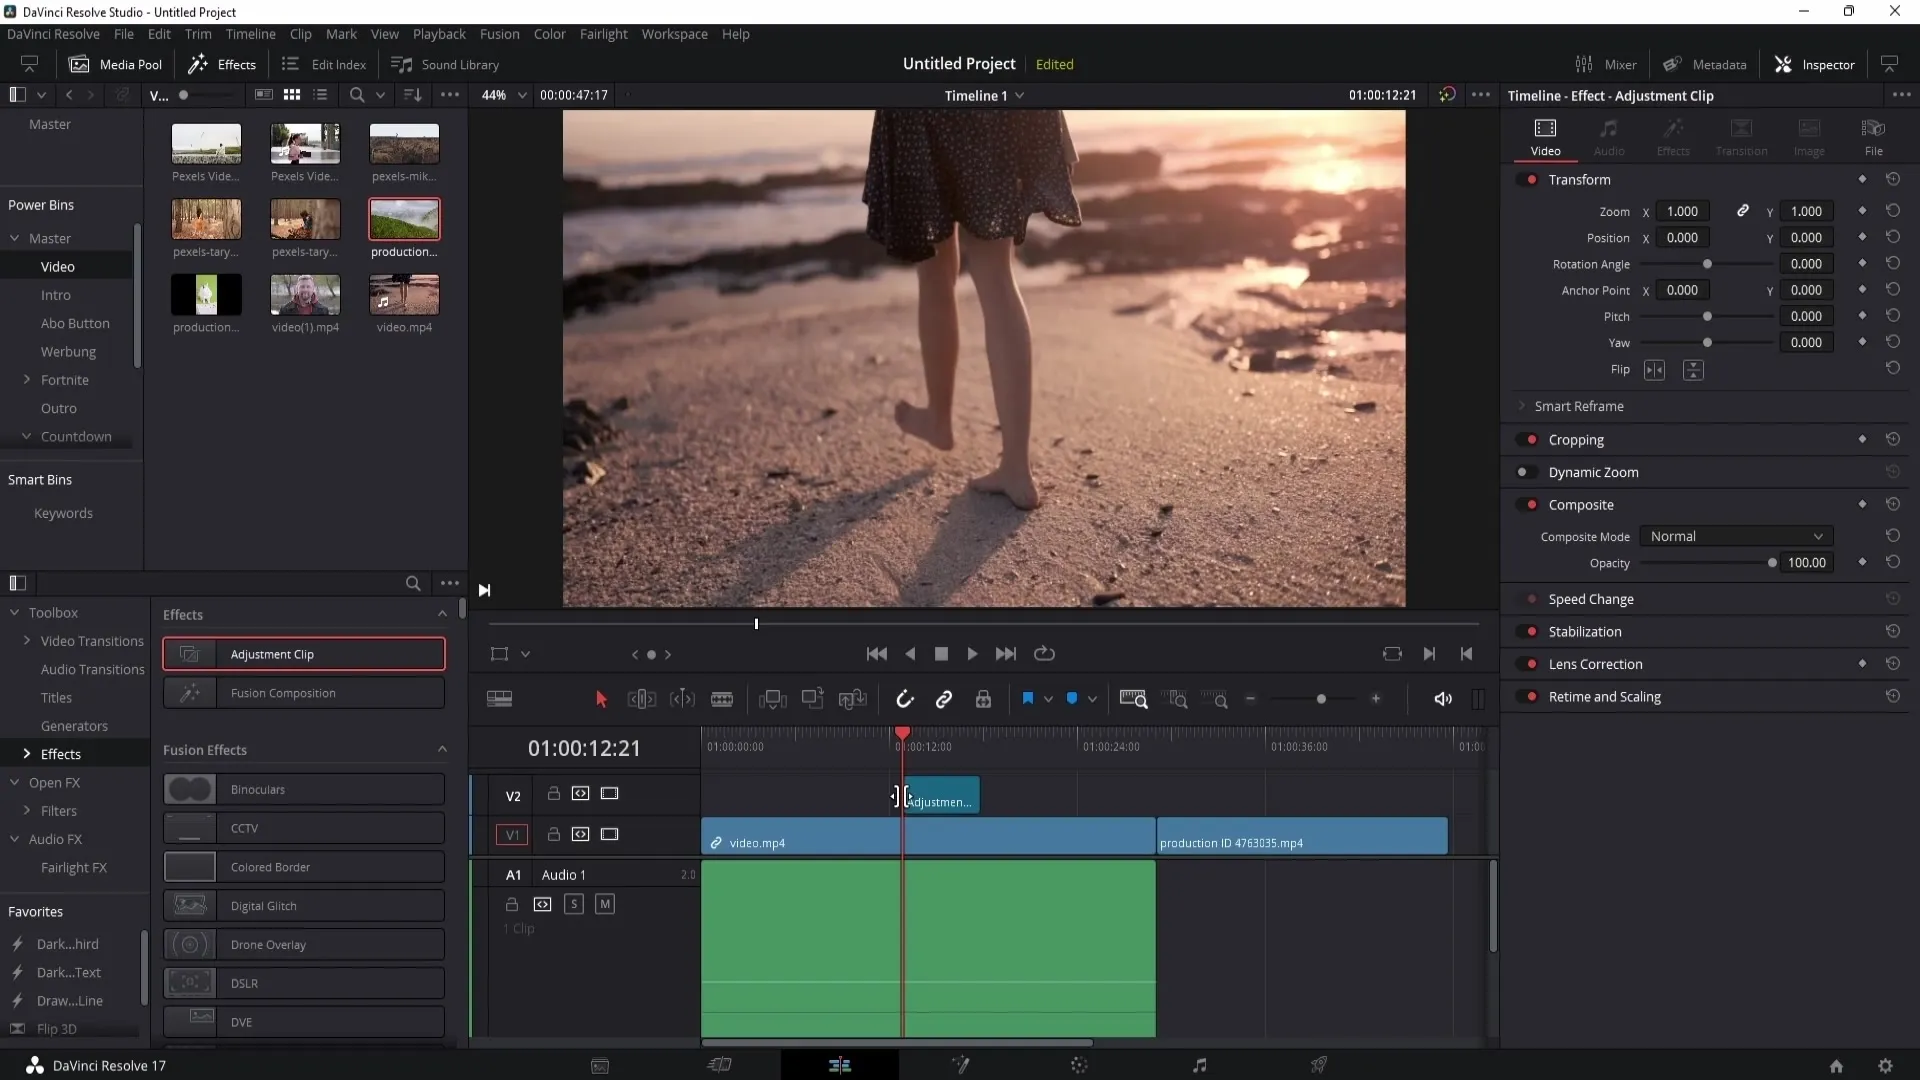
Step 2: Introduction to the Adjustment Clip
A practical effect is the Adjustment Clip, which you can simply drag into the timeline. This gives you the ability to apply effects flexibly. For example, in the Inspector on the right side, you can add a zoom effect that only affects the area where the Adjustment Clip is located.
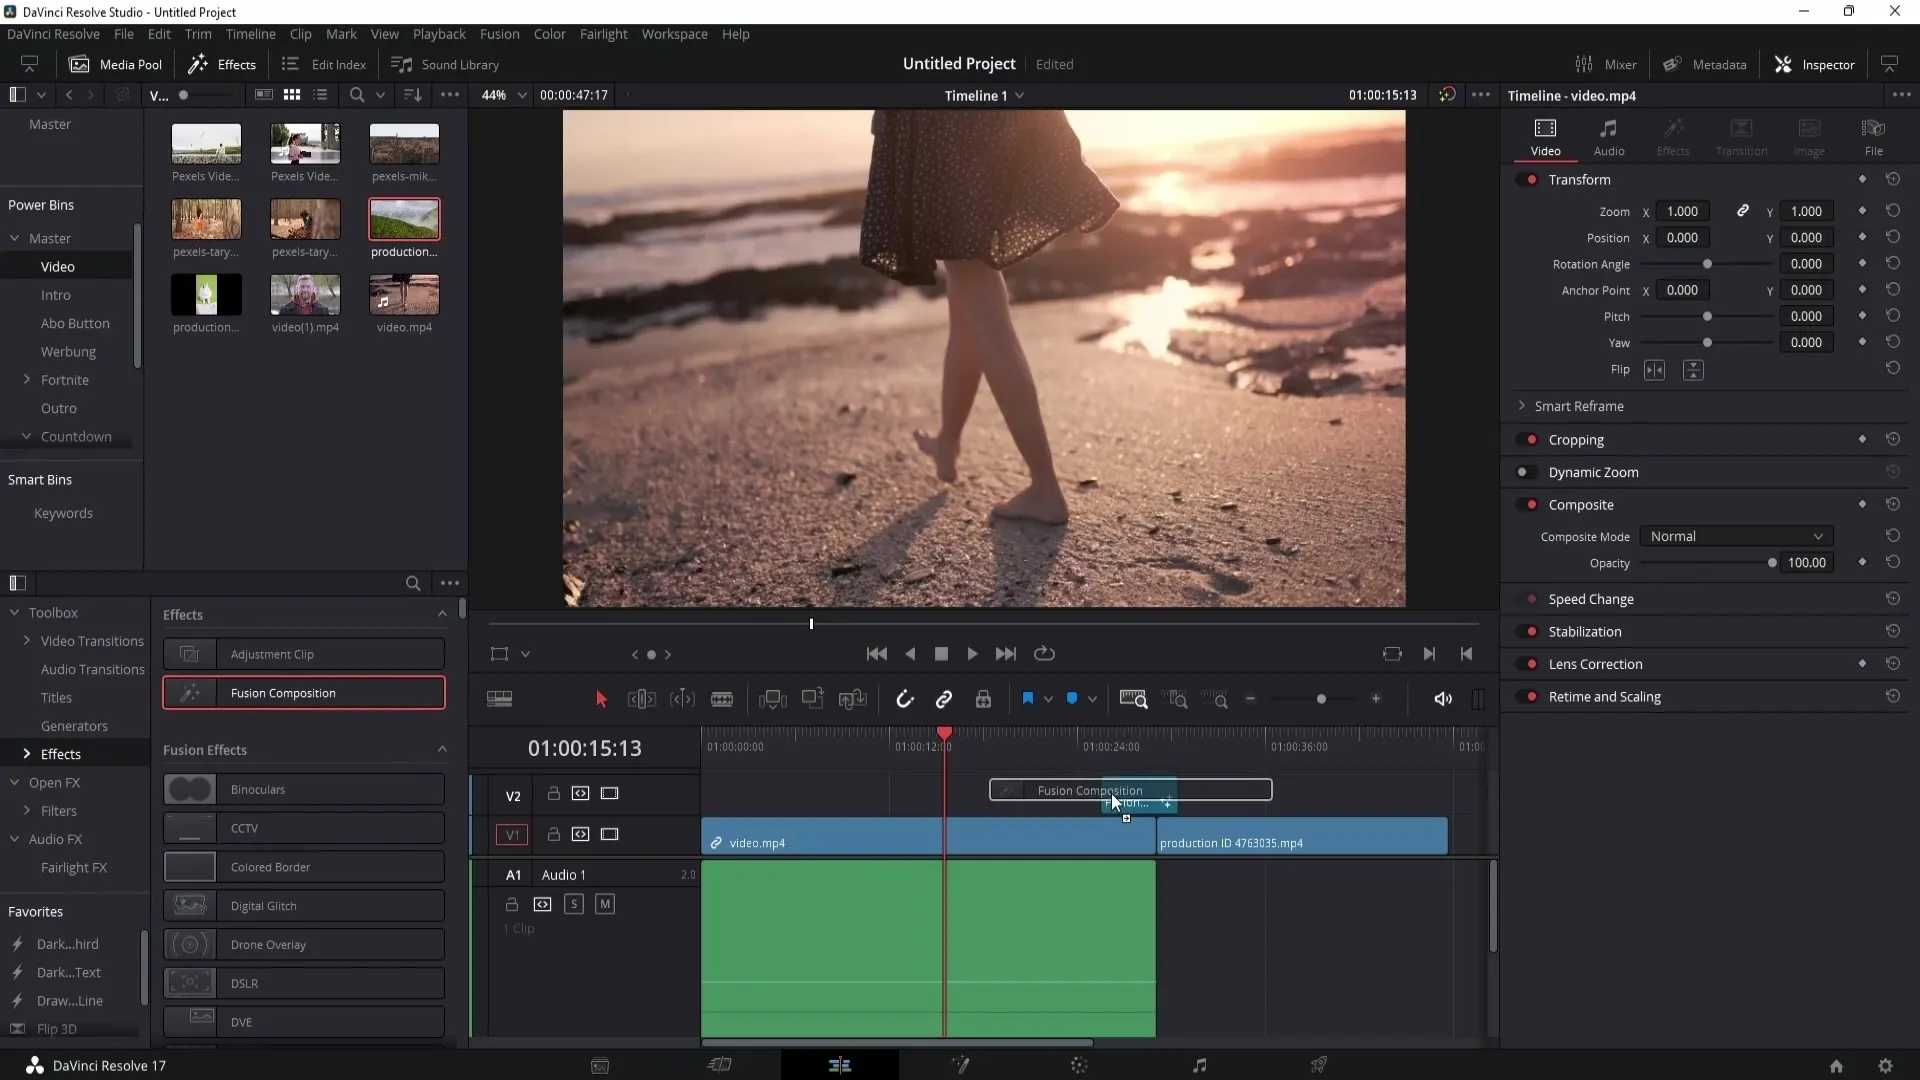
Step 3: Using Fusion Compositions
Next, take a look at the Fusion Composition. Drag this effect into your timeline, then right-click on it. Choose "Open in Fusion Page" to access the area where you can create more complex animations or 3D text.
Step 4: Working with Fusion Effects
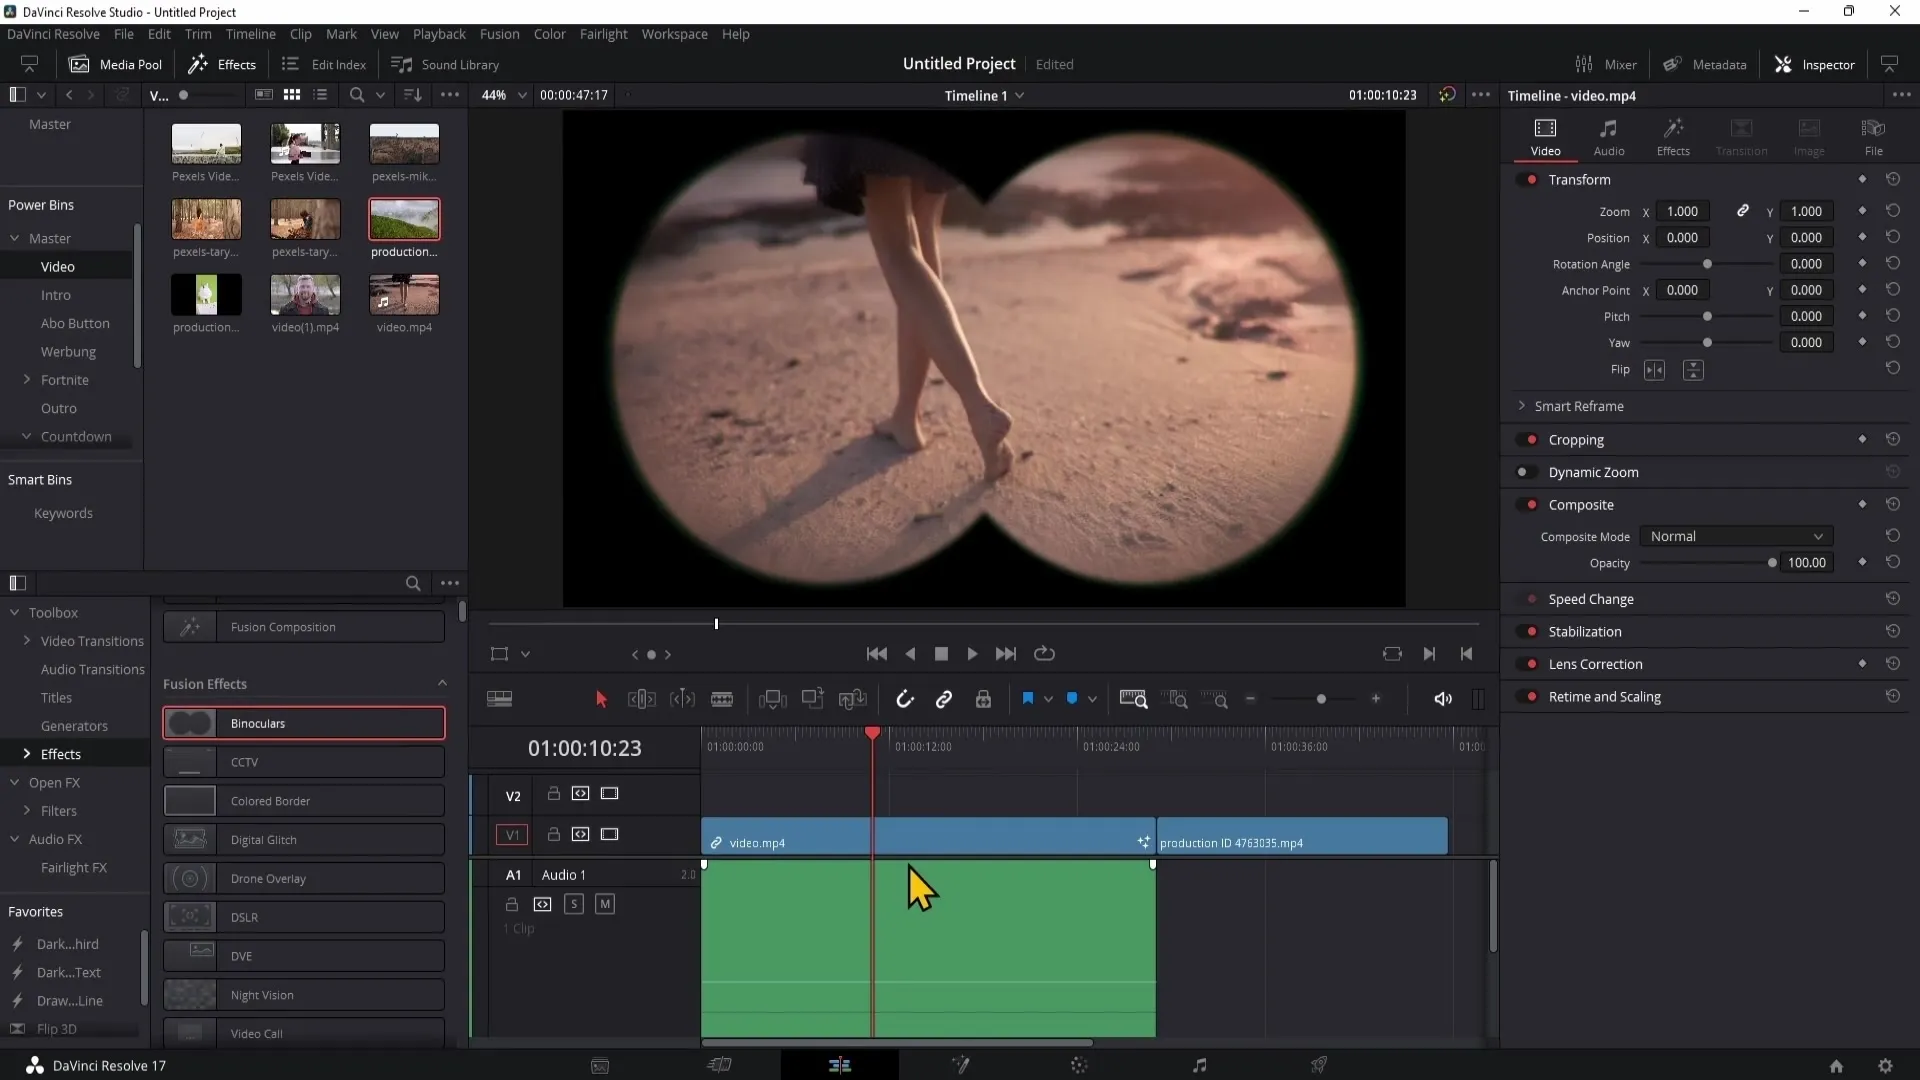
Now that you have laid the groundwork, let's look at the available Fusion effects. These effects are pre-built and resemble a type of animation that you can quickly integrate into your videos. You can preview the effects by hovering over them with the mouse through the "Effects" tab.
Step 5: Applying an Effect
Now, drag one of the effects, such as the "Binoculars" effect, onto your clip. When you play the video, you may notice that these effects are computationally intensive and your computer may struggle a bit.
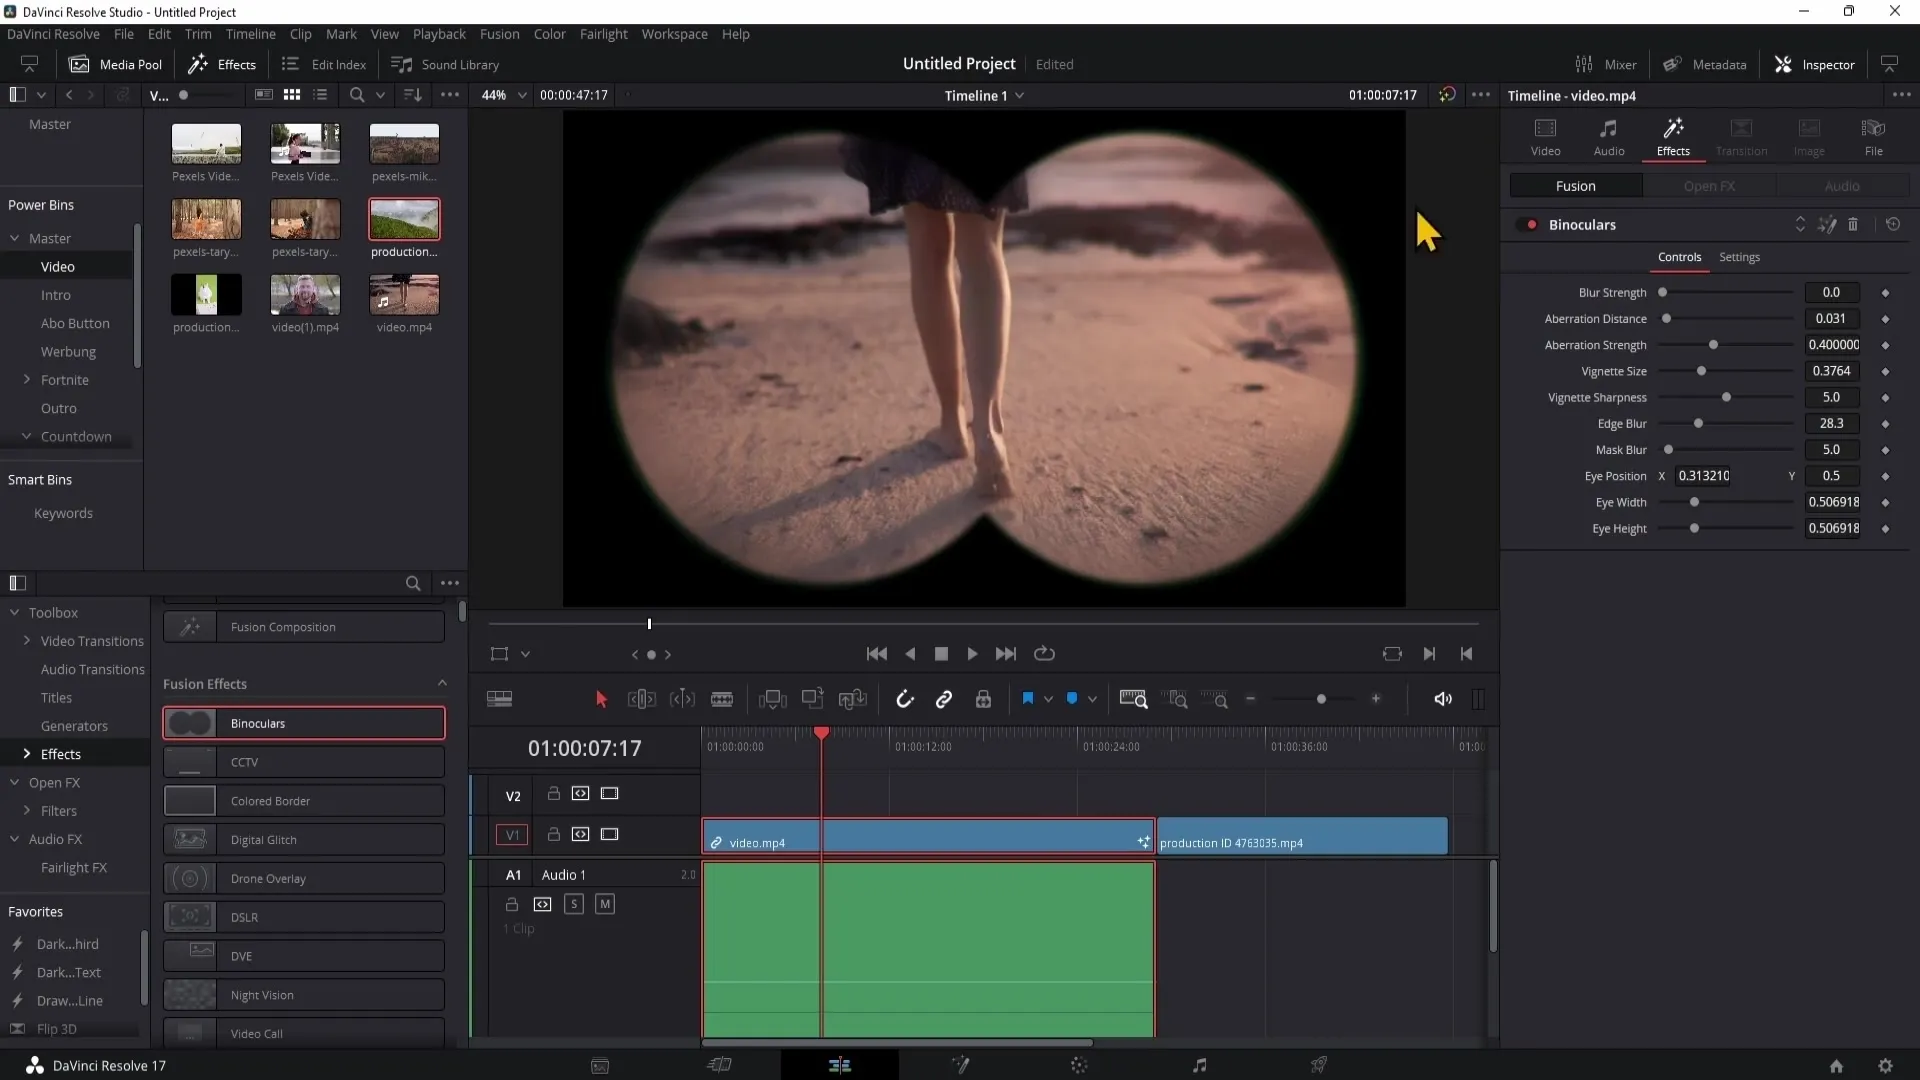
Step 6: Adjustments in the Inspector
You can adjust the various settings of the effect in the Inspector. Here, you can turn the effect on or off, switch to the Fusion page to make further adjustments, or delete the effect altogether.
Step 7: Resetting Settings
If you are unhappy with your adjustments, you can simply reset the settings. Click on the plus icon next to the adjustment options in the Inspector to restore the default values.
Step 8: Further Adjustments
Go through the various options to improve the visual quality. For example, you can increase the "Blur Strength" to create a blur effect or adjust other parameters to achieve the desired effect.
Step 9: Adding More Effects
In addition to the built-in effects, you can also upload custom effects from various sources. For example, Envato Elements offers a variety of effects that you can use as needed.
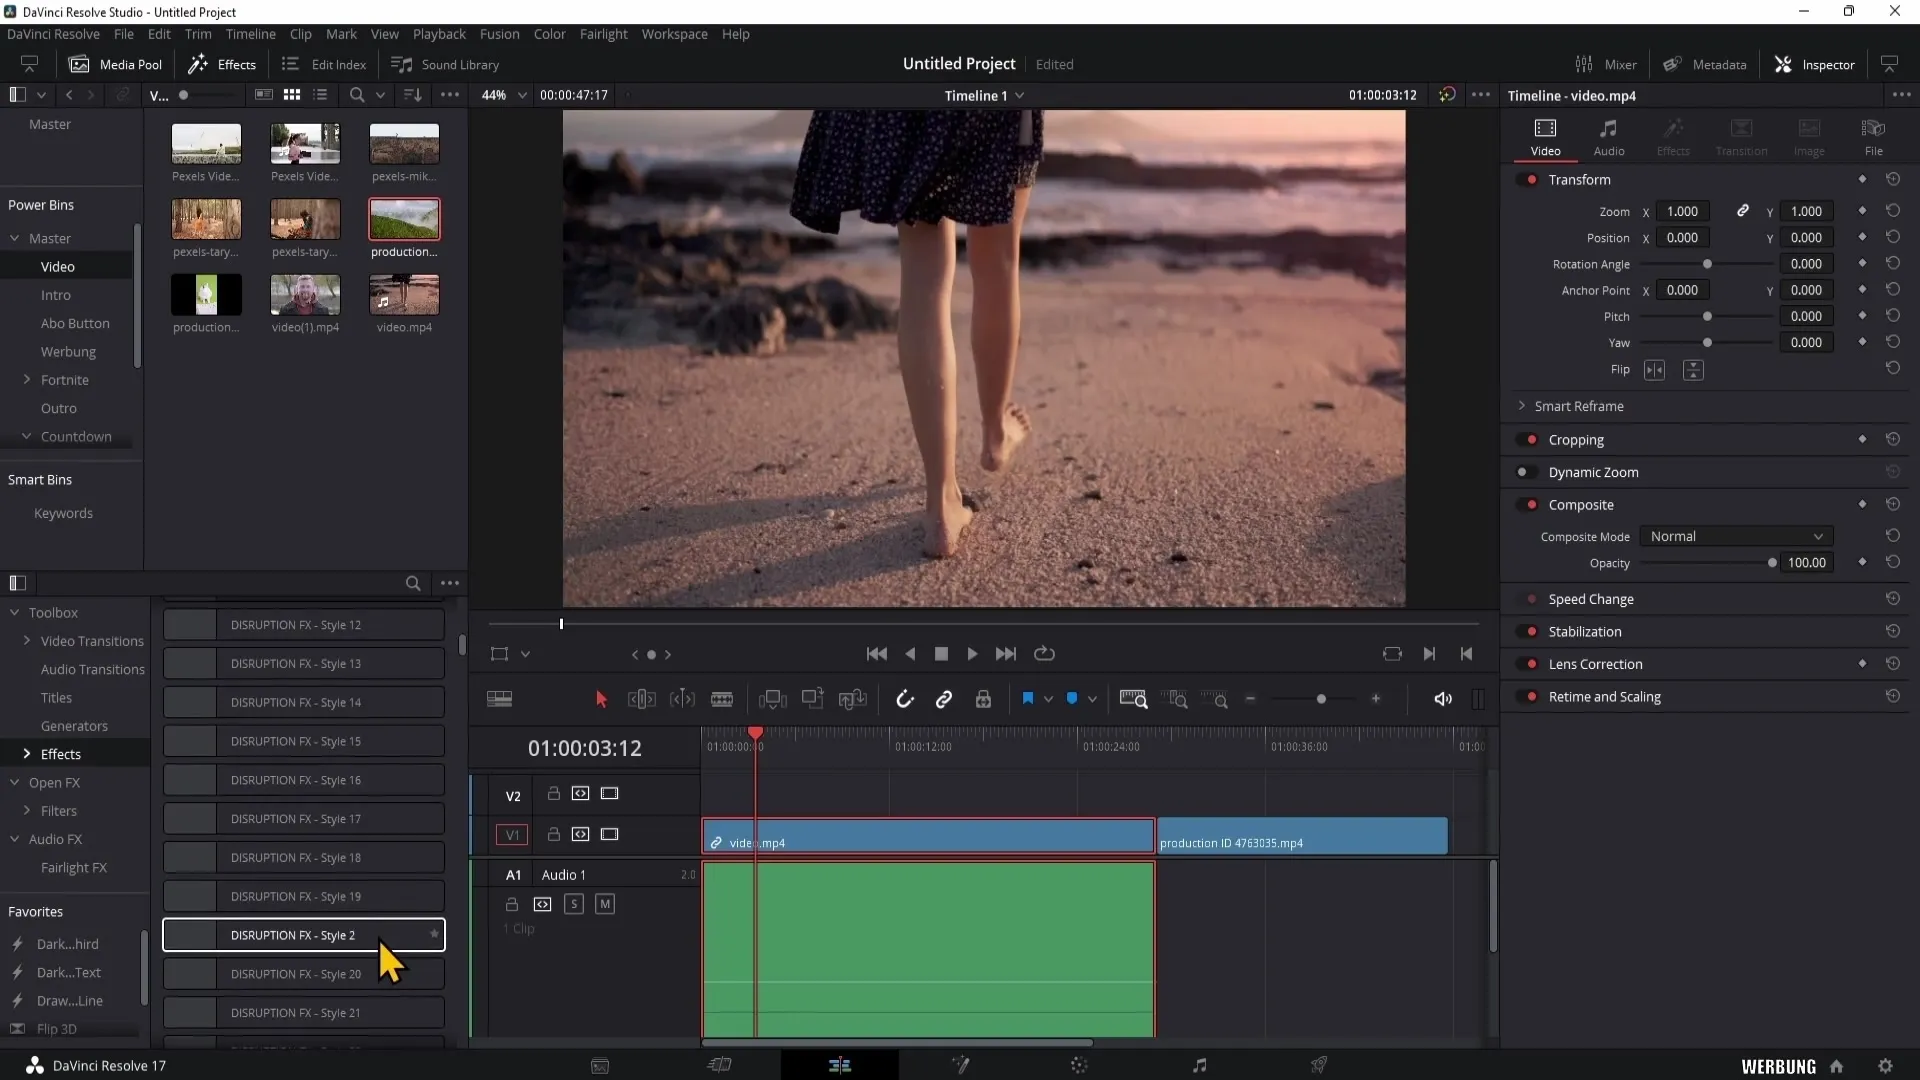
Step 10: Creating Creative Effects
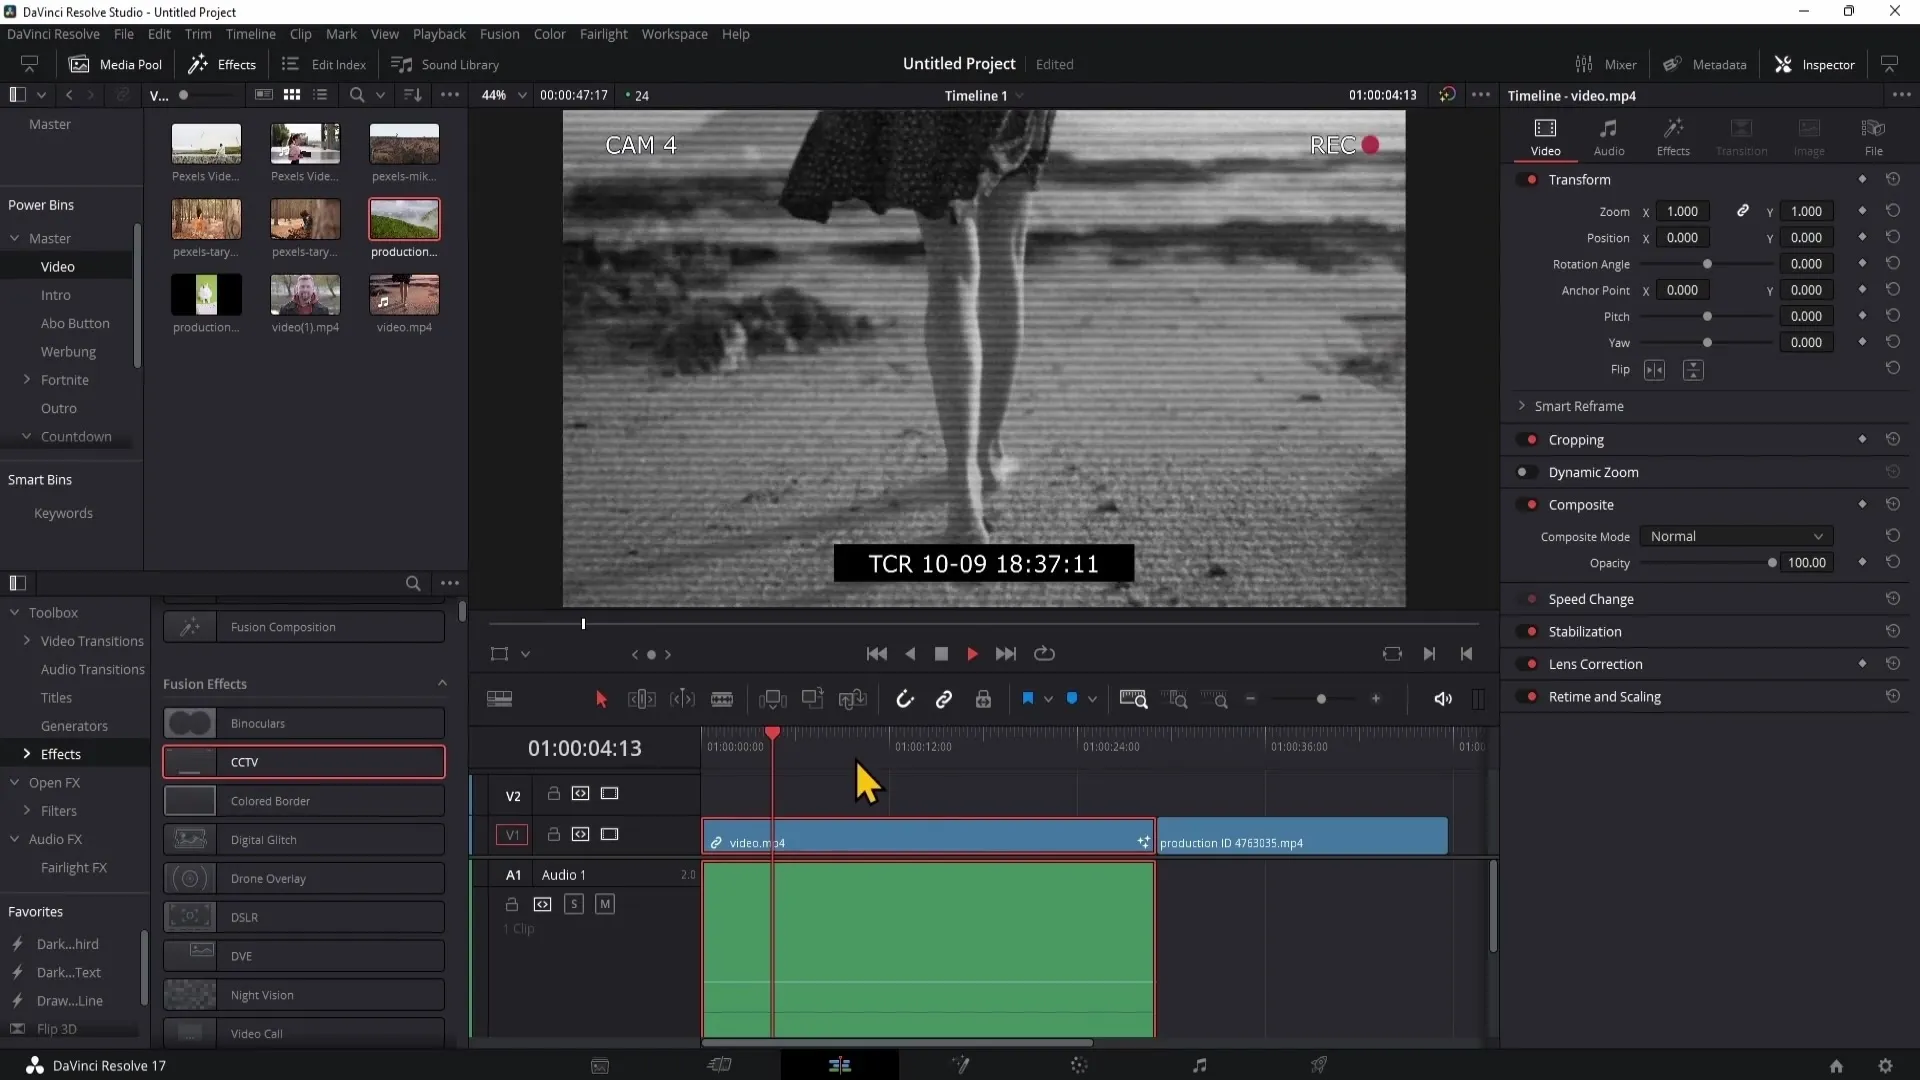
Now you can try out various creative effects. For example, let's say you want to use the "CCTV" effect, which simulates a surveillance camera. Drag the effect onto your clip and use the adjustment options in the Inspector to change colors, text, and other parameters.
Step 11: Adjusting the Digital Glitch Effect
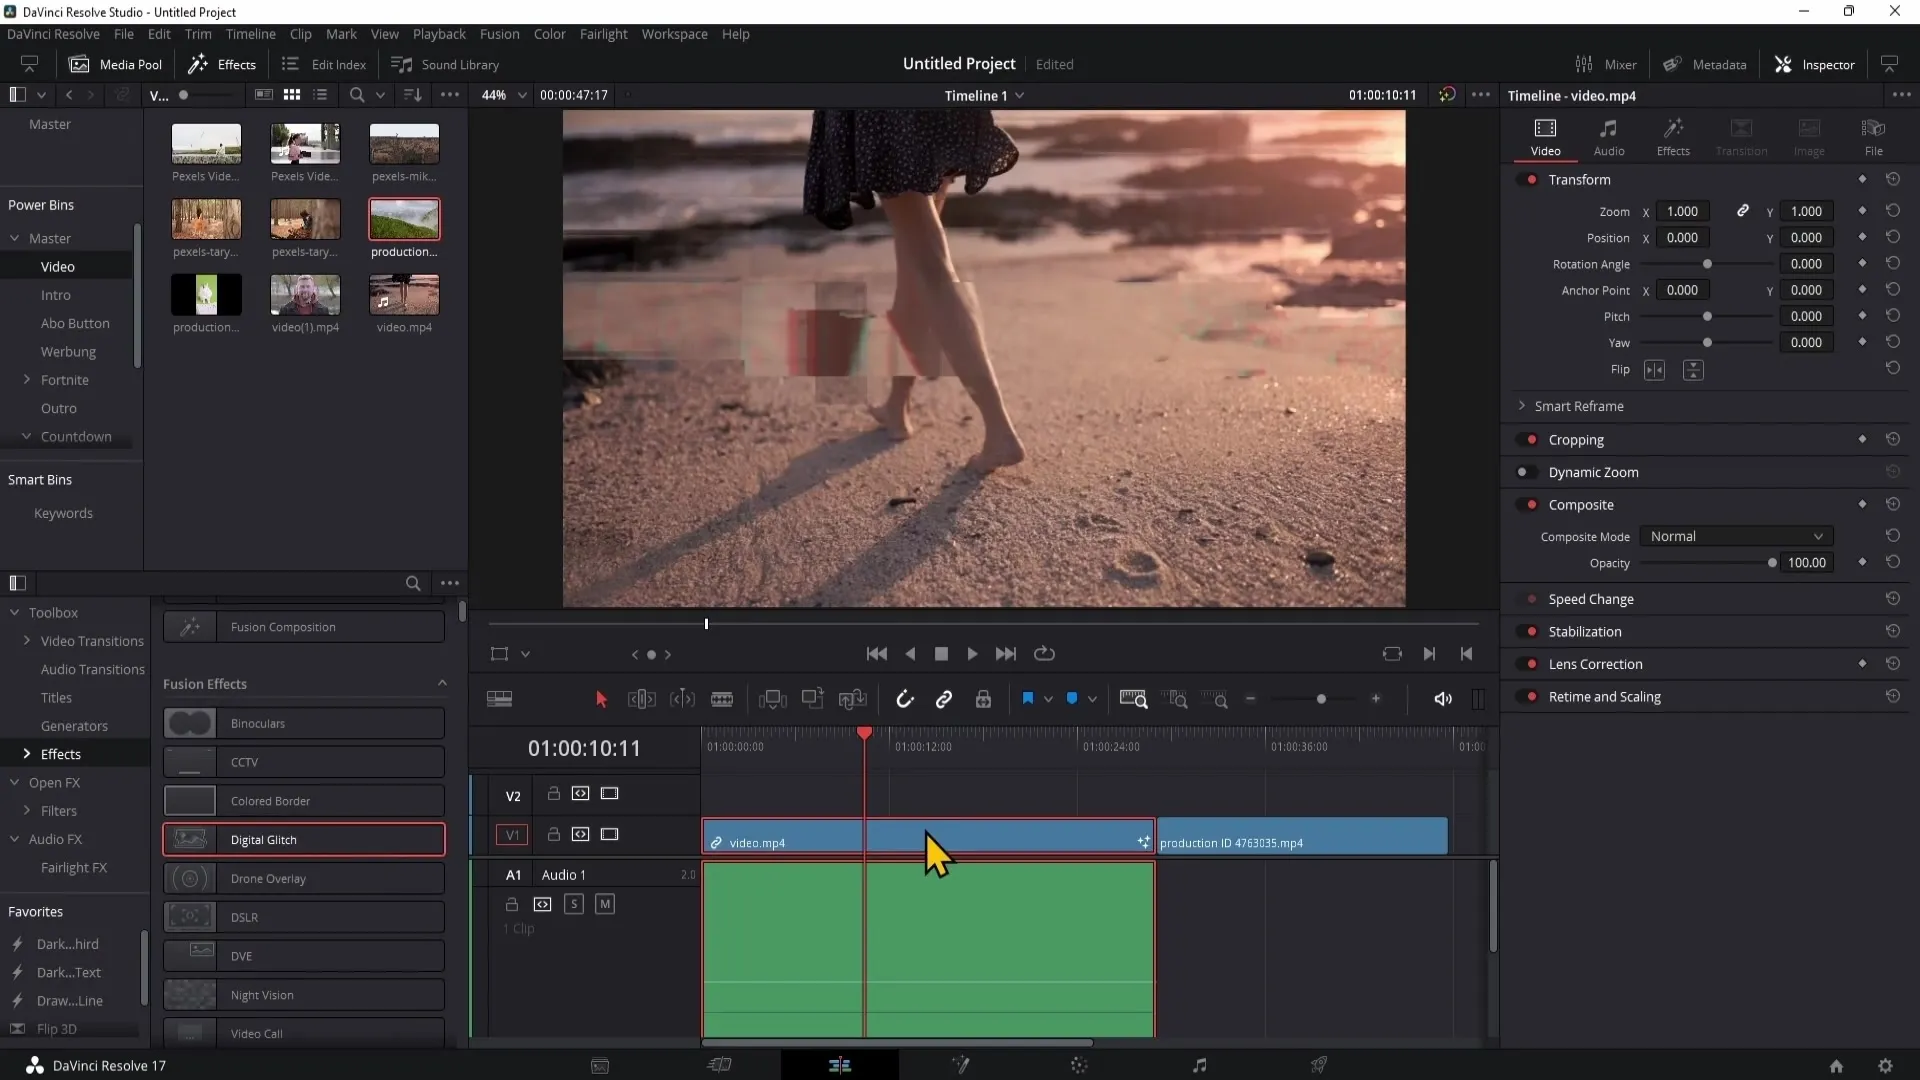
Another popular effect is the digital glitch. Drag this effect into the timeline and adjust its position, width, and height in the Inspector. Keep in mind that this effect can also be computationally intensive.
Step 12: Working with Drone Overlays
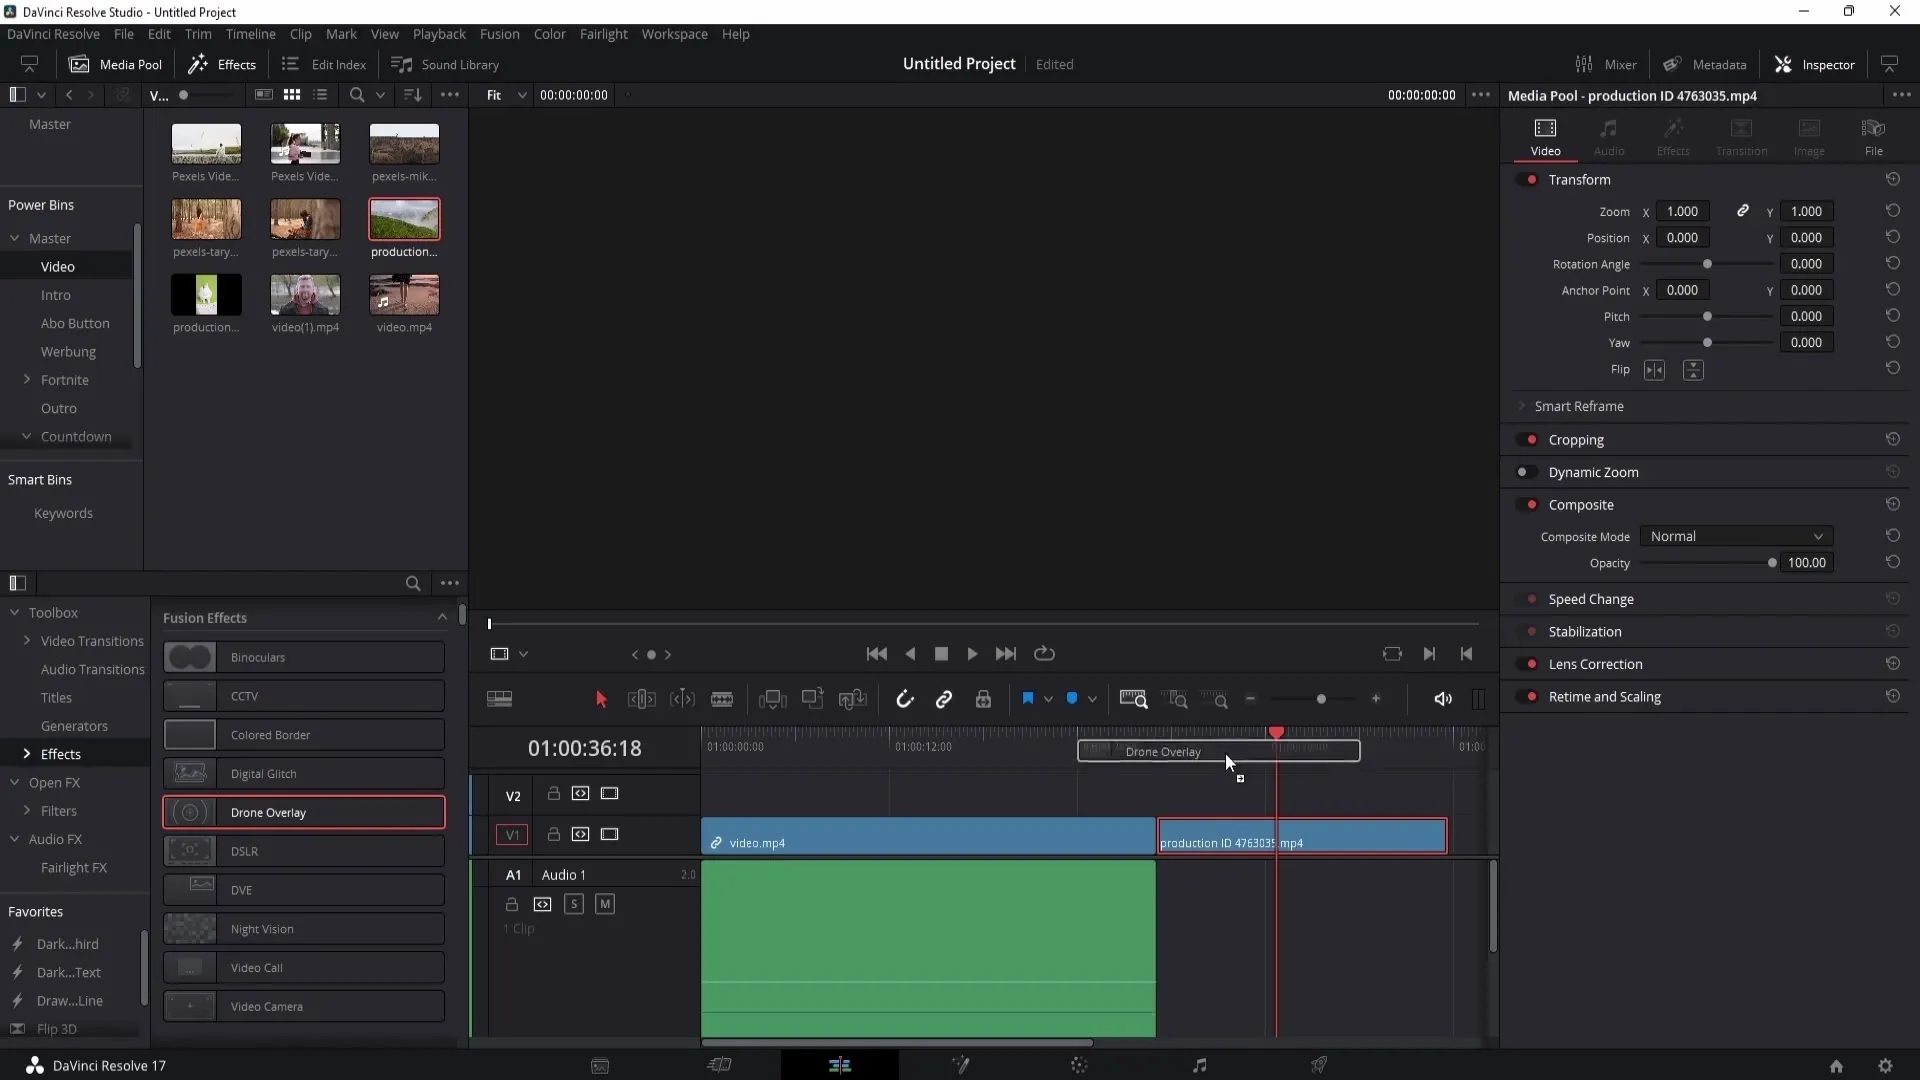
If you have footage from a drone, you can use darken overlays. After inserting them, you can adjust the individual graphics, including colors and saturation. These adjustments contribute to a natural integration of the effect into your video.
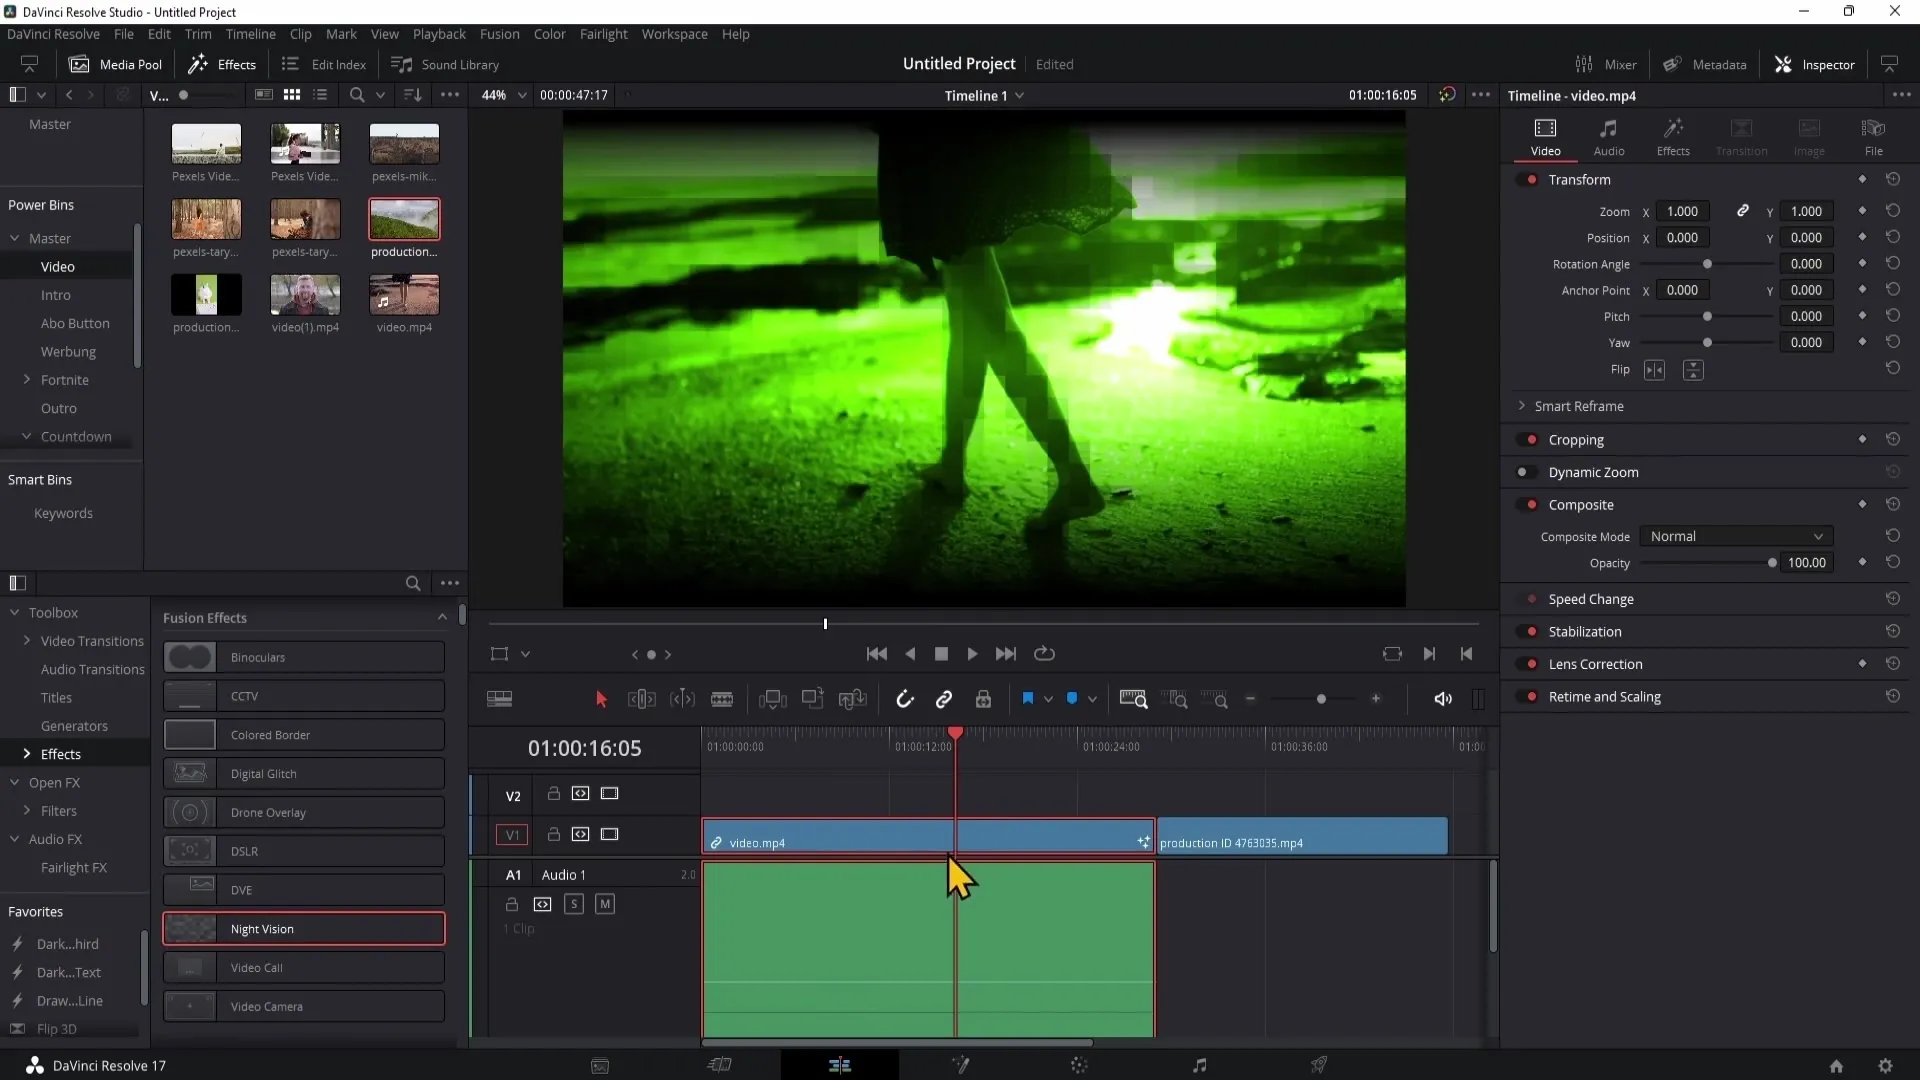
Step 13: Using the Night Vision Effect
A cool effect you can try is night vision. To do this, drag the effect into the timeline and adjust the corresponding color and contrast settings.
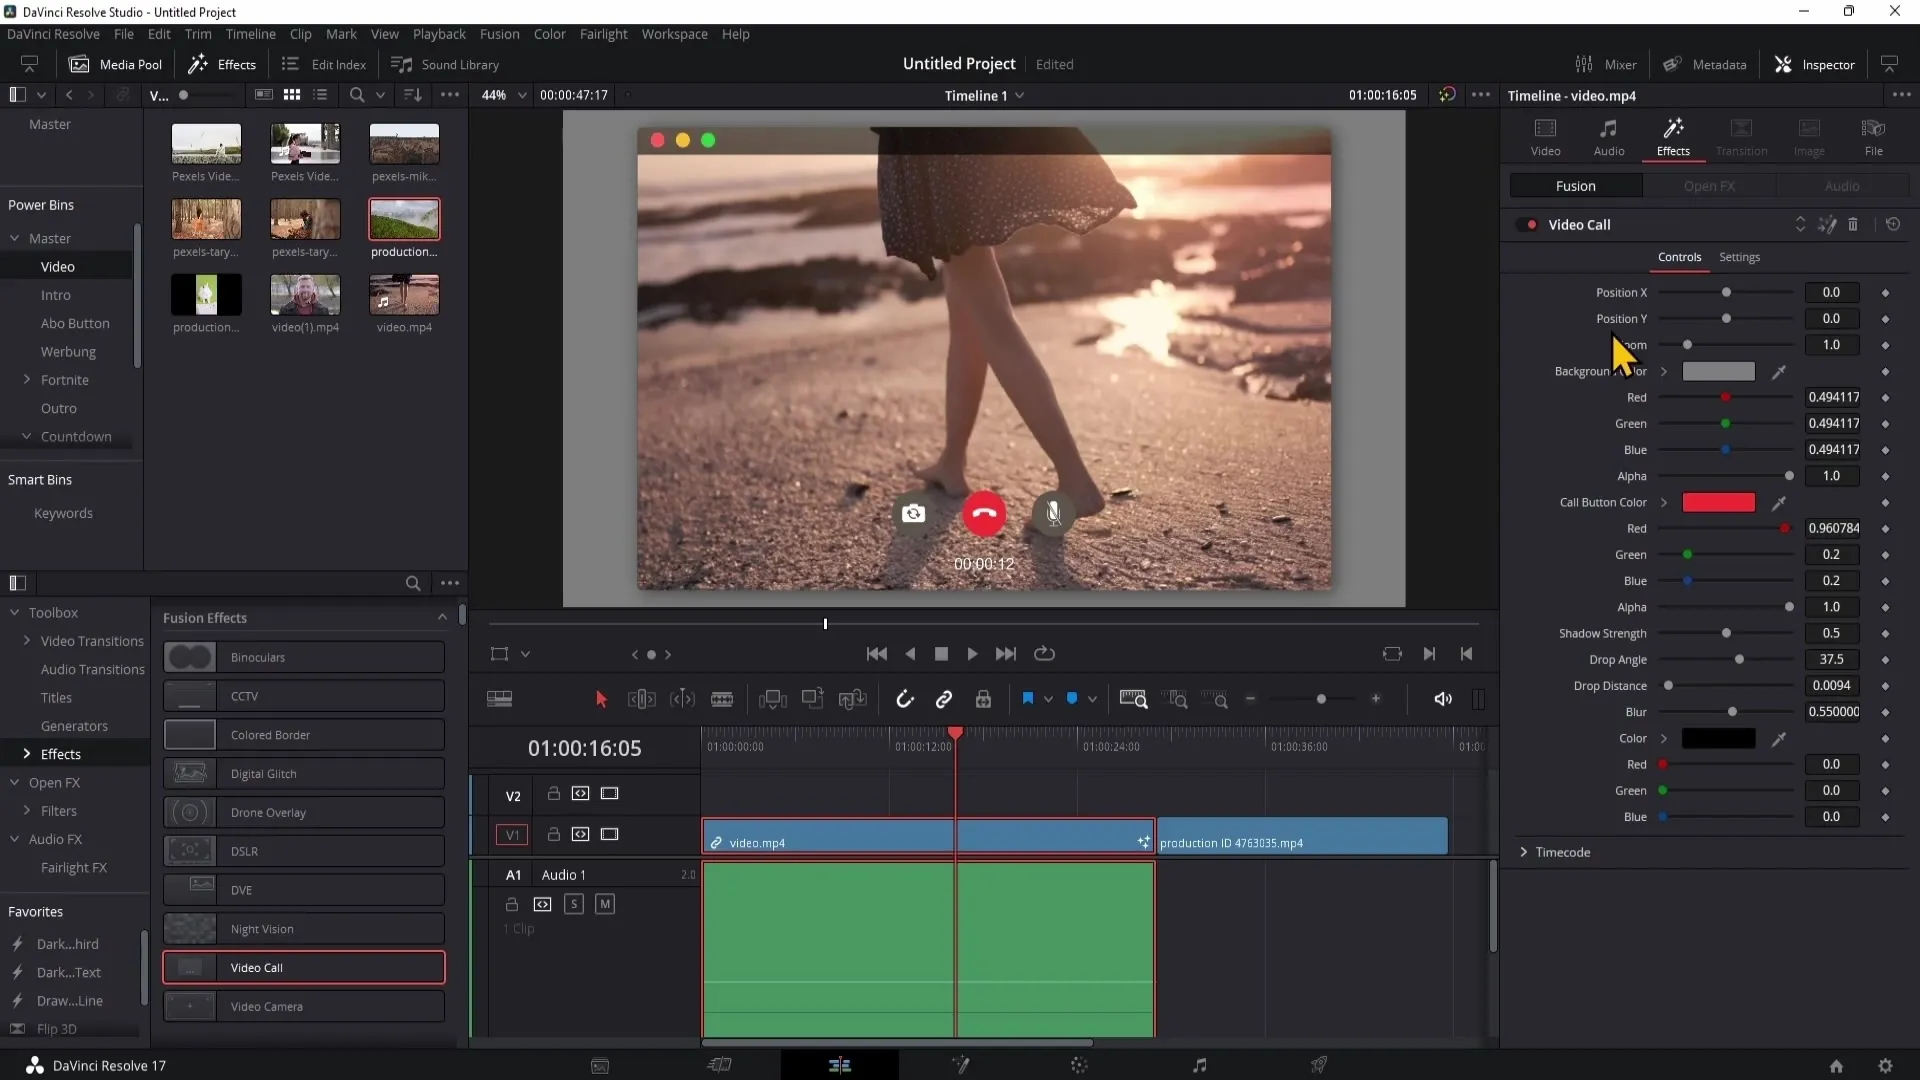
Step 14: Video Call and Camera Simulation Effects
To create a video call or camera simulation, drag the corresponding effect onto your clip. In the Inspector, you can adjust the position, background color, and other parameters.
Summary
In this guide, you have learned everything important about using and customizing Fusion effects in DaVinci Resolve. You now know how to find, apply, and edit the effects individually to take your videos to the next level.
Frequently Asked Questions
How do I find the Fusion effects in DaVinci Resolve?You can find the Fusion effects on the Edit page under "Effects" in the upper left area.
Can I customize the effects?Yes, the effects can be individually customized in the Inspector.
Are the Fusion effects available in the free version?No, the Fusion effects are only available in the DaVinci Resolve Studio version.
Can I use my own effects?Yes, you can upload and use your own effects, for example, from Envato Elements.
Are Fusion effects computationally intensive?Yes, many Fusion effects are computationally intensive and can heavily tax your PC's performance.


