In this tutorial, we dive deep into the world of masks in DaVinci Resolve. Masks are an essential tool when it comes to editing specific areas of a clip, adding effects, or creating creative visual compositions. Whether you are working in the Color Grading or Fusion area: masks help you implement your vision precisely. I will show you how to efficiently use masks and what options are available to you.
Key Takeaways
- Masks allow targeted editing in your clips.
- There are different types of masks, including rectangular, circular, and custom shapes.
- Mask settings include size, position, softness, and opacity.
- Masks can also be used in the Fusion area to achieve complex effects.
Step-by-Step Guide
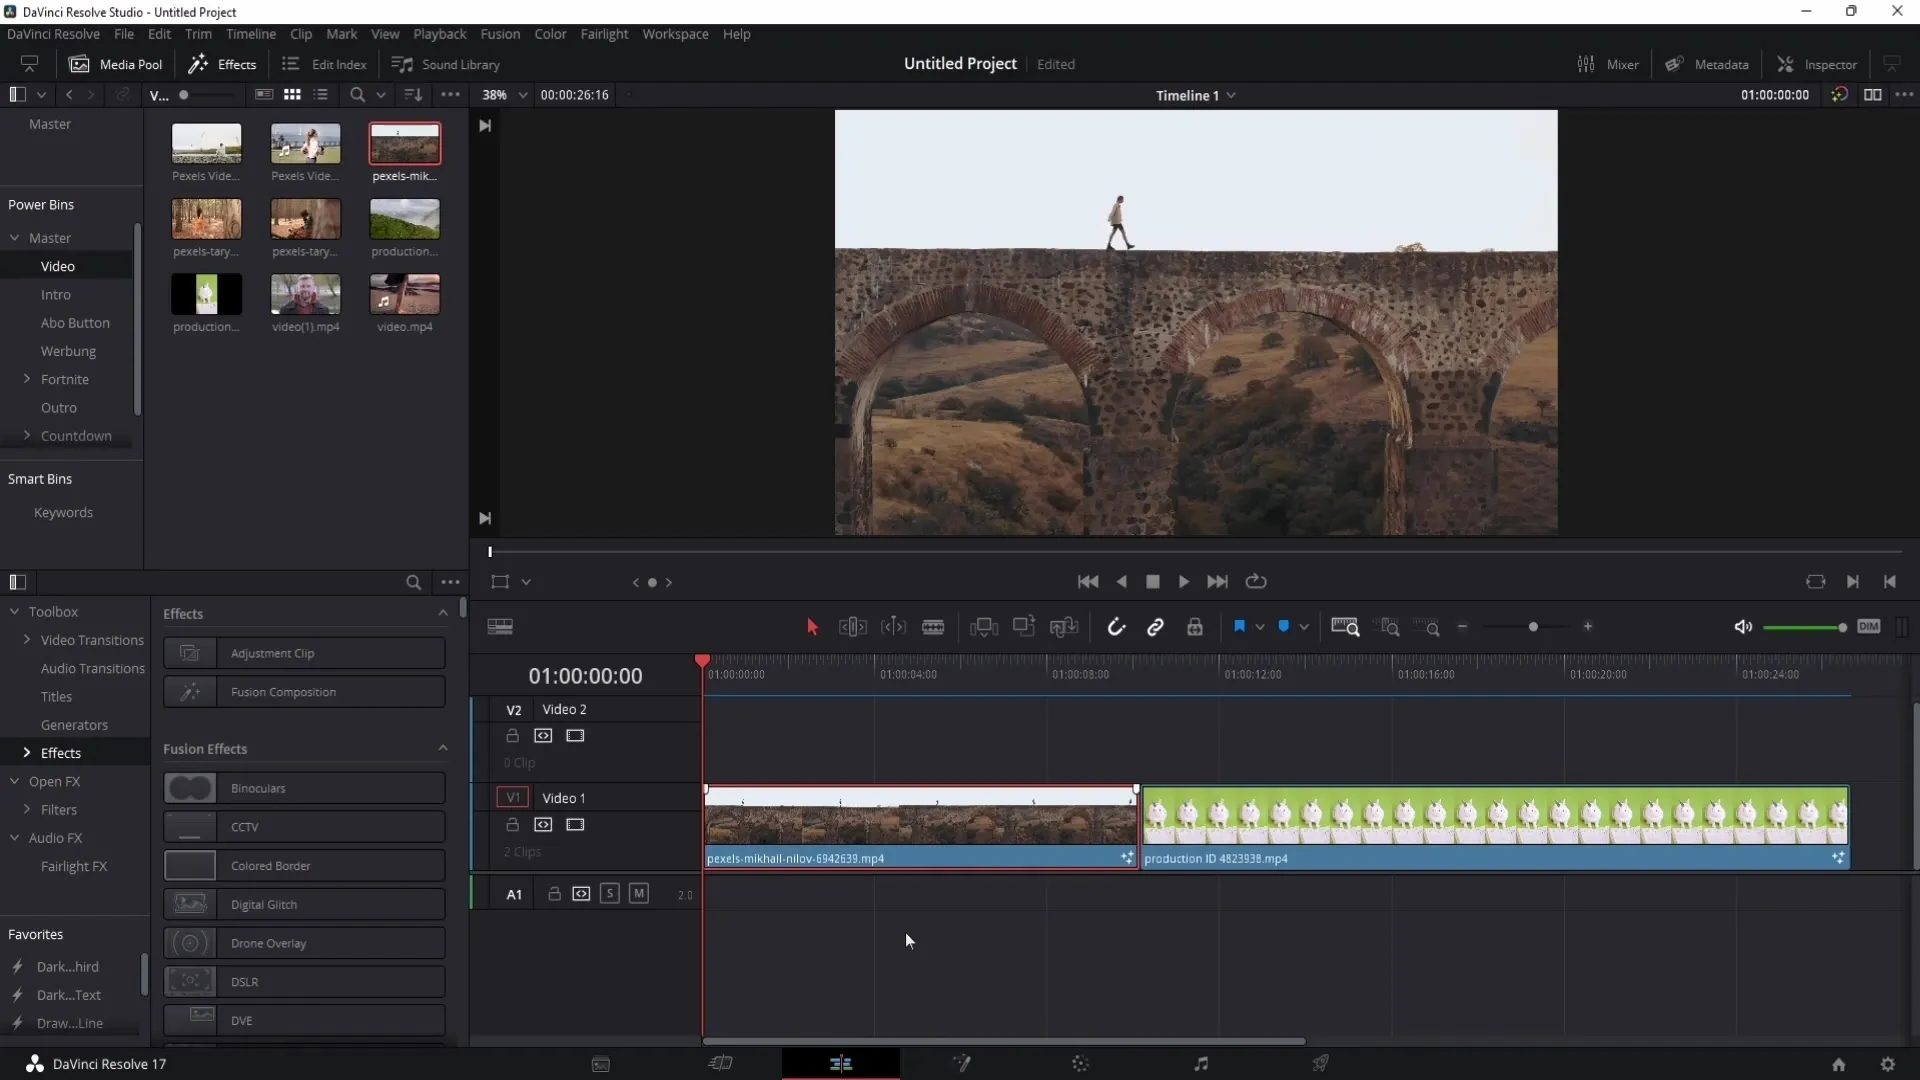
Step 1: Opening the Color Grading Area
To work with masks, you first need to open the Color Grading area. Click on the color icon in the bottom menu.
Step 2: Selecting a Mask
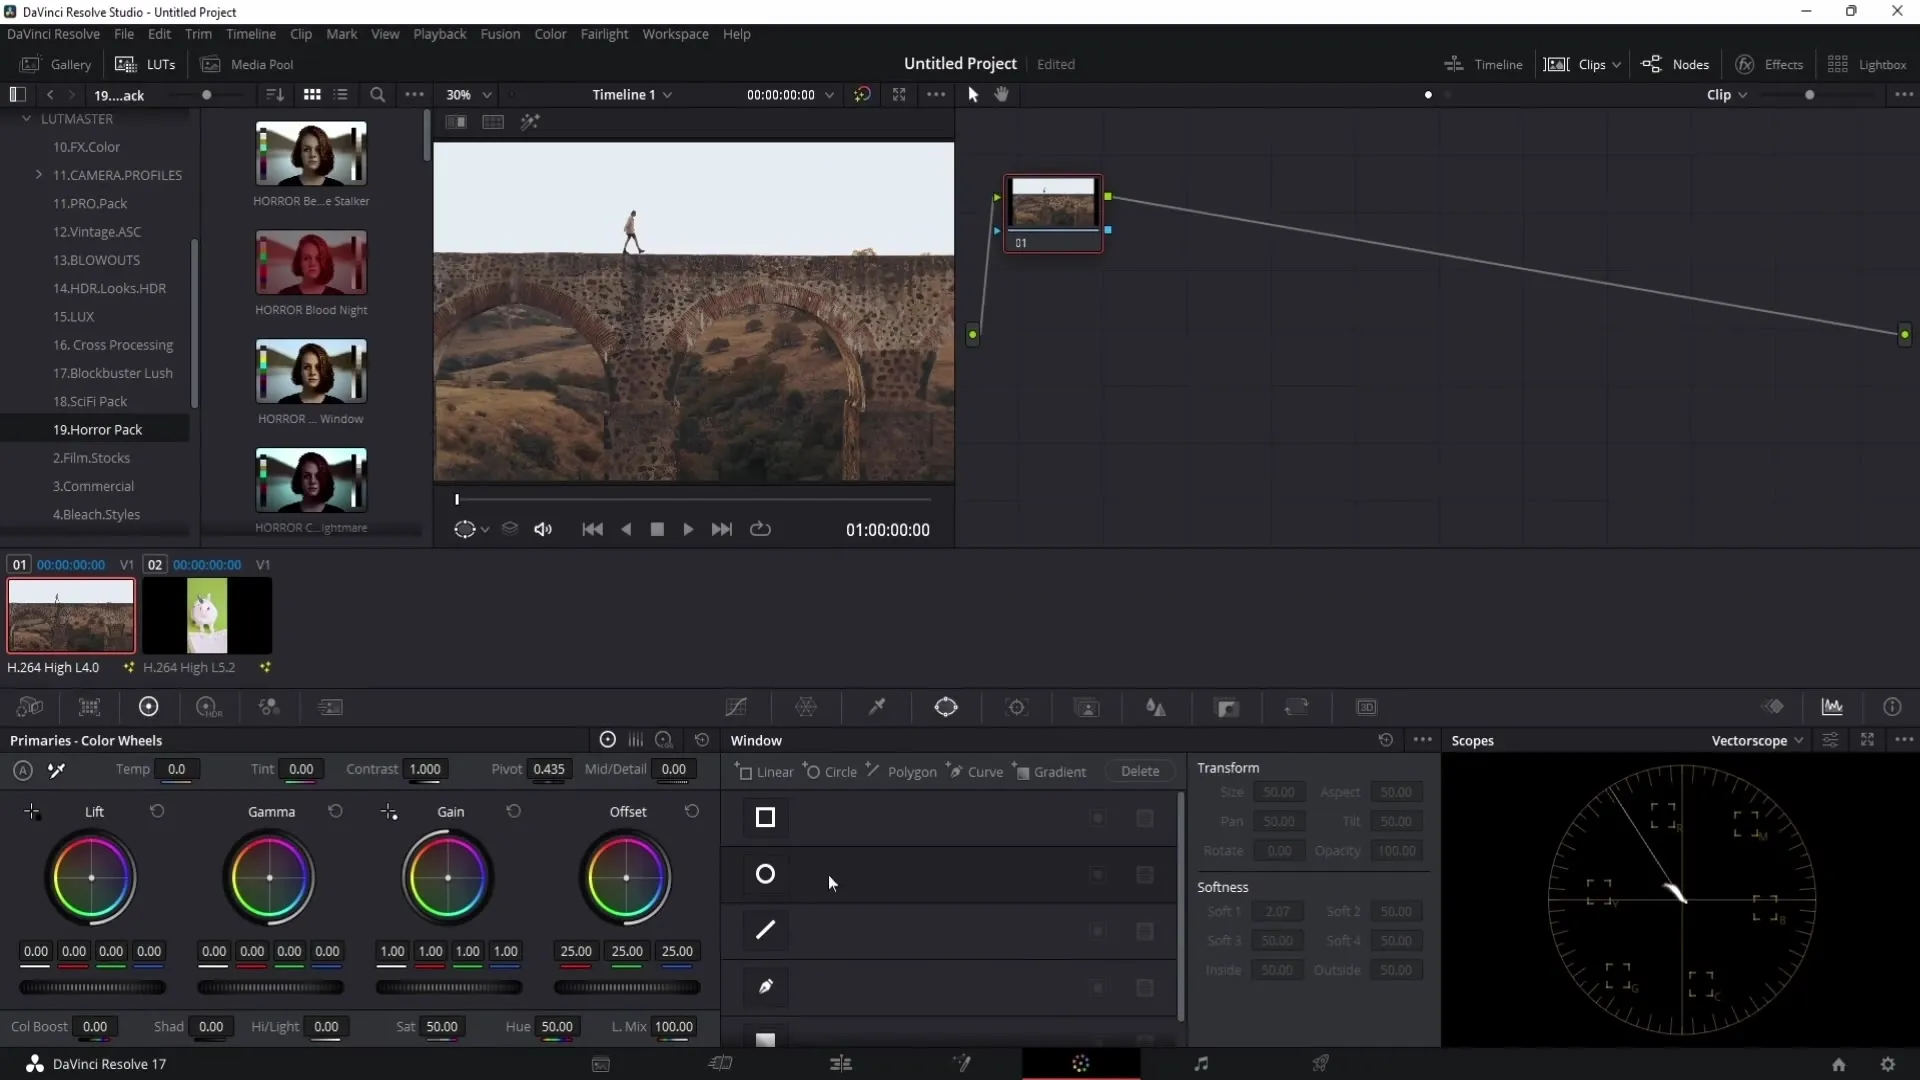
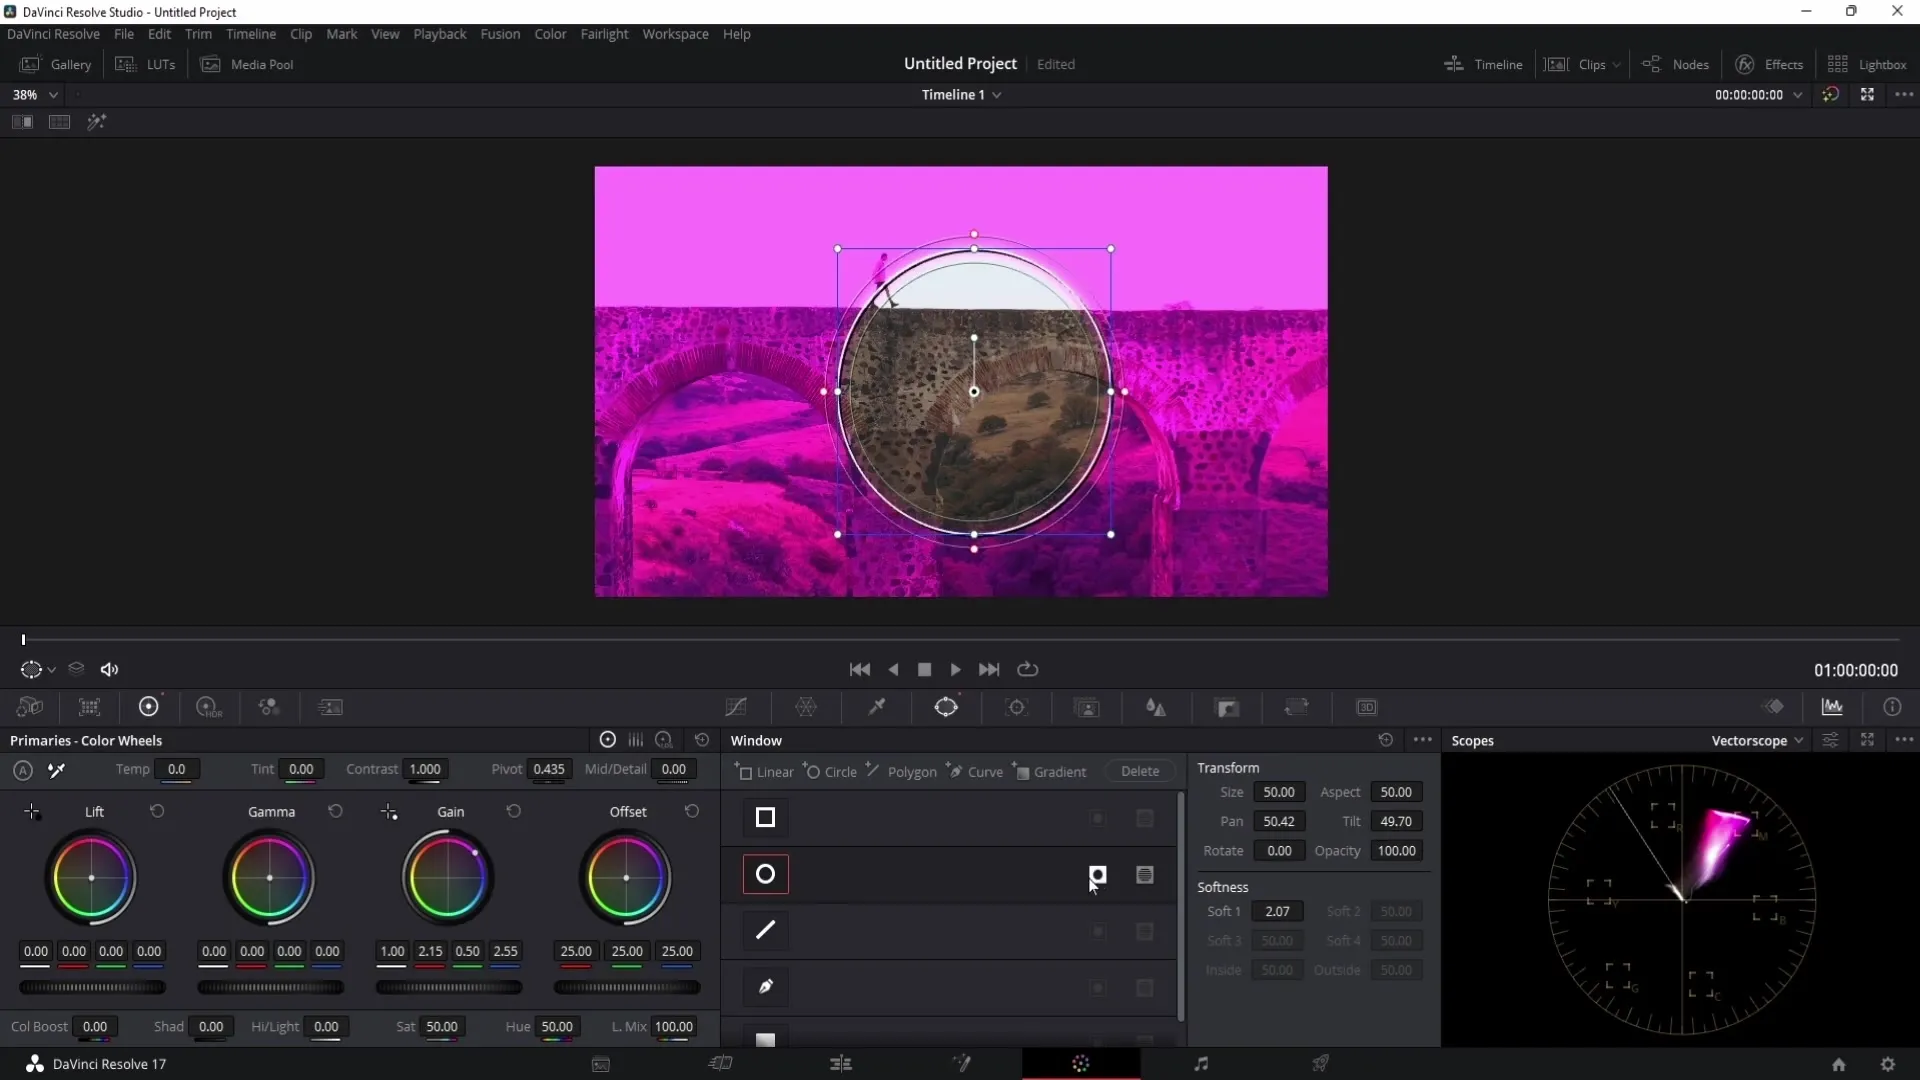
Once you are in the Color Grading area, you will find the mask icon. Click on it to select the mask. Here you will see different shapes to choose from, such as rectangular or circular masks.
Step 3: Editing the Mask
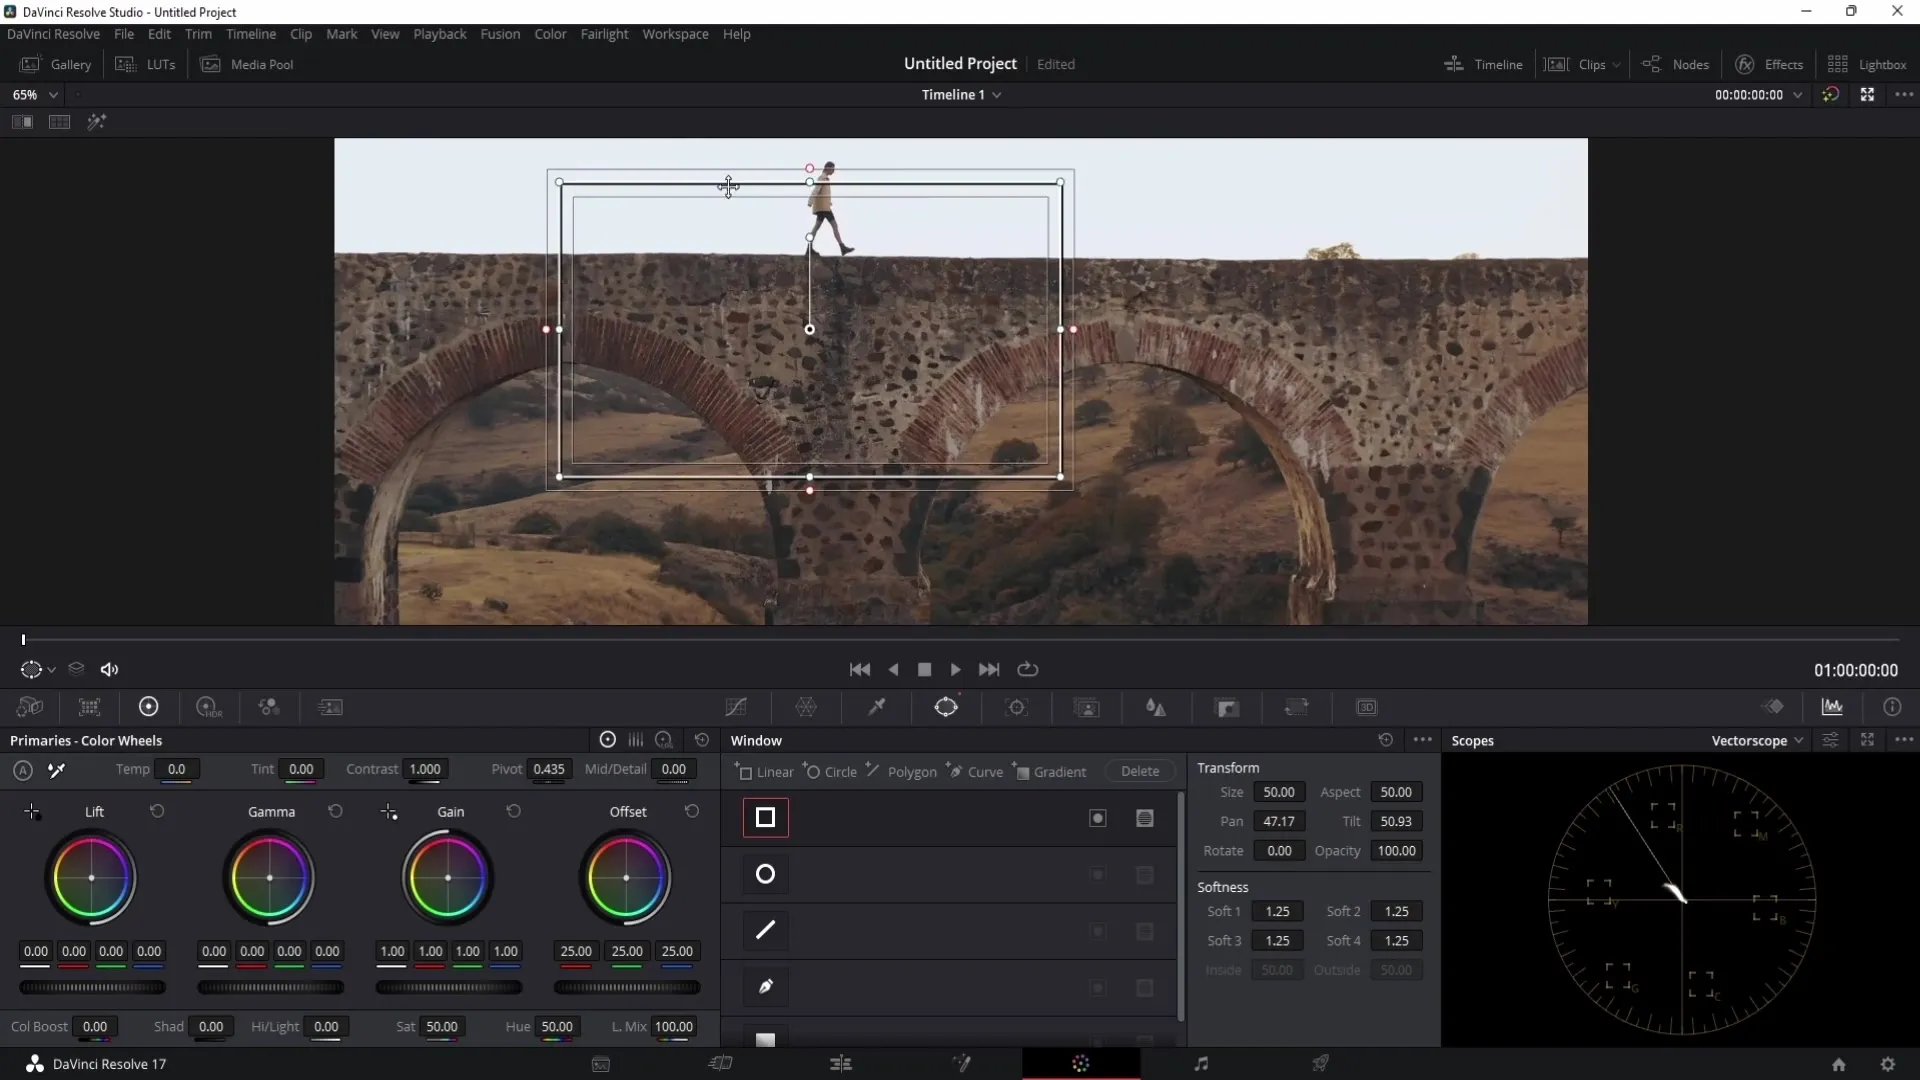
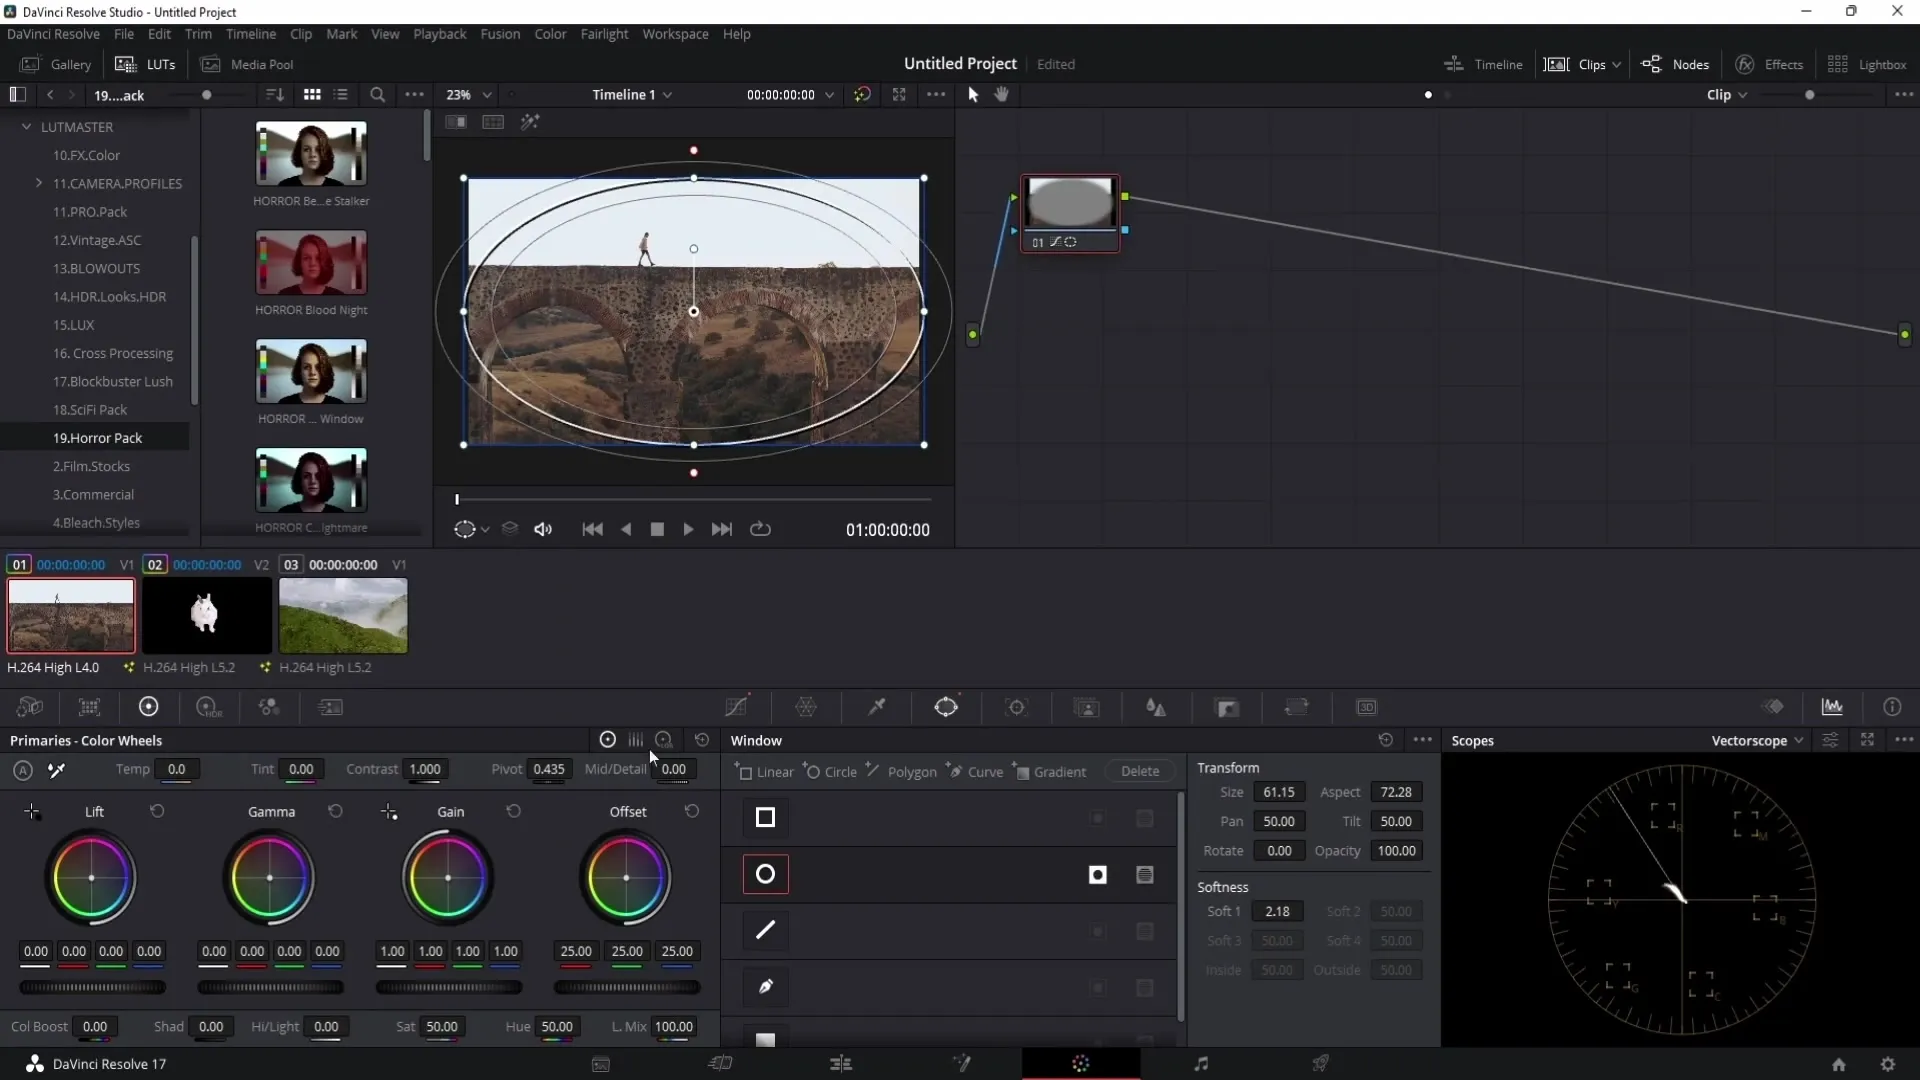
After selecting a mask, you can edit it. Click in the center of the mask to move it. By dragging the outer points, you can adjust the size of the mask. Pay attention to how the mask changes as you drag the different points.
Step 4: Customizing the Mask
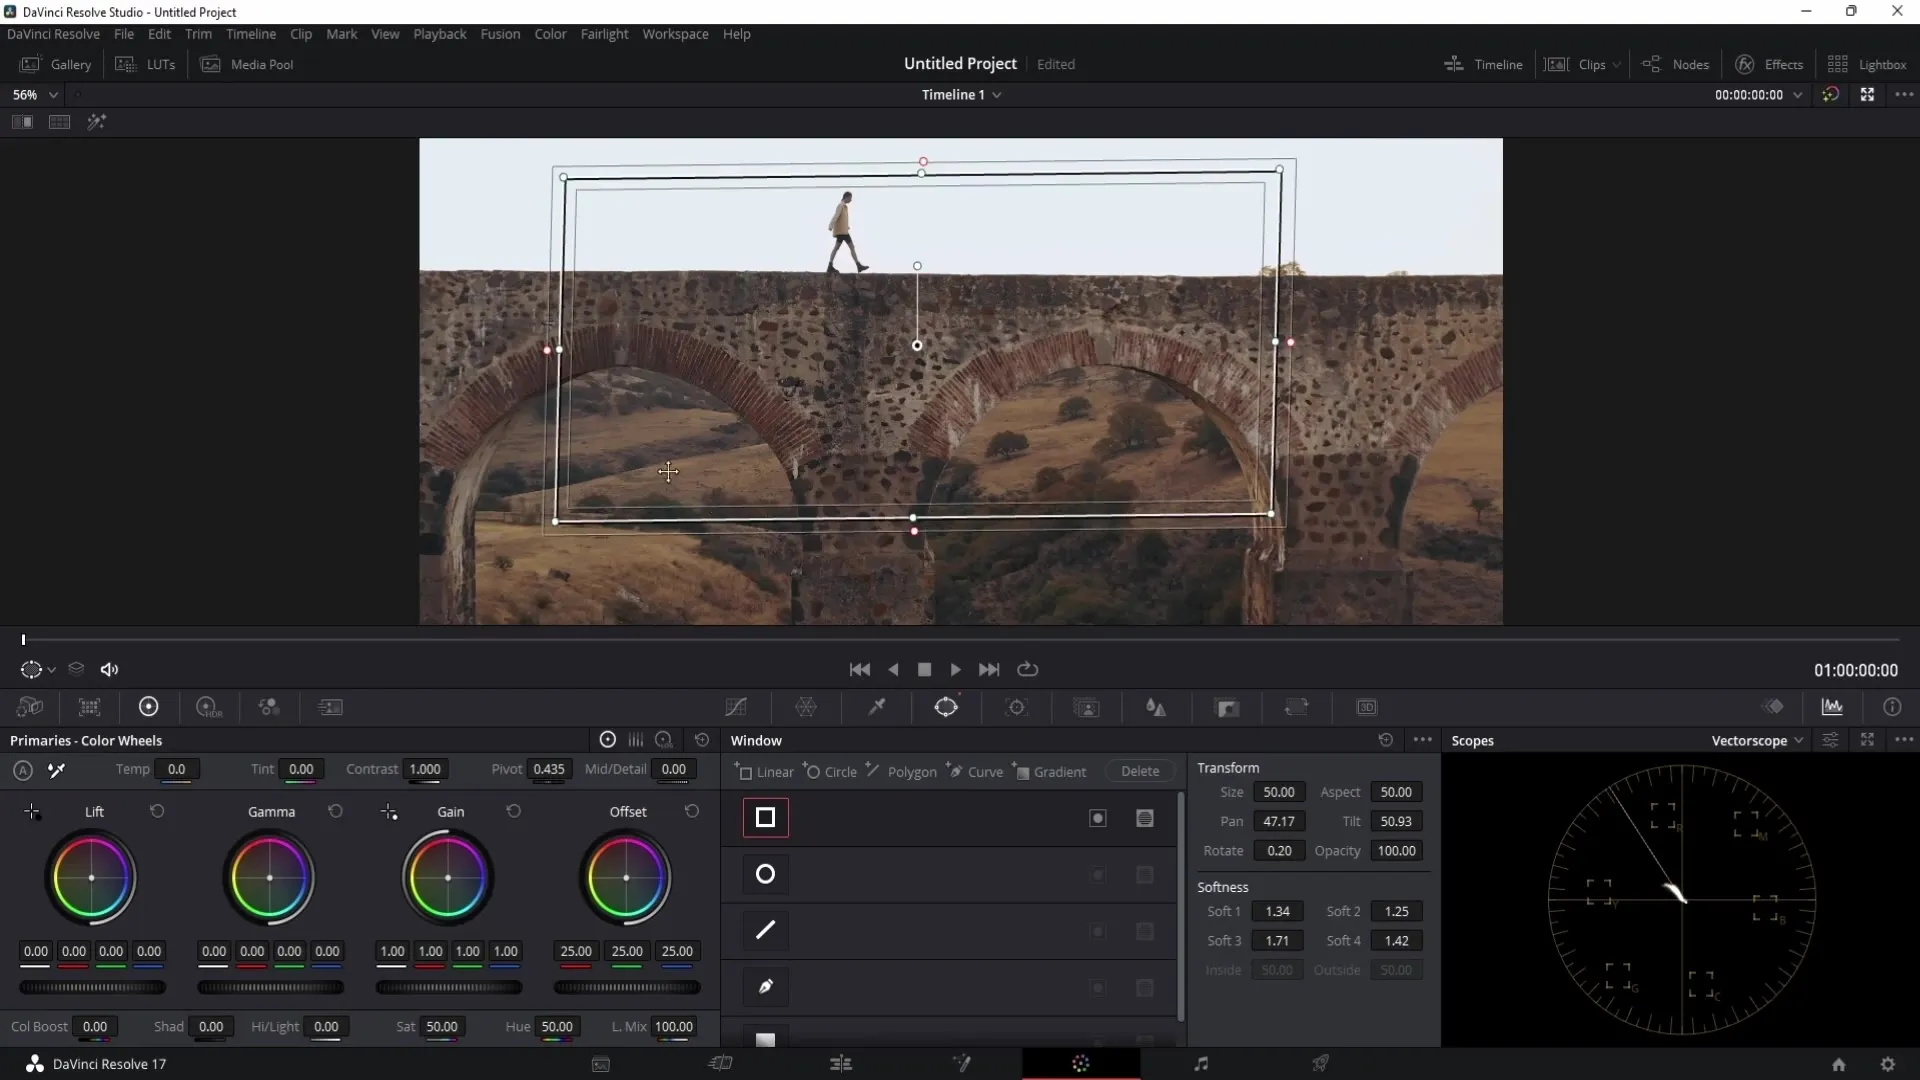
For precise adjustment of the mask, you can change its softness. Use the red points on the outside of the mask to achieve a soft transition. Softness is especially useful to avoid harsh edges and achieve naturalistic effects.
Step 5: Resetting the Settings
If you have made a mistake or no longer like the mask, you can easily reset the settings. Simply double-click on the "Transform" area.
Step 6: Inverting the Mask
If you want to make adjustments outside the mask, use the inversion option. This allows you to edit areas outside the mask while keeping the mask itself untouched.
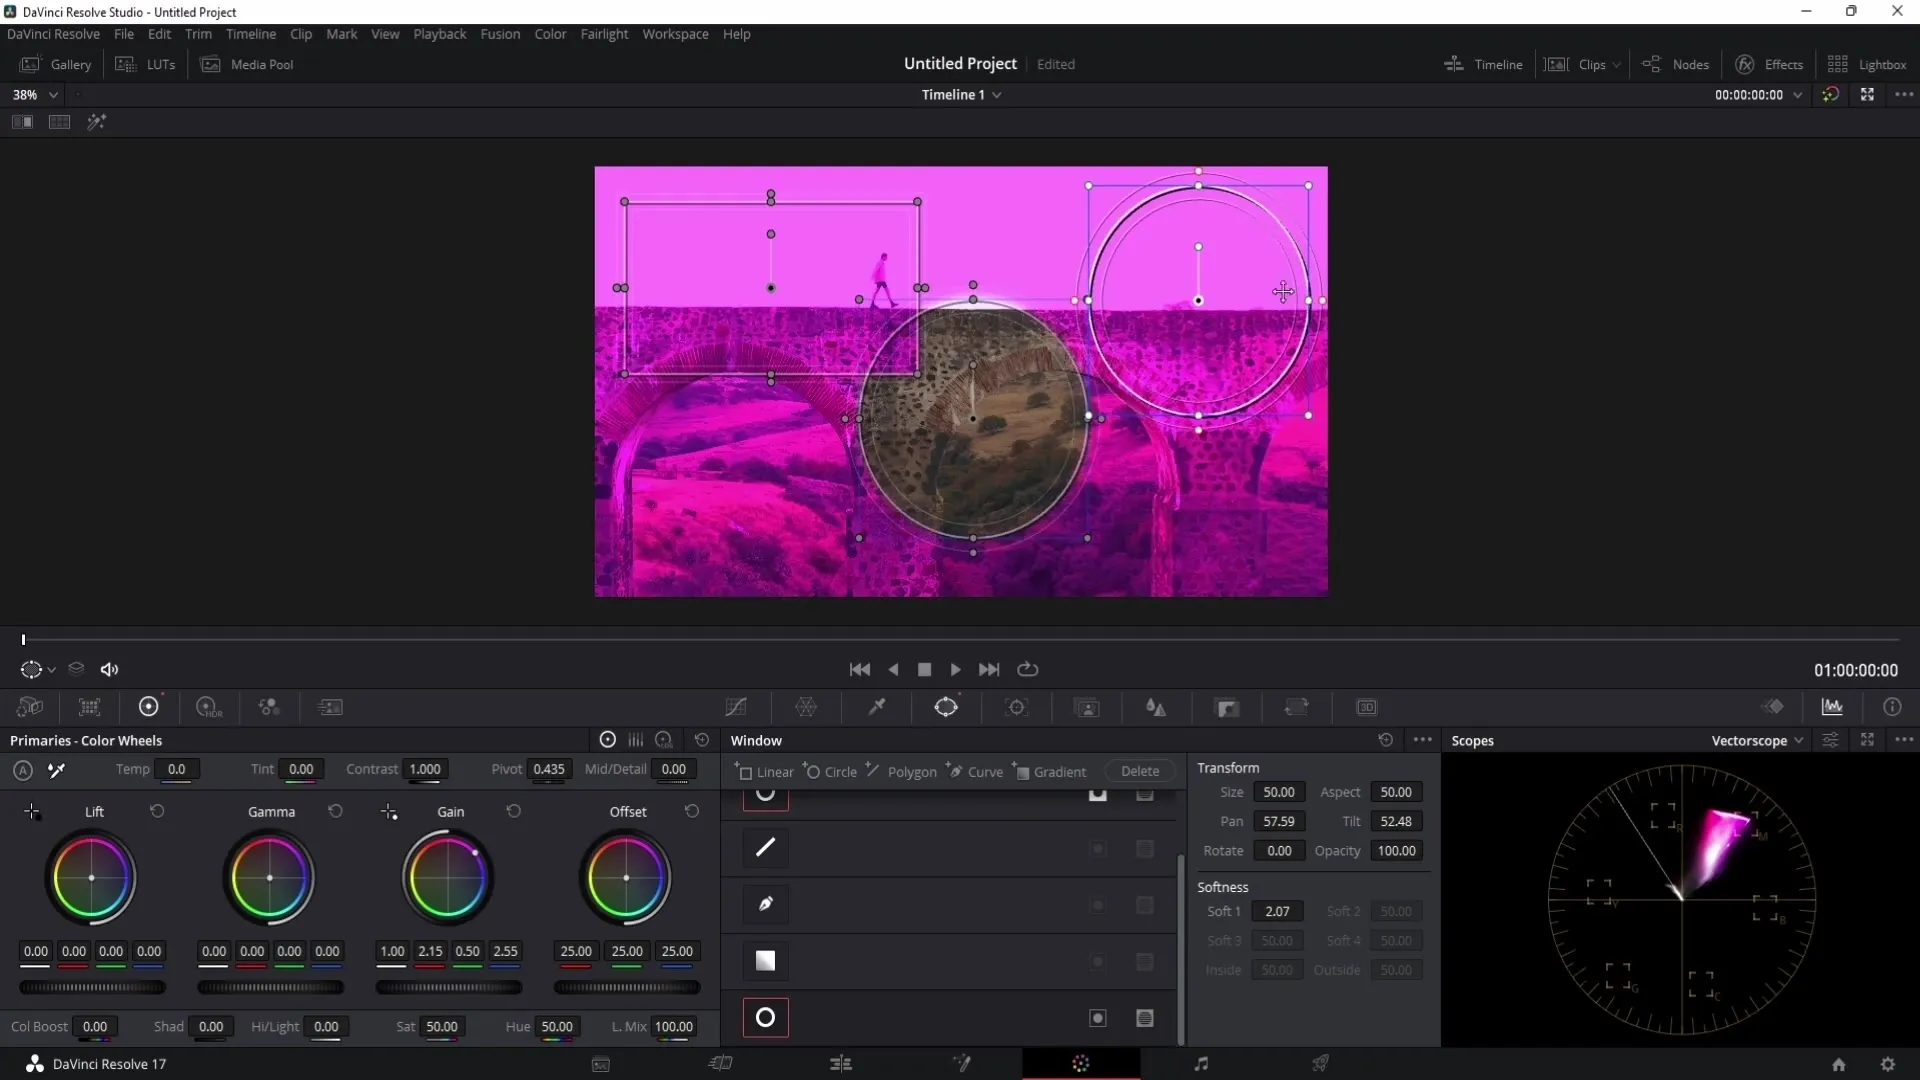
Step 7: Adding Additional Masks
It is possible to use multiple masks in the same clip. Select the new mask and click on the corresponding mask icon. Remember that you can easily switch between different masks to make adjustments.
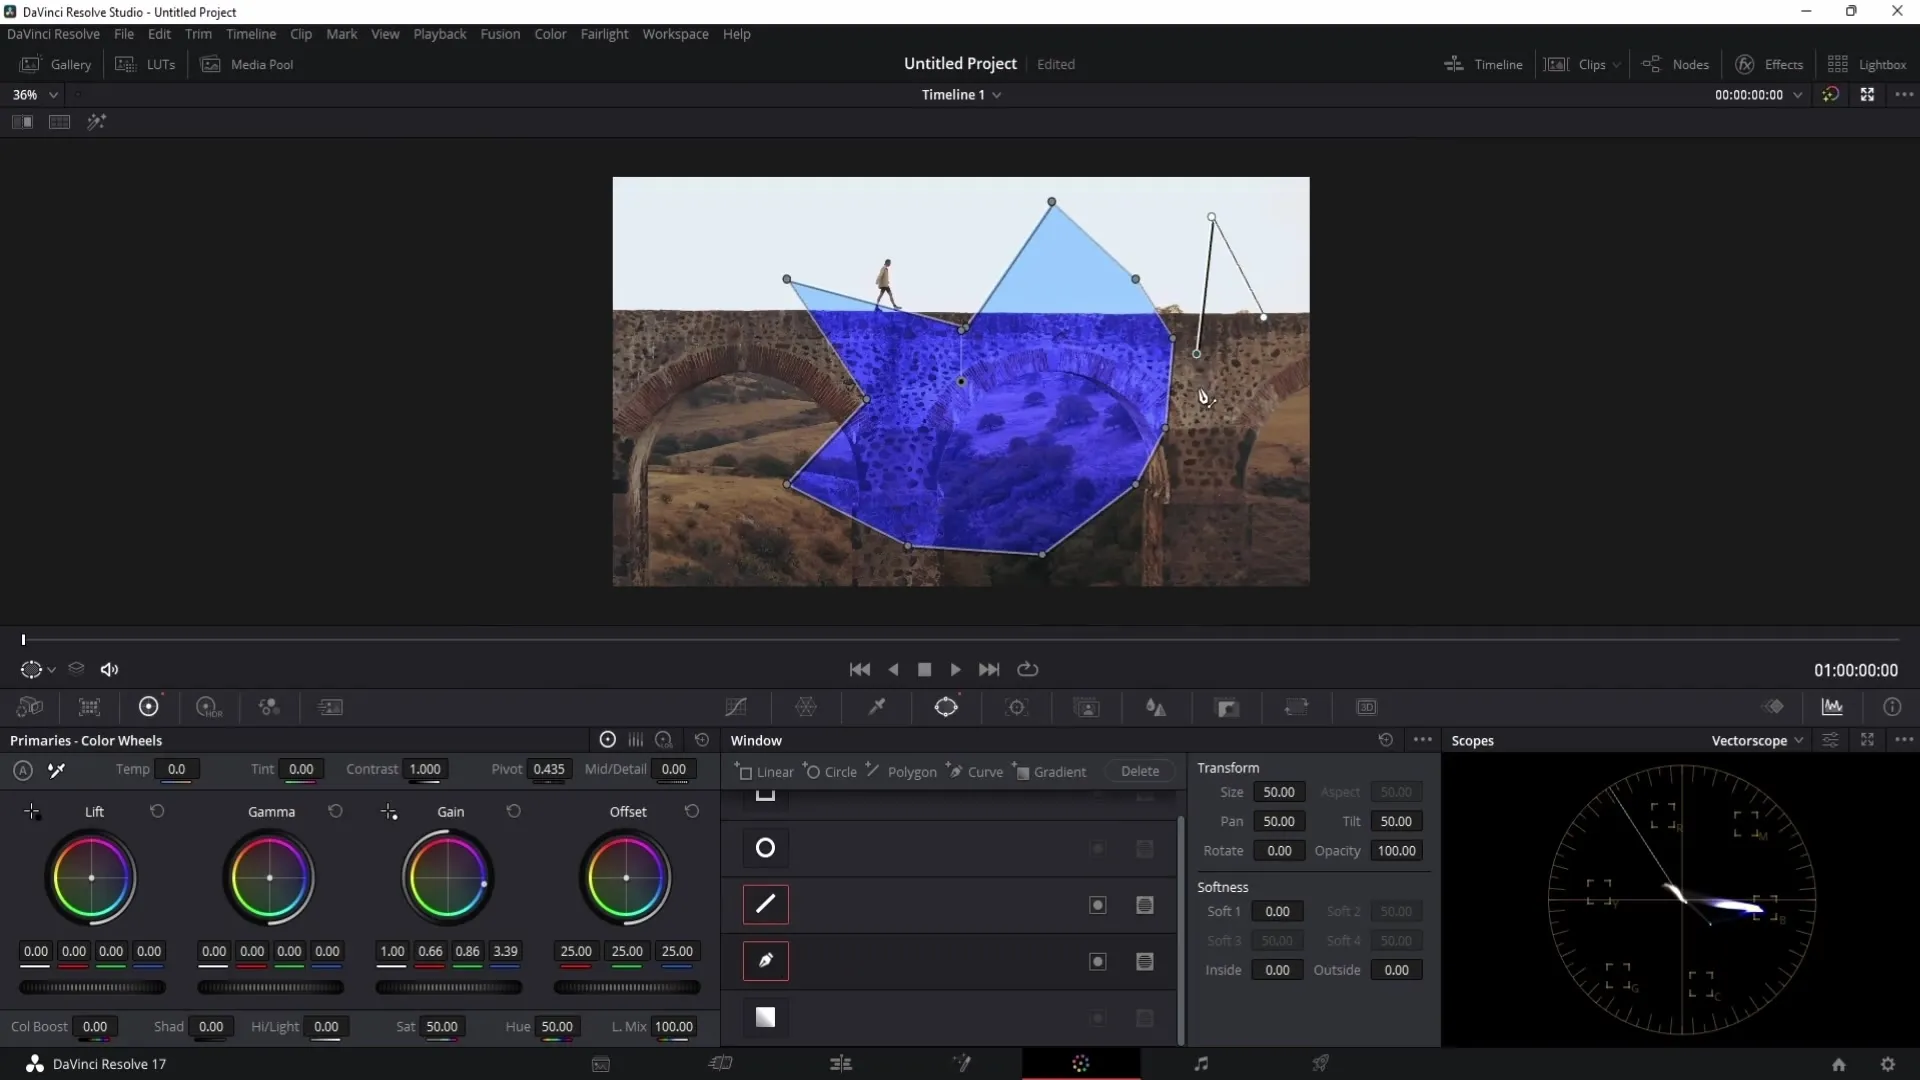
Step 8: Masking with the Pen Tool
For more precise work, you can use the pen tool. This allows you to create custom masks by setting points and adjusting the shape as desired. This is especially helpful when you want to cut out complex objects.
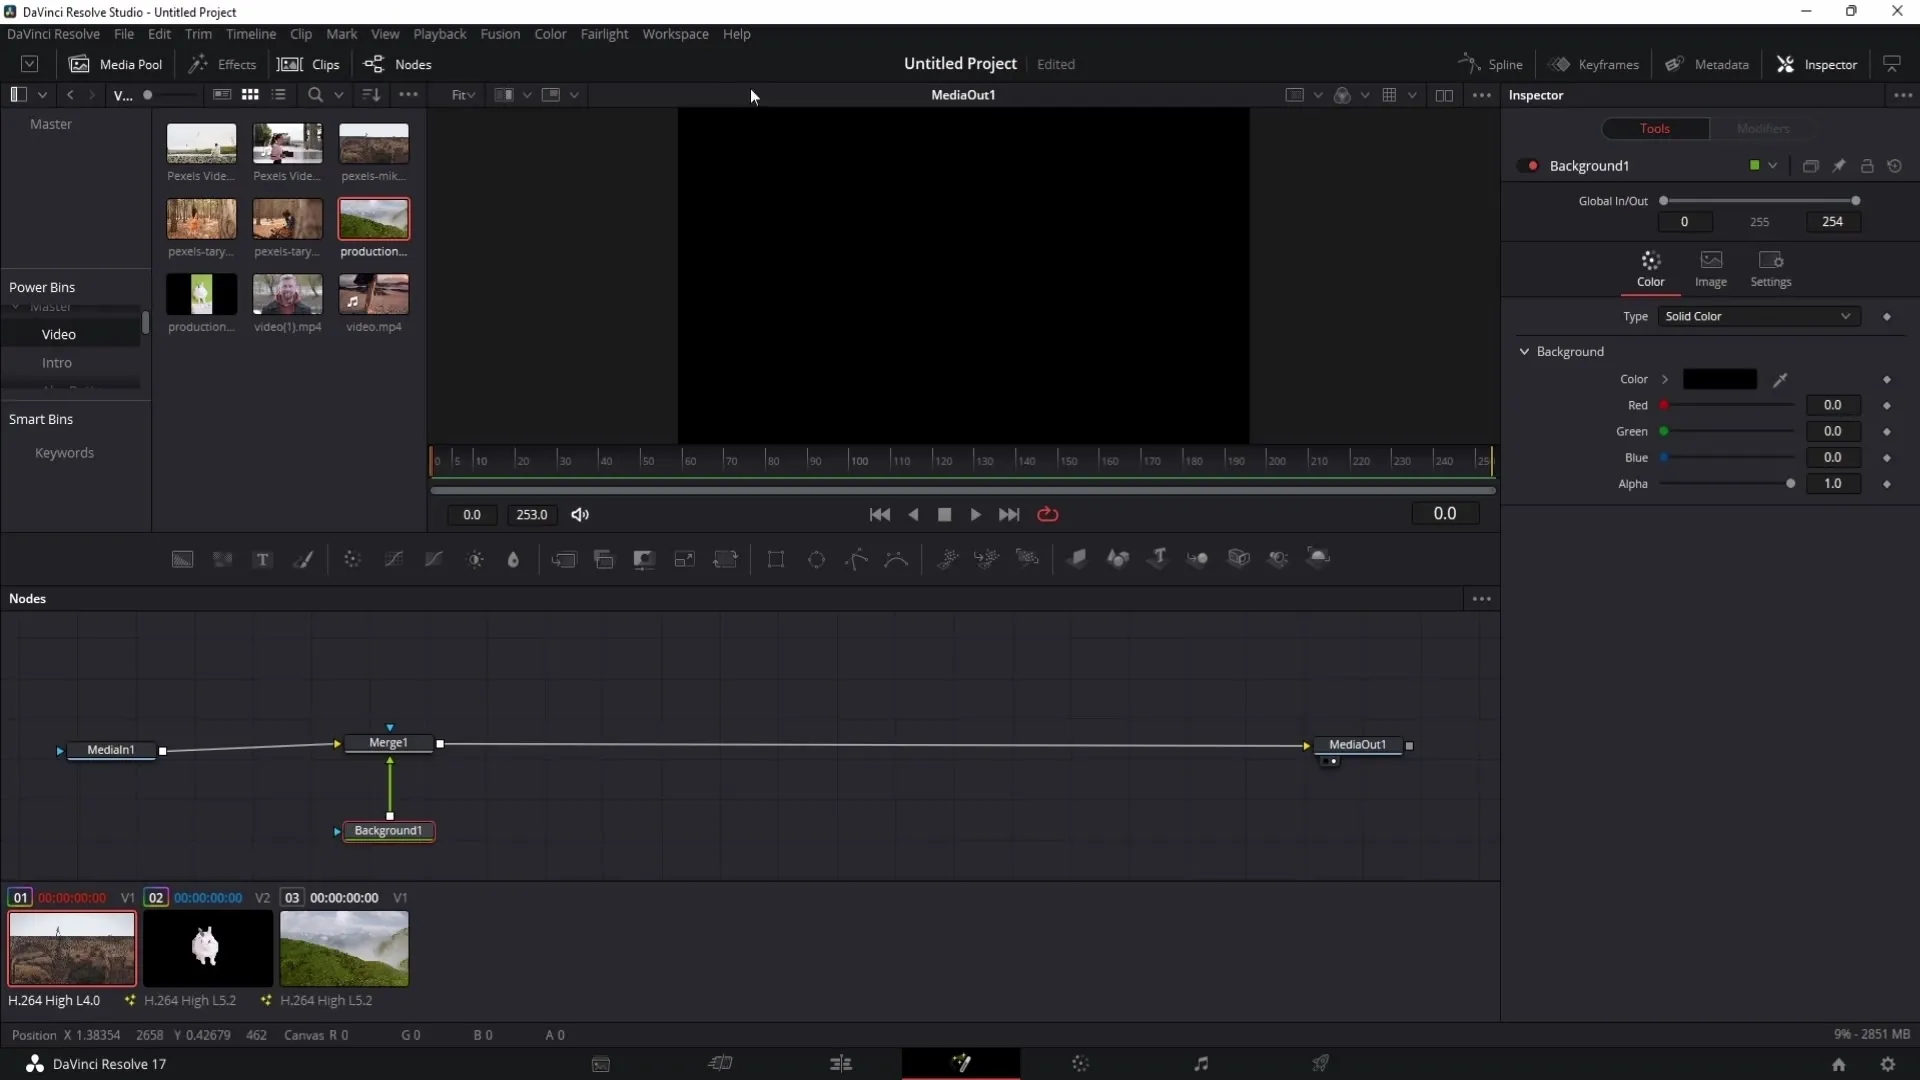
Step 9: Using Masks in the Fusion Area
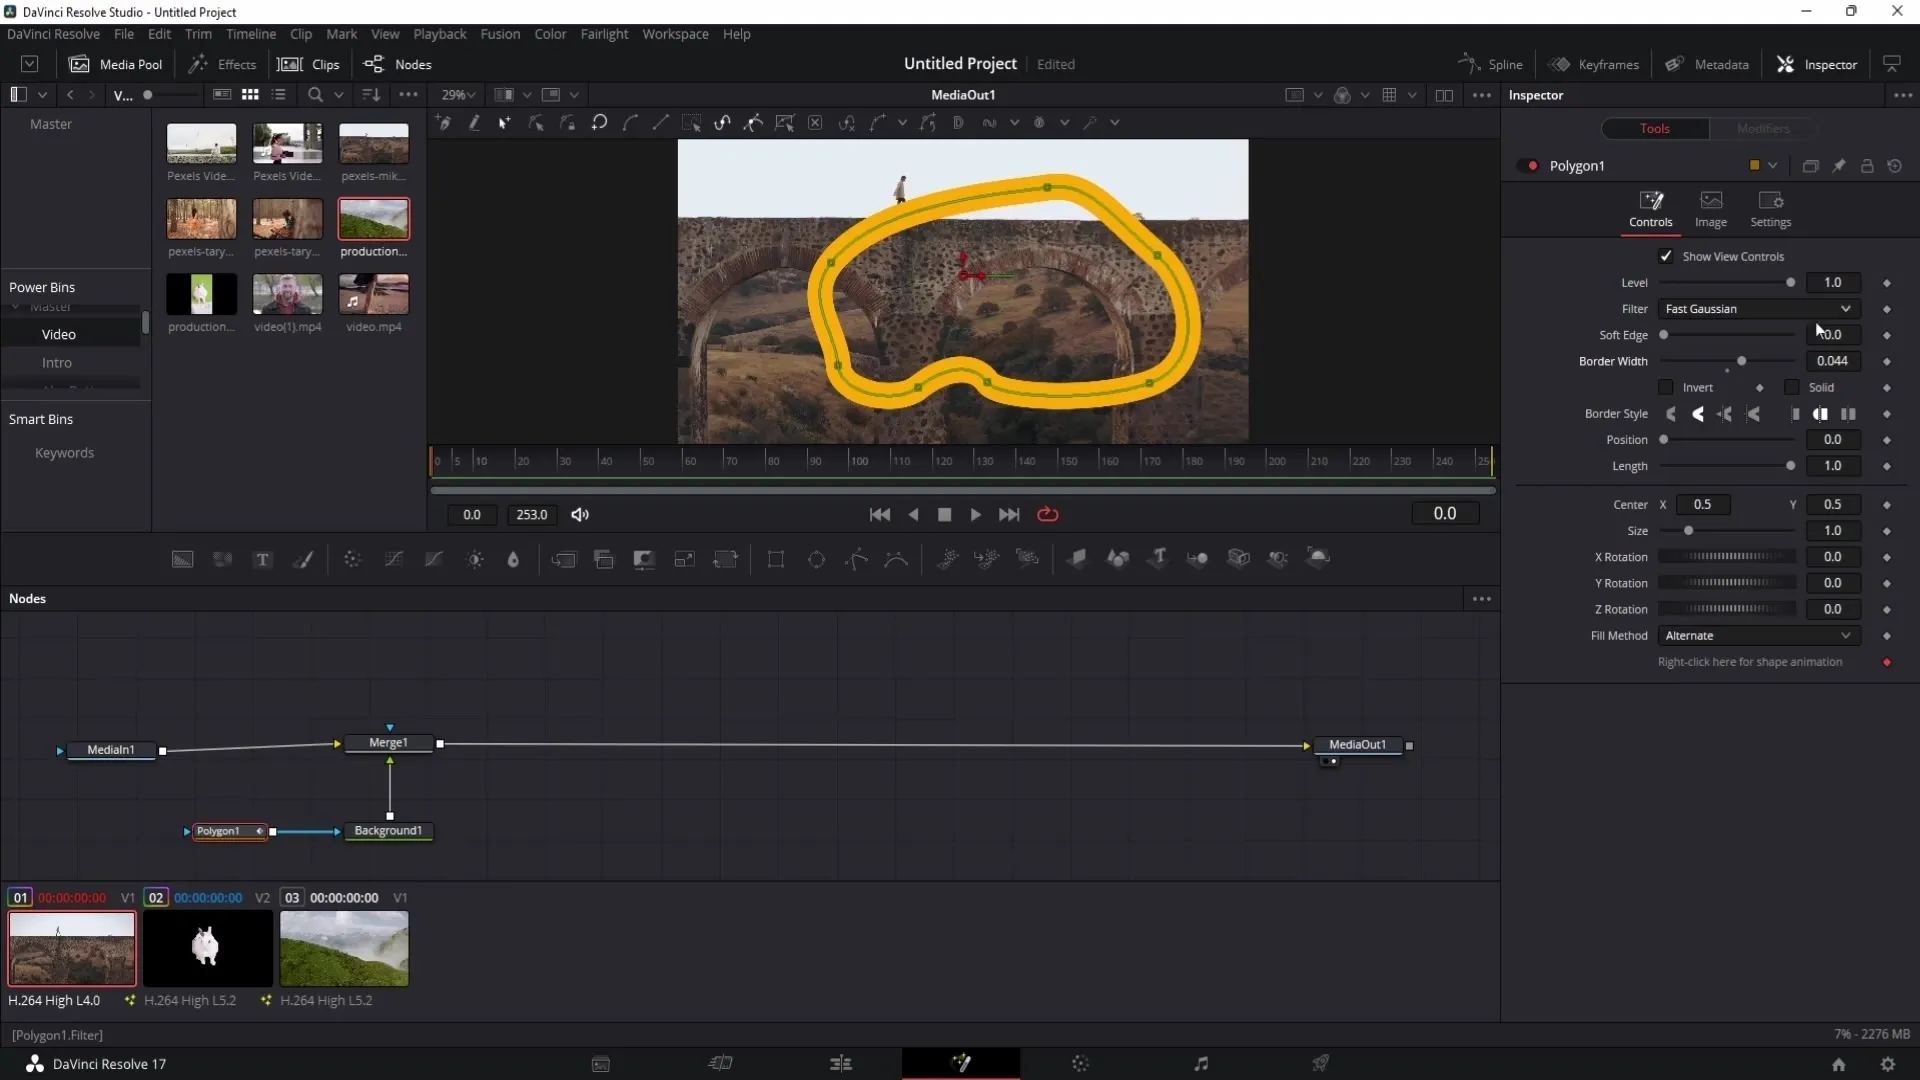
Switch to the Fusion area to use masks even more creatively. Here you can work with background nodes and create masks for color fields. Remove the connection between Media In and Media Out and connect the masks accordingly.
Step 10: Color Changes with Masks
Use masks to make specific color changes in a clip. By adjusting the mask, you can selectively colorize the sky or other parts of the image. This is particularly effective in influencing the mood of a clip.
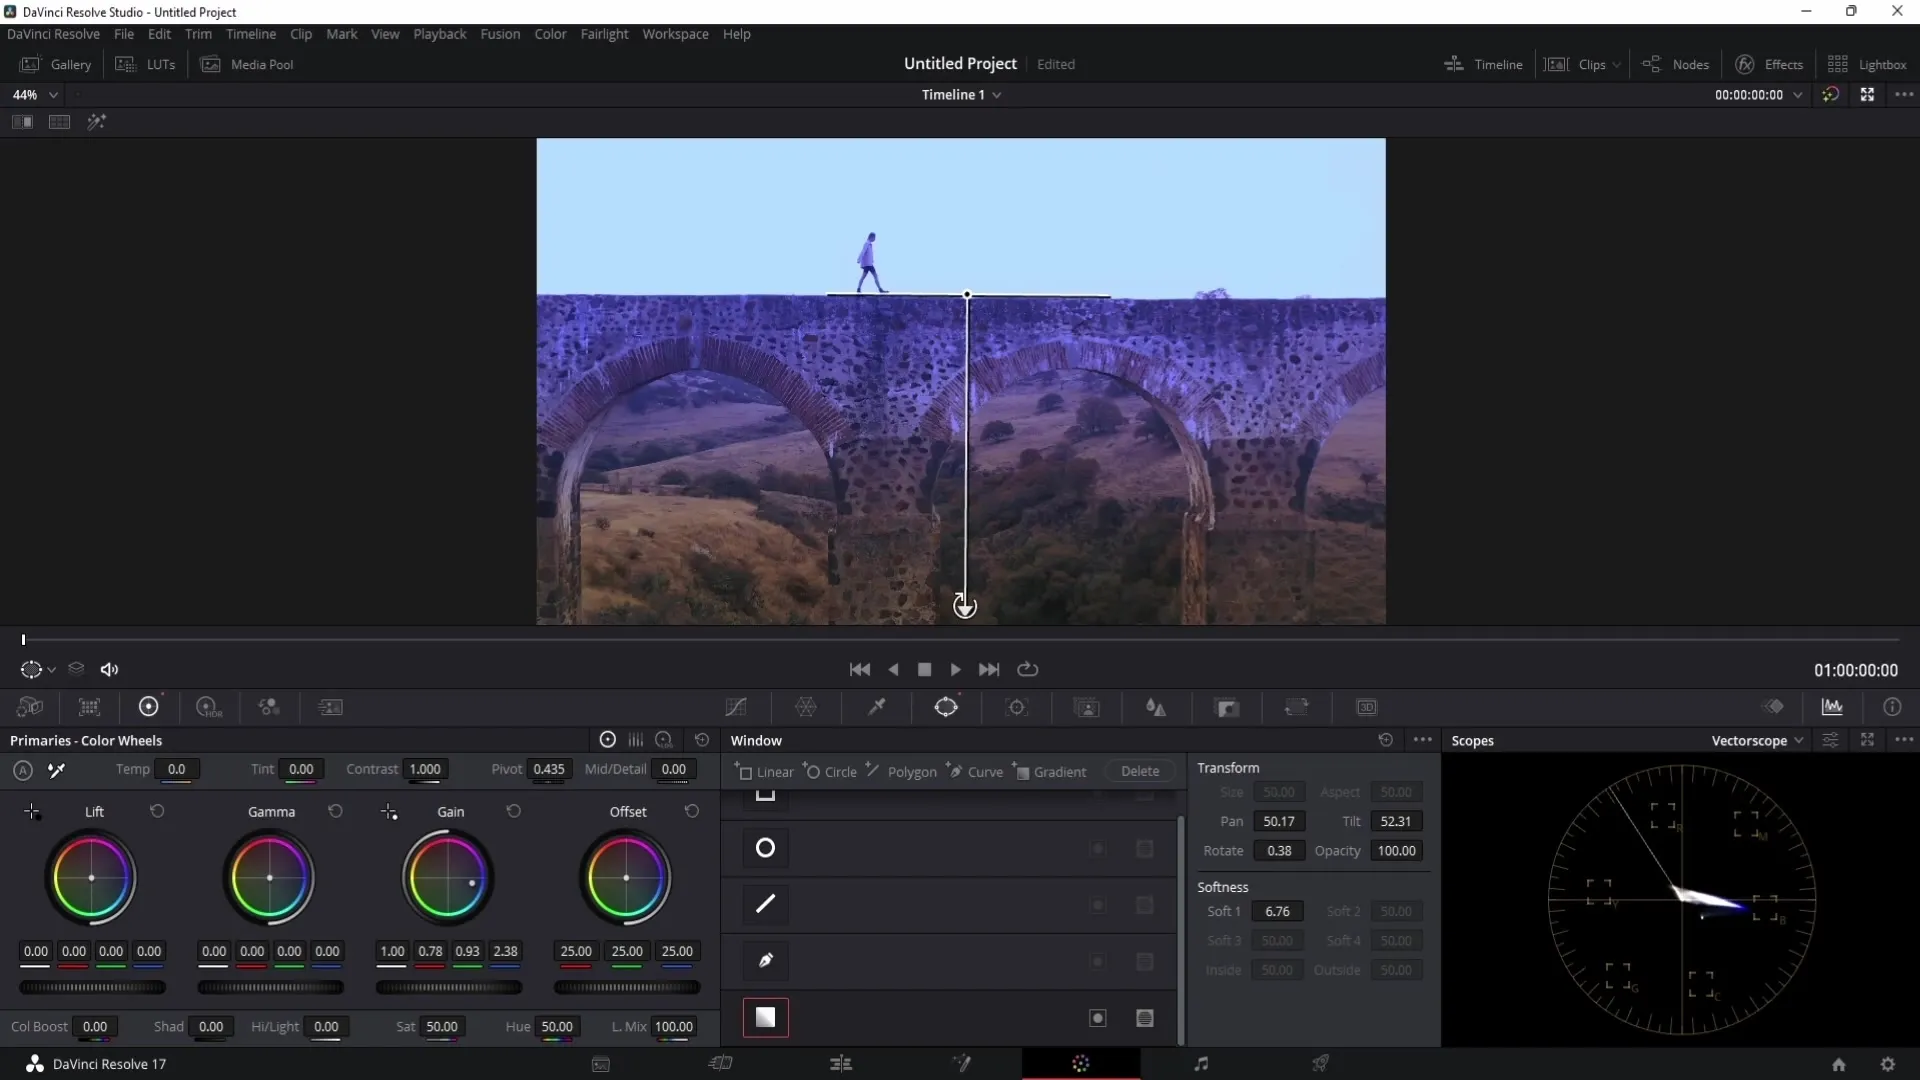
Step 11: Creating Vignettes
Masks are ideal for creating vignettes. This technique helps to focus on the main subject of the image. With a circular mask, you can ensure that the outer area is darkened.
Step 12: Fine-tuning and Transparency
Experiment with settings like opacity and softness to achieve the desired effect. Careful adjustment ensures that your masks are seamlessly integrated into the overall image.
Summary
In this tutorial, you have learned how to use masks in DaVinci Resolve to selectively edit clips and create creative effects. From simple color grading to complex fusion effects: masks are an indispensable tool for any videographer.
Frequently Asked Questions
How can I create a mask in DaVinci Resolve?You create a mask by selecting the mask icon in the Color Grading section and choosing one of the available mask shapes.
Can I use multiple masks in a clip?Yes, you can add multiple masks and switch between them to adjust different parts of the clip.
How can I reset a mask?To reset a mask, simply double-click on the "Transform" area.
Can I also use masks in the Fusion section?Yes, in the Fusion section, you can create masks to achieve complex graphic effects and color fields.
How does opacity affect a mask?Opacity allows you to control the visibility of the changes within the mask, enabling you to create smoother transitions.


