Jump Cuts and Smooth Cuts are essential techniques, especially when it comes to making videos more engaging and professional. In this guide, you will learn how to effectively apply these techniques using DaVinci Resolve. Whether for YouTube videos or professional client projects, with the right Cuts you can enhance your video material and captivate the audience.
Key Takeaways
- Jump Cuts are particularly useful for skipping boring sections in videos.
- Smooth Cuts ensure smoother transitions between cuts and improve the overall quality of the video.
- It is more efficient to copy a Smooth Cut and apply it at multiple cut points rather than inserting it manually.
Step-by-Step Guide
Let's start by creating a Jump Cut.
Open DaVinci Resolve and load your video into the timeline. Make sure you have selected the clip you want to edit. To create a Jump Cut, you need to select the blade tool. You can find the blade tool in the toolbar. Click on it to activate it.
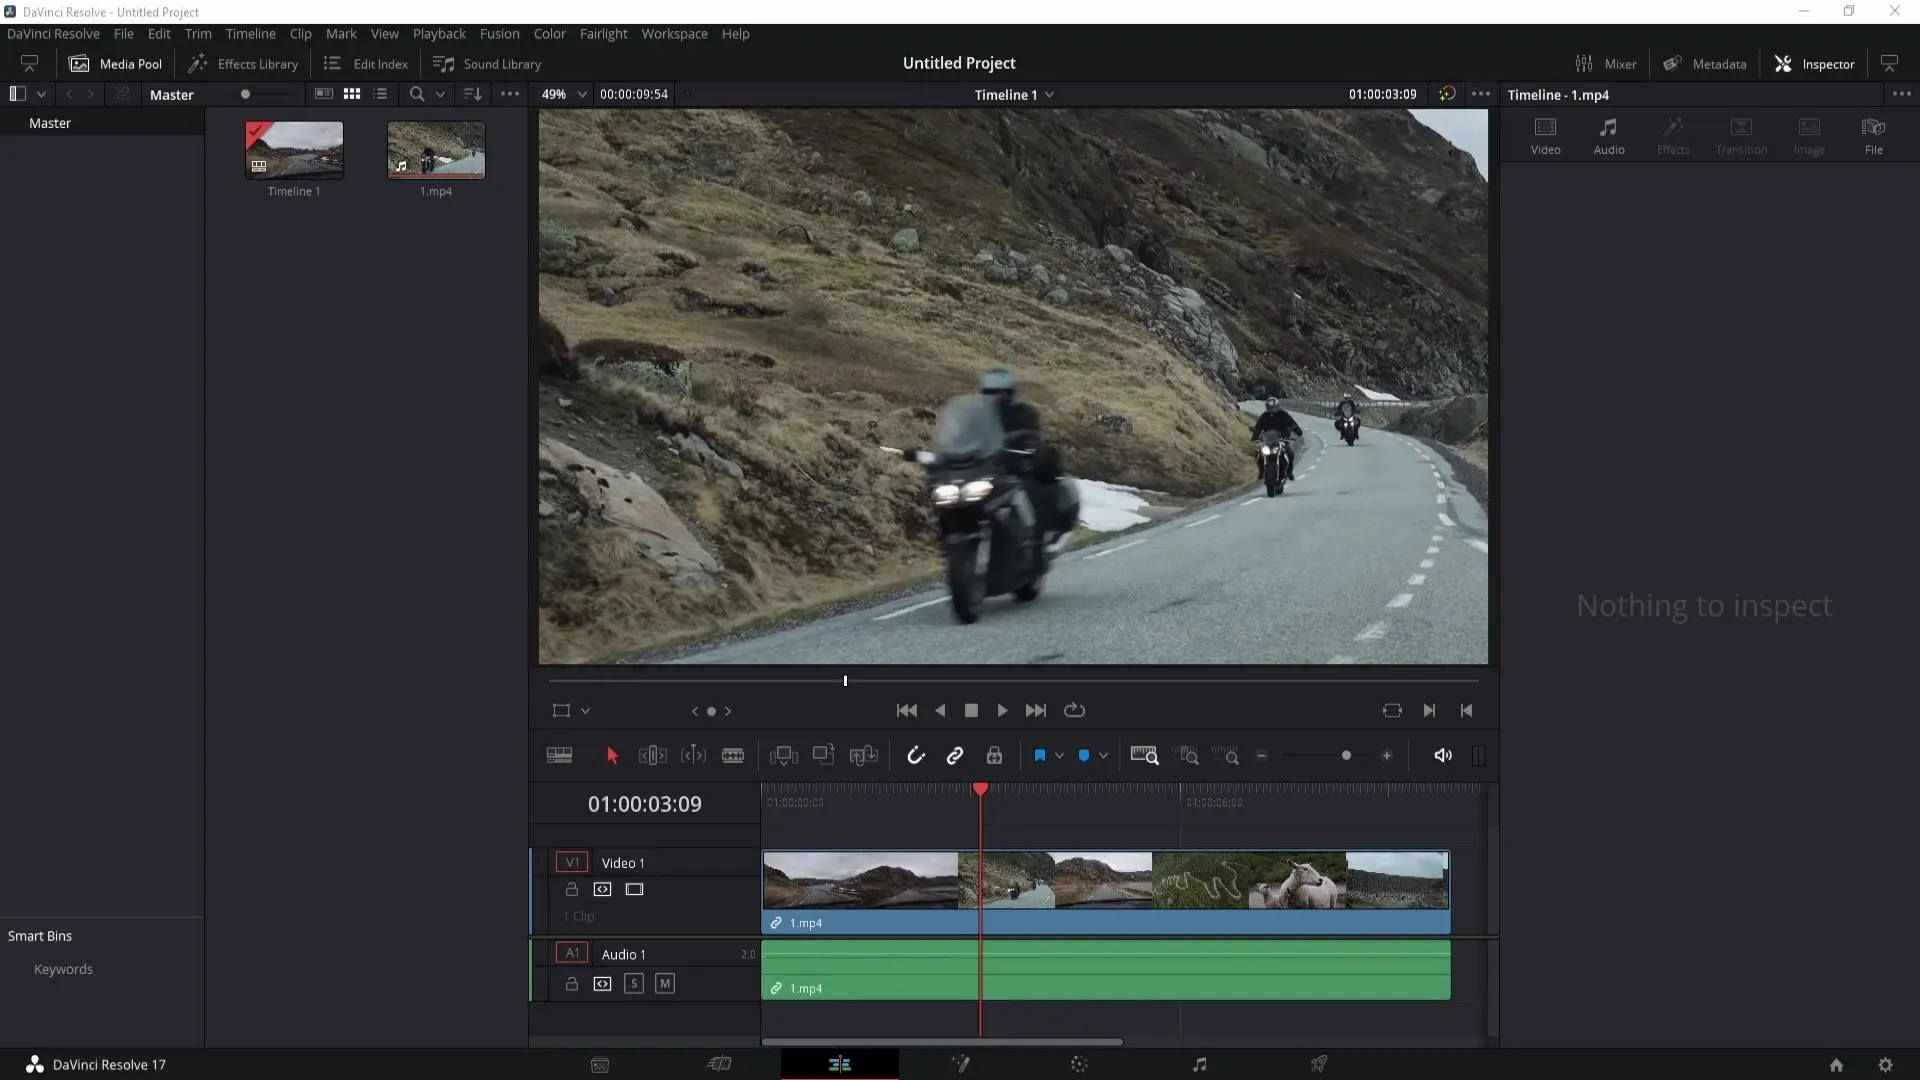
Now make your first cut by clicking where you want the cut to be made. Then advance some time in the clip and make another cut at the desired location. These cuts can be made at any points in your clip, depending on where you want to trim the content.
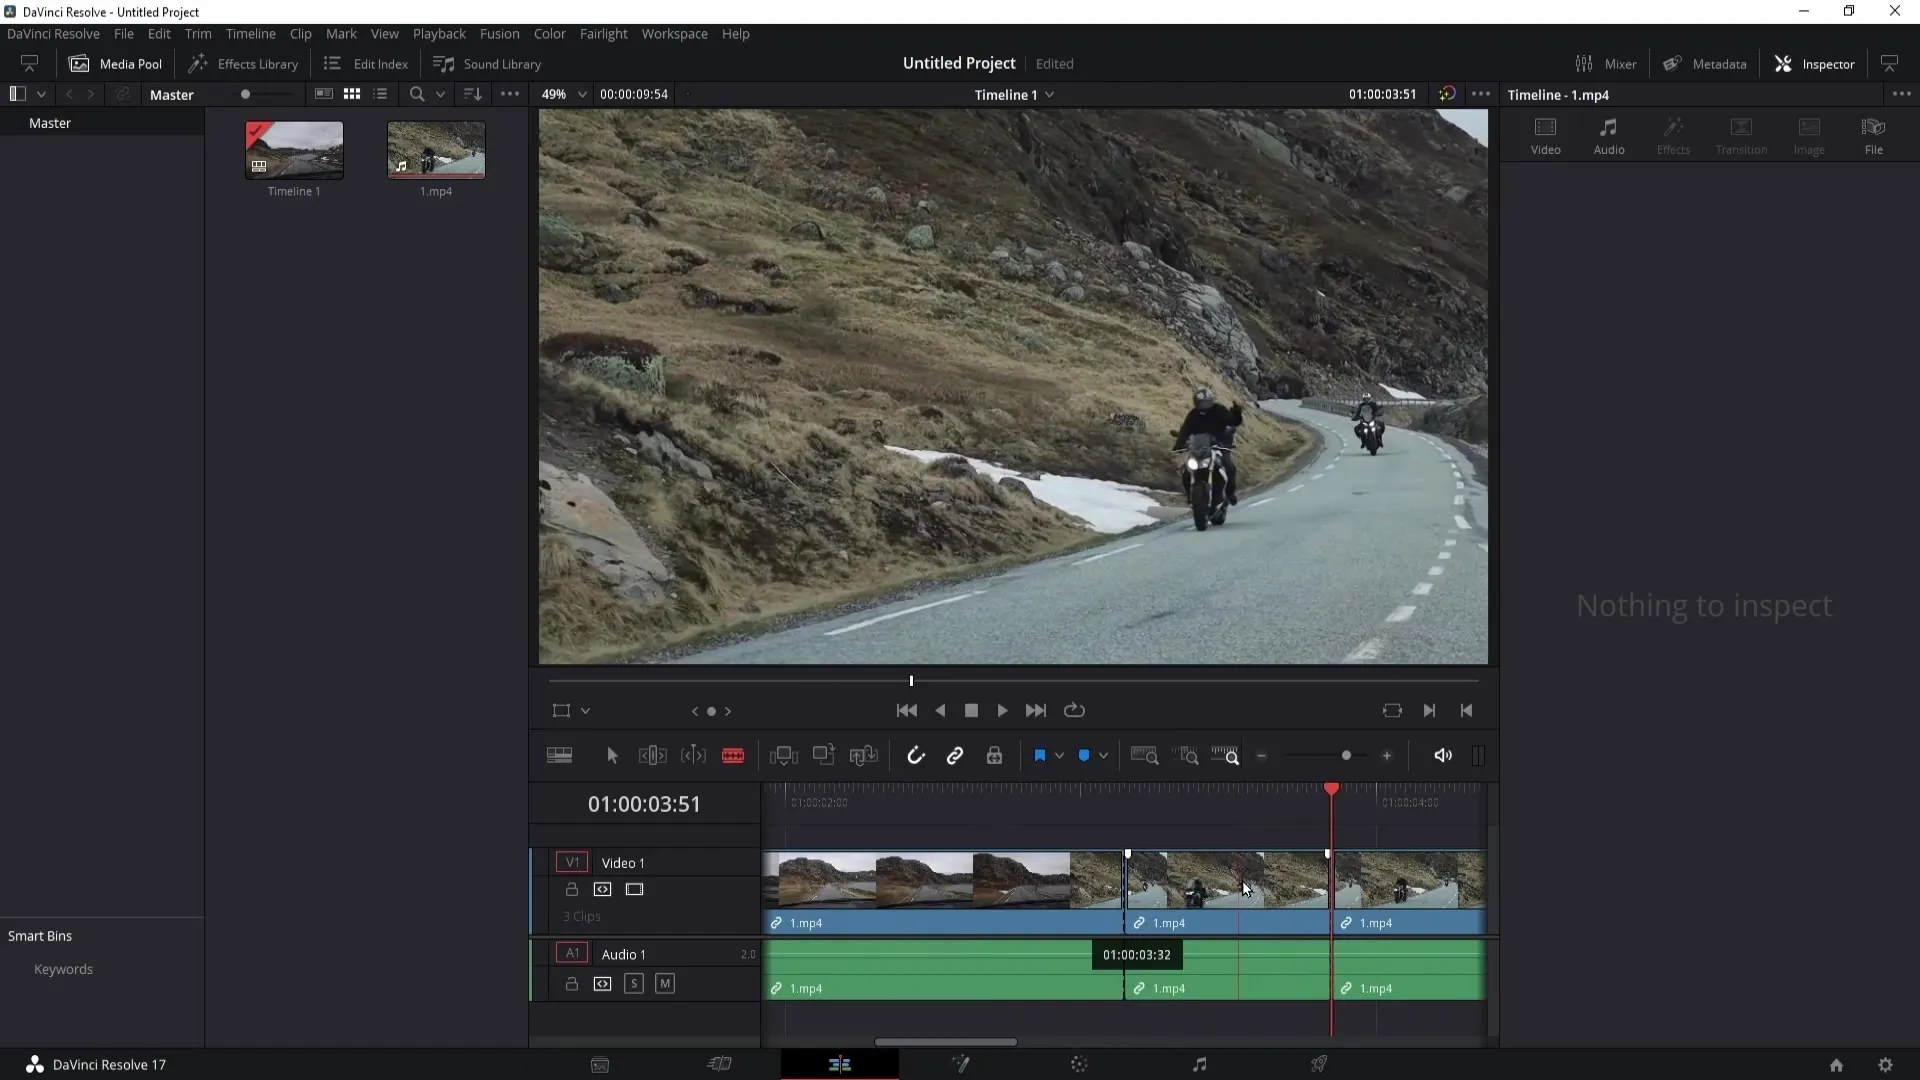
To finalize the Jump Cut, right-click on the section between the two cuts and select the "Ripple Cut" option. This will successfully create your Jump Cut.
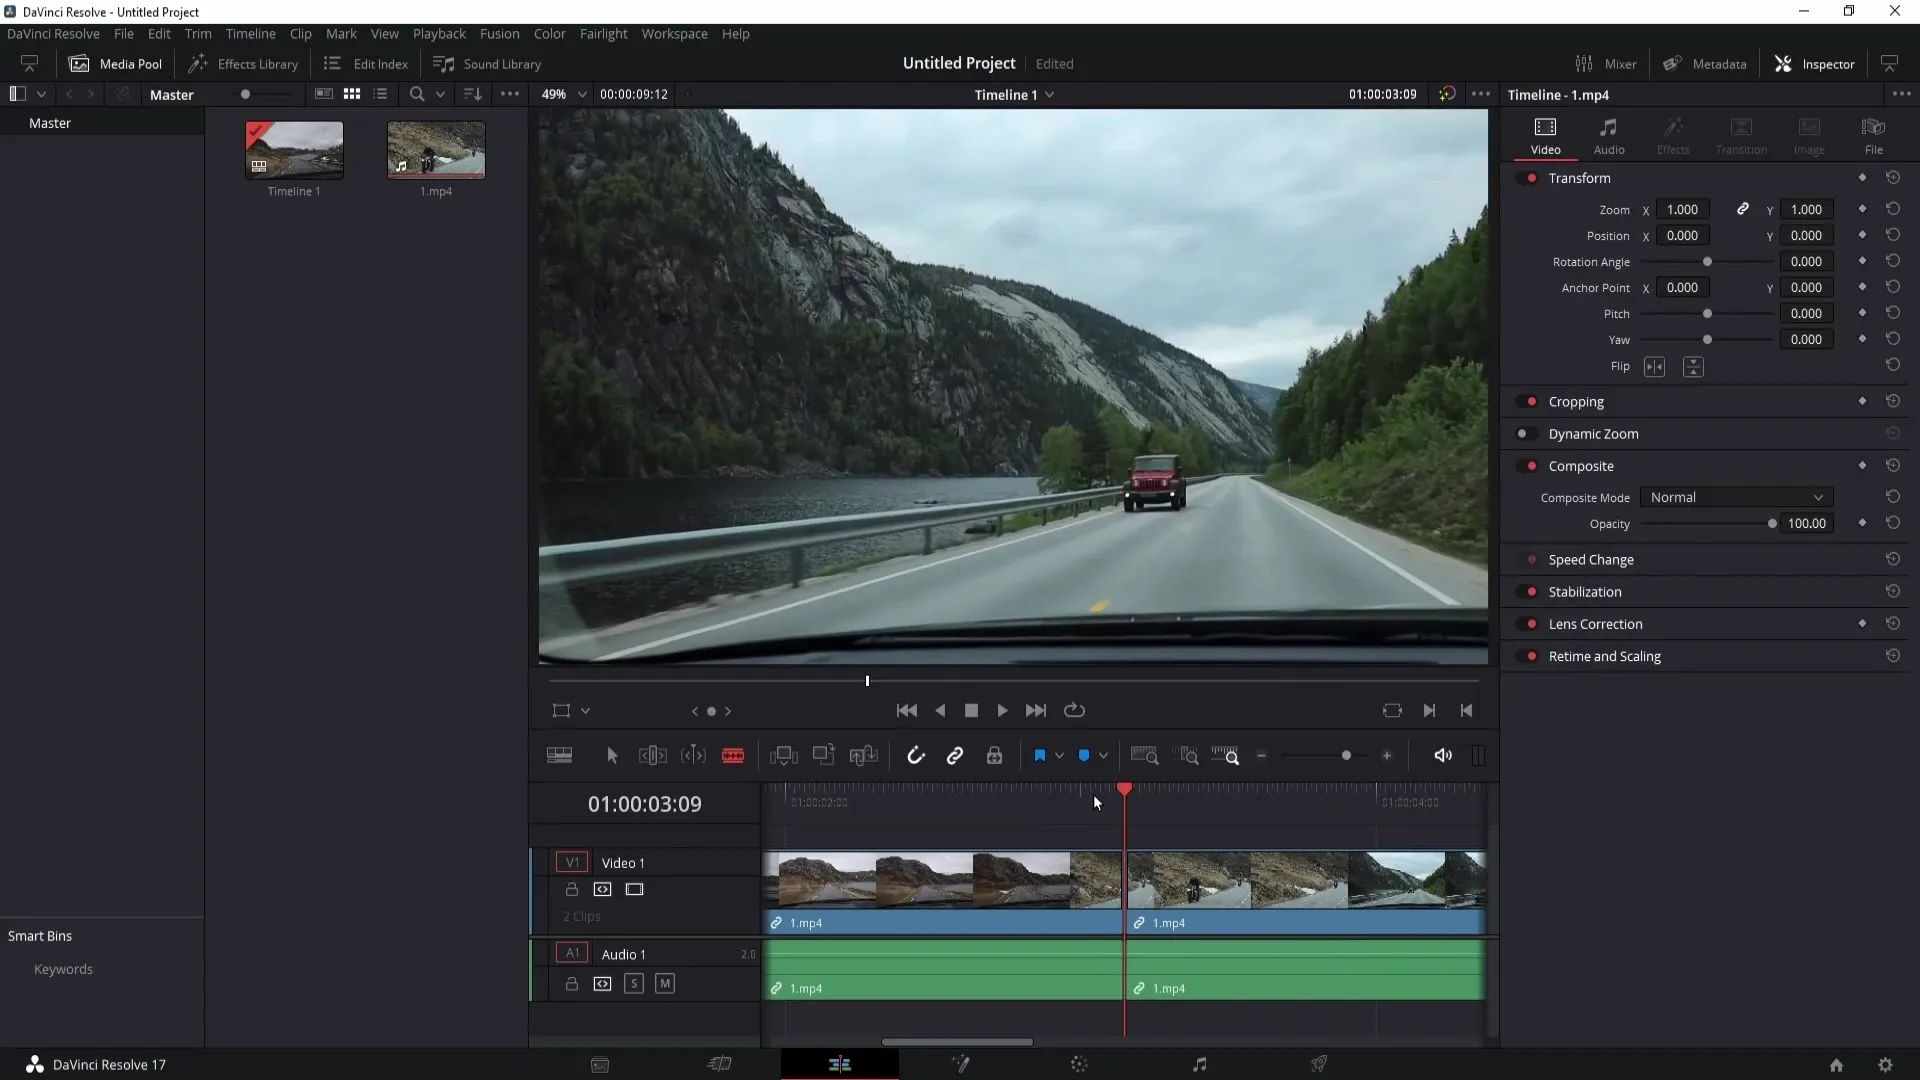
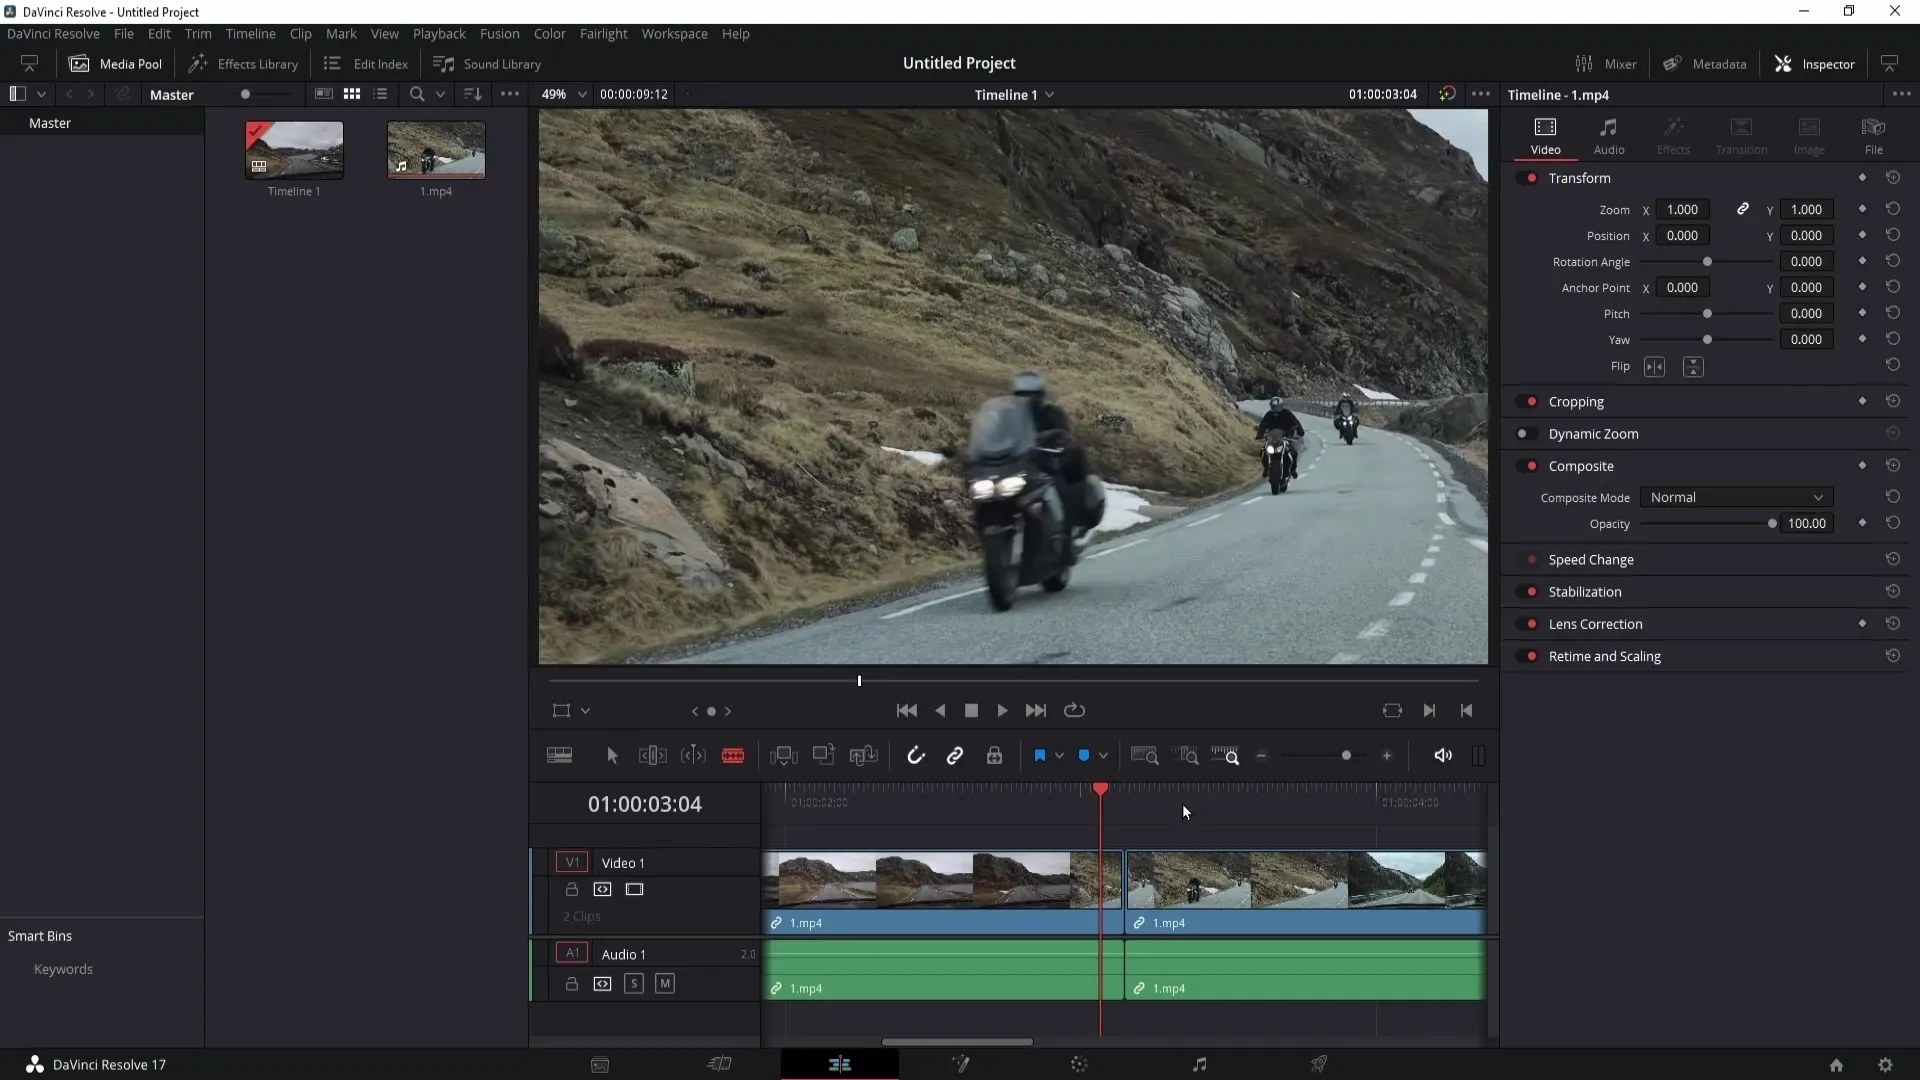
Jump Cuts are particularly useful for videos where you want to keep the viewer's attention, such as in vlogs or tutorials.
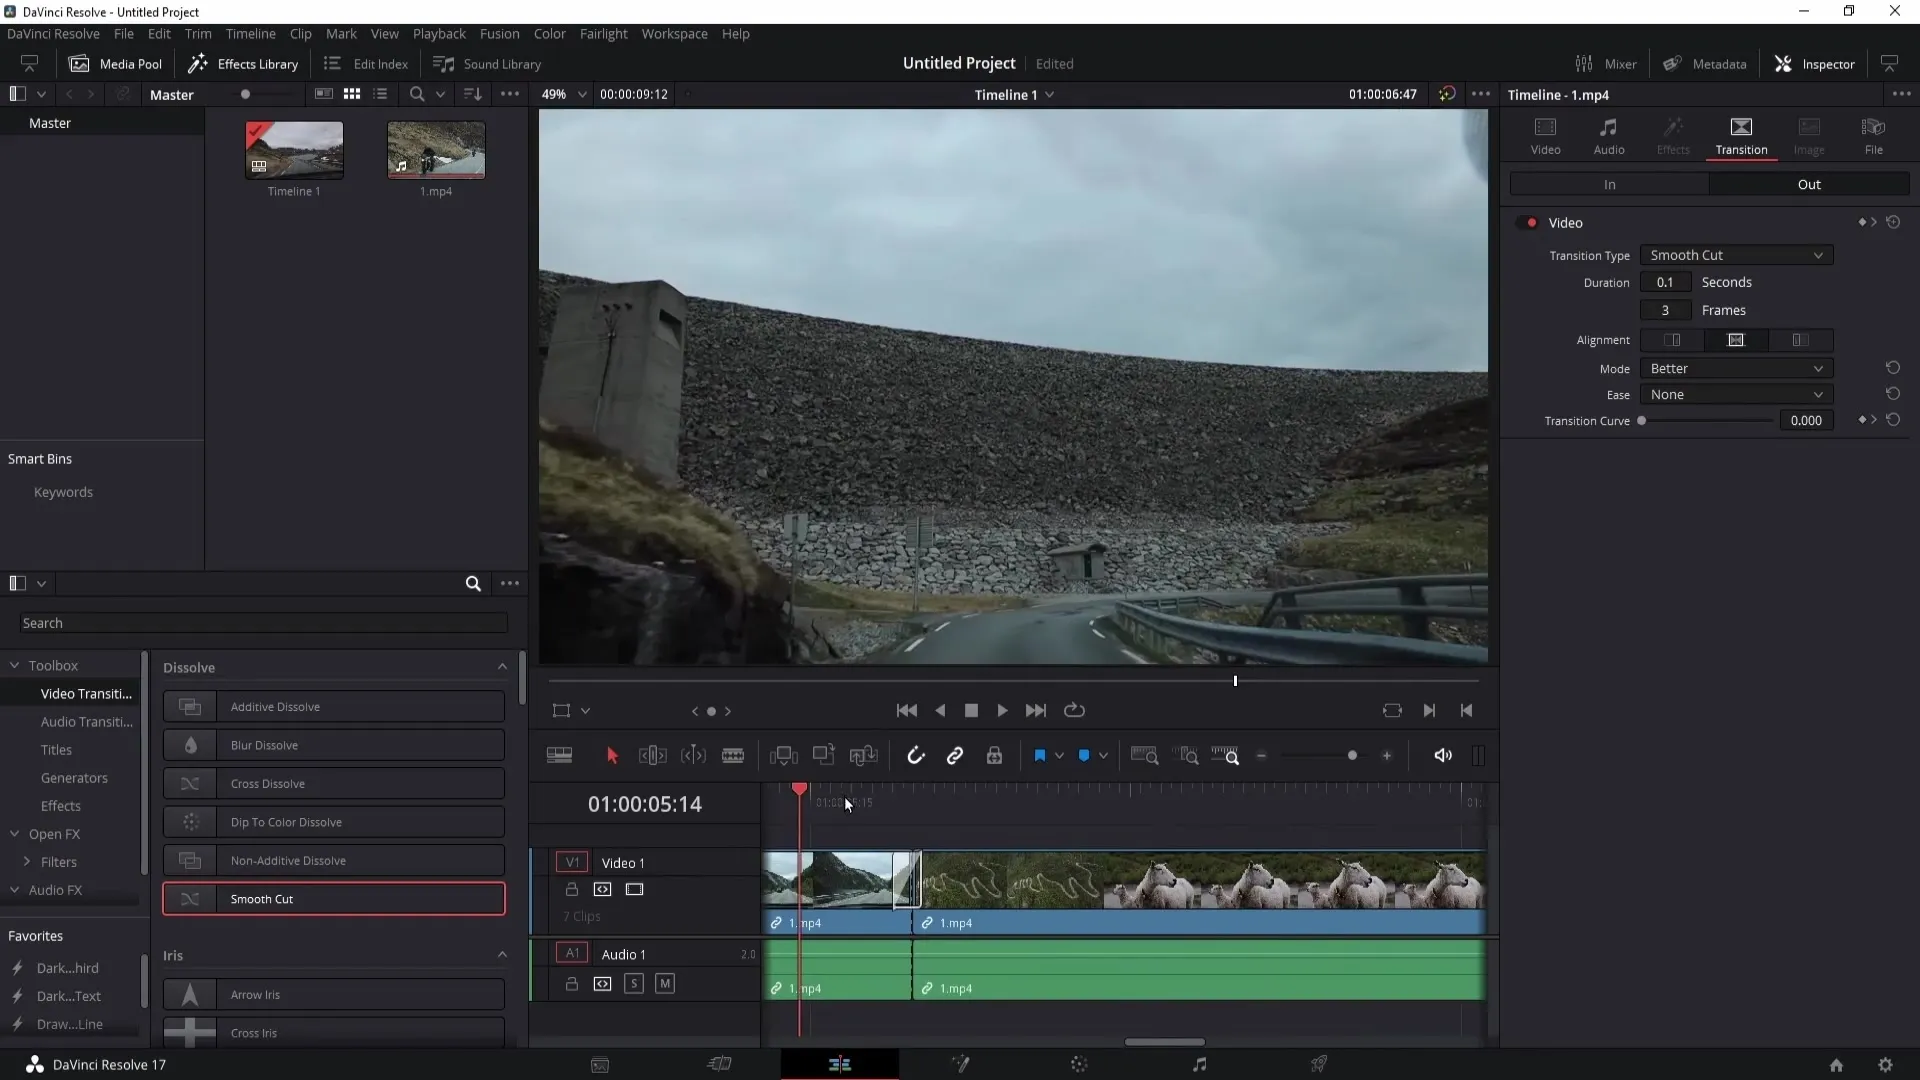
Now let's look at how to add a Smooth Cut. A Smooth Cut is a transition that snaps in between Jump Cuts, making the video overall smoother. To add the Smooth Cut, open the Effects Library located in the upper left corner.
Navigate to the Video Transitions and find the Smooth Cut. Once you have located the Smooth Cut, drag it with your mouse to the point between the two cuts you just created.
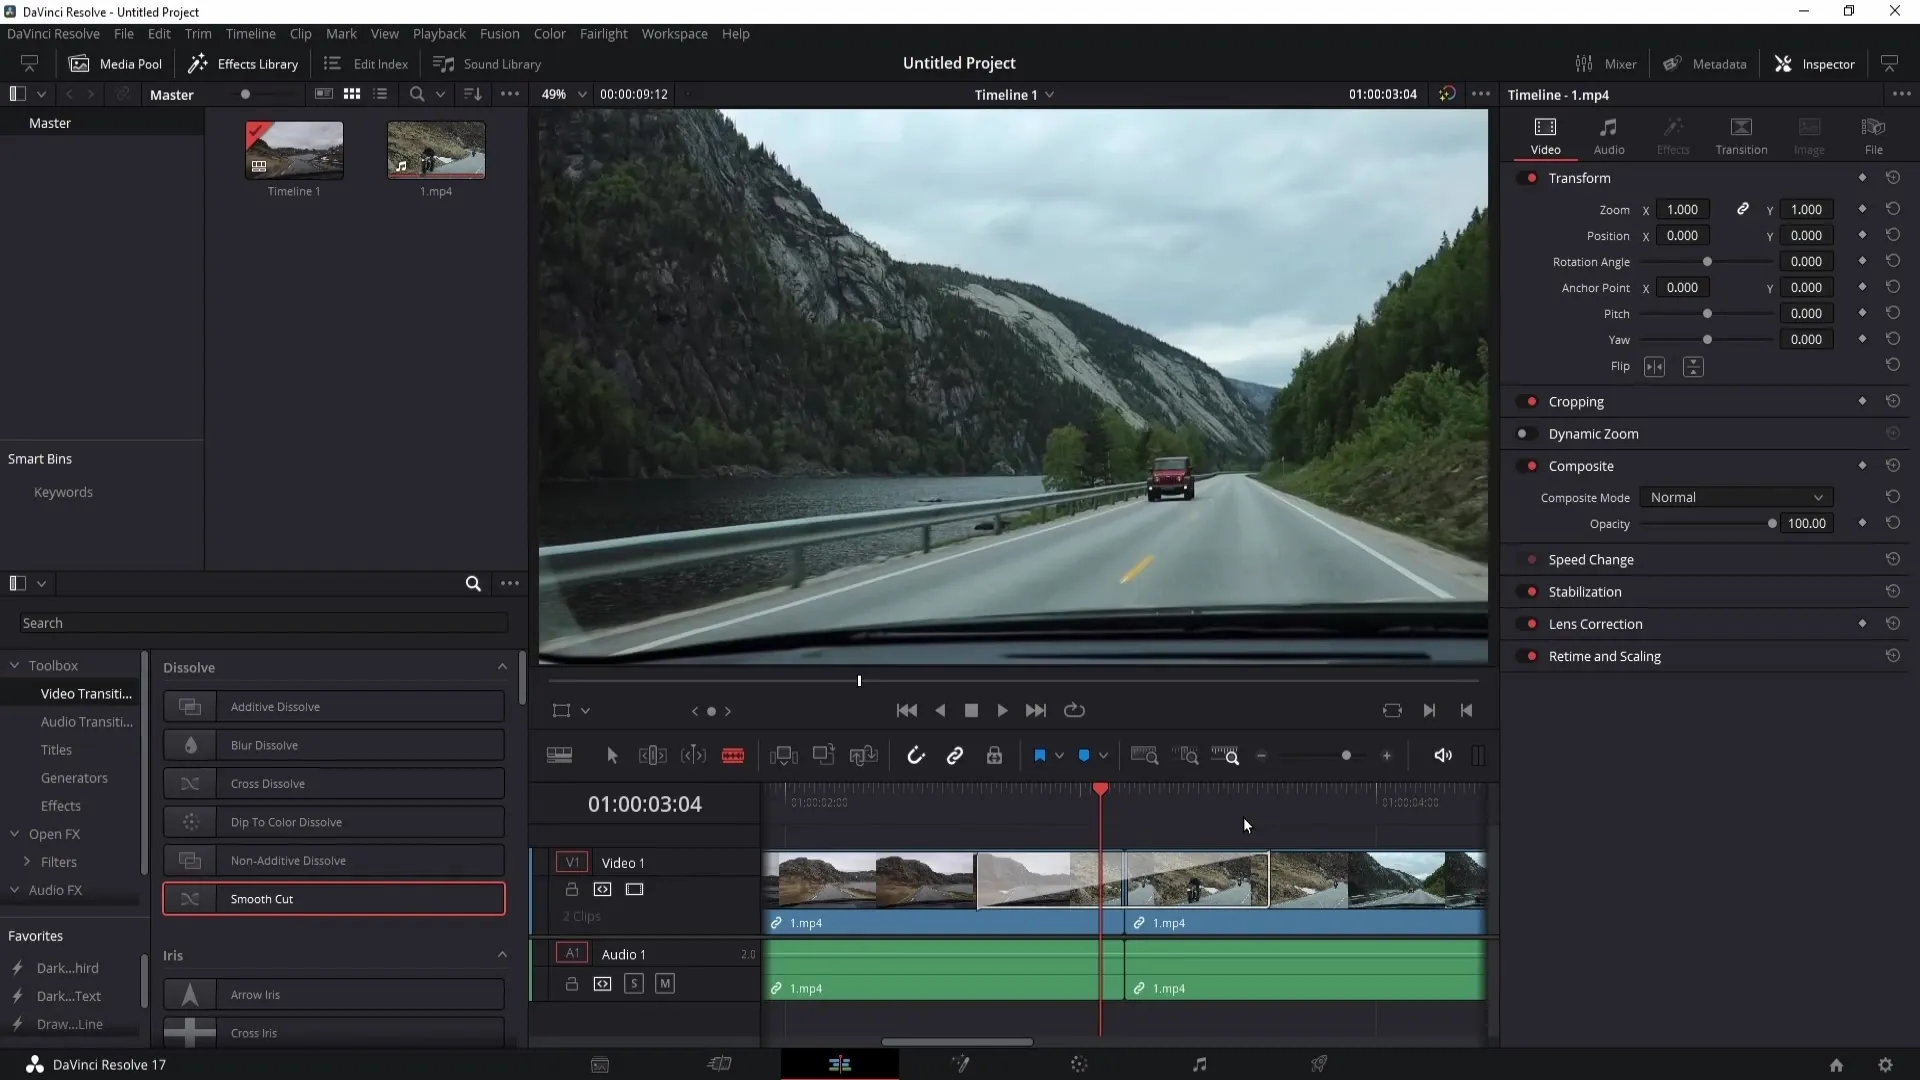
I recommend trimming the Smooth Cut slightly to make the transition look smoother. To adjust the length of the Smooth Cut, click on the clip and press the Enter key to resize. A value of about three frames usually works well for a short transition.
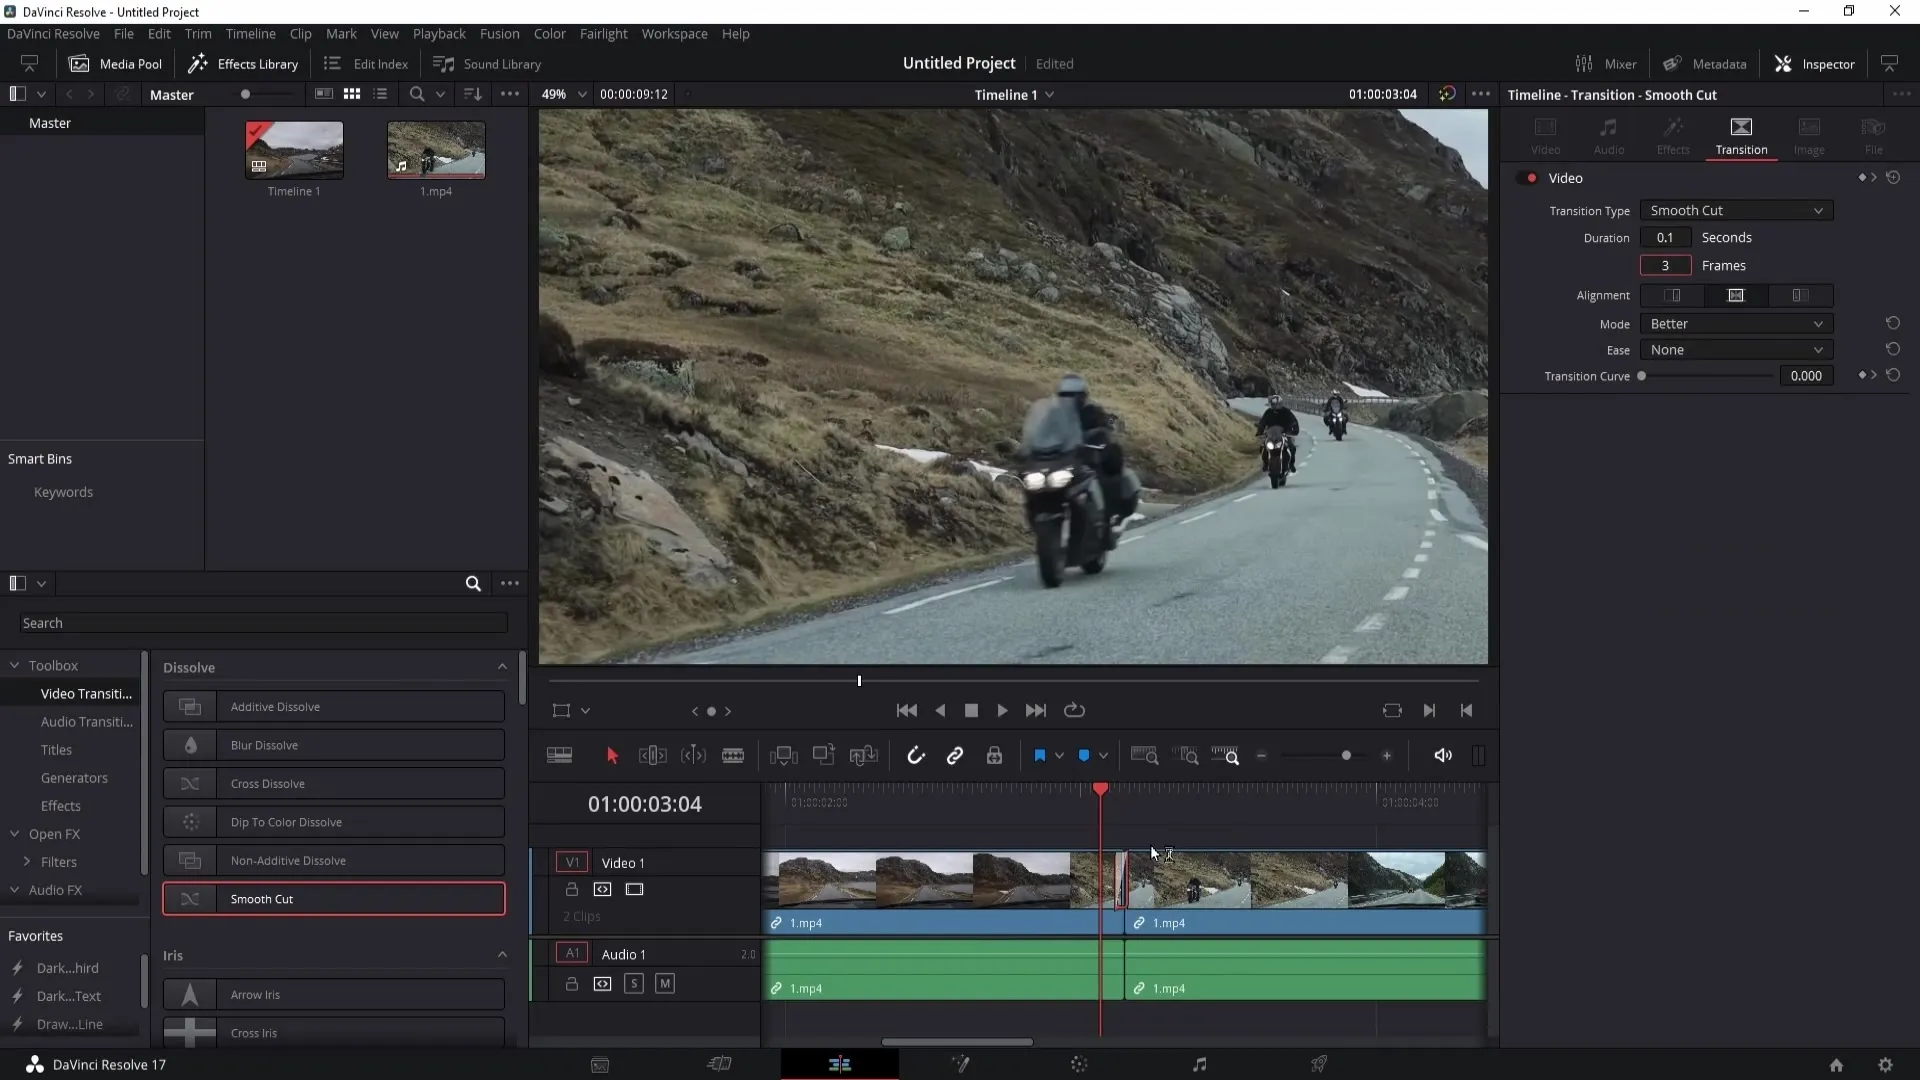
This Smooth Cut will make the transition between cuts much smoother and look more professional. Especially when you have many cuts throughout the project, it is important to make the transitions as effective as possible.
There is a more efficient way to apply a Smooth Cut at multiple cut points without manually inserting it for each clip. You can simply copy the created Smooth Cut. Right-click on the Smooth Cut and select "Copy".
Then switch to the Select tool and hold down the Control key while clicking on each individual cut point to select them. It is important to select each cut point individually to apply the Smooth Cut correctly later.
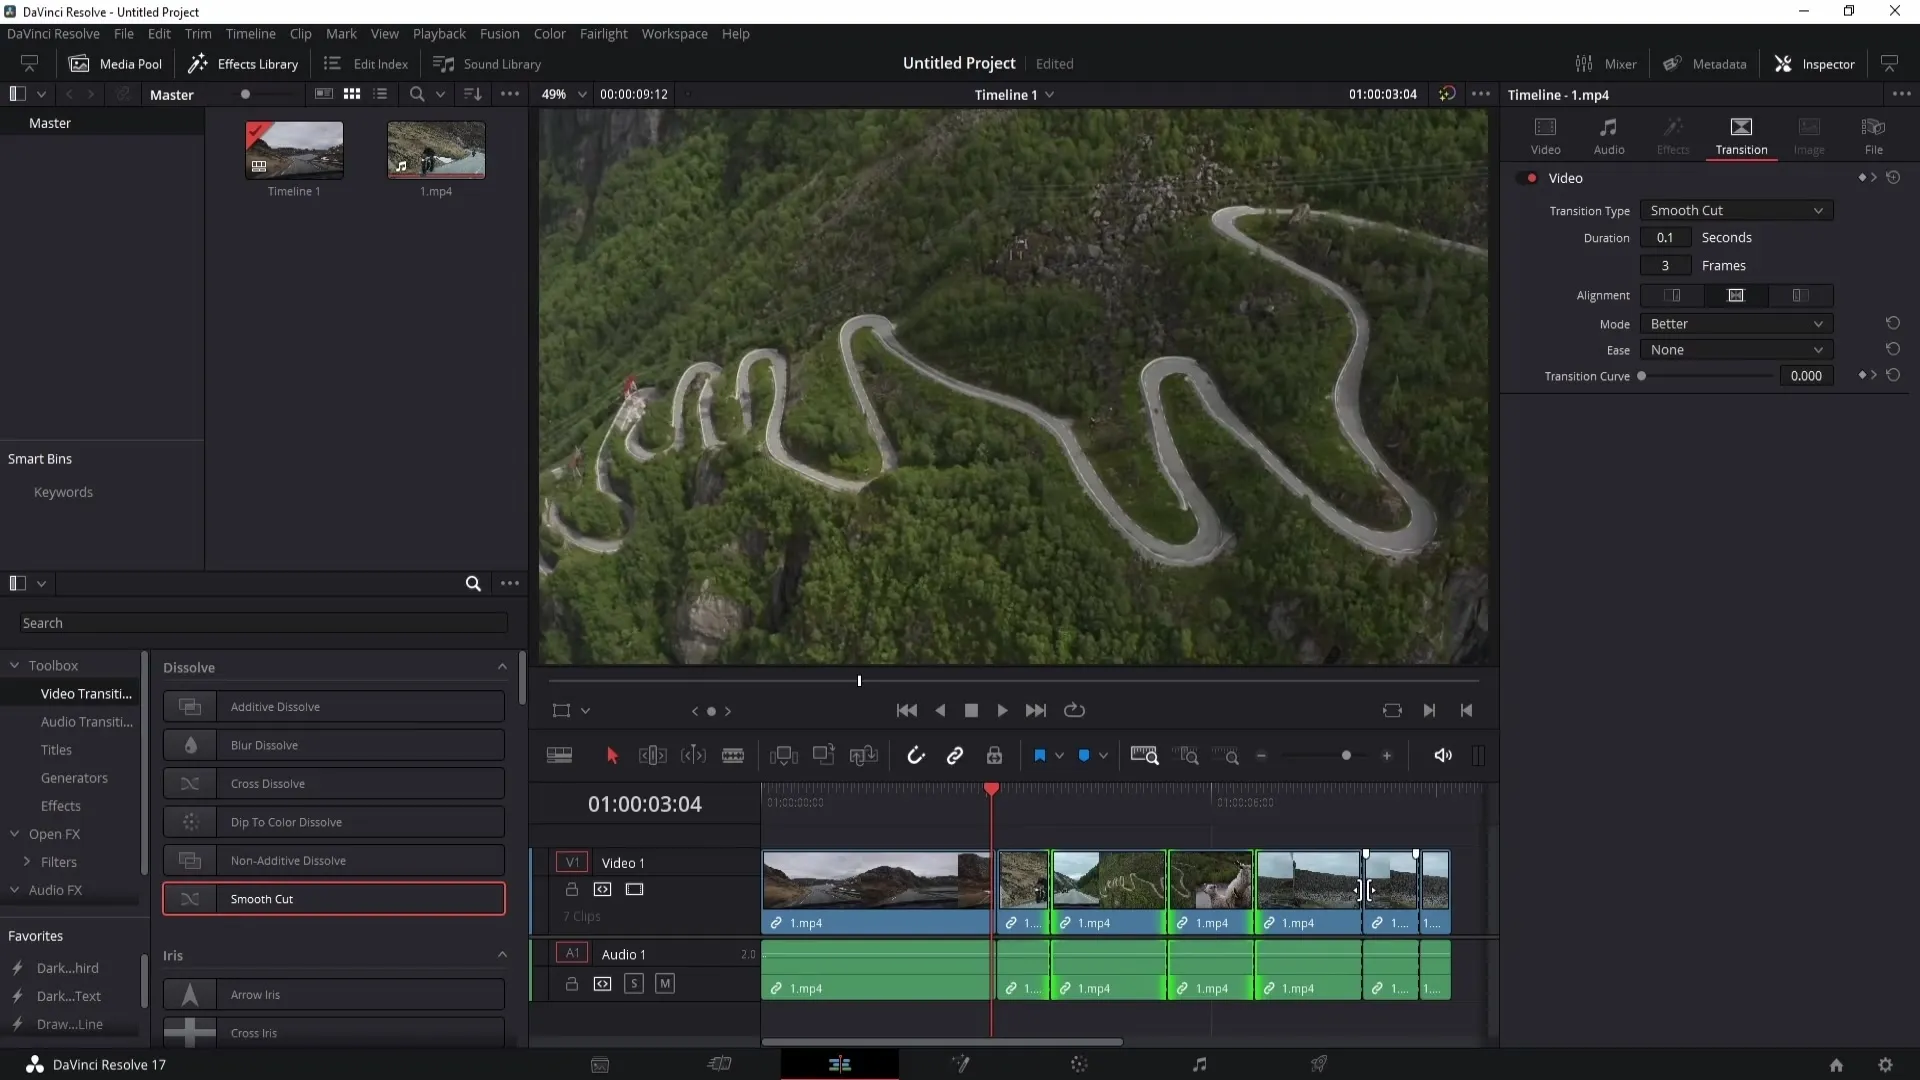
Once you have selected all desired cut points, right-click on one of the selected cut points and choose "Paste". The Smooth Cut will now be applied to all selected cut points.
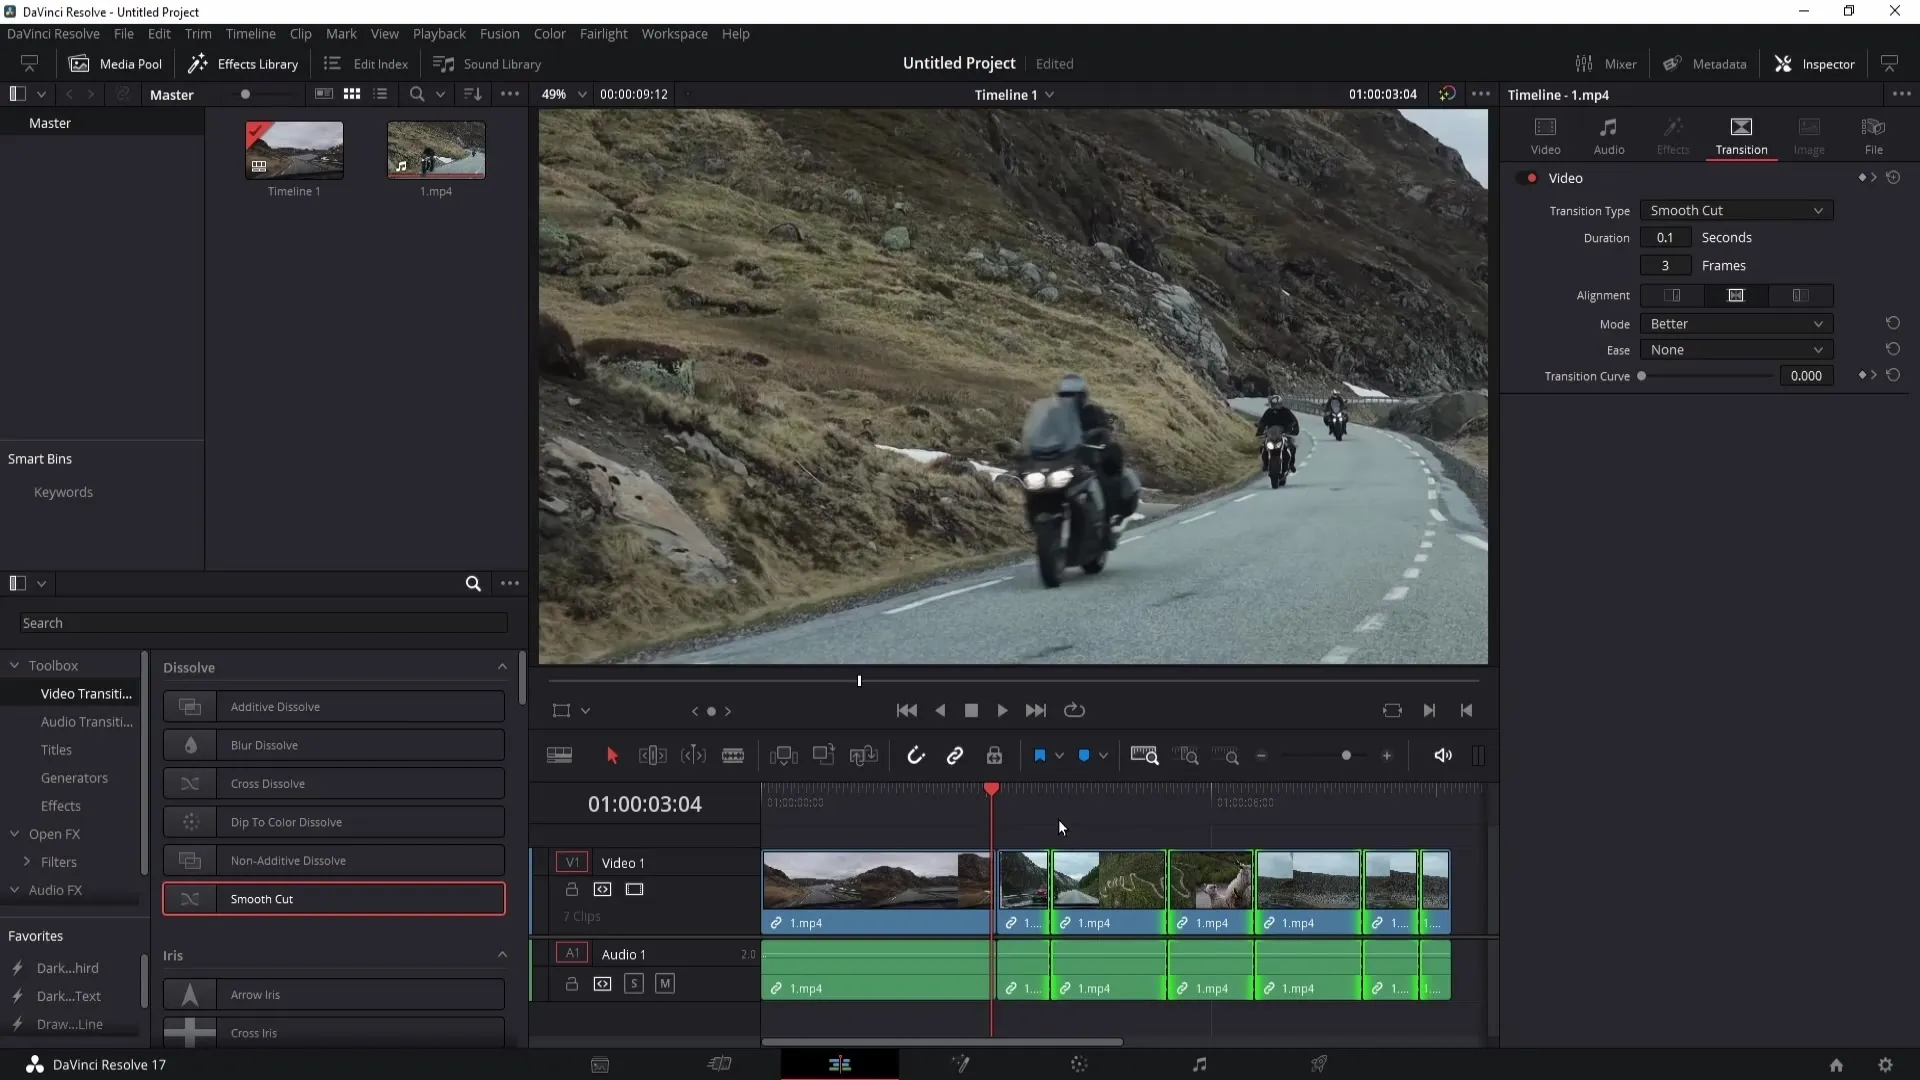
If you now want to zoom in closer, you can see that the Smooth Cut has been added to all your cuts. This not only makes the video more professional but also saves you a lot of time.
Summary
In this tutorial, you have learned how to insert Jump Cuts and Smooth Cuts in DaVinci Resolve. With these techniques, you can significantly improve your videos and achieve a more professional look.
Frequently Asked Questions
What is a Jump Cut?A Jump Cut is a cut that skips part of the video footage to reduce the duration and keep the viewers' attention.
Why should I use Smooth Cuts?Smooth Cuts help to make transitions between cuts smoother and less abrupt, improving the video quality.
How can I efficiently apply Smooth Cuts in multiple places?You can copy a Smooth Cut and paste it in multiple cutting points to save time during editing.


