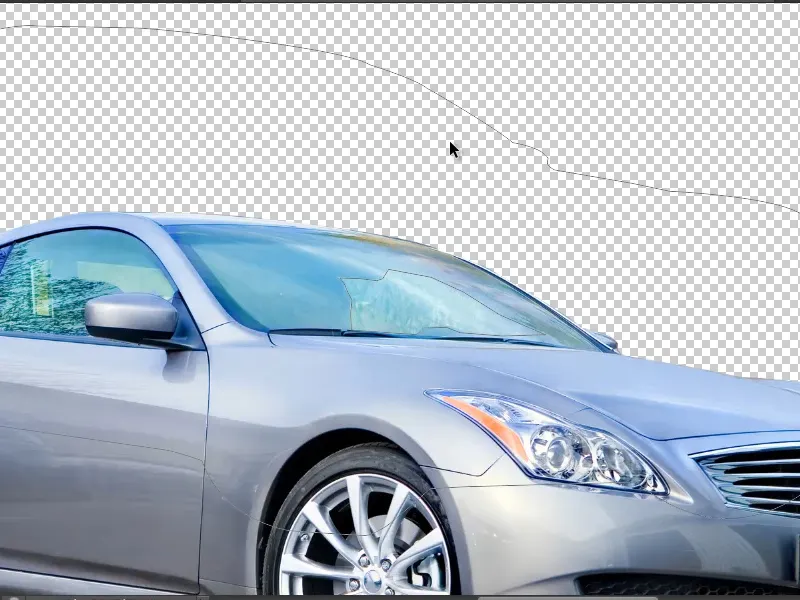
In this tutorial, I would like to show you how easy it is to crop objects with the drawing pen. This is actually the tool used by professionals when it comes to cropping objects whose background is very irregular.
Here we go: Steps 1-10
Step 1
Here I have an example of the earth, where the background is completely black. This is of course easy to crop as the contrasts are very high. For example with the quick selection tool.
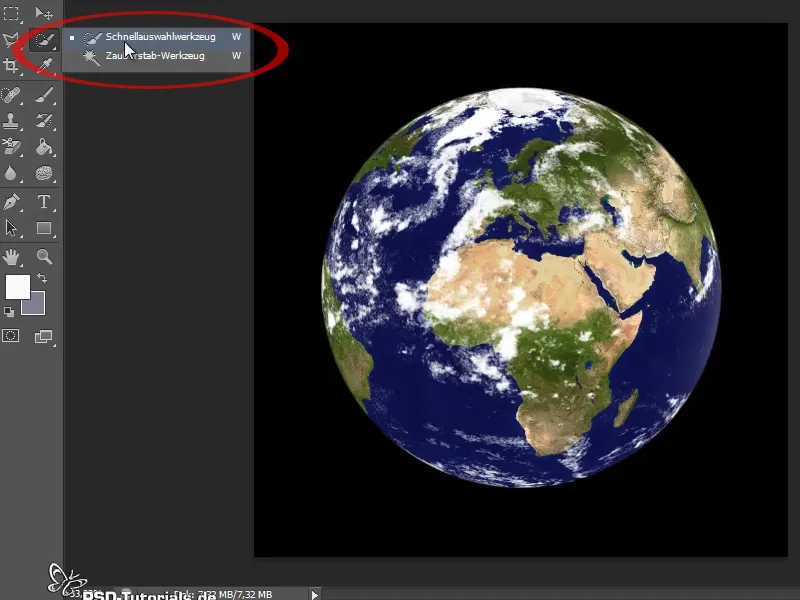
Step 2
All I have to do is walk along the edge and I have already selected the earth because the contrasts with the black background are very high.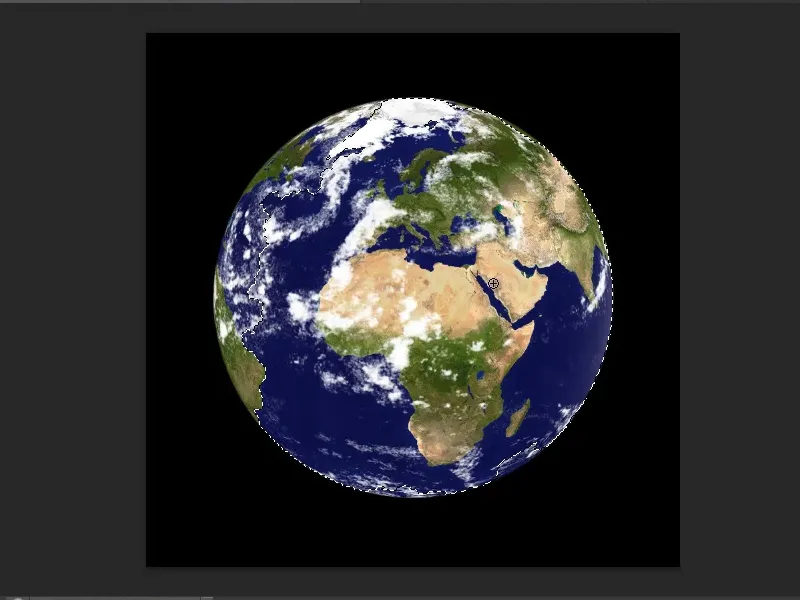
Step 3
I also have the option of cropping even faster, as the earth is an ellipse or a circle. So I can also use the selection ellipse directly. I drag it and can still move it by holding down the space bar while holding down the left mouse button if it is not exactly over the object.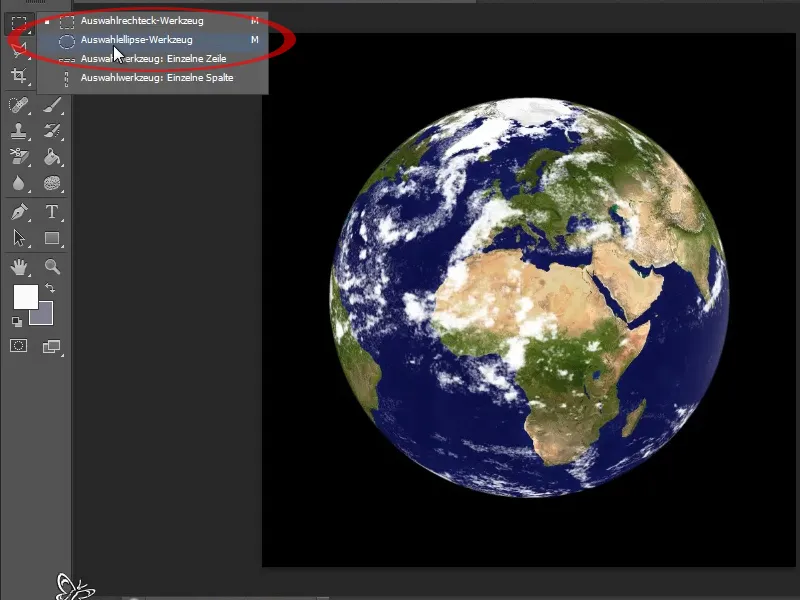
Step 4
If a part is still missing, I can then right-click in the selection, select Transform selection and then correct it accordingly. But not every background is so suitable that I can cut it out in a flash with the selection tools.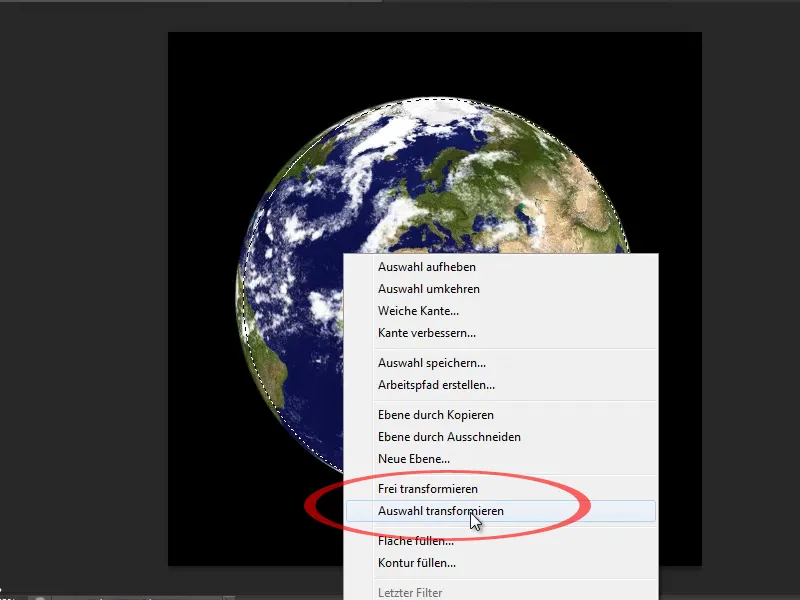
Step 5
I'll now go into a second example. I would like to crop the house, for example. I could of course use the polygon lasso tool. But if I accidentally double-click, the selection is immediately closed and I can no longer correct it so quickly. This method is also not suitable for curves in the object.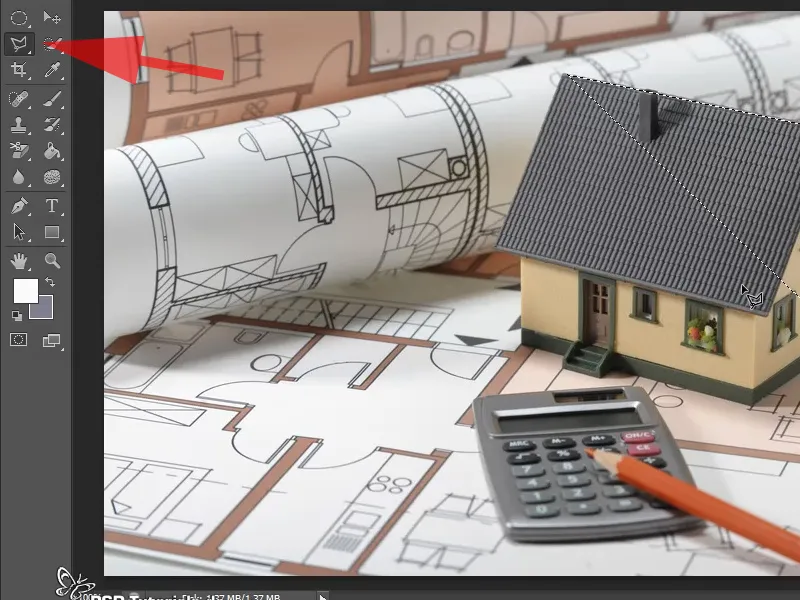
Step 6
That's why I recommend using the pen tool for such irregular backgrounds. There is a P in brackets. This means that you can also simply click the P button to activate it.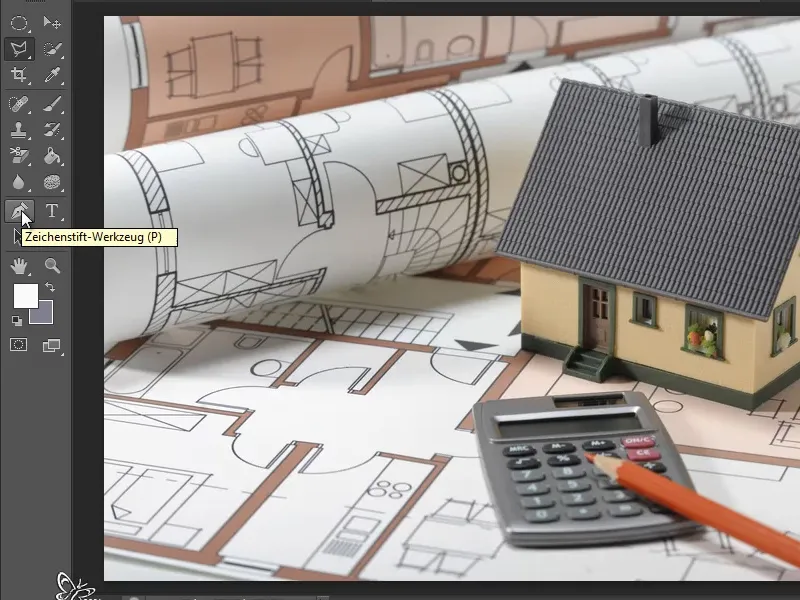
Step 7
I would now like to draw a path. To do this, I have to look at the top of my options bar to see whether the correct options are selected. In the CS6 version, everything is a bit clearer than in previous versions - there used to only be icons for this. Here I can directly select what I need. I want to create a path, so I select Path.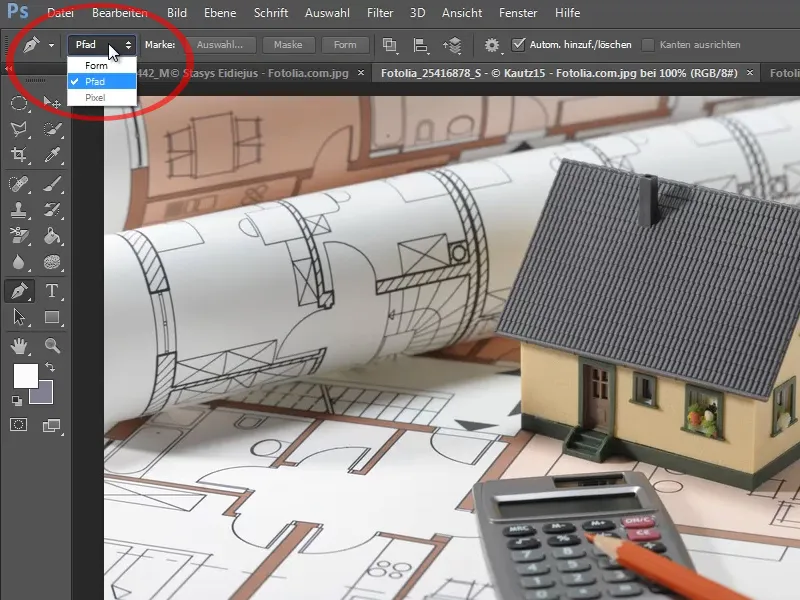
Step 8
It is very practical if I have activated the Auto add/delete option. There is also a small cogwheel here which, when clicked, opens the Rubber band option. Rubber band means nothing other than that a band follows the mouse pointer after clicking in the image. If I had deactivated this, I would have to check exactly where my path ends every time. I find the rubber band very practical - so I can see straight away what my path will look like.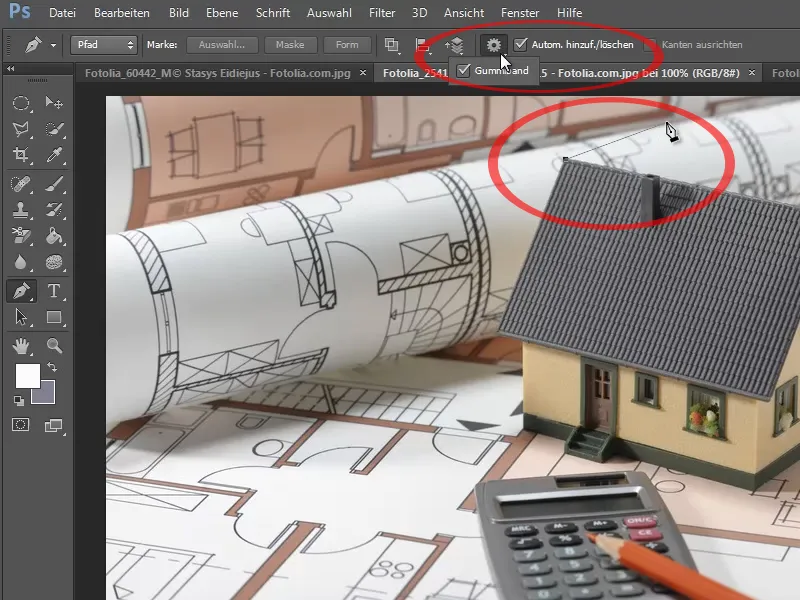
Step 9
Another practical feature of the path is that I can zoom into the image. Simply zoom in with Ctrl+, scroll back and forth by holding down the space bar and continue drawing the path at my leisure. And if I see in the magnification that I am perhaps a few pixels too far away from my edge, I can simply move this point by holding down the Ctrl key. This way I can change and optimize all the points I have set.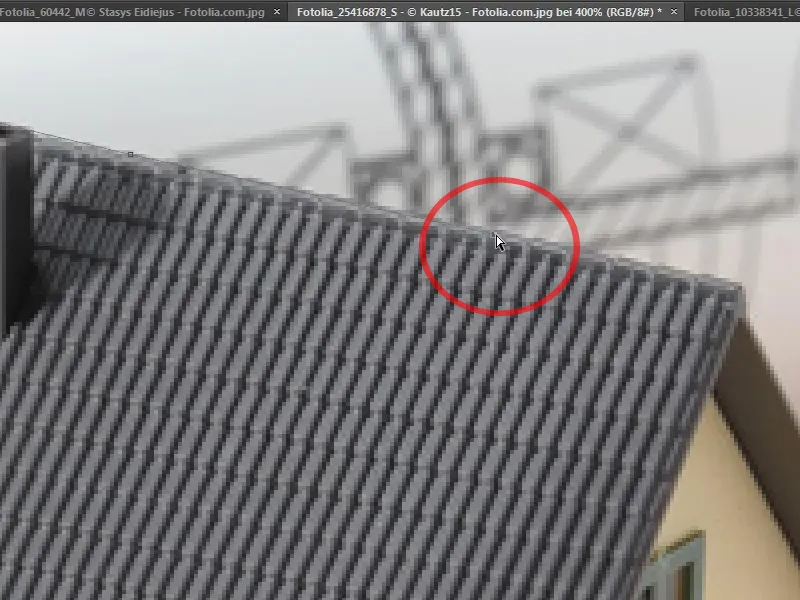
Step 10
Each click creates a path point. This tool is very practical for projects with lots of straight lines. When I have returned to my first point, I can now see that the path symbol on my mouse pointer has a new symbol - a circle - and this means that the path is closed when I click on the starting point.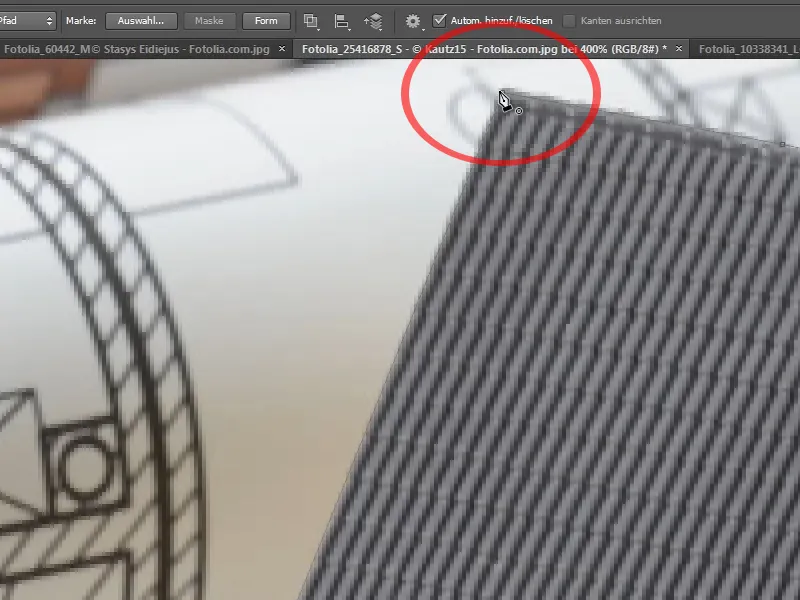
Steps 11-20
Step 11
I can see now that I should have selected a few more pixels for the chimney. That's not a problem at all. I click on the path again while holding down the Ctrl key so that it is selected again. Now I have selected the Auto add/delete option. If I hadn't, I wouldn't be able to add a point to my path, but a new path would be created.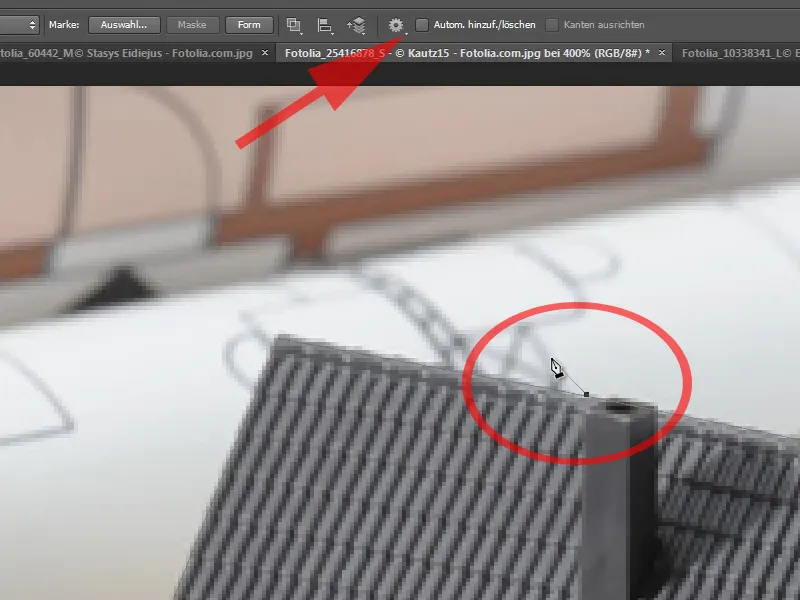
Step 12
I want a new point to be created on my existing path so that I can move it a little higher. And you can see that as soon as I move over the line, the mouse pointer changes. A + is added and I can add a path point at this point. By holding down the Ctrl key, I can move it again as required. If you click on the point again, it will be deleted.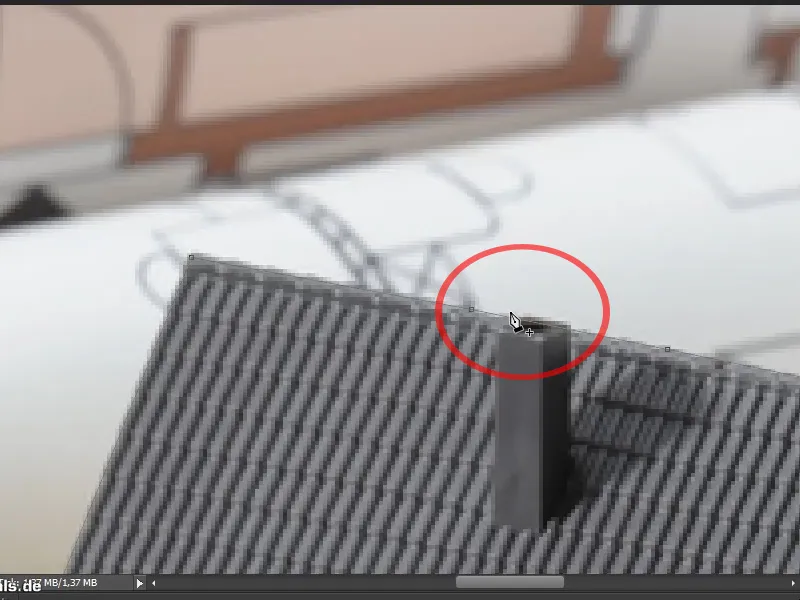
Step 13
When I have finished my path, I can zoom out again and check everything once more. My path is perfect, I would say. Now I want to have the house cropped.
First I go to the Paths panel. Here you can see that the current path is always designated as the working path. I now want to save this as a regular path and double-click on it to give it a name. I'll call it House, because I could cut out more in the picture, such as the calculator.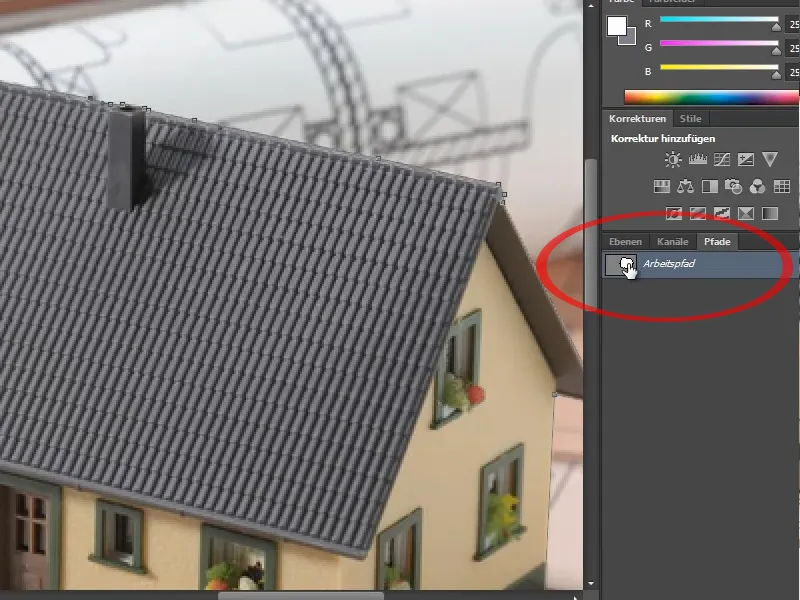
Step 14
But at the moment I just want to crop the house. The easiest way to do this is to hold down the Ctrl key and click on the path thumbnail to create a selection.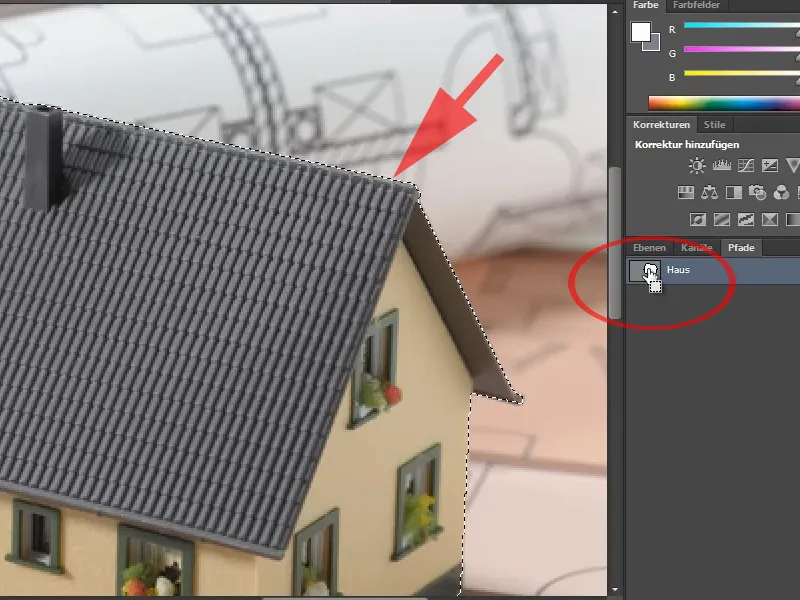
Step 15
If I want the selection to be a little more specific in terms of the settings, there is a little trick. I press Ctrl+D again to remove the selection. If I click on the selection symbol at the bottom of the path palettewith the left mouse button, the same thing happens as before. A selection is created from my path. However, if I click on this symbol while holding down the Alt key, options are displayed.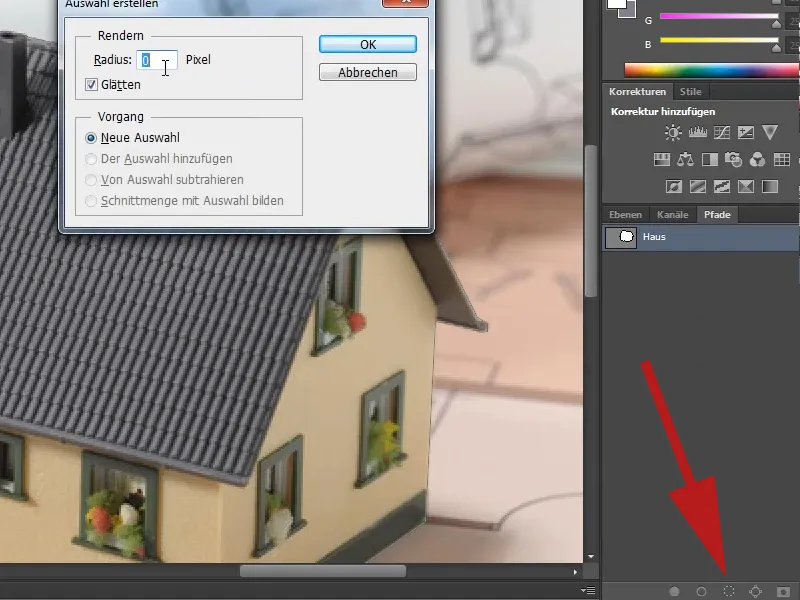
Step 16
Here I can select the radius. The larger it is, the more blurred the whole thing is. I'll show it now with a 0 pixel radius. I have completely selected the house. I'll just remove it with Ctrl+X, then you can see that it's completely cut out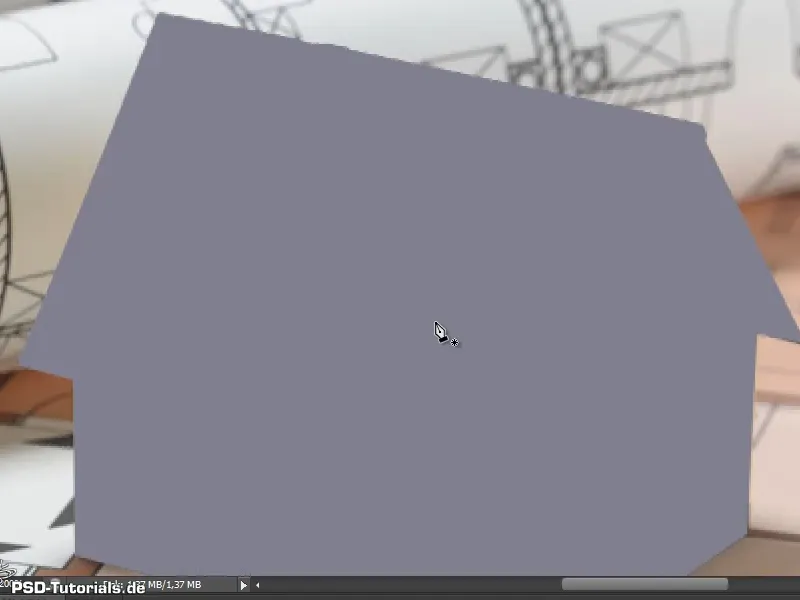
Step 17
I undo this and click on the symbol again with the Alt keypressed and now use a radius of 15 pixels. If I now click Ctrl+X, you can see that everything has now been selected very softly and that there is even a bit of the house left over. But in most cases you don't want that, so a click with the Ctrl key on the path thumbnail is usually enough.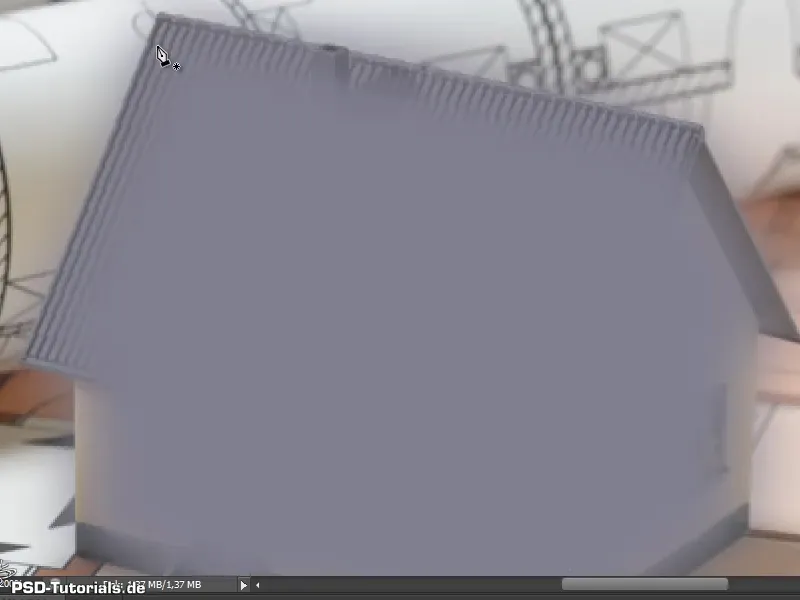
Step 18
To crop the house, I can now simply create a layer mask from the selection, for example. The advantage of this is that I can also make small corrections later if I notice that one or more parts of the house have been cropped incorrectly.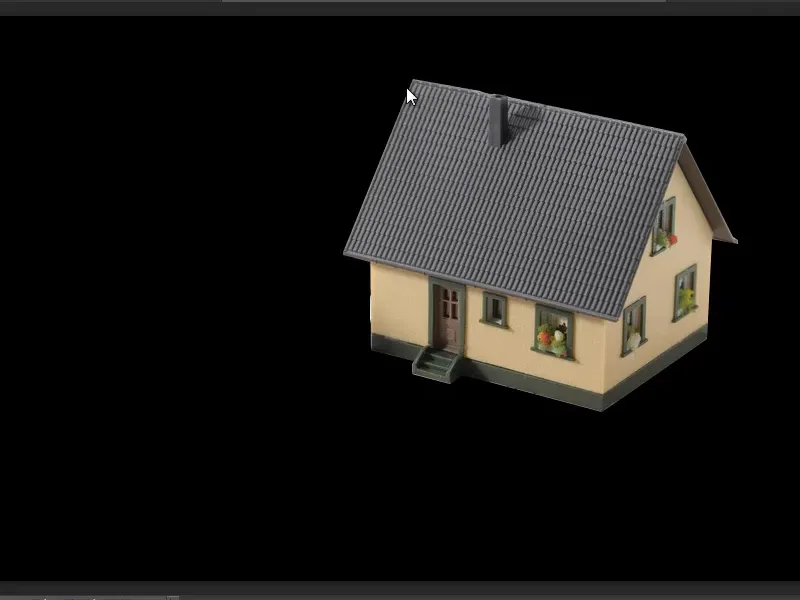
Step 19
It was all quite simple because there were only straight lines here. It might even have been possible to do this with the polygon lasso tool. That's why I'm now going to show you the power behind the pen tool in a more difficult example.
Step 20
I'm going to zoom in so that you can see exactly what you're selecting. I'll just start with the pen tool (1) and can already see that there's a slight curve here.
I click further up, but do NOT release the mouse button and drag with the left mouse button held down. This creates "touch points" with which I can reproduce this curve exactly (2).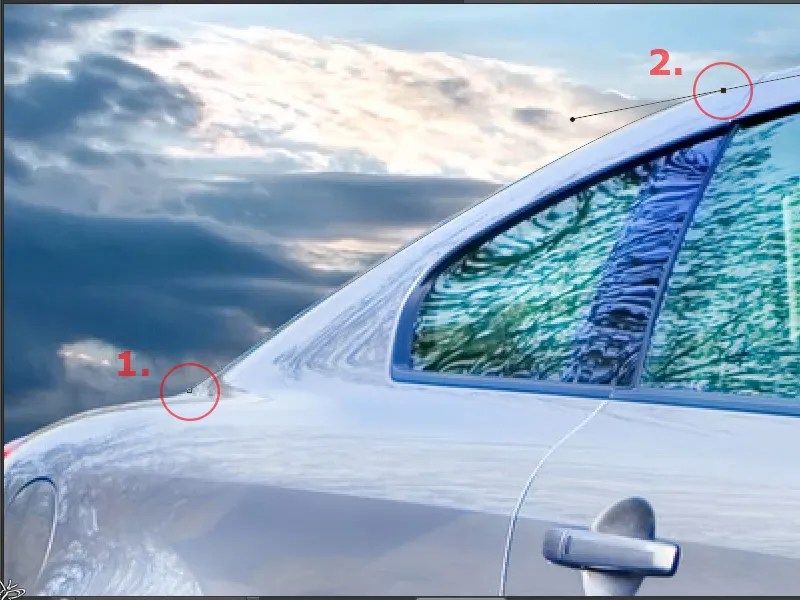
Let's continue: Steps 21-30
Step 21
I zoom out again a little to see more of the subject and set more path points. When I zoom in again, I see that I haven't quite hit the curve. I can now hold down the Ctrl key and drag this handle a little to perfect it.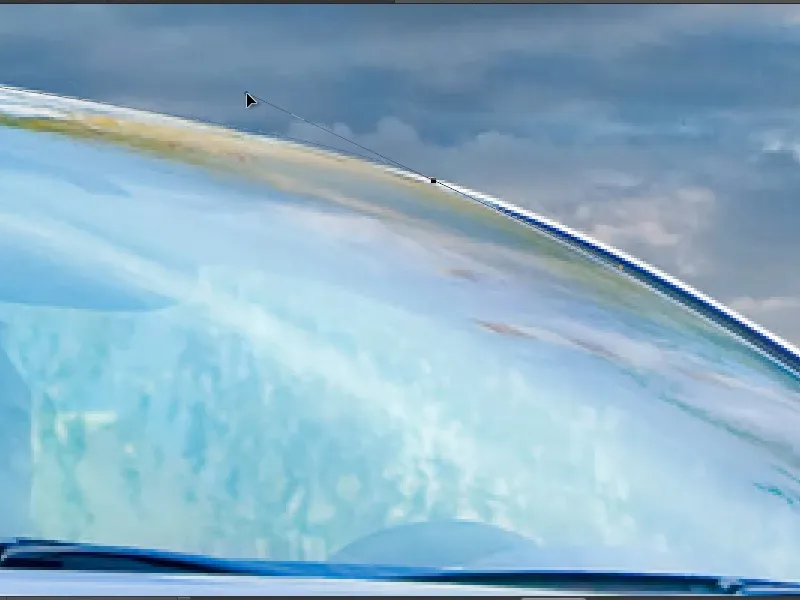
Step 22
Here you can see that the curve wouldn't work well enough now. That's why I recommend holding down the Alt key and clicking on the last path point. This removes the curve for this area and I have a straight line again.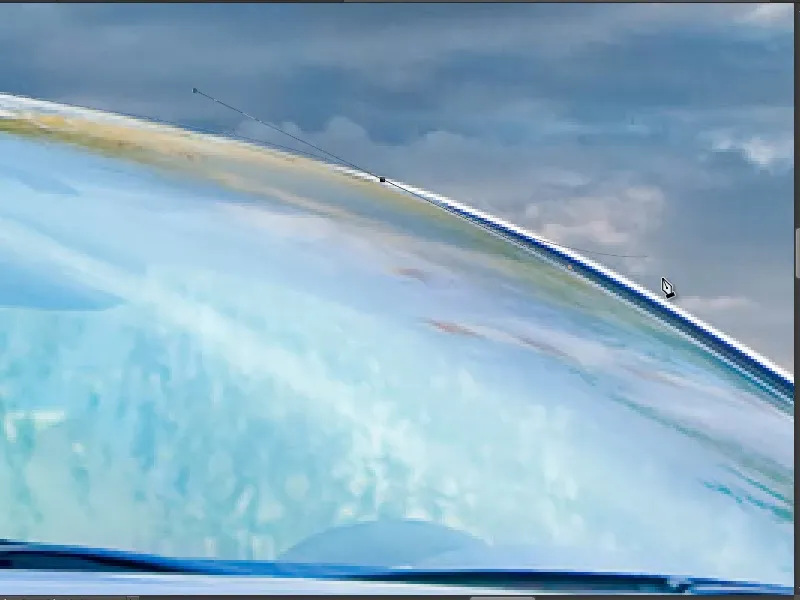
Step 23
If I press the H key and the left mouse button, I get a bird's eye view and can take another look at exactly where I am or whether certain parts belong to the car that I didn't recognize in the enlargement.
Step 24
This is basically the pen tool and what it can do. The tool is very powerful, especially for curves, because it simply works well. Always click and drag out a little. Then it doesn't become angular.
If I realize during the check that it doesn't fit, then I can simply press the Del key, which removes the last path point. Now I select the last path point (after deleting it) again with the left mouse button and can simply continue where I left off.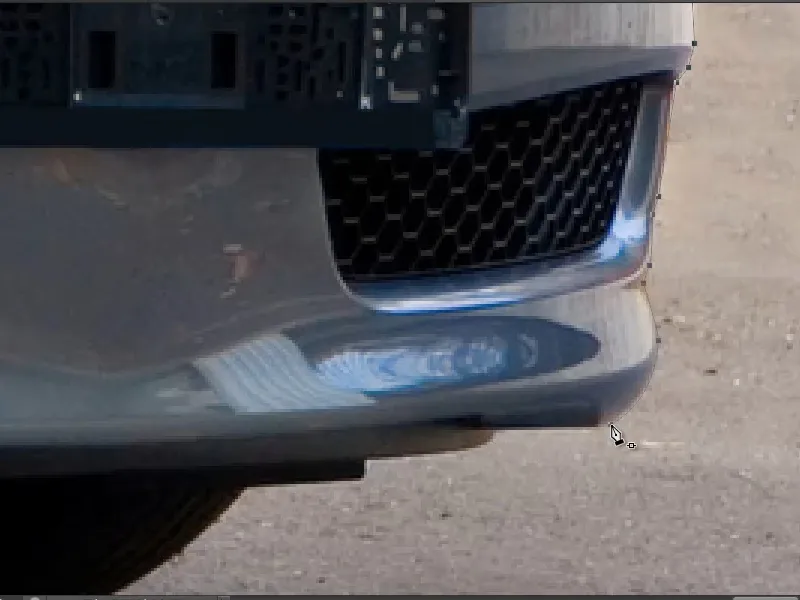
Step 25
When my path is closed, I can select it again with the Ctrl key and correct individual points later. I can always move points by holding down the Ctrl key. Or I can use the Convert Point tool and drag the handles out of a point to create a curve. You should always look all the way around the path to make sure that everything has been selected correctly.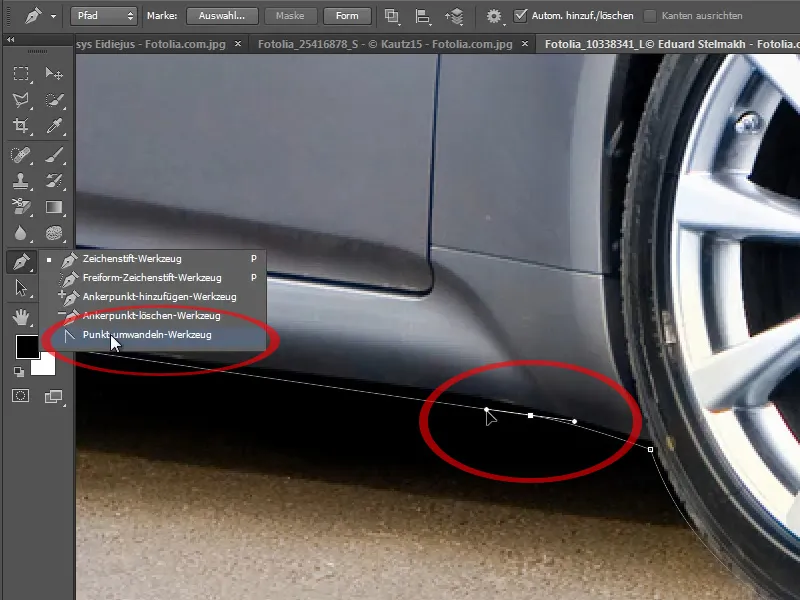
Step 26
If everything looks good, the working path is converted into a path and renamed. In my case, I call it "Auto". Then I create a selection - preferably by holding down the Alt key and clicking on the selection icon in the path palette. The radius is set correctly to 0 pixels - OK. Then I create a layer mask from the selection and see that I have cropped the car really well.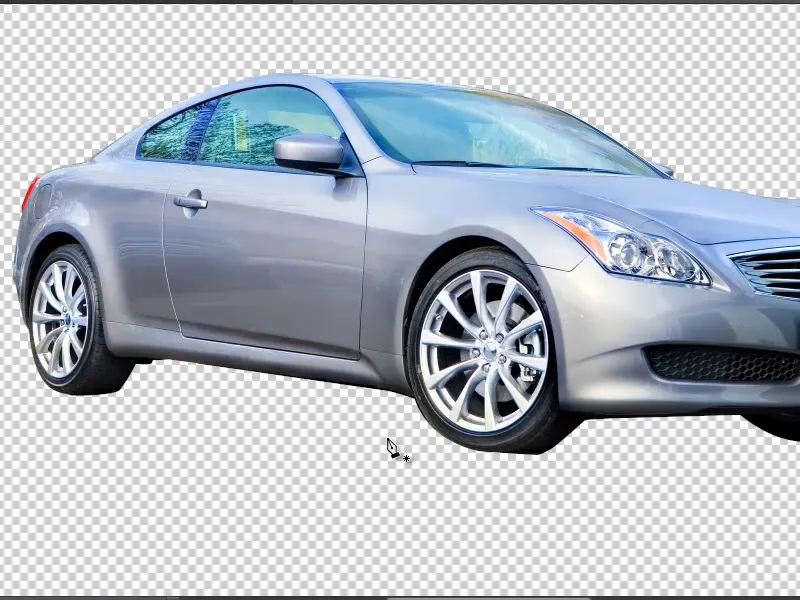
Step 27
I can now insert any background I like. I do this once as a test. Of course, the car still doesn't fit into the picture in terms of color. You would have to adjust everything accordingly. But you can see that it has been cropped well.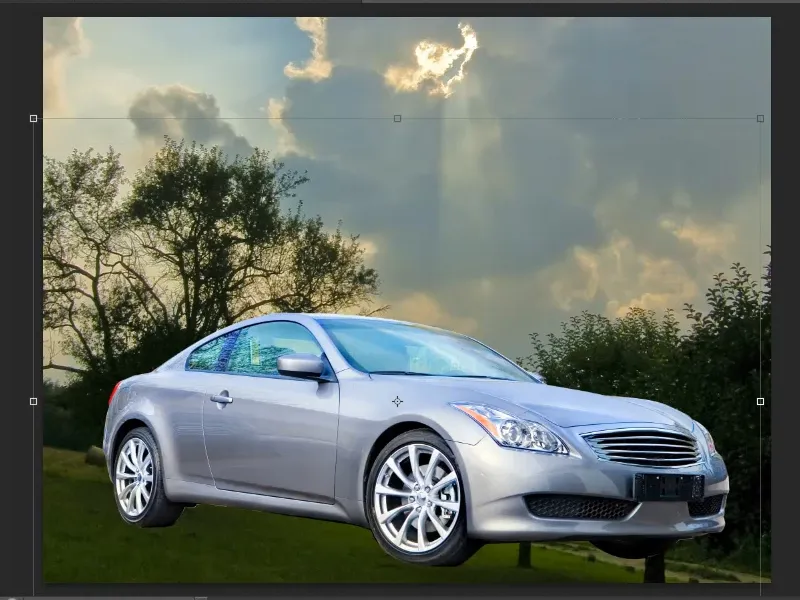
Step 28
There is still a bit of white in some places. So I go to the layer mask and use a black brush. Not quite as big in my case. And then I can remove such unsightly areas with 100% opacity. That way you can always optimize it.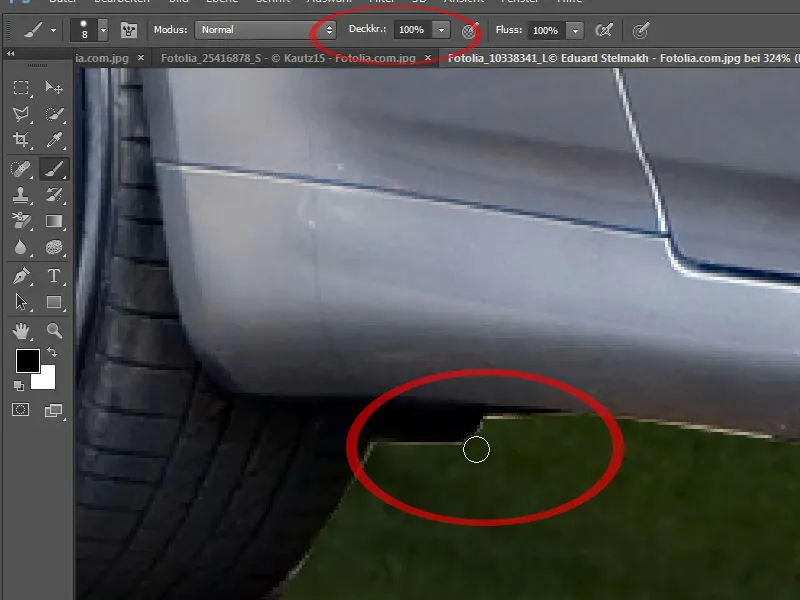
Step 29
Another little tip: If you're clipping a car, for example, it's important to make the windows slightly transparent so that the correct background shows through. Of course, you can also achieve this with the layer mask by simply using the brush with slightly less opacity. Then I could go over the translucent areas once with a very soft, large brush.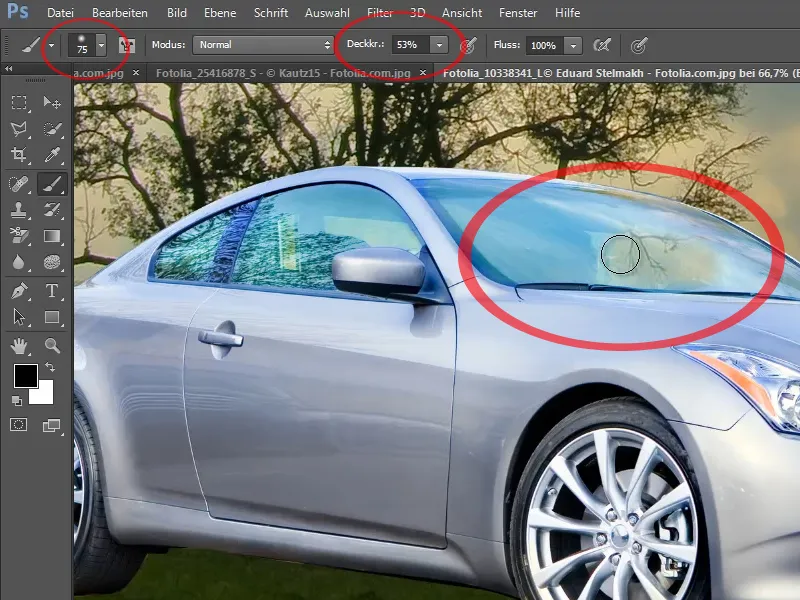
Step 30
Now I don't want to change my beautiful clipping. So I create a new group in the layer palette and create a mask on the group. Now I select the window area with the polygon lasso.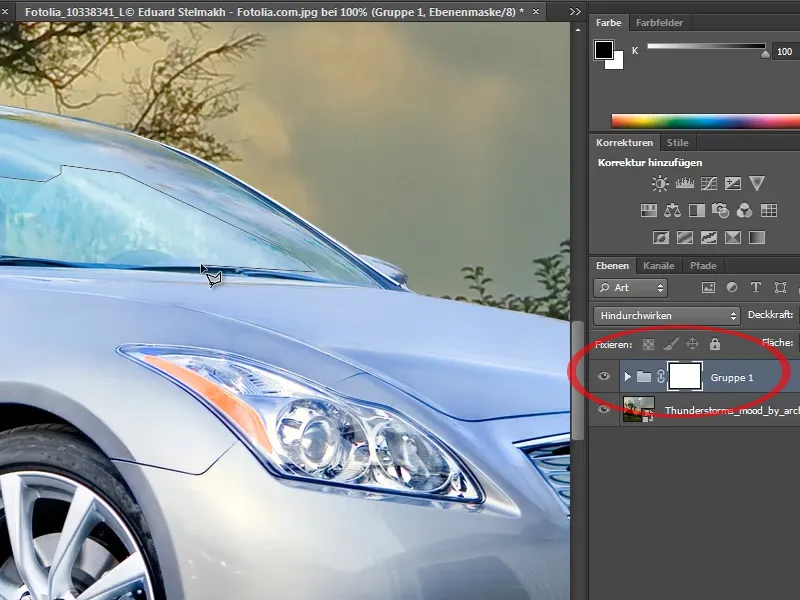
Steps 31 to 40 follow
Step 31
I could also make the selection a little softer, for example 2 pixels. And then I draw over it with the brush in the group mask with 25% opacity. This gives me the same effect as before, except that I've done it via the group so I don't have to change my auto mask.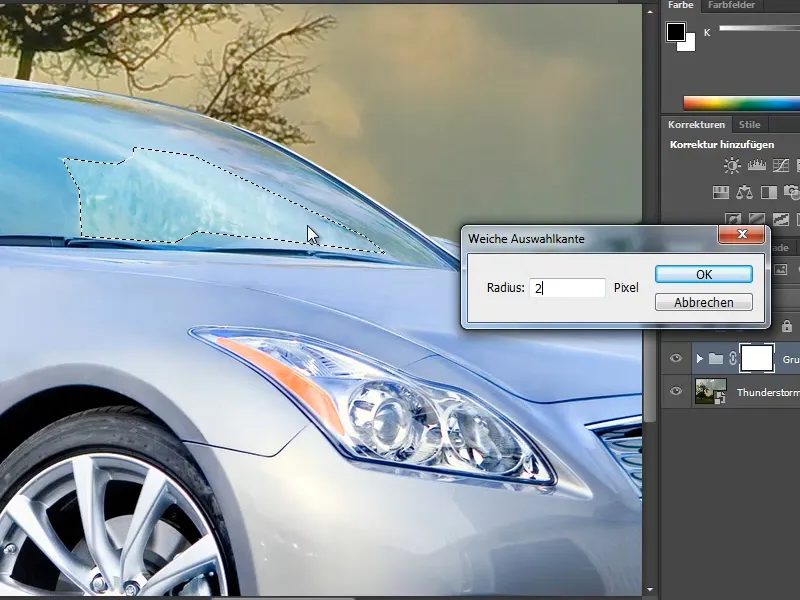
Step 32
I would like to show you one last example to help you internalize this. Here you can see that the magic wand or quick selection tool wouldn't have done a very good job. I would now like to show how this works with the pen tool.
Step 33
I'll now briefly repeat a few functions - I'll start at the top of the front wheel and zoom in so that I can see what I'm selecting. And here we go. The settings are correct - set to Path, the Auto Add/Delete option is also selected and the rubber band is activated.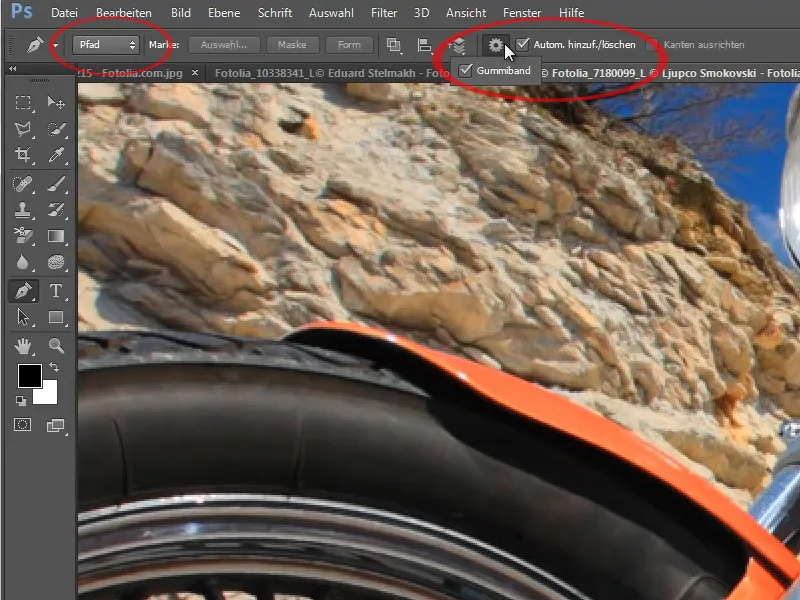
Step 34
I start and set the first point. For the second point, I can create a curve by holding down the mouse button, then I can continue dragging. If it no longer fits, I hold down the Alt key and click on the point to create a line. The good thing about paths is that I can always go back to the path when I reopen my Photoshop file.
It's not like a selection that has then disappeared, but I always have my path in my Paths panel and can do whatever I want with it. By holding down the space bar, my mouse pointer changes to a hand and I can move the image section by holding down the left mouse button.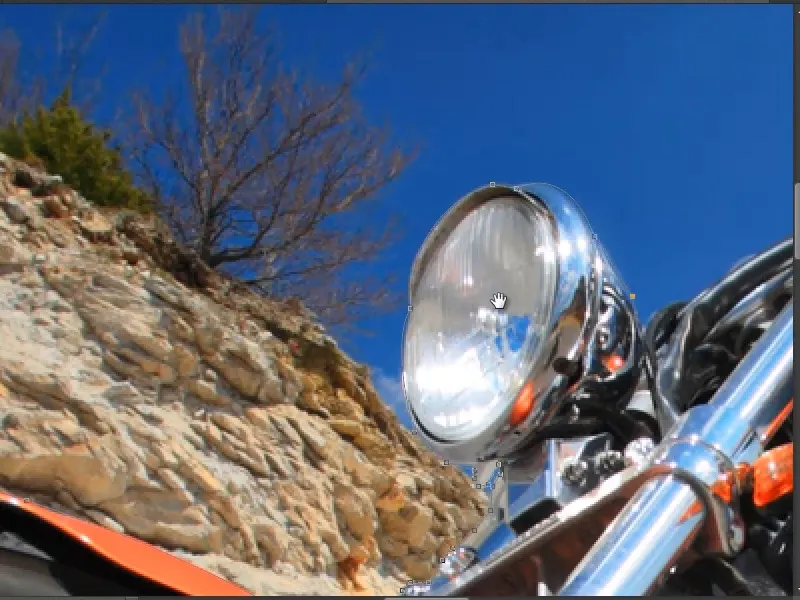
Step 35
Of course, it's a bit of fiddly work, but cropping is extremely important for good montages because you can tell whether it's a good or a bad montage. If something is not cropped well, as if it has been cut out with scissors, then it doesn't look realistic. And that's not what we want. We want our composings to look real. That's why it's important that the cropping is good. That's why you always have to take the time to do this. The pencil tool is best suited for irregular backgrounds.
Now I have created one point too many. No problem, the Delete key deletes exactly the last dot. If I press the Del key again, the entire path is deleted. But you can undo this with Ctrl+Z or Edit>Undo. Then the path is there again. I click on it once at the last path point and can continue.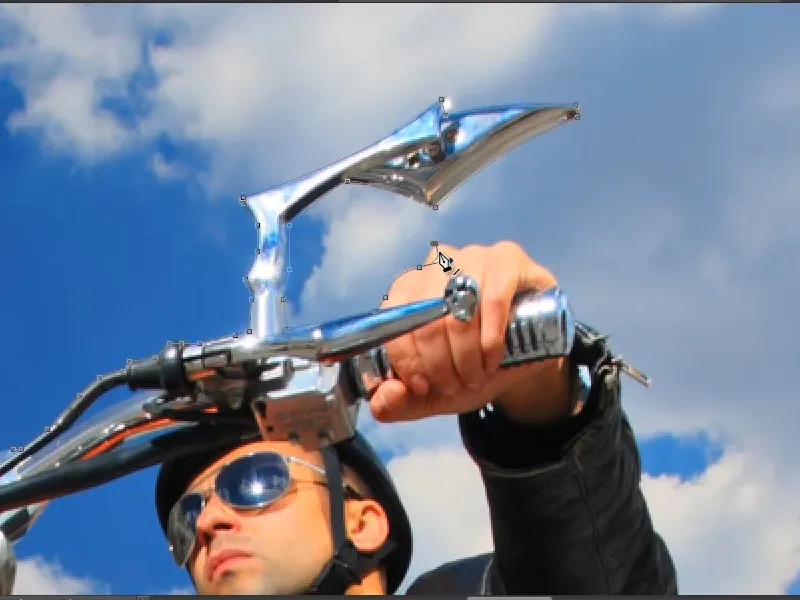
Step 36
So you should just have a go at the path. Even if it seems a little complicated at first with all the points and handles you have to work with. You also need to memorize a few keyboard shortcuts. For example, the Alt key makes the curves disappear and become straight lines again. And the Ctrl key, which you need to move a path point or to reactivate the path.
There are many corners and edges on this motorcycle in particular, which you need to take a little time to work out. At the end, the mouse pointer changes again and I close the path.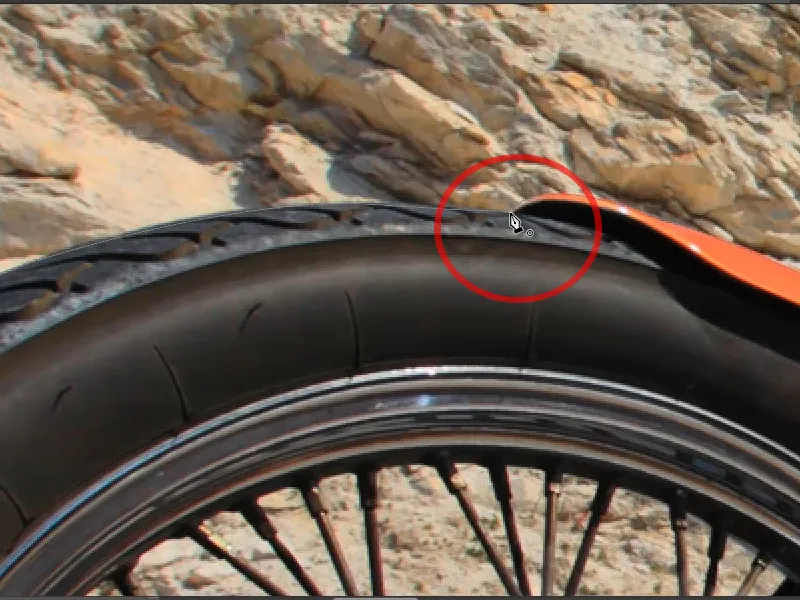
Step 37
Now a few more tips: If I now go to the Paths panel, I have a completely white area. I'll go into the control panel options and activate a larger thumbnail so you can see it a bit better.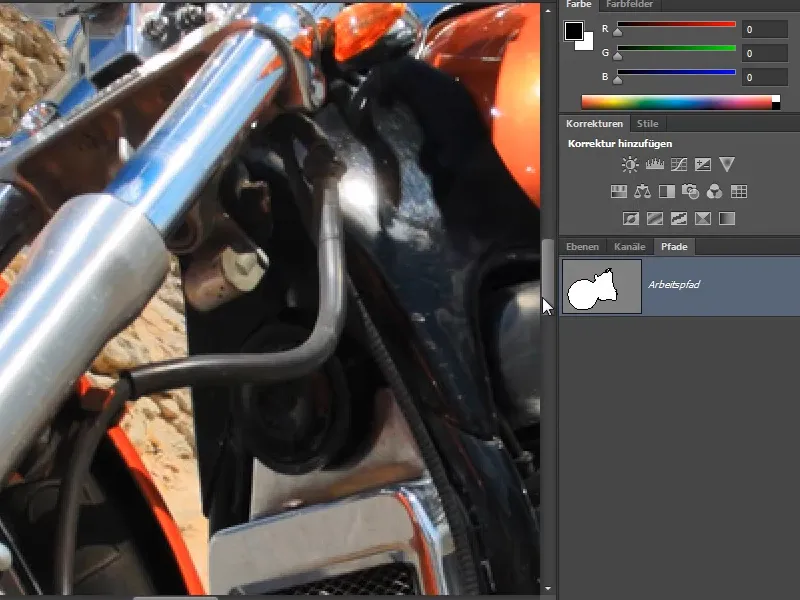
Step 38
There are still a few areas here that I don't want. They should therefore be removed from the path. That's quite simple. To do this, I first have to activate the path again. I do this by pressing the Ctrl key and clicking on the path. Everything that is white here in my Paths panel is selected. If I don't want an area, I can simply click into it and select the corresponding area with path points. I can then see in my thumbnail that this area has turned gray and has therefore been removed from the mask. Just the way I want it.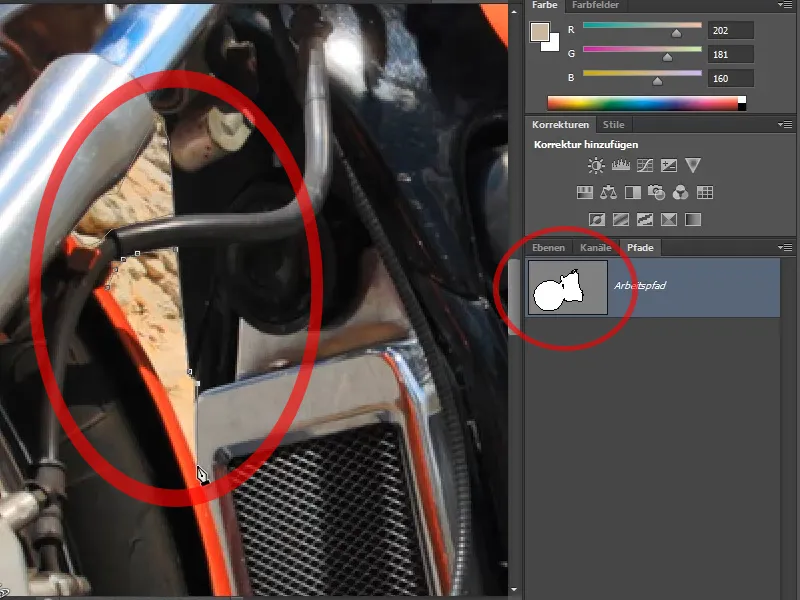
Step 39
To cut out every single spoke would go beyond the scope of this tutorial. I create a selection from the path - after renaming it - and a layer mask from it. Now everything has been cut out except for the spokes.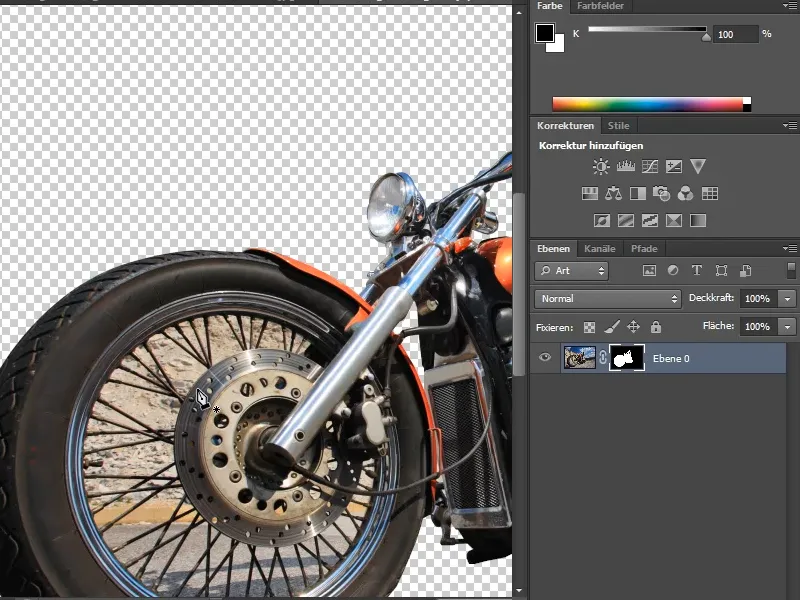
Step 40
If I want to crop the spokes fairly quickly, there is a little trick. I don't want to change my mask, of course, so I create another group into which I drag my layer with the clipping. Then I create a mask on the group and draw a rough selection around the area I want to crop.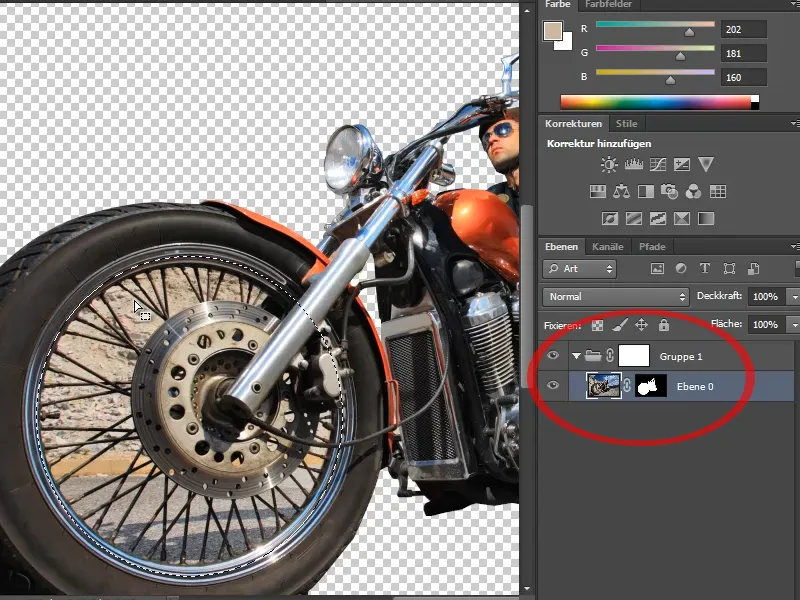
The final steps
Step 41
Now I choose Selection>Color range. I use the eyedropper to select the colors to be cropped. I can select additional colors by holding down the Shift key. By holding down the Alt key, I can remove the colors that I don't want to include in my selection.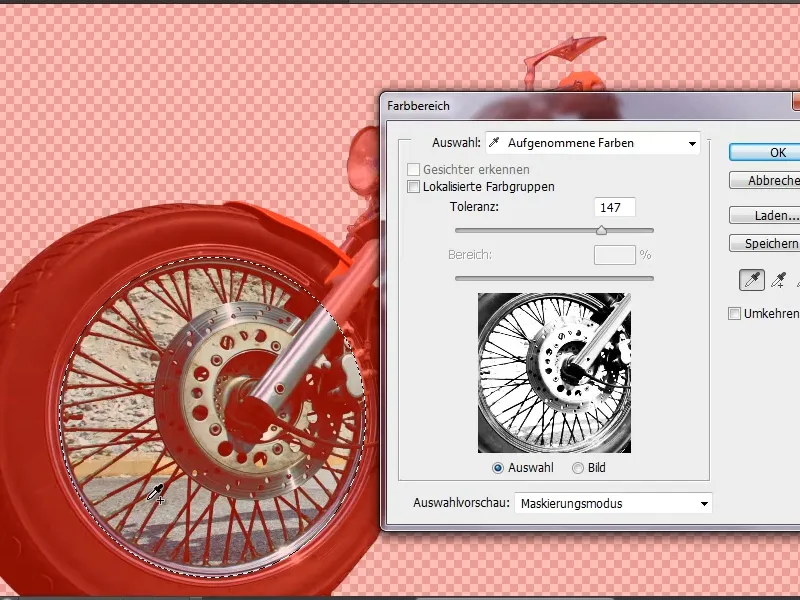
Step 42
Now I can click on my group. If my foreground color is black, I simply press the Alt key and the Backspace key and then everything is removed. Too much, though. No problem. I go to the layer mask, set my foreground color to white and the brush to 100% opacity. I use this to restore the areas that have been cut out too much.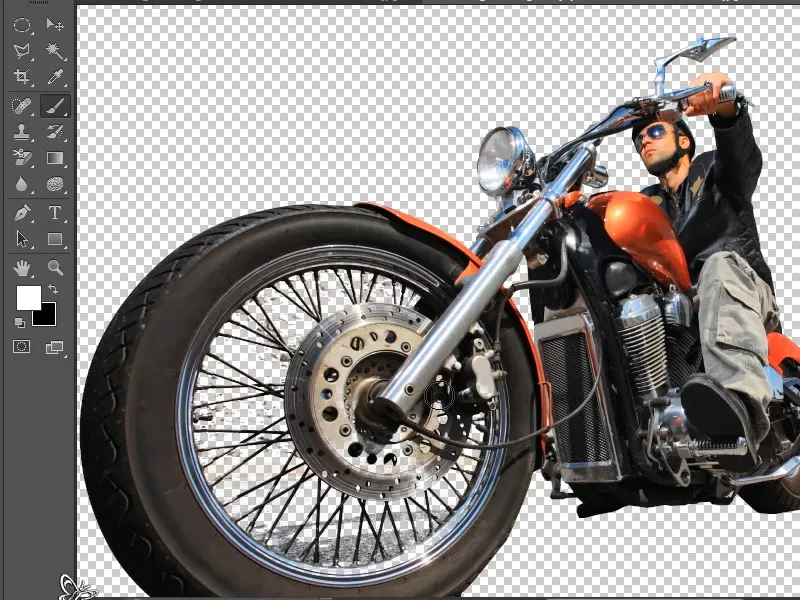
Step 43
Now I can insert a background of my choice into my picture and I have finished my picture. Of course, I still have to adjust the colors of the machine, but you can see that this is no problem with paths.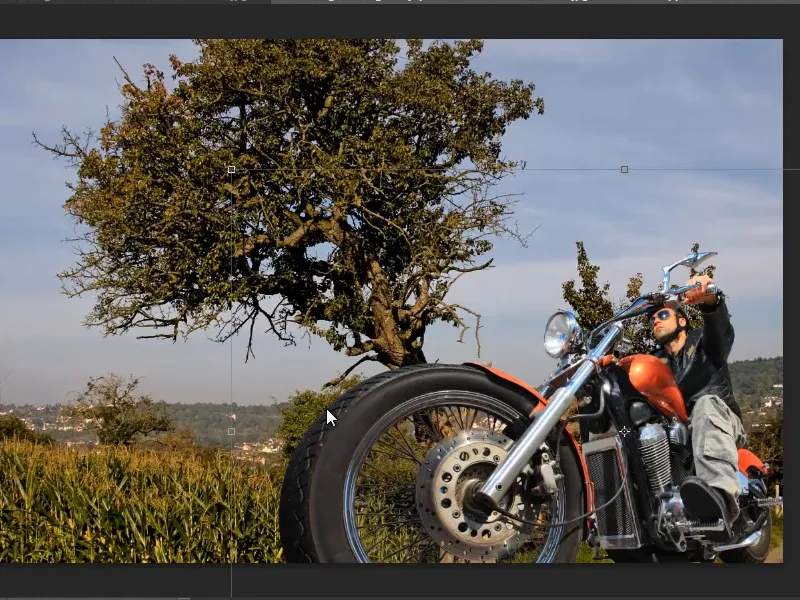
Step 44
A little trick at the end: I go back to the car image.
If I want to extract the slices as a path, I could, for example, create a new path and select the area of the slice that I want.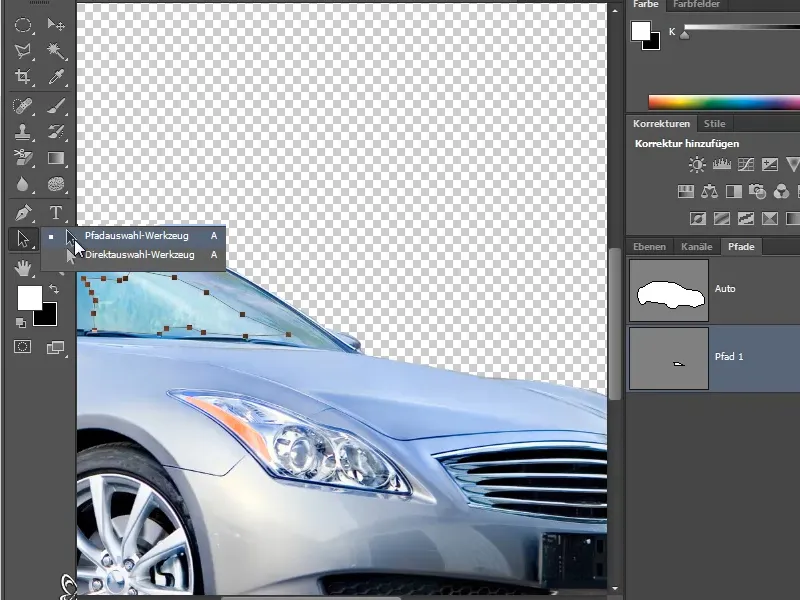
Step 45
Then I click on the path with my path selection tool so that everything is selected and press Ctrl+C to copy. Then I go to the car in the path palette and click on it again with my path selection tool. Now I can paste the path directly with Ctrl+V. You can see that it has turned gray in the thumbnail. I no longer need my second path and can delete it.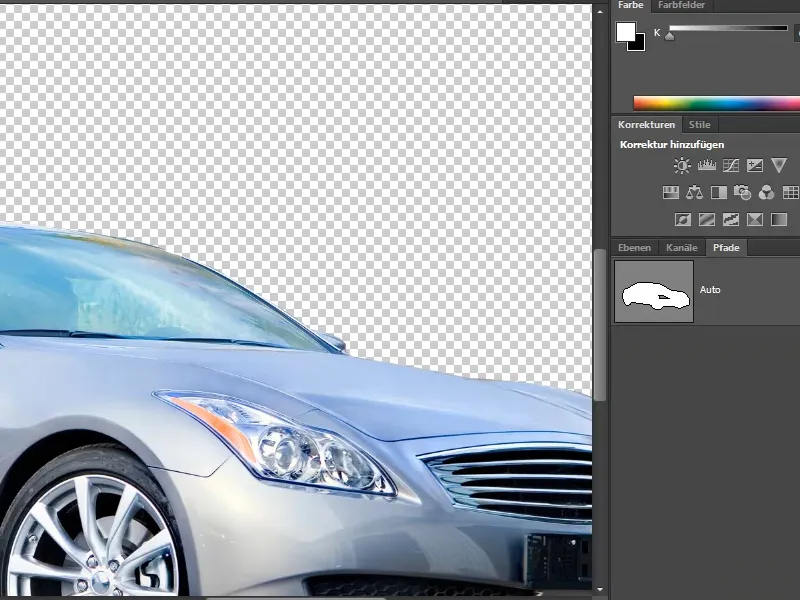
Step 46
The only problem here is that the car and the path are no longer congruent. But I can also move everything with the path selection tool. By holding down the Shift key, you can select several paths at the same time and move them together.
So - as you can see - working with the path selection tool is not that complicated if you remember the two keyboard shortcuts.