In this tutorial, I will show you how to import images, videos, and audio files into DaVinci Resolve. Importing media is a fundamental step in creating projects, and I will present two different methods to make this process easier. Whether you are working with drag-and-drop or importing folders – these techniques will increase your efficiency and help you better organize your media.
Key Takeaways
- Media can be imported easily through drag-and-drop or by pasting folders.
- Organizing your files in folders makes access and clarity easier in larger projects.
- You can import multiple files at once with just a few clicks to save time.
Step-by-Step Guide
Importing Files via Drag-and-Drop
First, I will show you how to import files via drag-and-drop in DaVinci Resolve. Start the software and open your project. Position the DaVinci Resolve window so that you can see both the Media Pool view and the folder with your media. Now you can simply grab the desired file with the left mouse button and drag it into the Media Pool.
If you move the DaVinci Resolve window to the side a bit, you'll have a better overview. Hold down the left mouse button and drag the video into the Media Pool. When you release the mouse, the video is already imported.
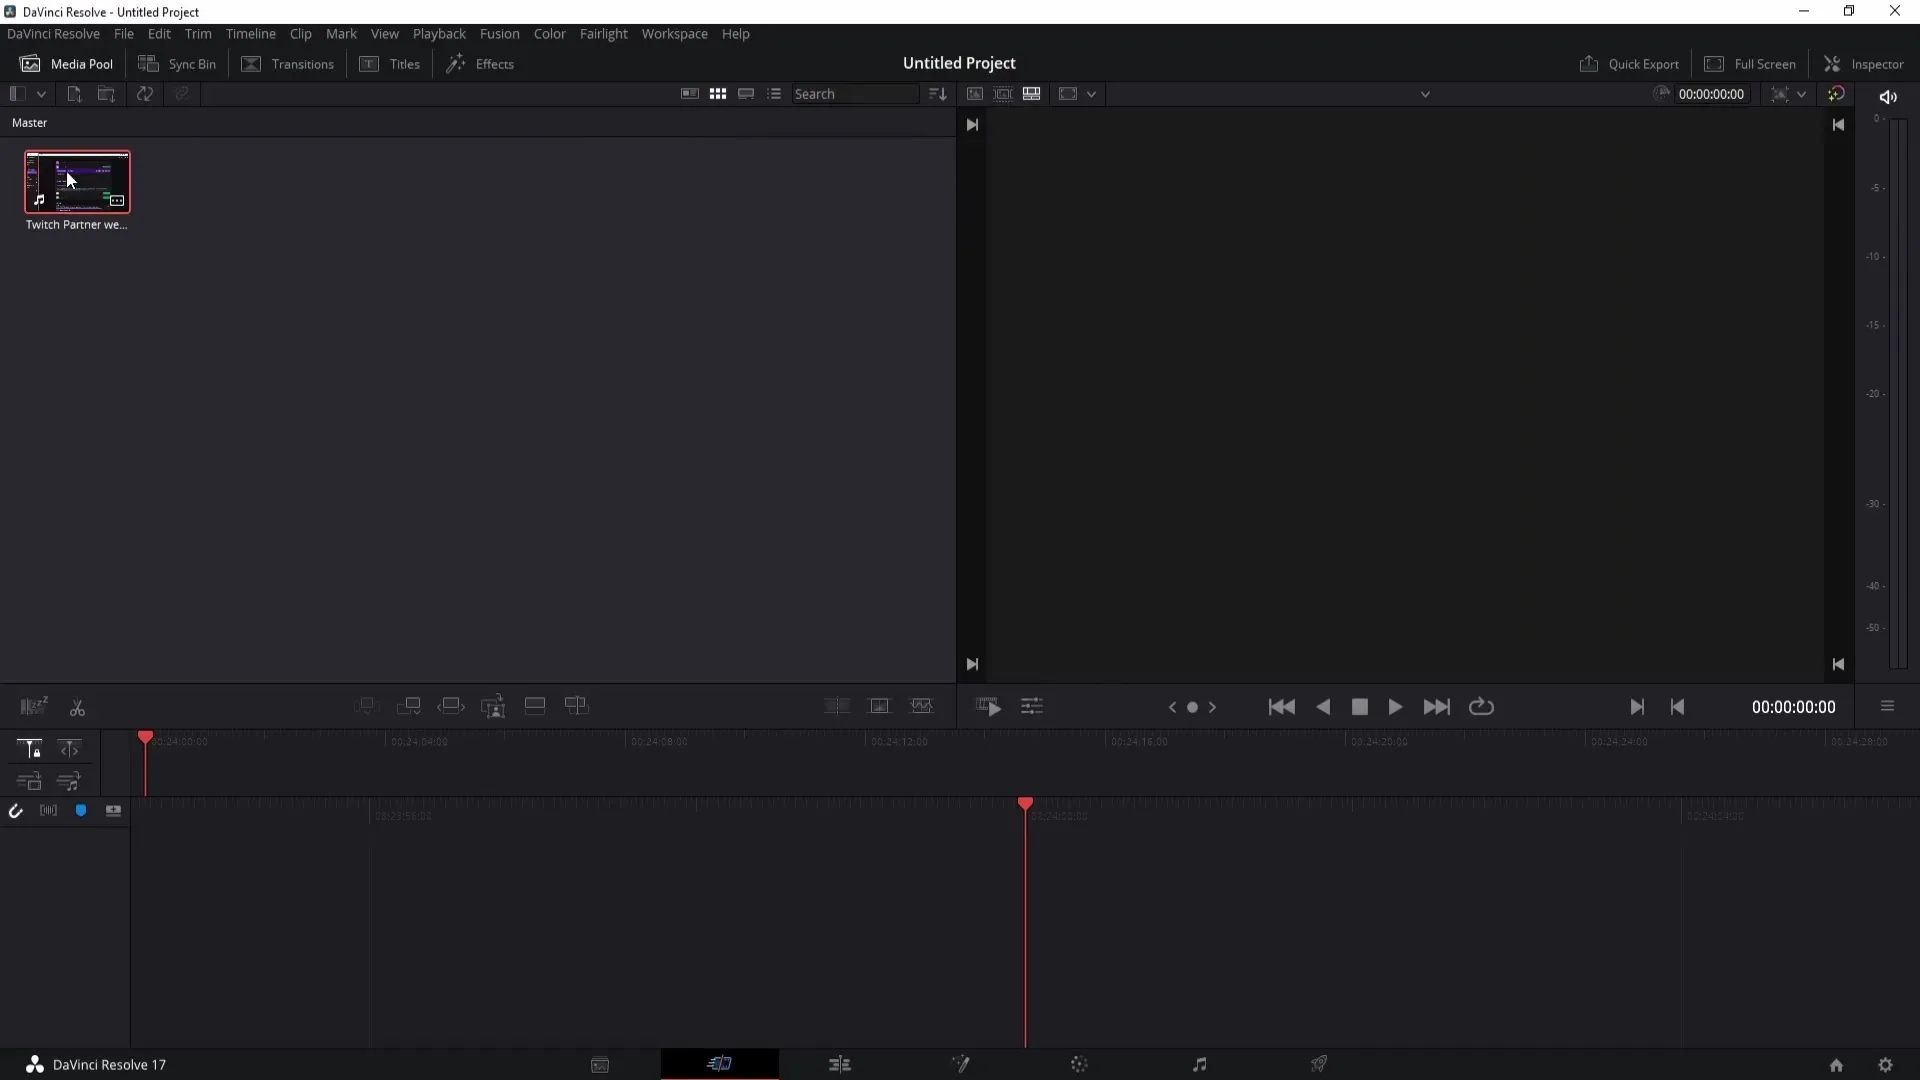
Now you can drag the imported files into the timeline with a simple drag-and-drop. Click on the imported video with the left mouse button and drag it into the timeline.
Importing Multiple Files Simultaneously
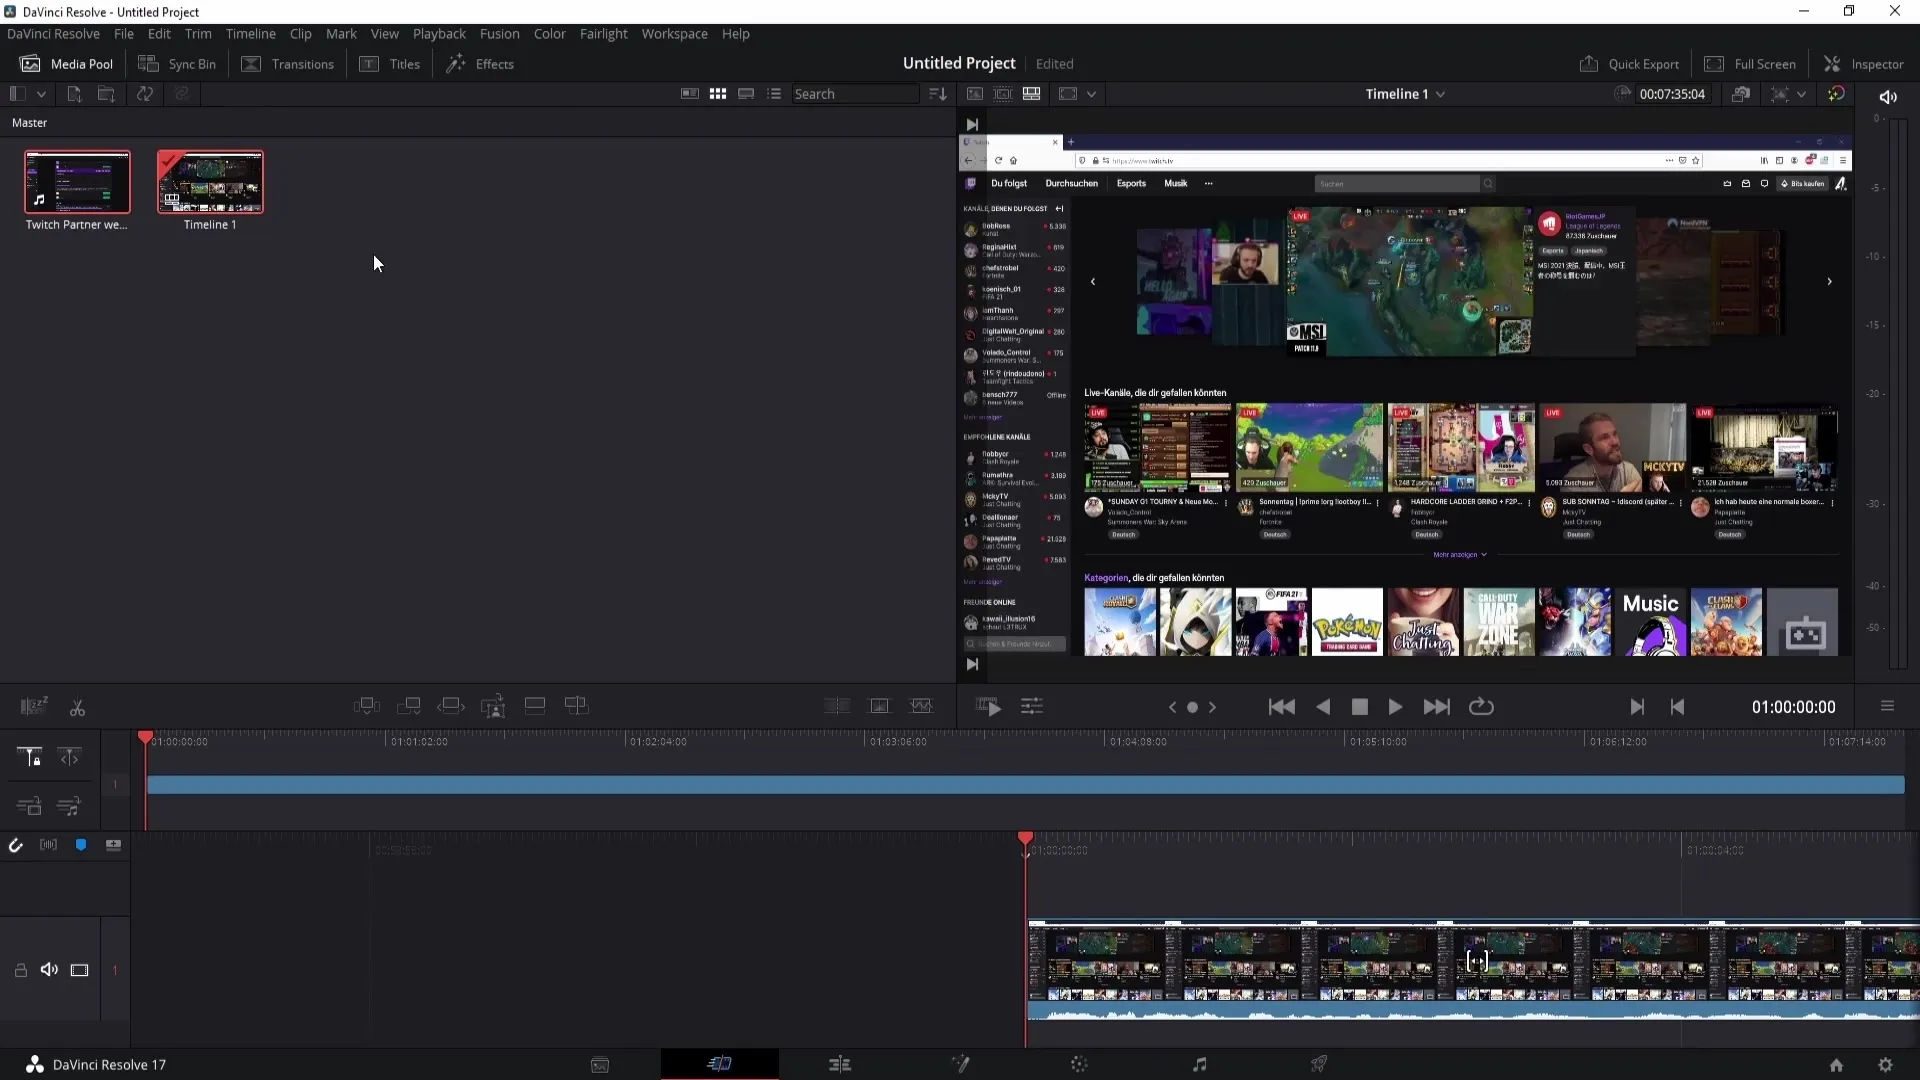
You can also import multiple files at once using the same method. Simply select the files you want to import and drag them together into the Media Pool. This saves you a lot of time since you don't have to drag each file individually from the folder.
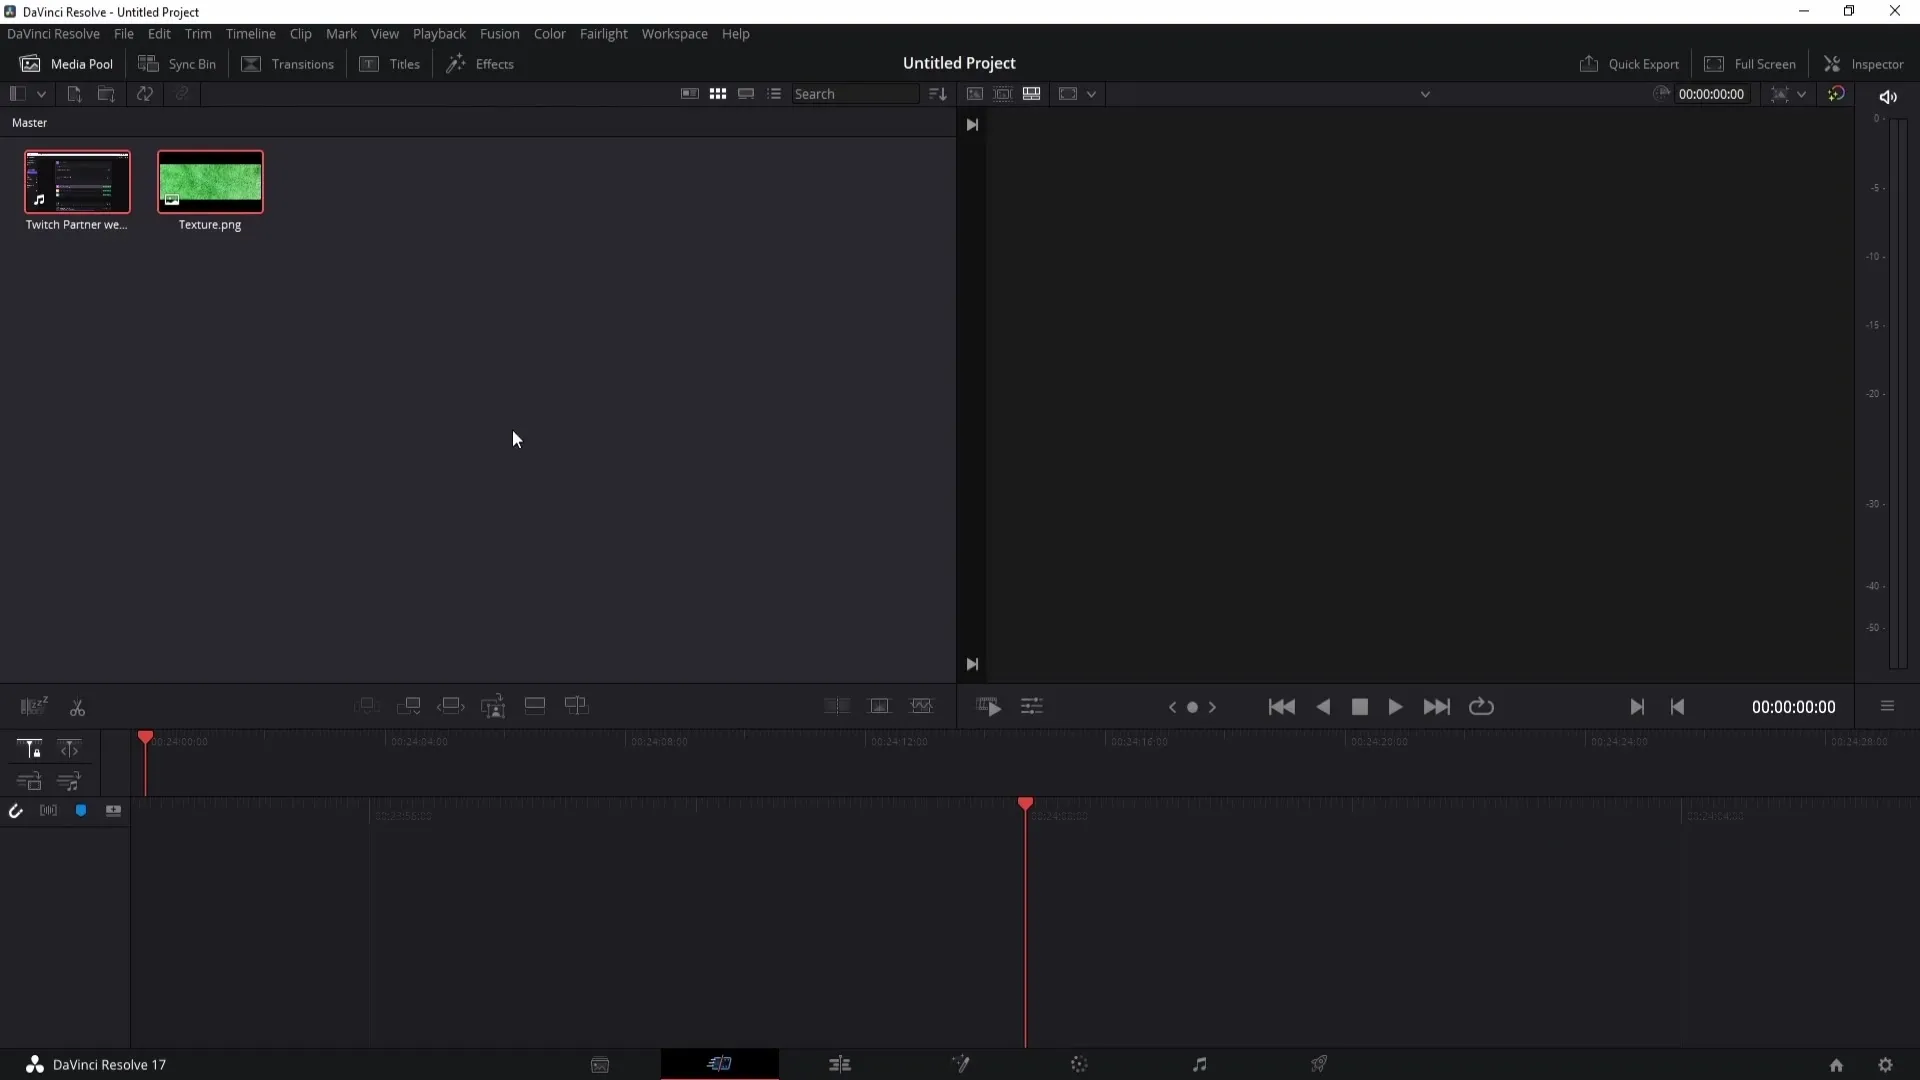
If you want to delete all imported files in the Media Pool, select them, right-click, and choose "Remove Selected Clips." Confirm the deletion by clicking "Delete."
Creating and Importing Folders
To further optimize the import process, you can organize your files into folders. First, create a new folder by right-clicking in the Media Pool and selecting "New Folder." Name the folder, for example, "New Folder 2."
Now select the files you want to move into this folder and drag them in. This makes it easier to organize your media, especially in larger projects.
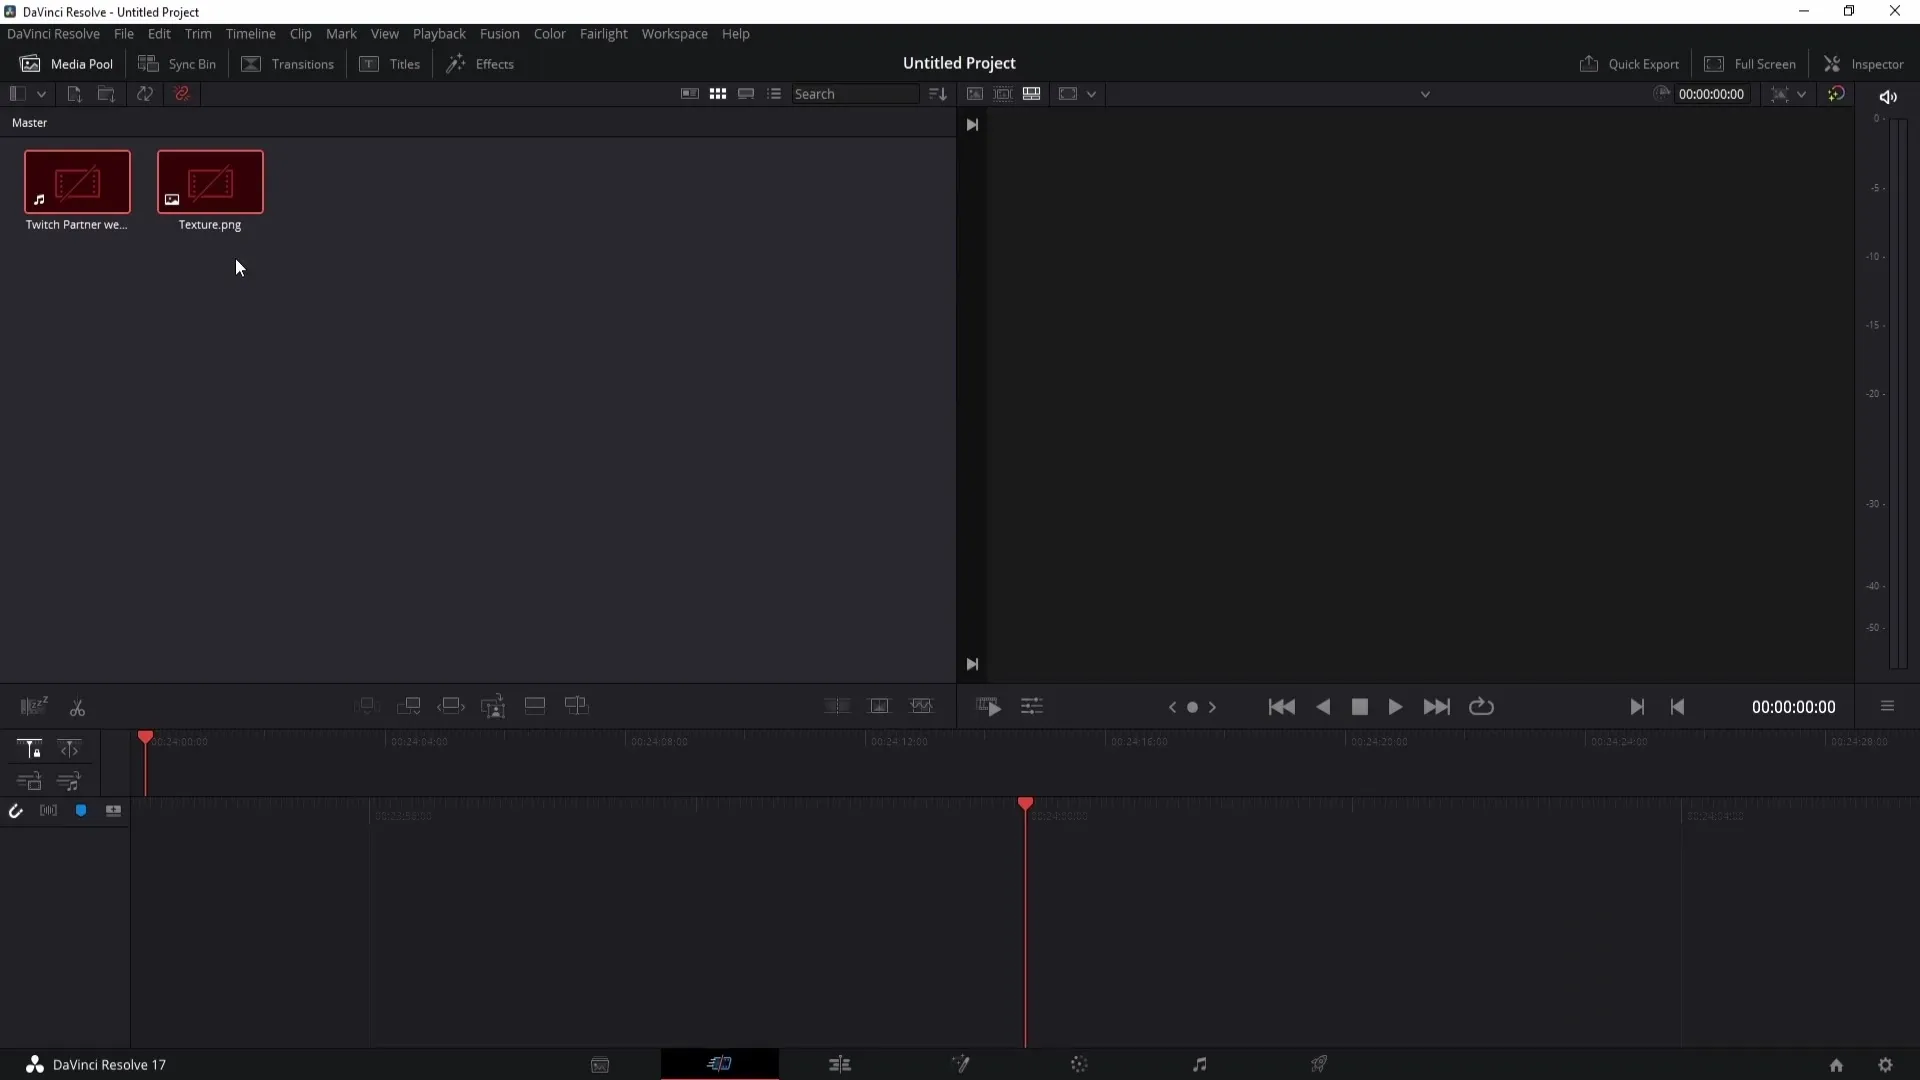
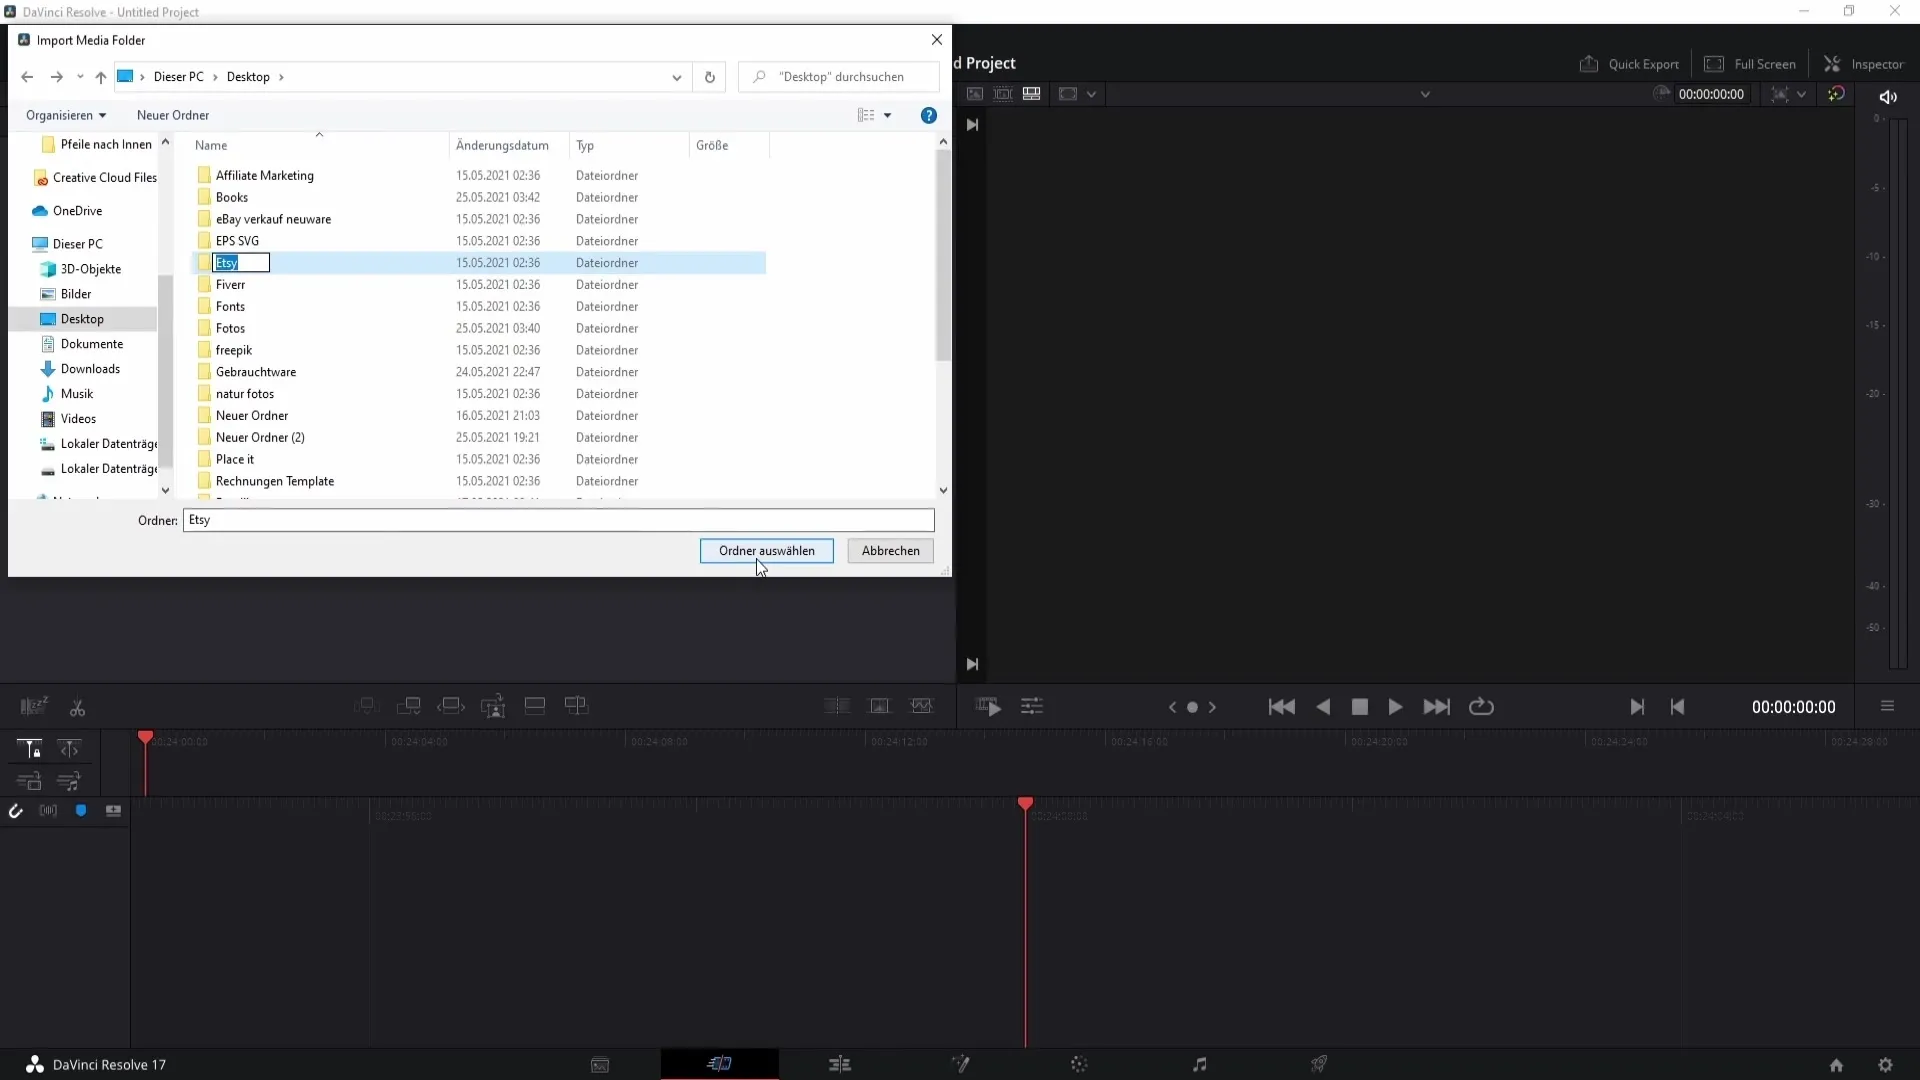
To import the entire folder into DaVinci Resolve, click on "Import Media Folder" and select the corresponding folder. In my case, it's "New Folder 2." Click "OK" to import the folder along with all the files.
Viewing Folder Contents
After importing the folder, you can easily view its contents. Click on "Master" in the upper left area of the Media Pool. If you see the created folder there, double-click on it to view the contents.
To import another folder, simply repeat the process by clicking on "Import Media Folder" again and selecting another folder. This way, you can keep track of all your media.
Matching and Individual File Import
In addition to the folder view, you can also import individual files directly without opening the folder. Simply click on the corresponding symbol at the top of the Media Pool to select and import files without having to minimize DaVinci Resolve.
Summary
In this tutorial, you have learned how to import images, videos, and audio files into DaVinci Resolve. Importing via drag-and-drop and working with folders can help you make your projects more efficient and organized. Use the methods presented to unleash your creativity and easily manage your media.
Frequently Asked Questions
How can I import files into DaVinci Resolve?You can drag and drop files into the Media Pool or add folders using "Import Media Folder".
Can I import multiple files at once?Yes, you can select multiple files and drag them into the Media Pool at the same time.
How do I delete imported files in the Media Pool?Select the files, right-click, and choose "Remove Selected Clips", then confirm with "Delete".
Why should I create folders?Folders help you organize your media better, especially in larger projects.


