In this tutorial, I will show you how to easily create a new timeline in DaVinci Resolve. Timelines are important tools in video editing, as they help you organize different parts of your project and work more efficiently. By the end of this tutorial, you will know how to create multiple timelines and what they are useful for.
Key Takeaways
- You can create a new timeline by simply dragging an image or video into the timeline.
- Alternatively, you can create a new timeline through the "File" menu.
- Each timeline can be edited independently without affecting the other timelines.
- You can apply changes to clips in one timeline to clips in another timeline as well.
- Dividing your project into multiple timelines can improve the performance of DaVinci Resolve.
Step-by-Step Guide
First, open DaVinci Resolve on your computer. You should see your media on the left in the Media Pool. In my case, I have already loaded some images and animations. To start creating a new timeline, you can simply drag one of the images onto the workspace.
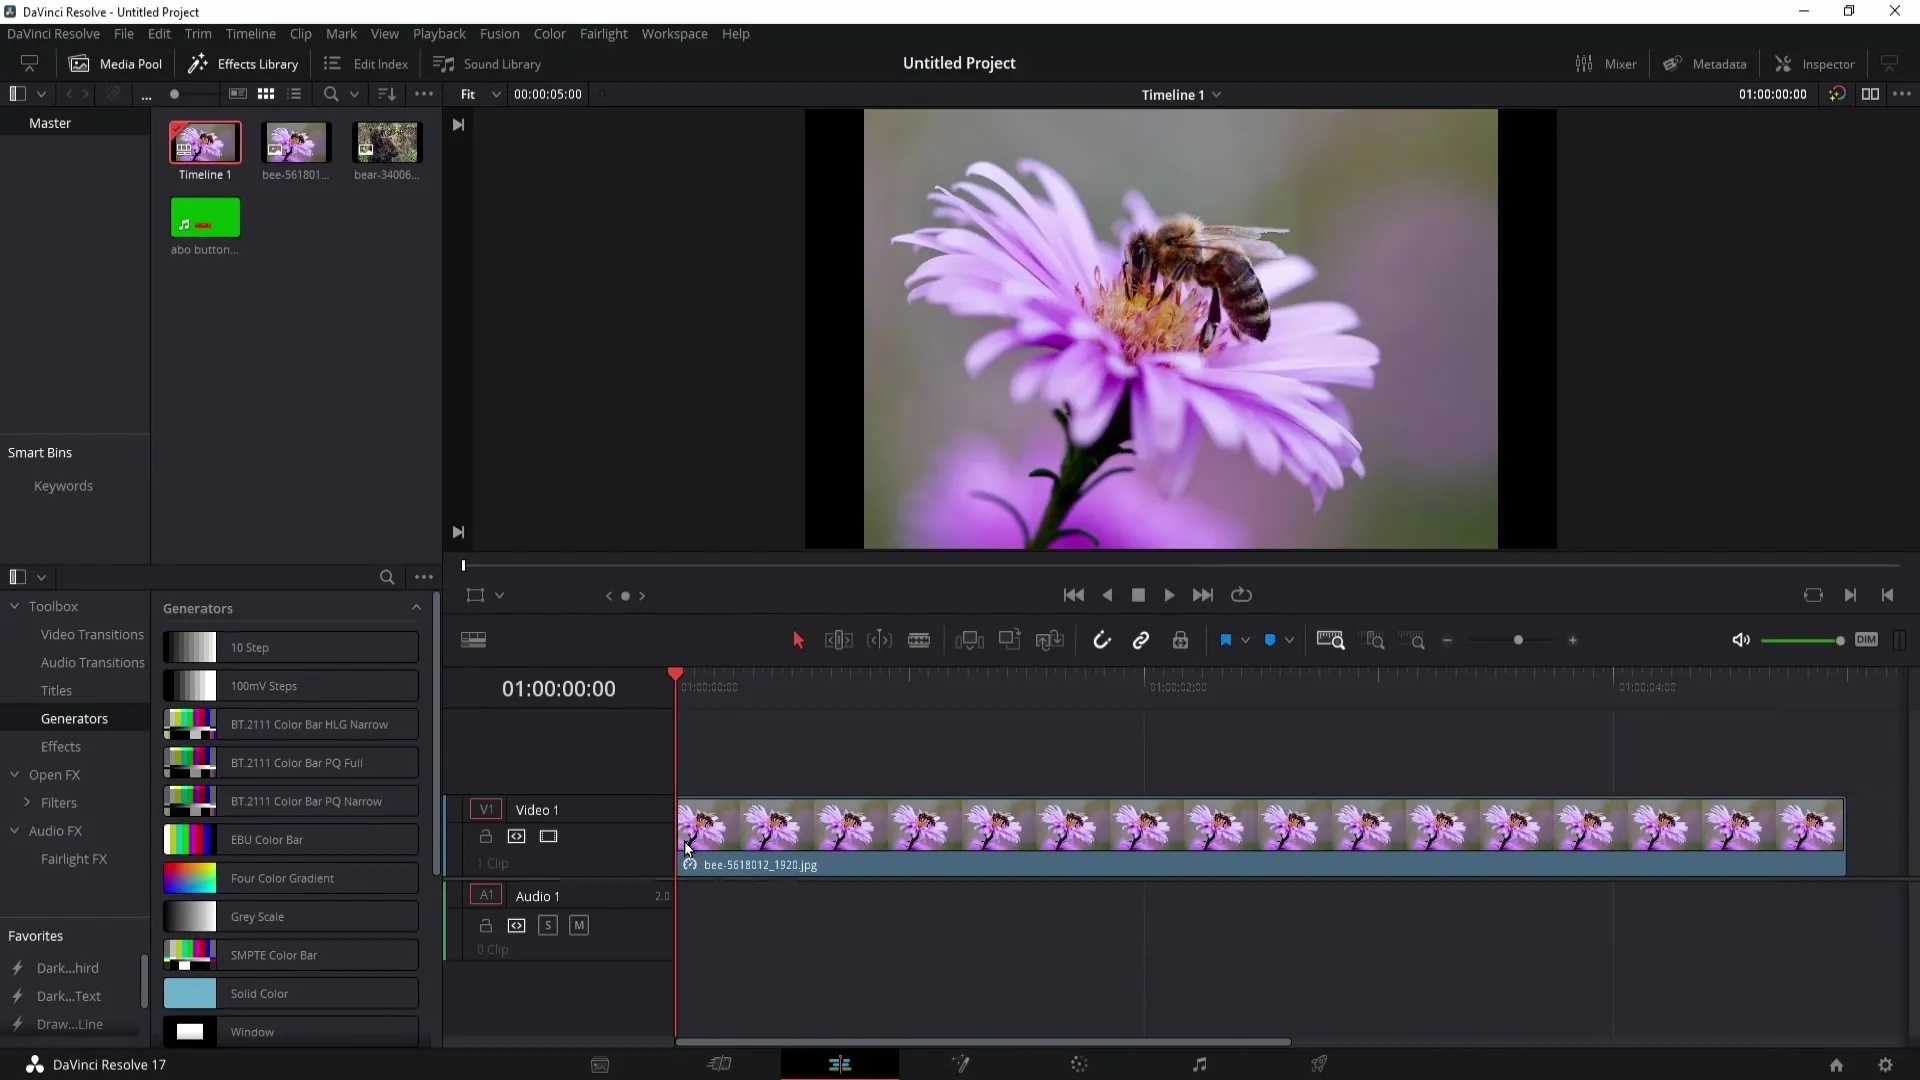
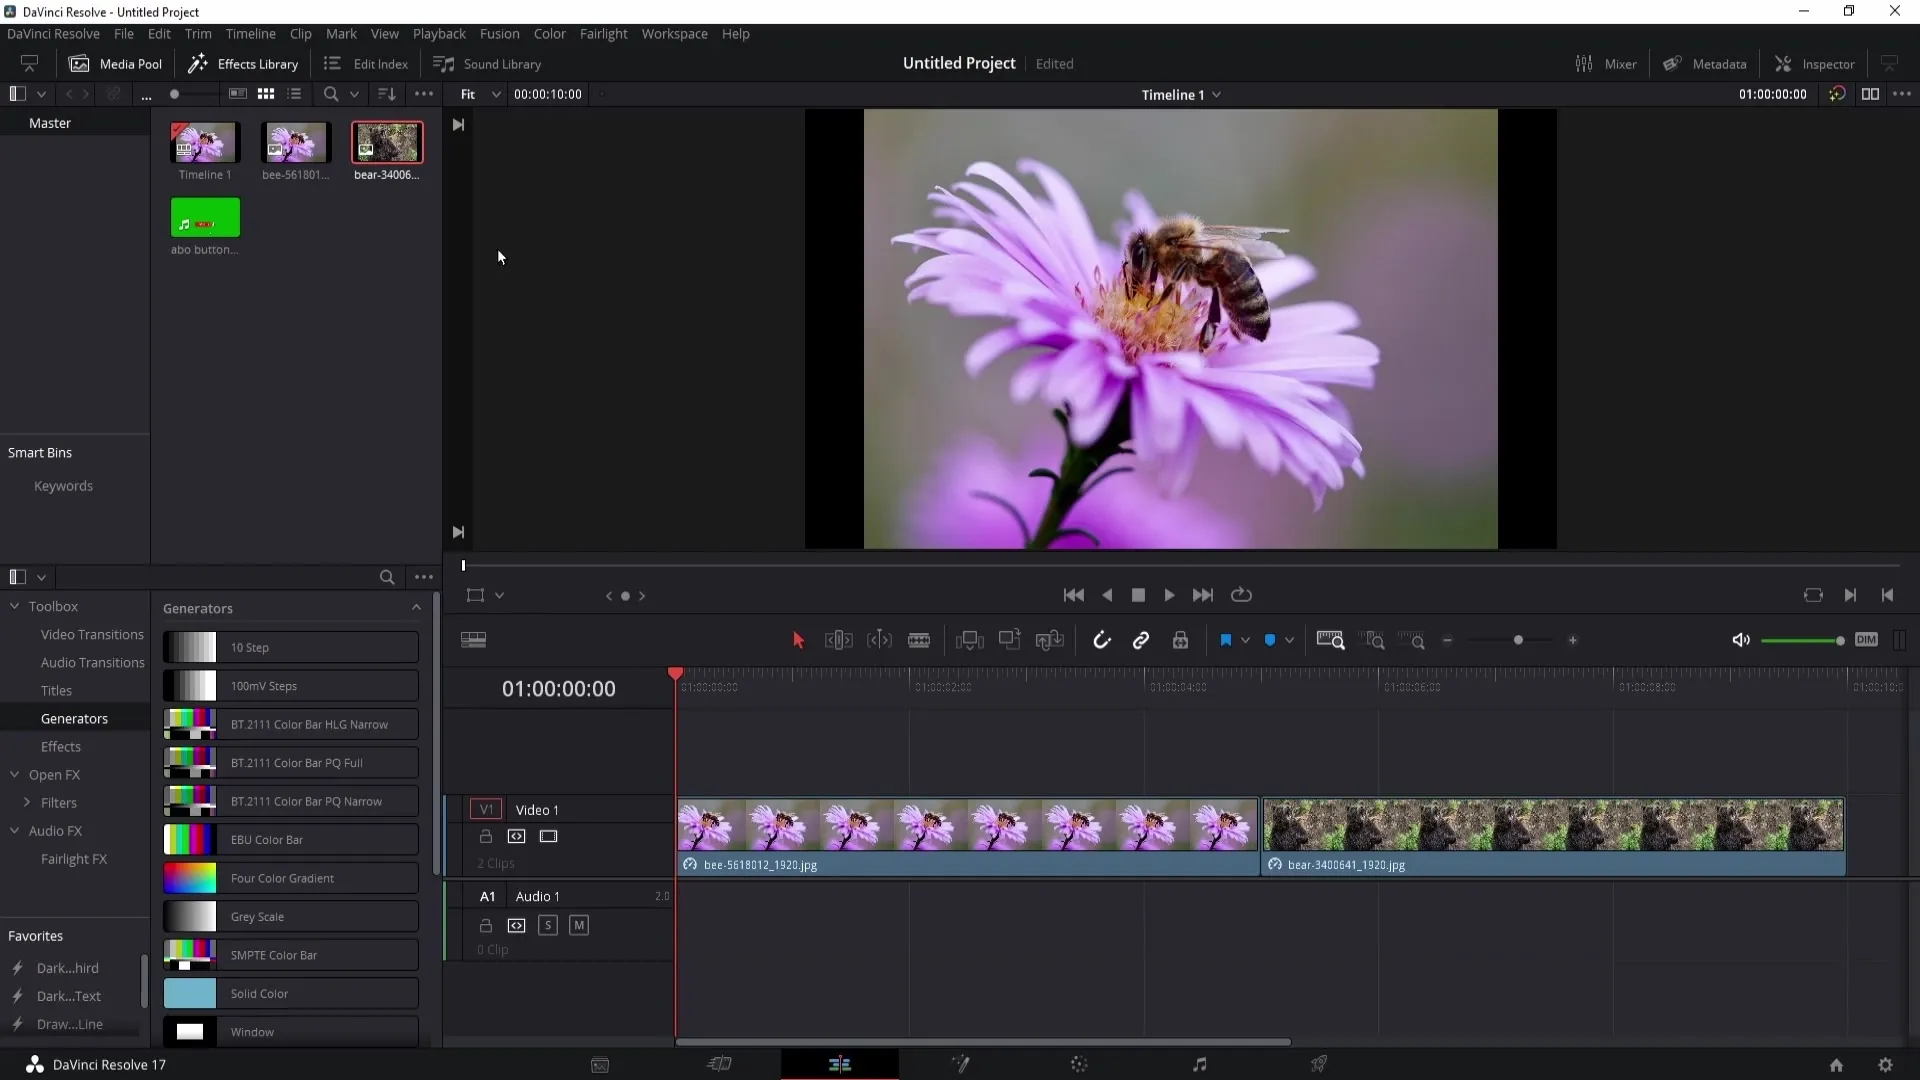
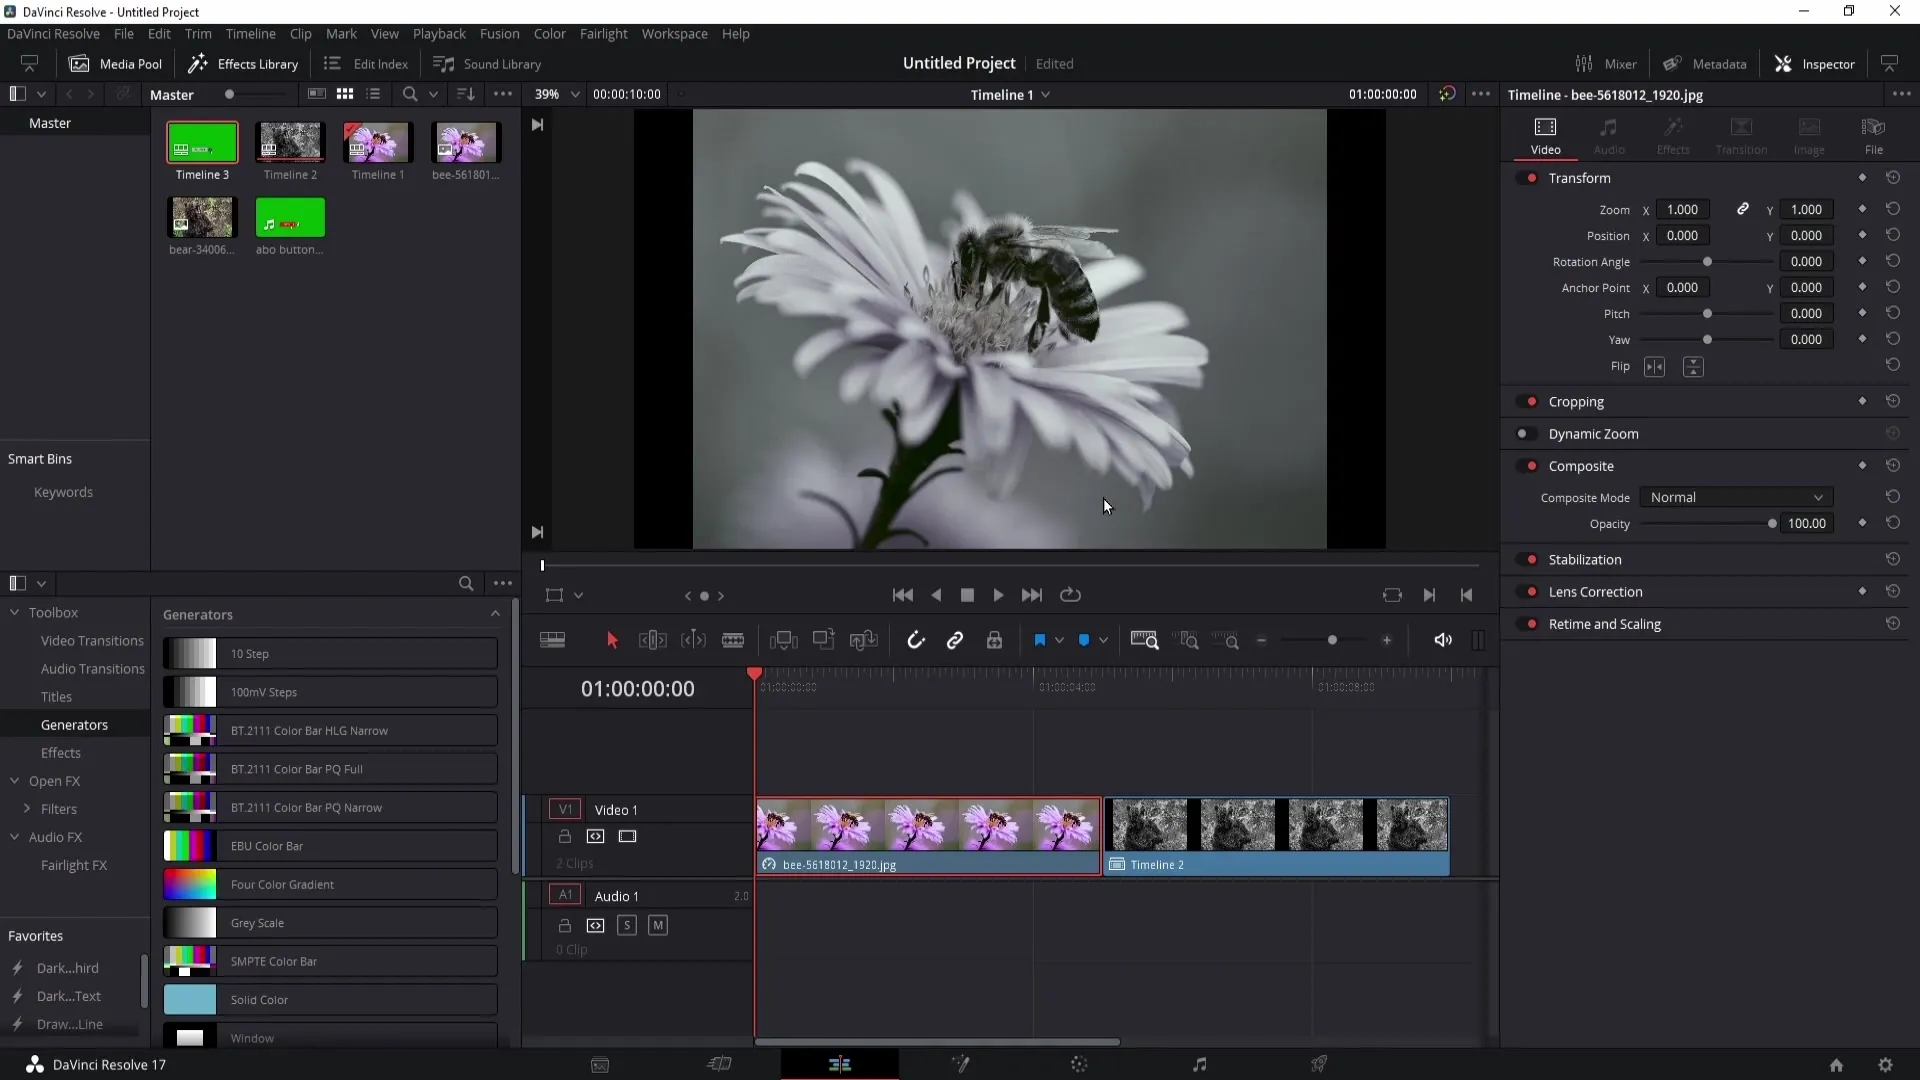
By simply dragging an image into the main field, the first timeline is automatically created. Now you can see that the timeline has been created. If you drag a second image into the existing timeline, it will be inserted into the first timeline. You can now work with different clips in one timeline.
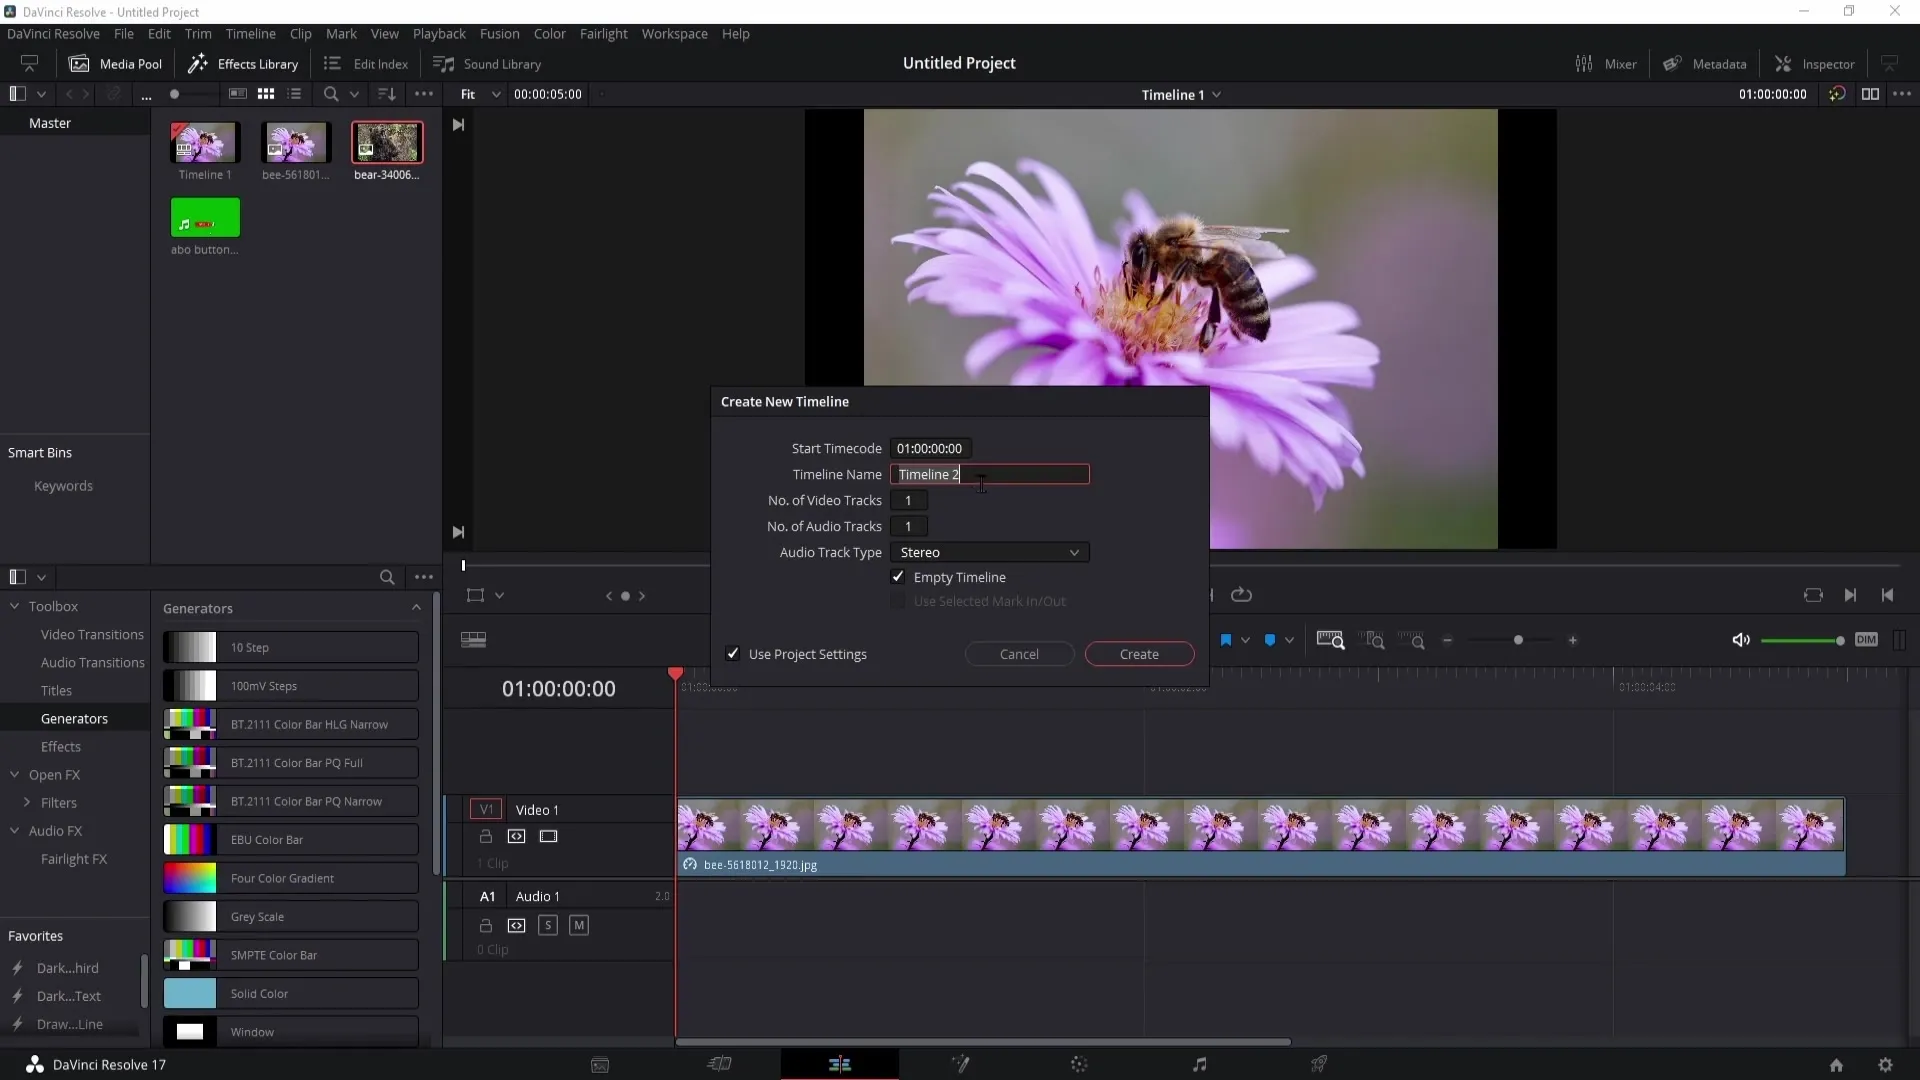
To create another timeline, go to the "File" menu at the top and choose "New Timeline." Here, you have the option to give your new timeline a name. It may also be helpful to adopt or adjust the project settings before creating the new timeline.
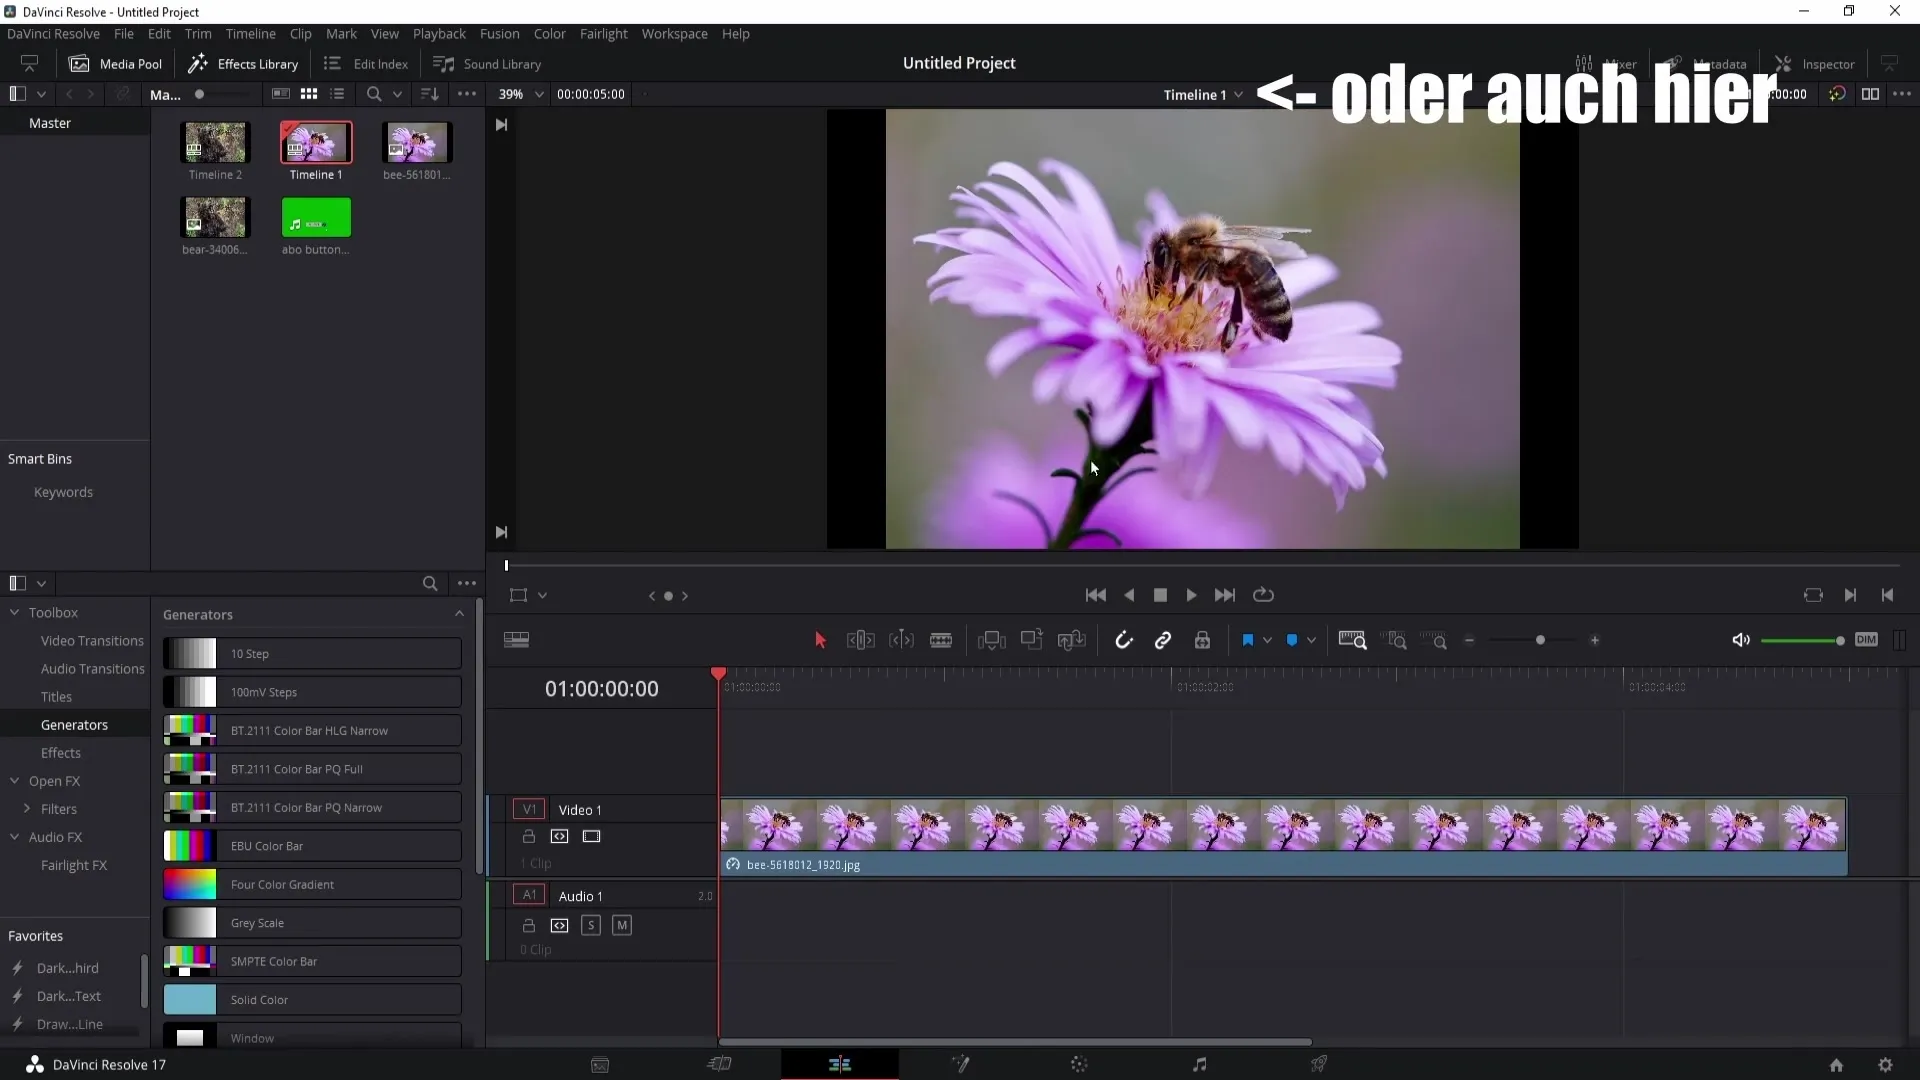
After selecting "Create," you will now see that a new timeline has been added to the Media Pool. You can now use this timeline independently of the first timeline to import additional images, audio, or videos, for example.
If you want to switch between timelines, simply double-click on the desired timeline in the Media Pool.
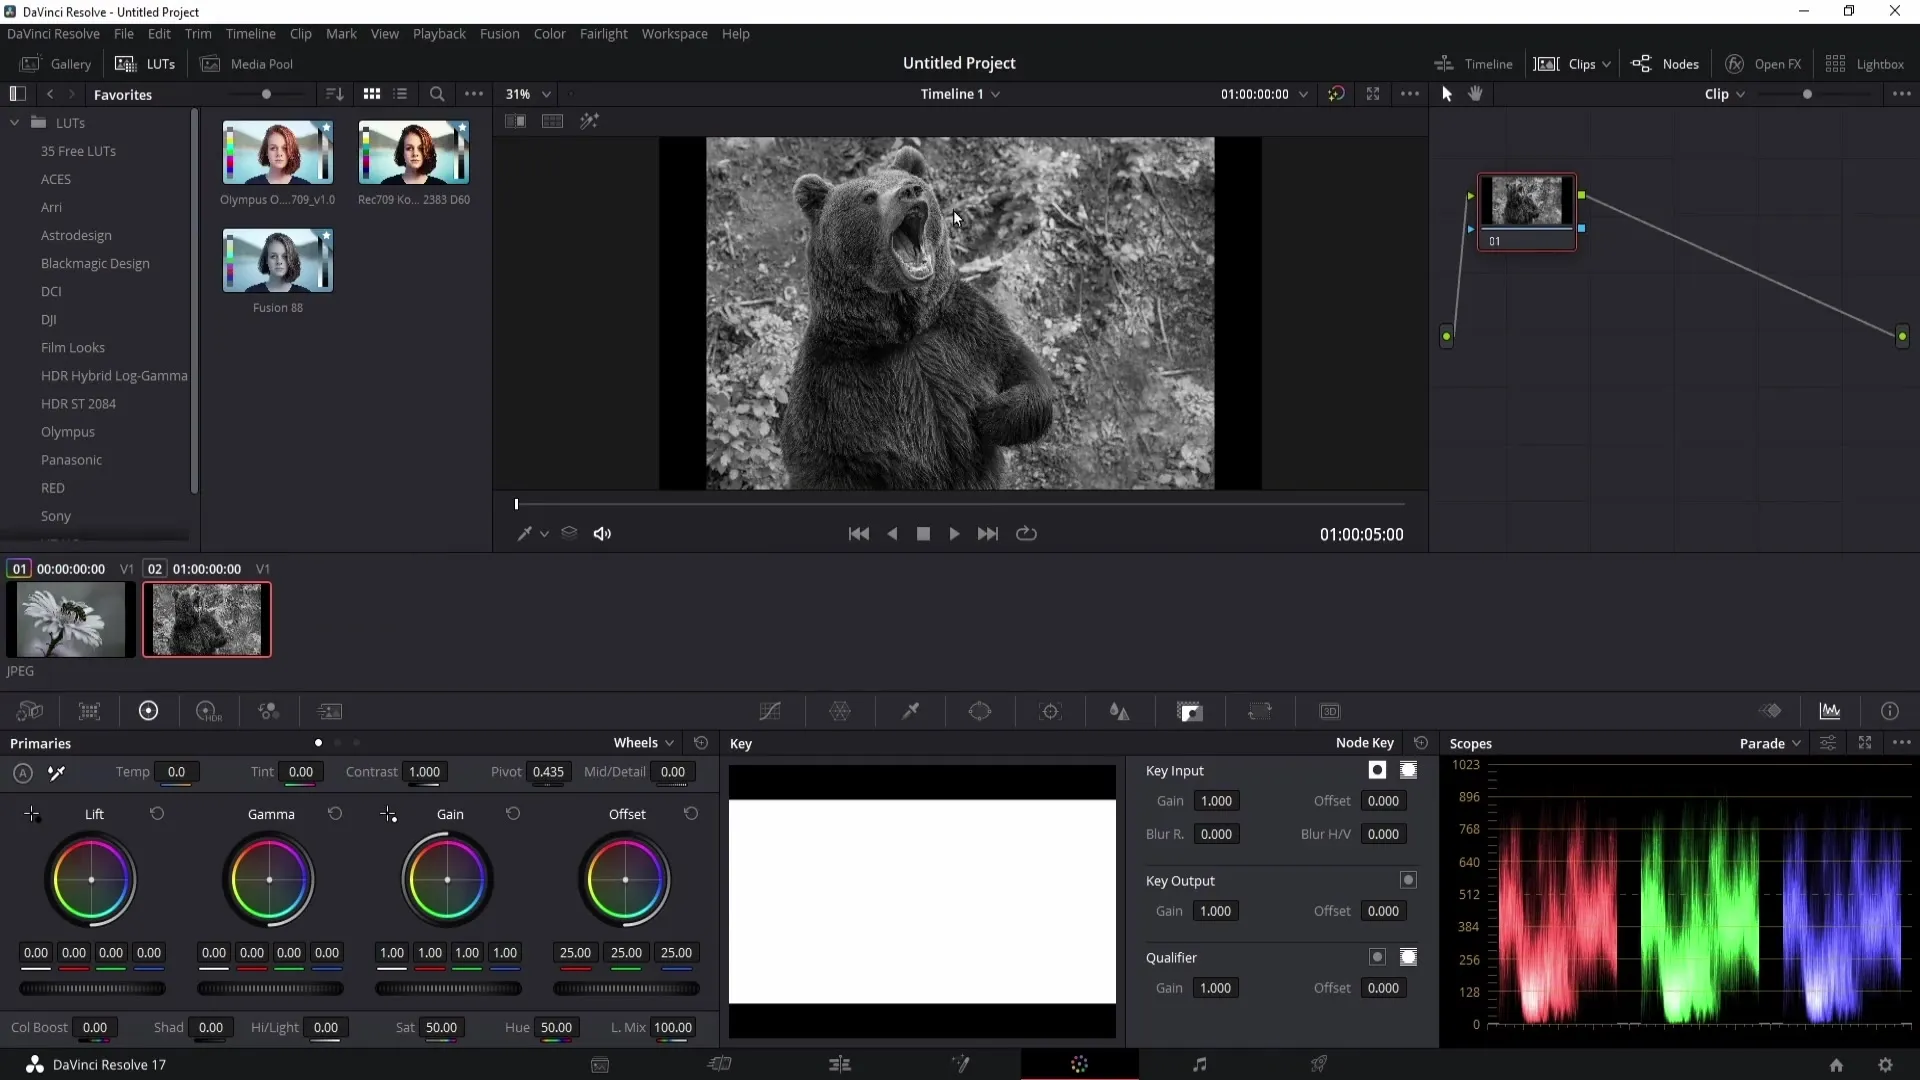
Now that you know how to create multiple timelines, I will show you that changes made in one timeline can also be applied to another. For example, let's say you want to change the color correction of an image in the second timeline. Go to the Color Grading section and adjust the settings.
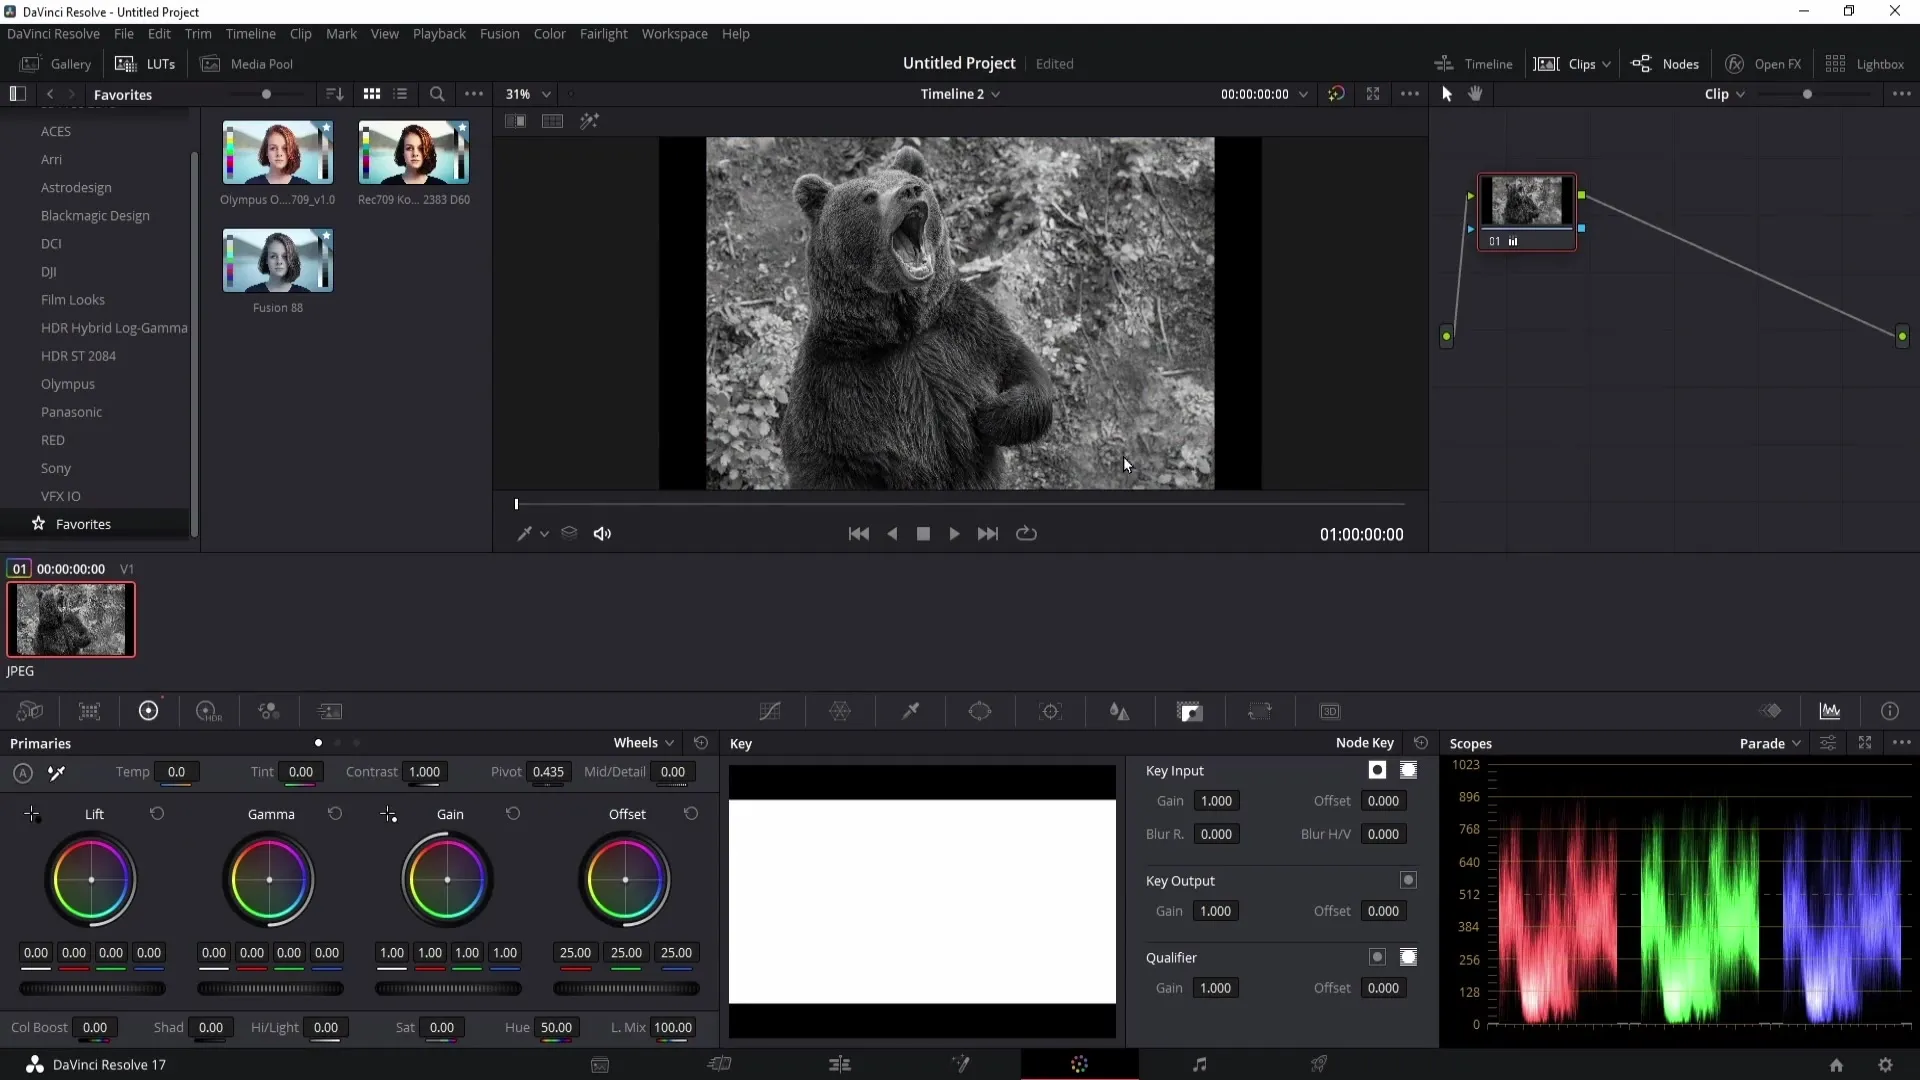
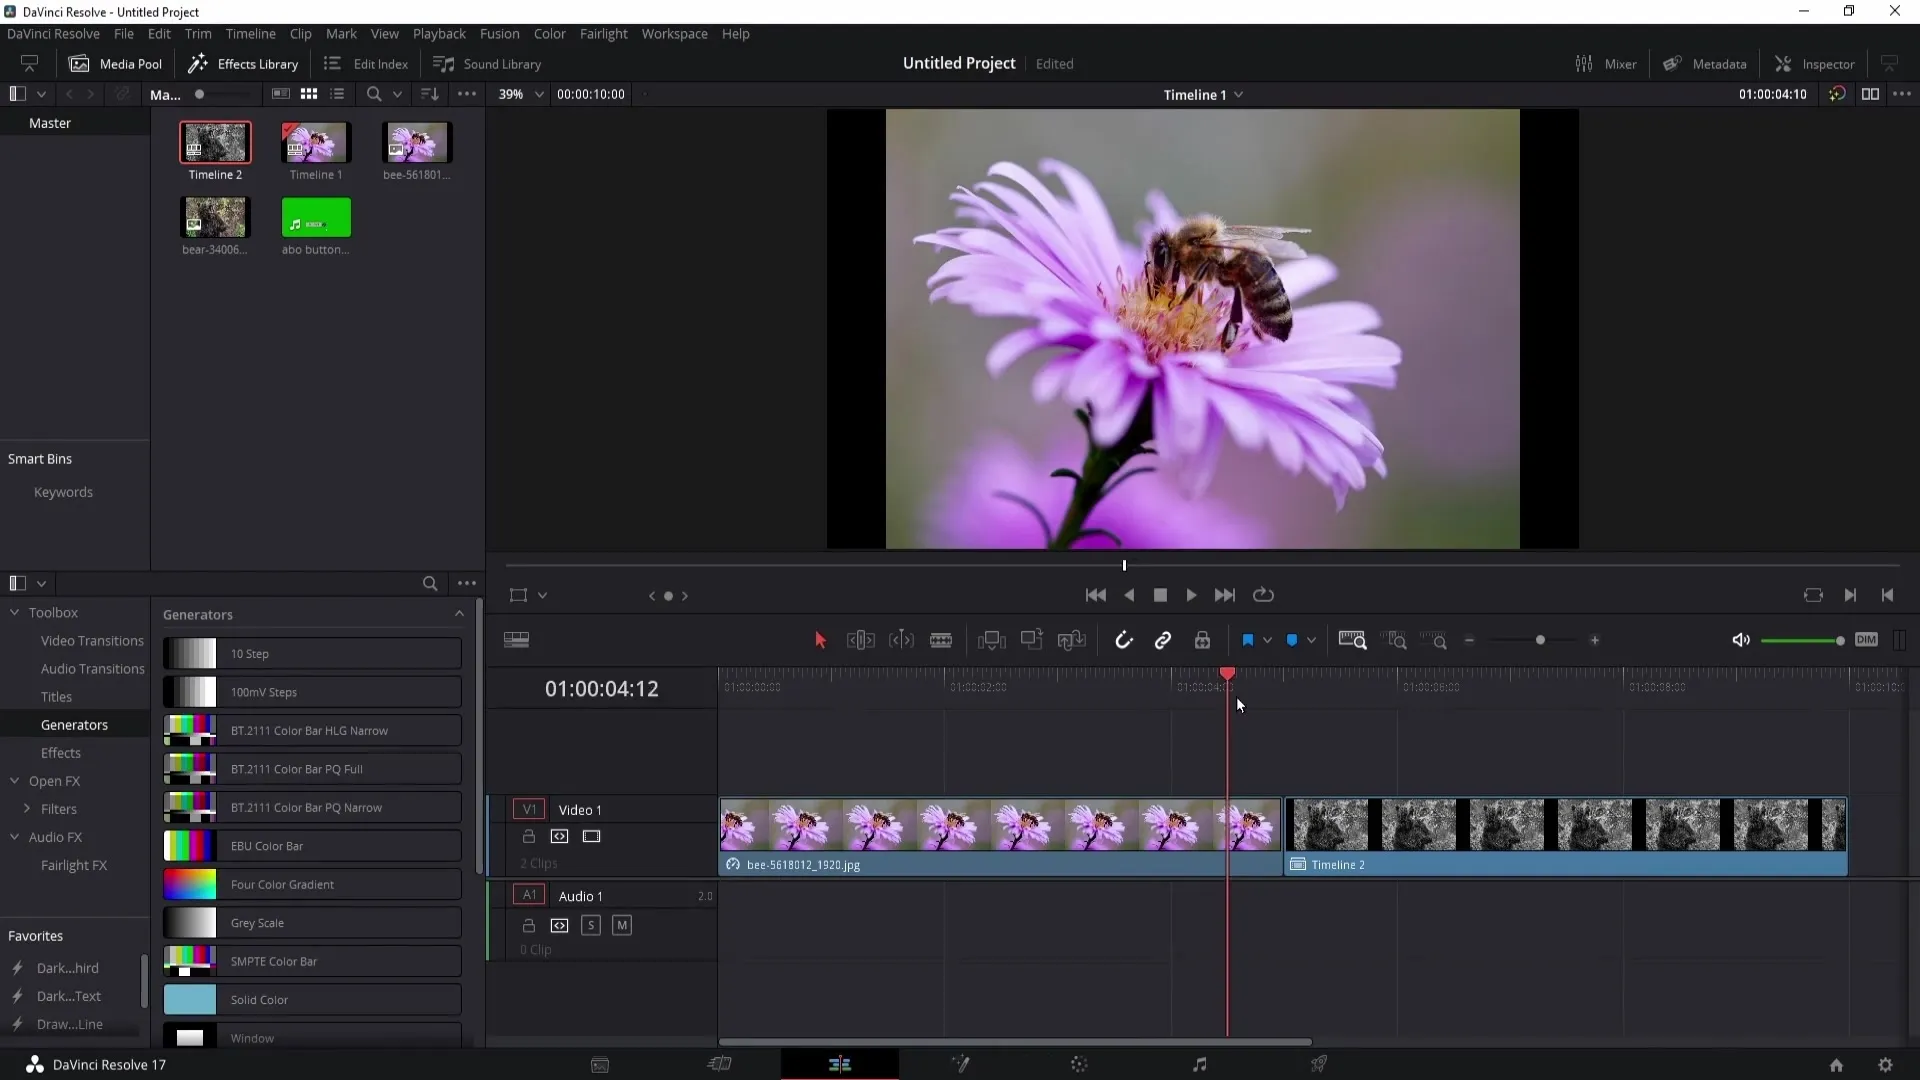
You have now converted the image to black and white. If you want to drag this edited image from the second timeline into the first timeline, the color grading effect will also be applied. To do this, drag the edited image into the first timeline through drag and drop.
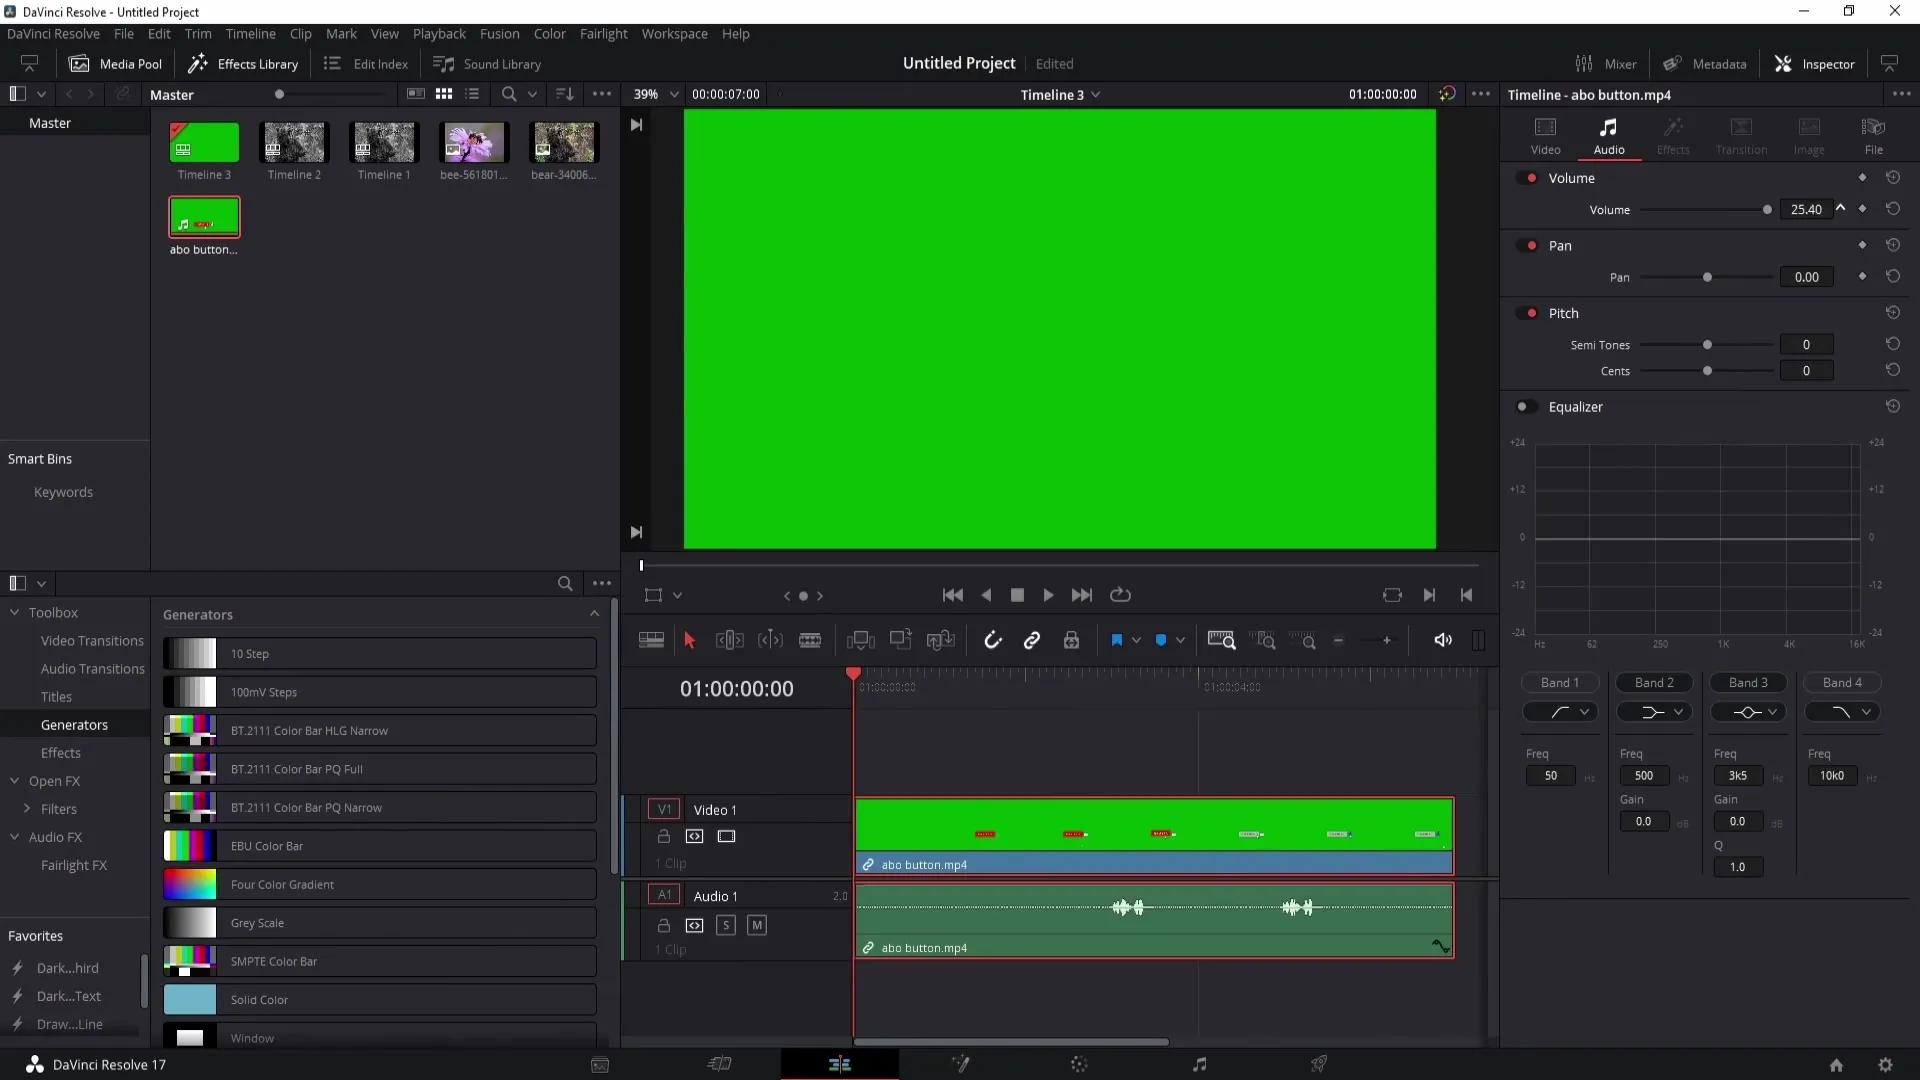
You can also make audio changes in the same way. Create a new timeline, for example, Timeline 3, drag the animation in, and adjust the volume in the Inspector.
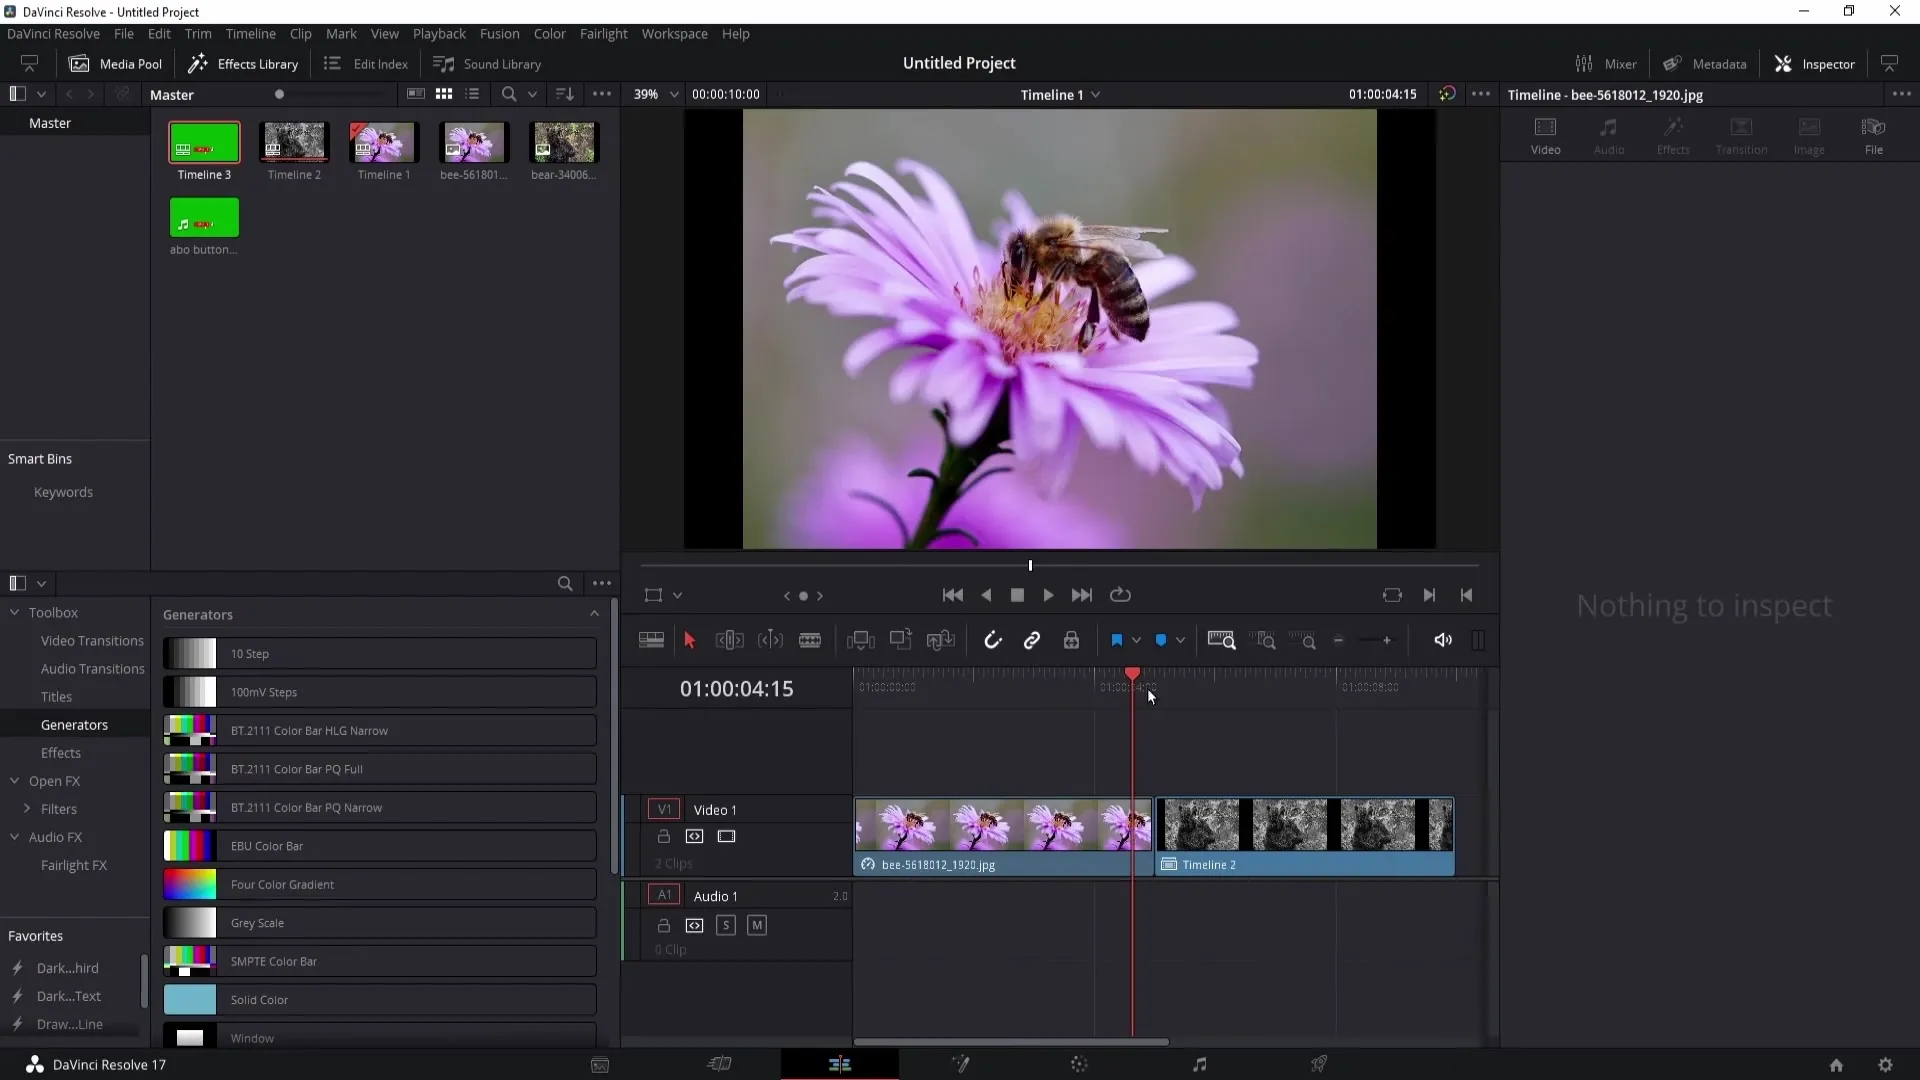
If you want to switch back to the first timeline and apply the changes from Timeline 3, you can do so by simply dragging the clip, and the volume changes will be applied.
Another practical feature is transferring effects between clips in different timelines. To do this, select the clips you want to apply the effects to, go to the Color Grading section, and right-click to transfer the effect to the other image.
Using different timelines has several advantages. On the one hand, you can work faster because DaVinci Resolve does not have to load all clips at the same time. On the other hand, it helps with organization, especially in large projects. If you drag all clips into a single timeline, the program can quickly become overloaded.
I recommend using multiple timelines for larger video projects. This way, you can keep track and better manage the different components of your project. Once all timelines are prepared, you can merge the contents into the main timeline.
This makes it easier to find and edit the clips you need.
Summary
In this tutorial, you have learned how to create a new timeline in DaVinci Resolve and what the advantages of this feature are. You should now be able to easily switch between different timelines and transfer the necessary changes.
Frequently Asked Questions
How do I create a new timeline in DaVinci Resolve?You can create a new timeline by going to the "File" menu and selecting "New Timeline" or by dragging a media element onto the workspace.
Can I have multiple timelines in one project?Yes, you can create as many timelines as you need to organize your project.
How do timelines affect the performance of DaVinci Resolve?By dividing into multiple timelines, performance can be improved as the program does not have to load all clips simultaneously.
What happens when I drag a clip into another timeline?Changes you make to a clip in one timeline will be applied when you drag it into another timeline.
Can I transfer effects from one clip to another in a different timeline?Yes, you can transfer effects between clips in different timelines by simply dragging them or right-clicking to transfer.


