In this tutorial, I'll show you how to play a video in DaVinci Resolve in reverse. Reversing clips can greatly enhance your video editing and create interesting effects. Whether for creative projects or just for fun - it's a technique you should have in your toolkit. Let's get started!
Key Takeaways
- You can play clips in DaVinci Resolve in reverse by changing the clip speed.
- The new feature in the "Speed Change" menu makes your work easier.
- It's also possible to adapt reverse speed to play clips faster.
Step-by-Step Guide
First, you need to make sure that DaVinci Resolve is installed and open on your computer. Then follow these steps:
Drag Clip to the Timeline
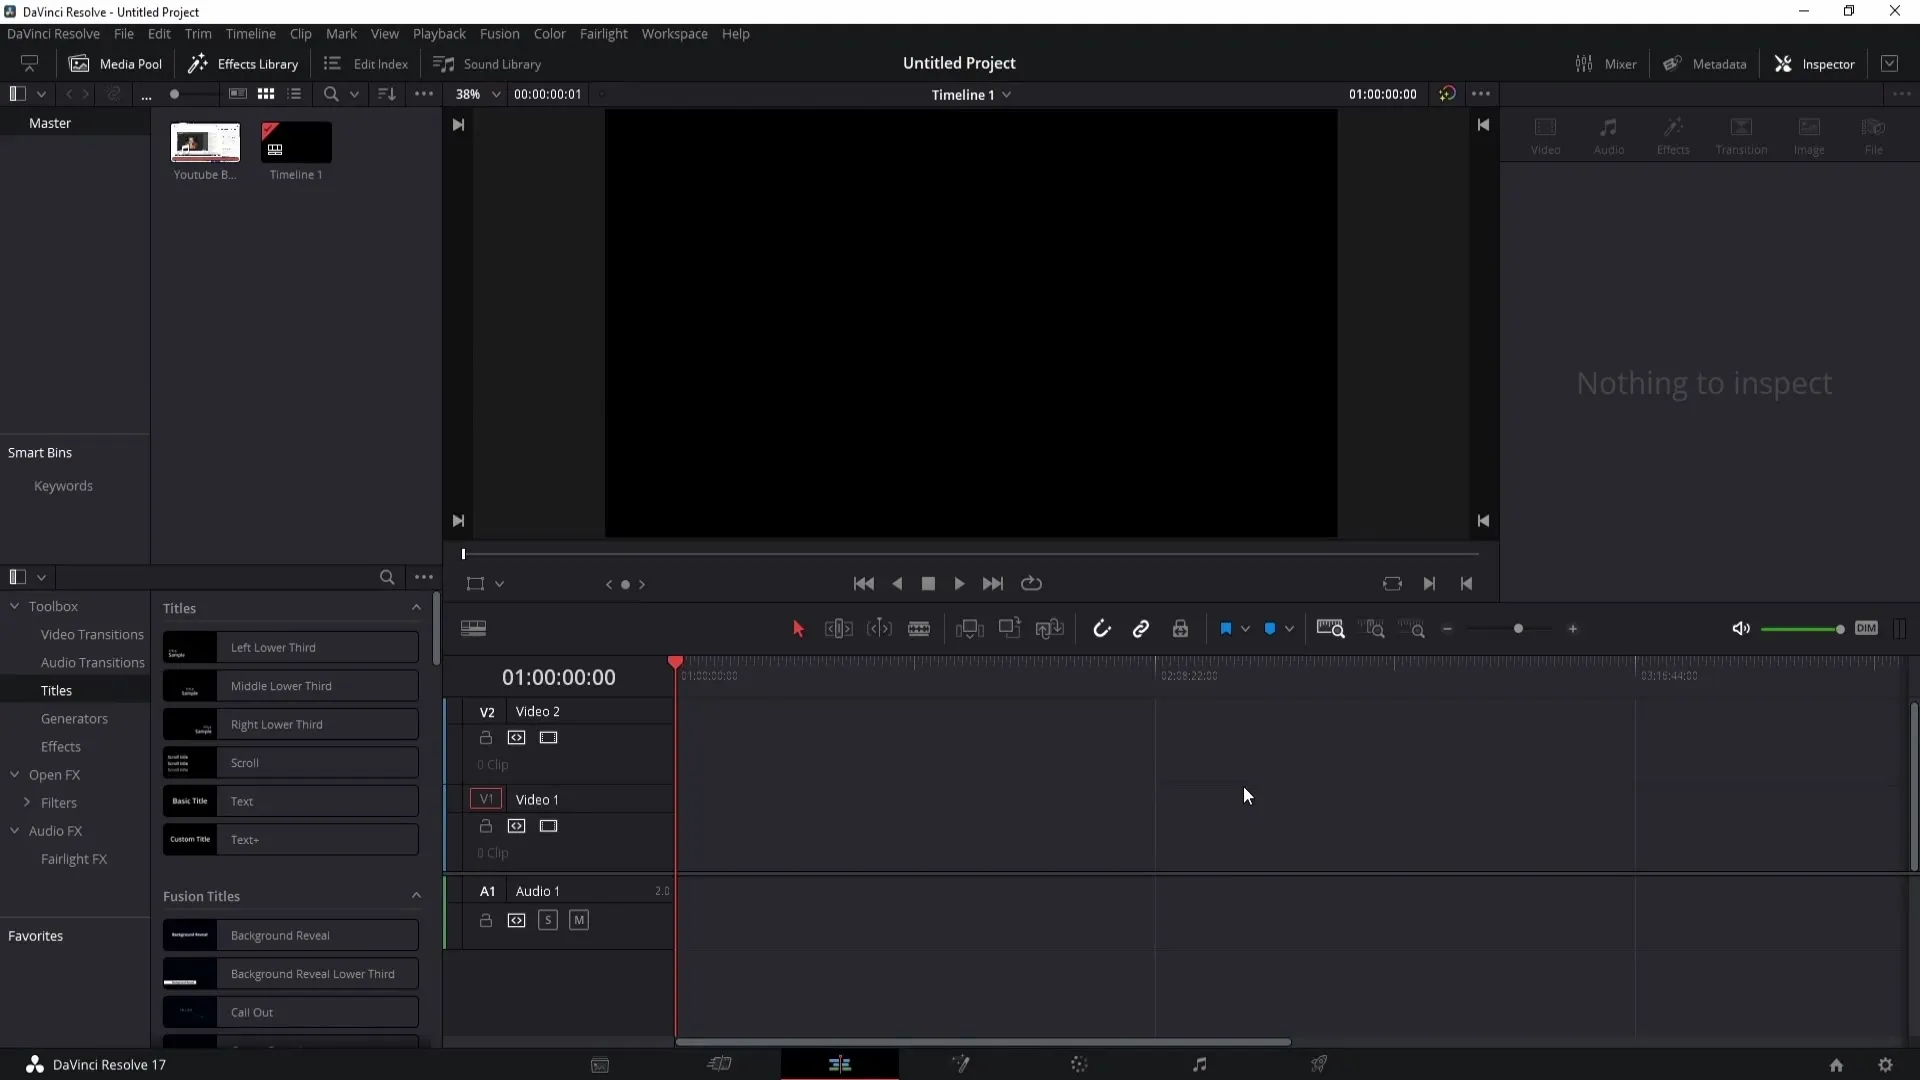
To play a clip in reverse, drag your desired clip to the timeline. This can be either an existing video or a new one you want to edit. In order to edit the clip, you must first import it into your timeline.
Right-click on the Clip
After dragging the clip to the timeline, right-click on it. This will open a context menu where you can select further options.
Select "Change Clip Speed"
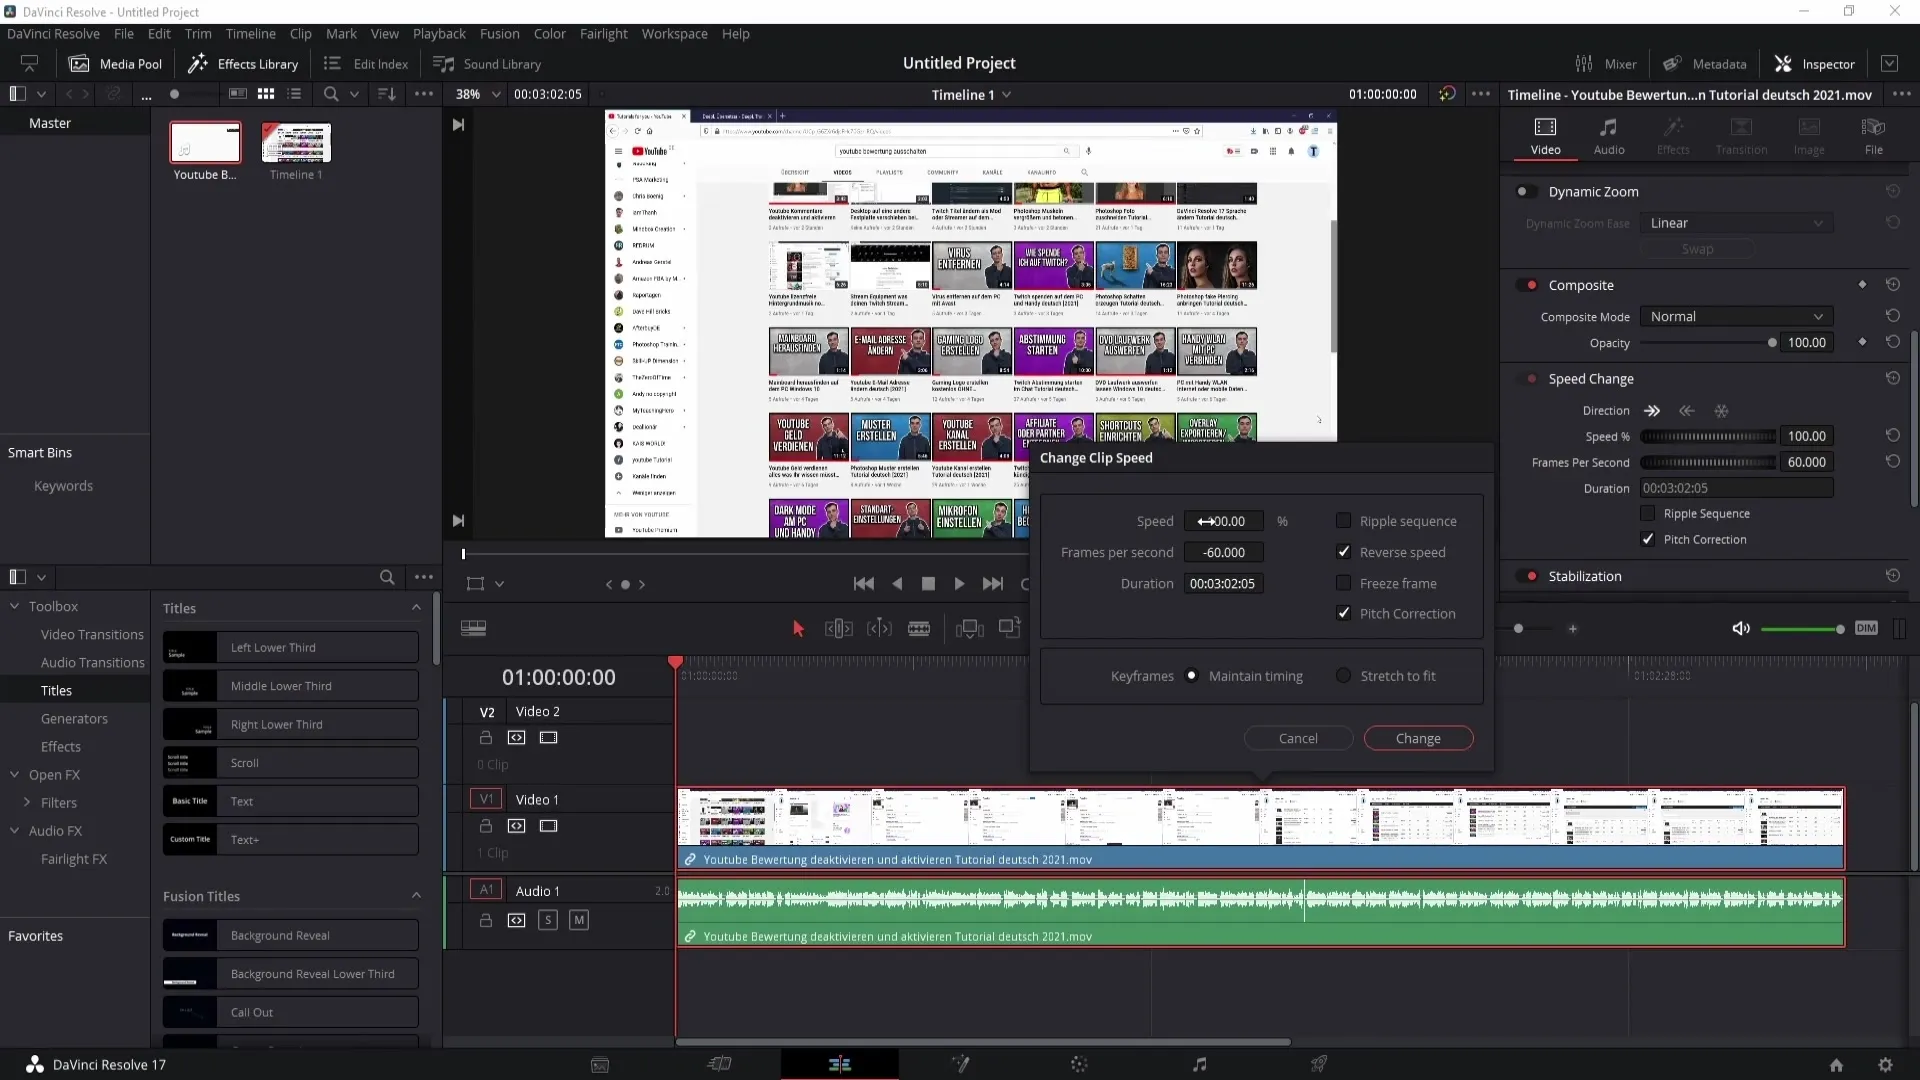
In the context menu, you will find the option "Change Clip Speed." Choose this option to open the window where you can adjust your clip's speed.
Activate Reverse Speed
In the window that opens, you will find the option "Reverse Speed." Click on this button to reverse the playback of your clip. The speed will now be moved to the negative range, indicating that the clip is now playing in reverse.
Applying the Changes
Click on "Change" to save the changes you've made. Your clip will now play in reverse. You can now preview the clip to see the result.
Use the Easier Method
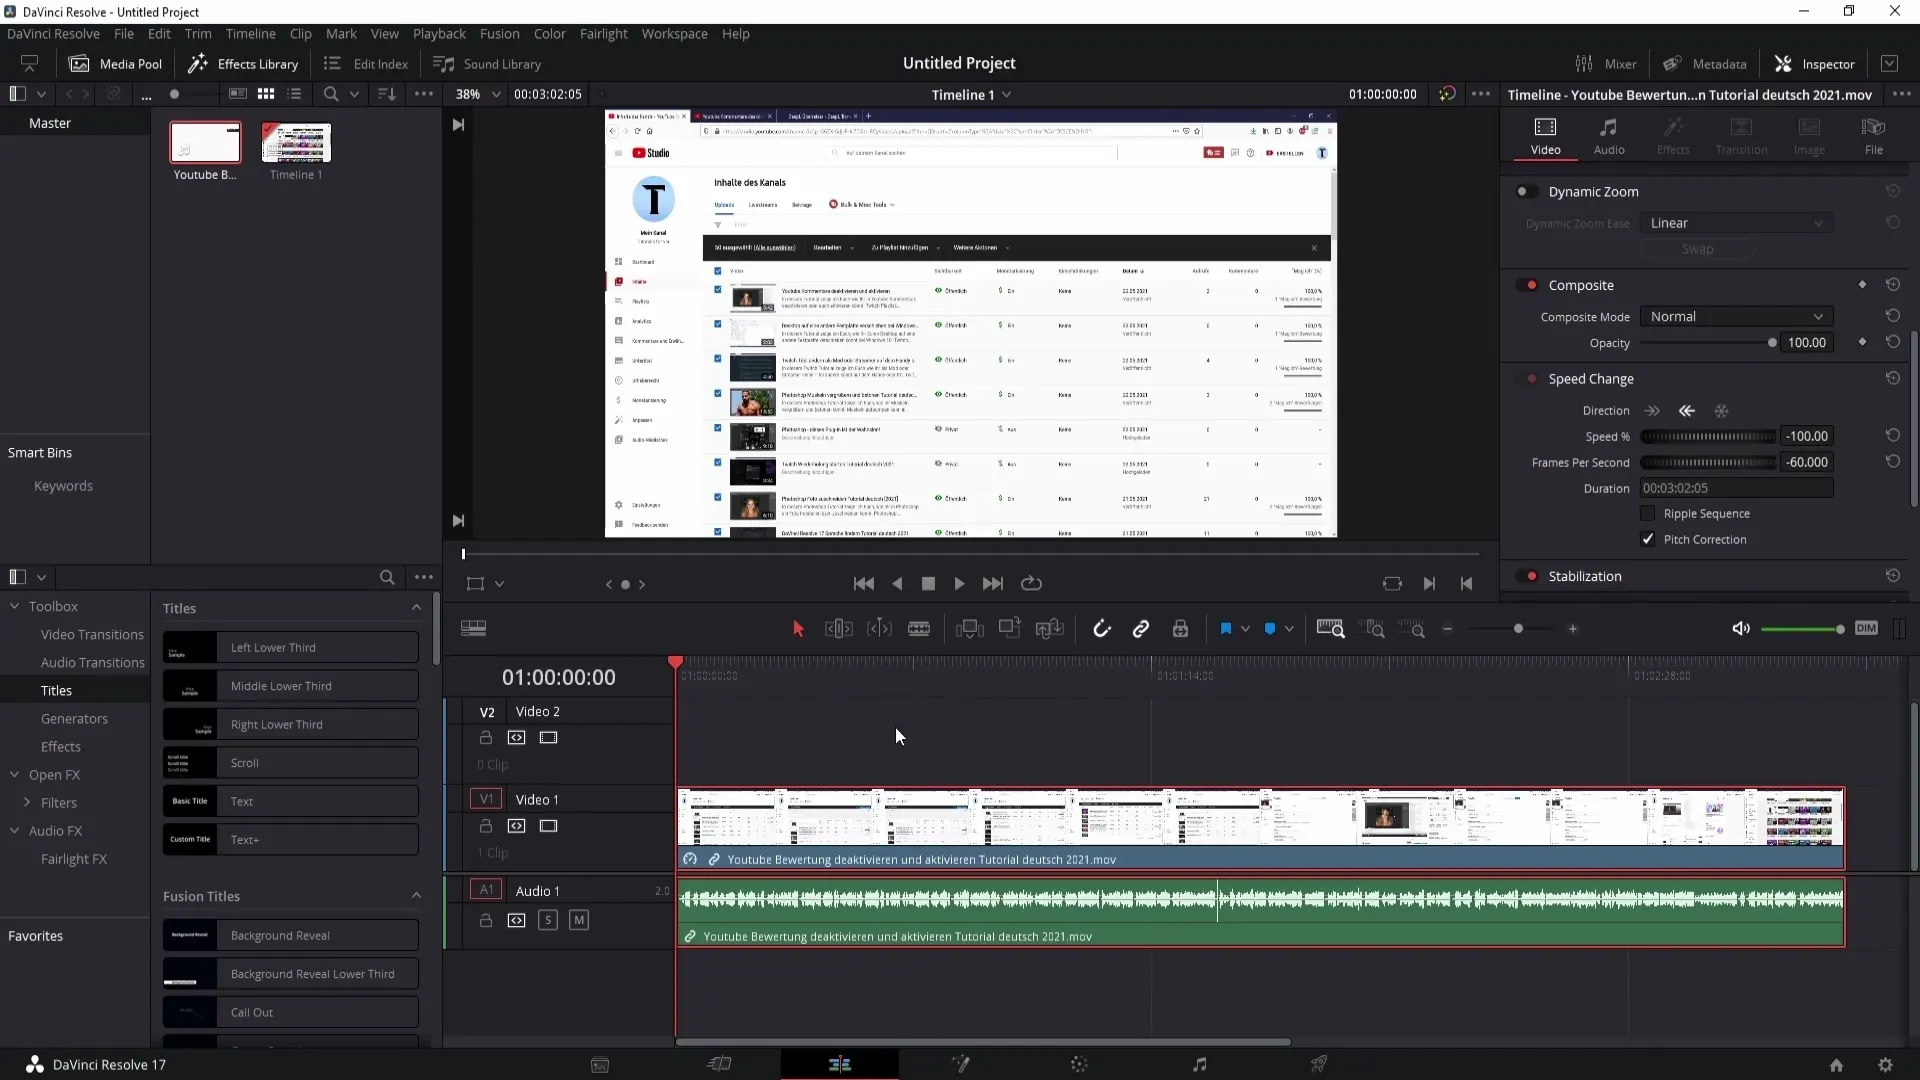
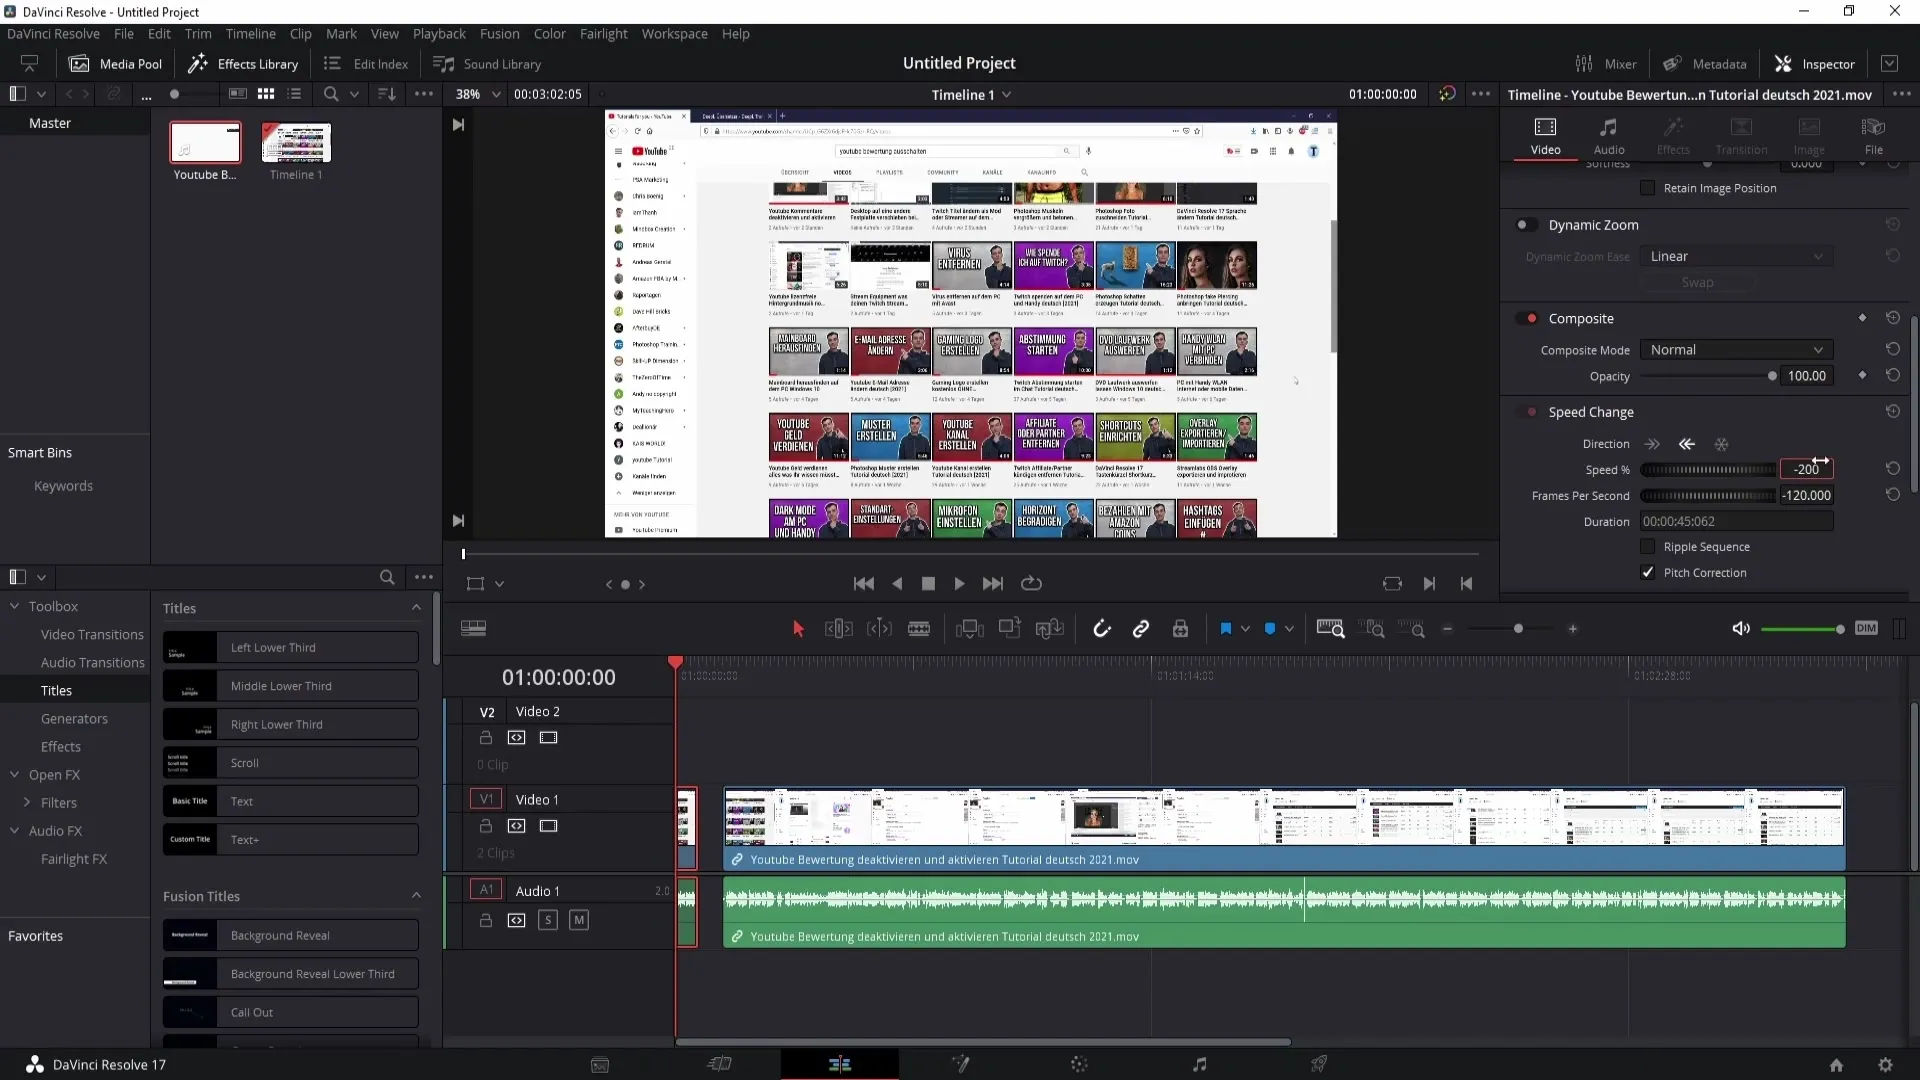
If you prefer a simpler method, you can also use the new method under the "Video" tab. Scroll down to "Speed Change" and open this window.
Utilize Speed Change
Click on the symbol pointing left here to play the clip in reverse as well. This method does not require a right-click and is, in my opinion, much more efficient than the previous one.

Adjusting Speed
If you want the clip to play in reverse but be faster, you can also set this. First, reset the clip speed to normal to achieve the best results when making adjustments.
Split Clip with Cutter Tool
With the cutter tool, you can select a part of the clip that you want to play in reverse. Click on the cutter tool on the left side of the screen and cut most of the clip.
Increase Speed
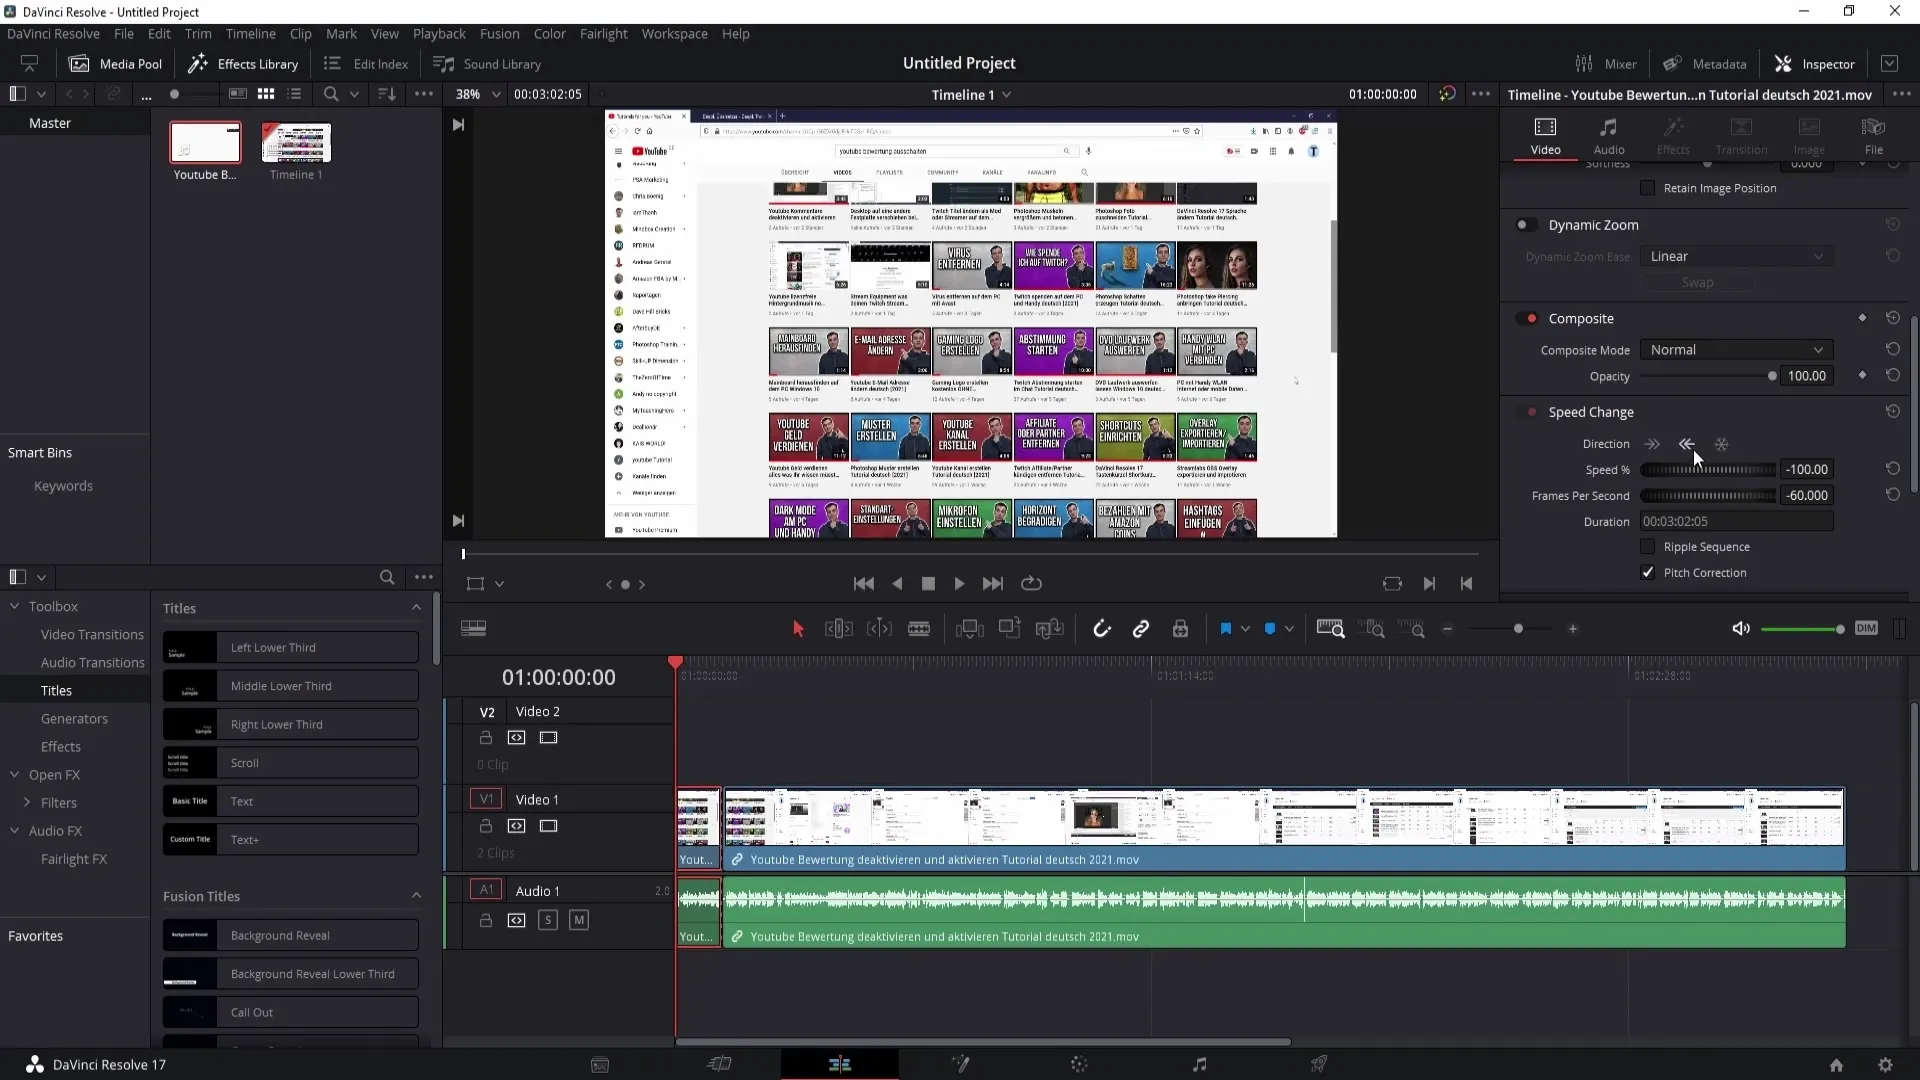
After splitting the clip, you can adjust the reverse speed. Select the new clip cuts and set the speed to, for example, -200. This means that the clip will be played faster in reverse.
Enter Numbers for Speed
Instead of dragging left or right, you can also simply enter a number. This simplifies the process and gives you more control over the speed.
Clip Presentation
Please note that when playing a clip faster in reverse, it will appear shorter. This may alter the visual appeal of your clip, so be aware of this when adjusting it.
Adjusting the Clip
After adjusting the speed, it is crucial to correctly reposition the clip in the timeline. Otherwise, there might be a black frame between clips, which looks unprofessional.
Summary
In this tutorial, you have learned how to play a clip in reverse in DaVinci Resolve. With various methods, including easy access through the "Speed Change" menu, you now have the tools to make your video projects more engaging. Experiment with speed adjustments to find what best suits your creative style!
Frequently Asked Questions
How can I play a video in reverse in DaVinci Resolve?You can change the clip speed through the context menu or the "Speed Change" option.
Are there multiple methods to change the speed?Yes, in addition to right-clicking, you can also directly use the "Speed Change" function in the "Video" tab.
How can I adjust the speed of the clip played in reverse?You can enter a negative number to increase the reverse speed.
What happens if I increase the speed too much?The clip will become shorter and may have unclear parts during playback.


