I crawl out of my sleeping bag, put on my shoes and warm clothes.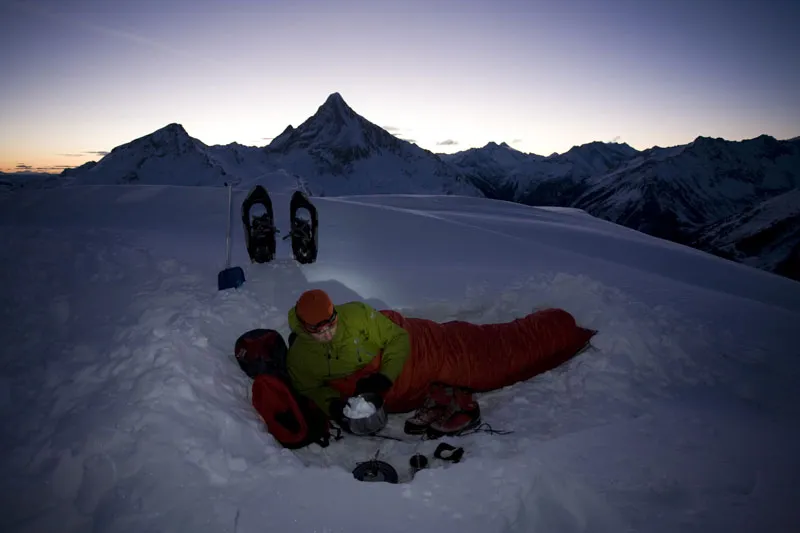
Bivouac on the Geißkopf in the Zillertal Alps. 20 degrees below zero, strong winds and a twelve-hour bivouac night make photography in the wintery high mountains quite challenging.
After a few minutes of arm-circling, my body comes back to life. Then my mind and my eyes focus on pictures again. With my thick gloves on, I clumsily set up the tripod. The handling is tedious, but somehow doable. In over two decades of photography, it has become a routine, almost a ritual. The "good" light arrives in a few minutes. It is almost certain that today's pictures will be impressive. But "only" classic mountain landscapes, without models, without action, without an assignment, just for me.
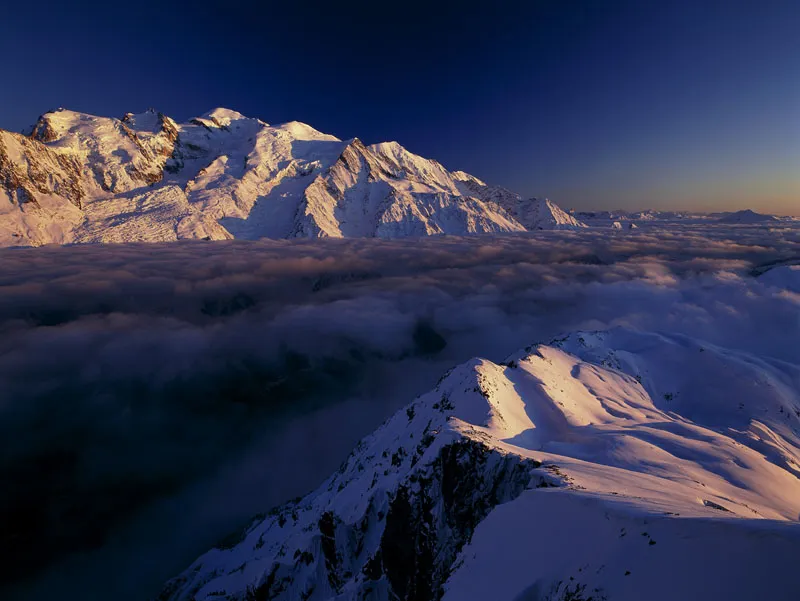
Mont Blanc in the evening light. The effect of the polarizing filter is also borderline in this shot.
They are nevertheless valuable, not because it is 20 degrees below zero or because the six-hour ascent yesterday with the 24-kilogram rucksack was arduous, they are valuable because the night, the sunrise, the scenery and the moment up here are so unique.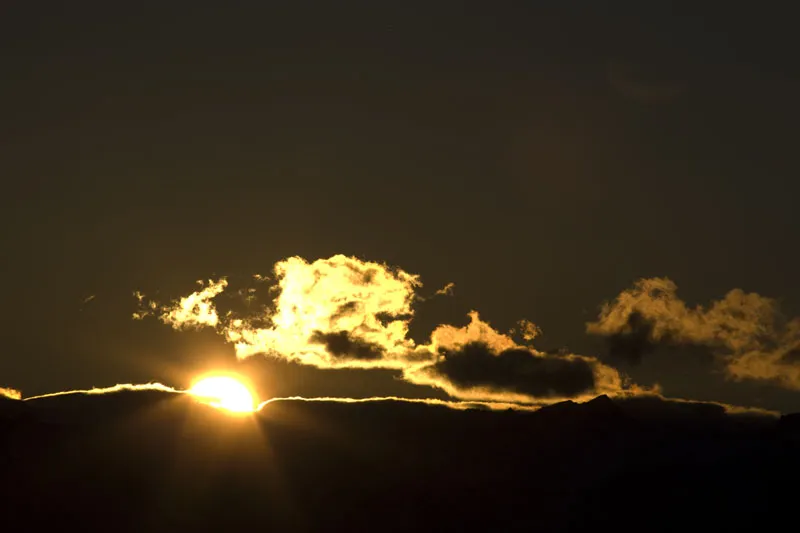
The sun finally rises after a night in a bivouac on the Schwarzkogel in the Kitzbühel Alps.
Experiences like this make mountain photography something special. (Almost) anyone can get out of the car and take good pictures somewhere in nature after a few steps. But the personal value of a shot increases with the effort, the intensity of the experience and the exertion. Mountain photography is actually nothing more than classic landscape photography - only in the mountains. I have to and want to run for the pictures, sometimes even suffer. For me, photography becomes an overall creative sporting experience.
The technical processes are of course very similar to those of normal landscape photography. First I define my subject and, at least where possible, look at it from different sides and viewpoints.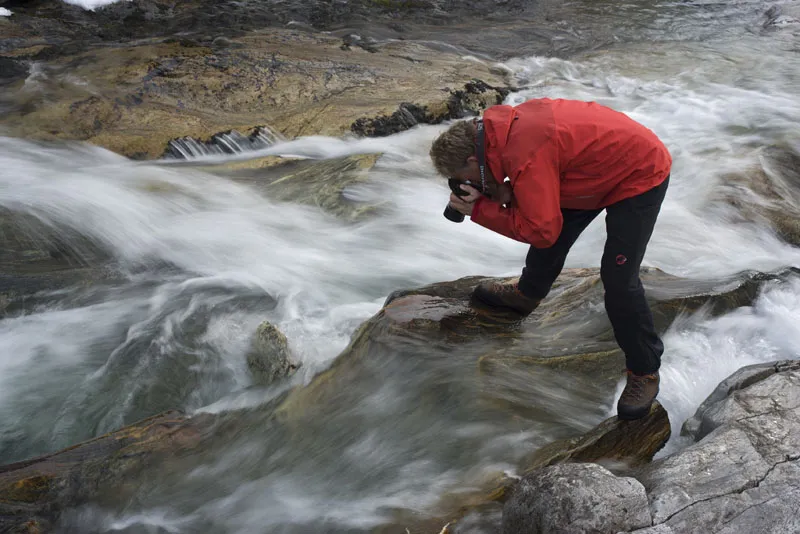
In search of the right viewpoint ...
Only when I have found the perfect position do I set up my tripod. Not because I absolutely need it due to a slow shutter speed. No, it's also because I use a tripod to create my image more consciously, more precisely and therefore ultimately more creatively. My aim is to create an optimal image at the moment I take the shot. I have neither the desire nor the leisure to fiddle around with image sections on the computer at home. This certainly has something to do with my analog past: I couldn't simply "crop" a slide with scissors. Then I fix the camera to the tripod using the Novoflex quick release. But very important: Don't just let the quick couplings snap into place - almost all common systems need to be re-fixed.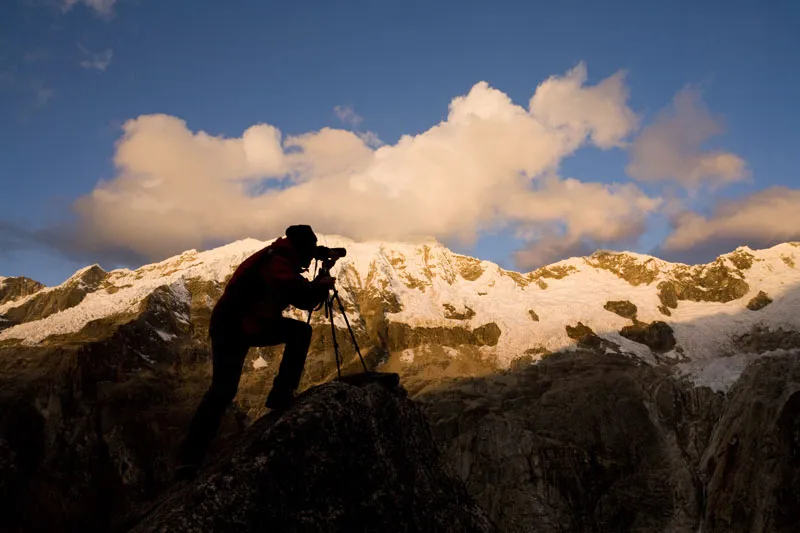
Tripod and camera in place, now everything has to happen very quickly. The light is only this intense for a few minutes. At Tavapampa, Cordillera Blanca, Peru.
As soon as the image section and thus the image composition have been determined, the purely technical processes follow: first of all, adjusting the Blender according to the desired depth of field. For critical subjects, especially those with a prominent foreground, I control the depth of field using the stop-down button if necessary.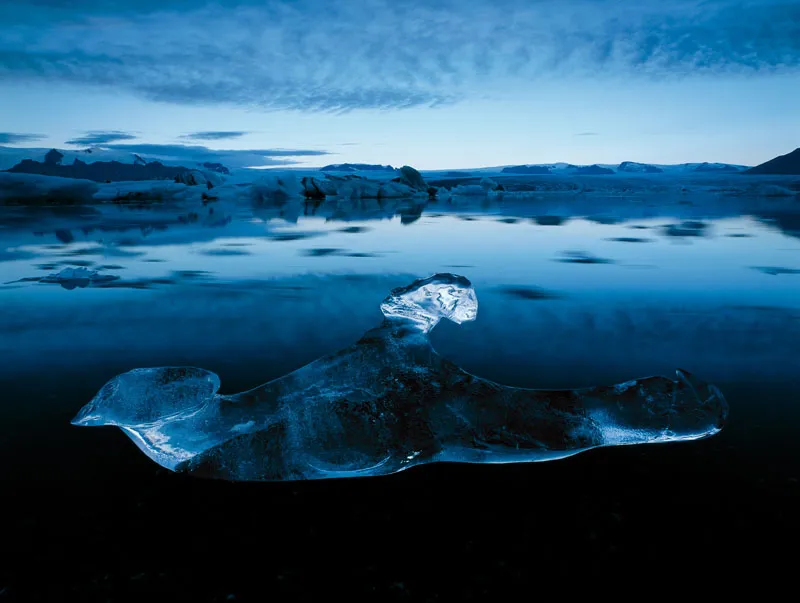
With this subject, it is essential to extend the depth of field sufficiently and control it using the stop-down button.
I then close the eyepiece to prevent stray light. In landscape photography from a tripod, I always work with the mirror lock-up to avoid any vibrations and thus blurring. Finally, I release the shutter using the self-timer with a lead time of two seconds. The rest is digital enjoyment: I can check the exposure using the histogram, and important image details and maximum sharpness using the magnifying glass function. If I don't like something, I simply take the picture again, corrected or optimized. If you absolutely want to do without a tripod in the mountains, you can still capture a lot of "good" light with the latest digital cameras.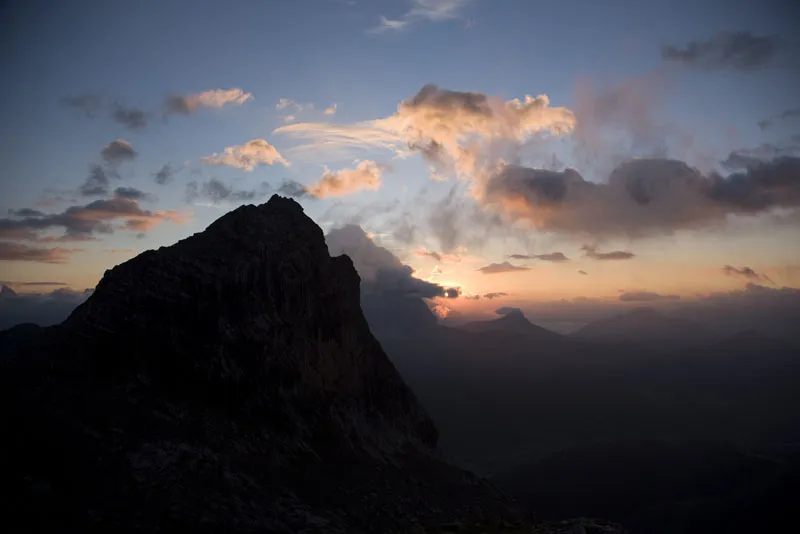
Thanks to the optical image stabilizer, I was able to take this blur-free shot at 1/30 of a second.
Even up to ASA 1600, the image results are very good, which means that we can still take decent pictures with reasonably fast lenses even in the low light of dusk - without a tripod, but as I said: "only" decent, but often not perfect. The shutter speed is important at these limits: it should not be less than 1/60 of a second. However, stabilized systems are the exception here. Built into the lenses (Nikon, Canon) or the body (Sony), so-called image stabilizers reduce the vibrations caused by a "shaky" hand. When "stabilized", experienced photographers can even take 1/15th of a second hand-held shots without any problems.
When and where does creativity actually begin? Already when choosing the tour or only during the active search for motifs on the mountain? I believe that photography is an overall process in this respect. The essential steps certainly take place during the photography process. We see a motif, we shape it with our eye, with our imagination. But only the final step, the actual creation of the image through the camera's viewfinder, creates a work that is as final and complete as possible in my eyes. A large part of artistic creation therefore actually lies in the composition of the picture. Of course, the classic golden ratio, the division of a rectangle into thirds by two horizontal and two vertical lines, is an essential point of reference.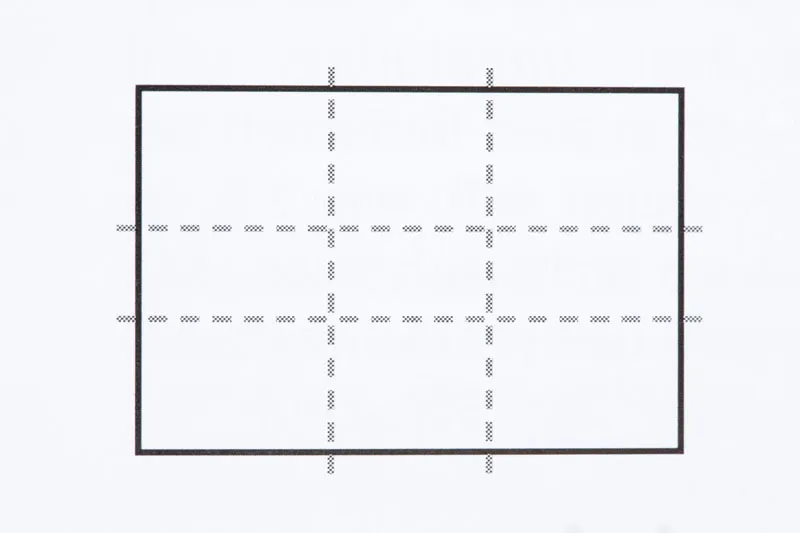
Two horizontal and two vertical lines divide the classic landscape format into thirds to create the so-called golden ratio.
If you place the main content of your picture at the intersection points, preferably on one of the two diagonals, you will never go wrong.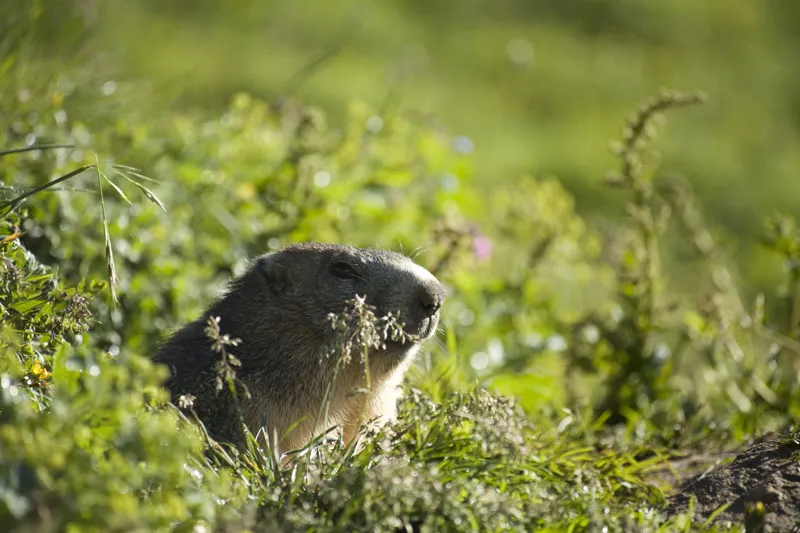
A marmot in the Vanoise National Park in France. The marmot's head is positioned on the lower left edge of the golden section and thus looks into the depth of the picture
A very classic composition: the striking stone in the foreground at the bottom right at one of the intersections of the golden ratio, with a diagonal line rising to the top left: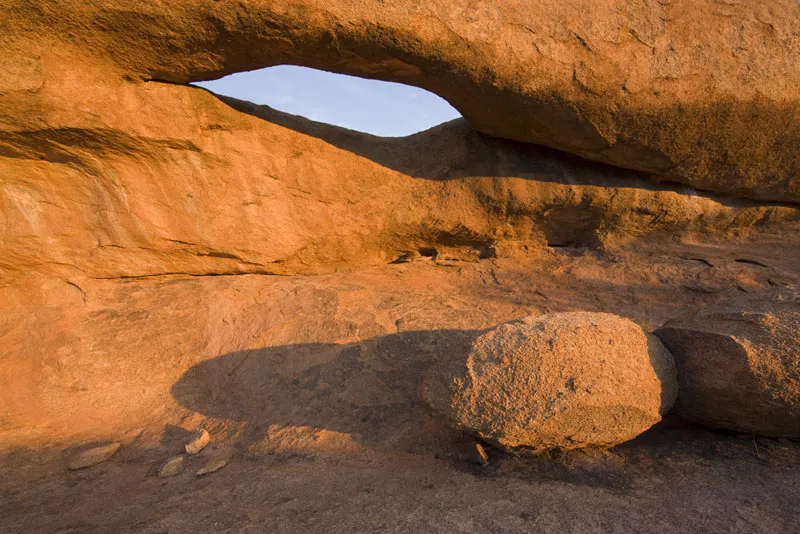
But are these pictures automatically creative? Yes and no. They are pleasing and purely creatively correct. What is important in photography is an "open" eye, the willingness to experiment. Why not try 80% foreground or, conversely, 80% sky? If there is life in the sky due to clouds, light, whatever, all variations of image composition and all relations are an enrichment. What many photographers often neglect, and I'm not excluding myself from this, is the portrait format.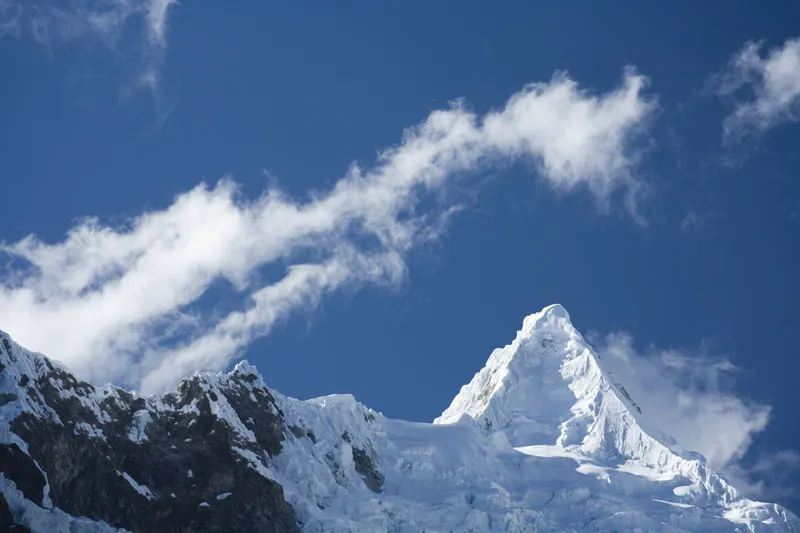
The Alpamayo; many call it the "most beautiful mountain in the world", in landscape format. Without the cloud at the top left, however, this image composition would be nonsensical.
The Alpamayo in portrait format. This version is also brought to life by the clouds: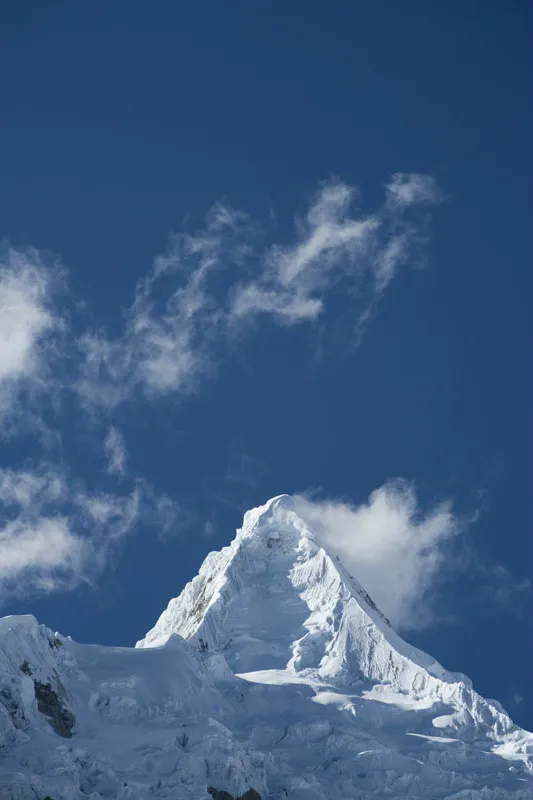
It offers us many thoroughly abstract possibilities. A very extreme foreground in combination with a lot of depth can create a fantastic three-dimensionality.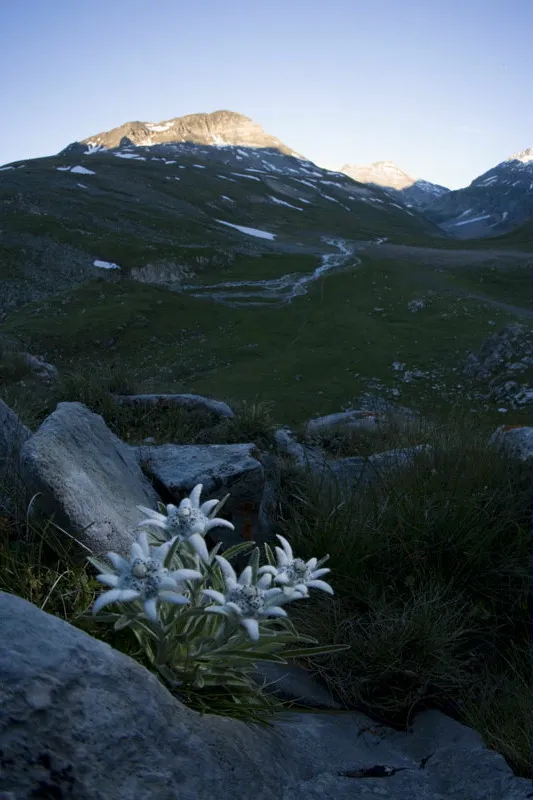
An edelweiss in the Vanoise National Park. The photo was taken with a strong wide-angle lens to include the background in the picture. The foreground was brightened up with a power LED headlamp.
I often deliberately try to create a good motif in landscape and portrait format and only decide on the computer whether to archive both variants or delete one. The lines in the picture also offer us a lot of possibilities, and we have more than enough of them in the mountains.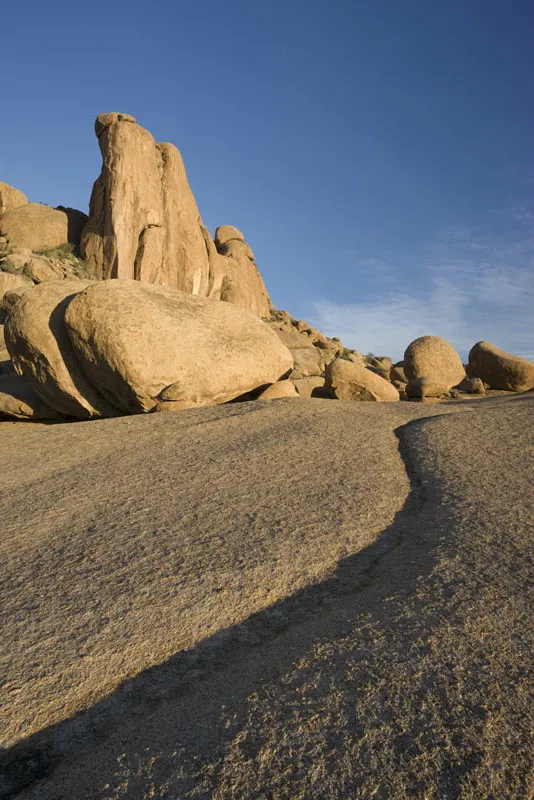
Due to the low sun and the resulting shadows, I was able to use this gully in the rock wonderfully as a line in the picture.
Whether valleys or jagged mountain ridges, glistening streams or quartz veins in the rock, shapes in the snow or crevasses on a glacier - the possibilities are endless.
Is it possible to plan good pictures or discover worthwhile locations by studying maps? Yes, absolutely - if you can read maps. Just now I spent a few minutes poring over a map of the Kitzbühel Alps in search of striking mountains and suitable photo locations. I took the following criteria into account: 1. the time of year; it's early winter, which means that the sun rises well south of east and sets well south of west.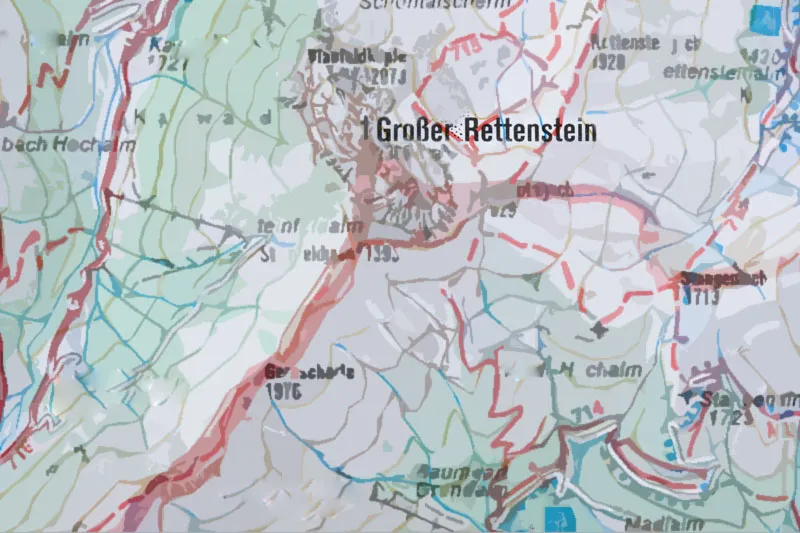
A map section of the Grosser Rettenstein in the Kitzbühel Alps. You can clearly see the two ridges that run to the southwest and southeast and suggest good photo locations.
Consequently, I had to find mountains or motifs that looked spectacular or interesting when viewed from the south. My choice fell on the Grosser Rettenstein, the most spectacular peak in the targeted area.
- The viewpoint: Photographing a mountain from a deep valley looking upwards at an angle is usually unsatisfactory; I generally need elevated viewpoints. The Rettenstein sends out two beautiful ridges from the foot of its rocky summit extension, one to the southwest, the other to the southeast. A first possibility was found. At the same time, the next question arose: Is the subject suitable for a polarizing filter? As the photographic direction is exactly at right angles to the rising sun, it is actually perfect for using this filter. The polarizing filter makes the sky darker or "bluer" and the image more contrasty at the same time. However, it should only be used to a maximum of 80% of its effect, as anything more than this will look unnatural and kitschy.
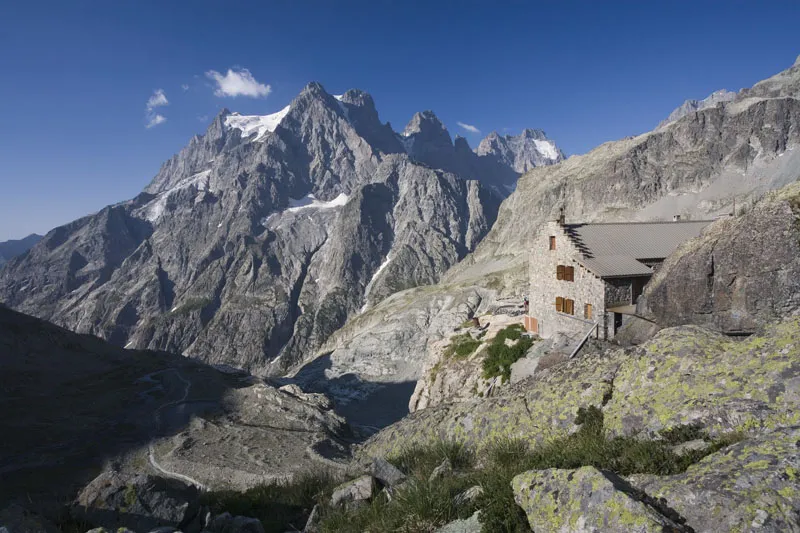
The Refuge du Glacier Blanc in the Dauphine. The picture was taken with a polarizing filter, but with a significantly reduced effect.
The same shot with maximum polarizing filter effect shows an unnaturally darkened and colour-intensive sky: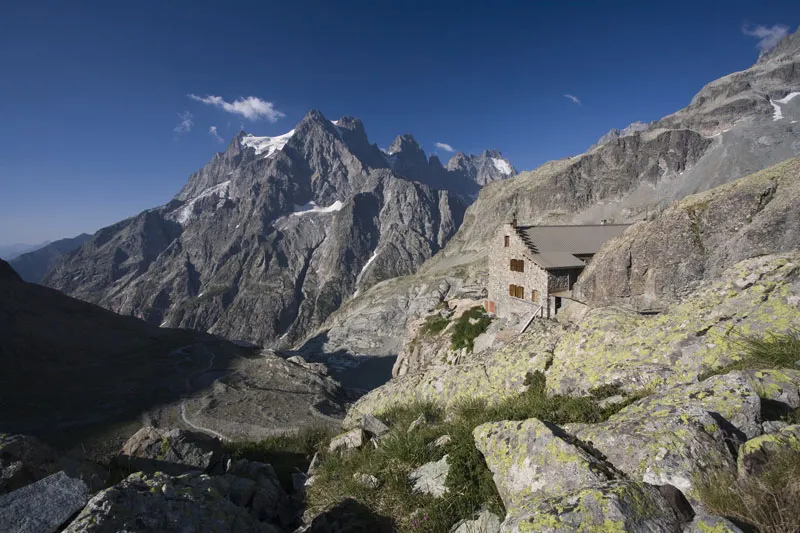
This is how a weighty part of classic landscape photography in the mountains has worked for me for over 20 years. Once I'm out and about, I naturally try to stick to my schedule. I know when the sun rises or sets and can estimate relatively accurately how long it will take me to reach my photo destination based on the number of meters in altitude and the distance in kilometers. Of course, I plan a time buffer so that I can take my time to capture spontaneous motifs.
Hiking through the mountains with open eyes and camera means first and foremost forgetting about everyday life. Only when my head is free of work, stress and constraints do I see the images and am ready to turn them into a good photo. The rest is just fun ...
