In this tutorial, I will show you how to insert and edit texts in DaVinci Resolve 17. Inserting text is a fundamental skill that can help you make your videos more illustrative and informative. With the right technique, you can not only give your text an attractive appearance but also add animations or adjust colors. Let's get started!
Key Takeaways
- You will learn how to insert text in DaVinci Resolve.
- You will discover how to apply different text styles and formats.
- You will receive valuable tips on using animations and effects.
Step-by-Step Guide
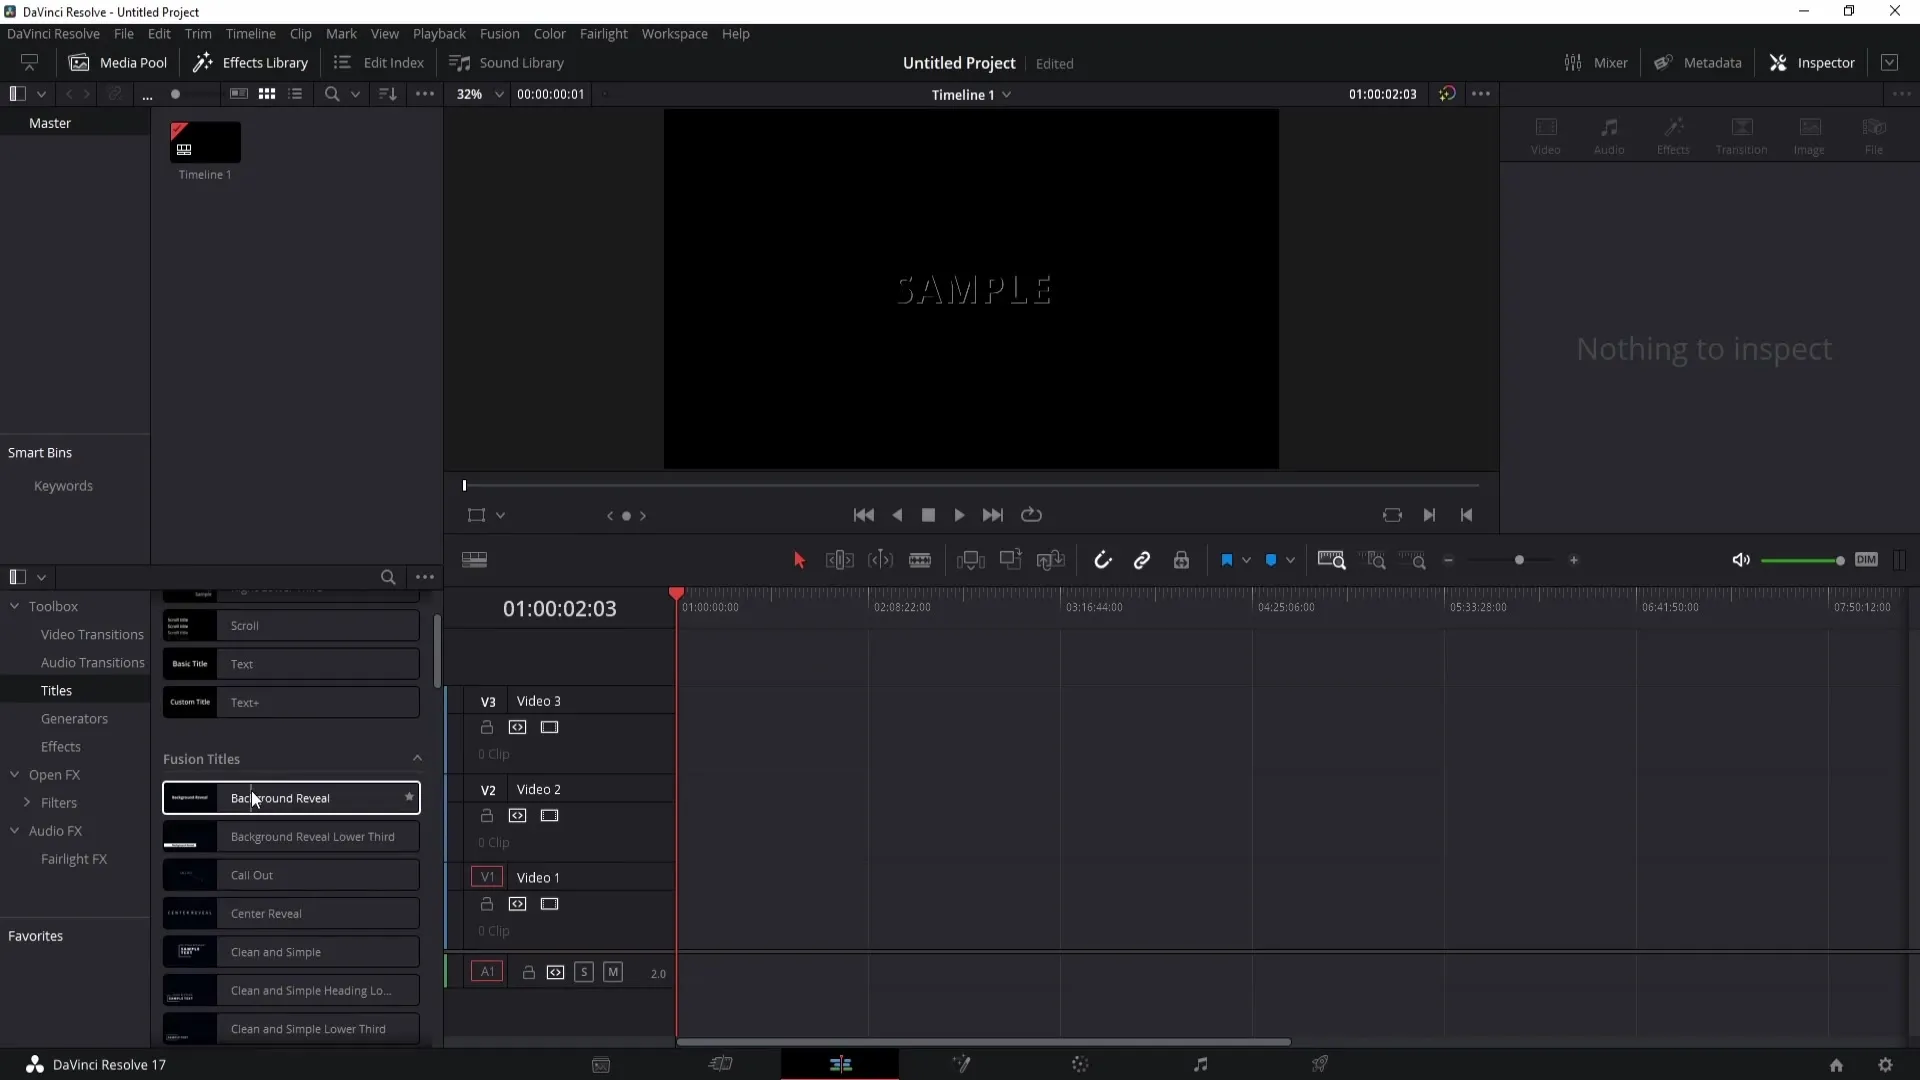
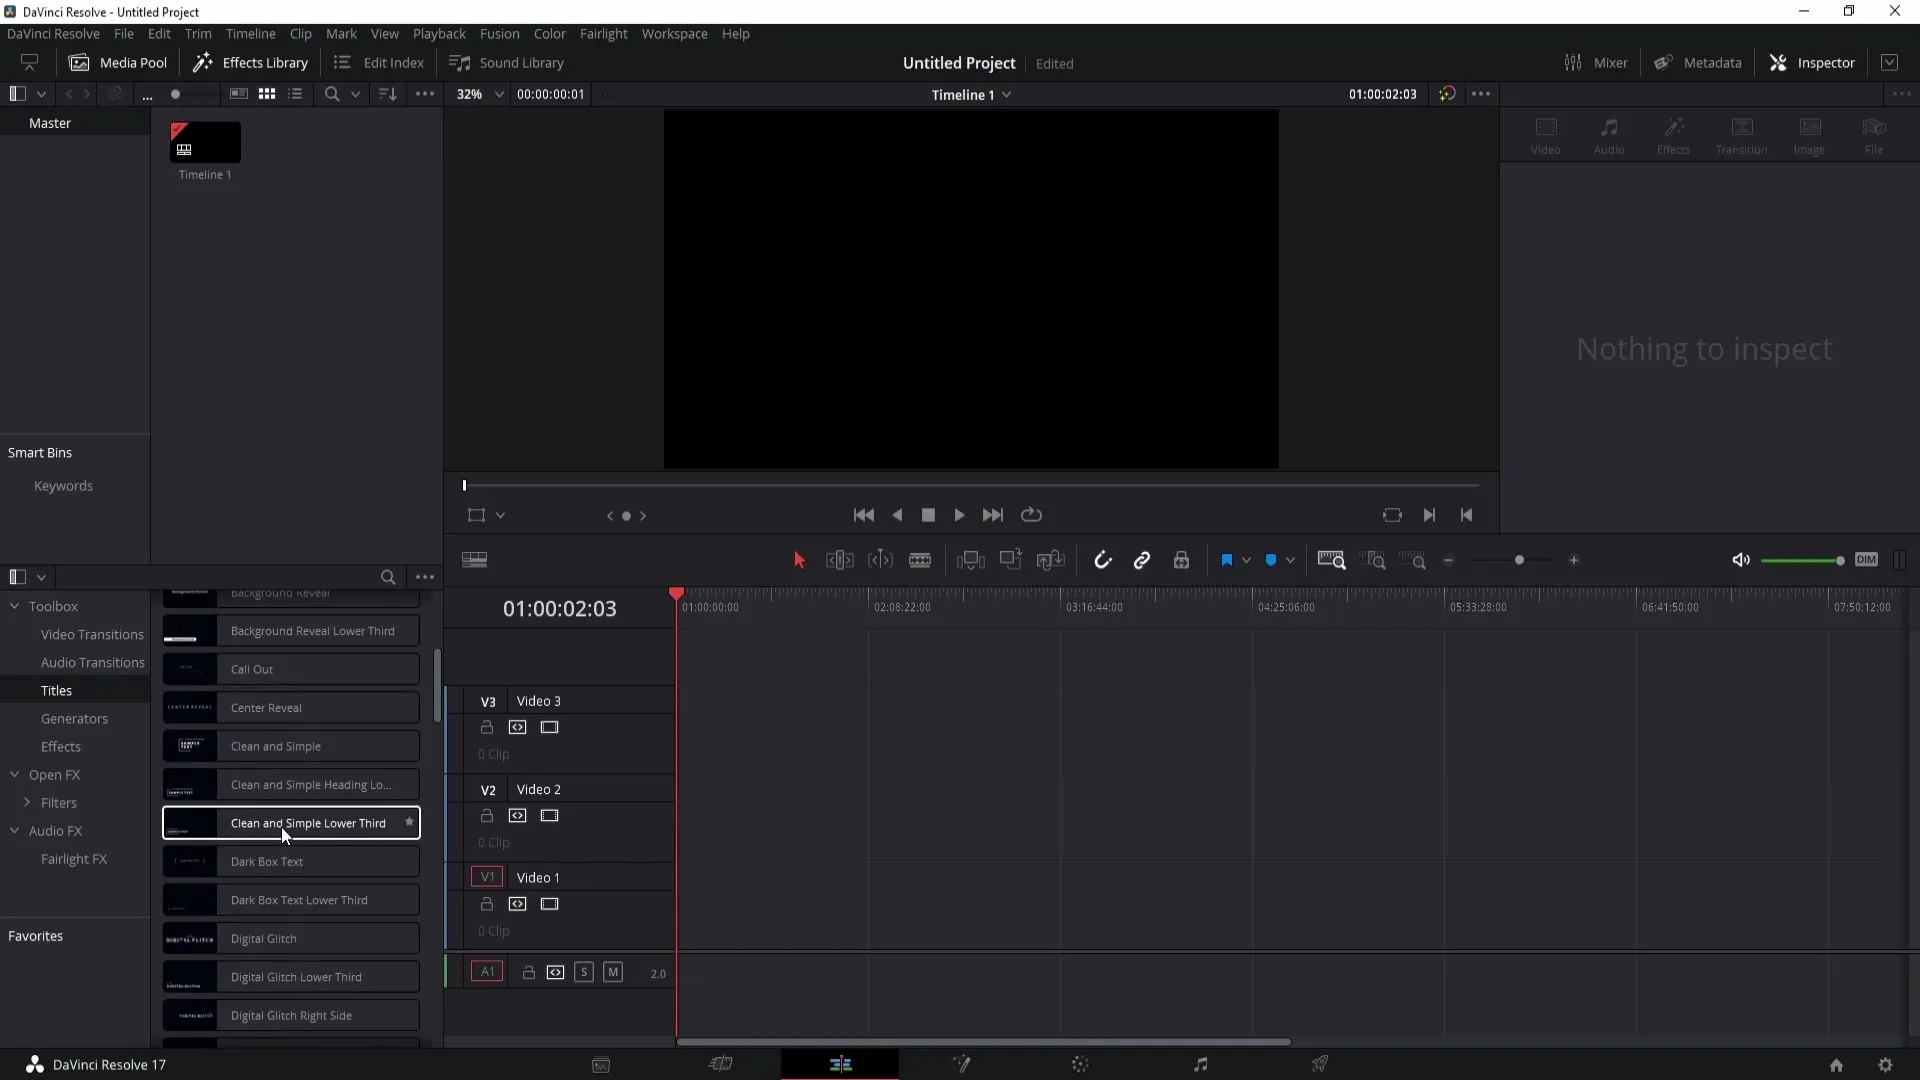
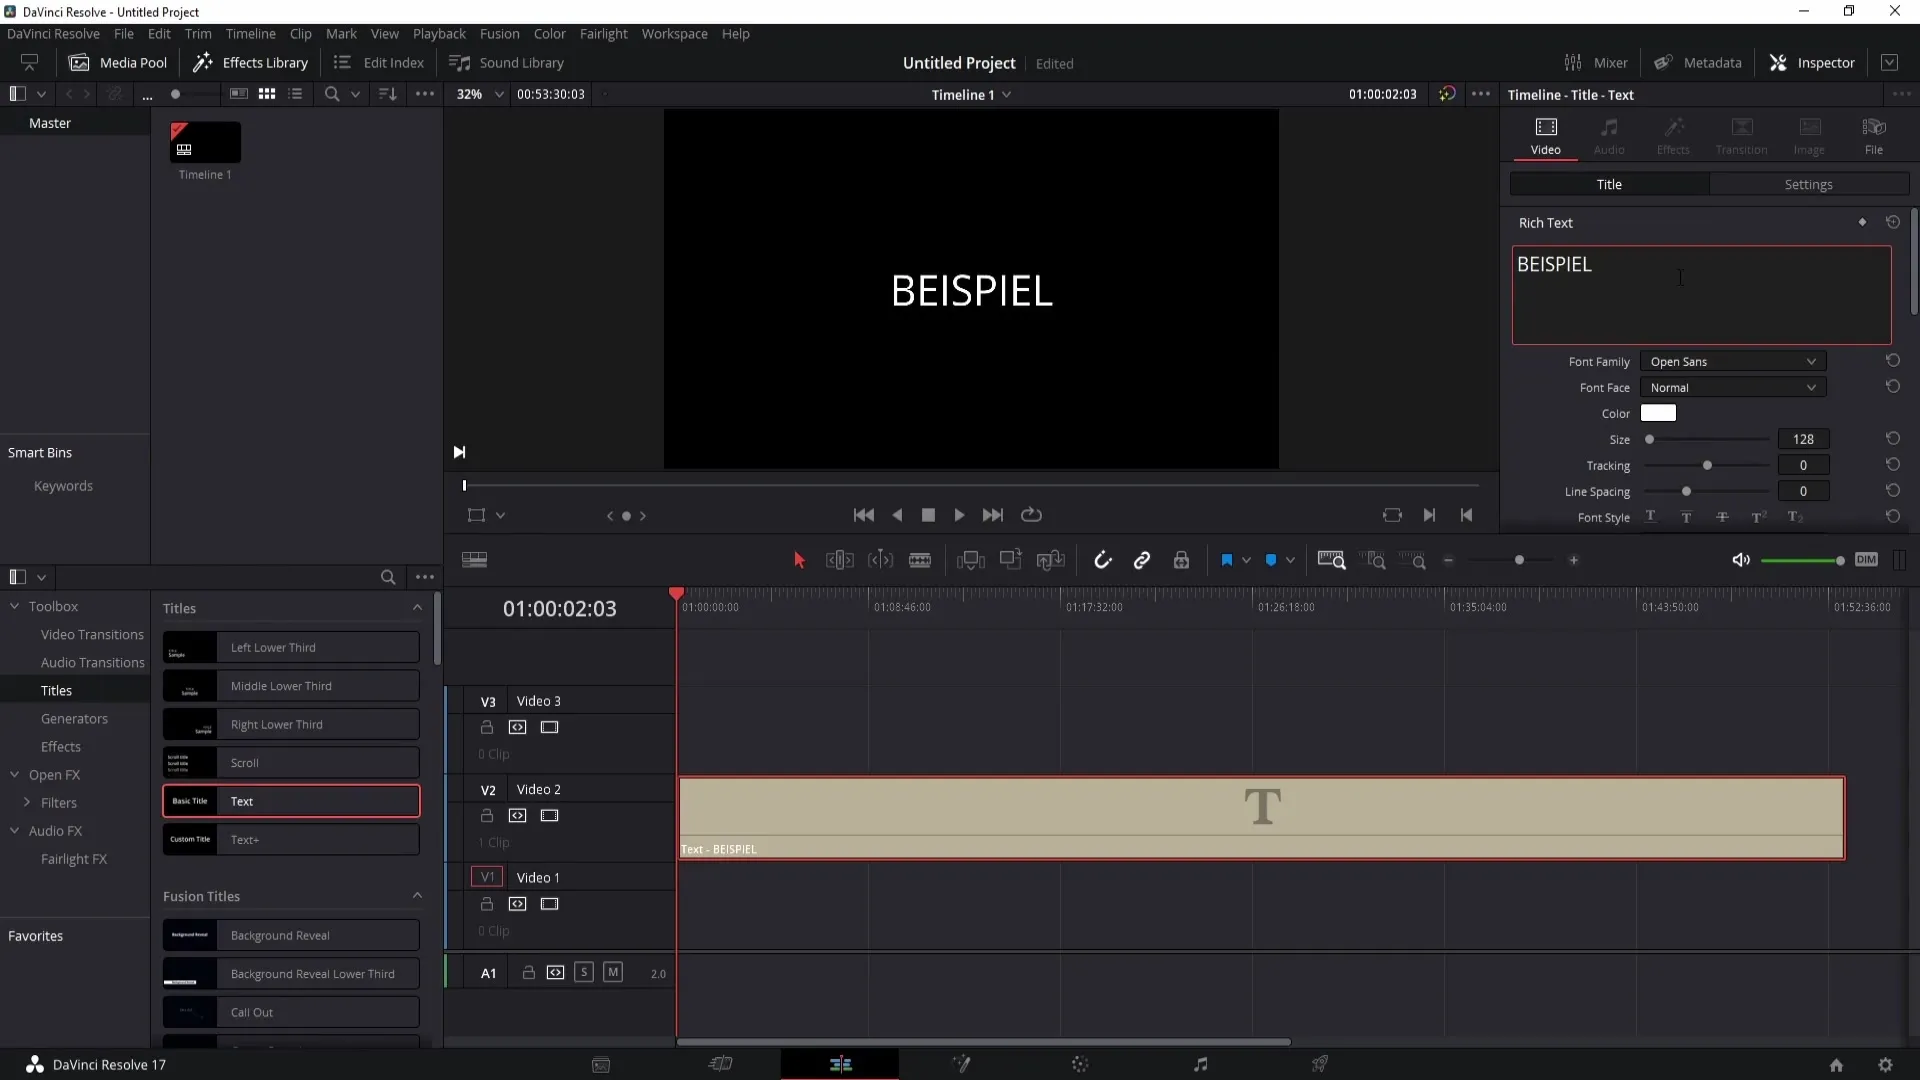
First, you need to switch to the Editing workspace in DaVinci Resolve. There you will find your toolbox containing various titles (titles = texts). There are some pre-made titles as well as animations that you can try out. If you can't see the window, simply click on "Effects Library" to display it again.
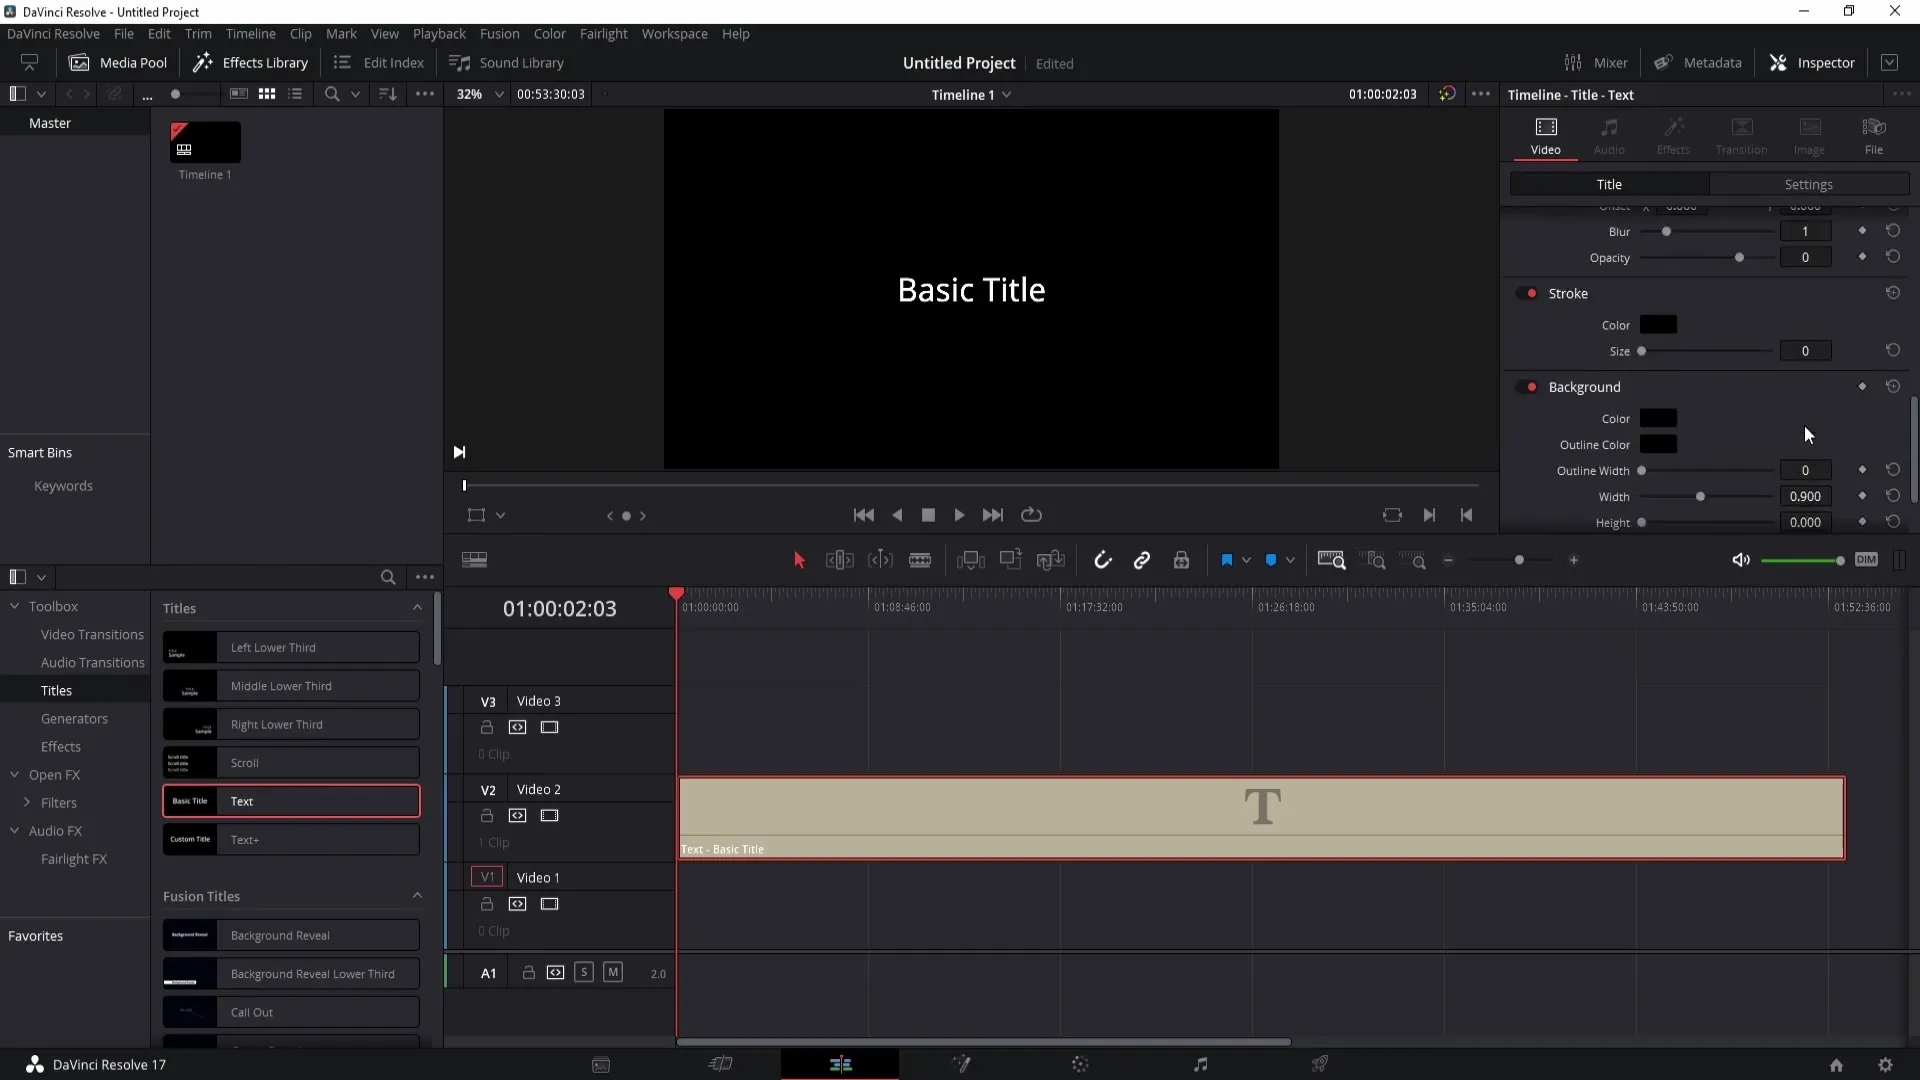
To add text, simply drag a text title into your timeline with the left mouse button held down. Then you can adjust the size of the title by modifying it within the editing environment. Click on the text element that you have edited.
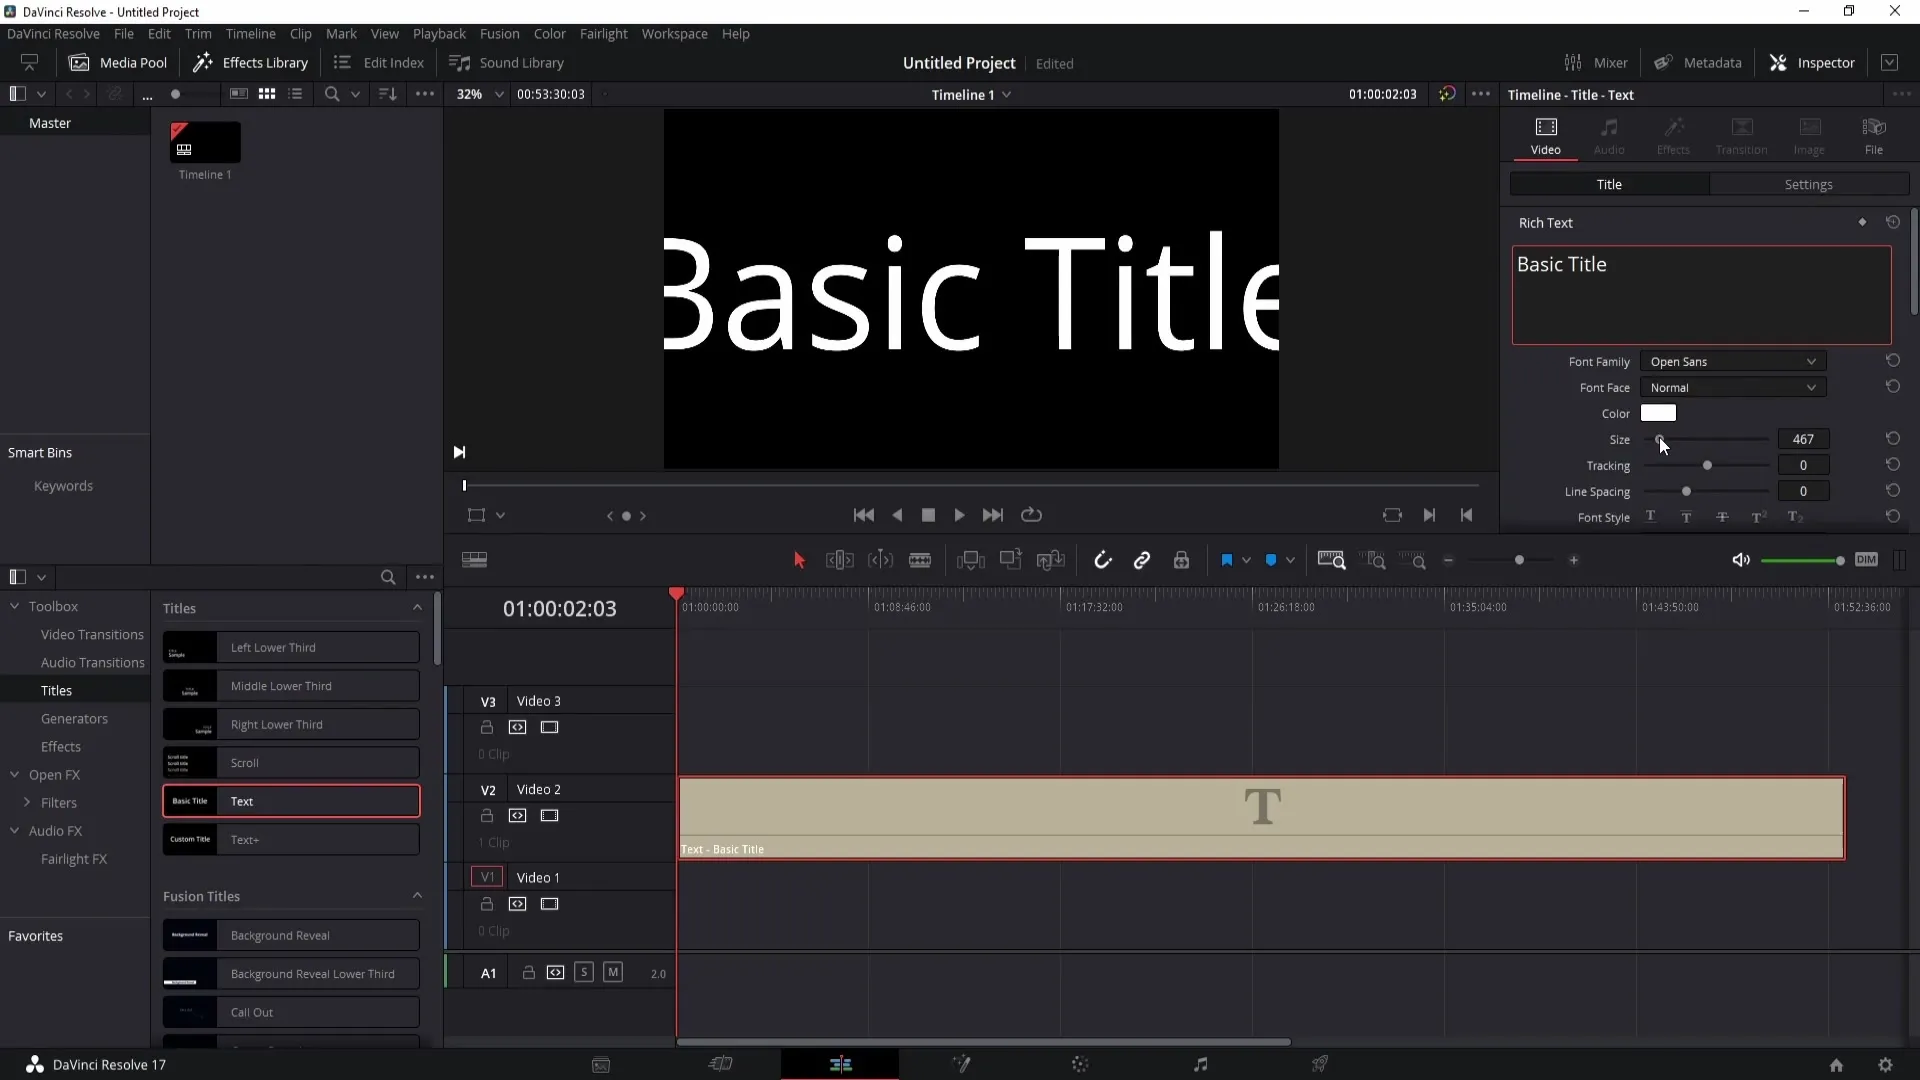
On the right side, you will find the text settings that you can use for adjustments. Here, you can reset all settings if something doesn't look the way you envisioned. Start by typing your desired text. In this example, I will use the text "Example."
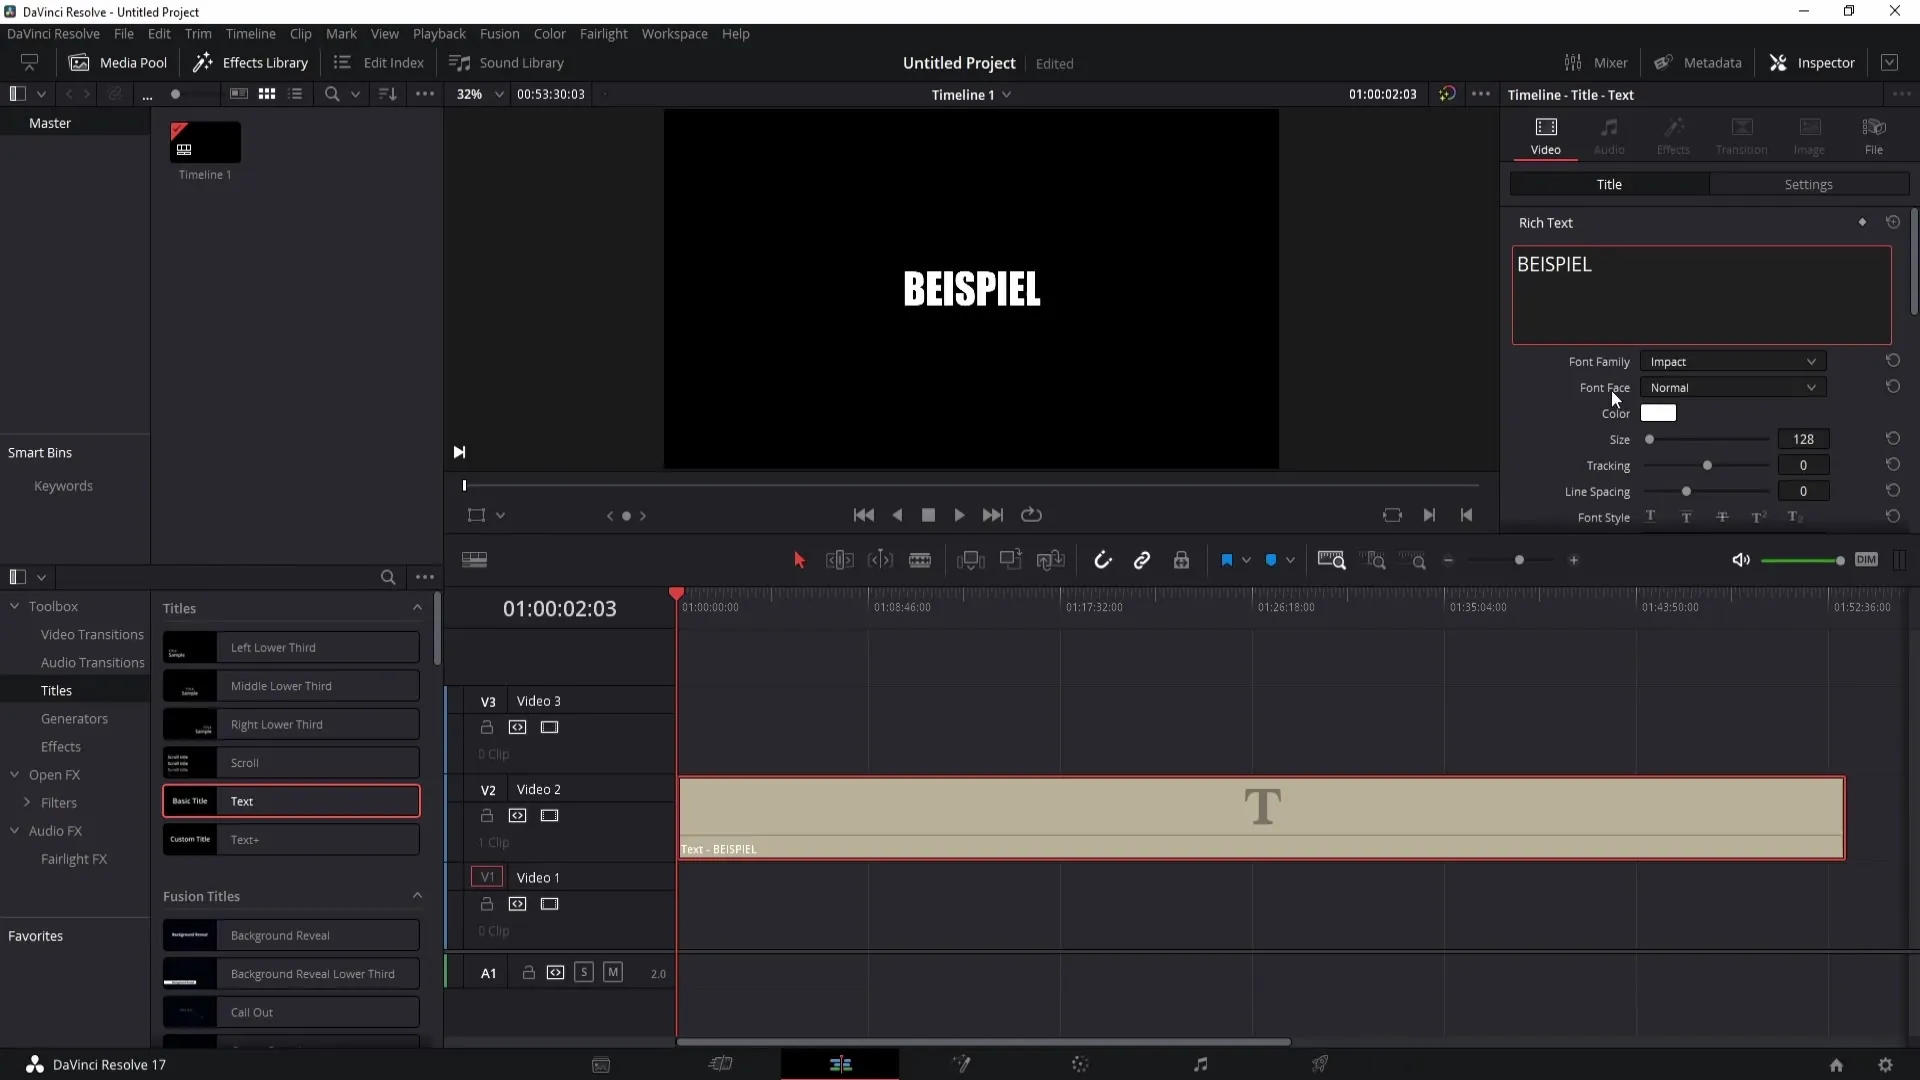
Under the text settings, you can choose the font. A recommended font for this example would be "Impact," which you will use later for further adjustments.
You also have the option to change the font style. Simply choose "Bold" or "Italic" and experiment with the different options.
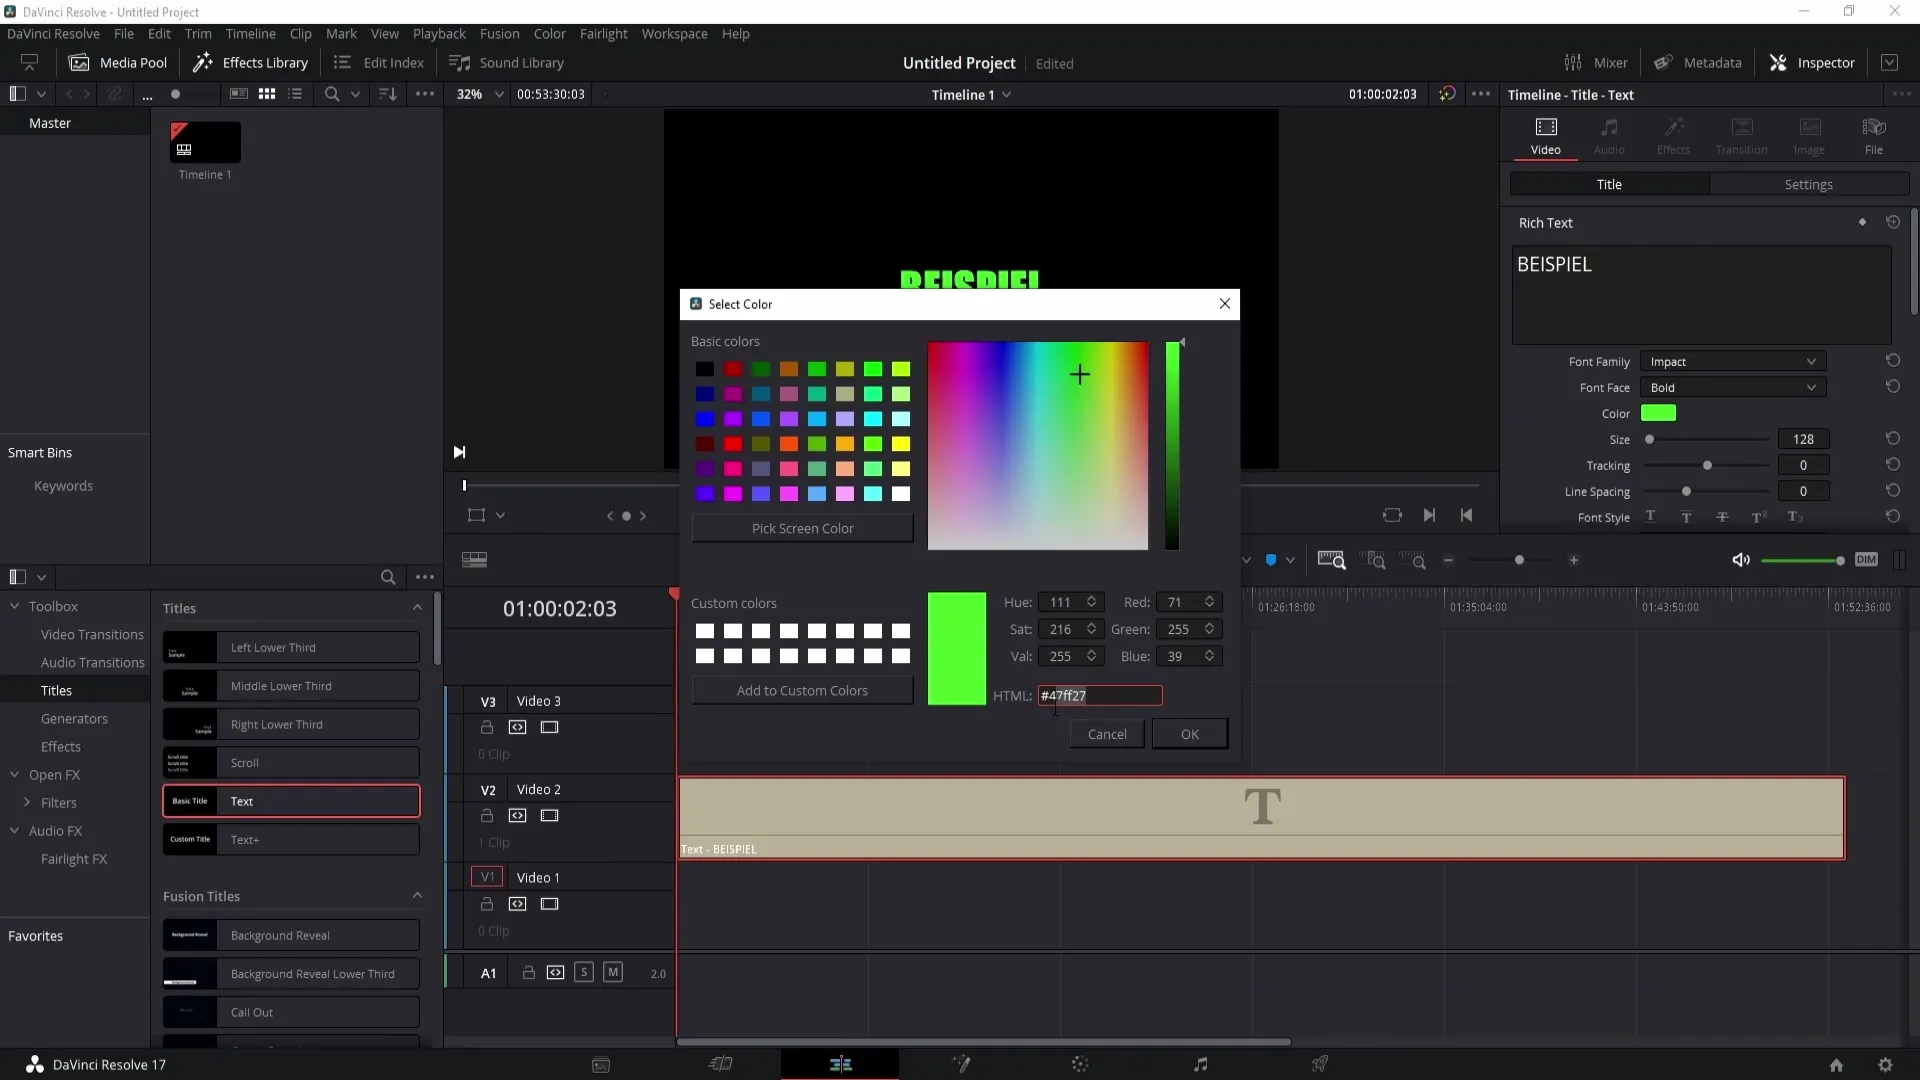
To adjust the text color, click on the color option and choose either a predefined color or use the color palette to select your own color. You can also enter a hex code if you have one.
You can easily change the font size by adjusting the size with the appropriate slider. Additionally, there is the option to alter the spacing between letters (tracking). Increase or decrease the spacing according to your design concept.
The line spacing can also be adjusted – this allows the text to better fit your layout. When writing numbers, you can combine these with the superscript 2 or other mathematical symbols in the text. Simply highlight the number you want to change and then specify the corresponding symbol.
In the font channels, you can control the uppercase and lowercase, without necessarily needing a button for it. Simply enter everything in the desired format. It's interesting that there are also ways to align the text horizontally or vertically.
If your text should be at a specific position, you can use the position settings to move the text on the x and y axis. If you make a mistake and want to restore the original position, there is a reset button for that.
You can also apply the text by changing the x and y axes or simply by moving the points, depending on what works best for you. If you want to rotate the text, you can also do so through the rotation settings.
The Drop Shadow is another helpful tool to highlight a text. Create a new layer to see the setting better. If you change a value for "Offset X" and "Offset Y," the shadow will move in that direction.
To soften the shadow, turn on the Blur and adjust the Opacity so that the shadow looks good.
You may also want to add a stroke around your text to highlight it better. Adjust the size of the stroke and change the color as you like. Large fonts look better with a stroke than small ones.
Finally, you can insert a background for your text, along with an outline. Here you can adjust the opacity of the background to your liking.
Lastly, you have the option to use keyframes to make the text dynamic. You can set keyframes for opacity or height to achieve interesting animations.
Now you have learned all the necessary steps to successfully insert and edit texts in DaVinci Resolve. You can play and experiment to achieve the best results for your videos.
Summary
In this tutorial, you learned how to create and customize texts in DaVinci Resolve. You can play with different fonts, colors, styles, and effects to make your videos even more attractive.
Frequently Asked Questions
How do I insert text in DaVinci Resolve?You simply drag a text title from the toolbox into your timeline.
Can I change the font of the text?Yes, you can adjust the font in the text settings area.
How can I format the text?Use the options in the right corner to adjust font style, size, and color.
What are keyframes and how do I use them?Keyframes allow you to create animations for properties like opacity or position.
Can I animate text?Yes, you can animate texts by using keyframes and different effect settings.


