In this tutorial, I will show you how to create various shapes like circles, triangles, and your own designs in DaVinci Resolve within the Fusion area. You will learn step by step how to customize, animate, and add colors to these shapes to make your videos even more creative. Let's get started!
Main Learnings
- You can easily create various shapes in the Fusion area of DaVinci Resolve.
- It is possible to customize shapes with animations and individual colors.
- Custom shapes can be created with tools like the Polygon tool.
Step-by-Step Guide
First, ensure that you have the necessary tools and windows open in DaVinci Resolve. Open the Effects Library.
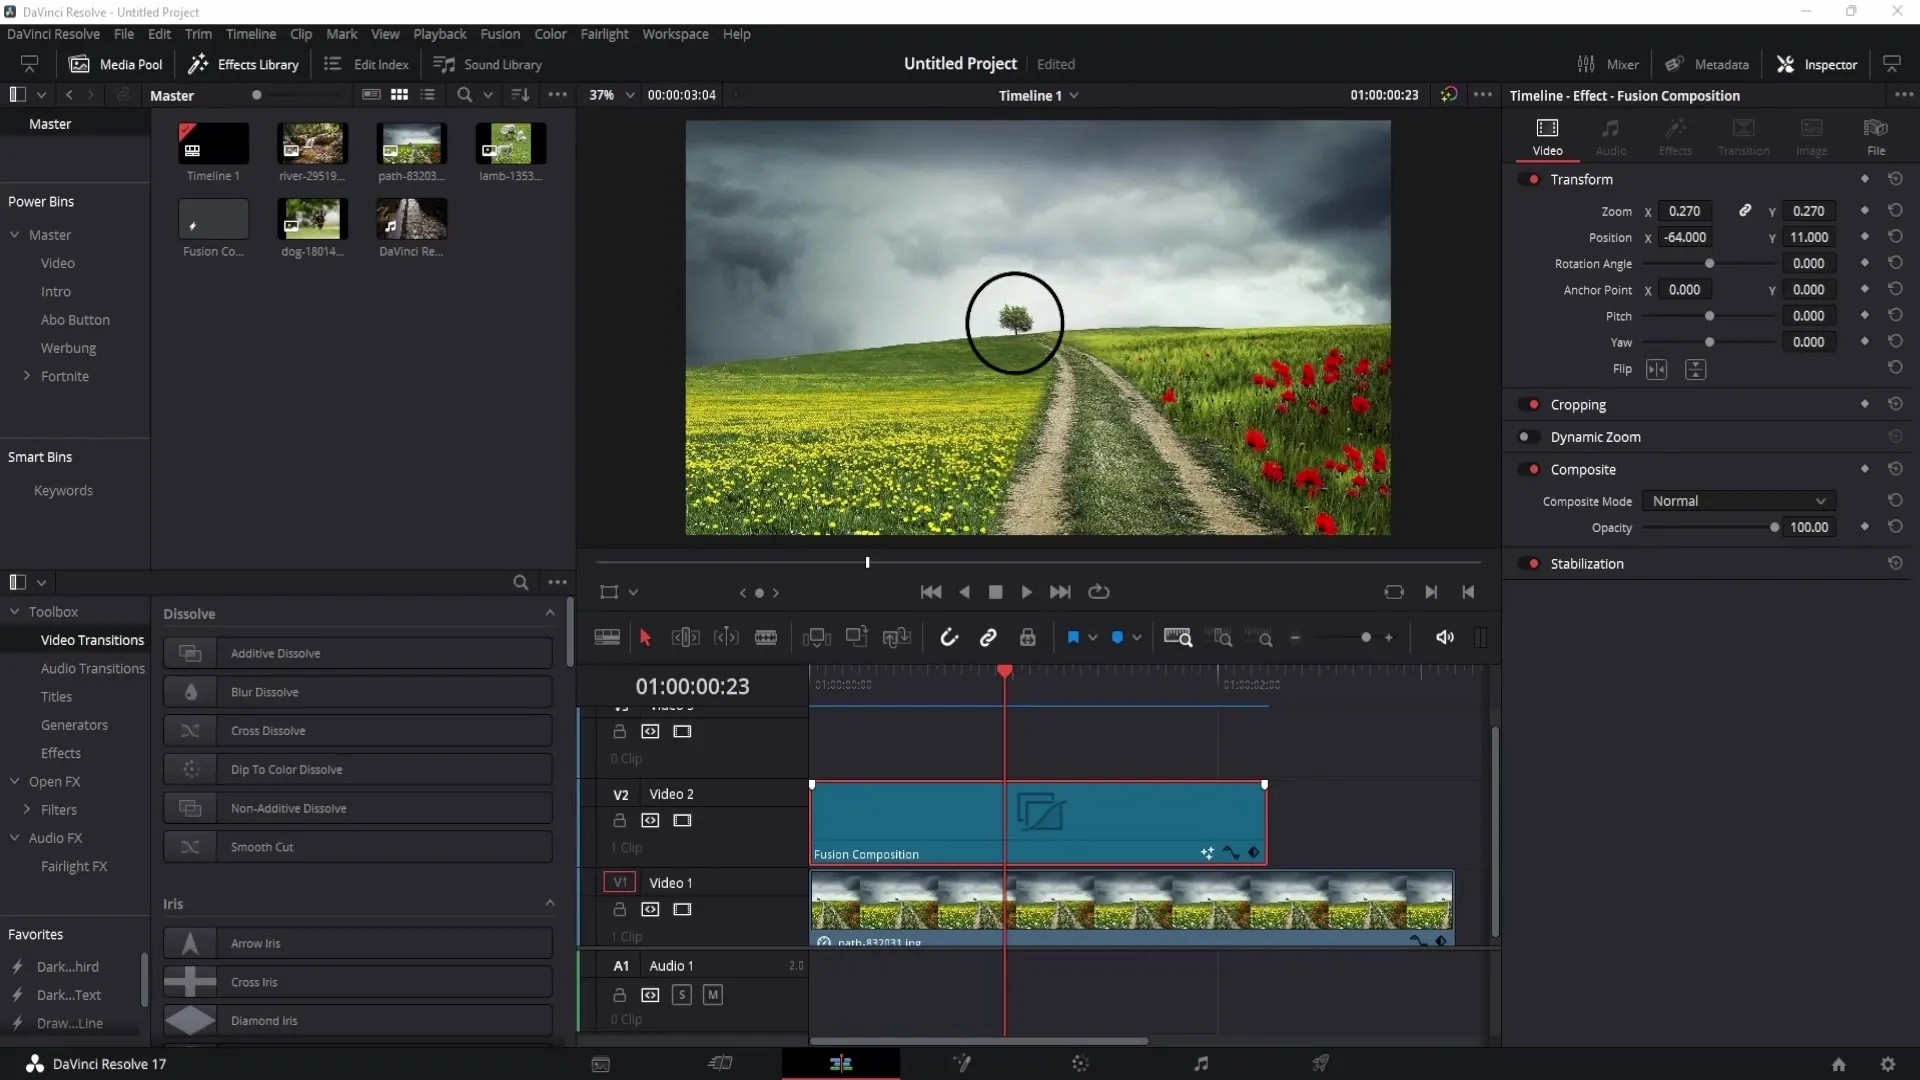
Next, go to Effects. Look for the Fusion Composition and drag it into your timeline.
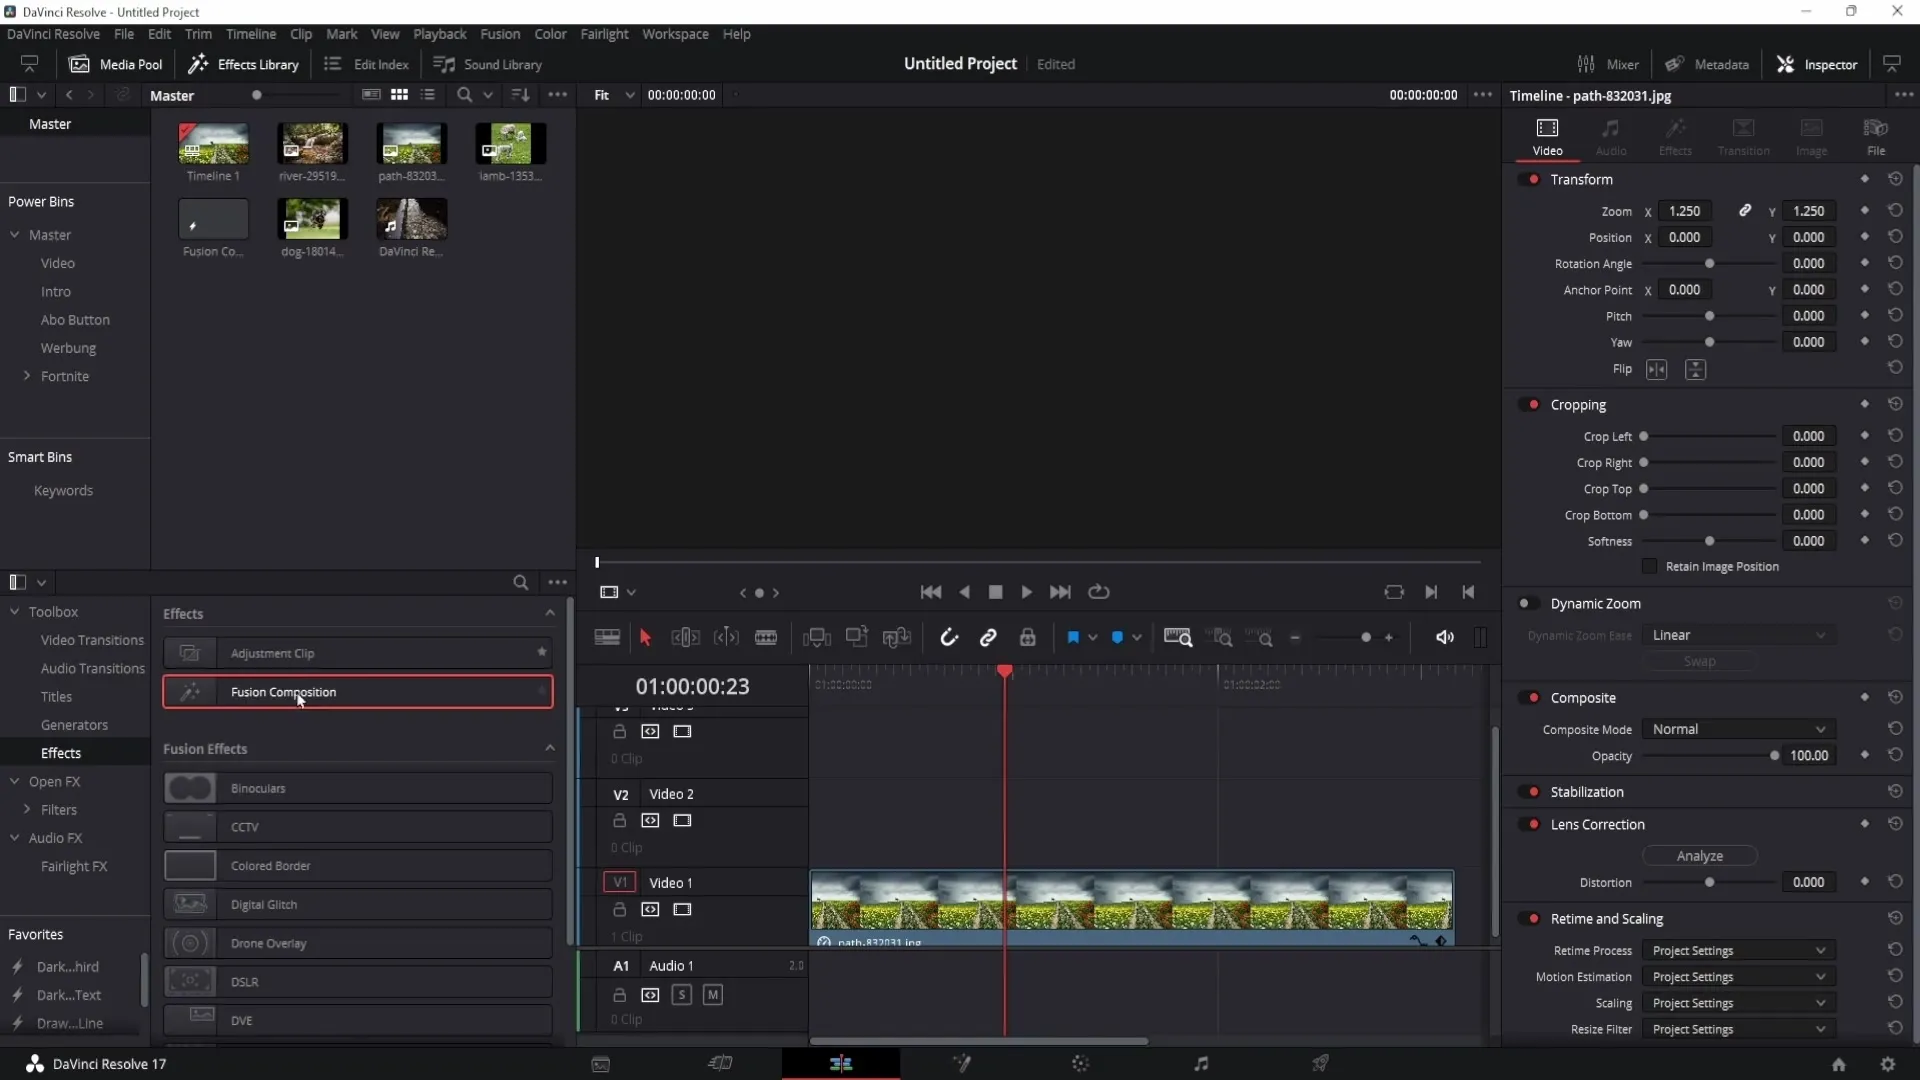
Click on the Fusion Composition and then switch to the Fusion area by clicking on the wand icon at the bottom.
Now you are in the Fusion area and can start creating shapes. Click on the Ellipse and select Background on the far left.
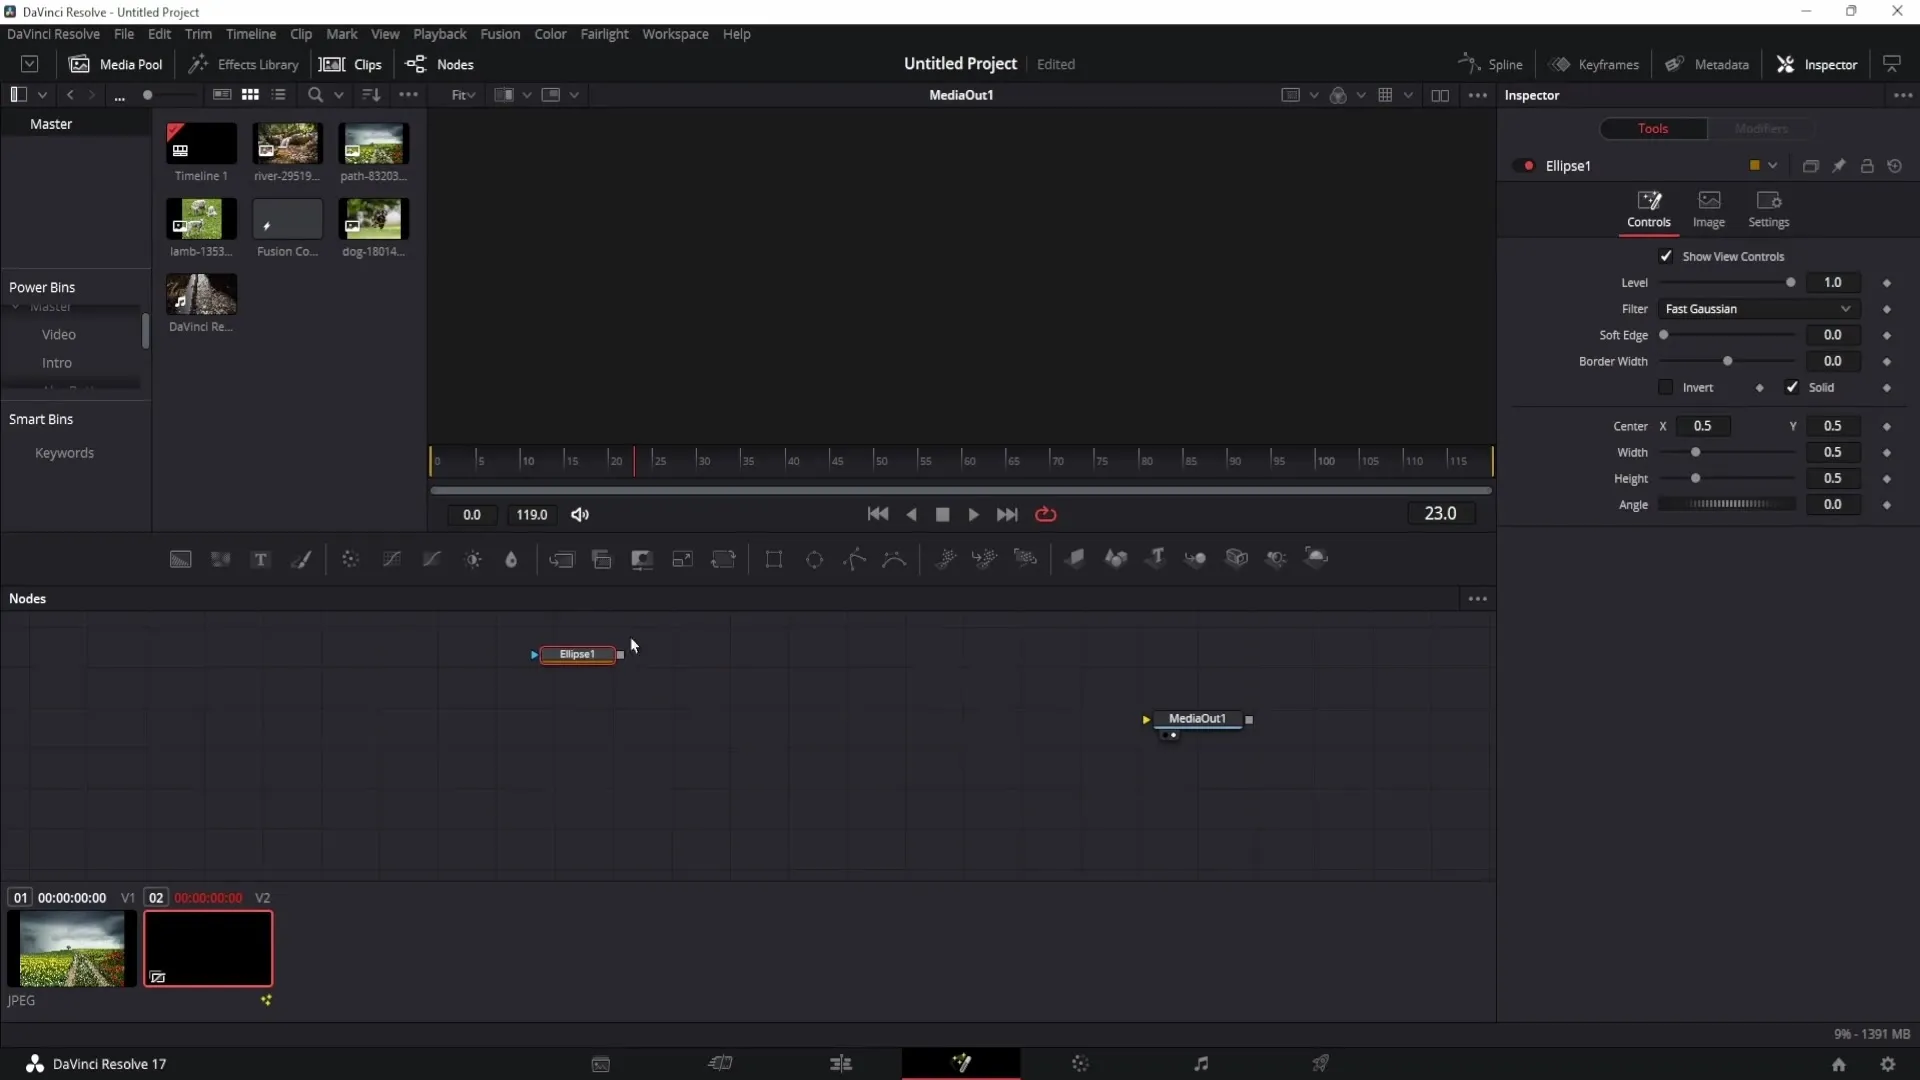
Connect the Background to Media Out and the Ellipse to the Background.
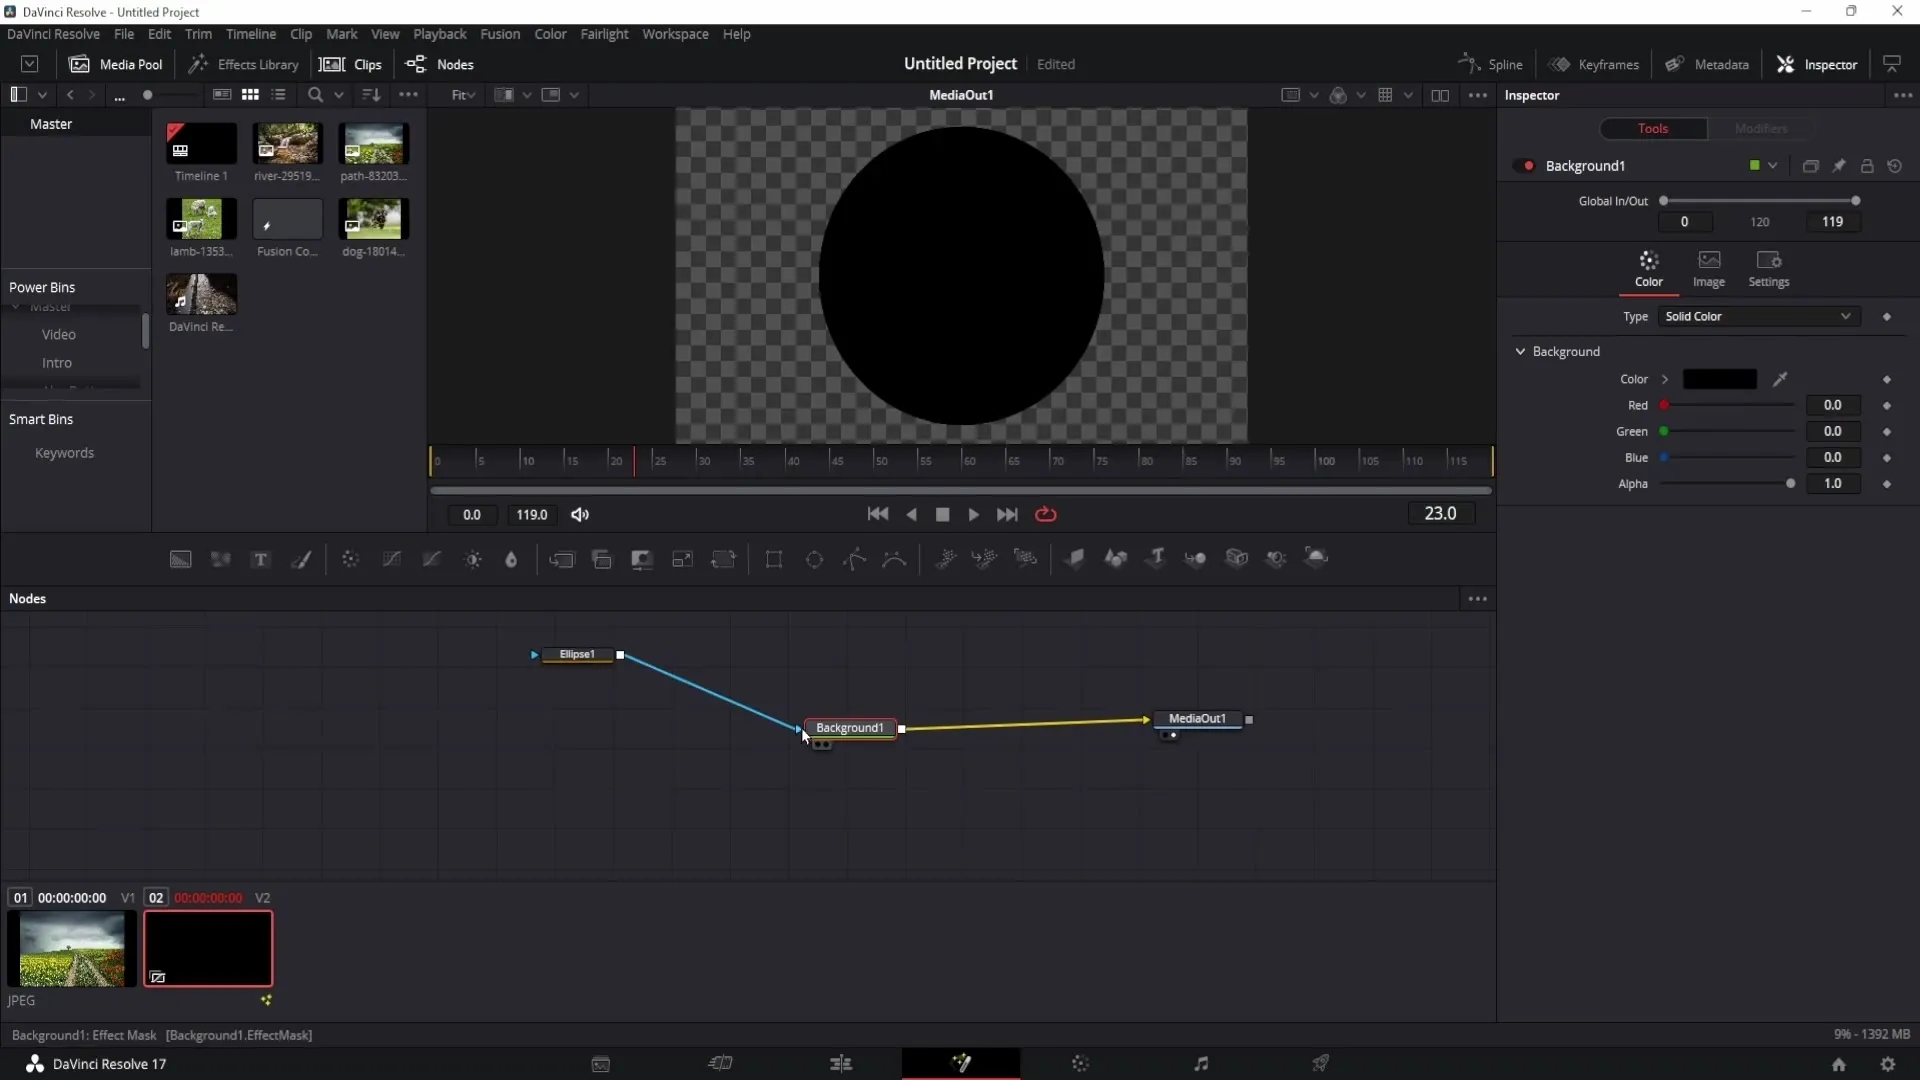
You can see that you have already created a circle. Return to the Edit area to get a closer look at your shape.
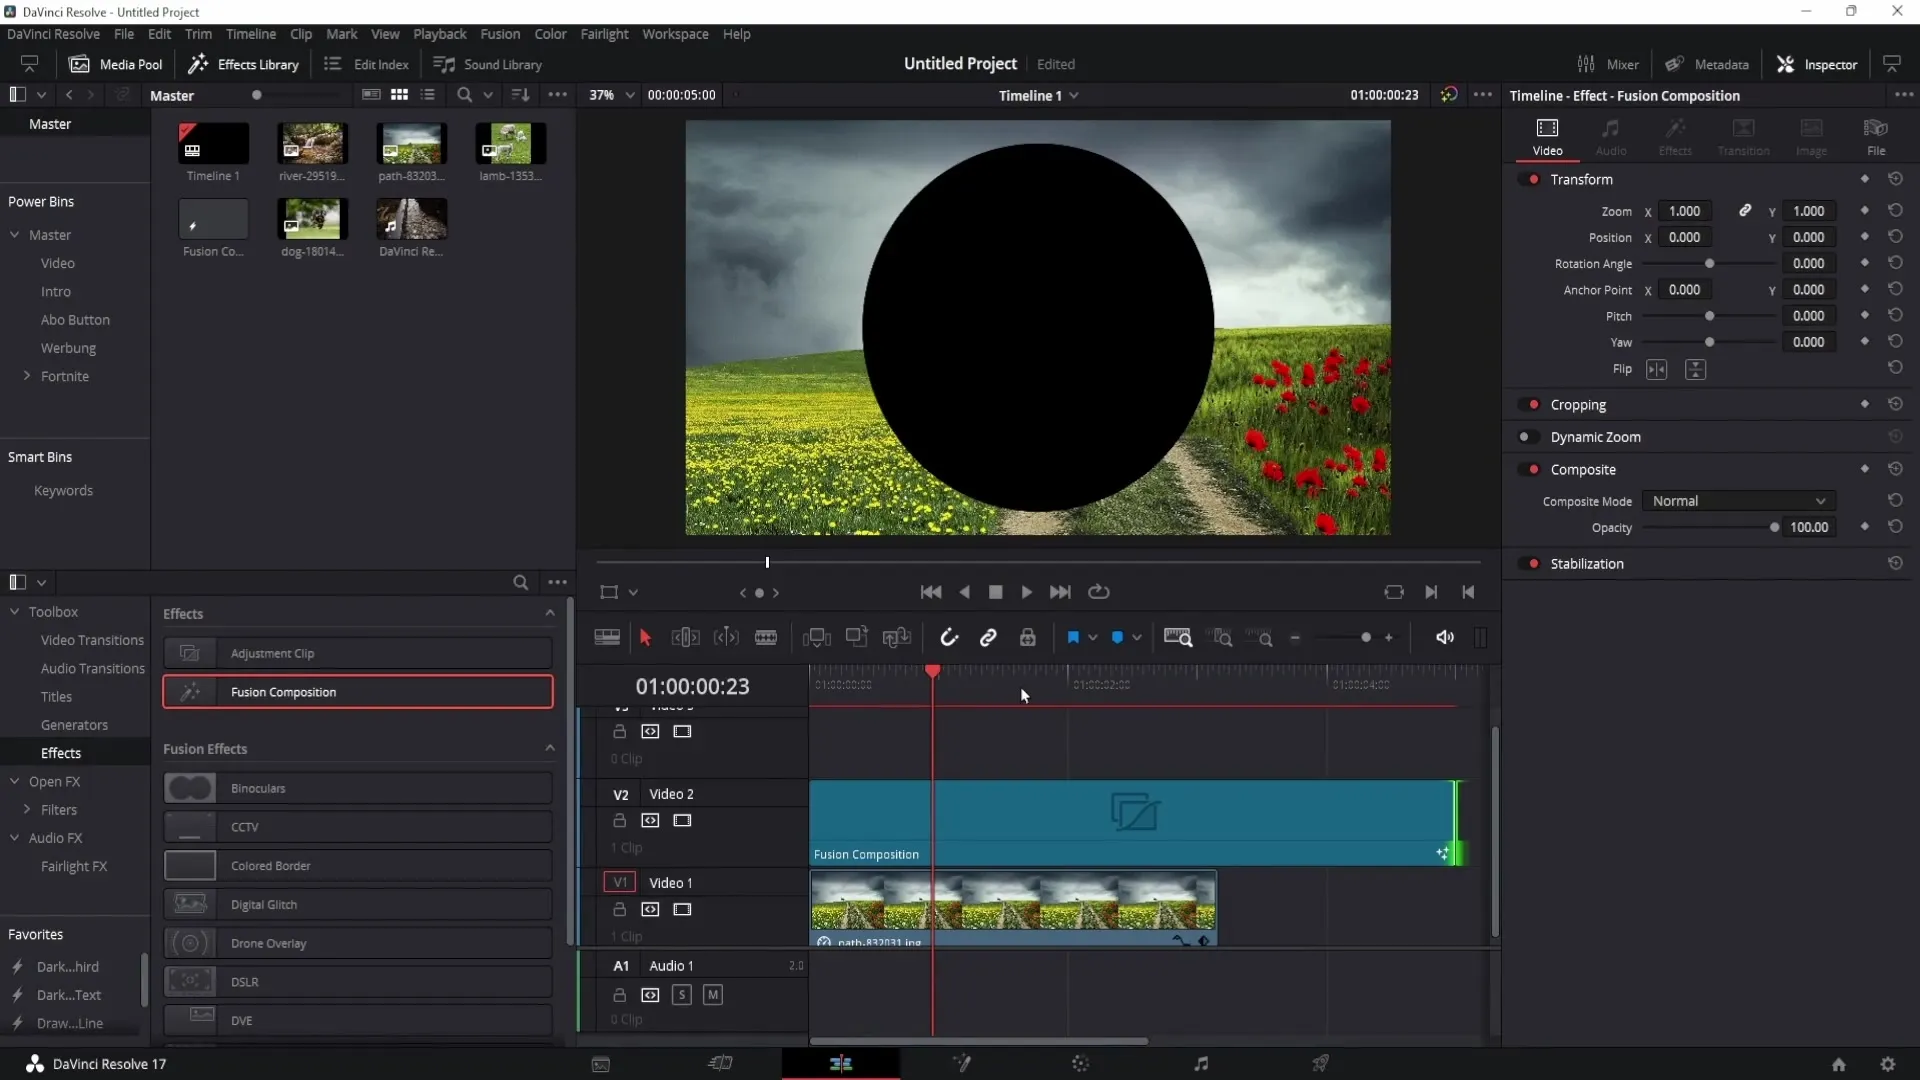
Here, you can adjust the duration of your Fusion Composition. You may want the circle to be displayed for three seconds. Right-click on the duration and change it.
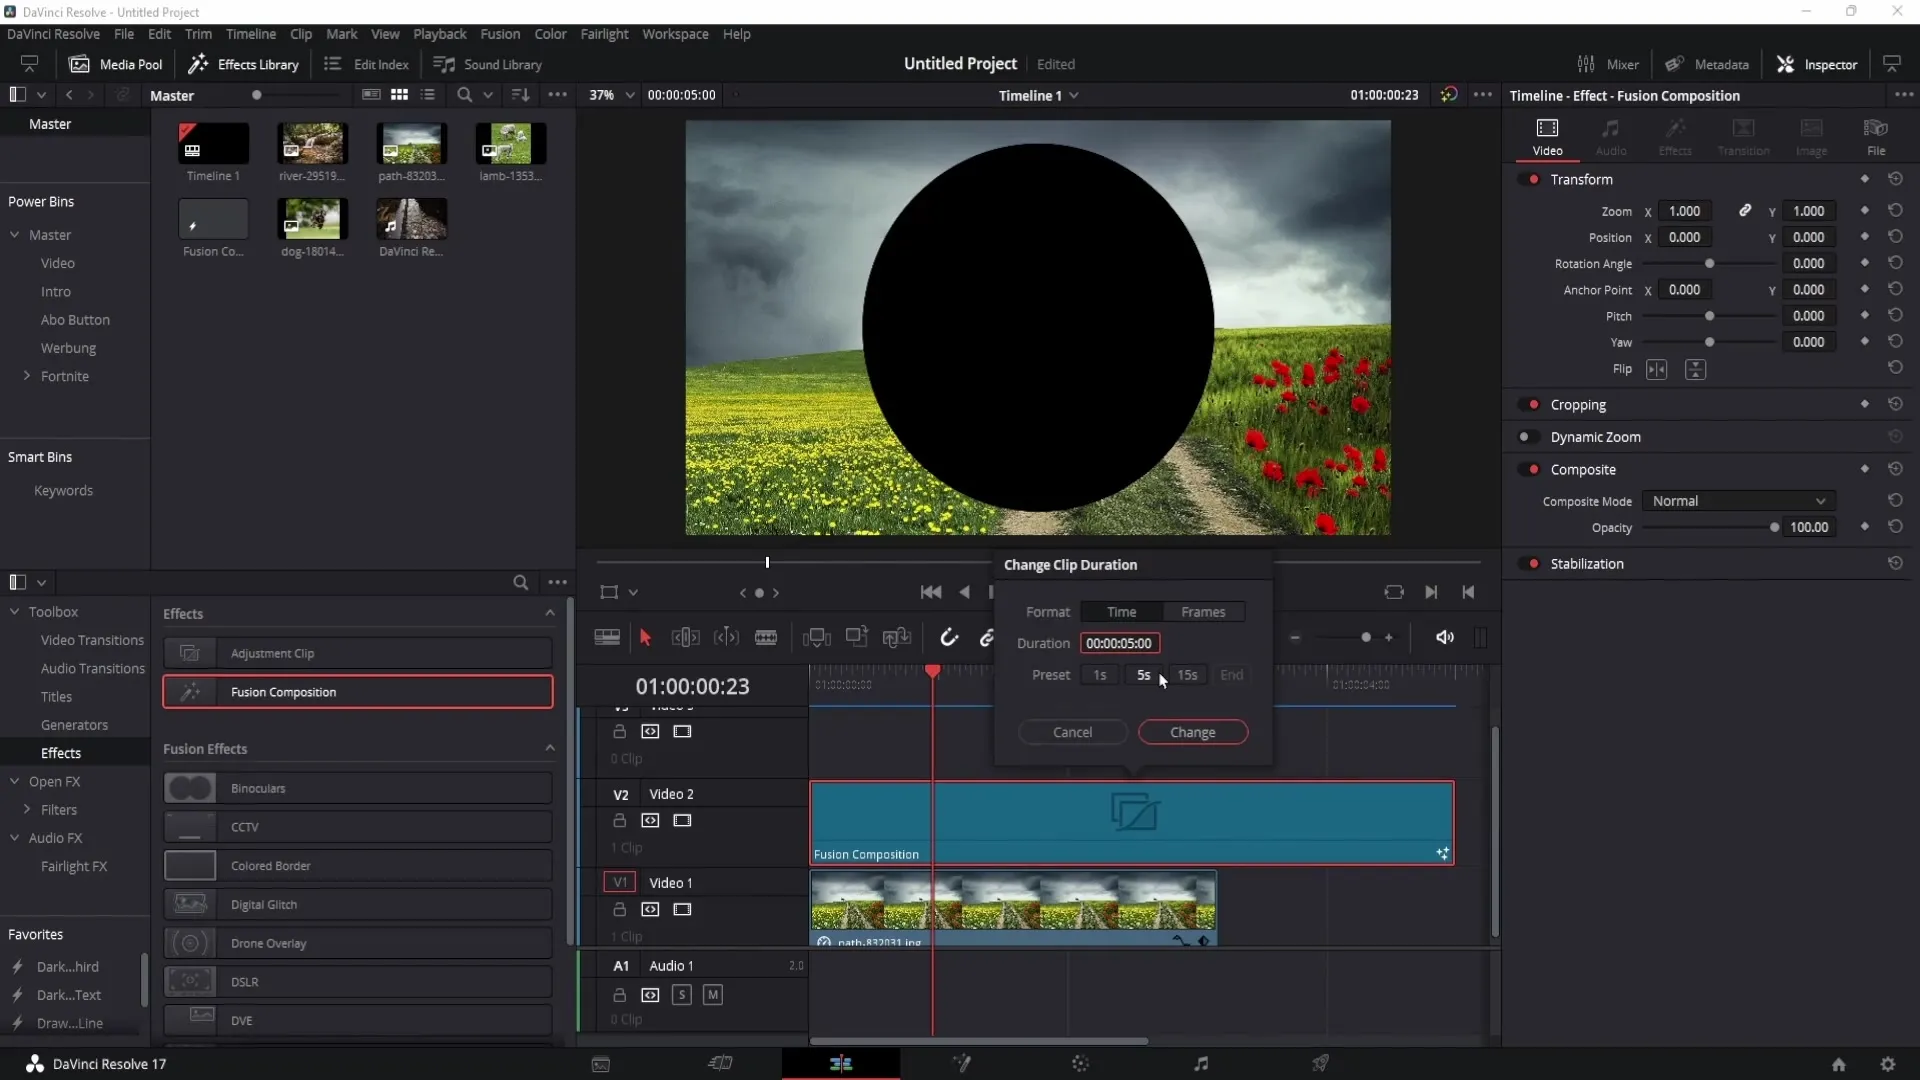
If you want to fade out the circle at a specific point, drag the playhead to the desired position and shorten the Fusion Composition.
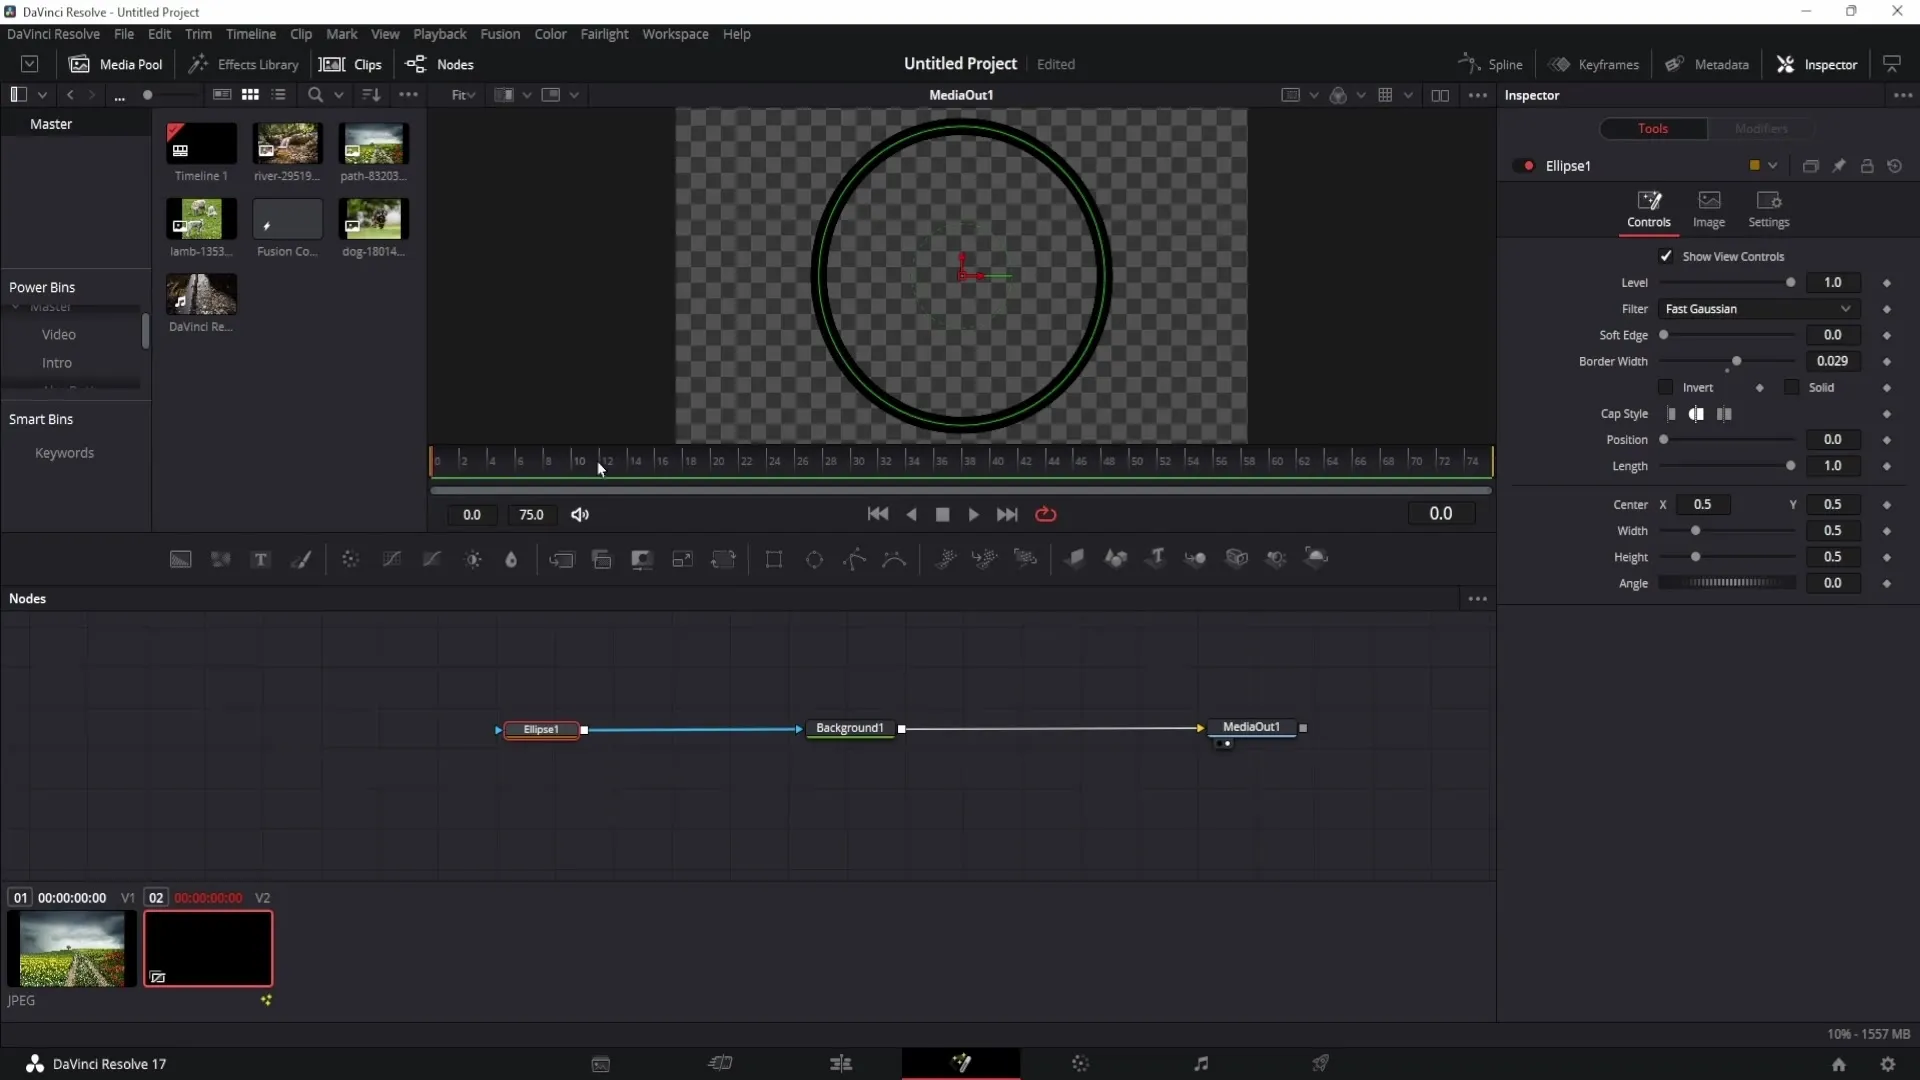
If you wish to create only the outline of your circle without a solid fill, go back to the Fusion area, click on the Ellipse, and disable solid. You can now adjust the borderwidth to determine how thick the outline should be.
If you want to change the outline color, select the Background and adjust the color.
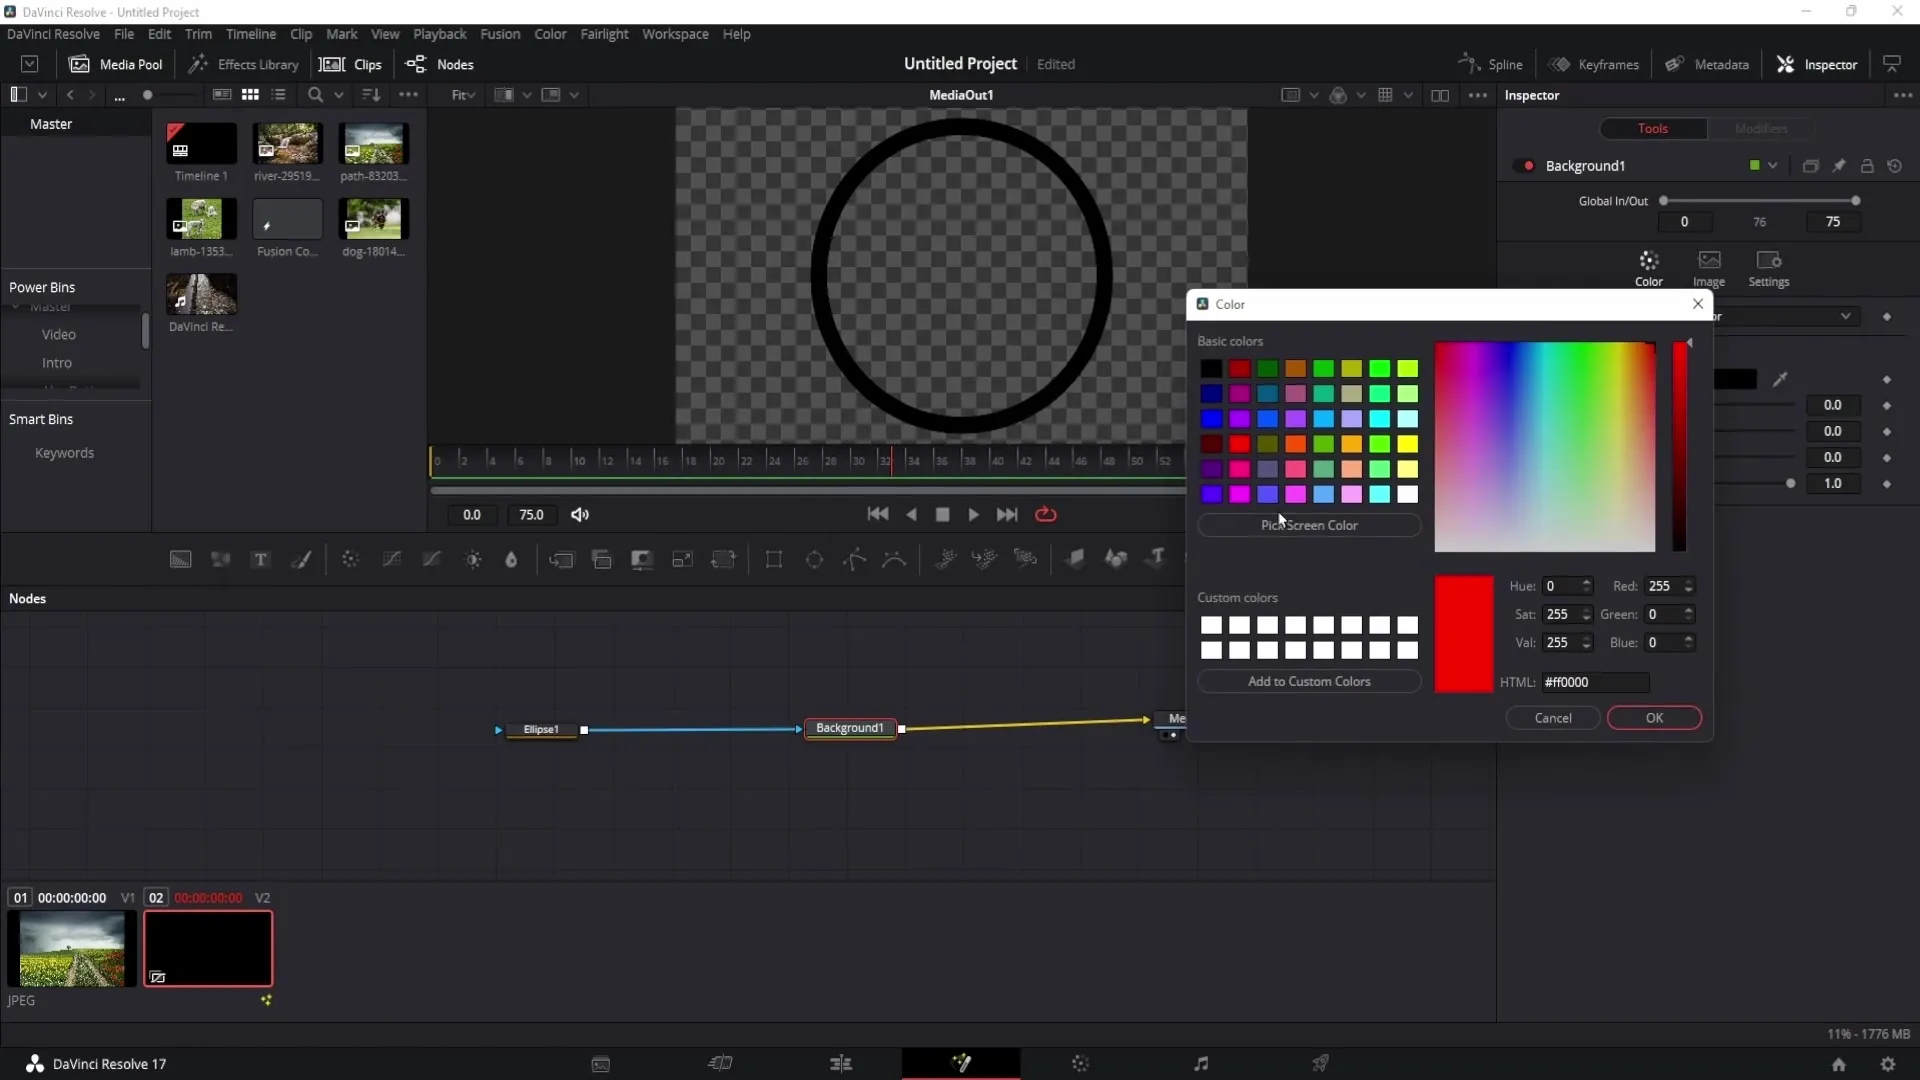
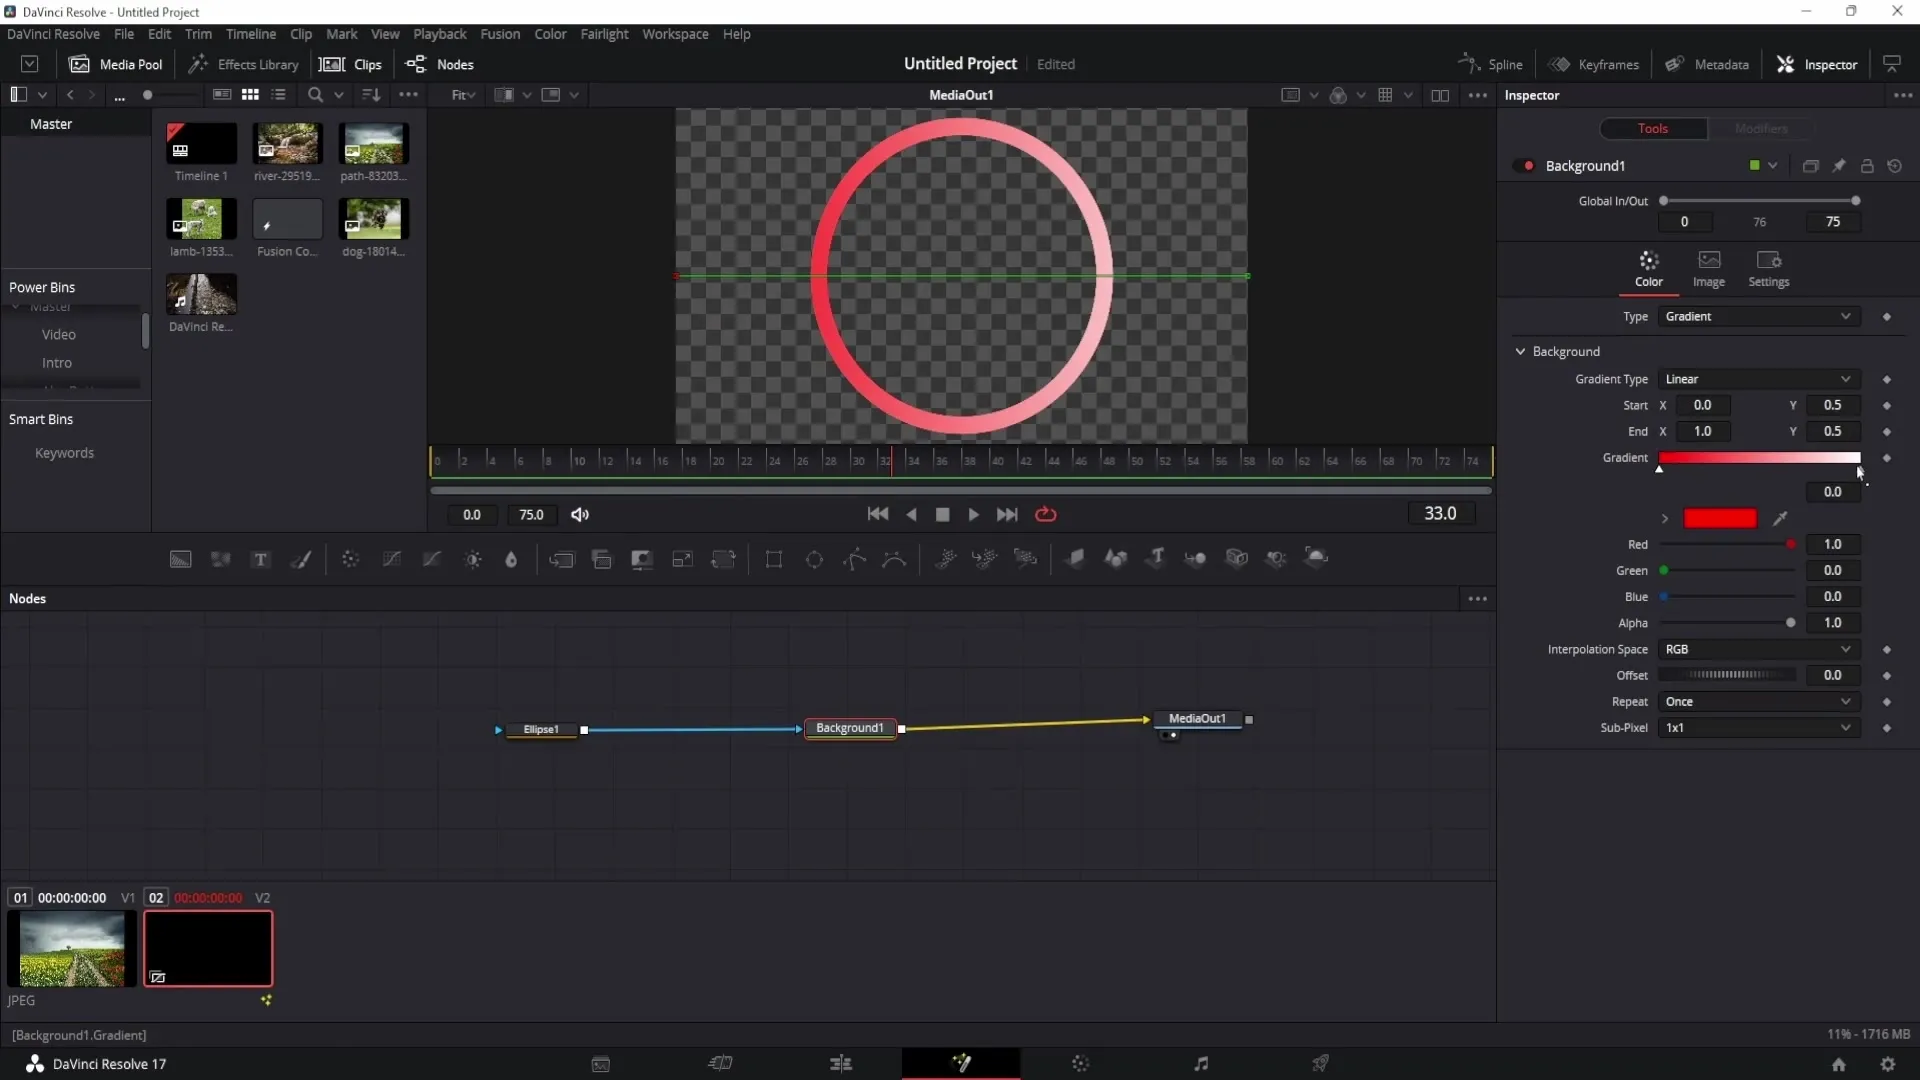
You can also create a gradient. To do this, select Gradient in the Type option.
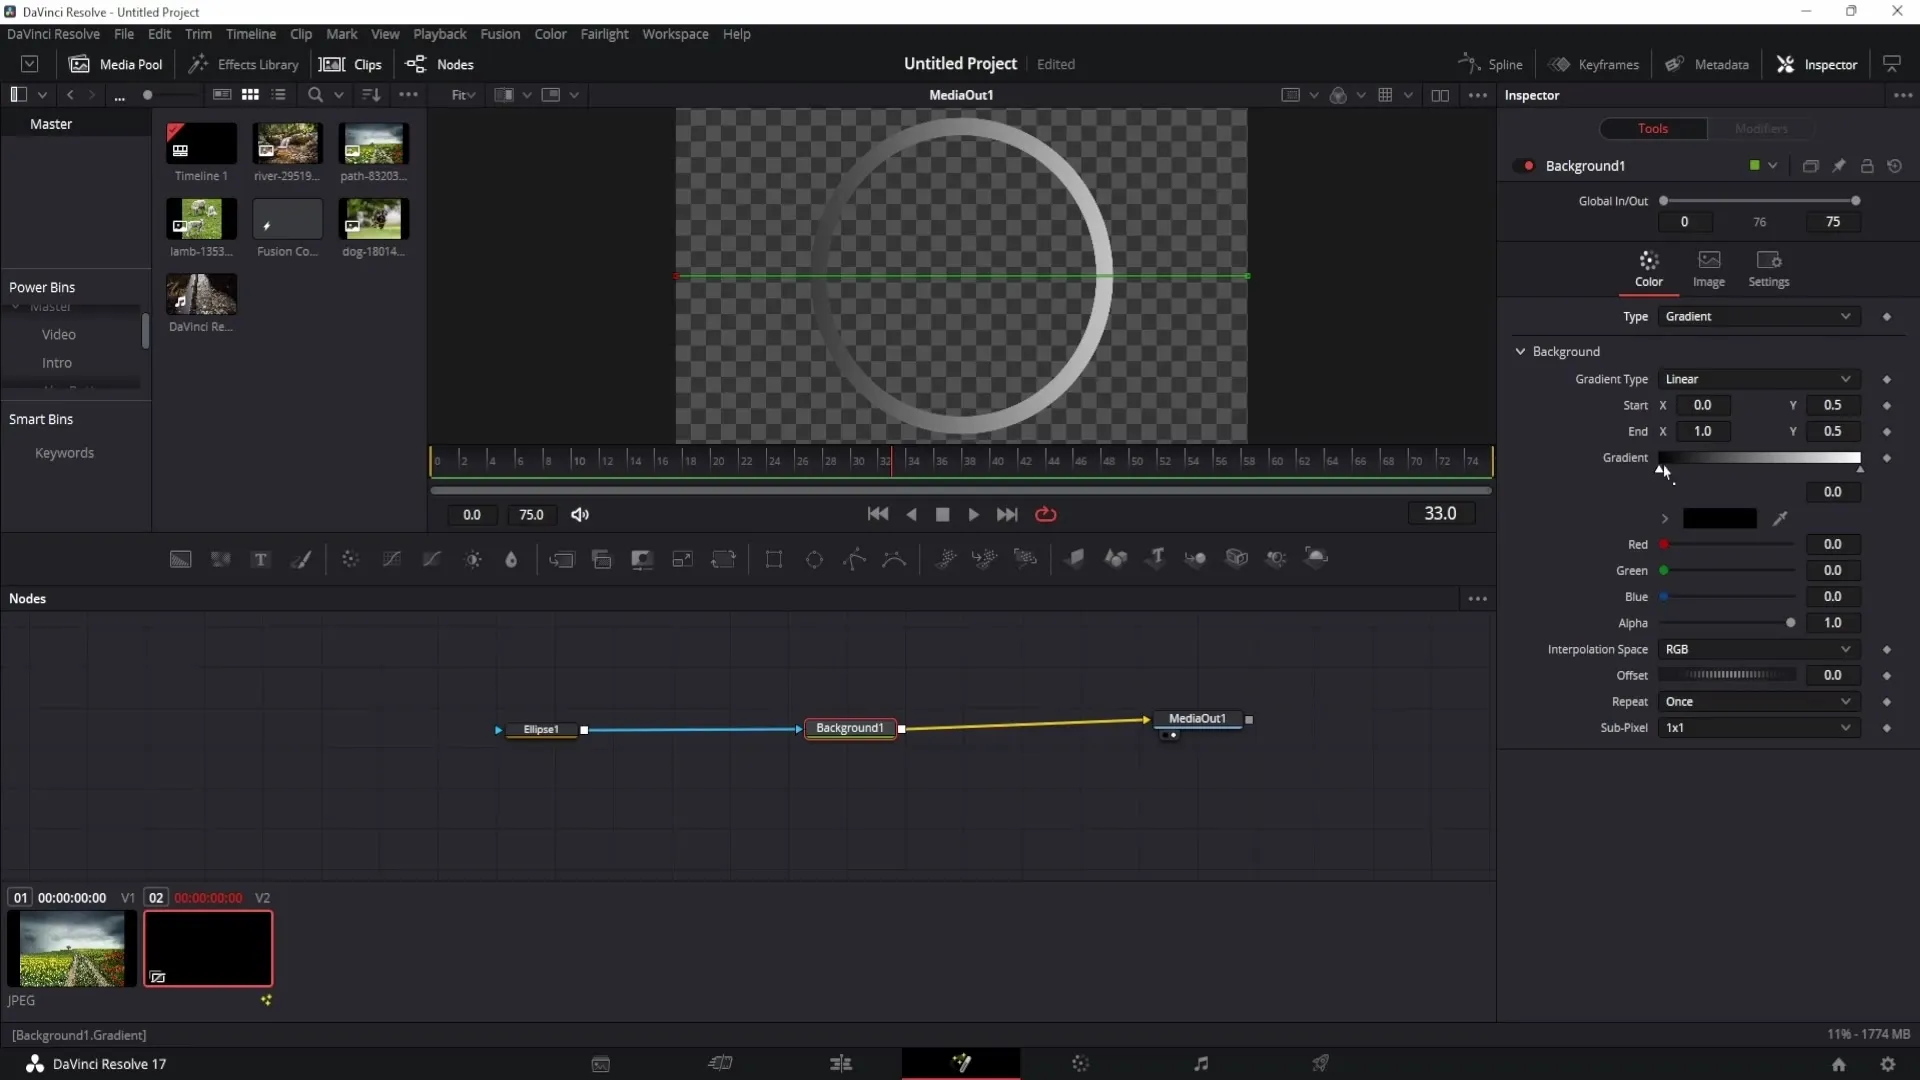
Change the colors in the Gradients setting by clicking on the left and right color markers.
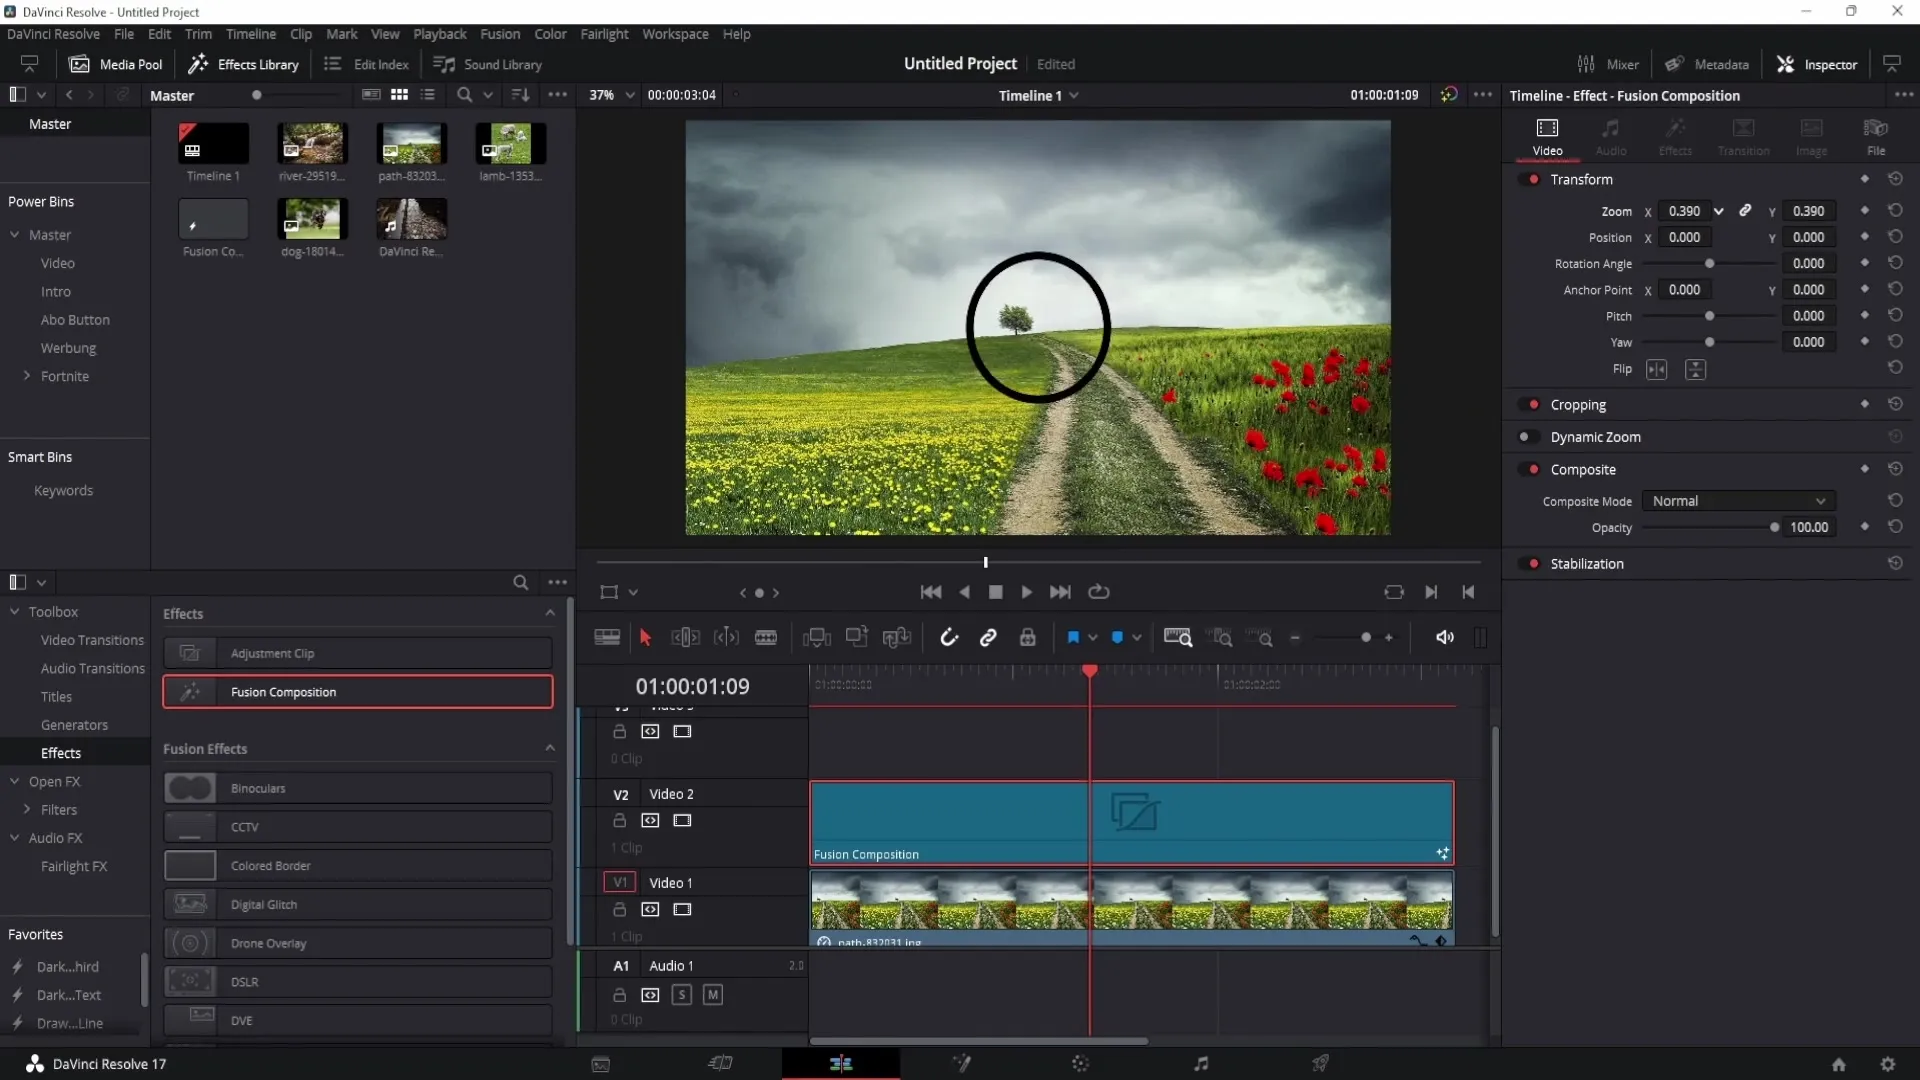
If you want to adjust the position of your circle, return to the Edit area. Enable the Inspector and adjust the Zoom and Position settings.
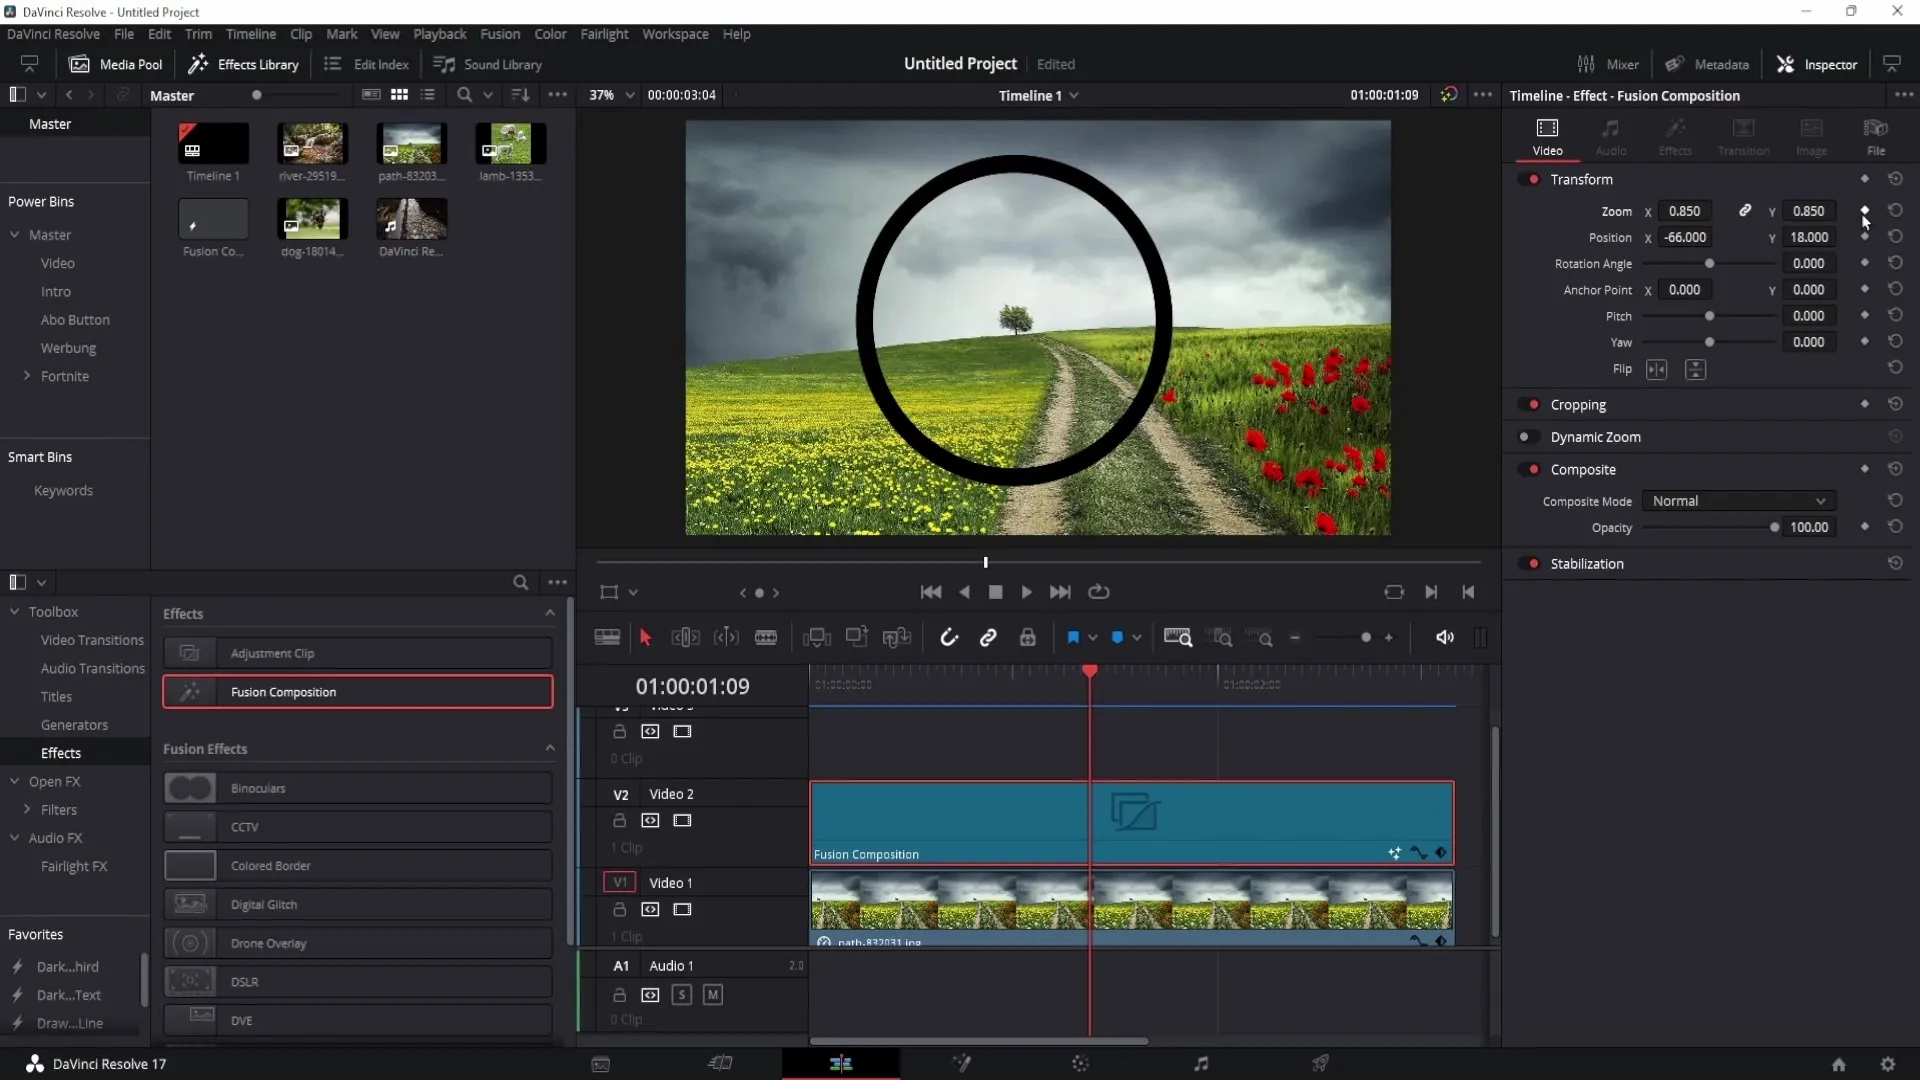
To animate the circle, set keyframes in the Inspector. For example, you could decrease the Zoom during the animation.
In the Fusion area, you can also add animations by using keyframes with the Ellipse Node.
If you want to create multiple shapes, drag a new Fusion Composition into the timeline and go back to the Fusion area.
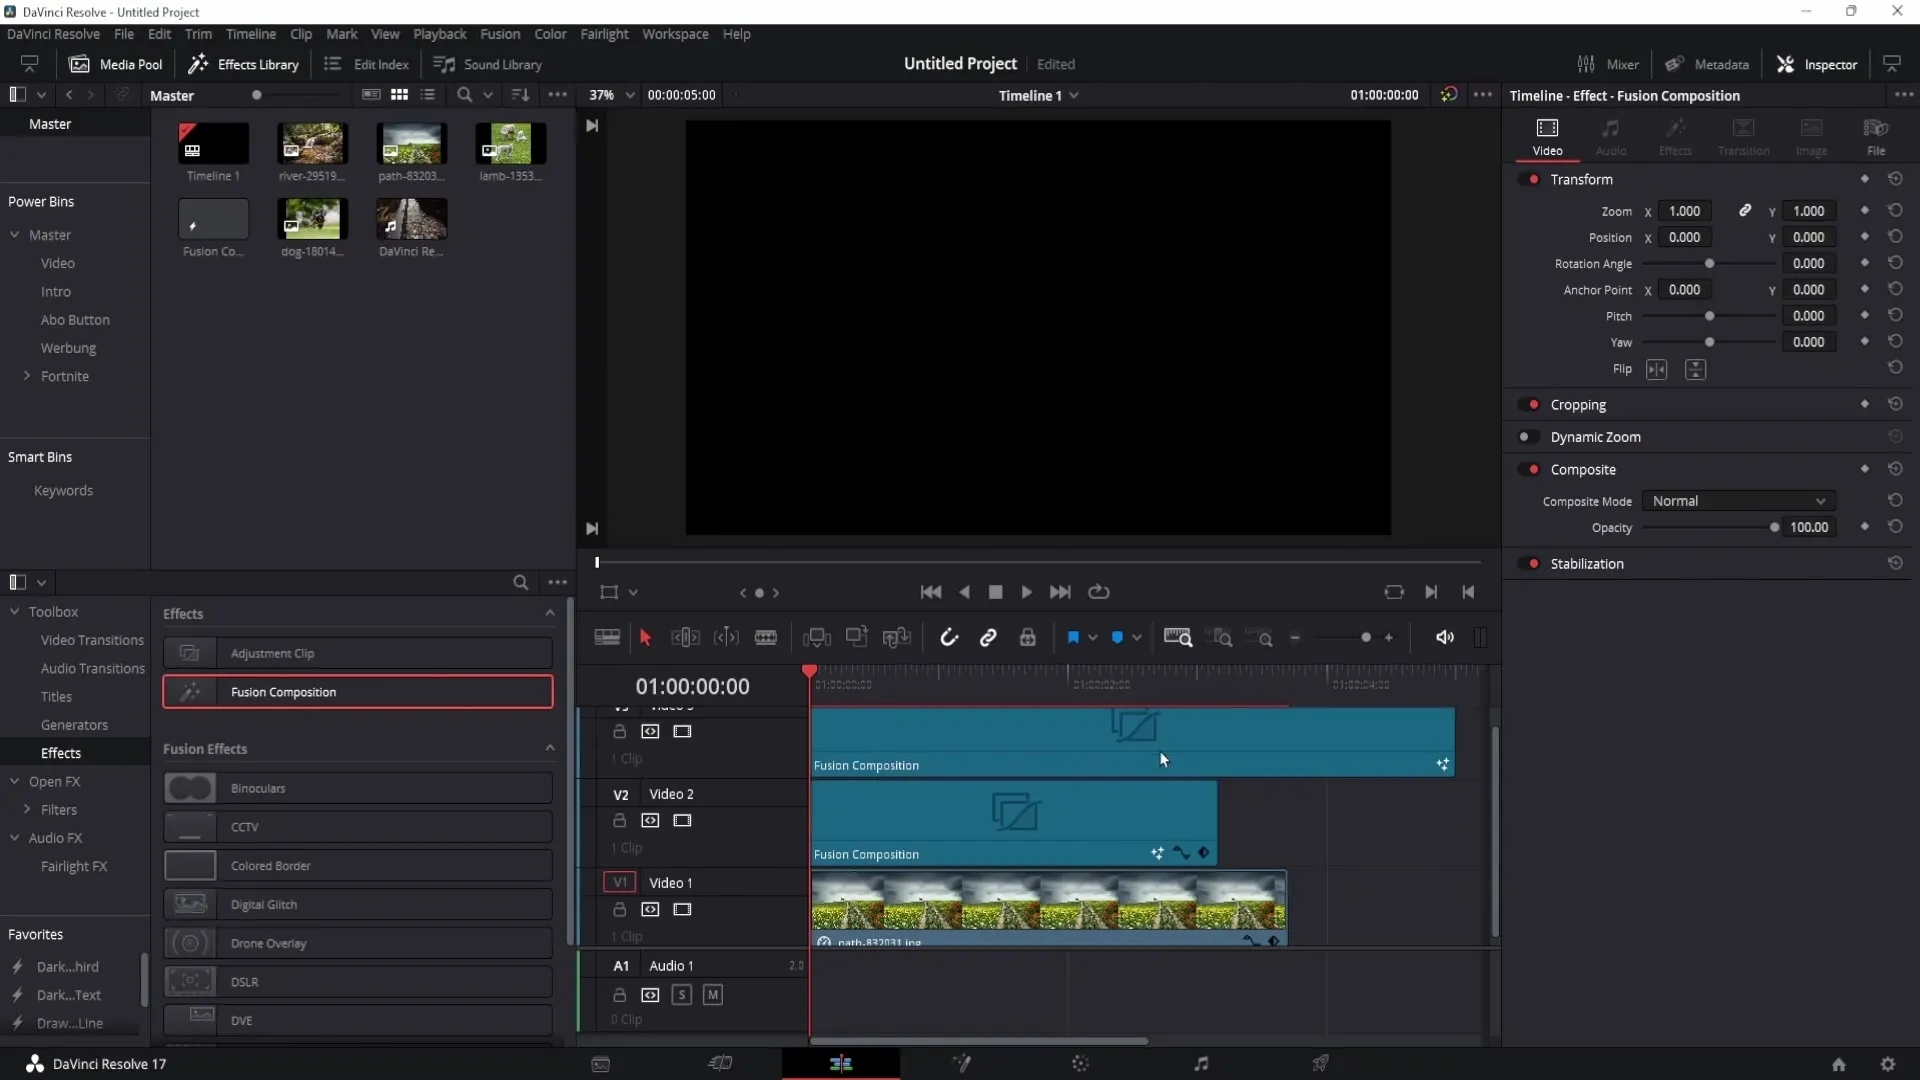
To create a triangle, hold Ctrl and press the space bar. Type "Tri" and click on the triangle to select it.
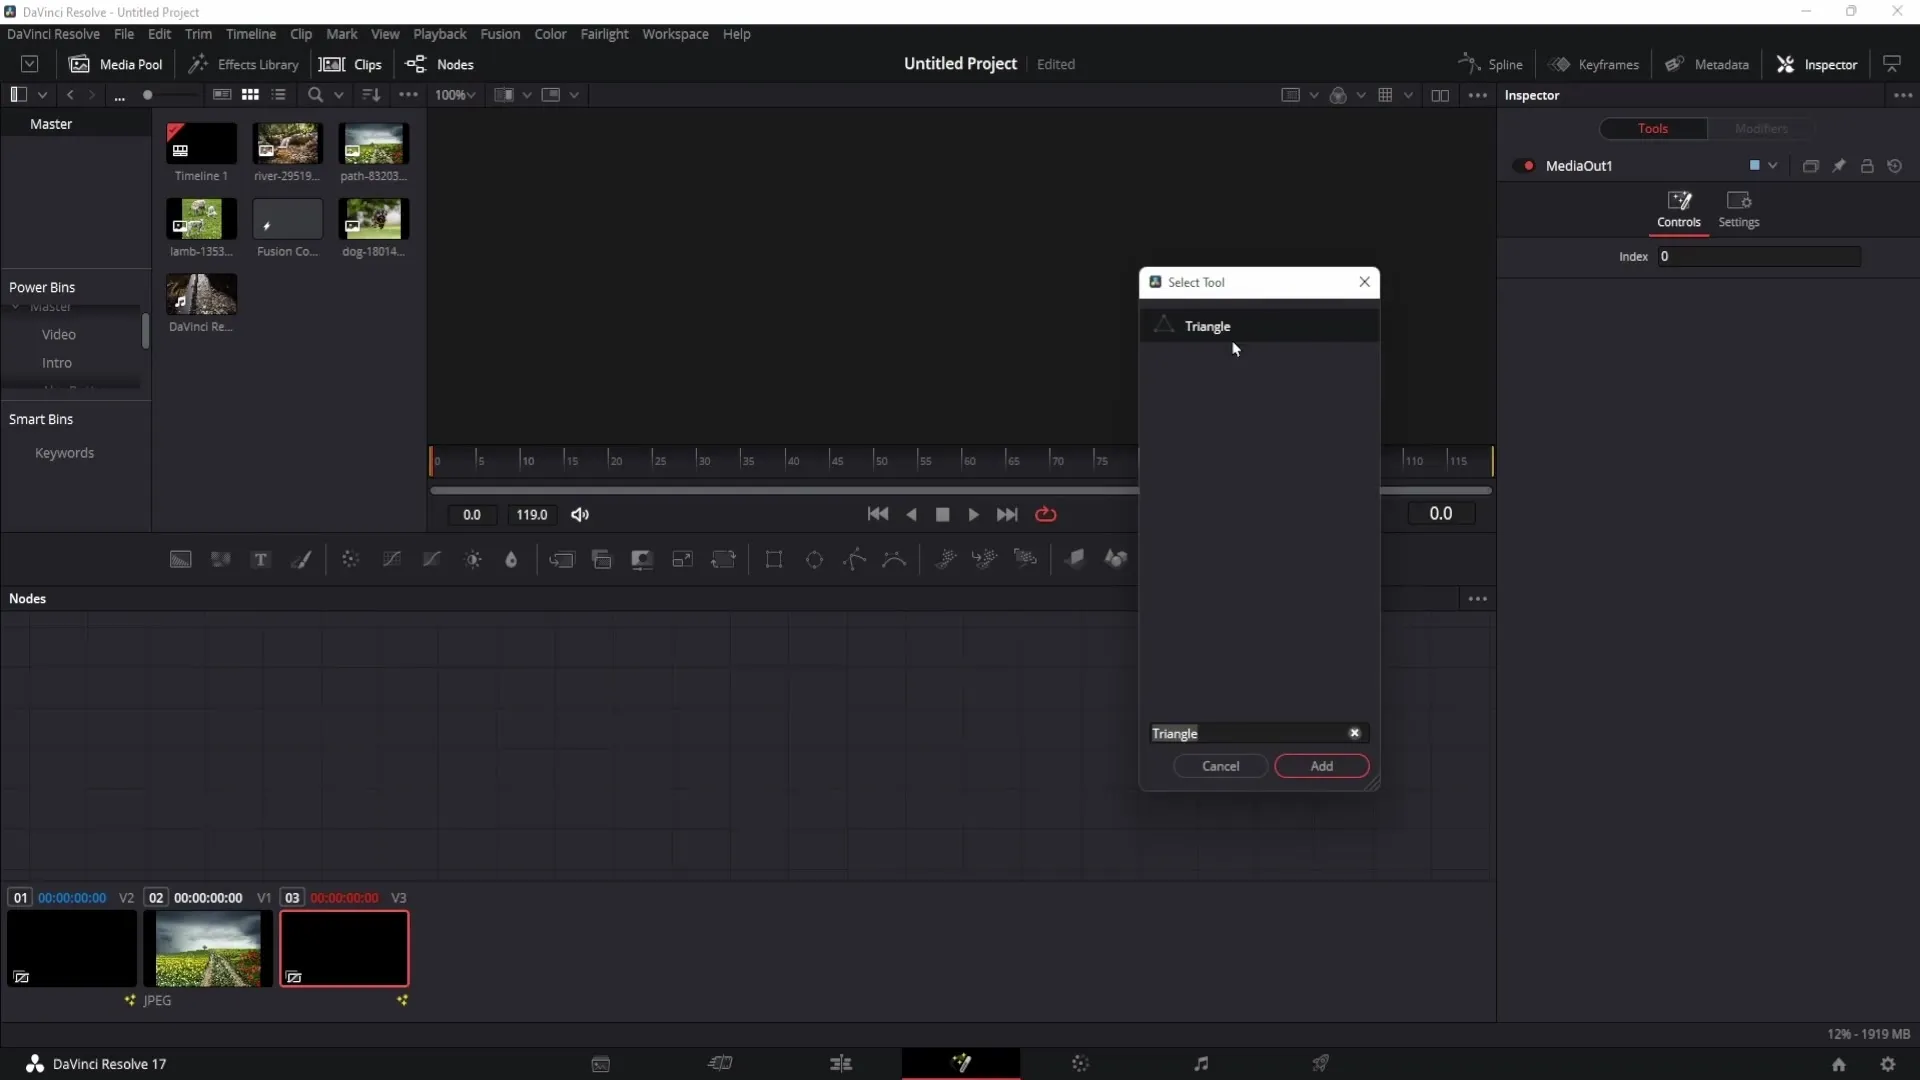
Again, add a Background and connect it accordingly.
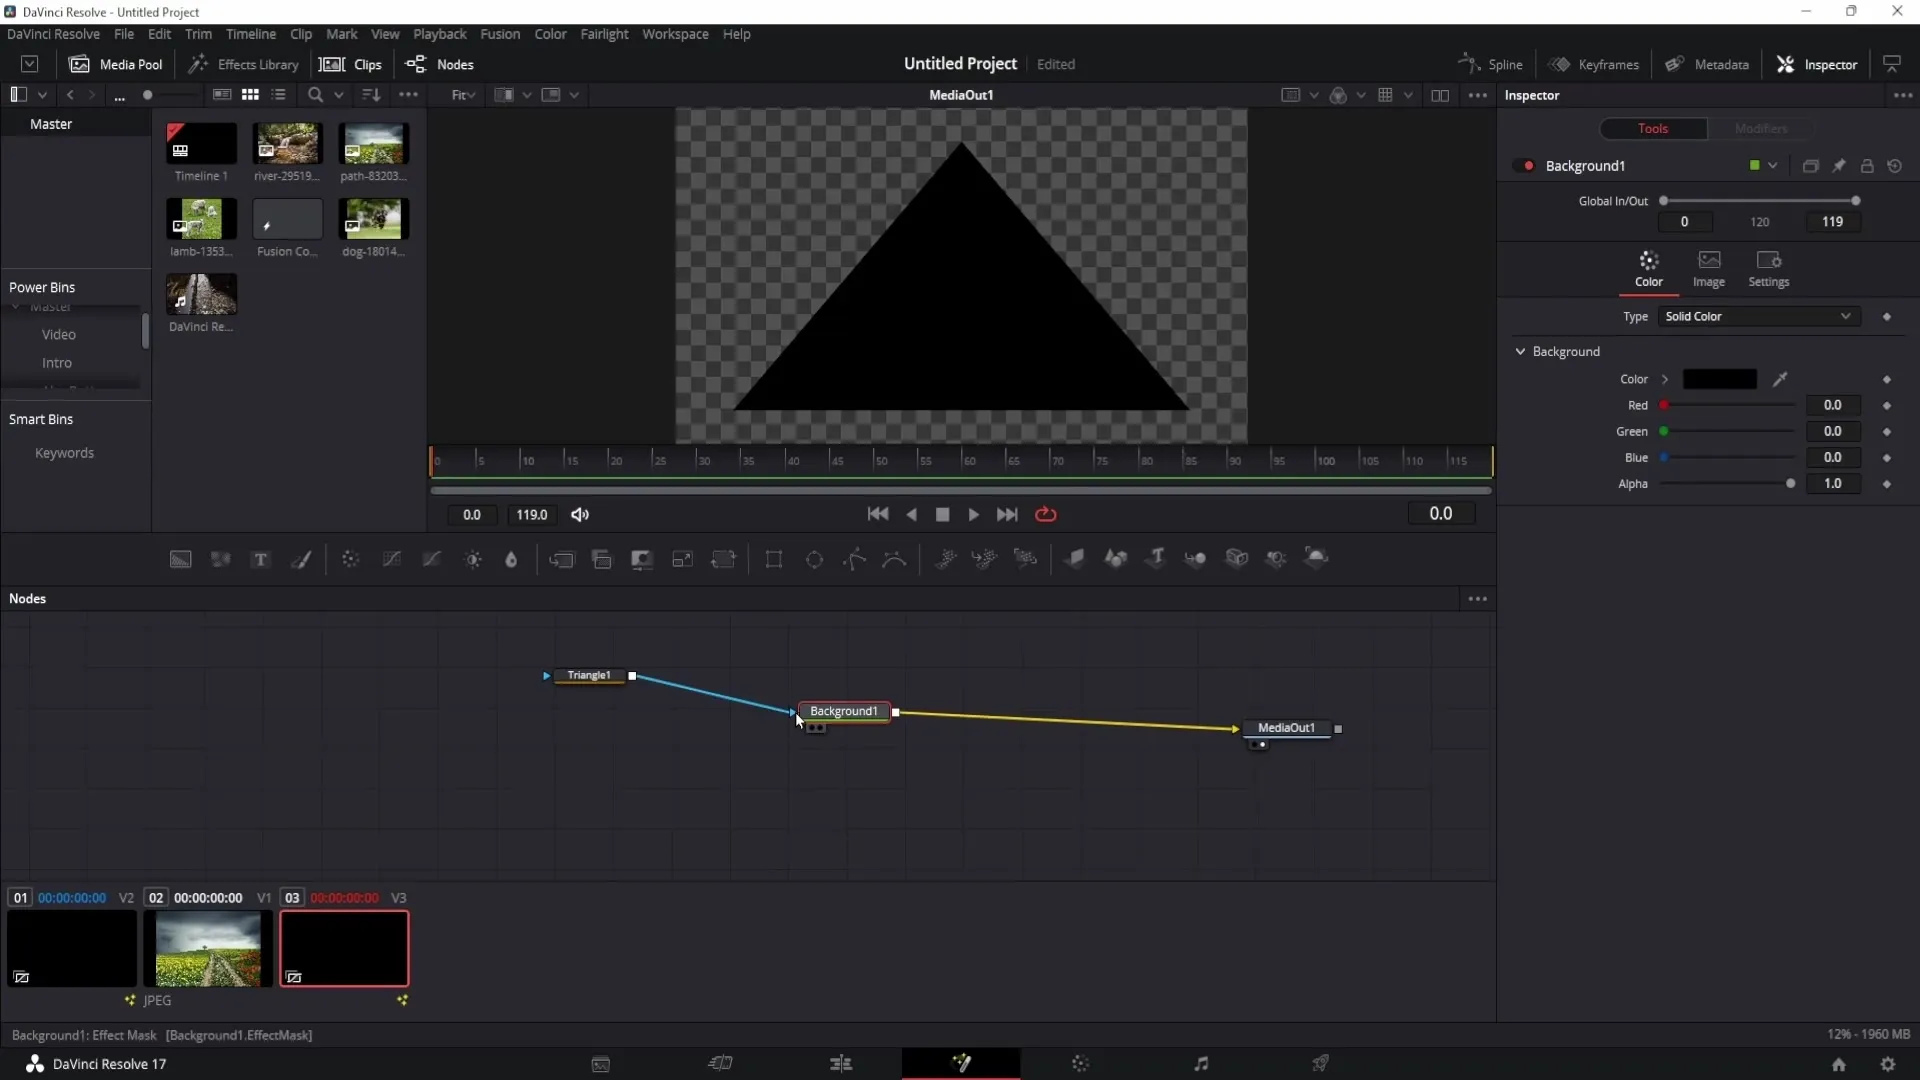
Now you have an additional triangle that you can customize and animate.
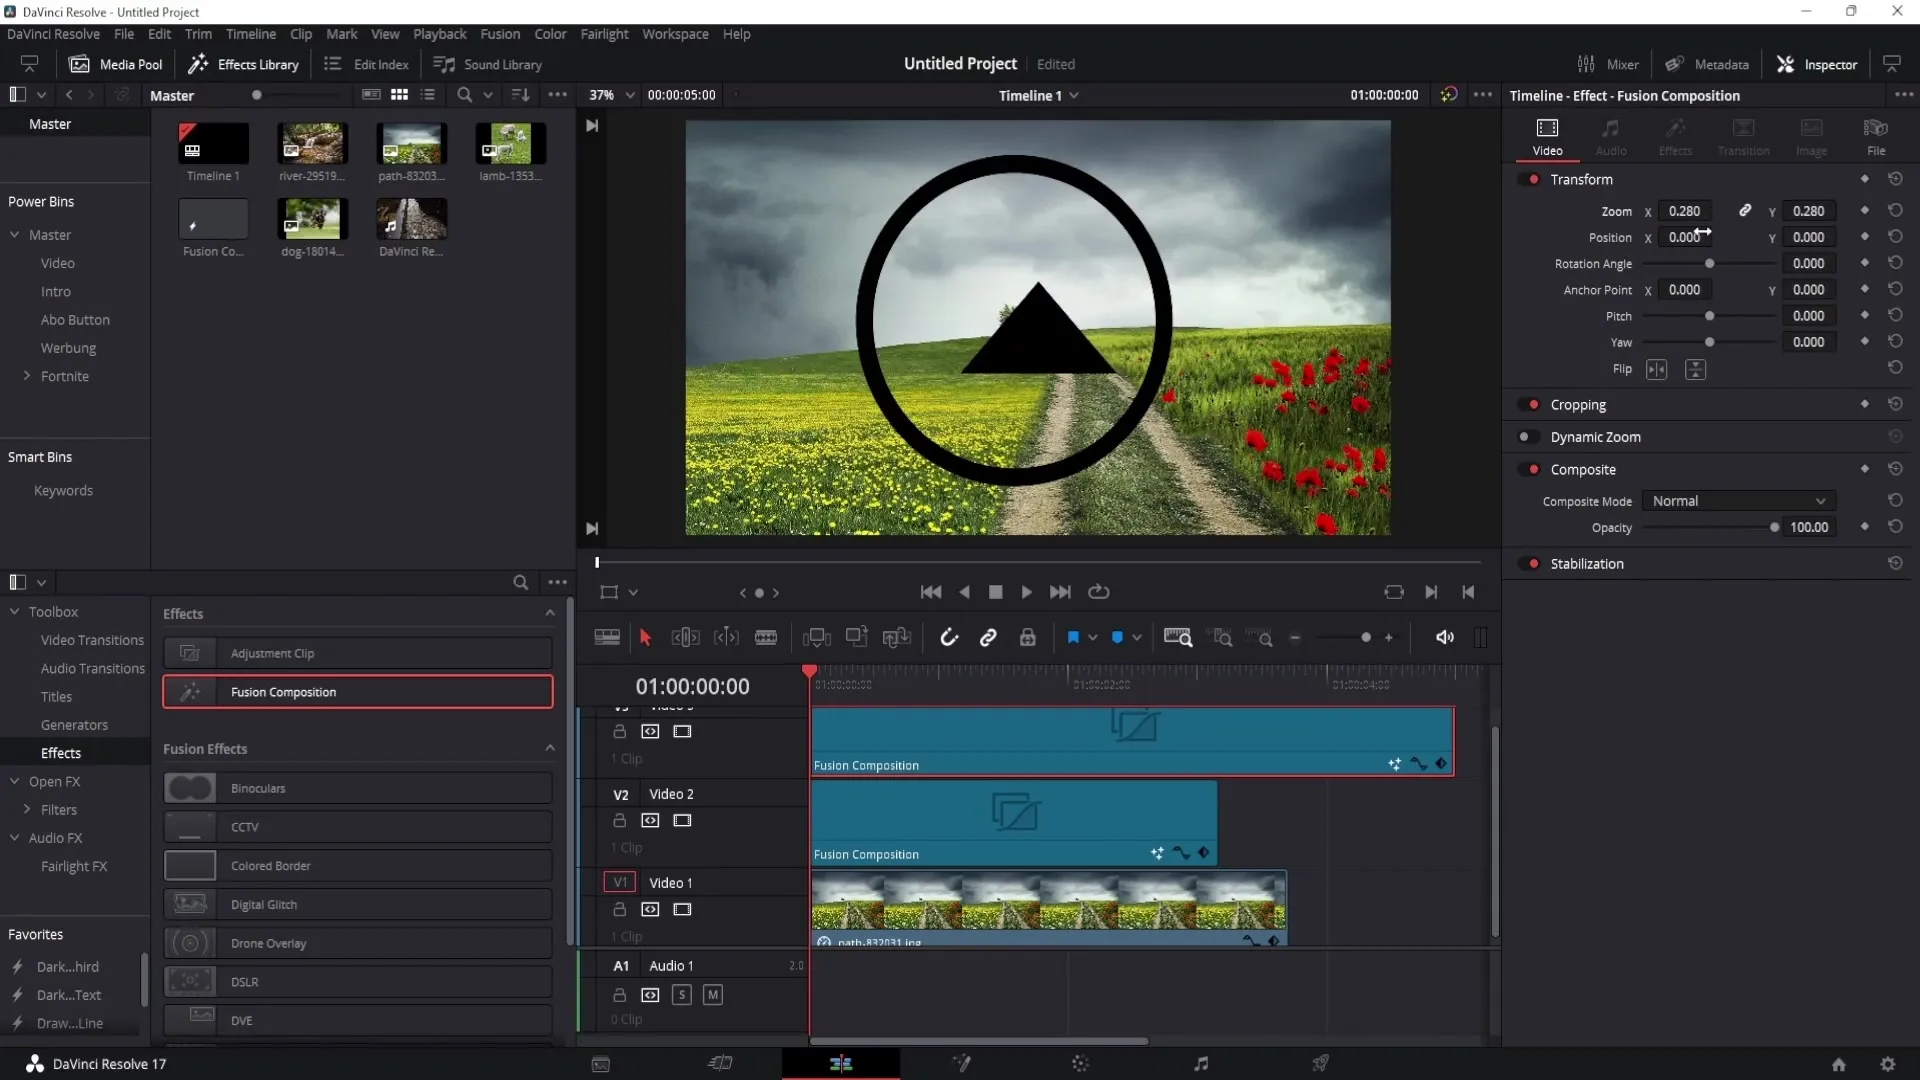
To create a custom shape, select the Polygon Node in the Fusion area.
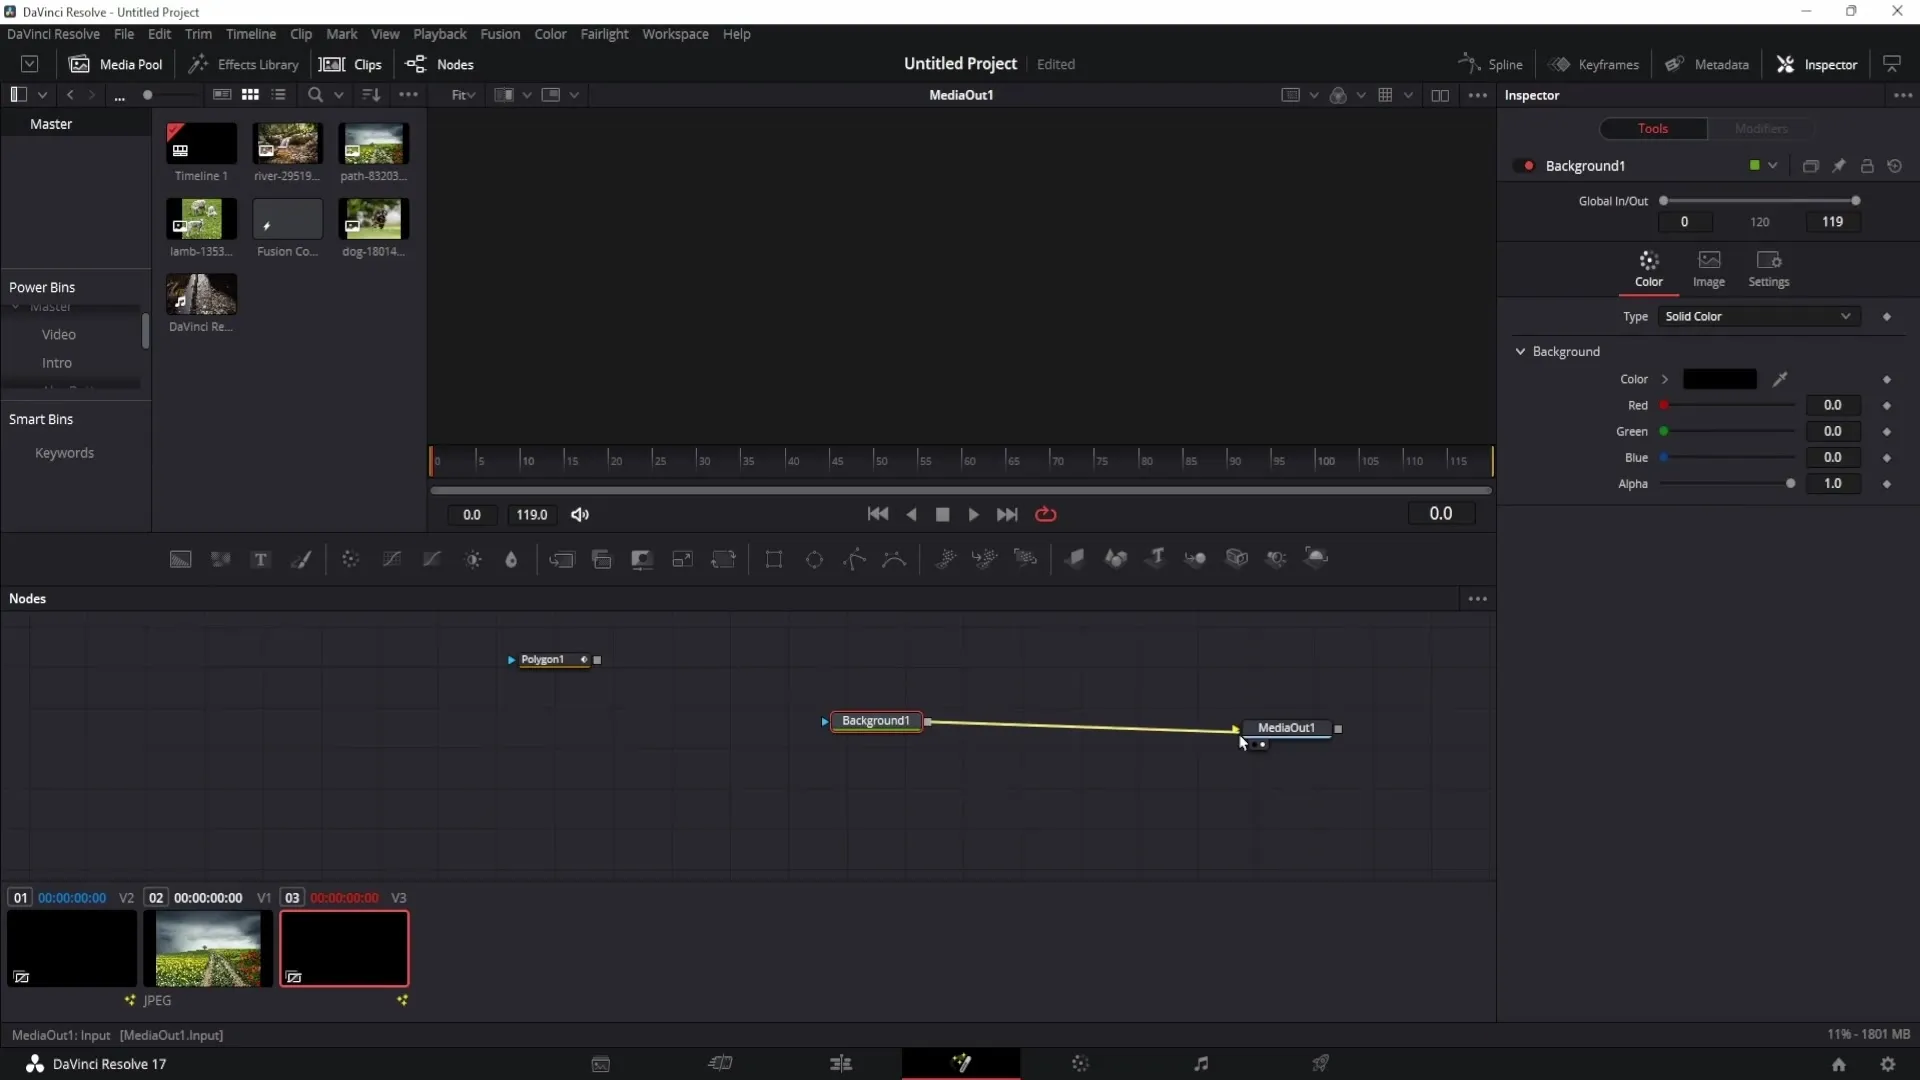
Connect the Background to the Polygon Node and start creating your shape by clicking.
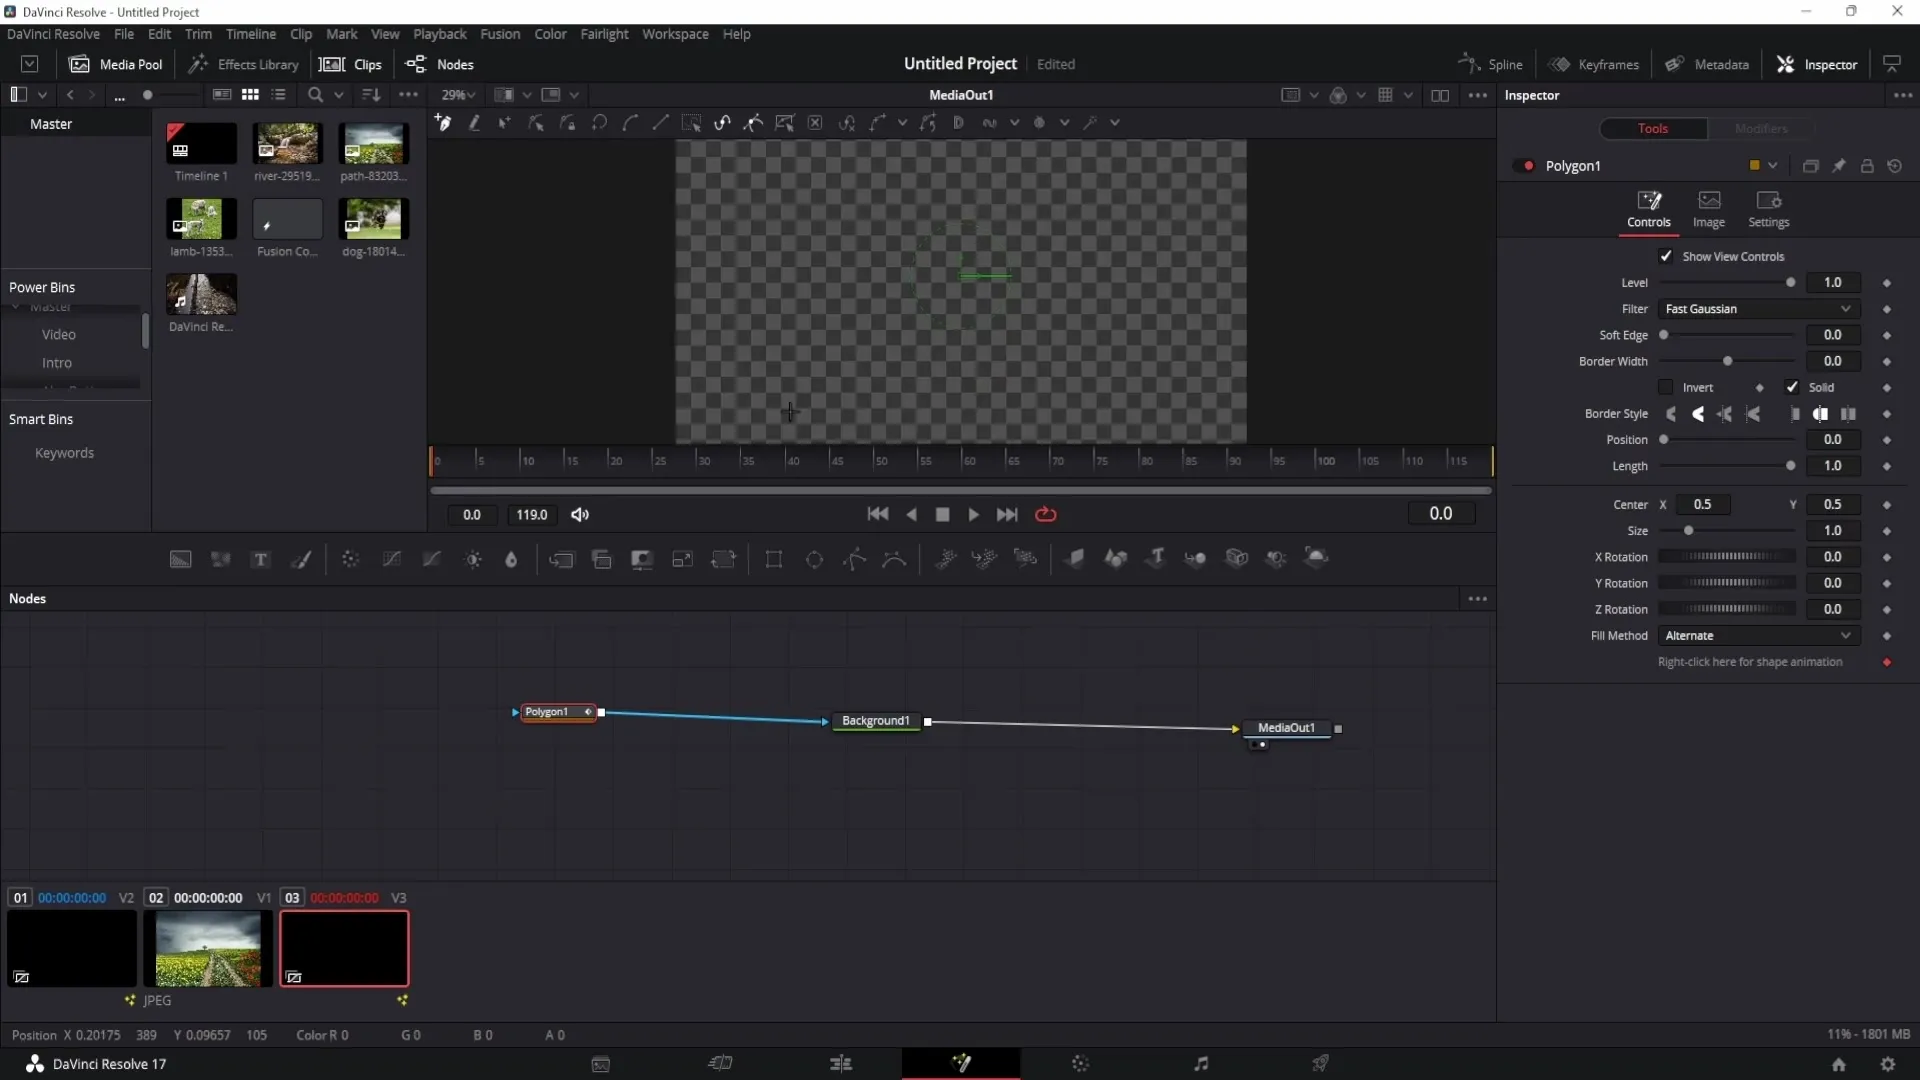
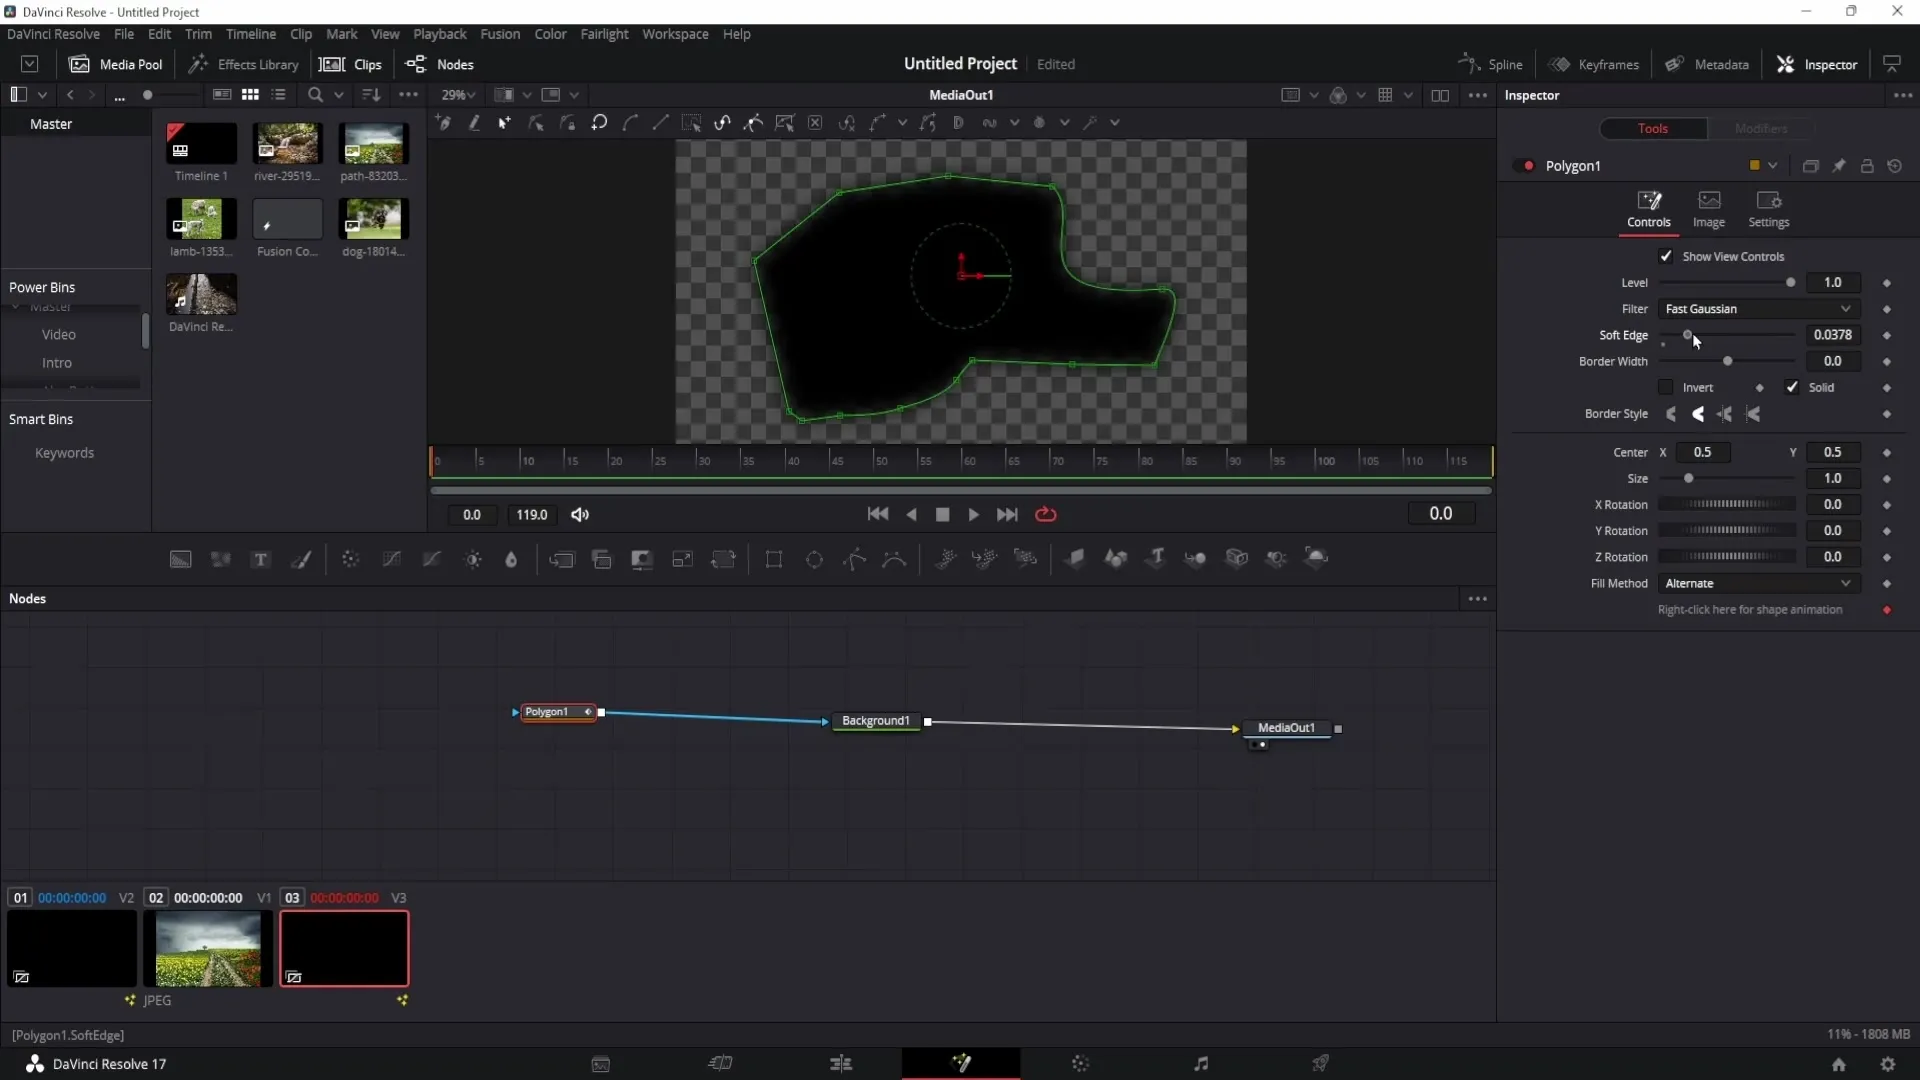
After creating the shape, you can make it more transparent in the inspector or add an outline.
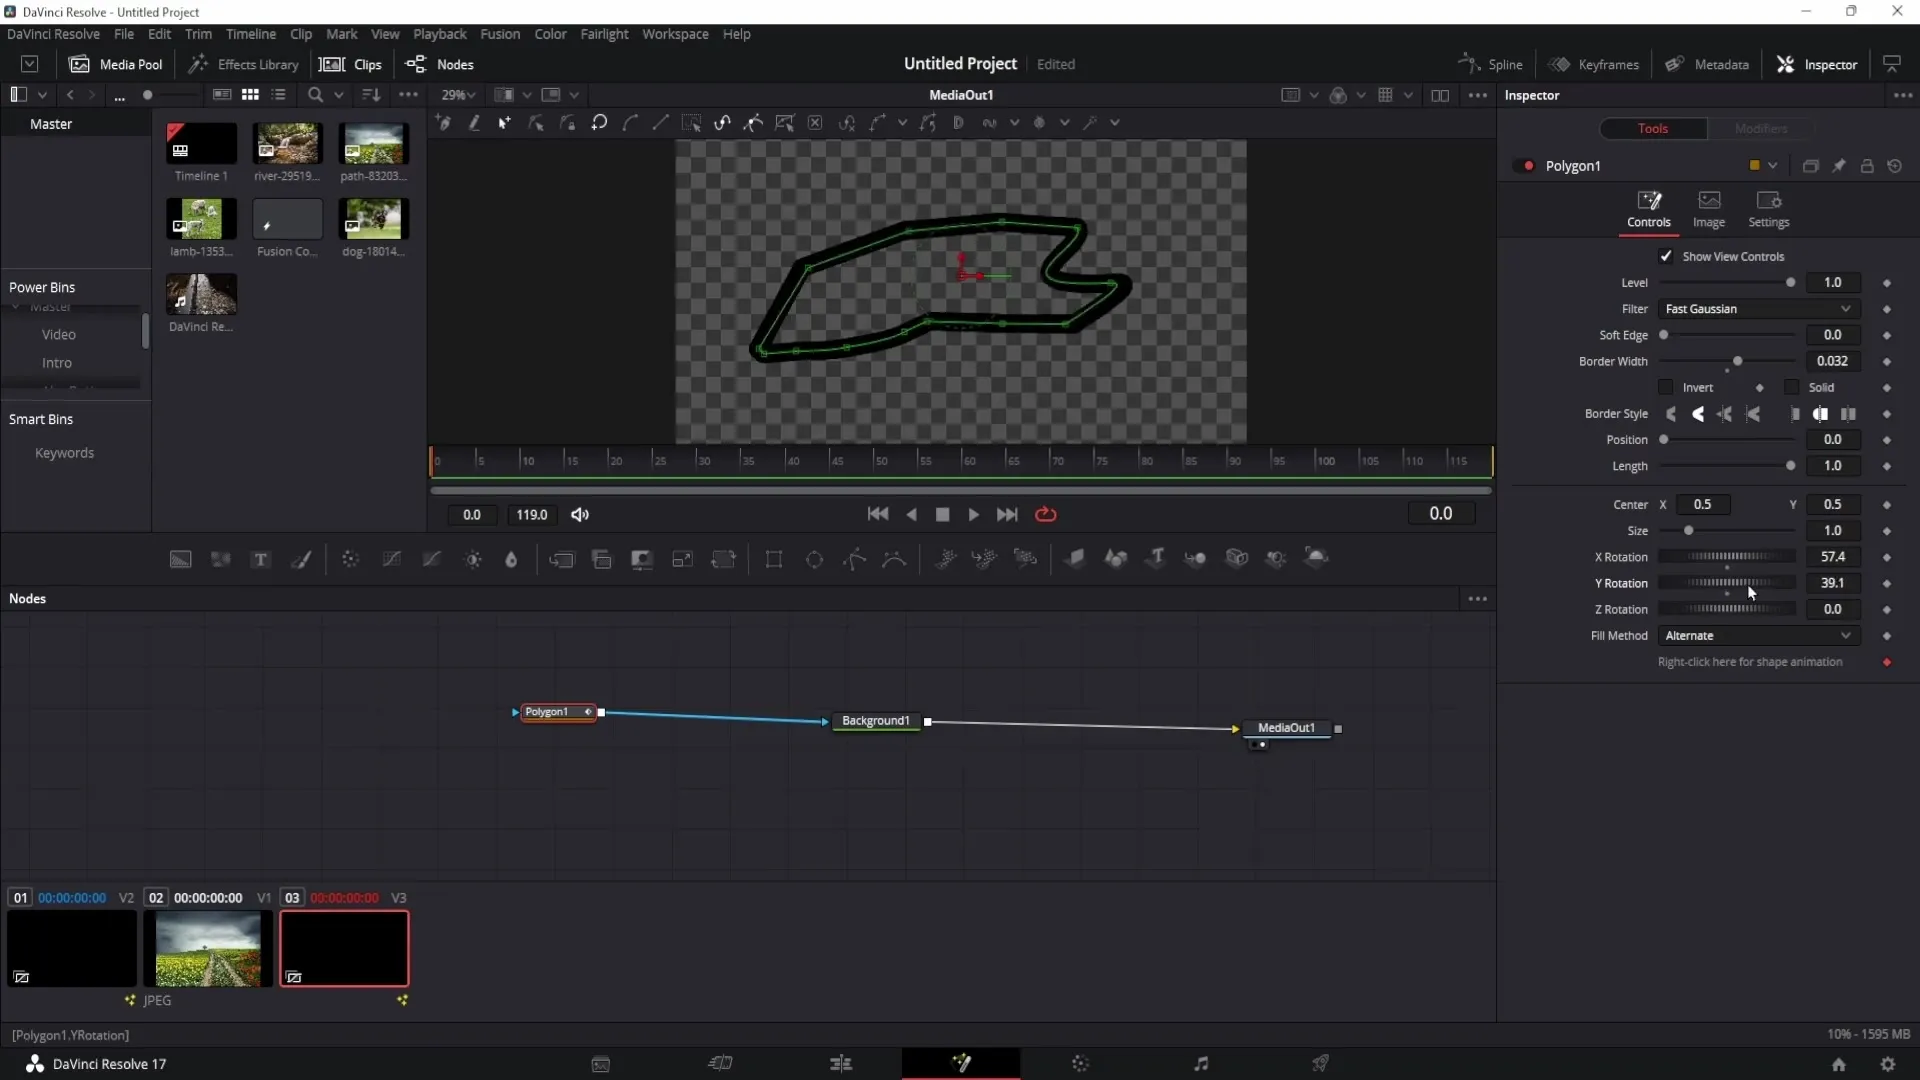
Additionally, you can rotate and animate the shape to achieve interesting effects.
Summary
In this guide, you have learned how to create various shapes in DaVinci Resolve, starting from simple designs like circles and triangles to individually customizable shapes. You have also learned how to adjust and animate these shapes to match your desired style.
Frequently Asked Questions
How do I open the Fusion area in DaVinci Resolve?You can open the Fusion area by clicking on the Fusion Composition in the timeline and then clicking on the magic wand at the bottom of the program.
Can I change the colors of my shapes?Yes, you can adjust the colors of your shapes by selecting the Background and changing the color in the inspector.
How can I add animations to my shapes?You can add animations by setting keyframes in the inspector and changing parameters like zoom or position over time.
Is there a way to create custom shapes?Yes, you can create custom shapes with the Polygon Node in the Fusion area by adding and adjusting points through clicking.


