In this tutorial, I will show you step by step how to create a still image from a video in DaVinci Resolve. Often you may want to capture a specific moment in the video, be it for a thumbnail, for a presentation, or simply as a memento. With the simple tools of DaVinci Resolve, you can easily do this. Let's get started!
Key Takeaways
- You can use the razor blade tool to cut a video and isolate a specific segment.
- Creating a still image is done by activating the "Free Frame" option.
- You can customize the still image and add effects like zoom.
Step-by-Step Guide
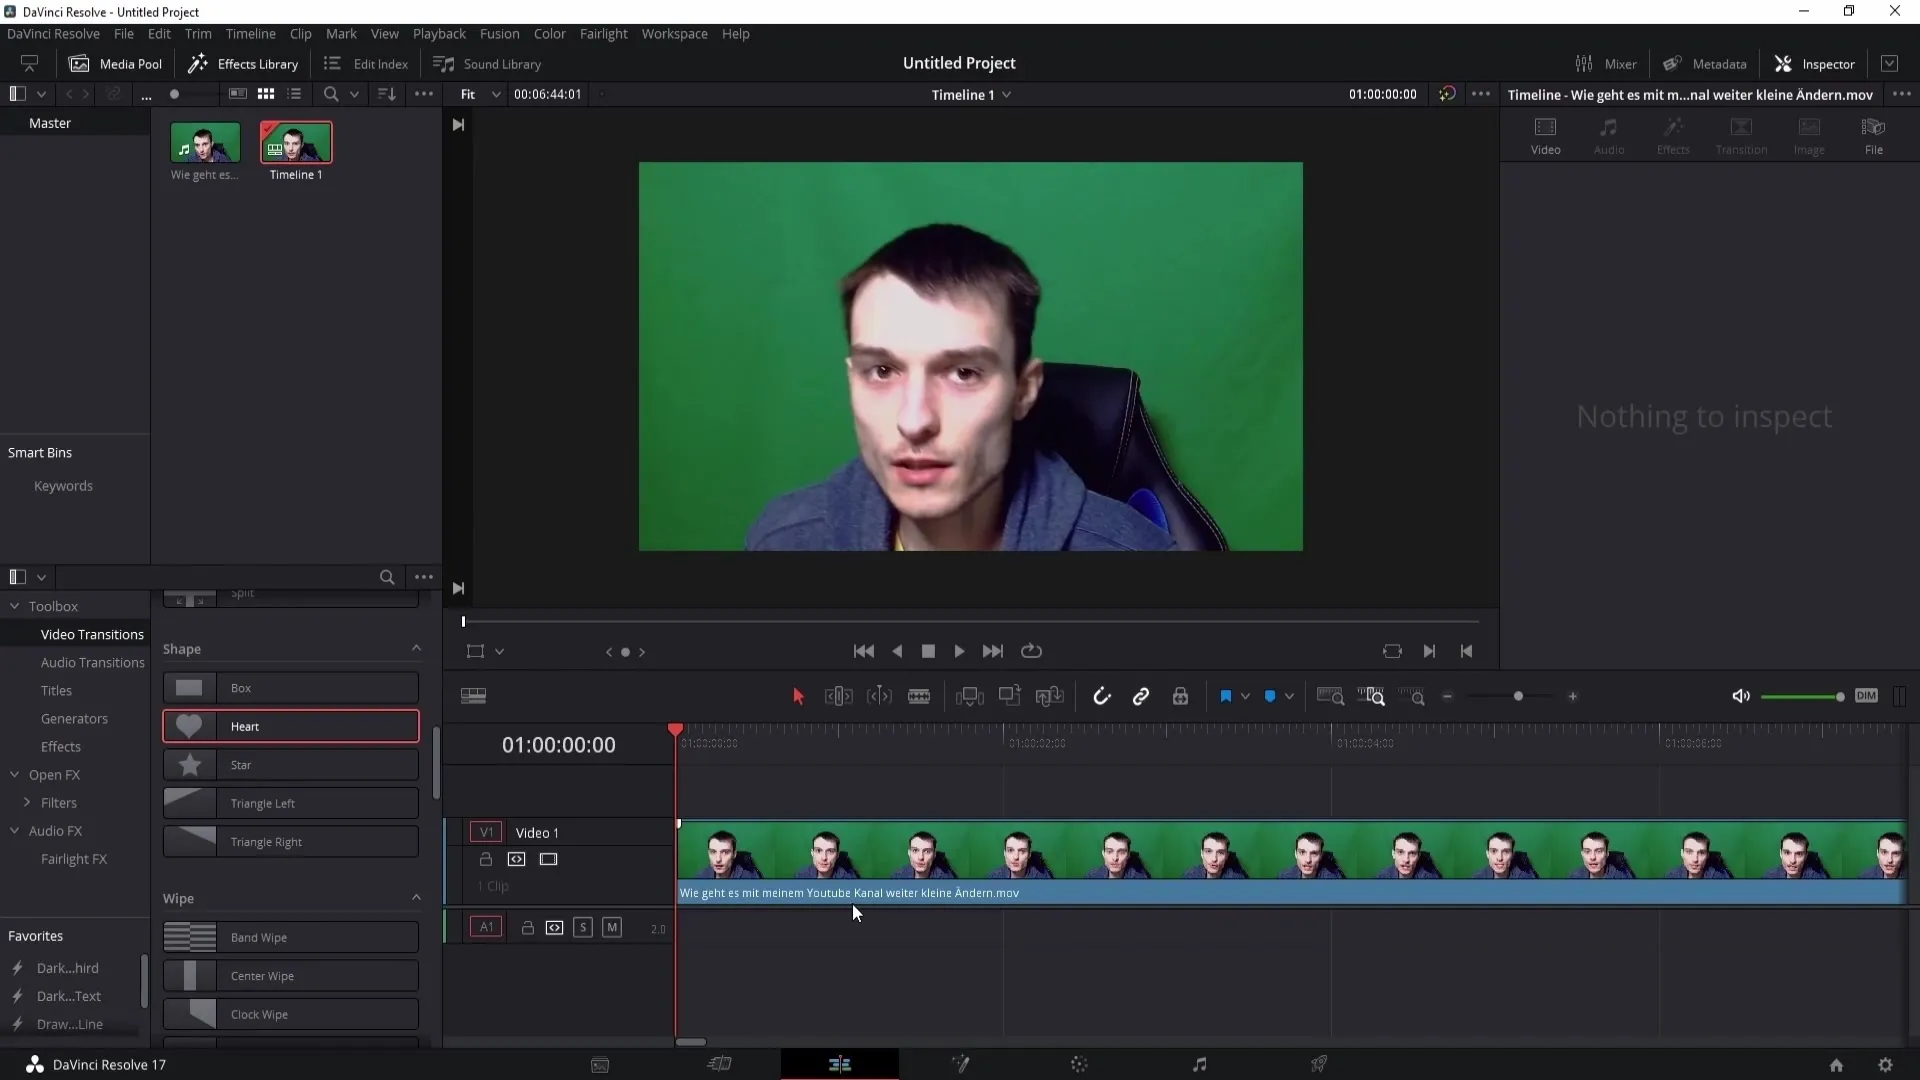
First, you need to drag your video into the timeline of DaVinci Resolve. To do this, you can simply drag the video into the timeline using drag & drop. Make sure to hold down the left mouse button while moving the video.
Once you have the video in the timeline, you can decide whether to remove the audio track. In this case, I will delete the audio to ensure no sounds are heard in case I explain something later. However, you can also keep the audio track if you prefer.

Now, you should identify a specific point in the video that you want to use as a still image. You can play the video and choose a suitable position. Alternatively, you can also navigate from second to second using the arrow keys on the keyboard to reach the desired location.
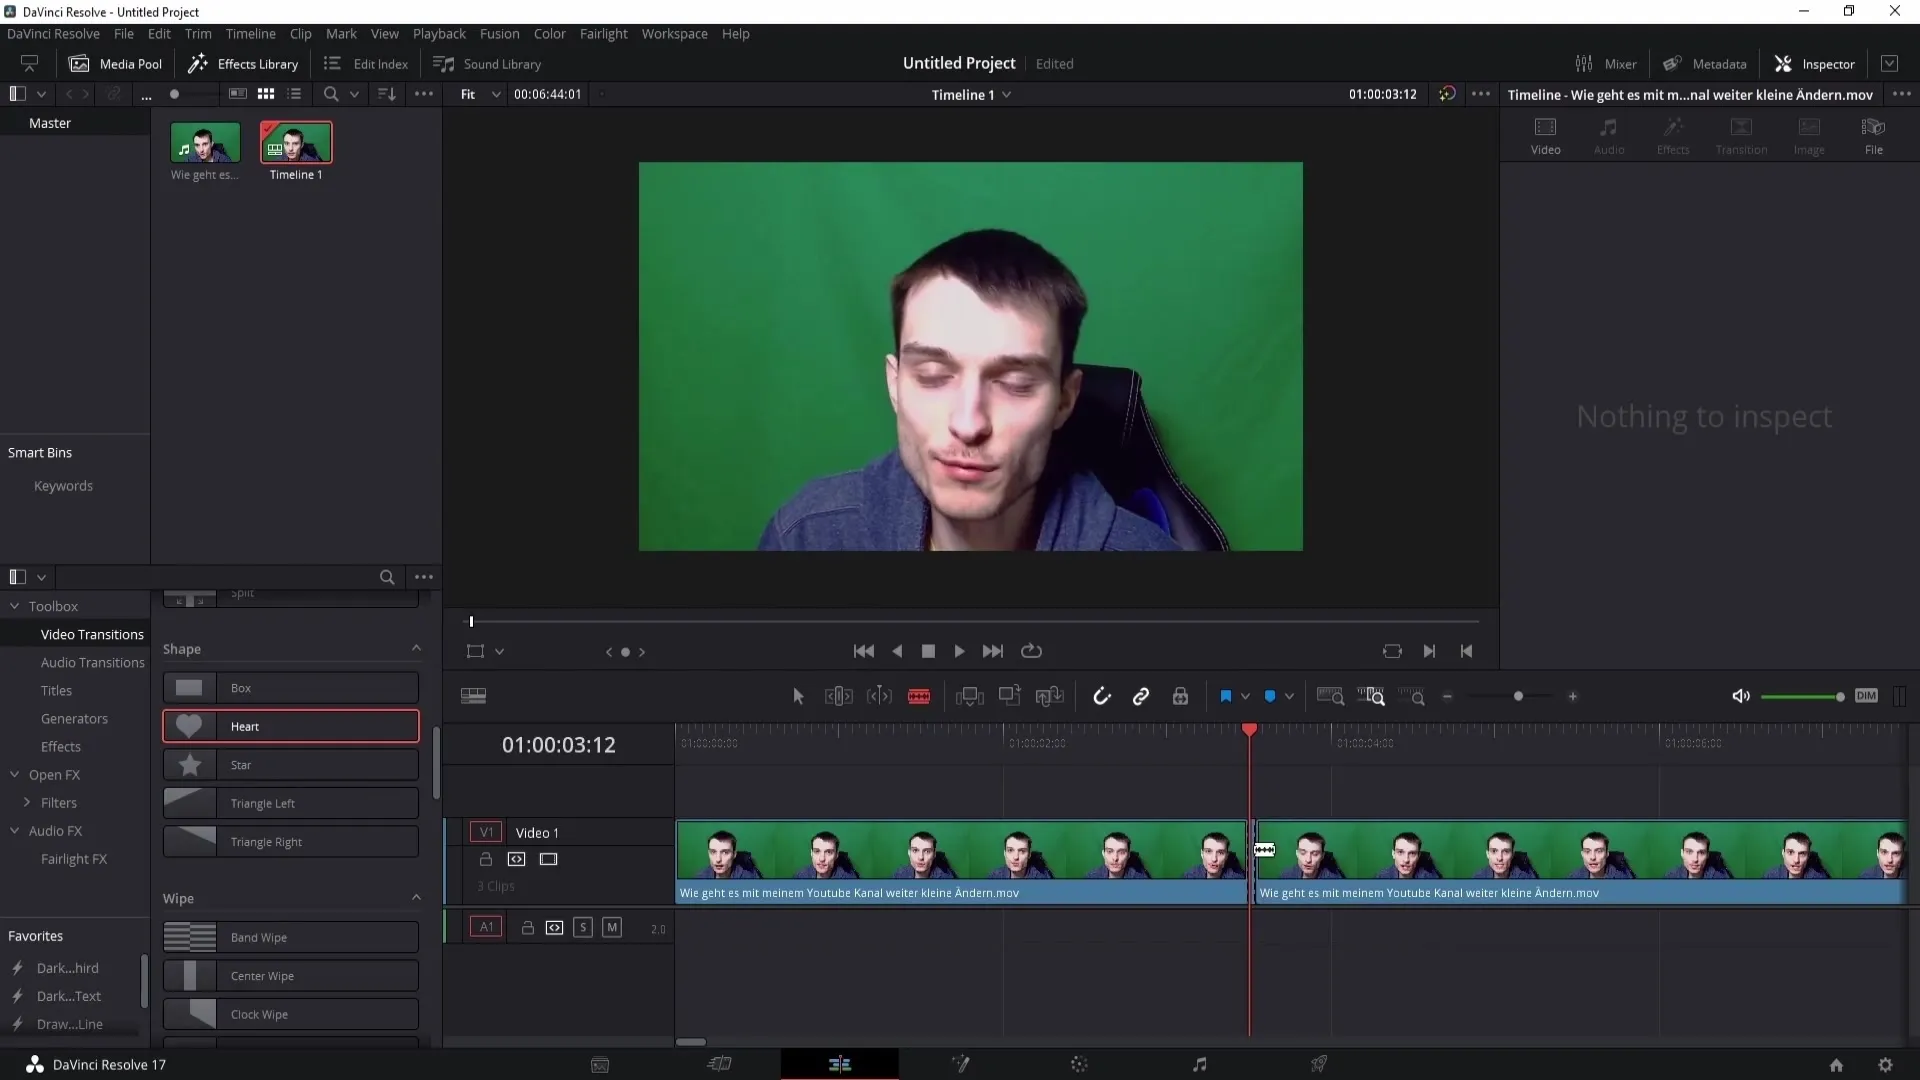
Have you found the suitable point? Great! Now, take the razor blade tool to make a cut in the video. Click where you want to make the cut. To ensure you hit the right position, you can go back one second by clicking once on the left mouse button and then make a cut again.
If the video doesn't look the way you want, you should switch views. I recommend switching to the medium view to be close enough and set the cuts precisely. Then, make another cut at the end of your desired clip.

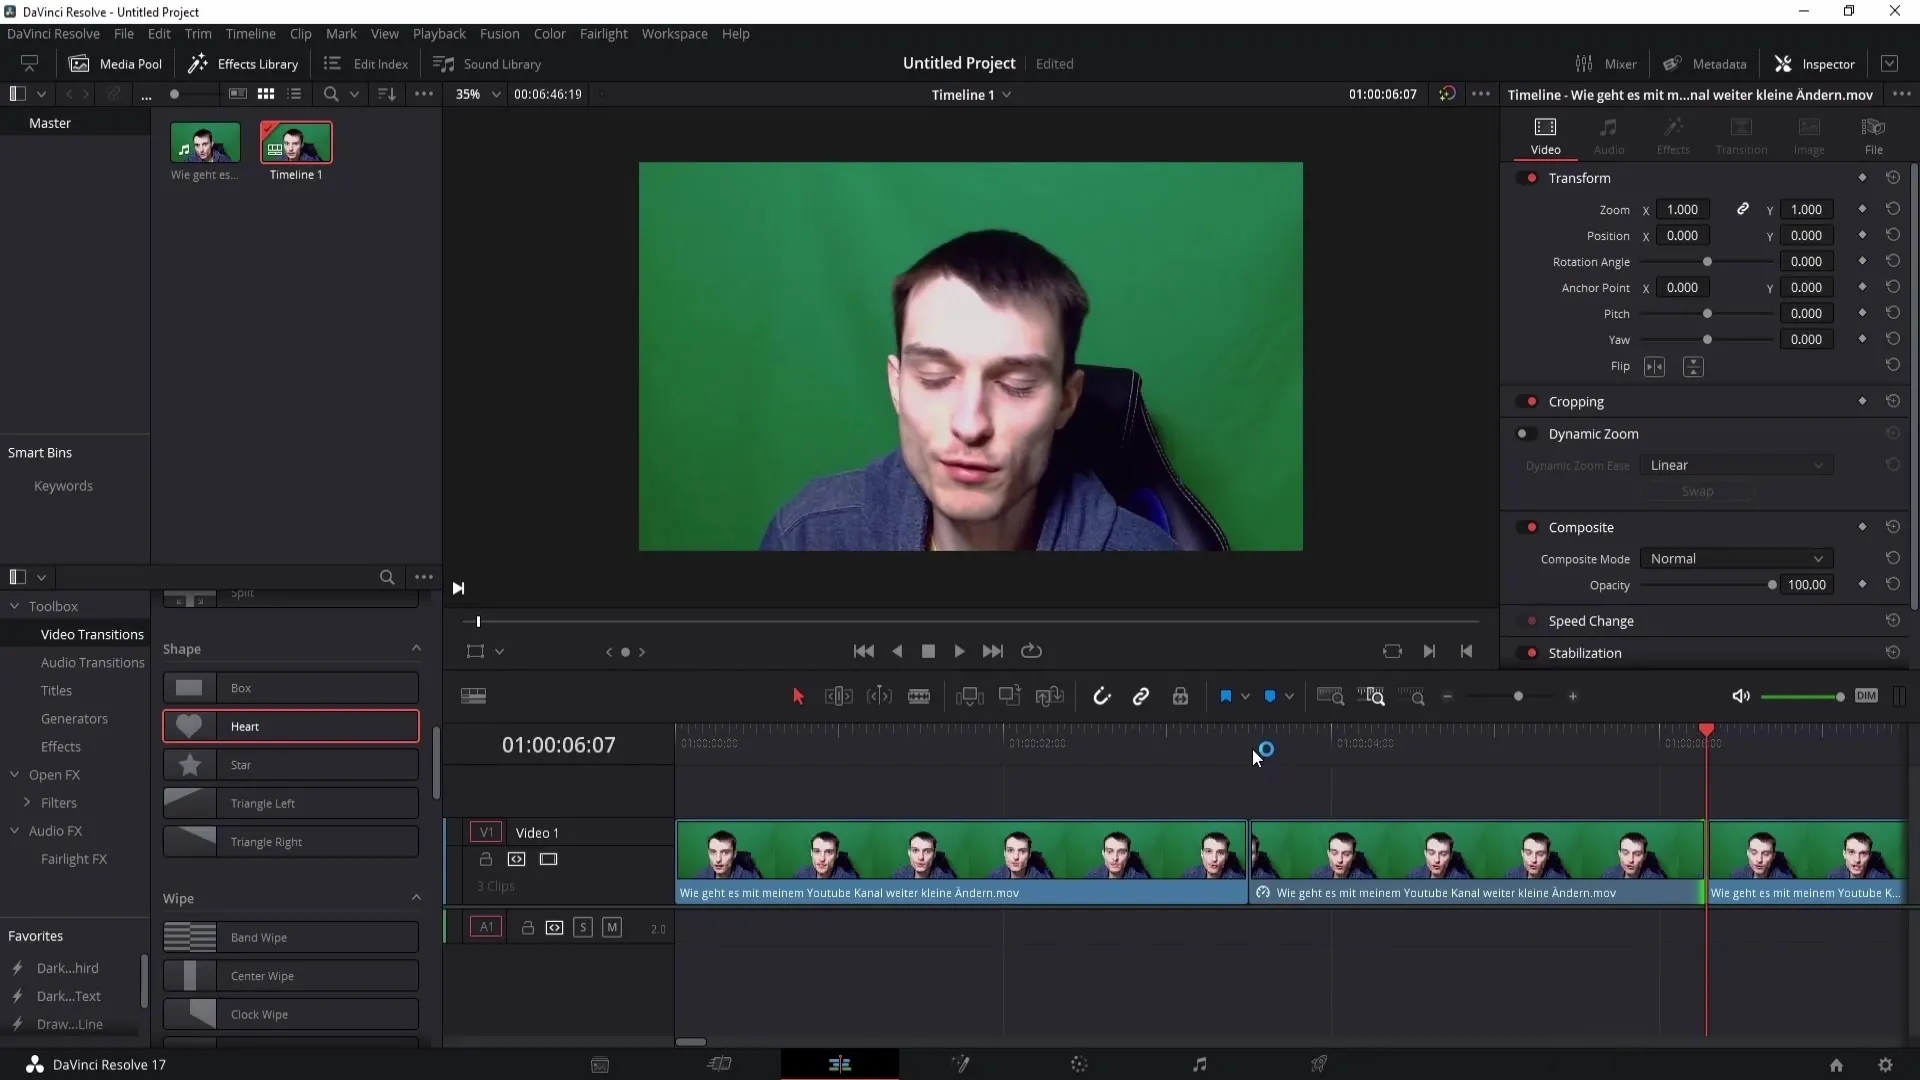
Now, right-click on the clipped clip and select the "Change Clip Speed" option. In the opening window, check the "Free Frame" option and then click "Change". You have successfully created the still image.
To extend the duration of the still image, switch back to Selection Mode. You can do this easily by pressing the "A" key. Drag the clip slightly apart to extend the duration of the still image.
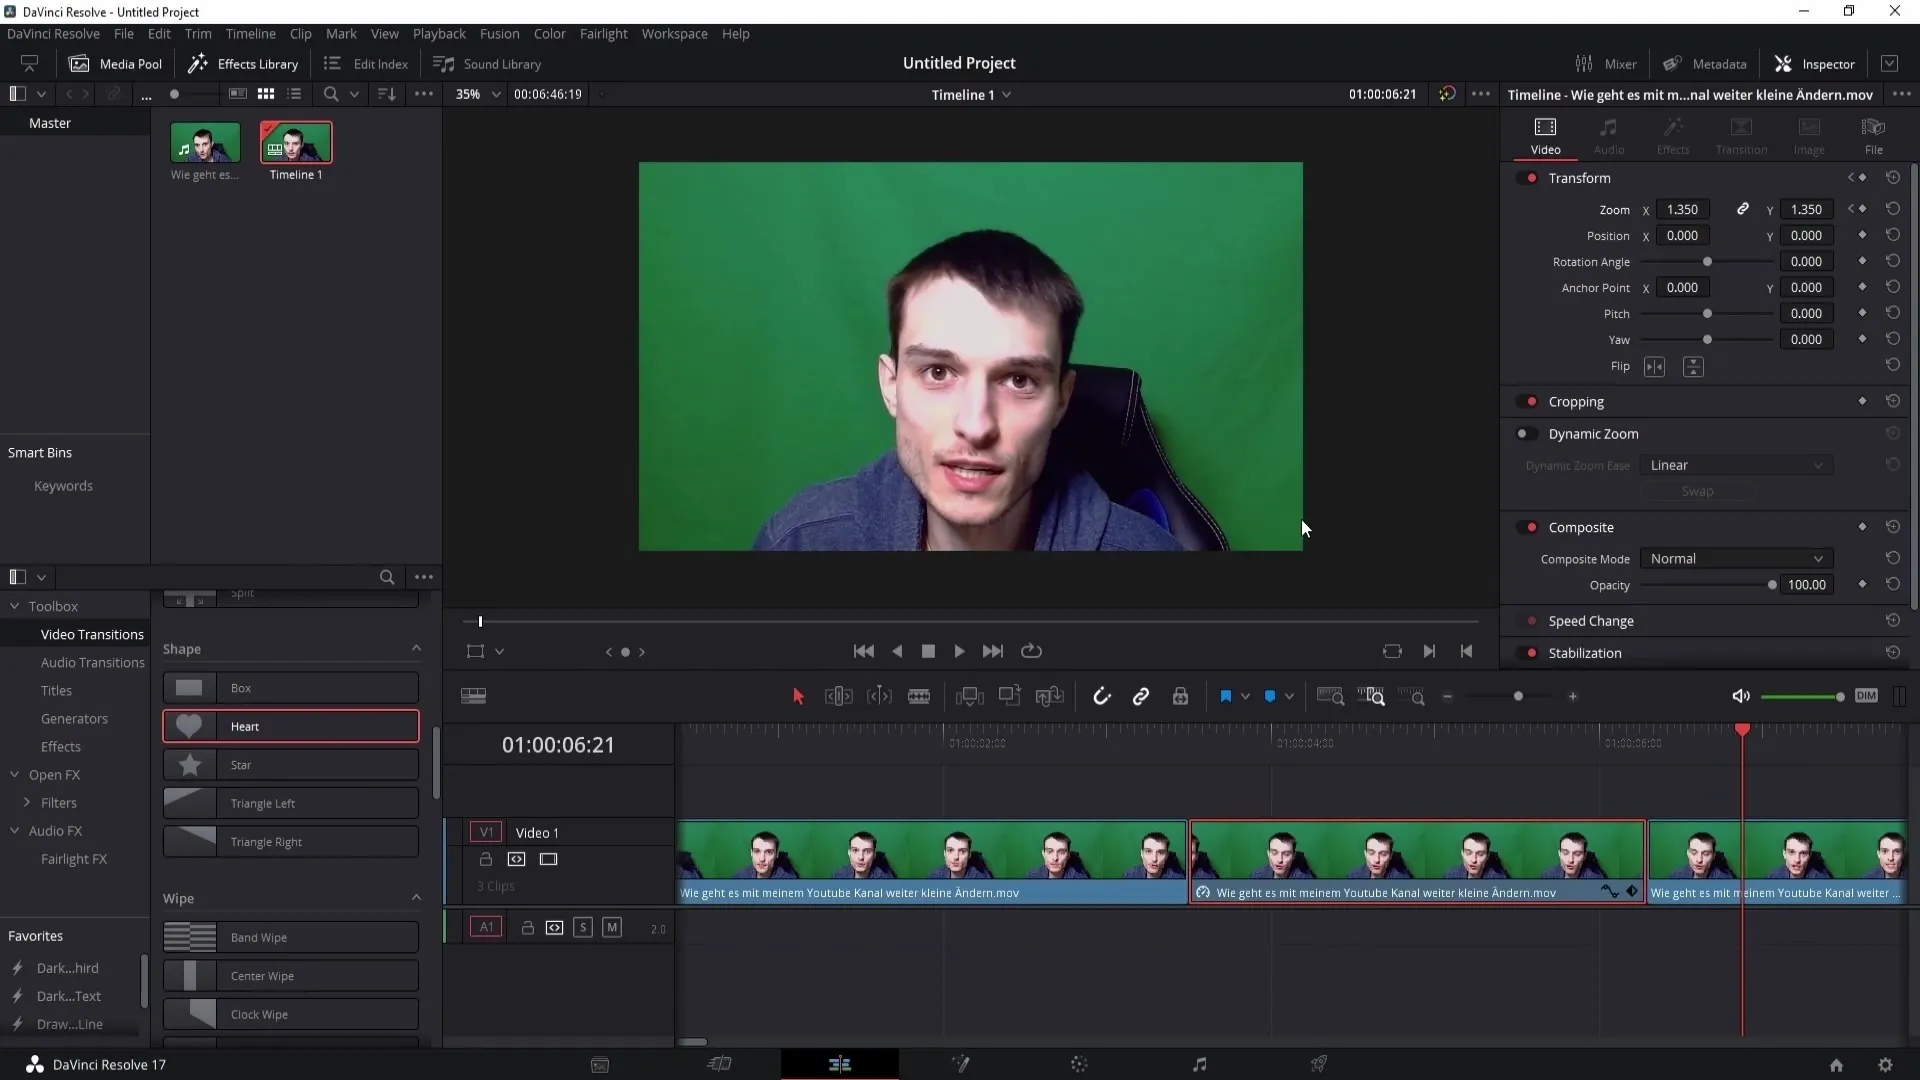
When you play it now, you will see that you have successfully set up your still image. Next, you can optionally add a zoom effect. Go to the beginning of the still image and click on it. You can now set a keyframe at "Zoom".

Then, continue to the end of the still image. If you want to adjust the zoom now, move forward slightly. When you play the video now, you will see that the still image has been enhanced with a zoom effect.

If you don't like the zoom effect, no problem! You can simply click on the keyframe and undo the change. When you play the video, you will see that the zoom effect has been removed.
Summary
In this guide, you have learned how to create a still image from a video in DaVinci Resolve. From inserting the clip into the timeline to applying a zoom effect, each step has been explained in detail. Now you can customize your videos and create still images as desired.
Frequently Asked Questions
How can I trim a specific clip in DaVinci Resolve?You can use the razor blade tool to set cutting points in the video.
How do I extend the duration of a still image?Switch to selection mode and simply drag the clip further apart.
How do I add a zoom effect to my still image?Set a keyframe for zoom and adjust the value at the end of the still image.
What can I do if I don't like the zoom effect?You can delete the keyframe or reset the value to the original.


