In this guide, you will learn how to easily and precisely straighten the horizon in your videos or images in DaVinci Resolve. Whether you have a crooked shot image or video, it is important to align the horizon to enhance aesthetics and leave a professional impression. With a few steps and a few functions in DaVinci Resolve, you can ensure that the horizon is always straight.
Key Insights
- Use the Inspector to adjust the rotation angle.
- Utilize the Grid Tool for visual alignment support.
- Adjust the zoom to avoid black borders after rotating.
Step-by-Step Guide
To straighten the horizon in DaVinci Resolve, follow these simple steps:
Firstly, open DaVinci Resolve and load the video or image you want to edit. In this case, I am using a video with a crooked horizon. Once loaded, you should be able to see this image or video on the timeline.
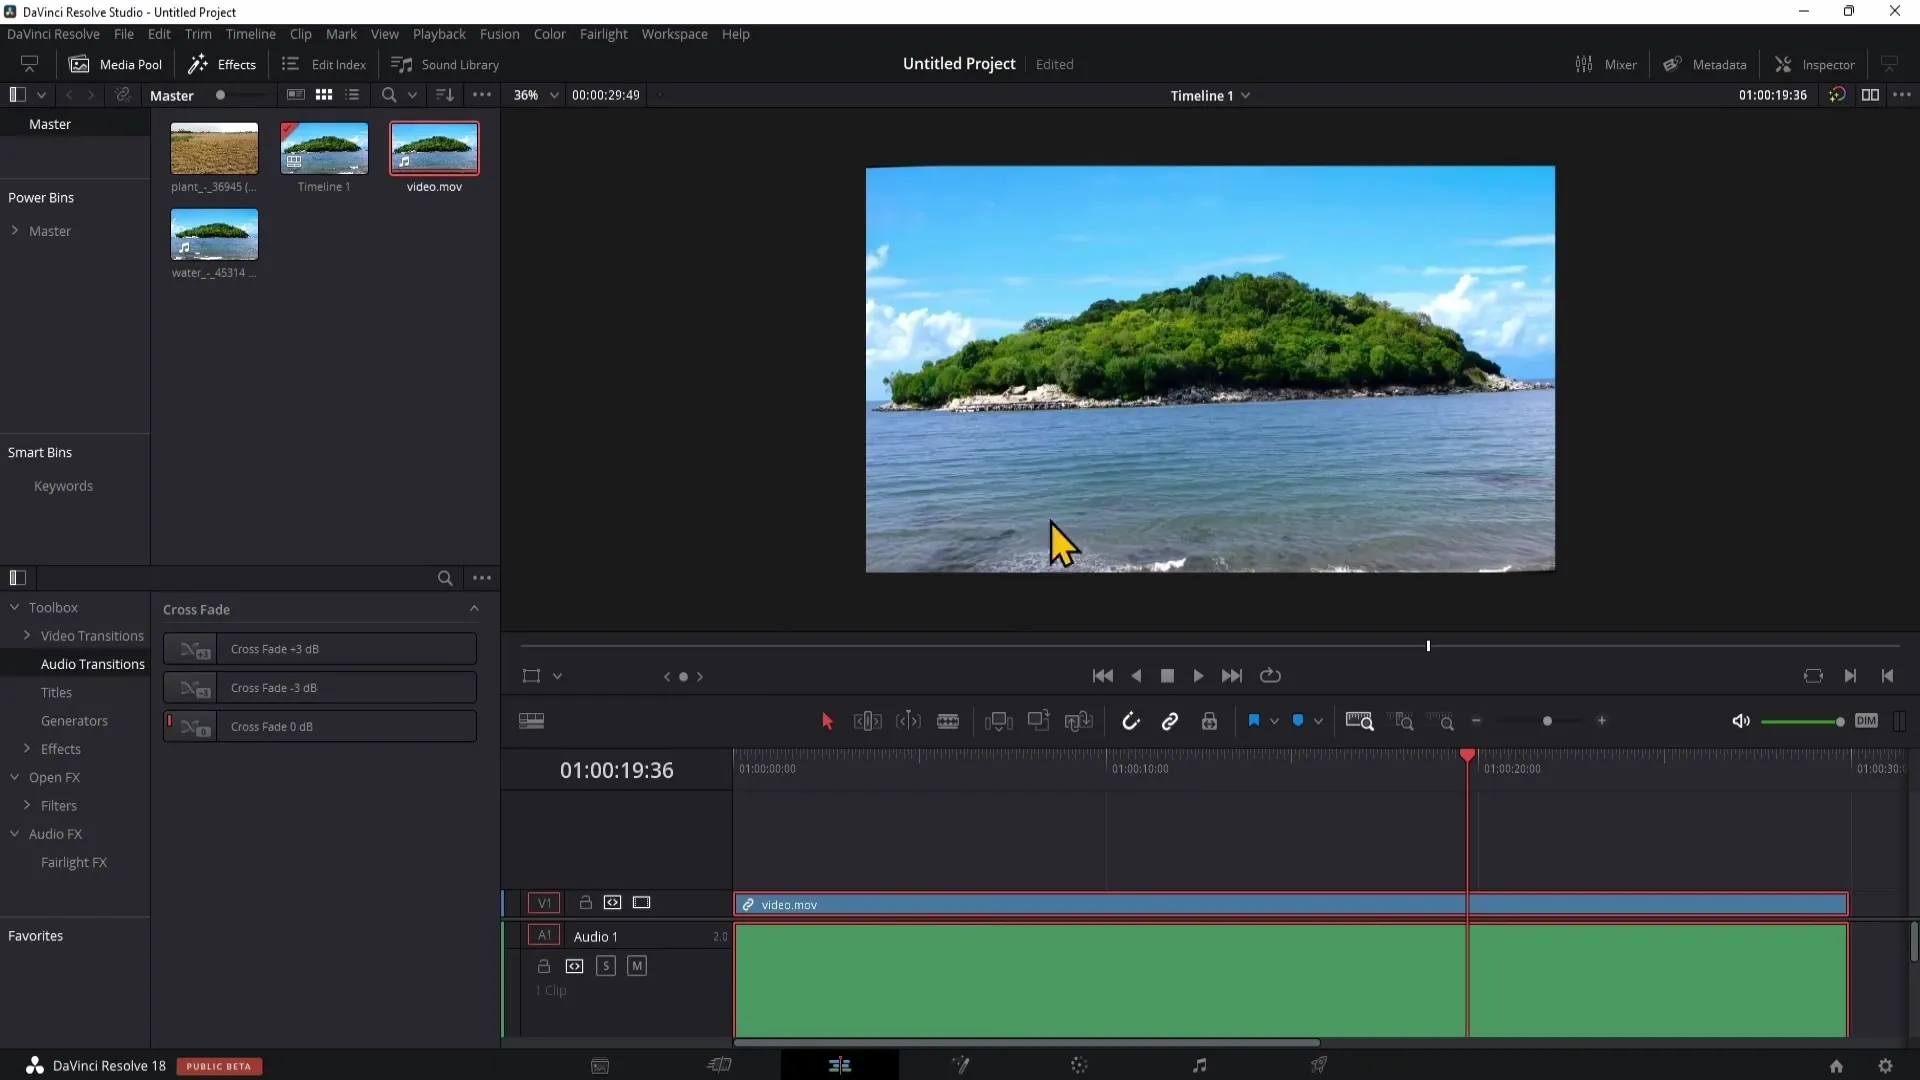
Now you need to open the Inspector, which is located in the top right corner of DaVinci Resolve. If the Inspector is not visible, you can activate it by clicking on "Inspector." Here, you can make various adjustments, including the ability to straighten the horizon using the Rotation Angle.
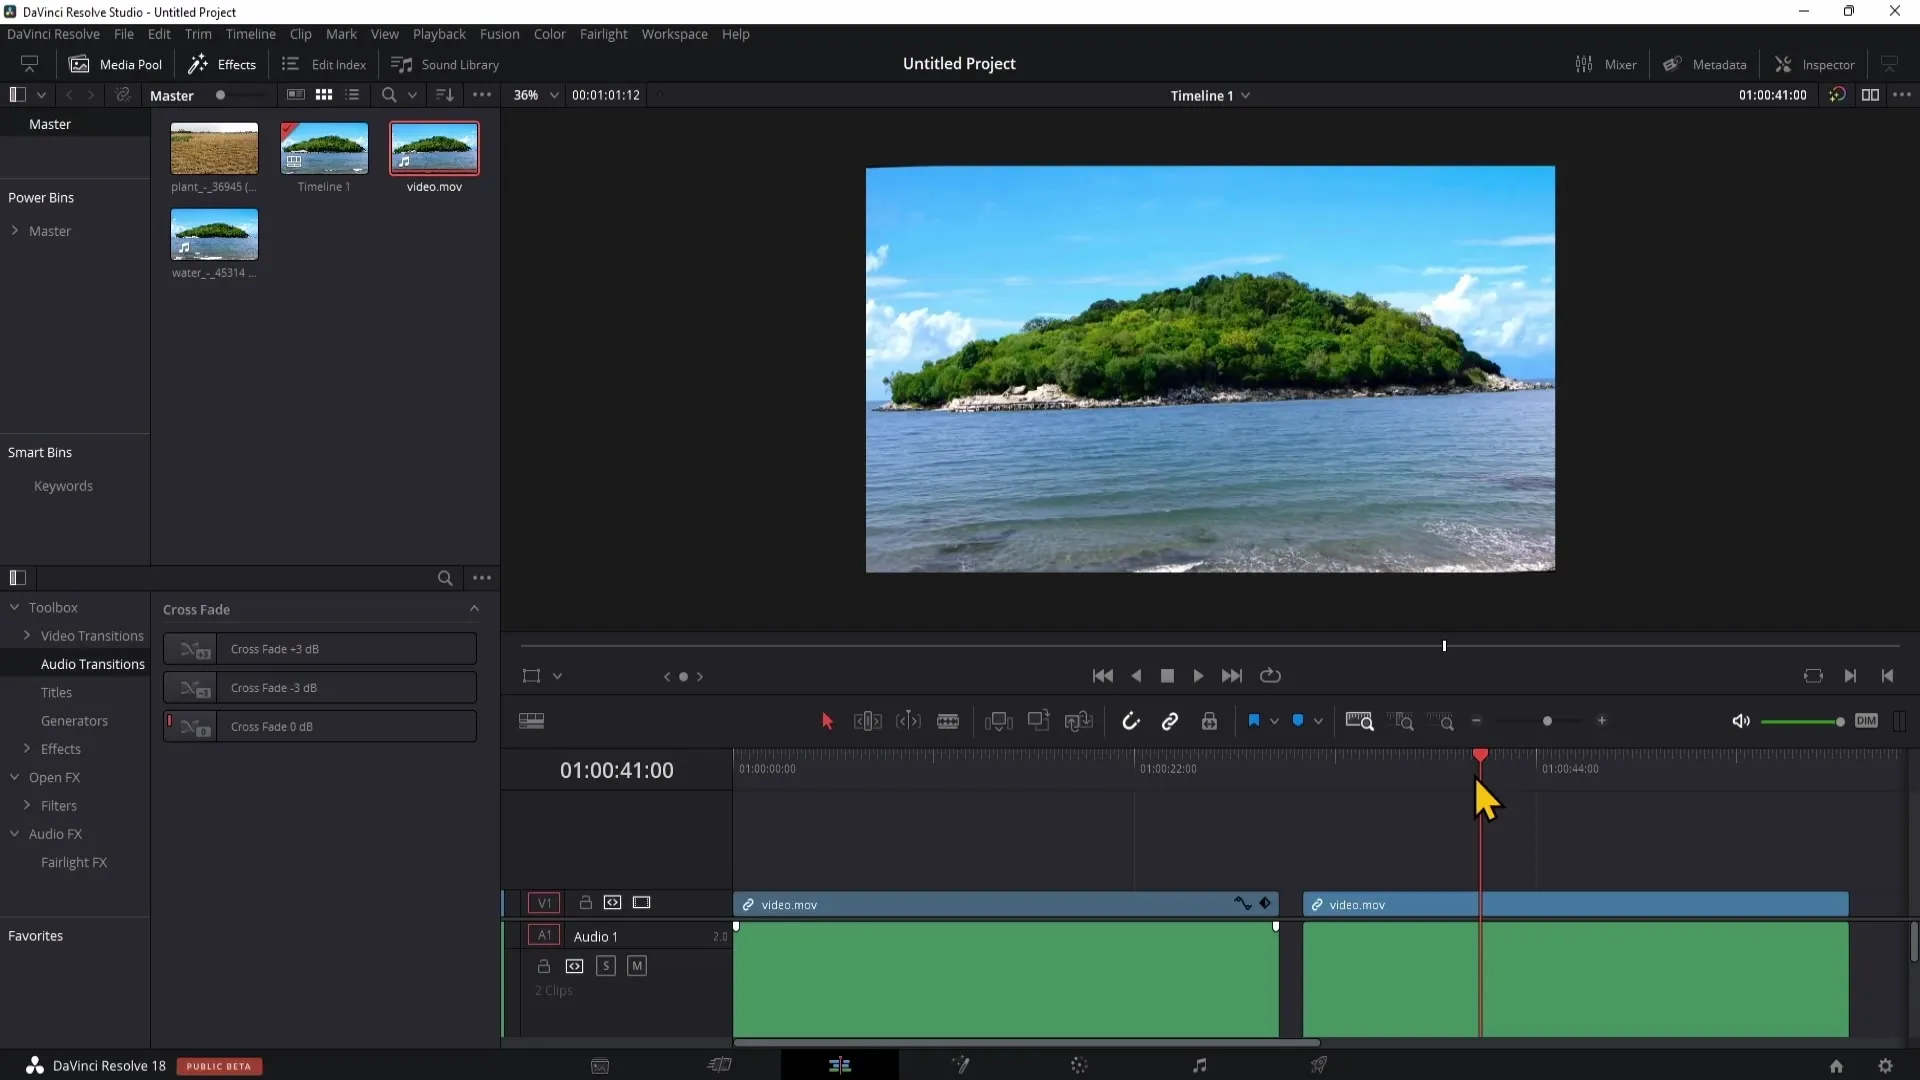
Now you can adjust the horizon by changing the Rotation Angle until the horizon is straight. In this step, it can sometimes be difficult to know exactly how much you need to rotate to achieve a straight line. To ensure precise work, you can get assistance in the form of a grid.
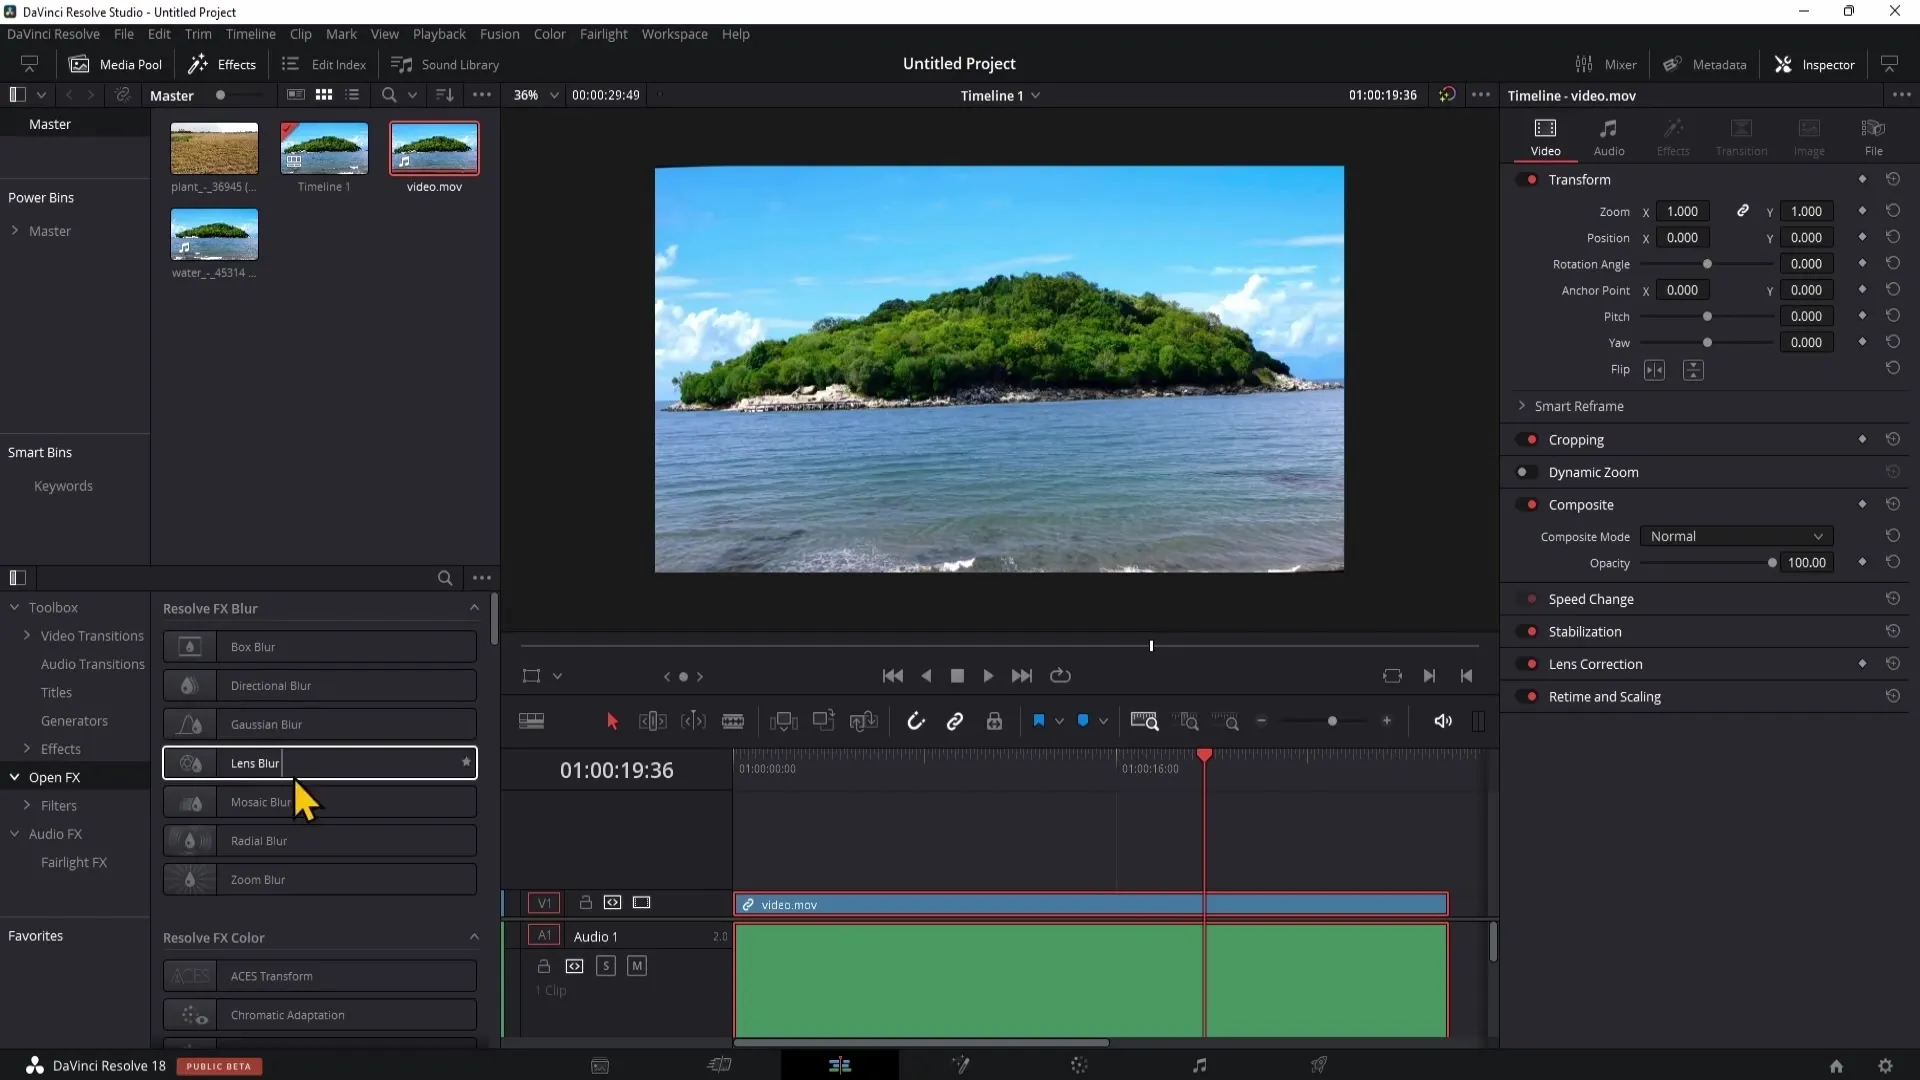
Go to the Effects section by clicking on "Open FX" at the bottom left, then scroll down to find the Grid under Resolve FX. Drag the Grid onto your clip to apply it. This will provide you with visual guidelines to help align your horizon.
The Grid can be customized. To adjust it according to your needs, go back to the Effects and play with the Rows (Row Cells). As you move the rows back and forth, you will see the horizontal lines change accordingly, helping you align the horizon precisely.
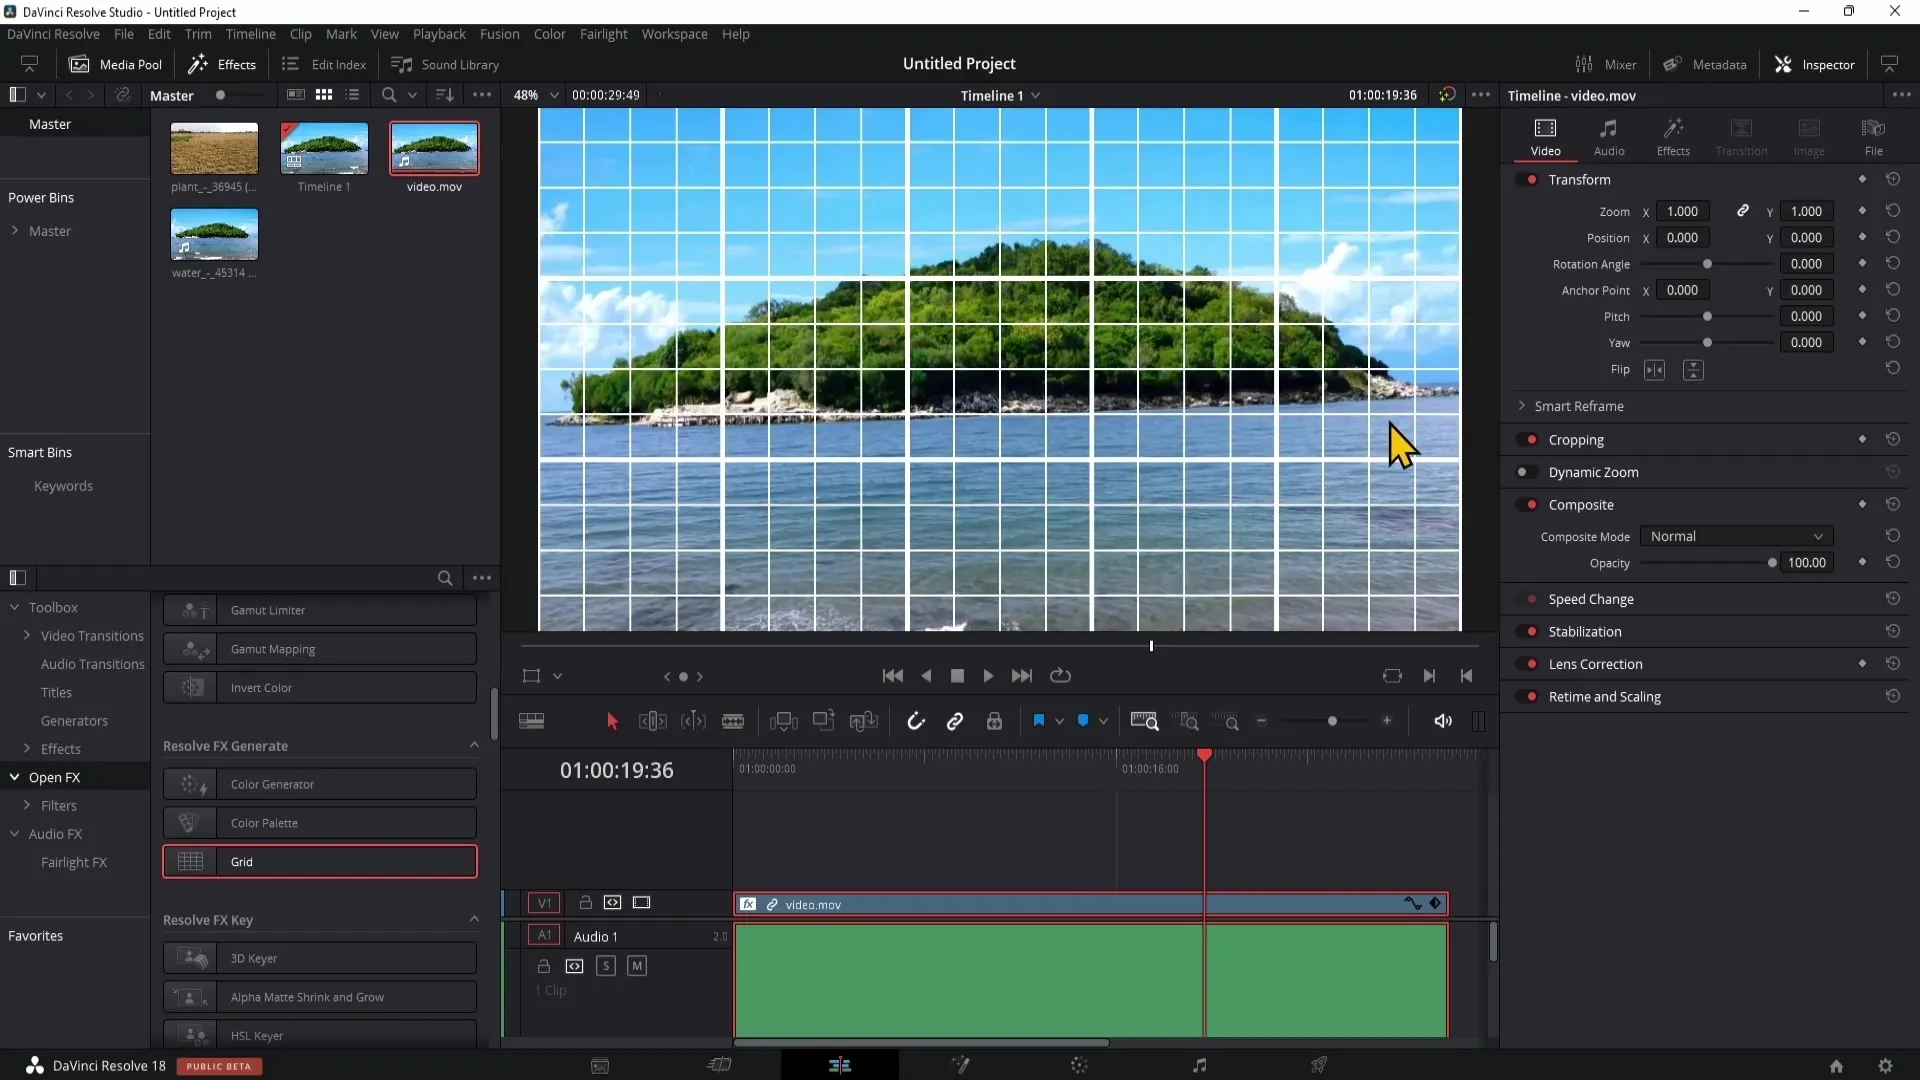
After setting the Grid, you can go back to the Rotation Angle and further adjust it to perfectly align the horizon. Double-clicking on the Rotation Angle value allows you to change it. You can then use the up and down arrow keys to finely adjust the value until you are satisfied.
For verification, adjust the Grid again and ensure a straight line is visible on the horizon. Sometimes minor adjustments are needed to ensure everything is perfectly aligned.
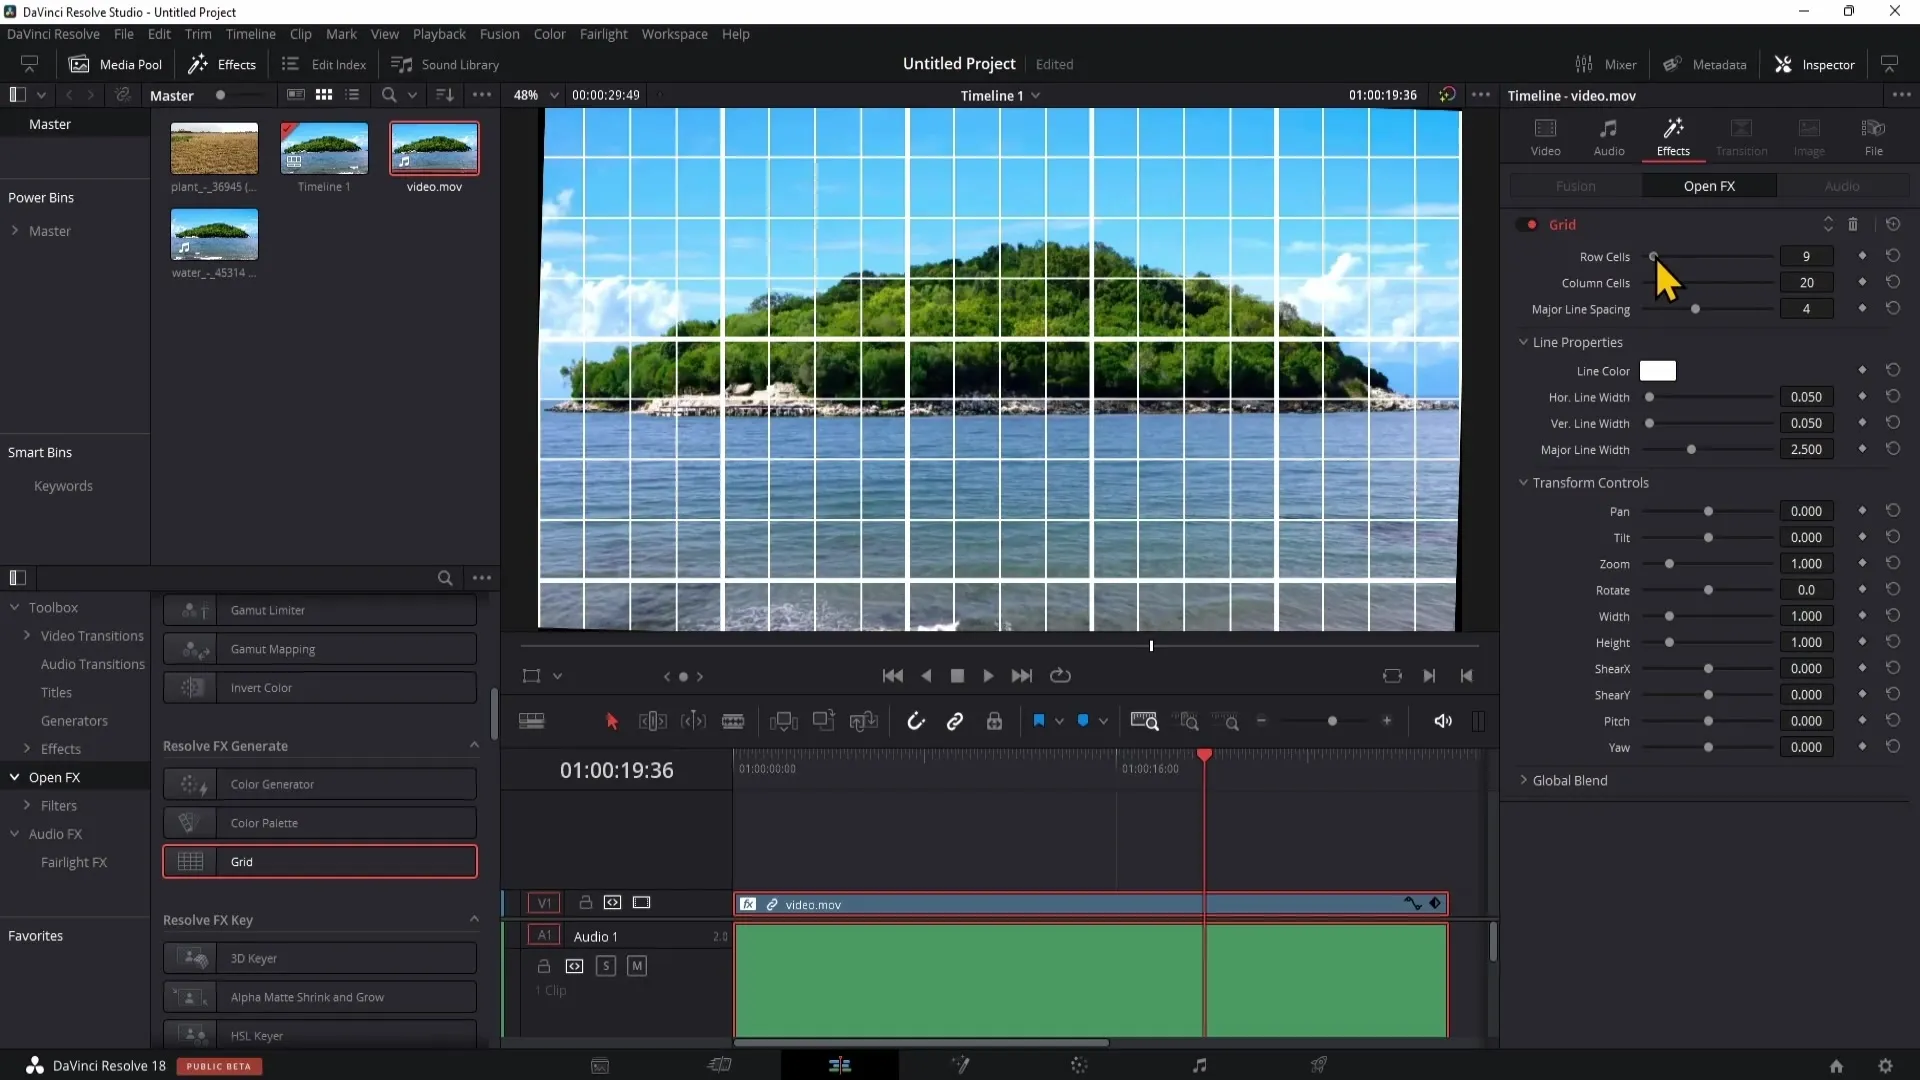
Once you are satisfied and the horizon is straight, you may want to remove the Grid to ensure a clean presentation. Go back to the Effects and click on the trash can to delete the Grid.
After removing the Grid, you may notice black borders. To eliminate these borders, go back to the Video tab and adjust the Zoom settings until the black borders are gone.
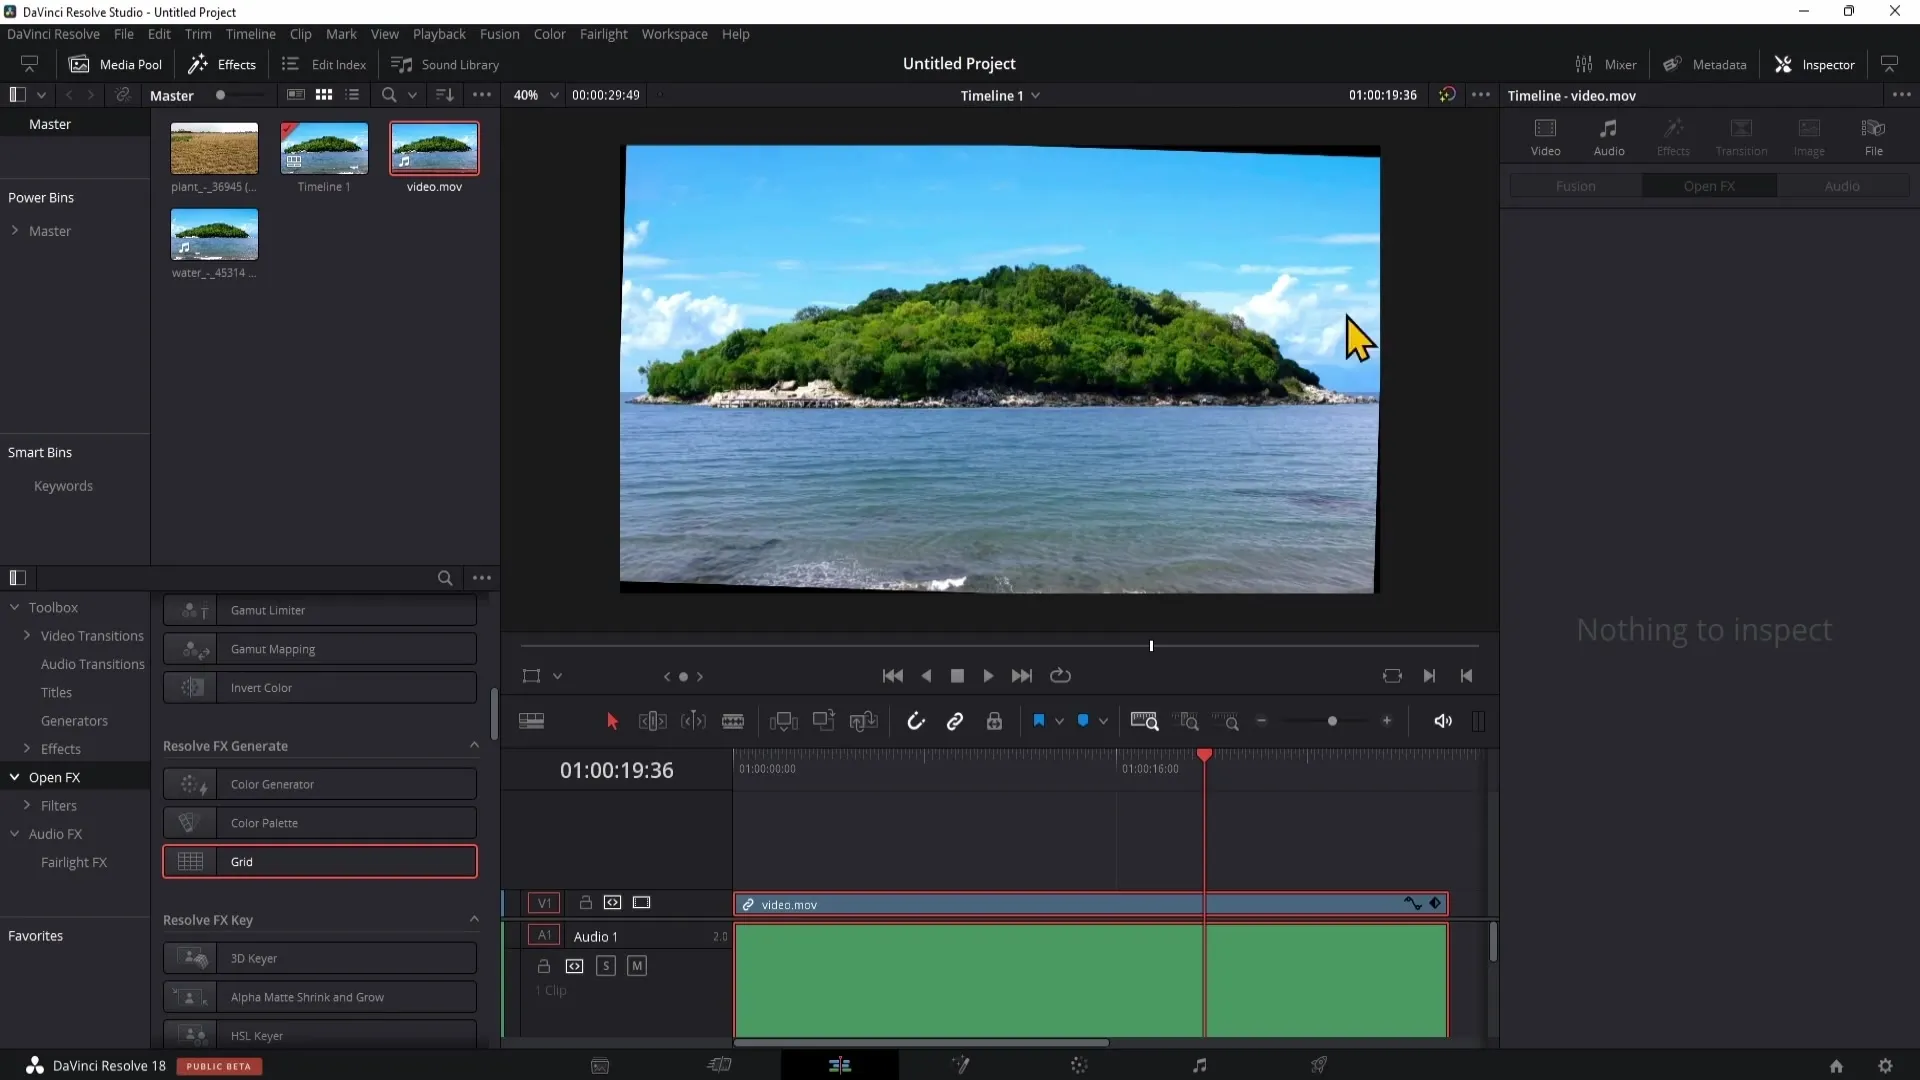
You can also adjust the position to ensure the main subject, such as an island, is well represented in the image. Stay creative and make sure the composition remains balanced.
Summary
With this guide, you are now able to straighten the horizon in DaVinci Resolve. By using the Inspector, the Grid Tool, and adjusting the Zoom, you can ensure that your videos and images look professional.
Frequently Asked Questions
How do I open the Inspector in DaVinci Resolve?The Inspector can be opened through the top right corner of the program.
What is the benefit of the grid when straightening the horizon?The grid provides visual aids to ensure a straight line on the horizon.
How can I ensure the black borders disappear?By adjusting the zoom in the video settings.


