In this tutorial, you will learn how to insert various transitions in DaVinci Resolve. Transitions are crucial for creating smooth and engaging video edits. Whether you want to create fades, overlays, or dynamic effects, DaVinci Resolve offers you many options. This guide will take you step by step through the process, from basics to more advanced techniques. Let's dive right in!
Key Takeaways
- You can easily insert transitions by dragging and dropping them into the timeline.
- DaVinci Resolve offers a variety of pre-made transitions that can be easily customized.
- Editing transitions is possible with just a few clicks, allowing you great creative freedom.
Step 1: Prepare Clips in the Timeline
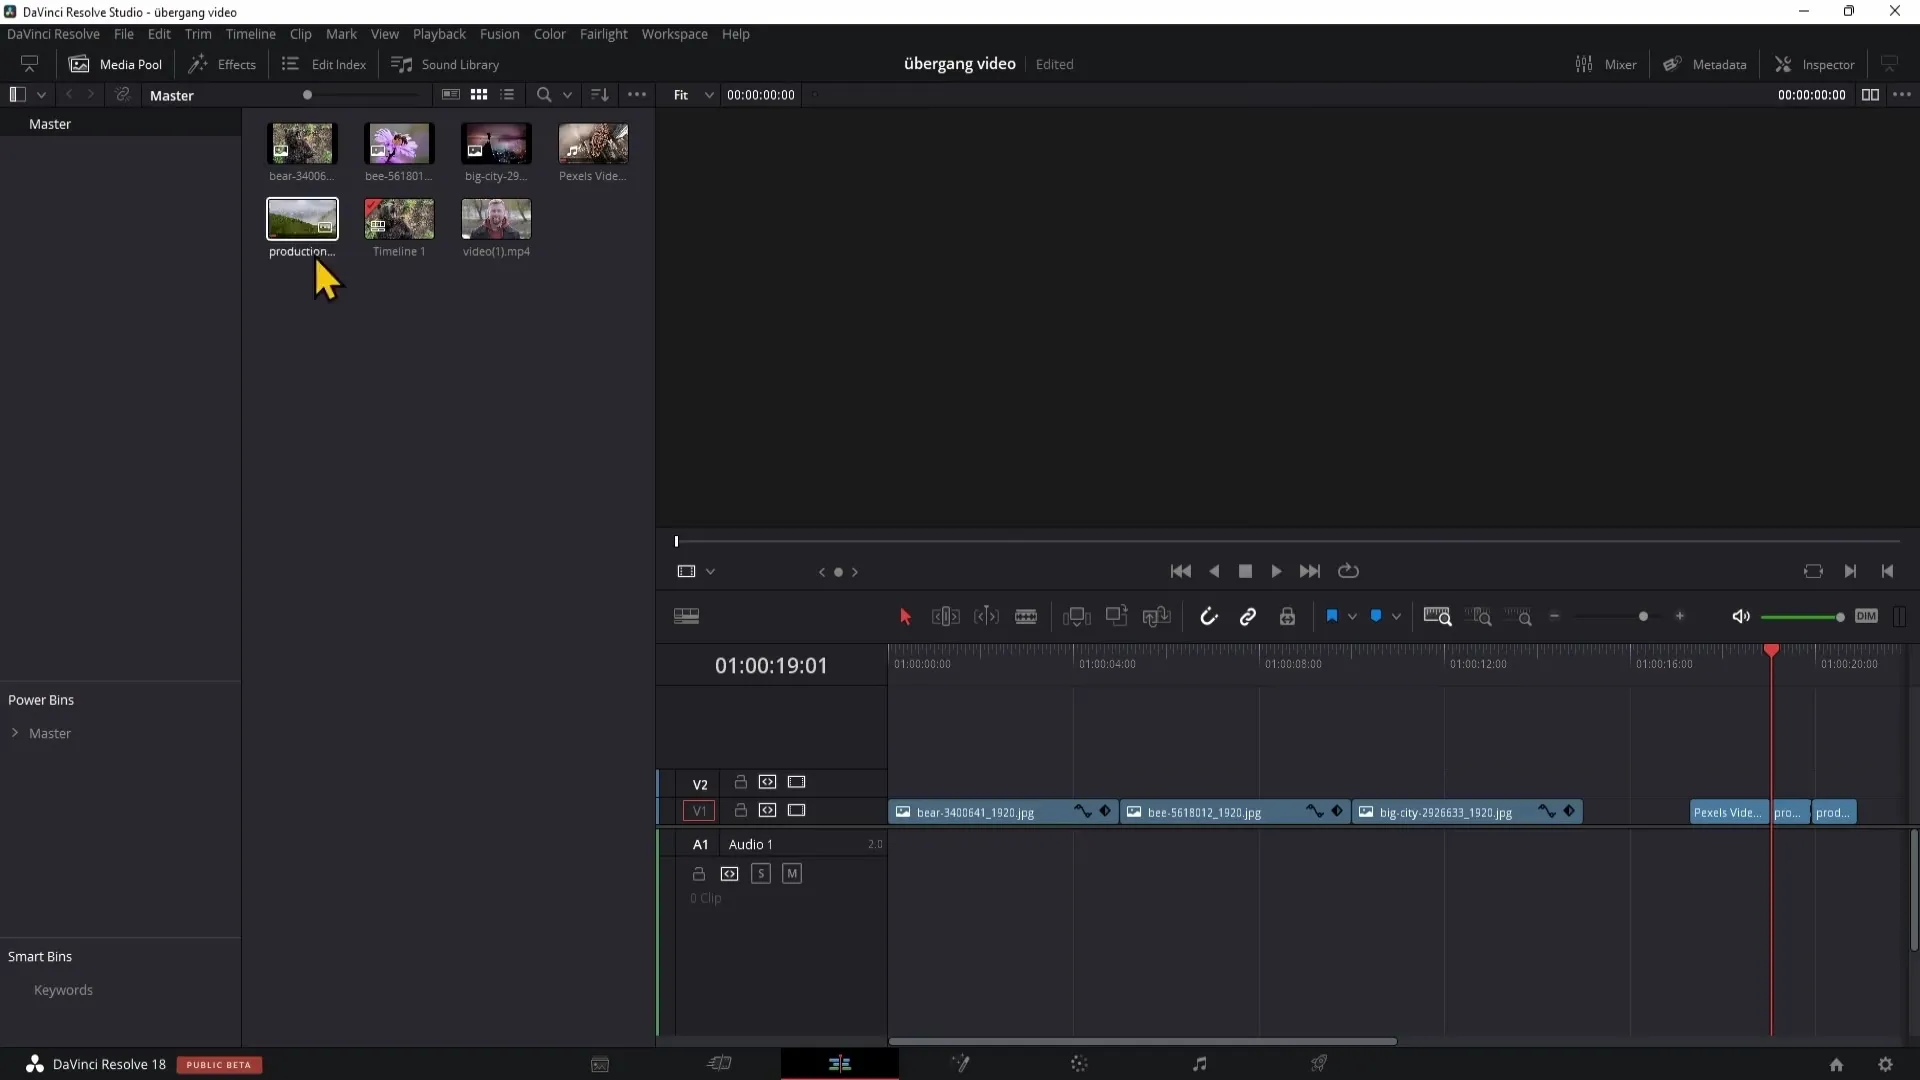
Before you can insert transitions, make sure you have clips in your timeline. I have already prepared two examples. If you are unsure how to import clips, go to the media pool, right click, and select "Import Media". Then drag your clips into the timeline using drag & drop.
Step 2: Use Simple Fades
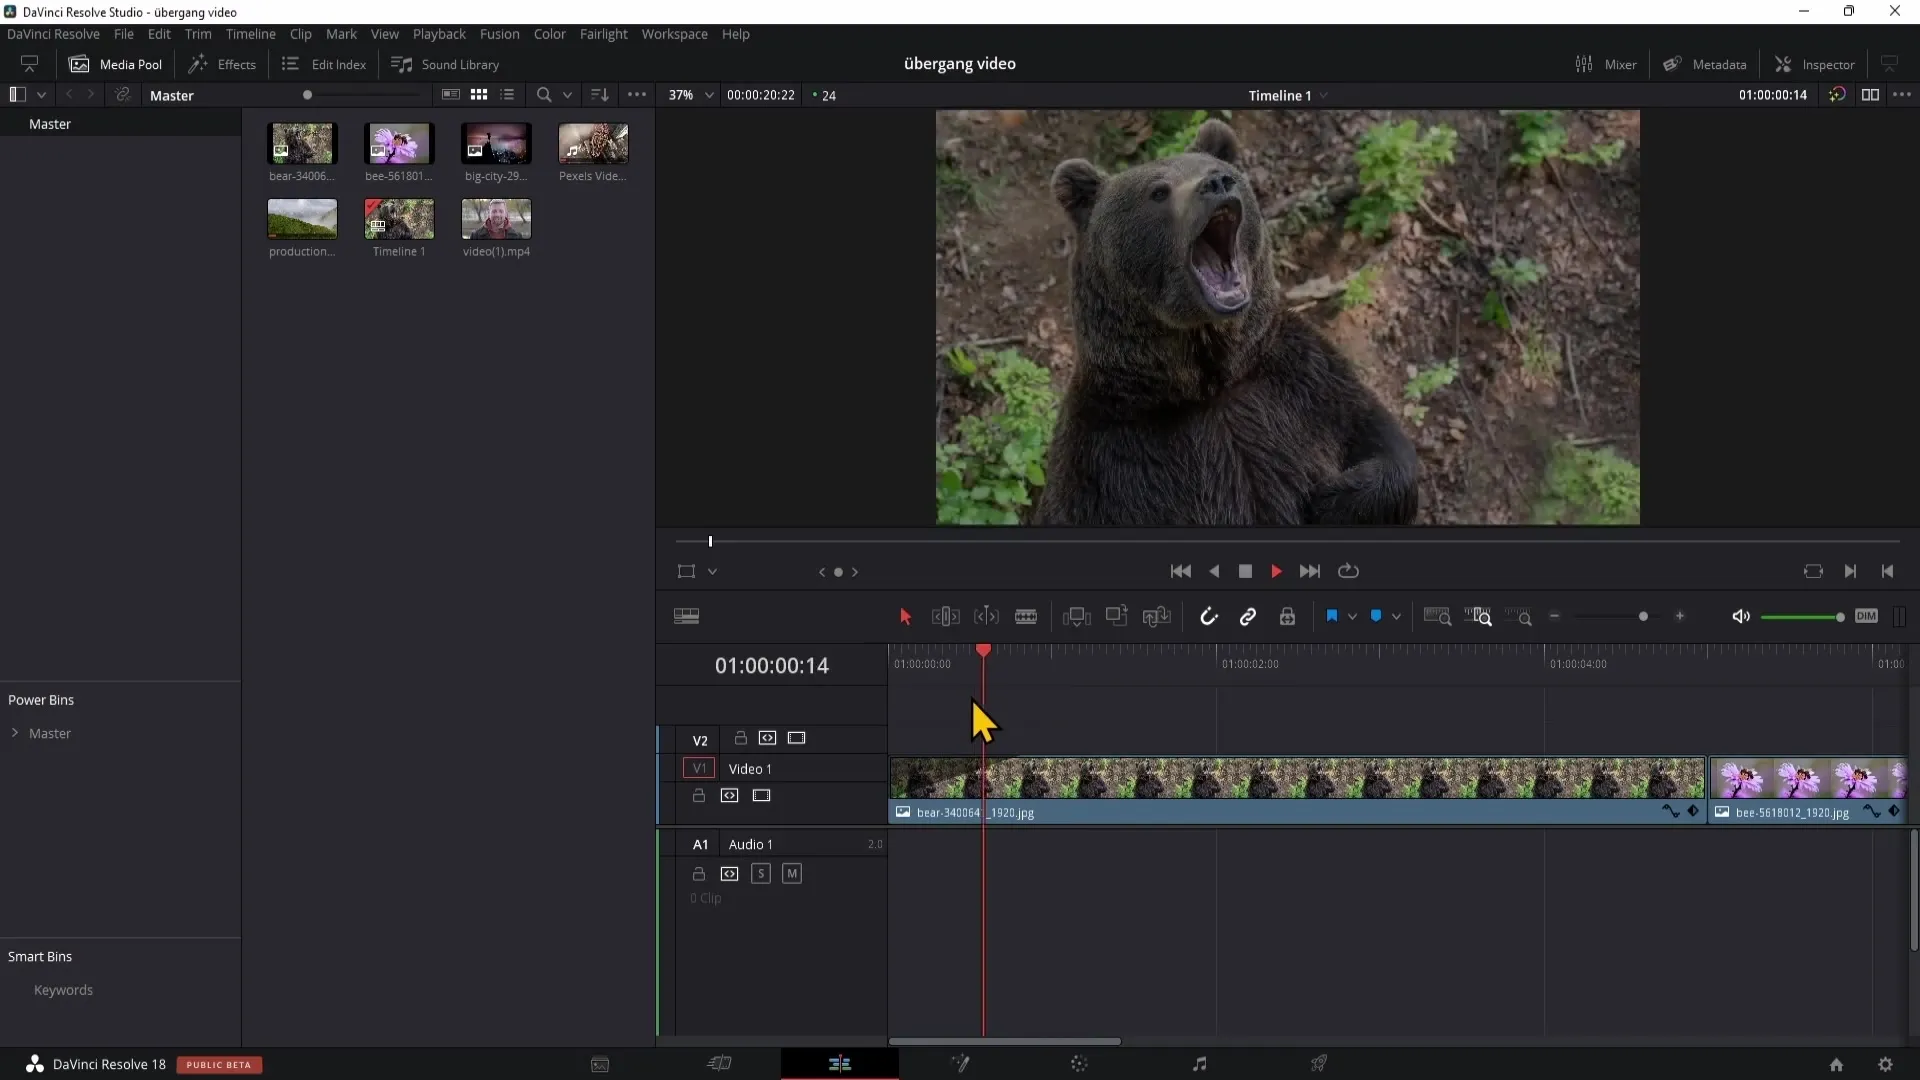
Let's start with the simplest transition, the fade. To create a fade, make sure your clips have enough space. Zoom into the timeline until you can see the corner points of your clips. Drag the small point in the top corner of your clip downwards to create a slow fade. When you play it back, you will be able to observe the fade.
Step 3: Explore Available Transitions
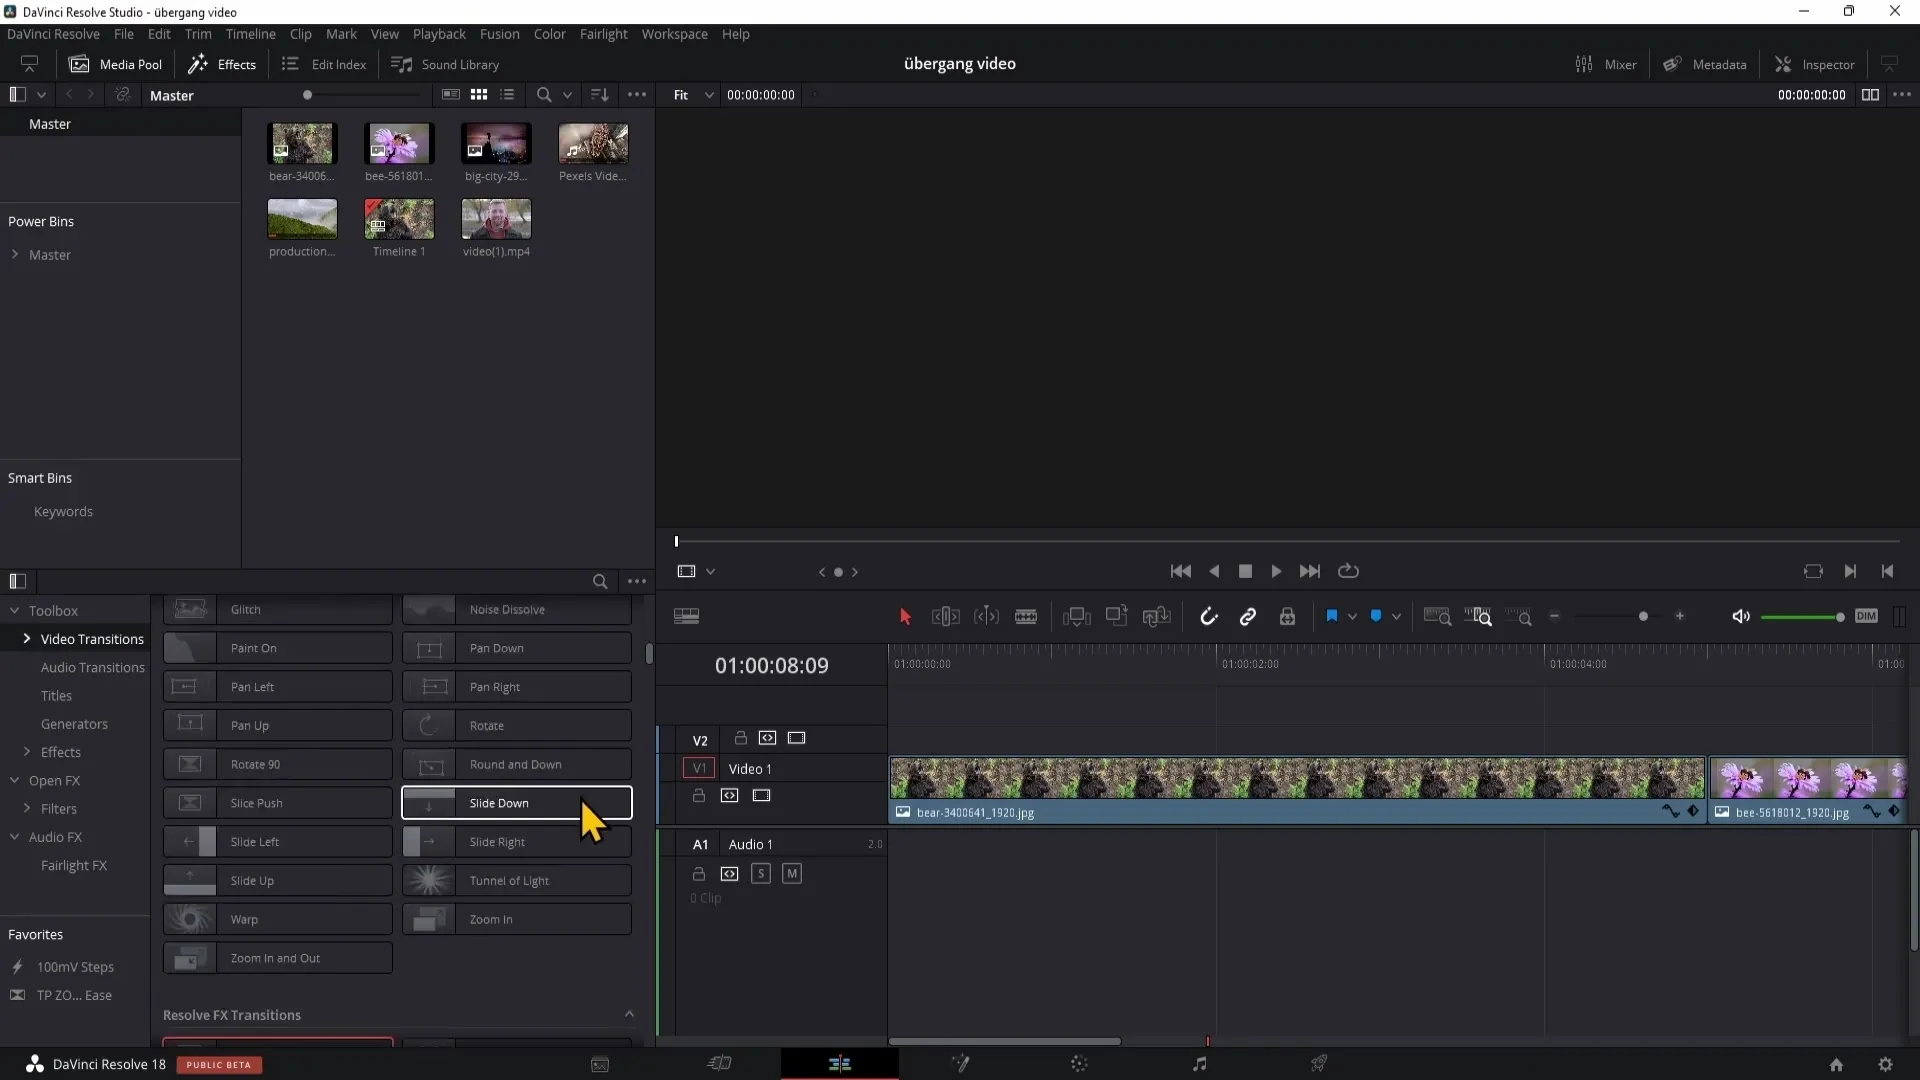
To insert interesting transitions, go to the effects box on the left side and navigate to Video Transitions. Here you will find a variety of pre-made transitions that you can simply drag between two clips. If you don't like a transition, you can quickly remove it by clicking on the edge and pressing the Delete key.
Step 4: Preview Transitions
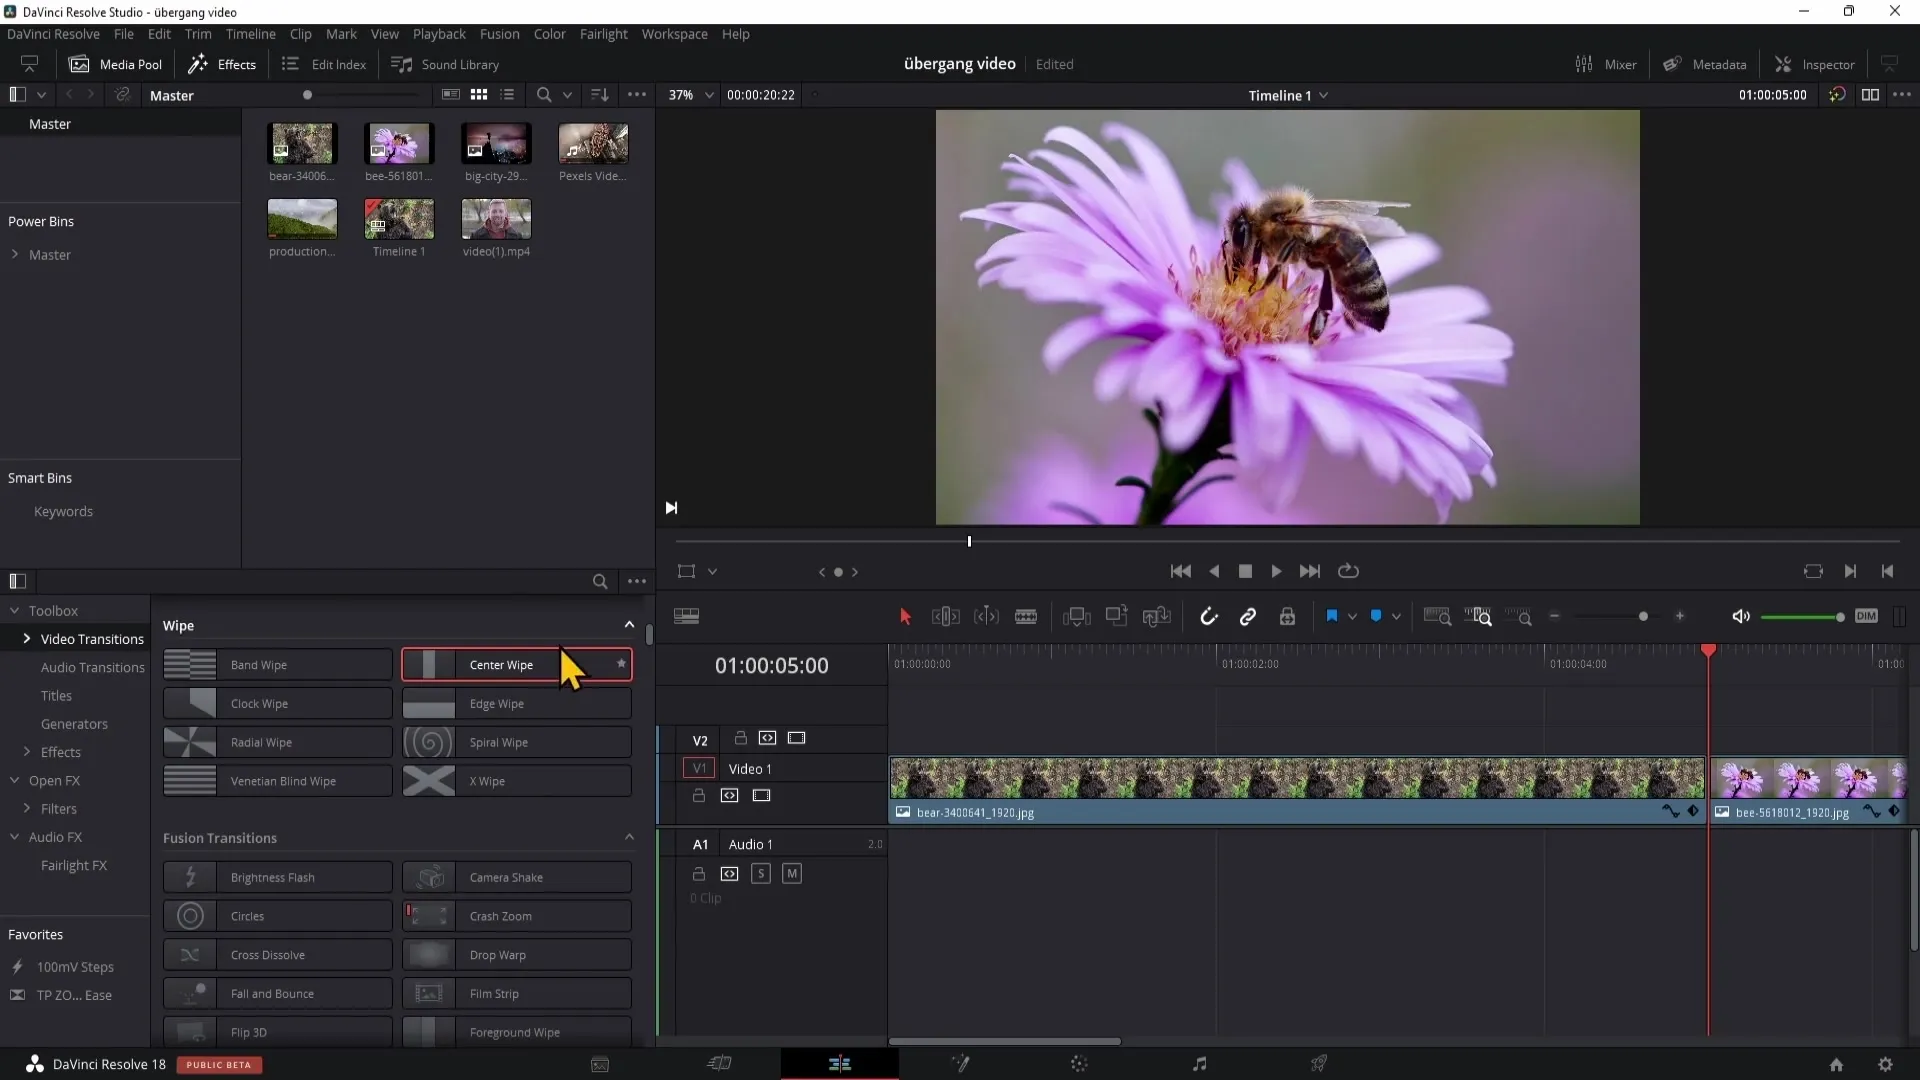
Before inserting a transition, you can preview it. Position your playhead where you want to insert the transition, and hover over the different transitions to get a preview. If you don't see a preview, check the settings in the three dots above the Video Transitions and enable the preview feature.
Step 5: Customize Transitions
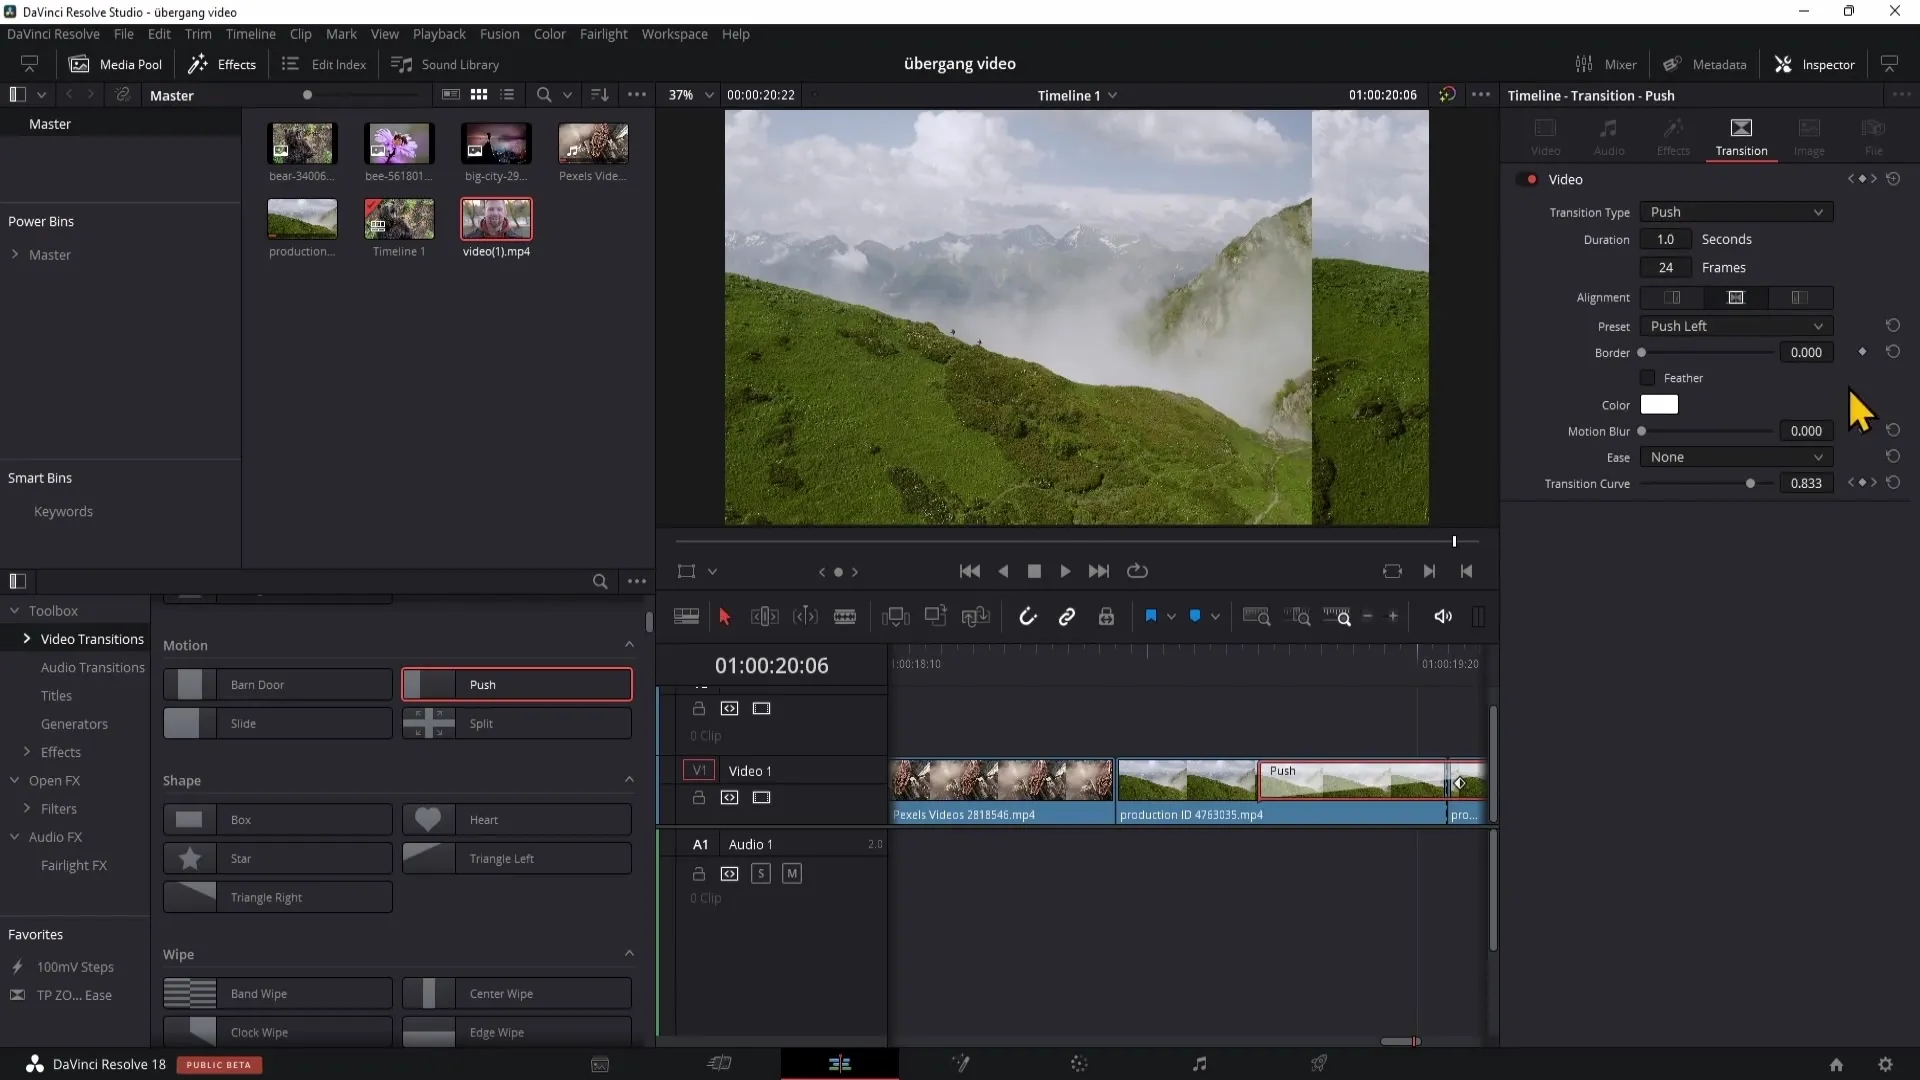
You can adjust the duration of your transitions by clicking on them. Open the inspector to make specific settings. Here you can change the duration, align the transition in the center, left, or right, and set the direction of the transition (e.g., left, right, up, or down).
Step 6: Insert Transitions Between Video Clips
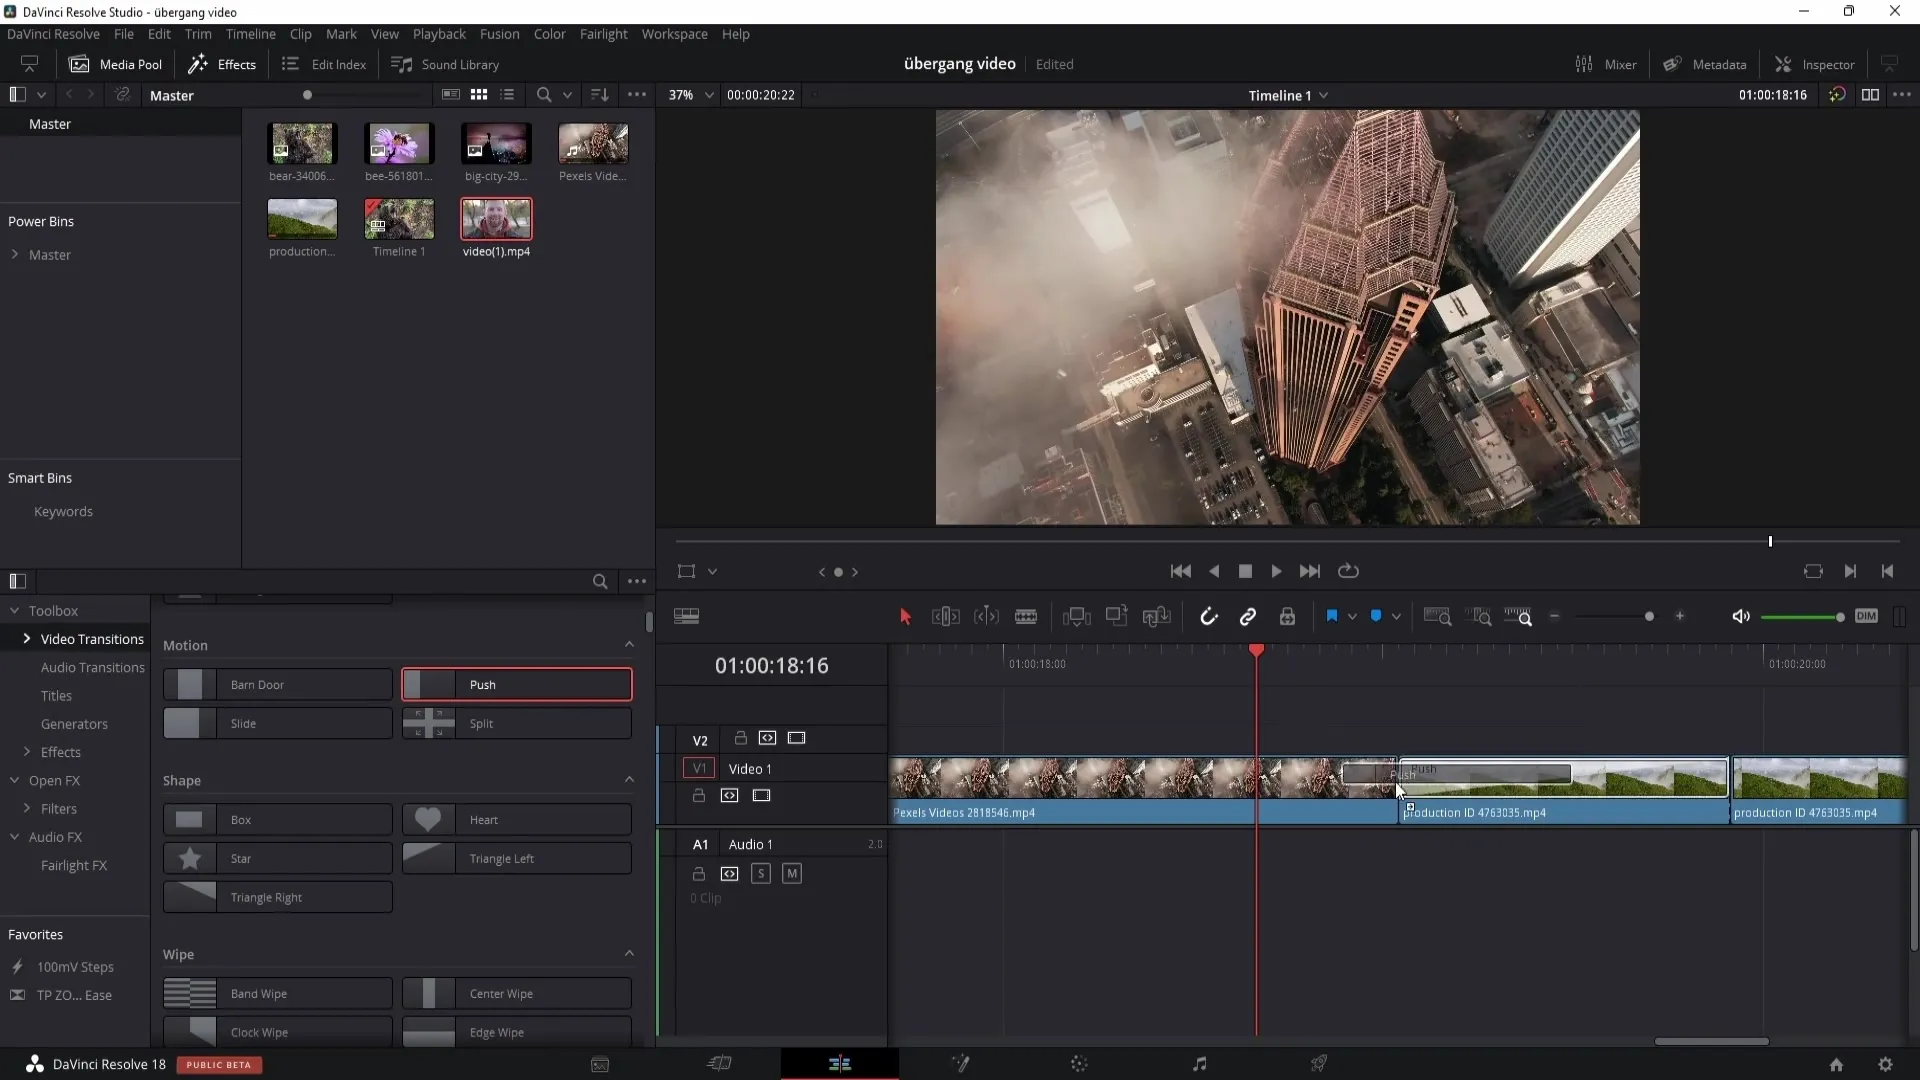
If you want to insert transitions between two video clips, the transition may not be centered. Here's a solution: create a cut in your clip and insert the transition there to ensure it loads correctly.
Step 7: Advanced Editing of Transitions
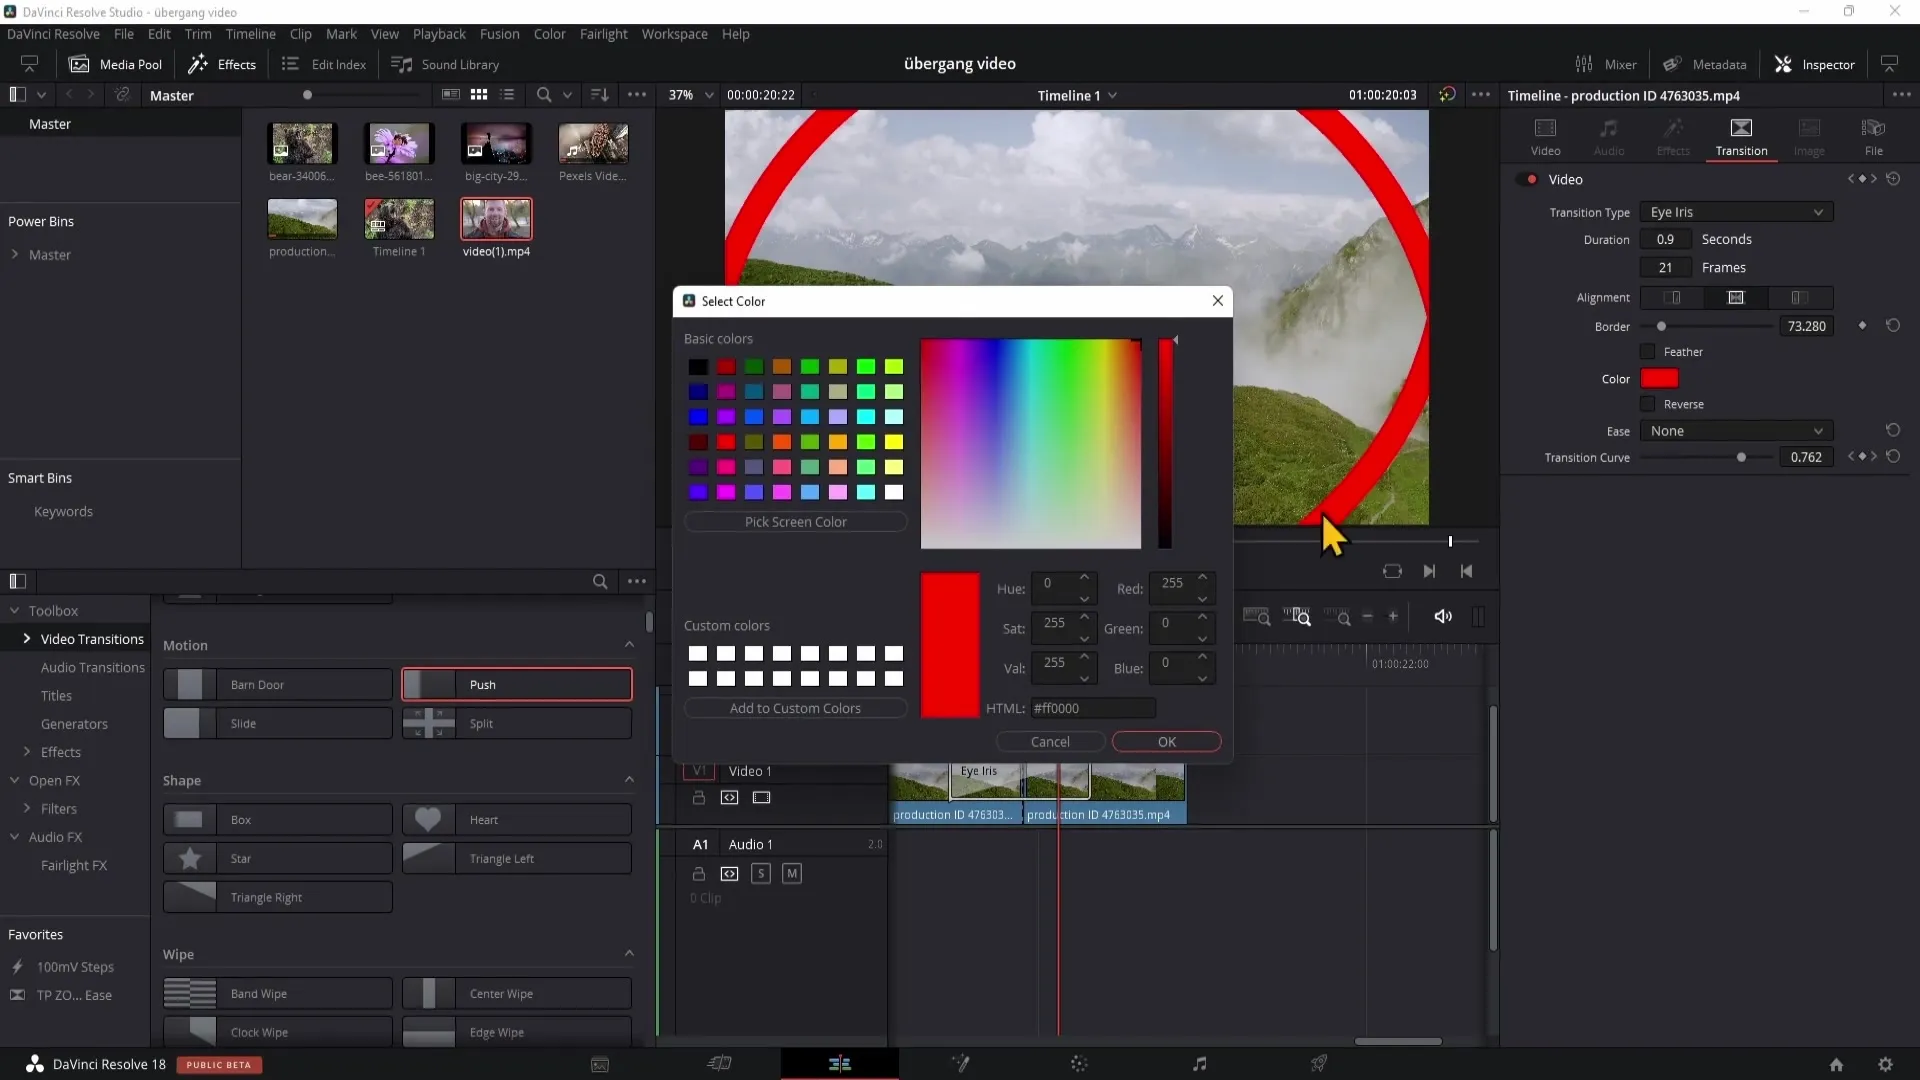
You can further customize your transitions by changing properties like alignment and border. Particularly useful is the function that allows you to choose the transition shape and color. Experiment with different settings to achieve the desired effect.
Step 8: Efficiently Work with Multiple Transitions
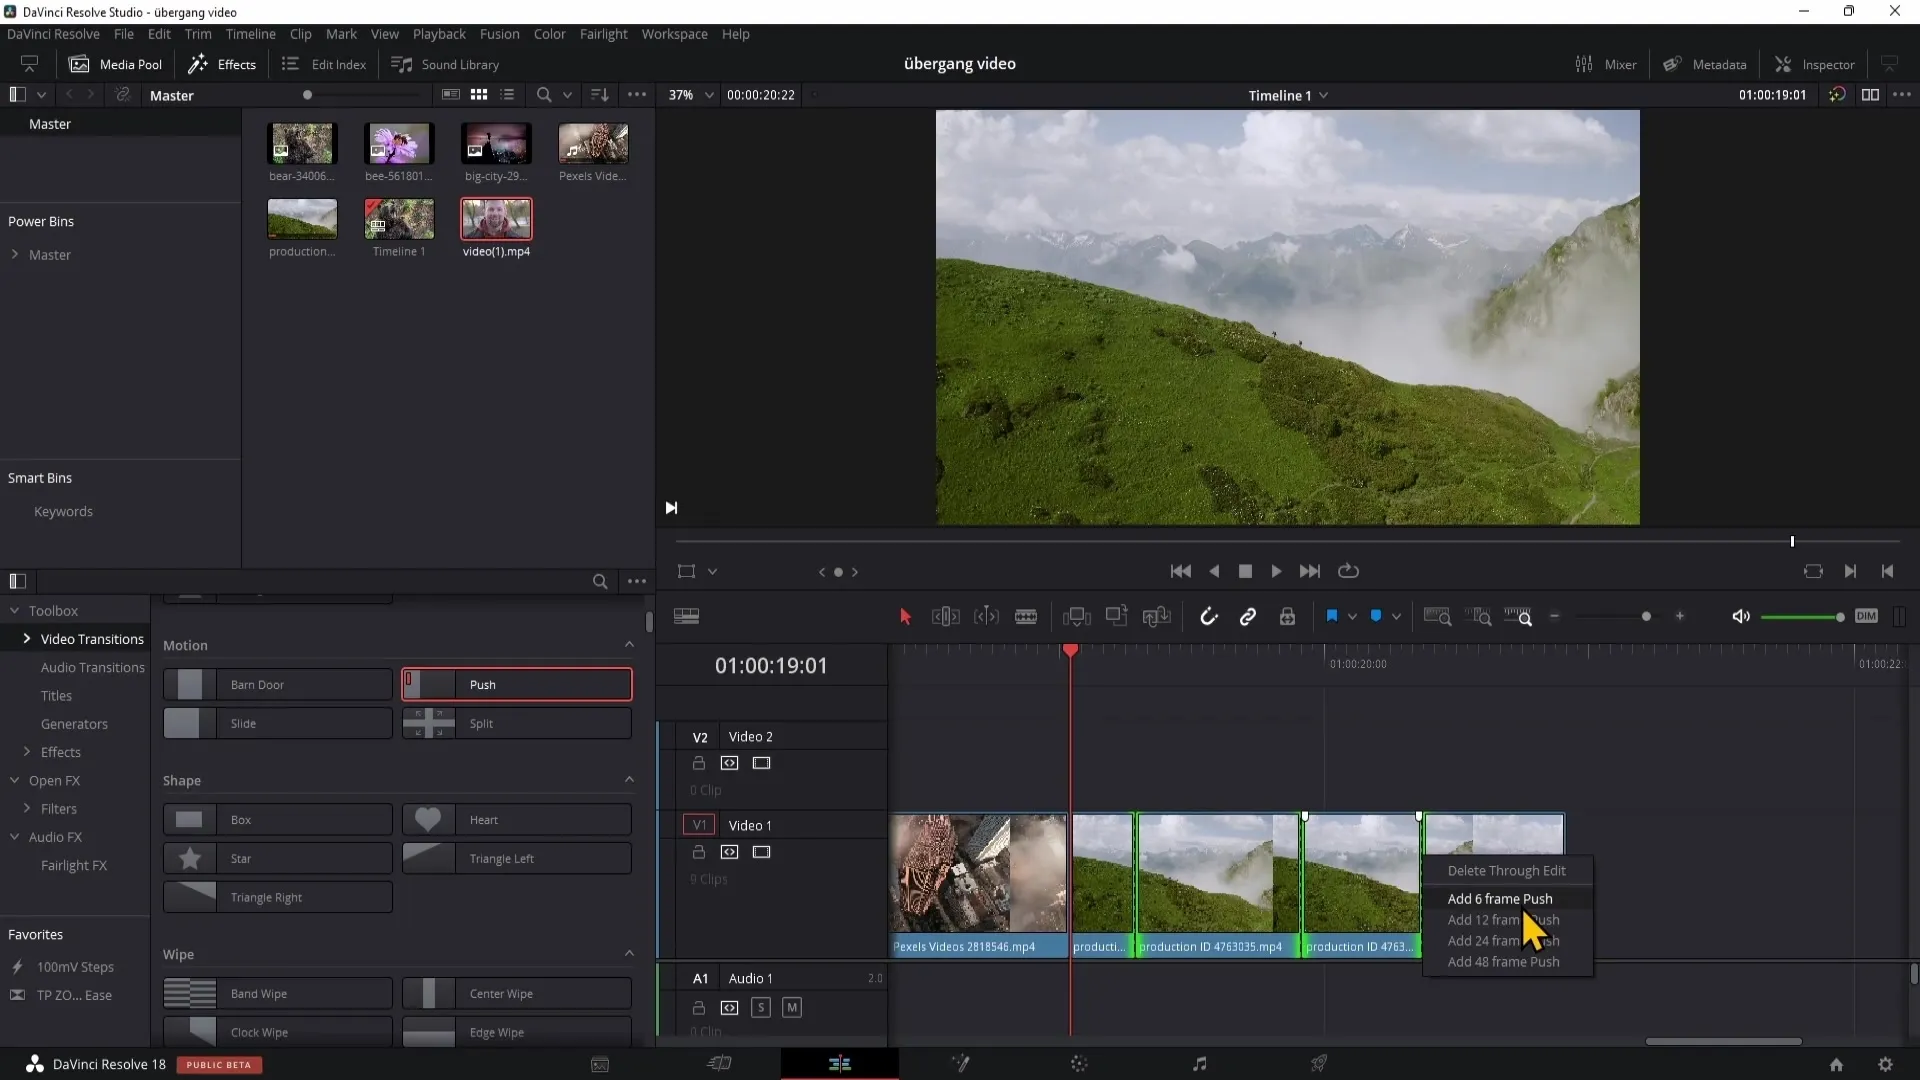
To save time, you can set a transition as the default. Simply select the desired transition, right click, and choose "Set Standard Transition". Now you can insert the transition at multiple points in your timeline with a right click and the option "Add Default Transition" or simply by pressing Ctrl + T.
Summary
In this tutorial, you have learned the basics of inserting and editing transitions in DaVinci Resolve. You now know how to insert and adjust simple and complex transitions to make your videos more appealing. Utilize the versatile capabilities of DaVinci Resolve to bring your creative ideas to life.
Frequently Asked Questions
How do I import clips into DaVinci Resolve?You can import clips by right-clicking in the Media Pool and selecting "Import Media".
How do I add a transition between two clips?Simply drag the desired transition between the two clips in the Timeline.
Can I adjust the duration of a transition?Yes, you can adjust the duration of a transition in the Inspector by moving the Duration slider.
Where can I find pre-made transitions?You can find pre-made transitions in the Video Transitions section in the Effects Panel.
Can I use transitions in the free version of DaVinci Resolve?Yes, many transitions are also available in the free version of DaVinci Resolve.


