In this tutorial, you will learn how to add a watermark to a video in DaVinci Resolve. A watermark can be a great way to represent your brand and protect your videos. In this tutorial, I will show you the entire process, from selecting your logo or text to adjusting it in the software.
Main Takeaways
- To add a watermark in DaVinci Resolve, you need a logo or text with a transparent background that you overlay on your video.
- You can adjust the size, position, and opacity of the watermark to seamlessly integrate it into the video.
Step-by-Step Guide
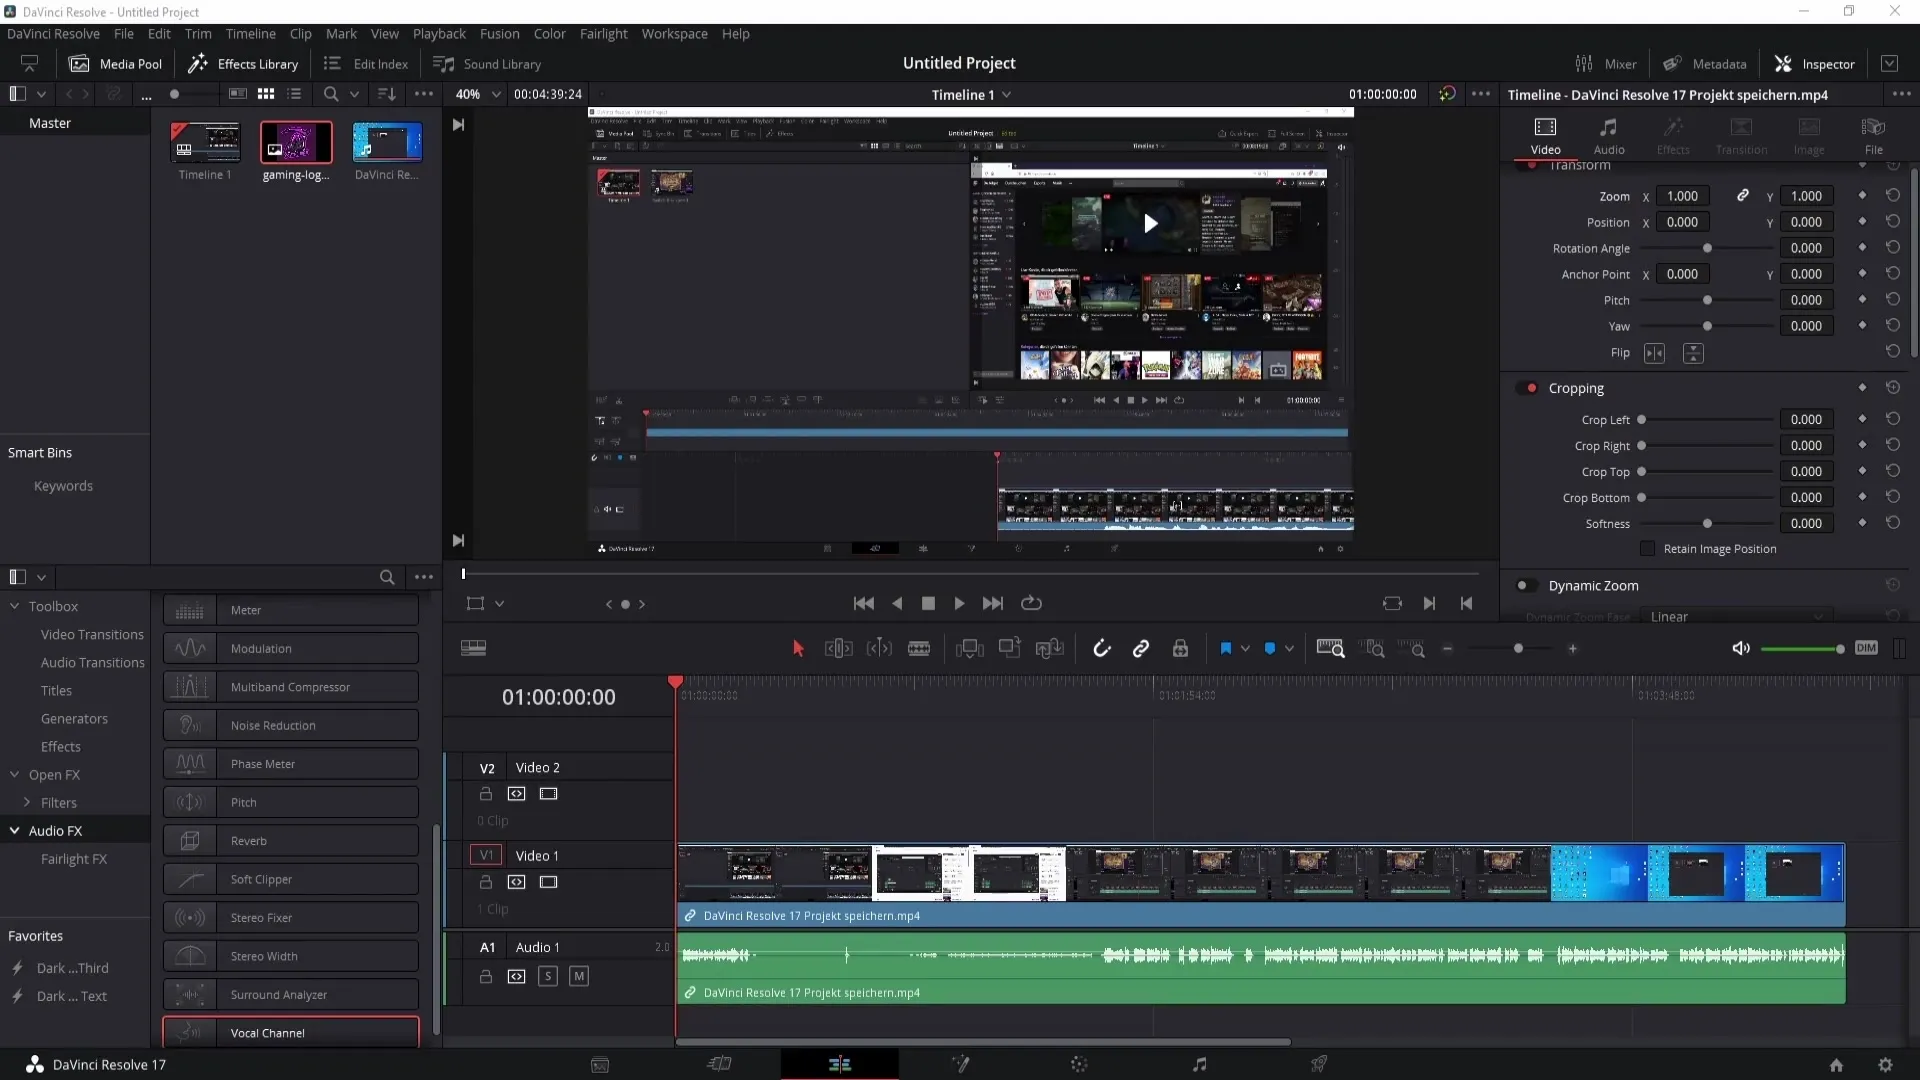
First, you need to have a logo or text that you want to use as a watermark. Ideally, this element should have a transparent background to ensure a professional look. To insert the watermark, drag and drop the logo into your project's timeline.
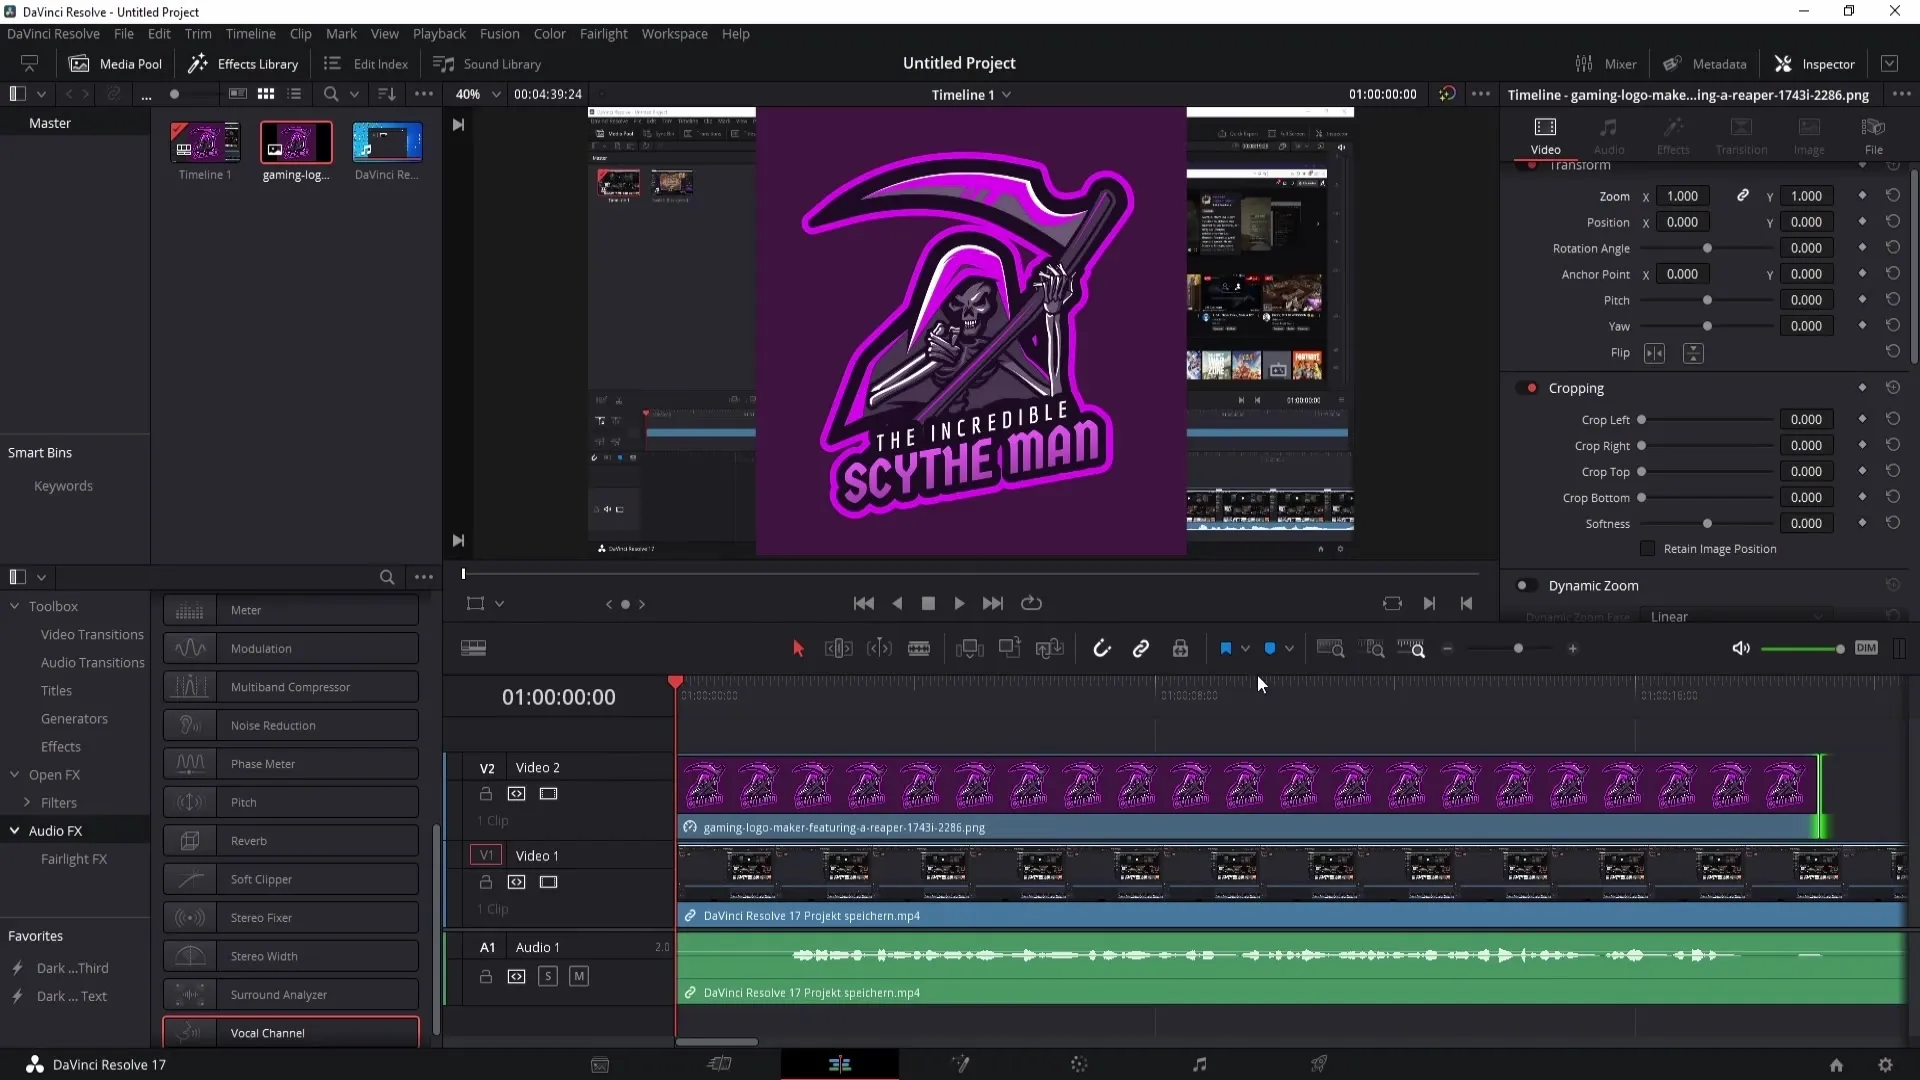
Once you have added the logo, switch to the view where you can see the watermark directly on the video. Here, you can stretch the watermark to cover the entire length of the video so that it remains visible during playback.
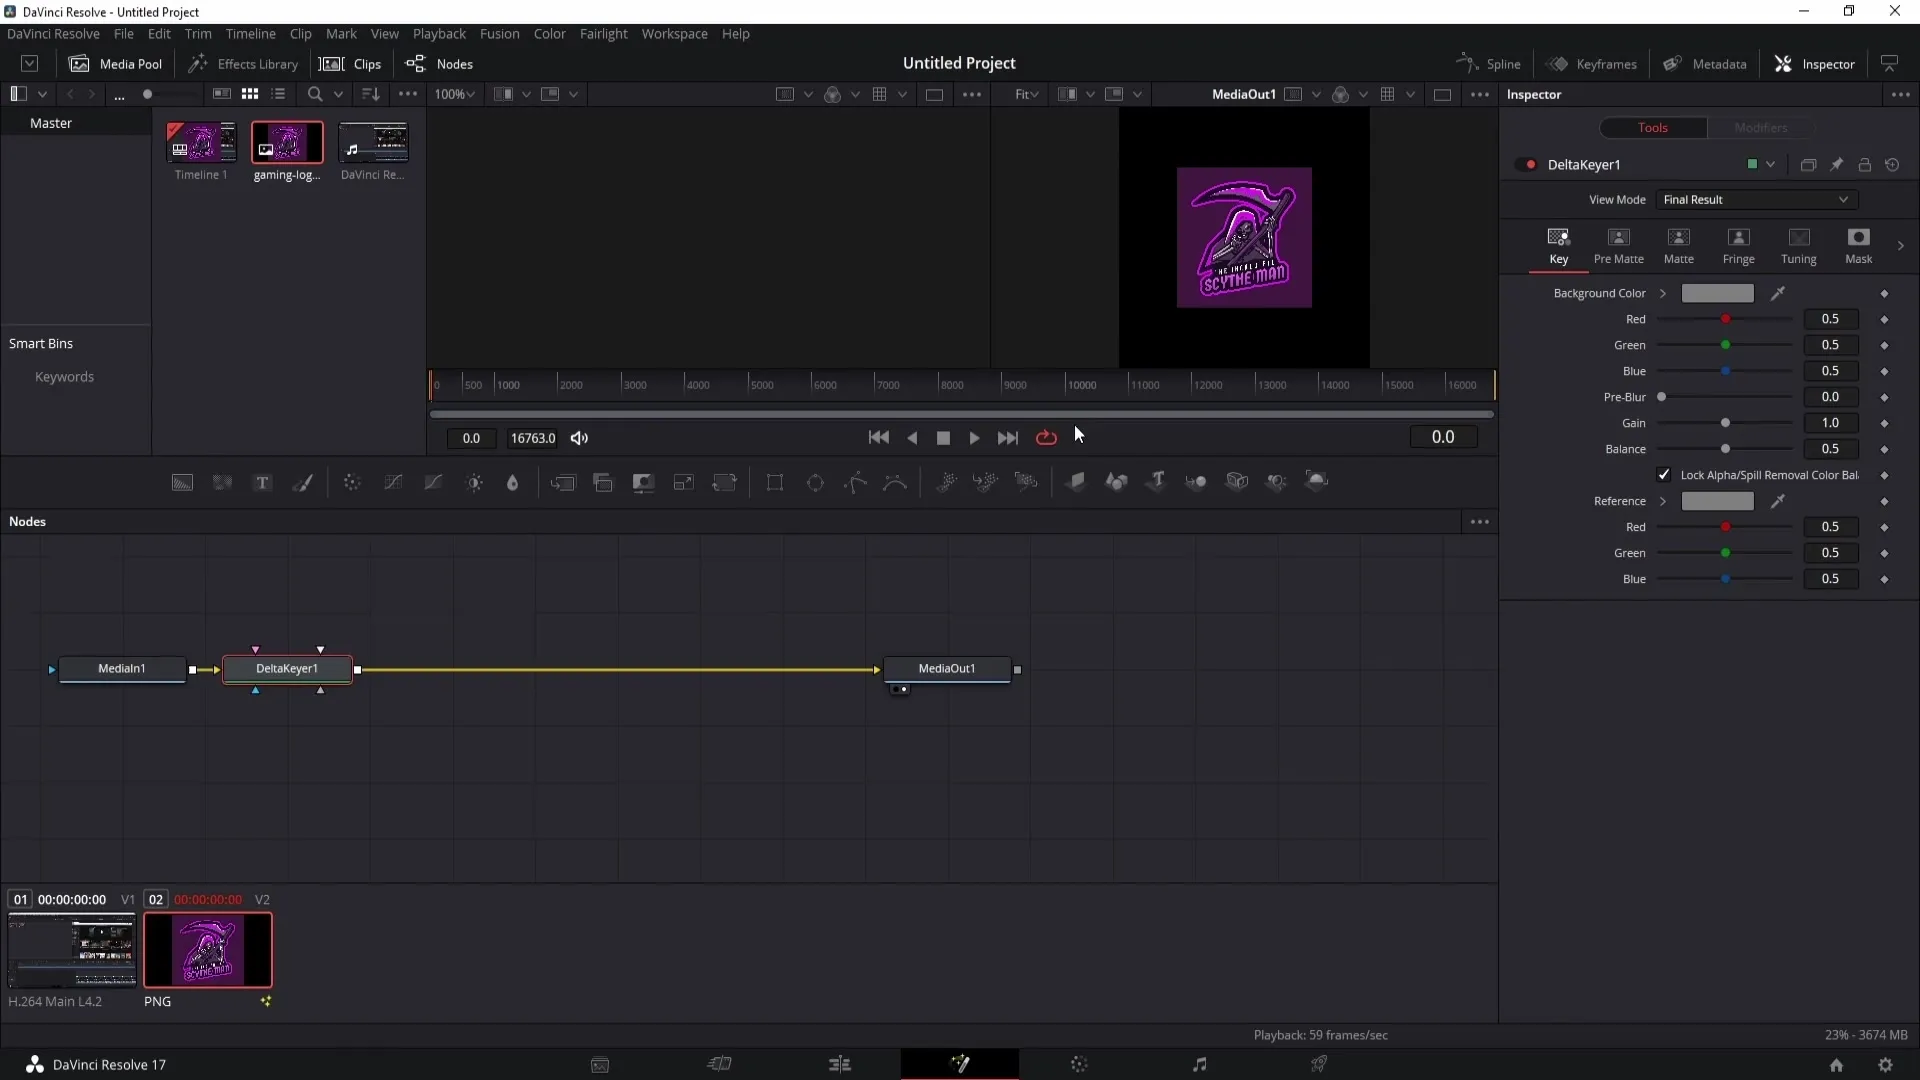
If your logo or text has a non-transparent background, you need to remove it first. In the Fusion area, click on the logo. Press the Control and Space keys simultaneously to open a new window.
In this window, search for the Delta Keying tool. Once you have found it, click "Add". To remove the unwanted color, you can use the pipette and click in the image with the left mouse button.
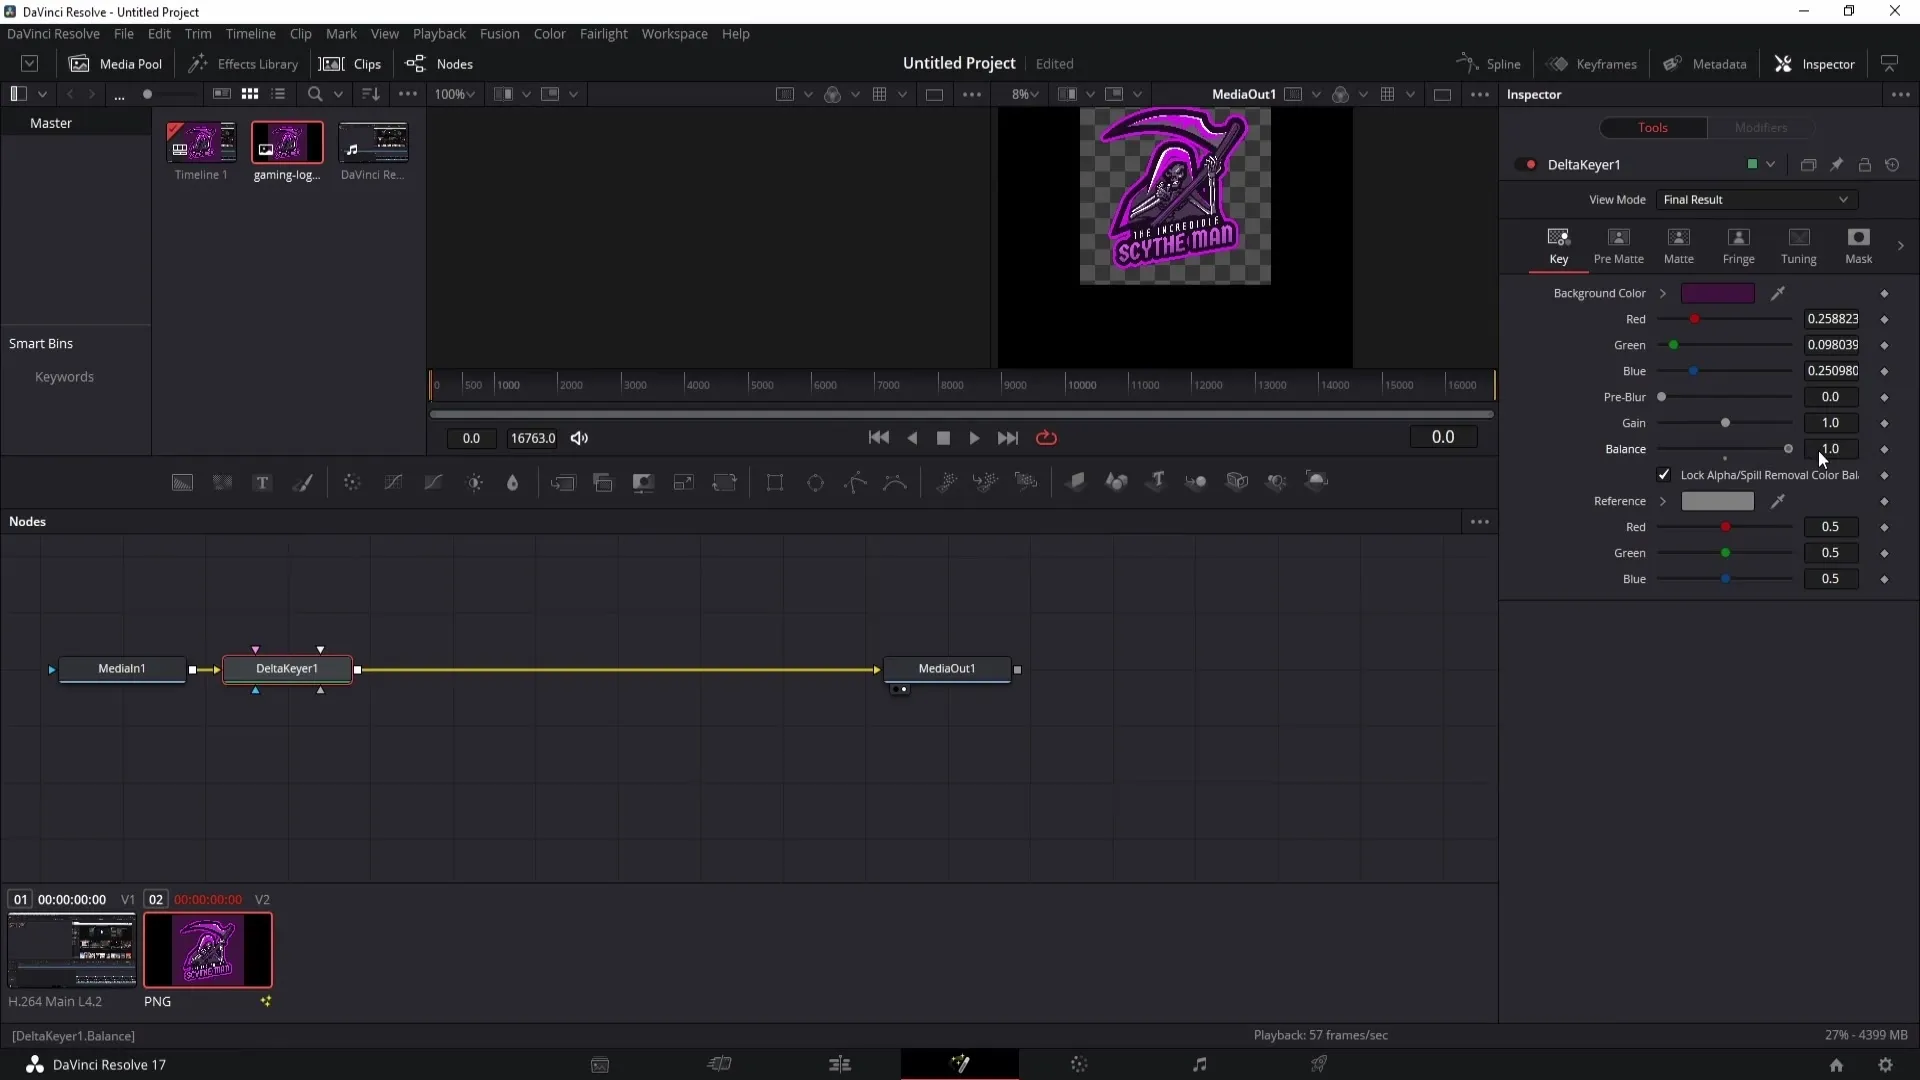
Removing the background color may result in too much color being removed from the logo. In this case, you can simply adjust the balance upwards to restore the colors.
After removing the background, you may see a black border around your logo. To remove this border, click on the logo and make it smaller. Simply trim the black area using the cropping controls.
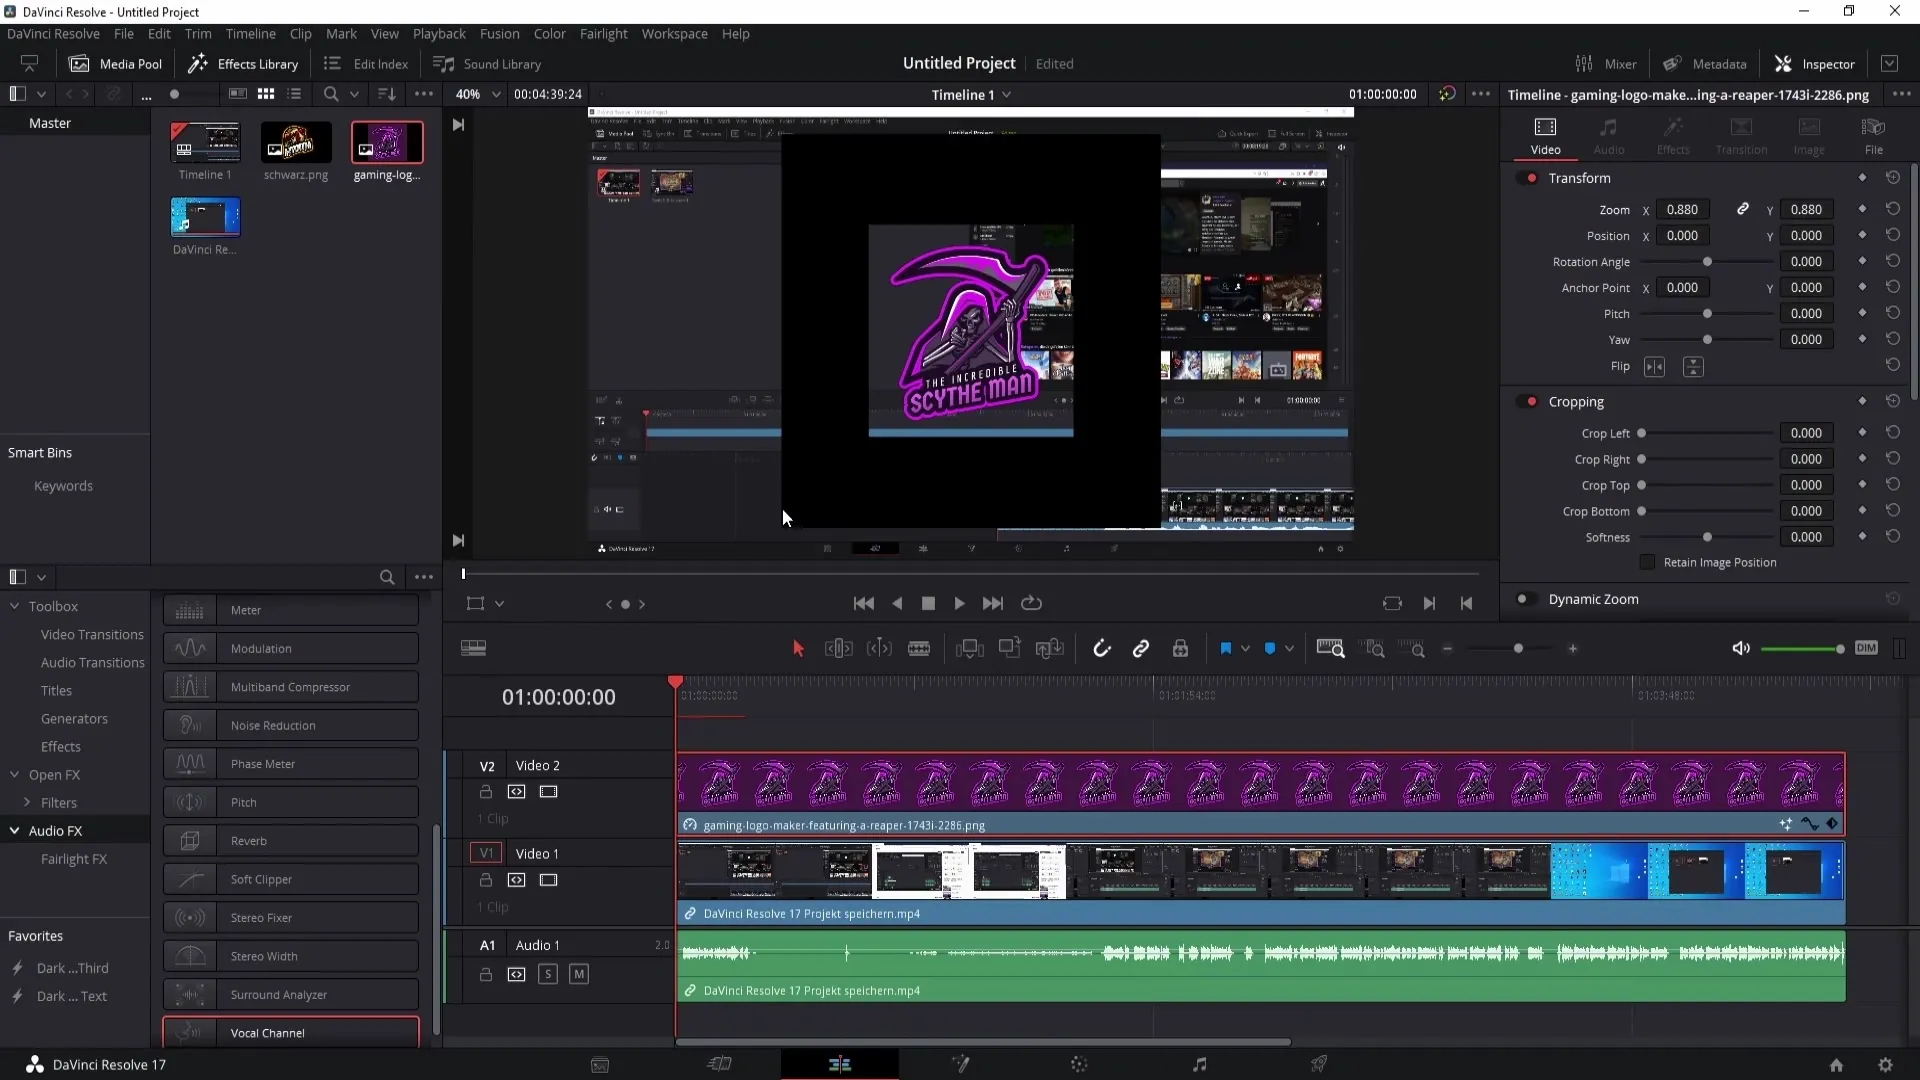
If you have a logo with a black background, you can also change the composite mode. Set it to "Screen" to remove the black background.
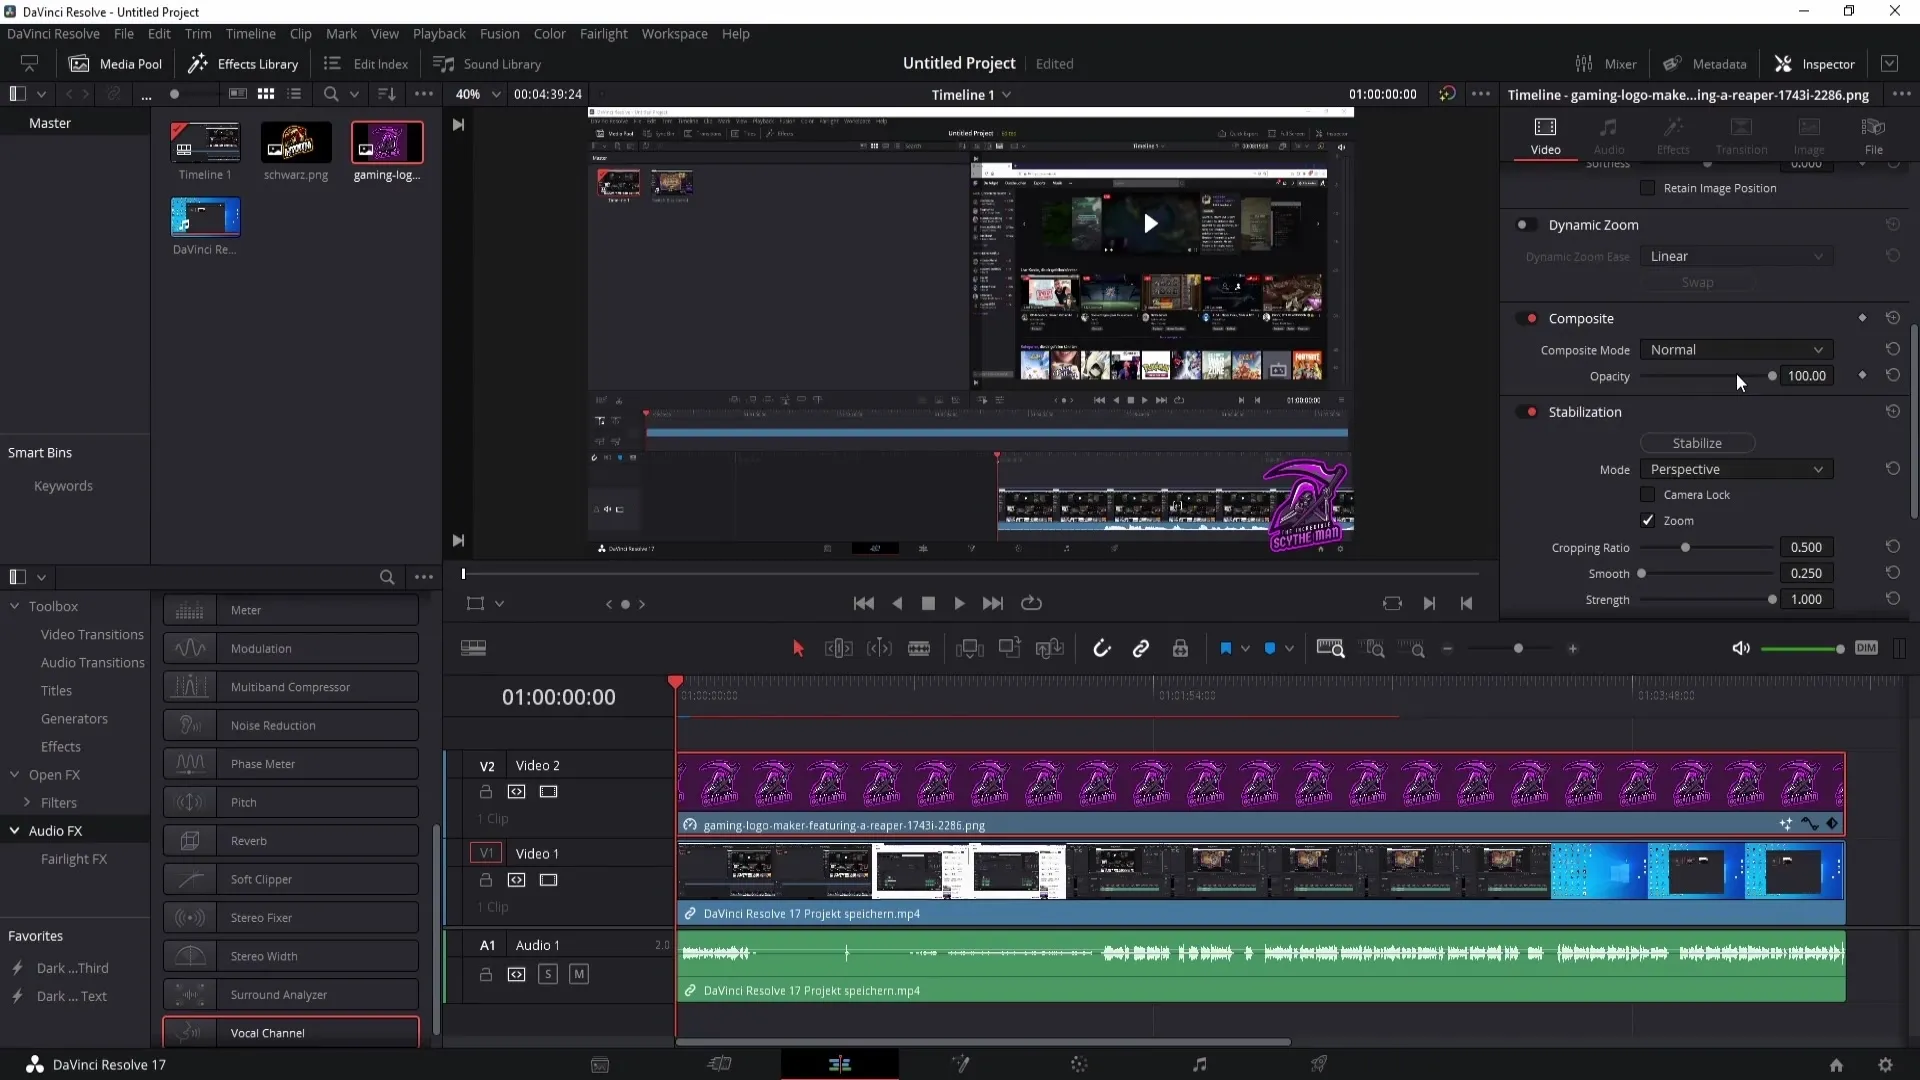
Once the black color is removed and the logo looks good, pay attention to the size of the logo again. Position it bottom right on your video and adjust the opacity as desired.
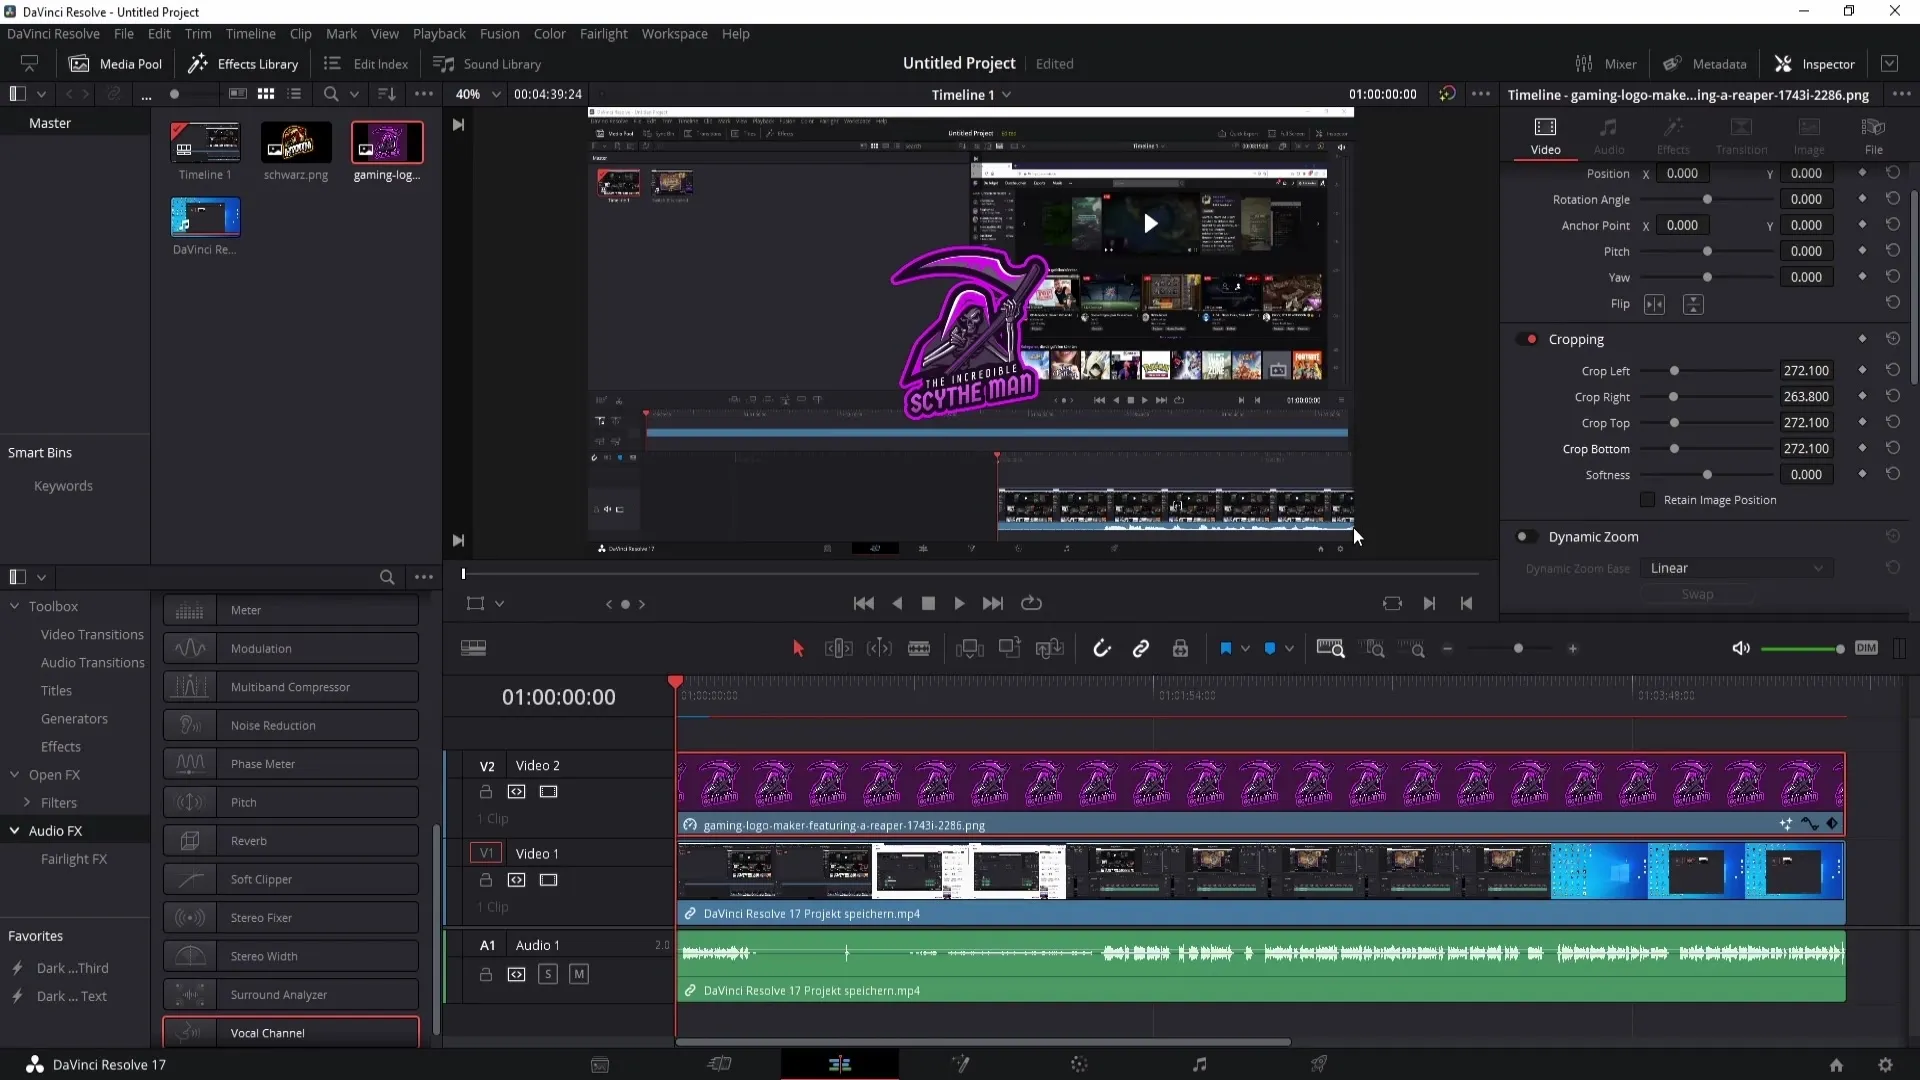
To ensure that the watermark is well integrated into the video, drag it with the X and Y axes to where you want it. You can also adjust the visibility of the logo with the opacity to display it more subtly.
Summary
In this tutorial, you have learned how to add and customize a watermark in DaVinci Resolve. You can easily import your logos or texts, remove the background, and adjust the size and opacity with full flexibility to achieve a professional result.
Frequently Asked Questions
How can I remove the background of my logo?You can remove the background with the Delta Keying tool in the Fusion area.
What can I do if my logo loses too much color?Adjust the balance in the Delta Keying tool upwards to restore the colors.
How can I change the size of my watermark?Use the anchor points on your logo to adjust the size.
Can I move the position of the watermark?Yes, you can position the watermark as desired with the X and Y axes.
How do I adjust the opacity of my watermark?Go to Opacity under the Composite area and adjust the value.


