In this guide, I will show you how to remove a greenscreen in DaVinci Resolve. Removing a greenscreen is a common technique in video editing to isolate subjects from a monochromatic background. Whether you're using a video clip or an image, the process is similar. Let's get started.
Key Takeaways
- You need to import and prepare the clip with the greenscreen in DaVinci Resolve.
- Using the Delta Mask is crucial for efficiently removing the greenscreen.
- Fine-tuning helps to eliminate unwanted edges or green outlines.
- The positioning of the altered clip is important for the final result.
Step-by-Step Guide
First, drag your clip with the greenscreen into DaVinci Resolve. You can also use an image; the process remains the same. In my example, I'm using a clip with a subscription button that I want to integrate into my video. To use the image without the greenscreen, we need to apply the techniques to remove the green background.
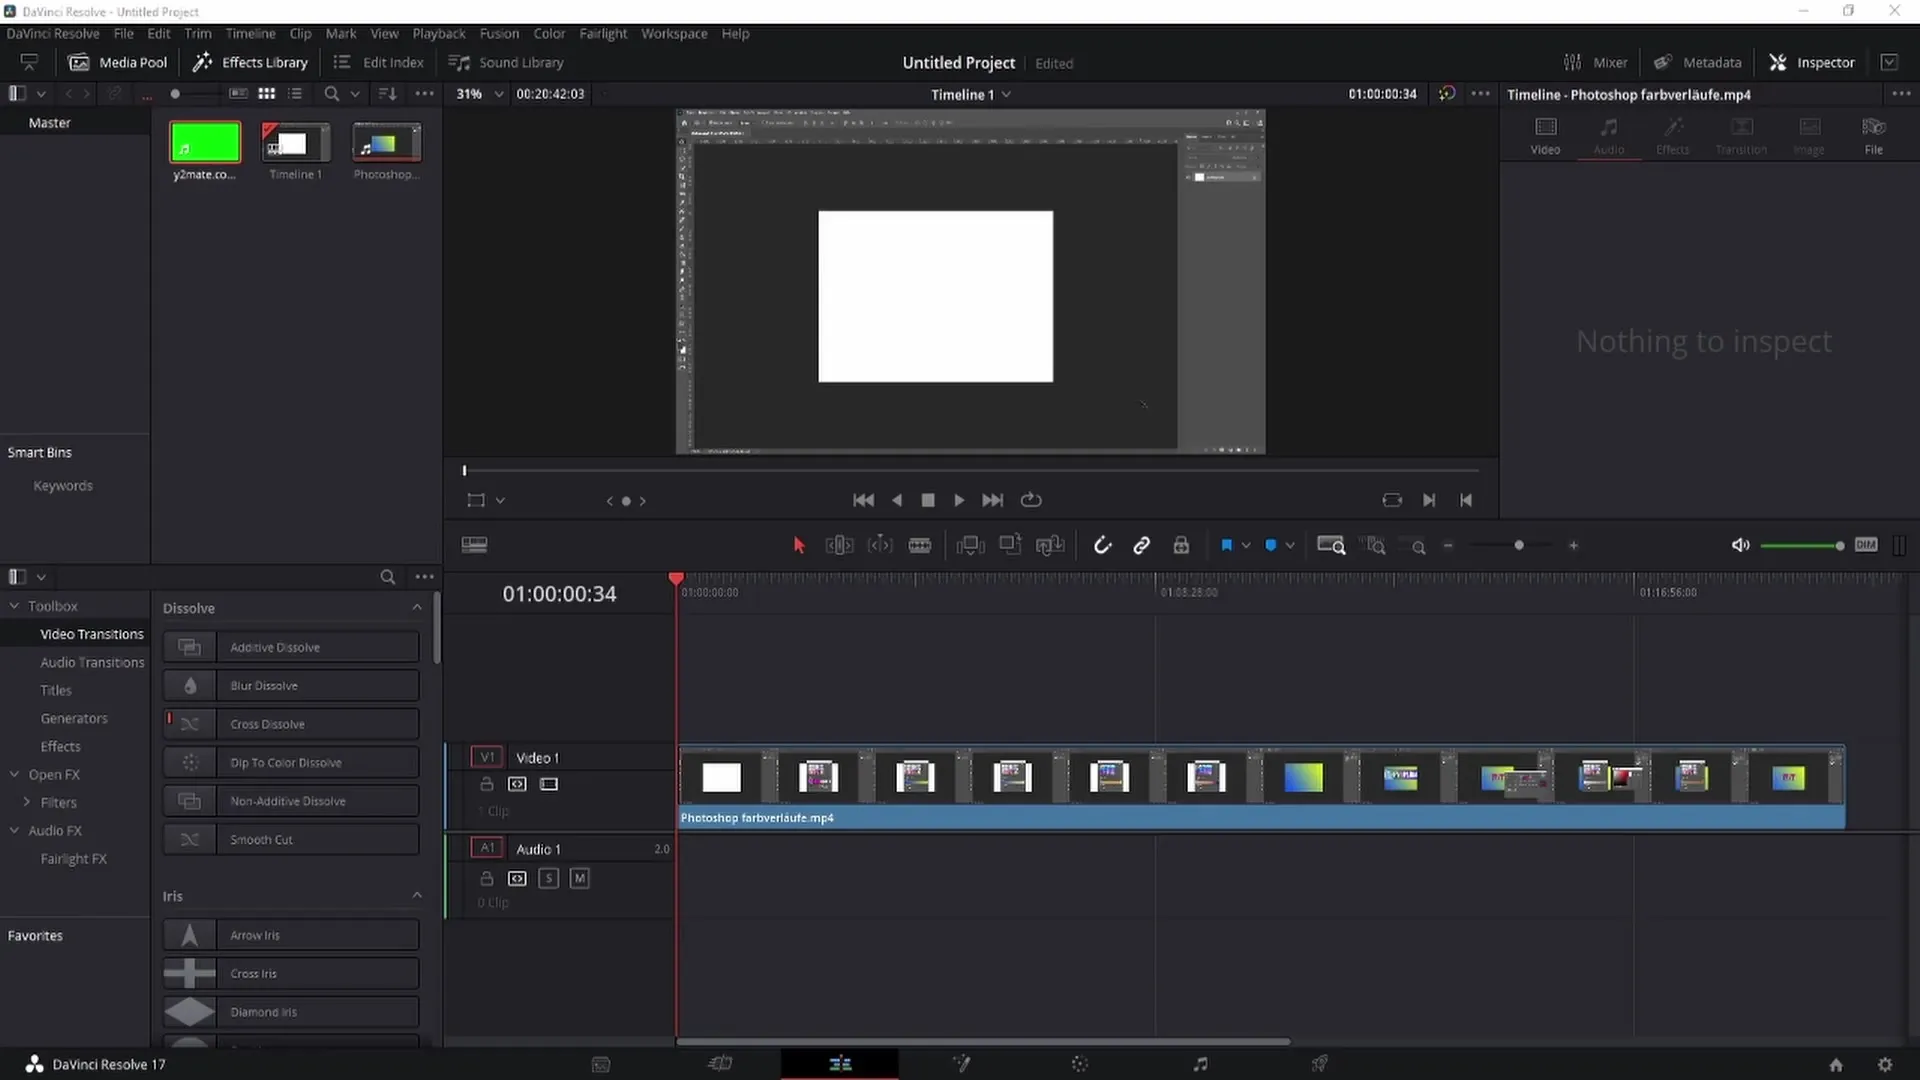
First, you need to ensure that the clip is properly cropped for greenscreen removal. If you only want to remove a specific part of the clip with the greenscreen, make appropriate cuts. In my case, I don't need cuts as I want to use the entire clip. Therefore, I simply go to the clip, which is now cropped, so that it can be edited in its full length.
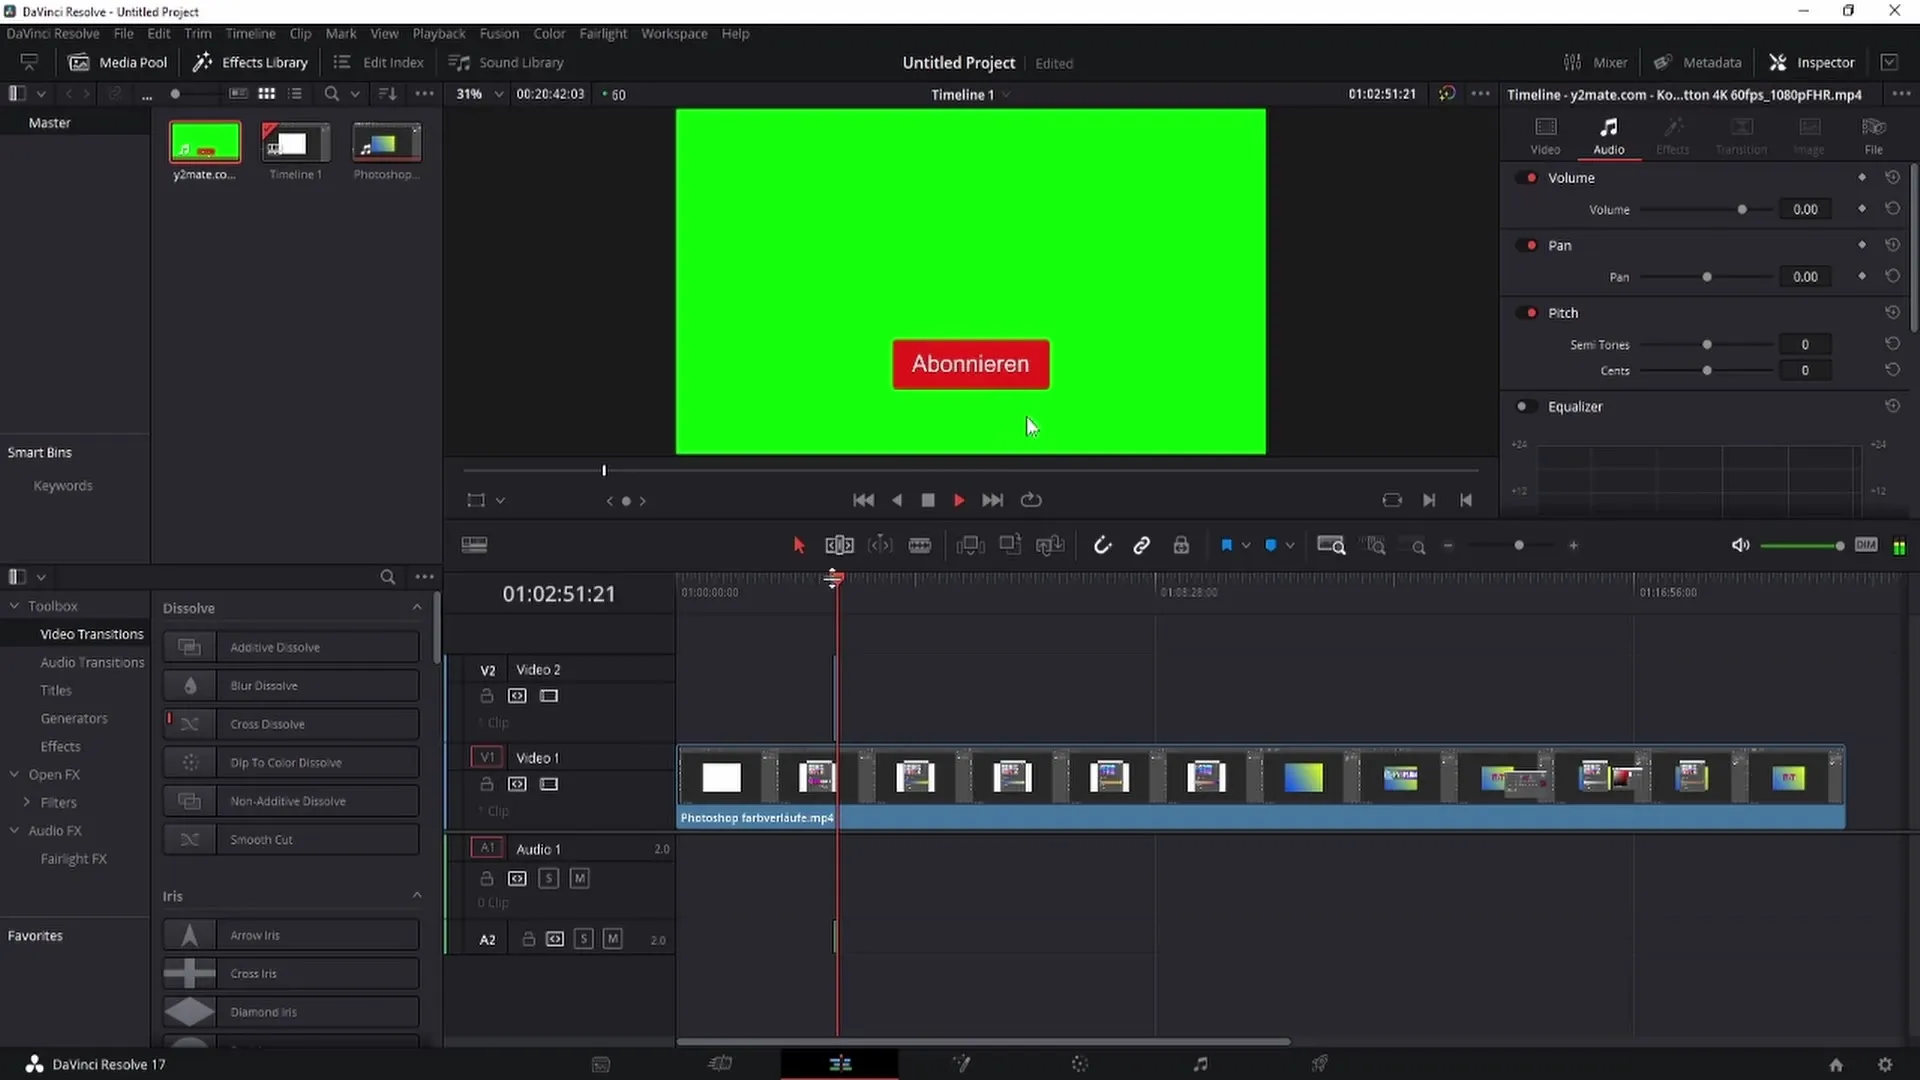
Once the clip is ready, switch to the Fusion area. Here you'll see that the clip is already selected because we marked it in the Edit area earlier. Now we can start removing the greenscreen.
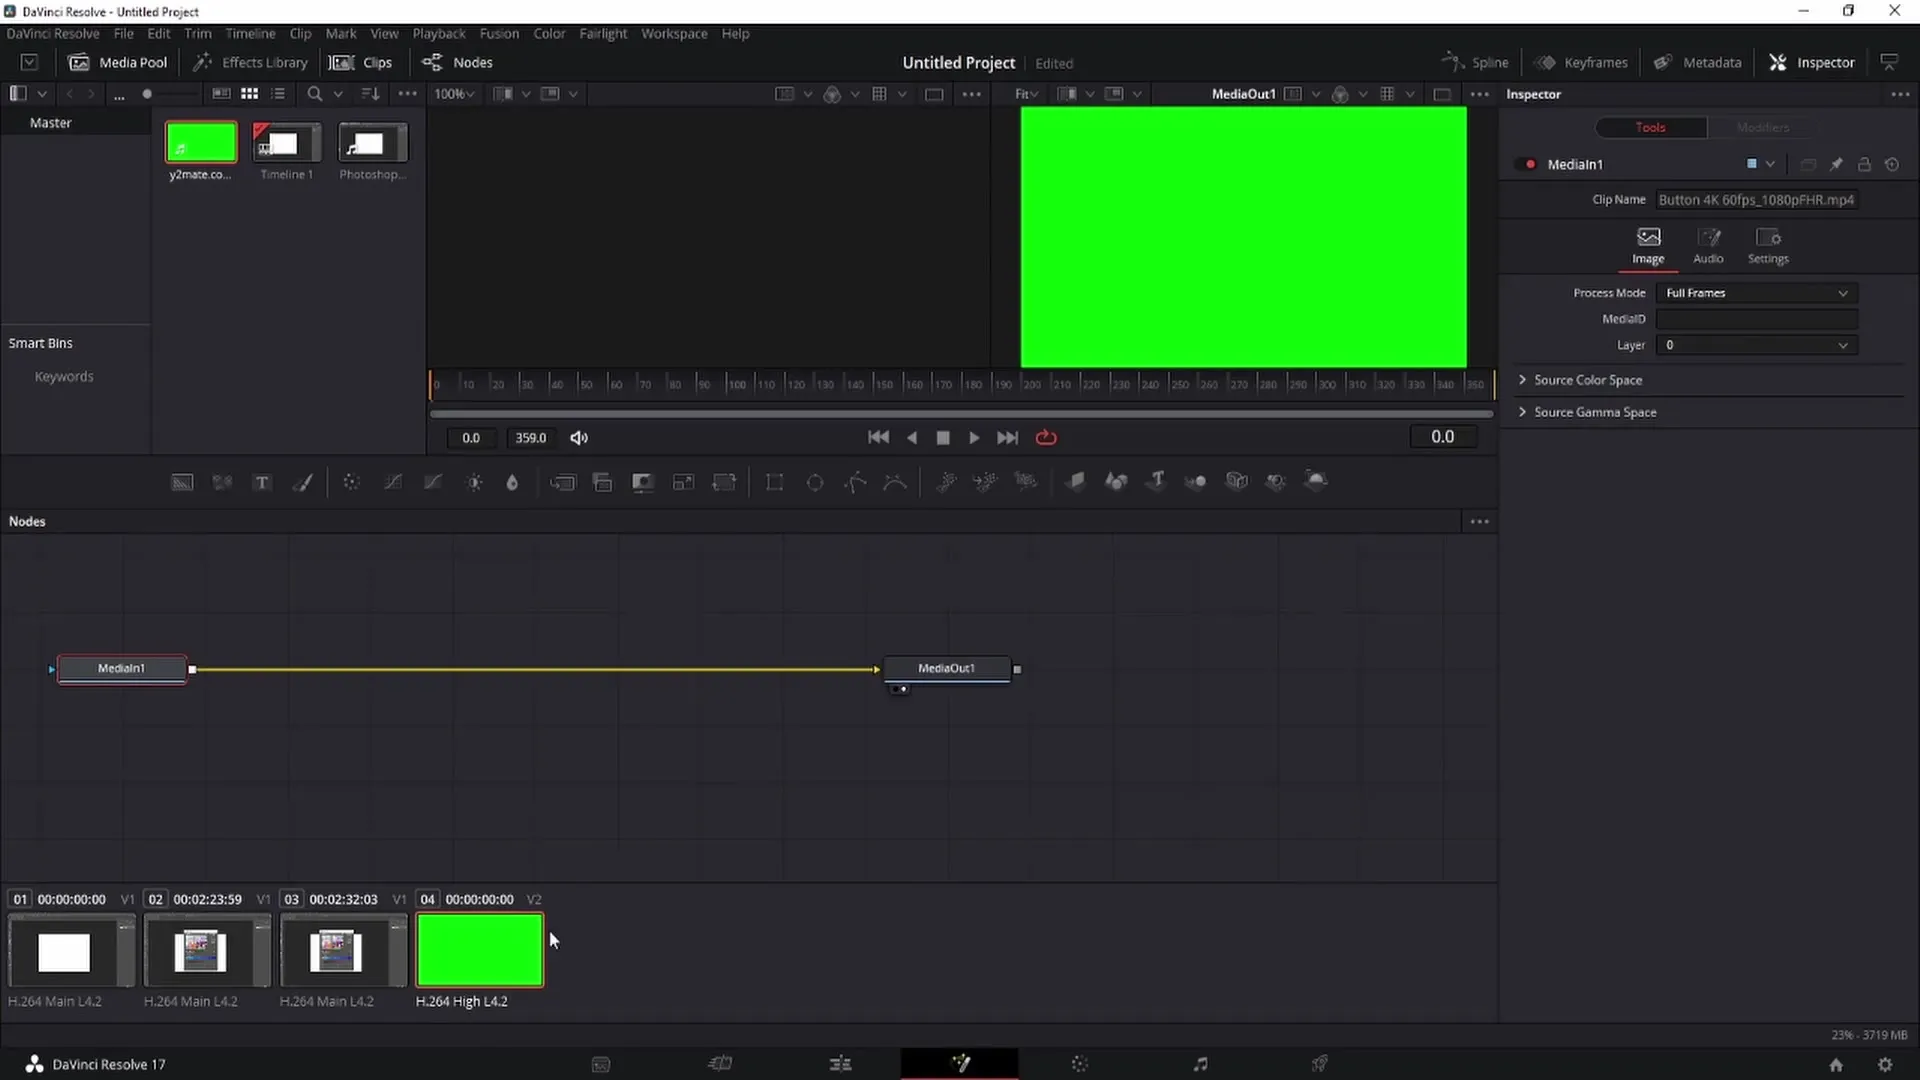
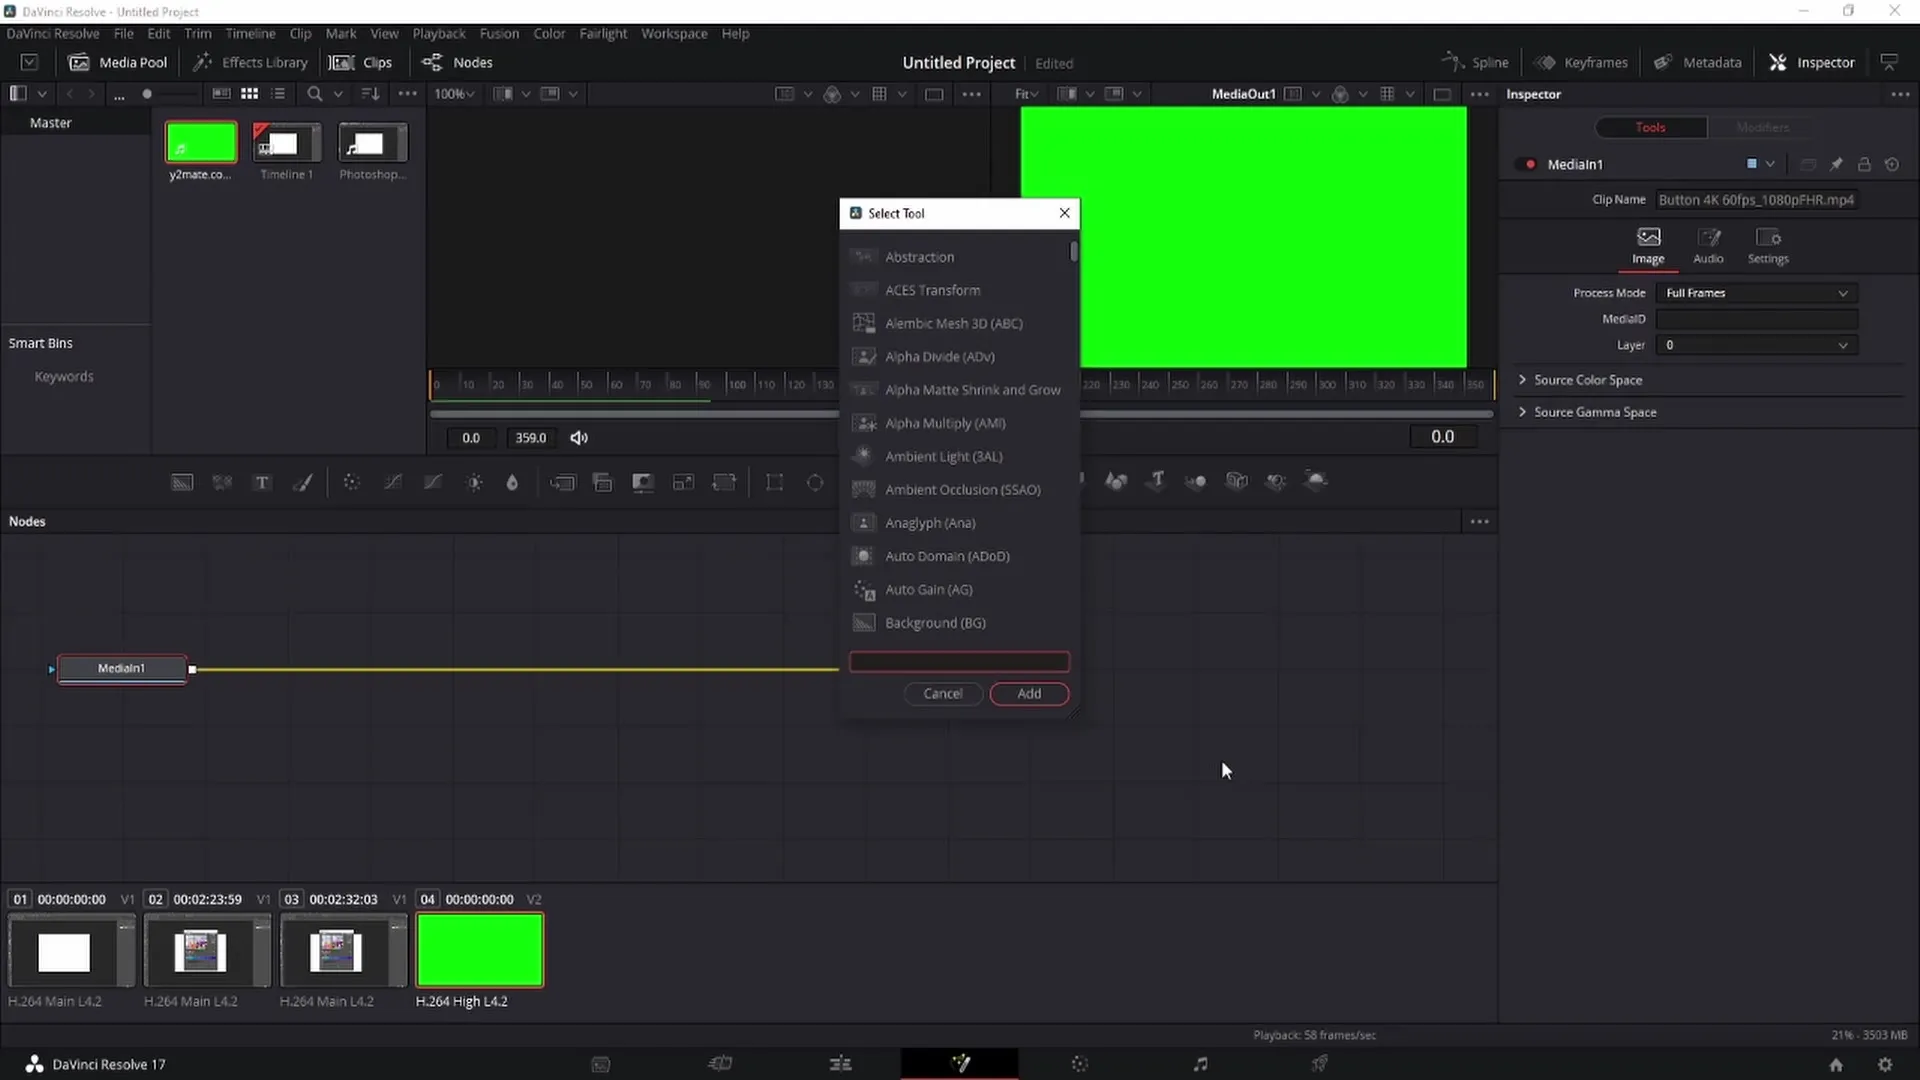
To remove the greenscreen, press the "Control" and "Space" keys simultaneously to open a search window. Type "Delta" in the search field and select the Delta Mask. This mask will help us remove the green background.
Now switch to the eyedropper tool and click with the left mouse button pressed to select the green color from the image. Move the eyedropper over the greenscreen, and you will see the green color being selected and this area being removed.
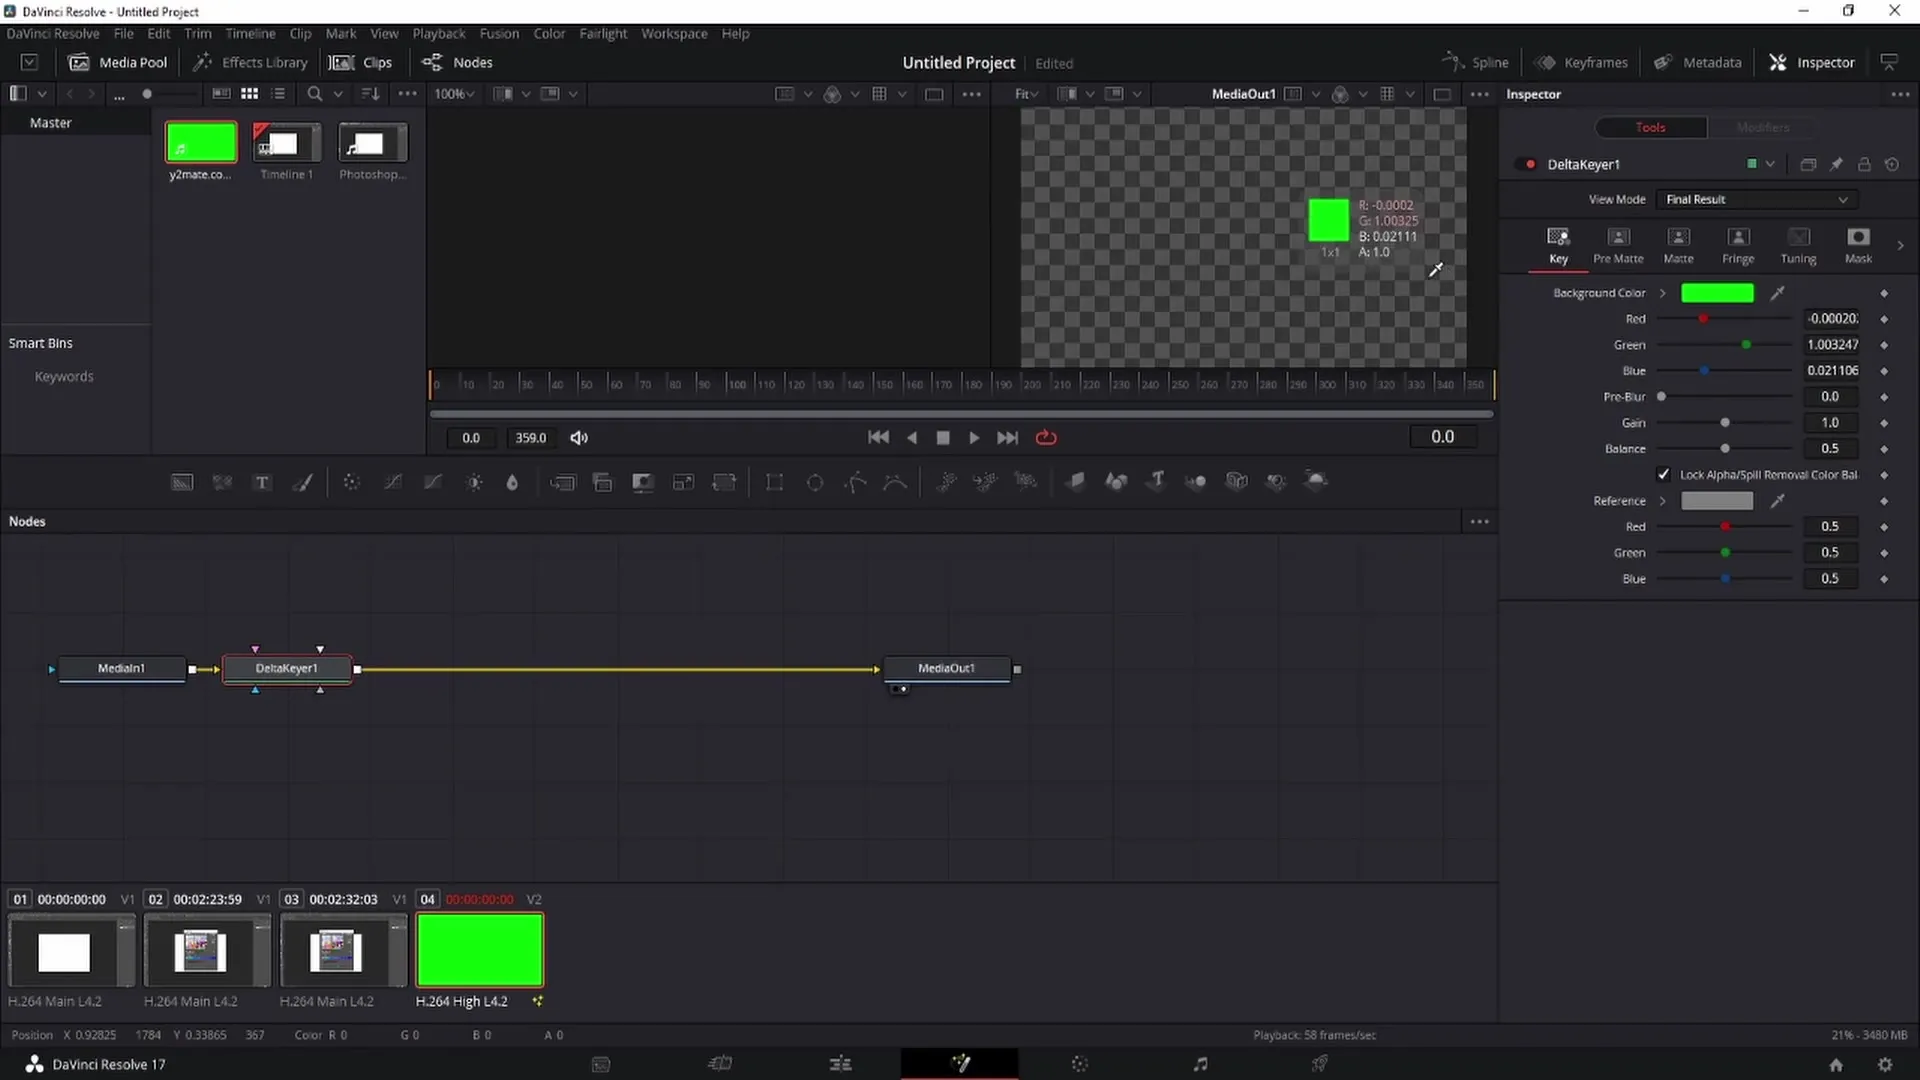
When you play and pause the video now, you may notice that there could still be a small green edge around your subject. We naturally do not want to see this in the final video. To fix this, increase the "Balance" settings to the maximum. This will eliminate the green edge, and the result will look much more professional.
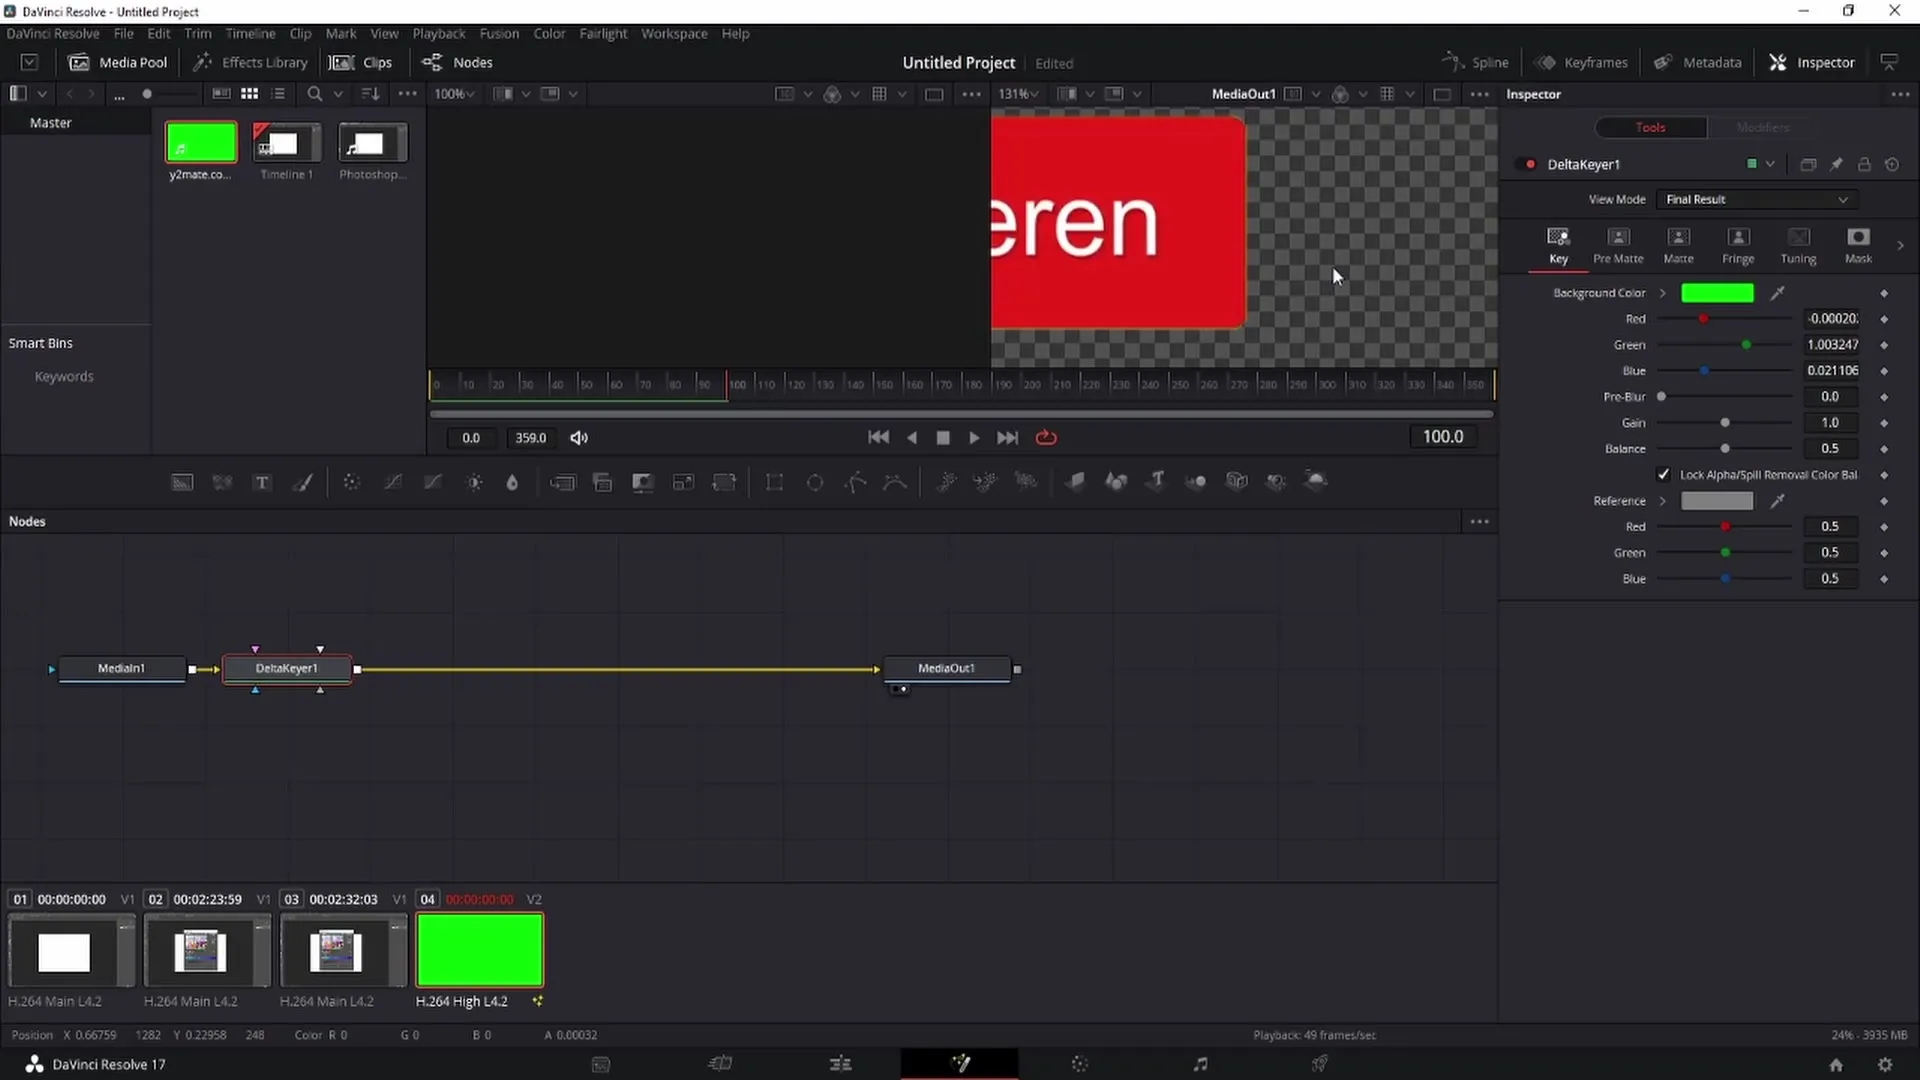
Zoom out now using the control key to view the entire clip, and return to the Edit area to check the result. It should already look significantly better, although there may still be some minor edges that need to be processed by the software.
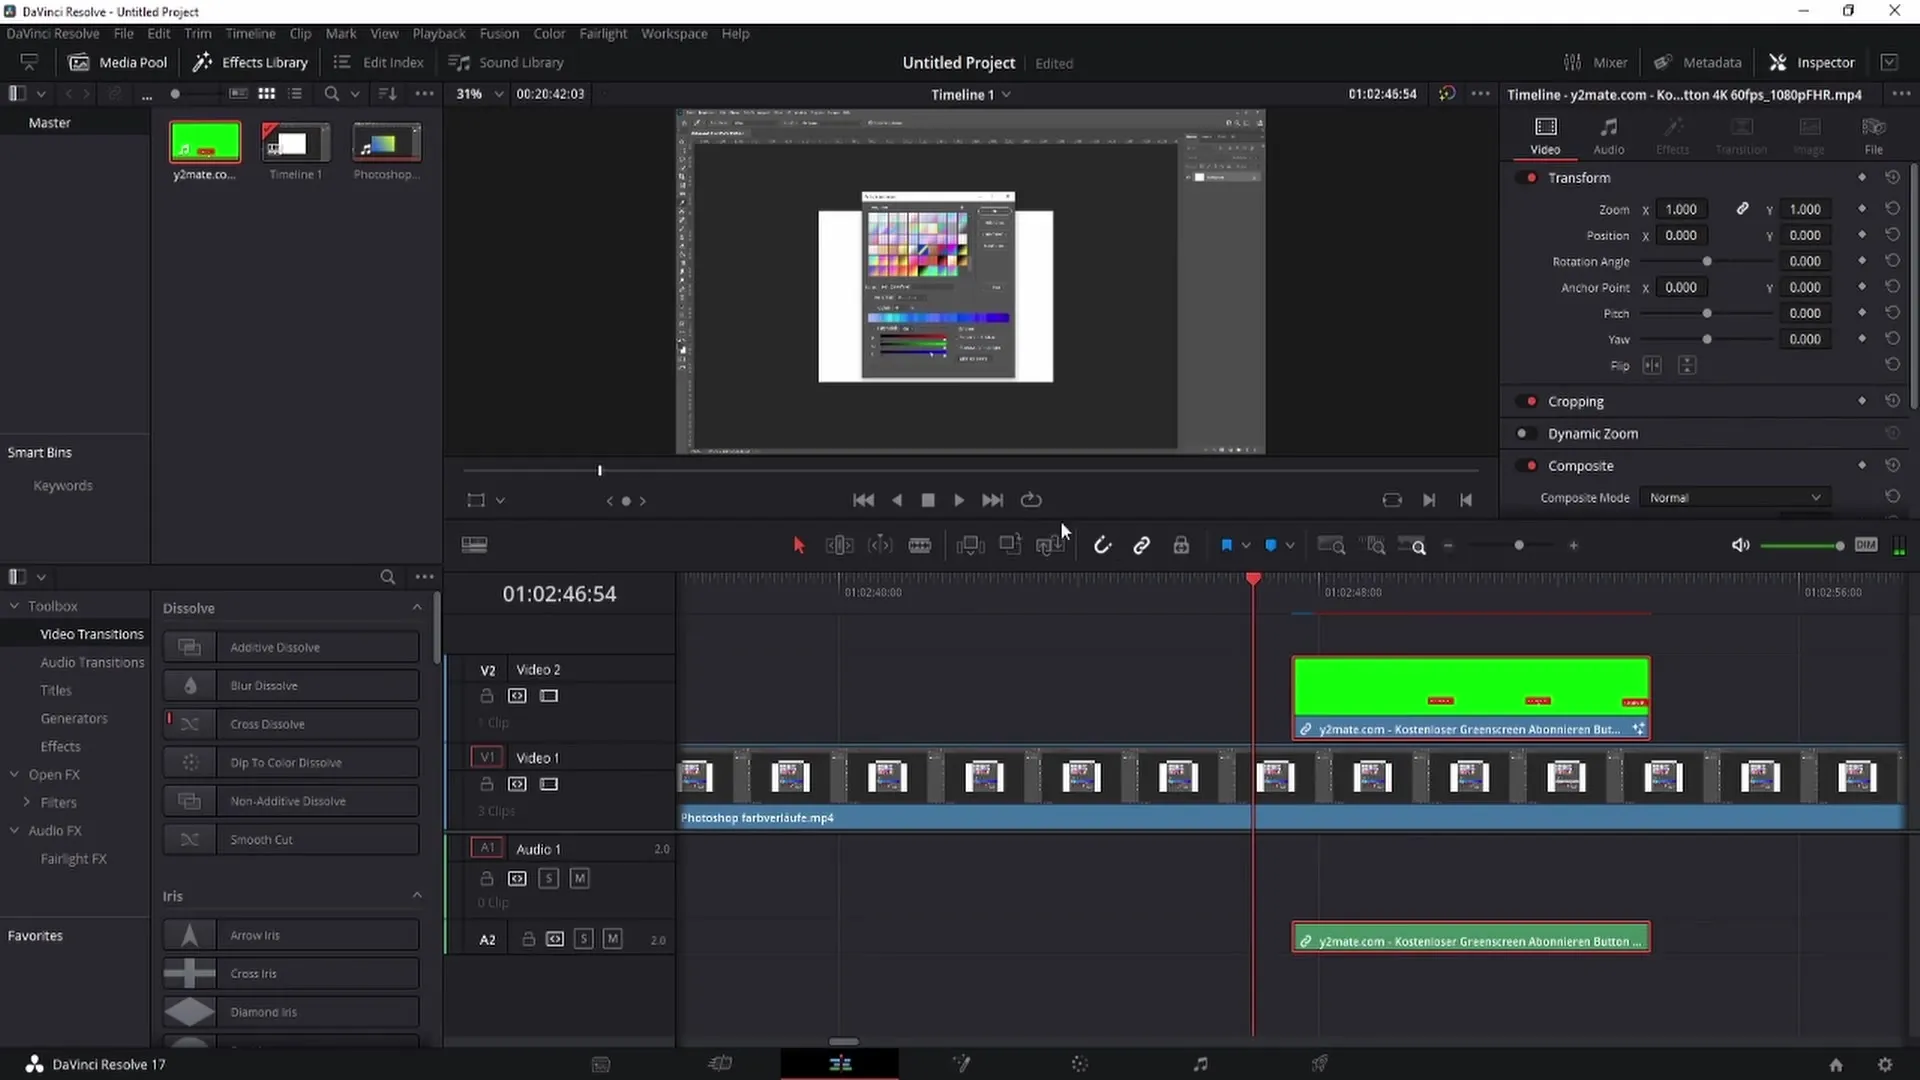
Since the subscription button is behind the background, you now want to position it correctly. Go to the area of the clip where you want to place the button and scale it as needed with the mouse by dragging to the left to make it smaller.
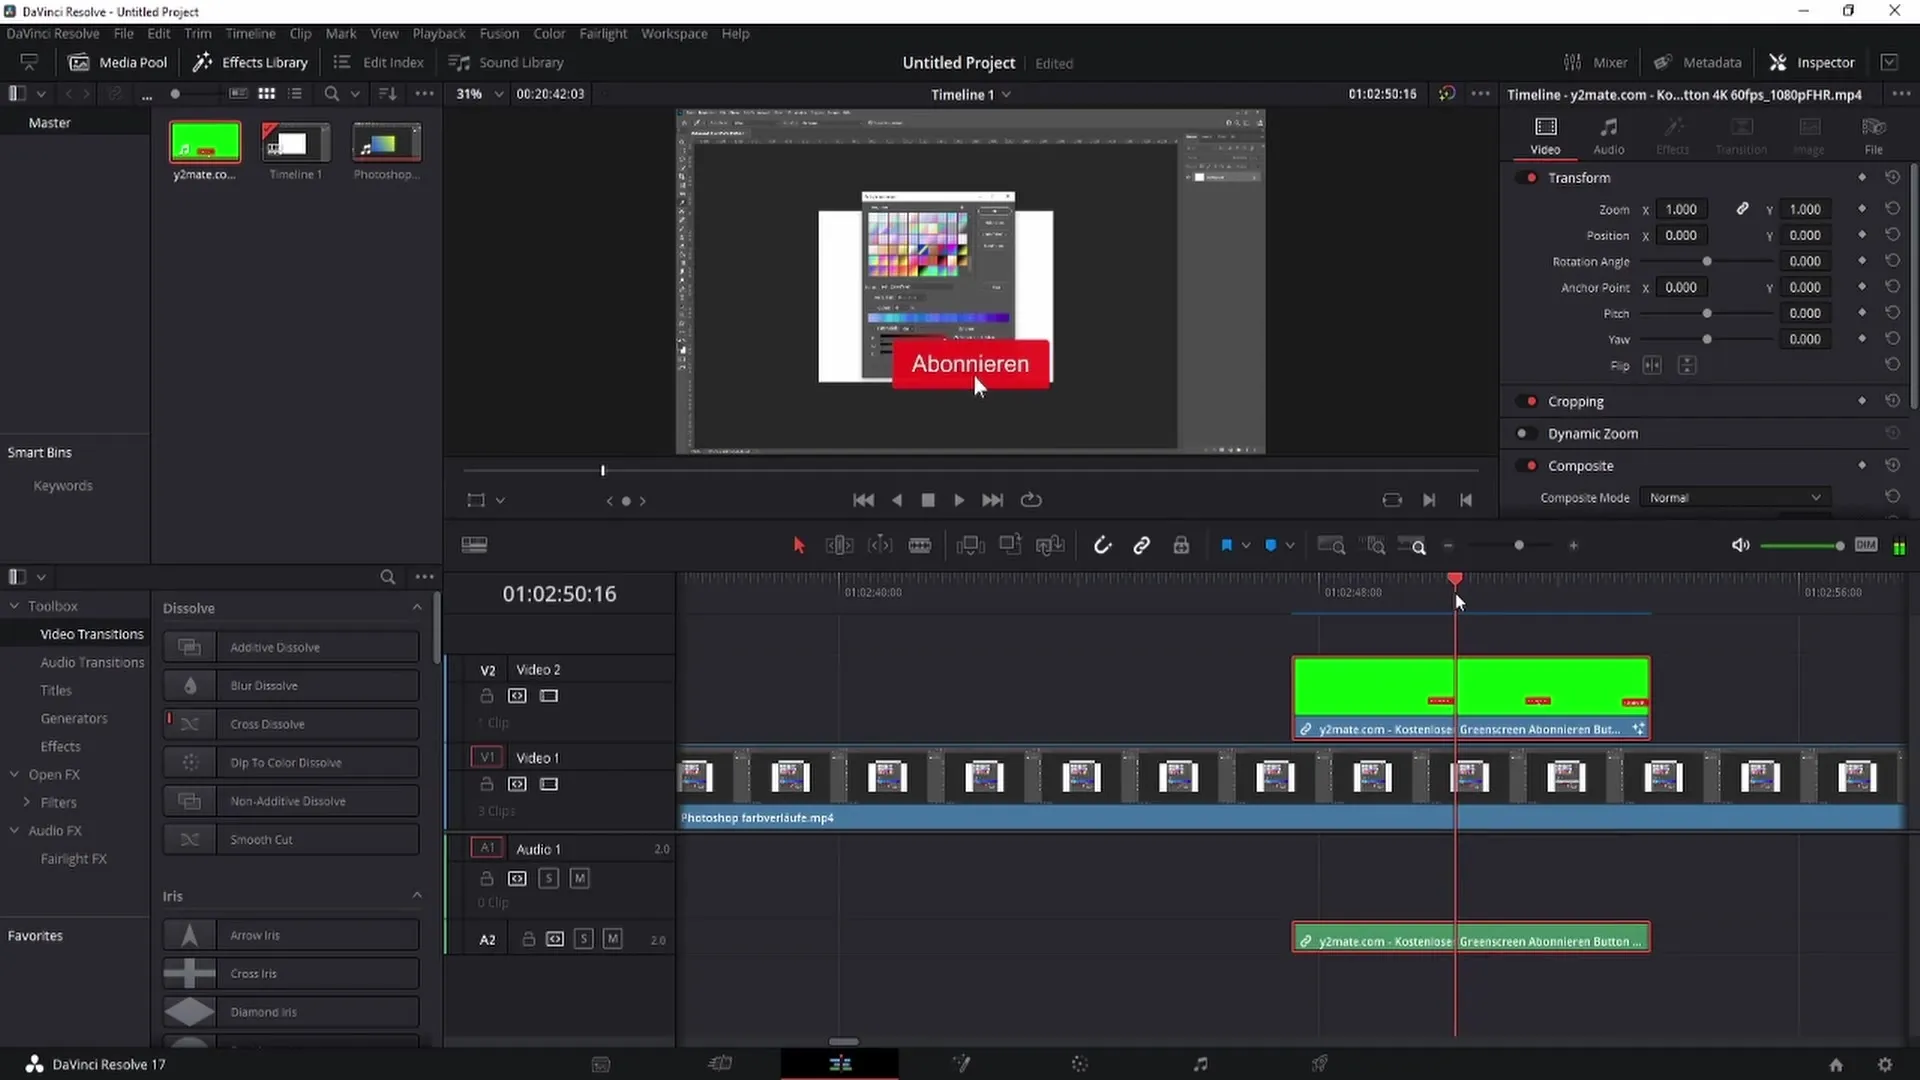
Now you can also adjust the position. With the left mouse button, you can move the button along the X and Y axes until it is positioned correctly, ideally in the lower right corner for a harmonious look as it enters the frame from below.
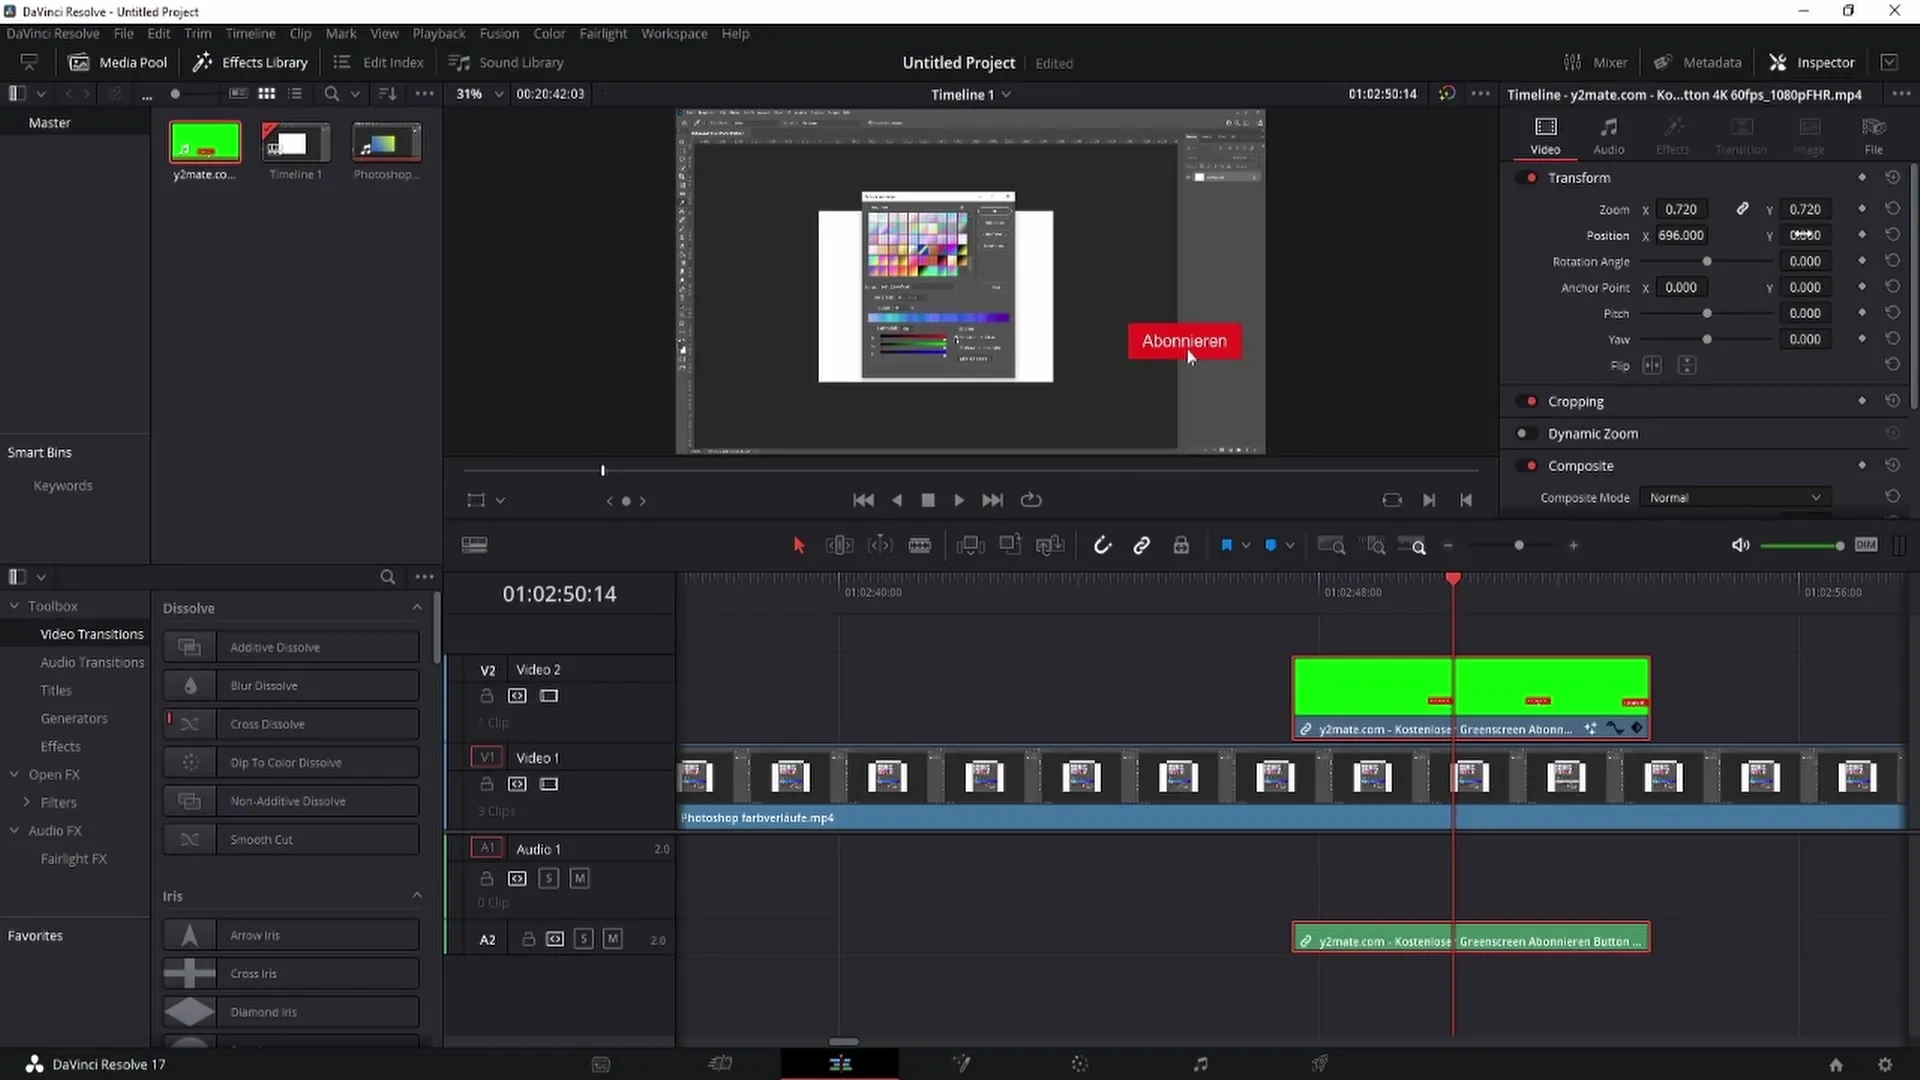
Make sure to choose the animation of fading in the subscription button sensibly. Placing it in the wrong corner can appear unnatural and undermine the intended goal of making the video appealing.
Summary
In this tutorial, you have learned how to remove a green screen using DaVinci Resolve. By using the Delta mask along with some fine-tuning, you have the opportunity to create a clean and professional video presentation. With the right positioning, you can also optimize the overall appearance of your video.
Frequently Asked Questions
What is the purpose of the Delta mask?The Delta mask is used to remove the green background of a clip and isolate the main subject.
Can I use the technique for other colors as well?Yes, the principle also works for other single-colored backgrounds, as long as there is sufficient contrast between the subject and the background.
How long does the process take?The process can take between 5 and 15 minutes, depending on the complexity of the clip and the required fine-tuning.
